
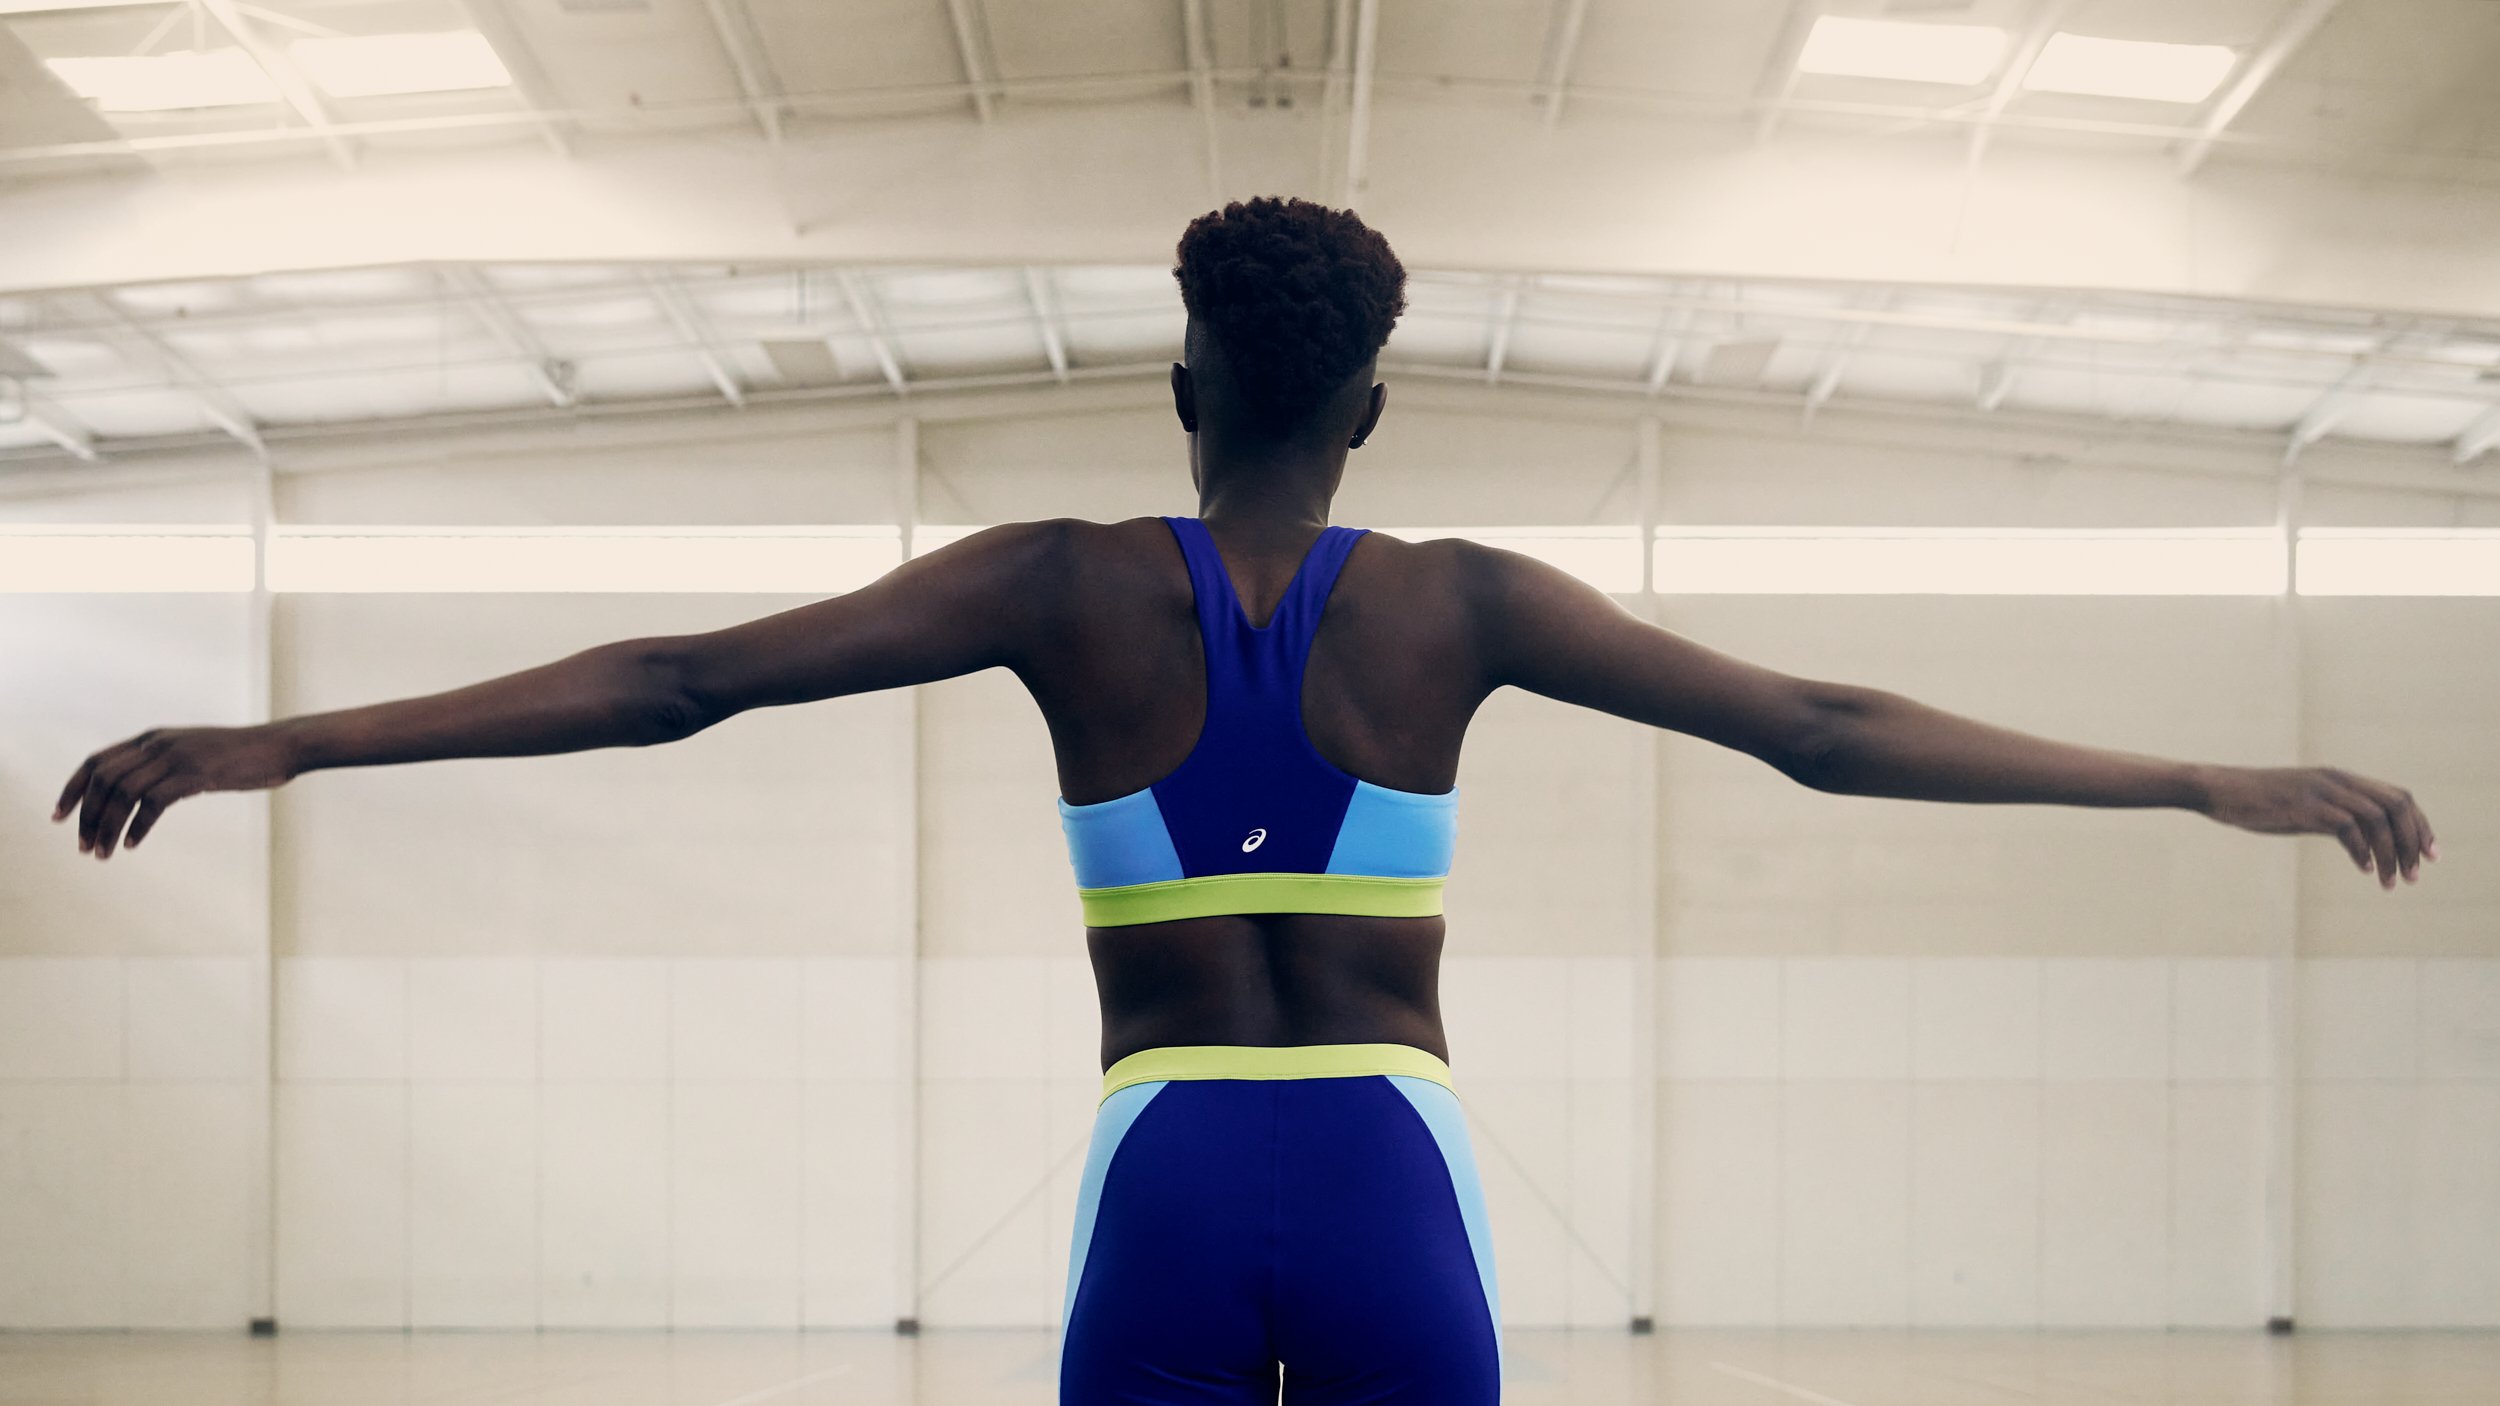
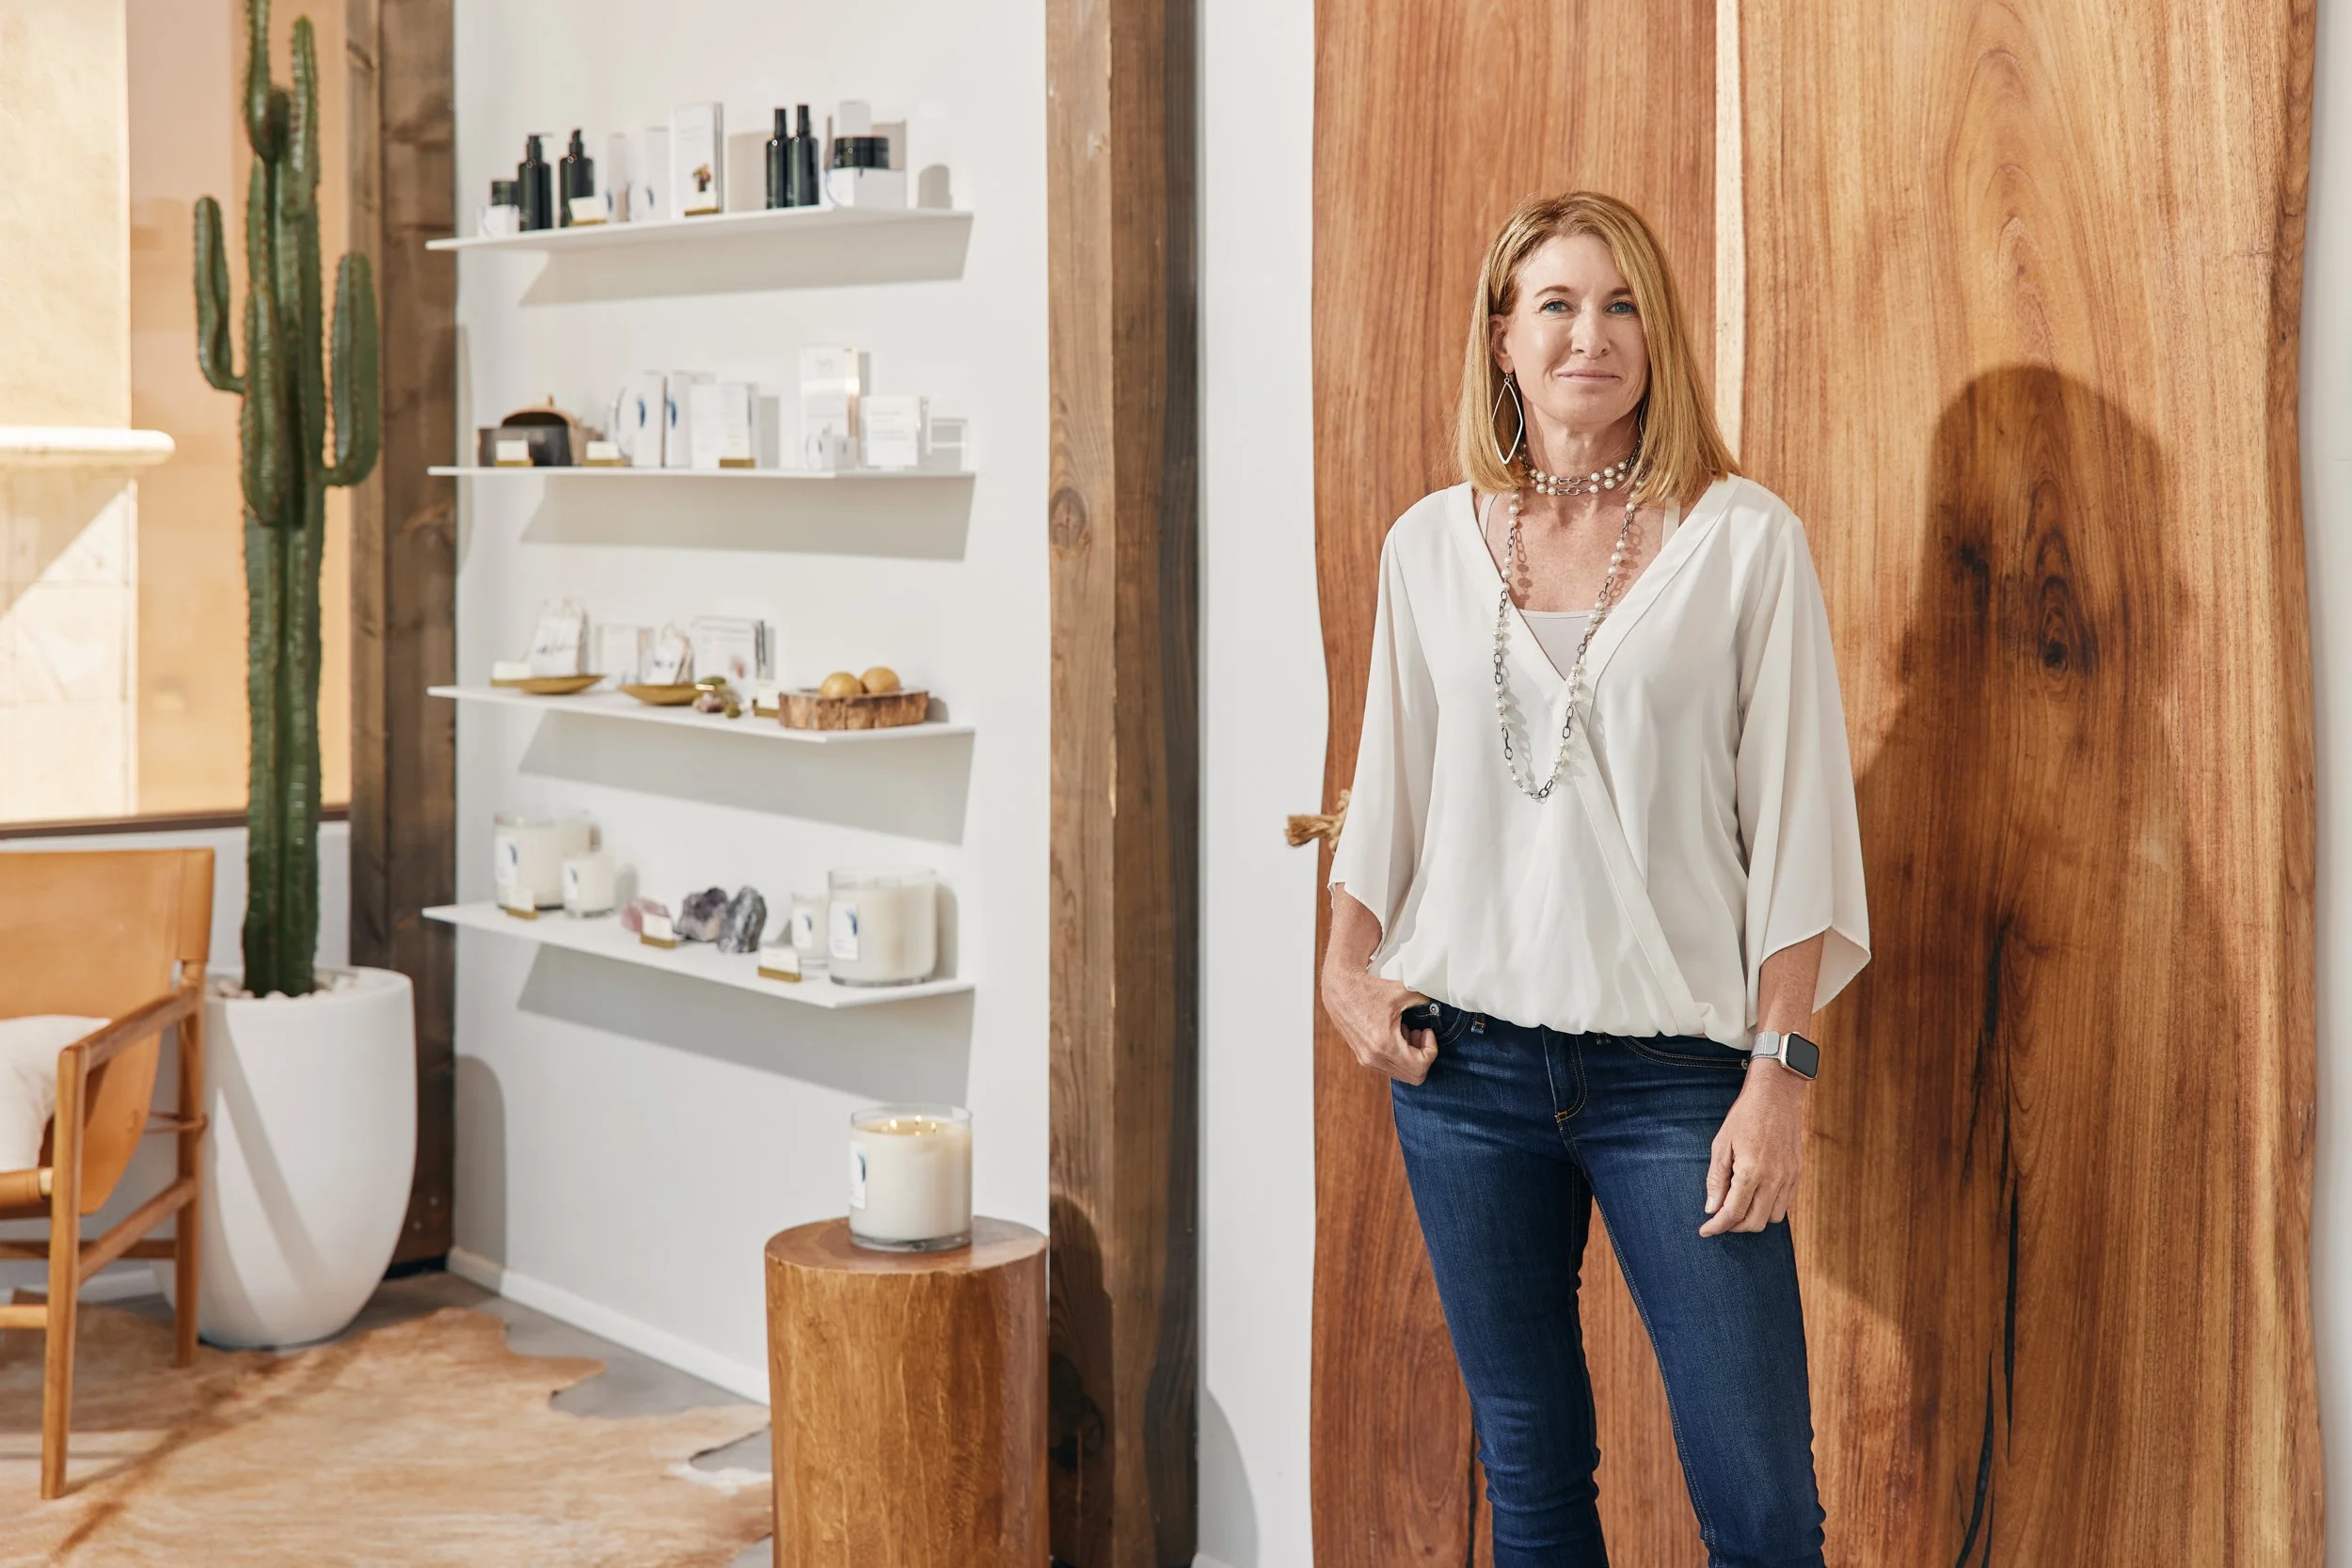
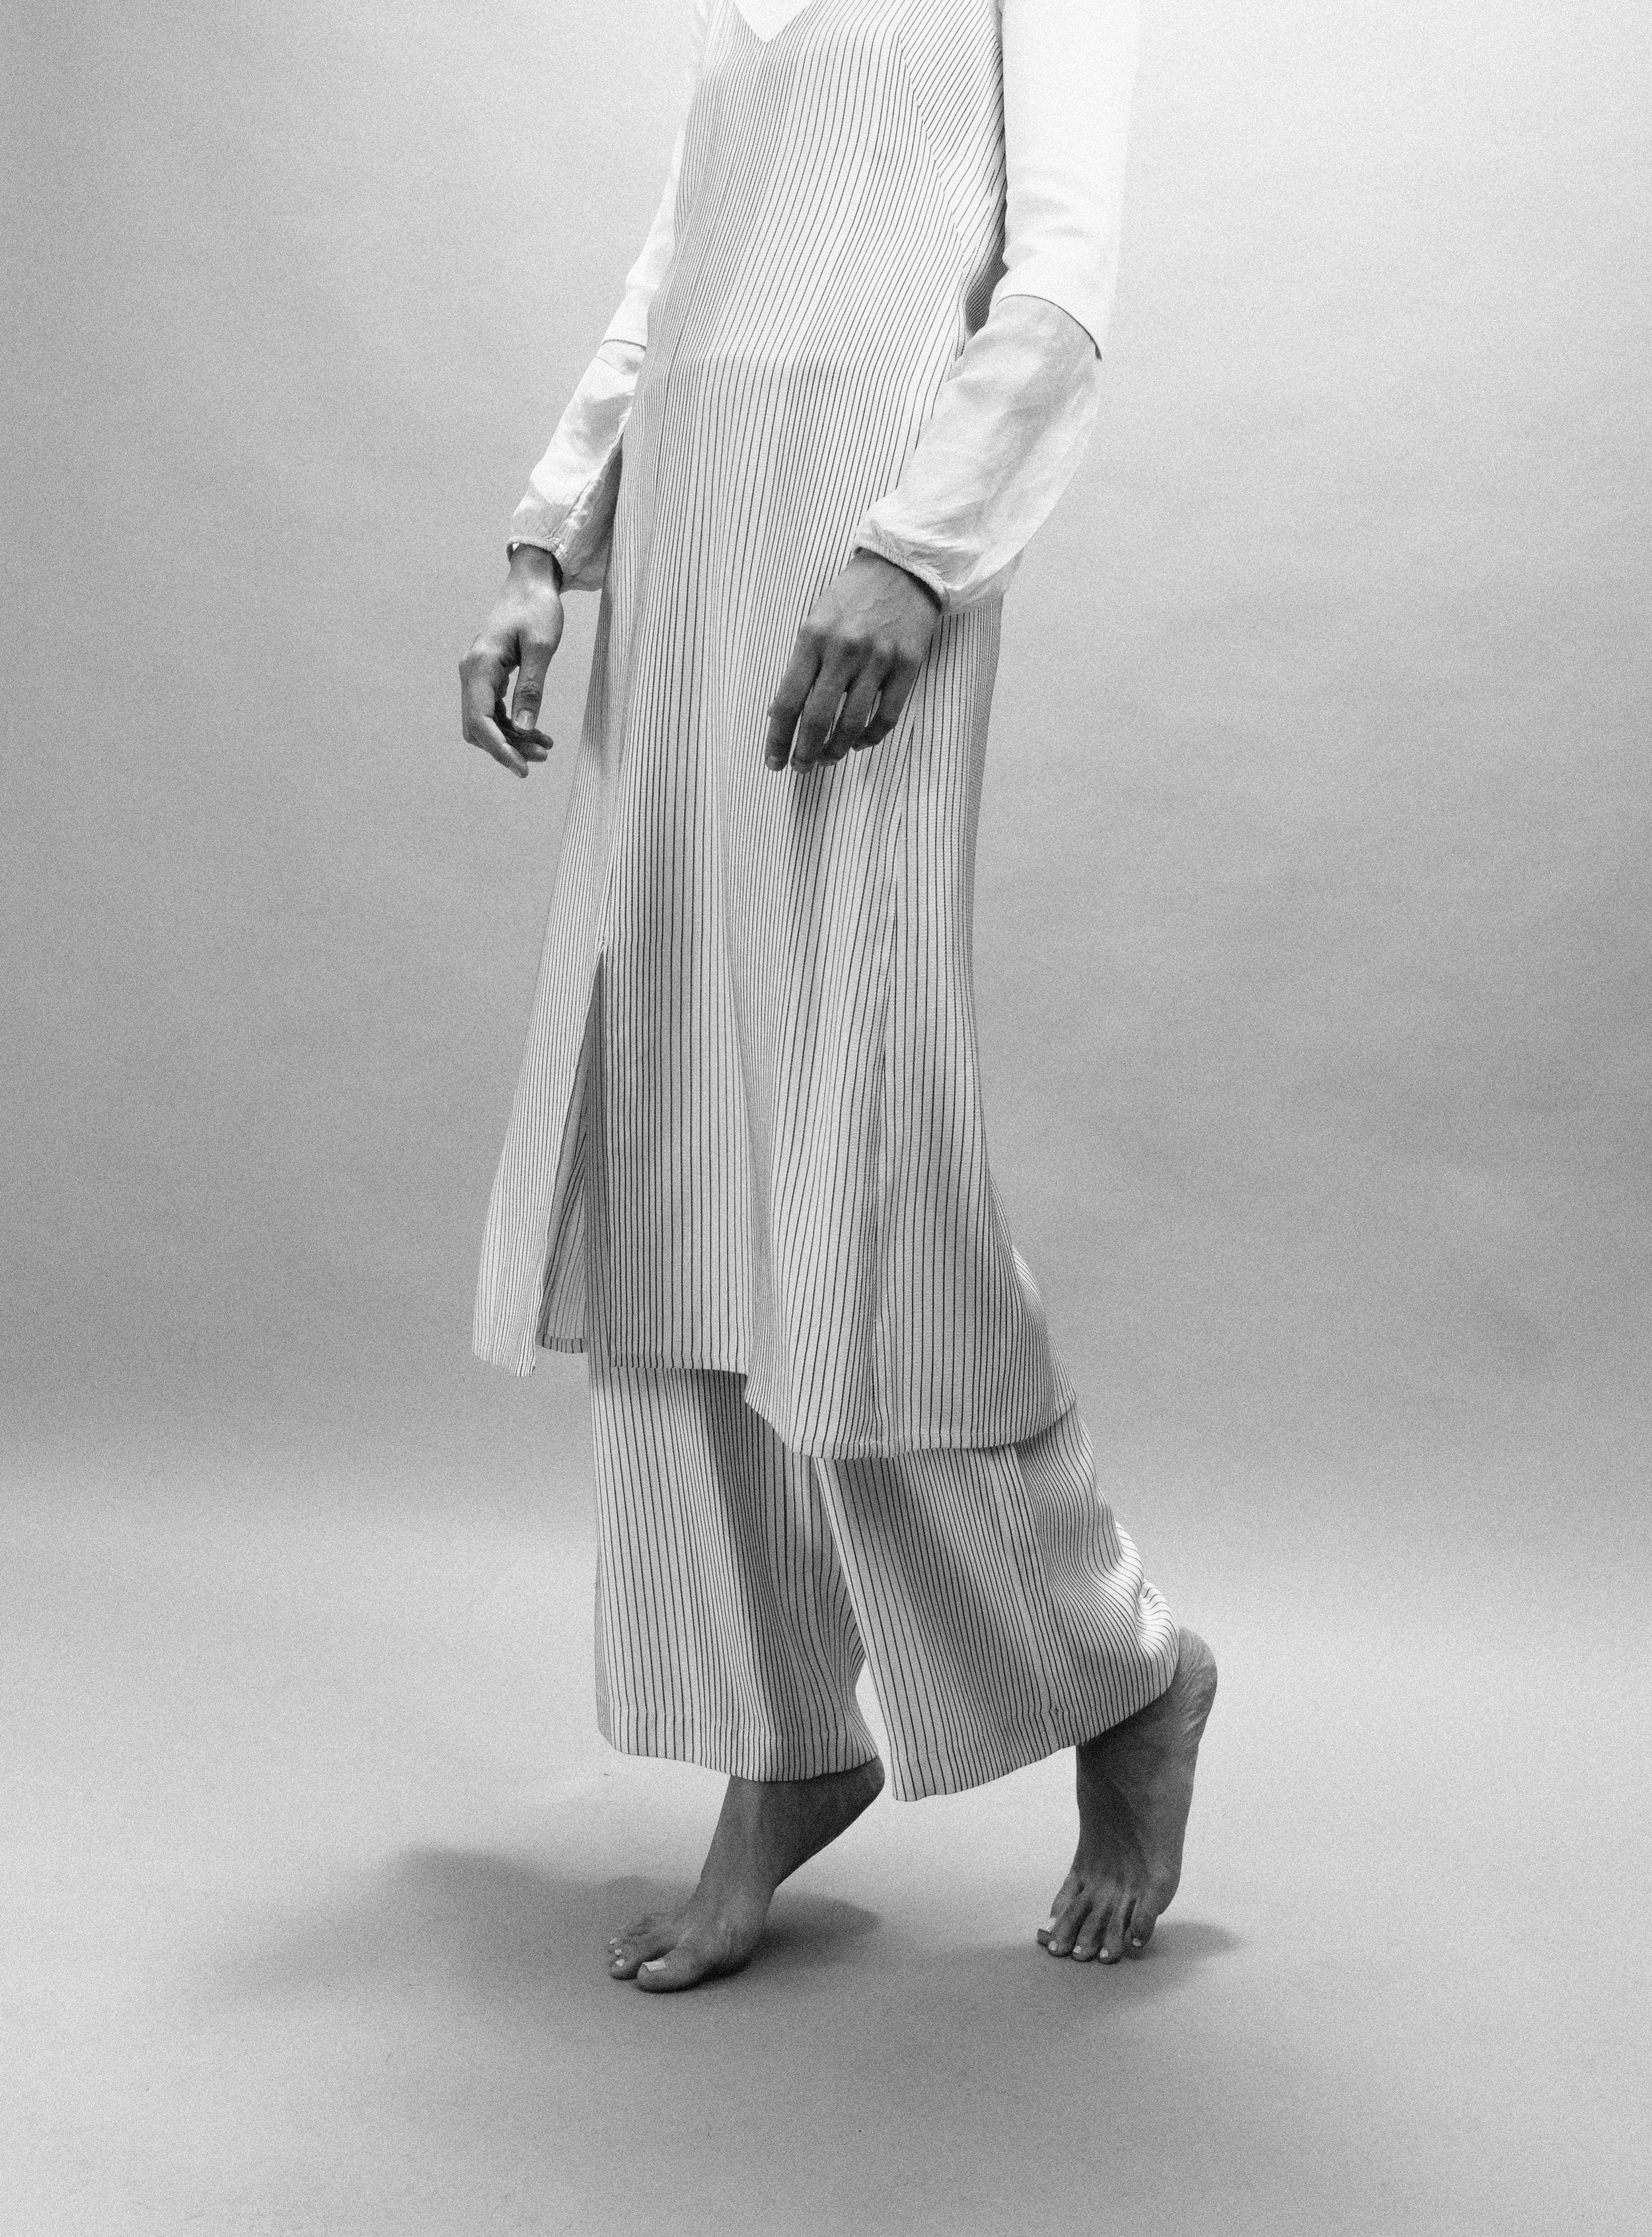
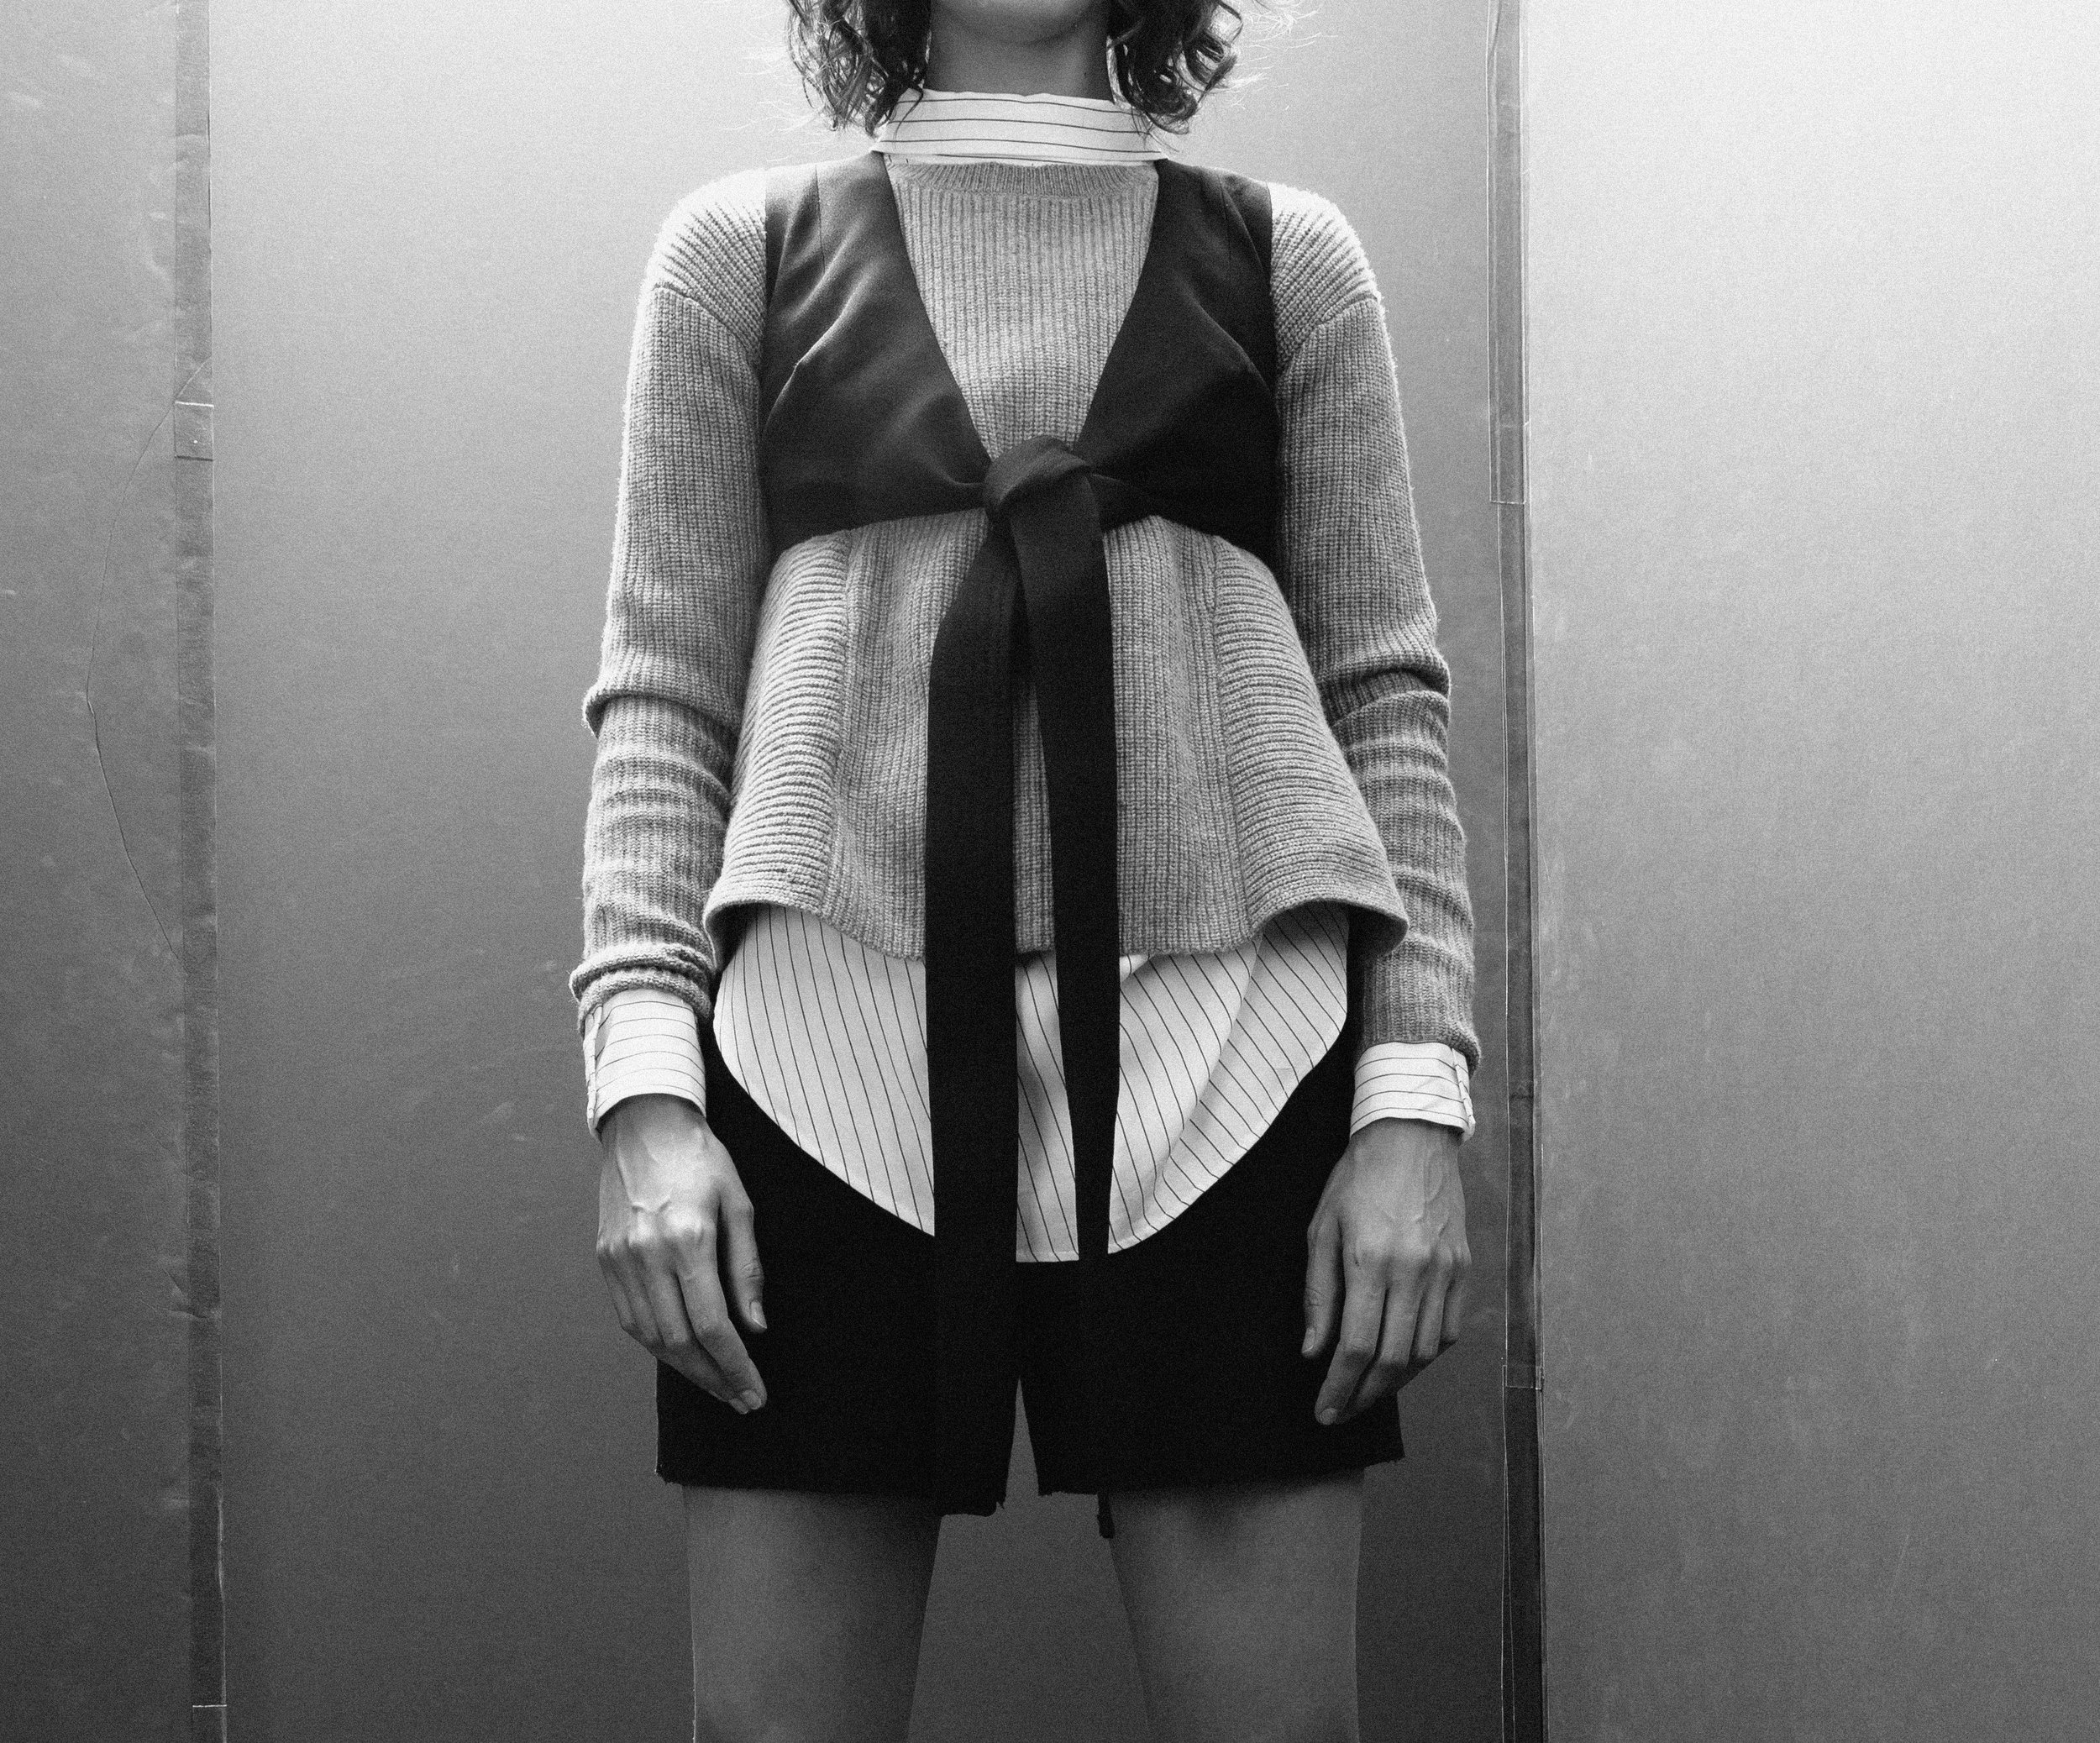
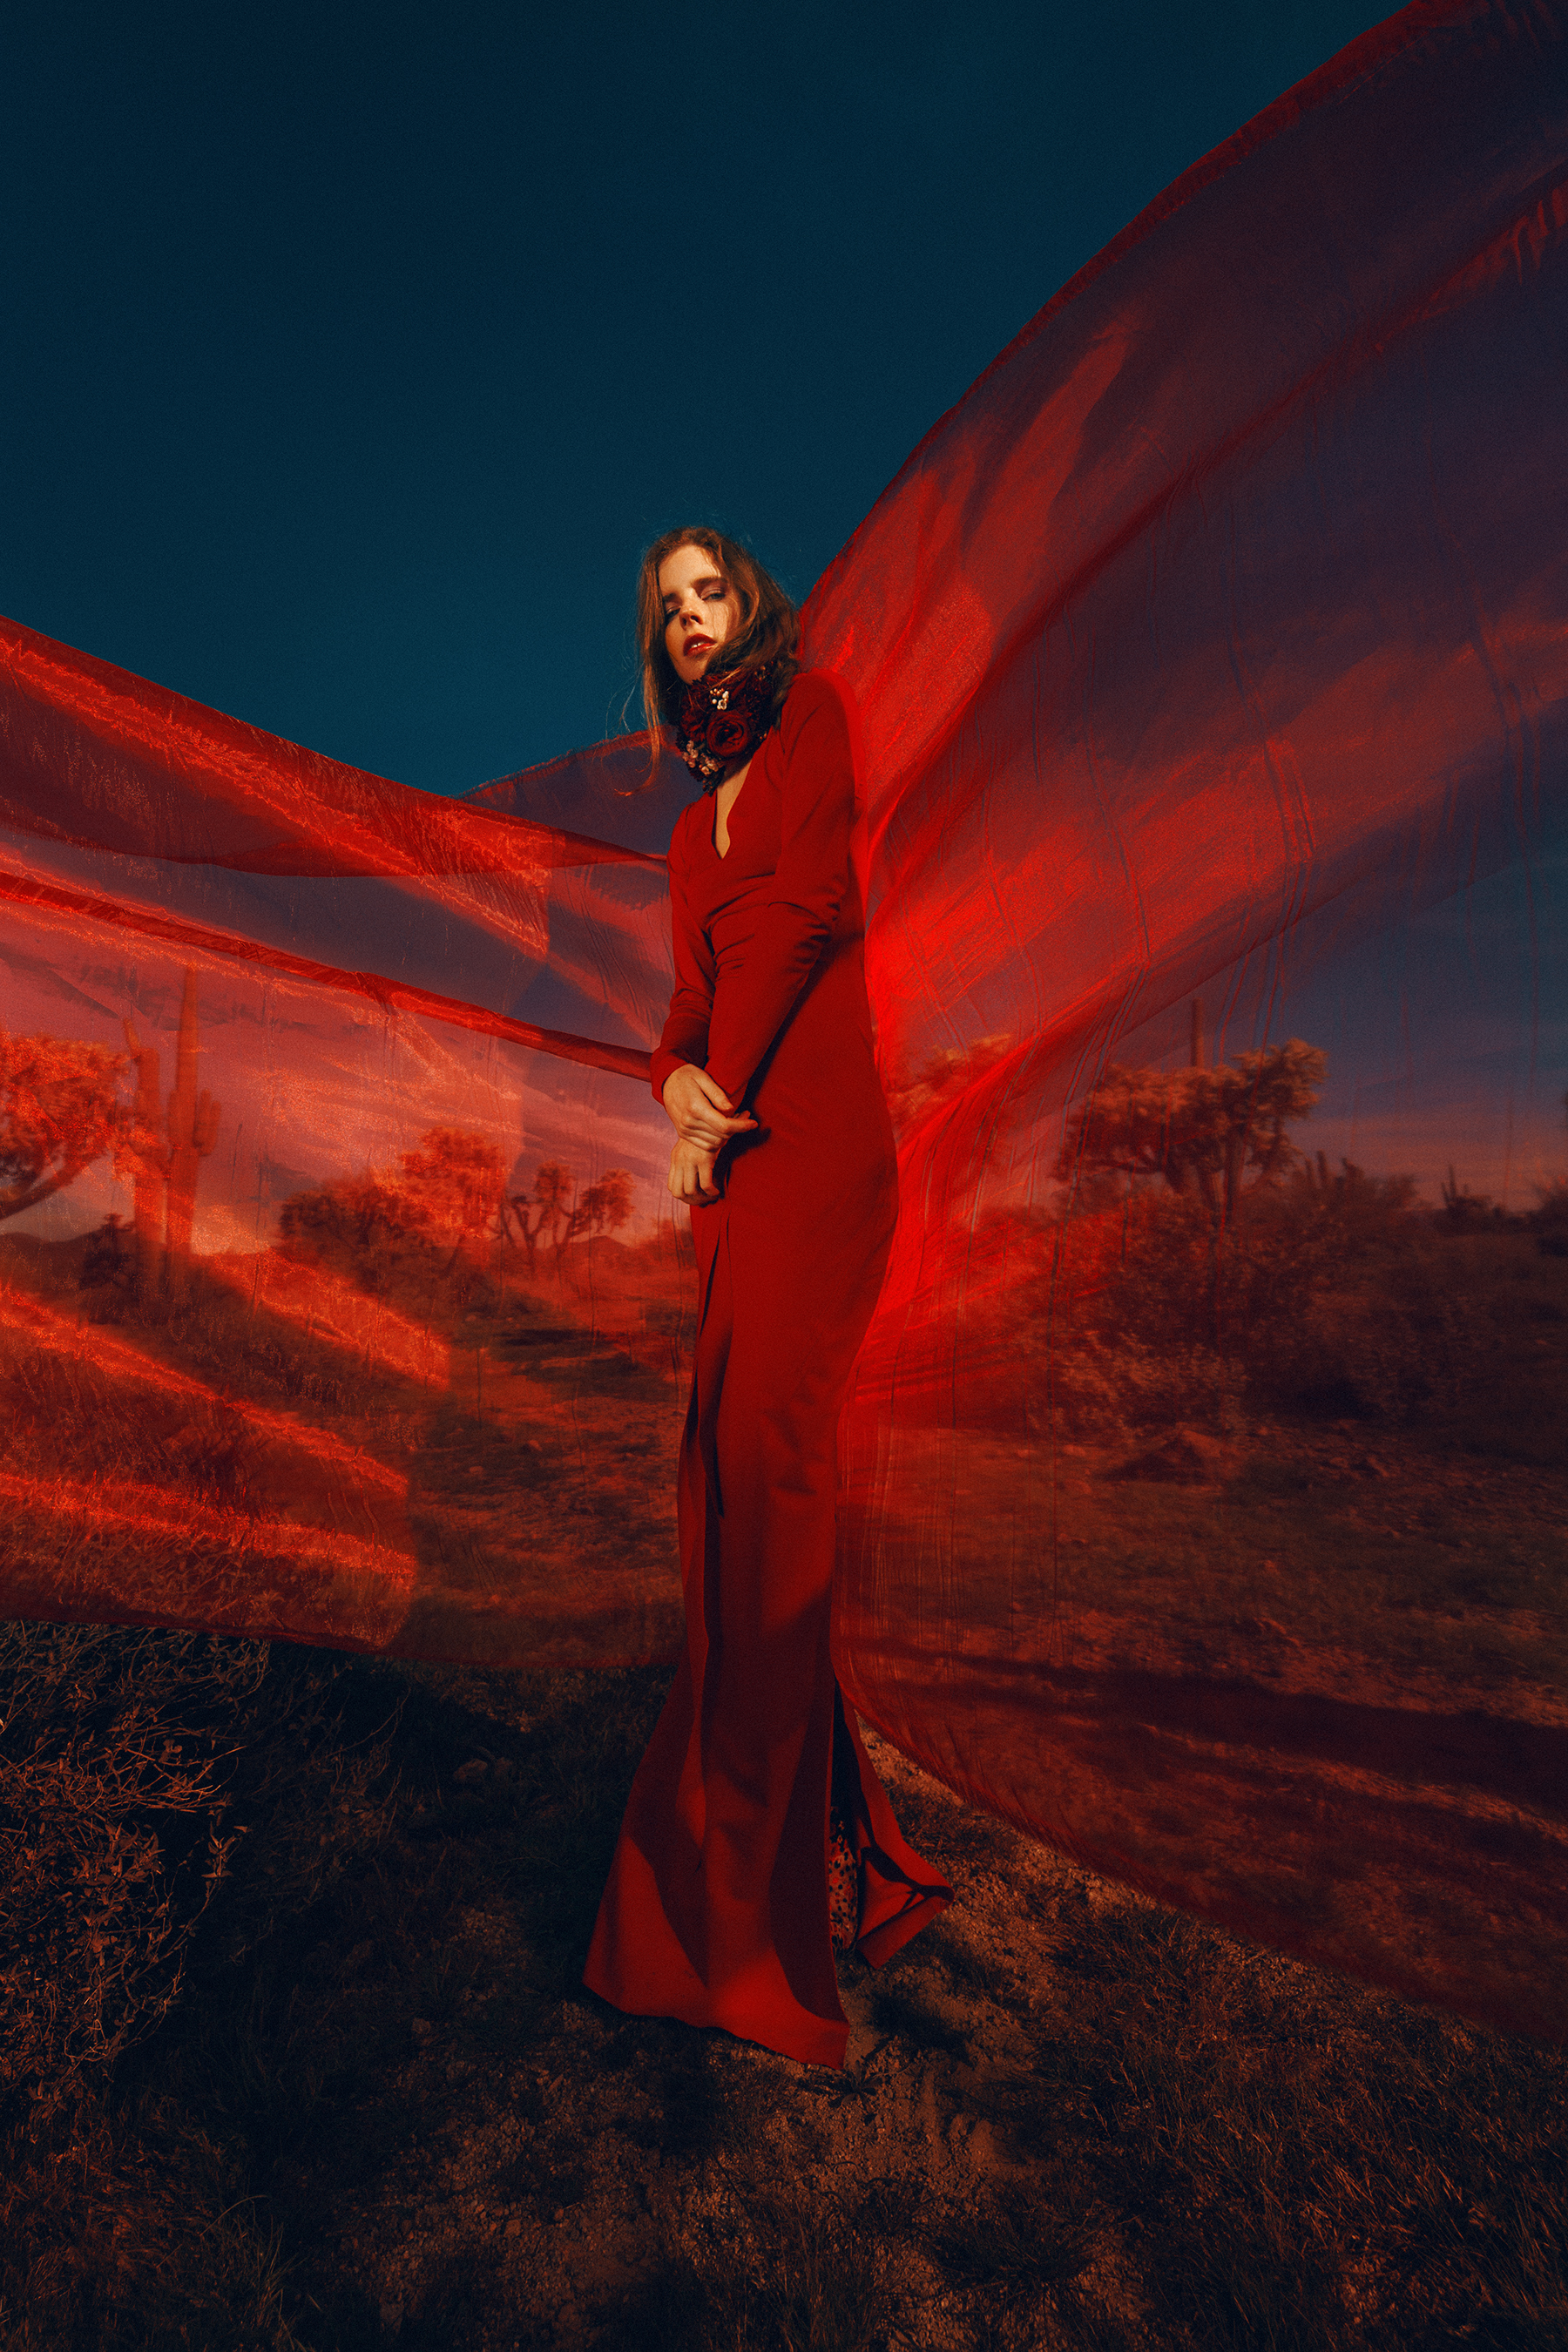
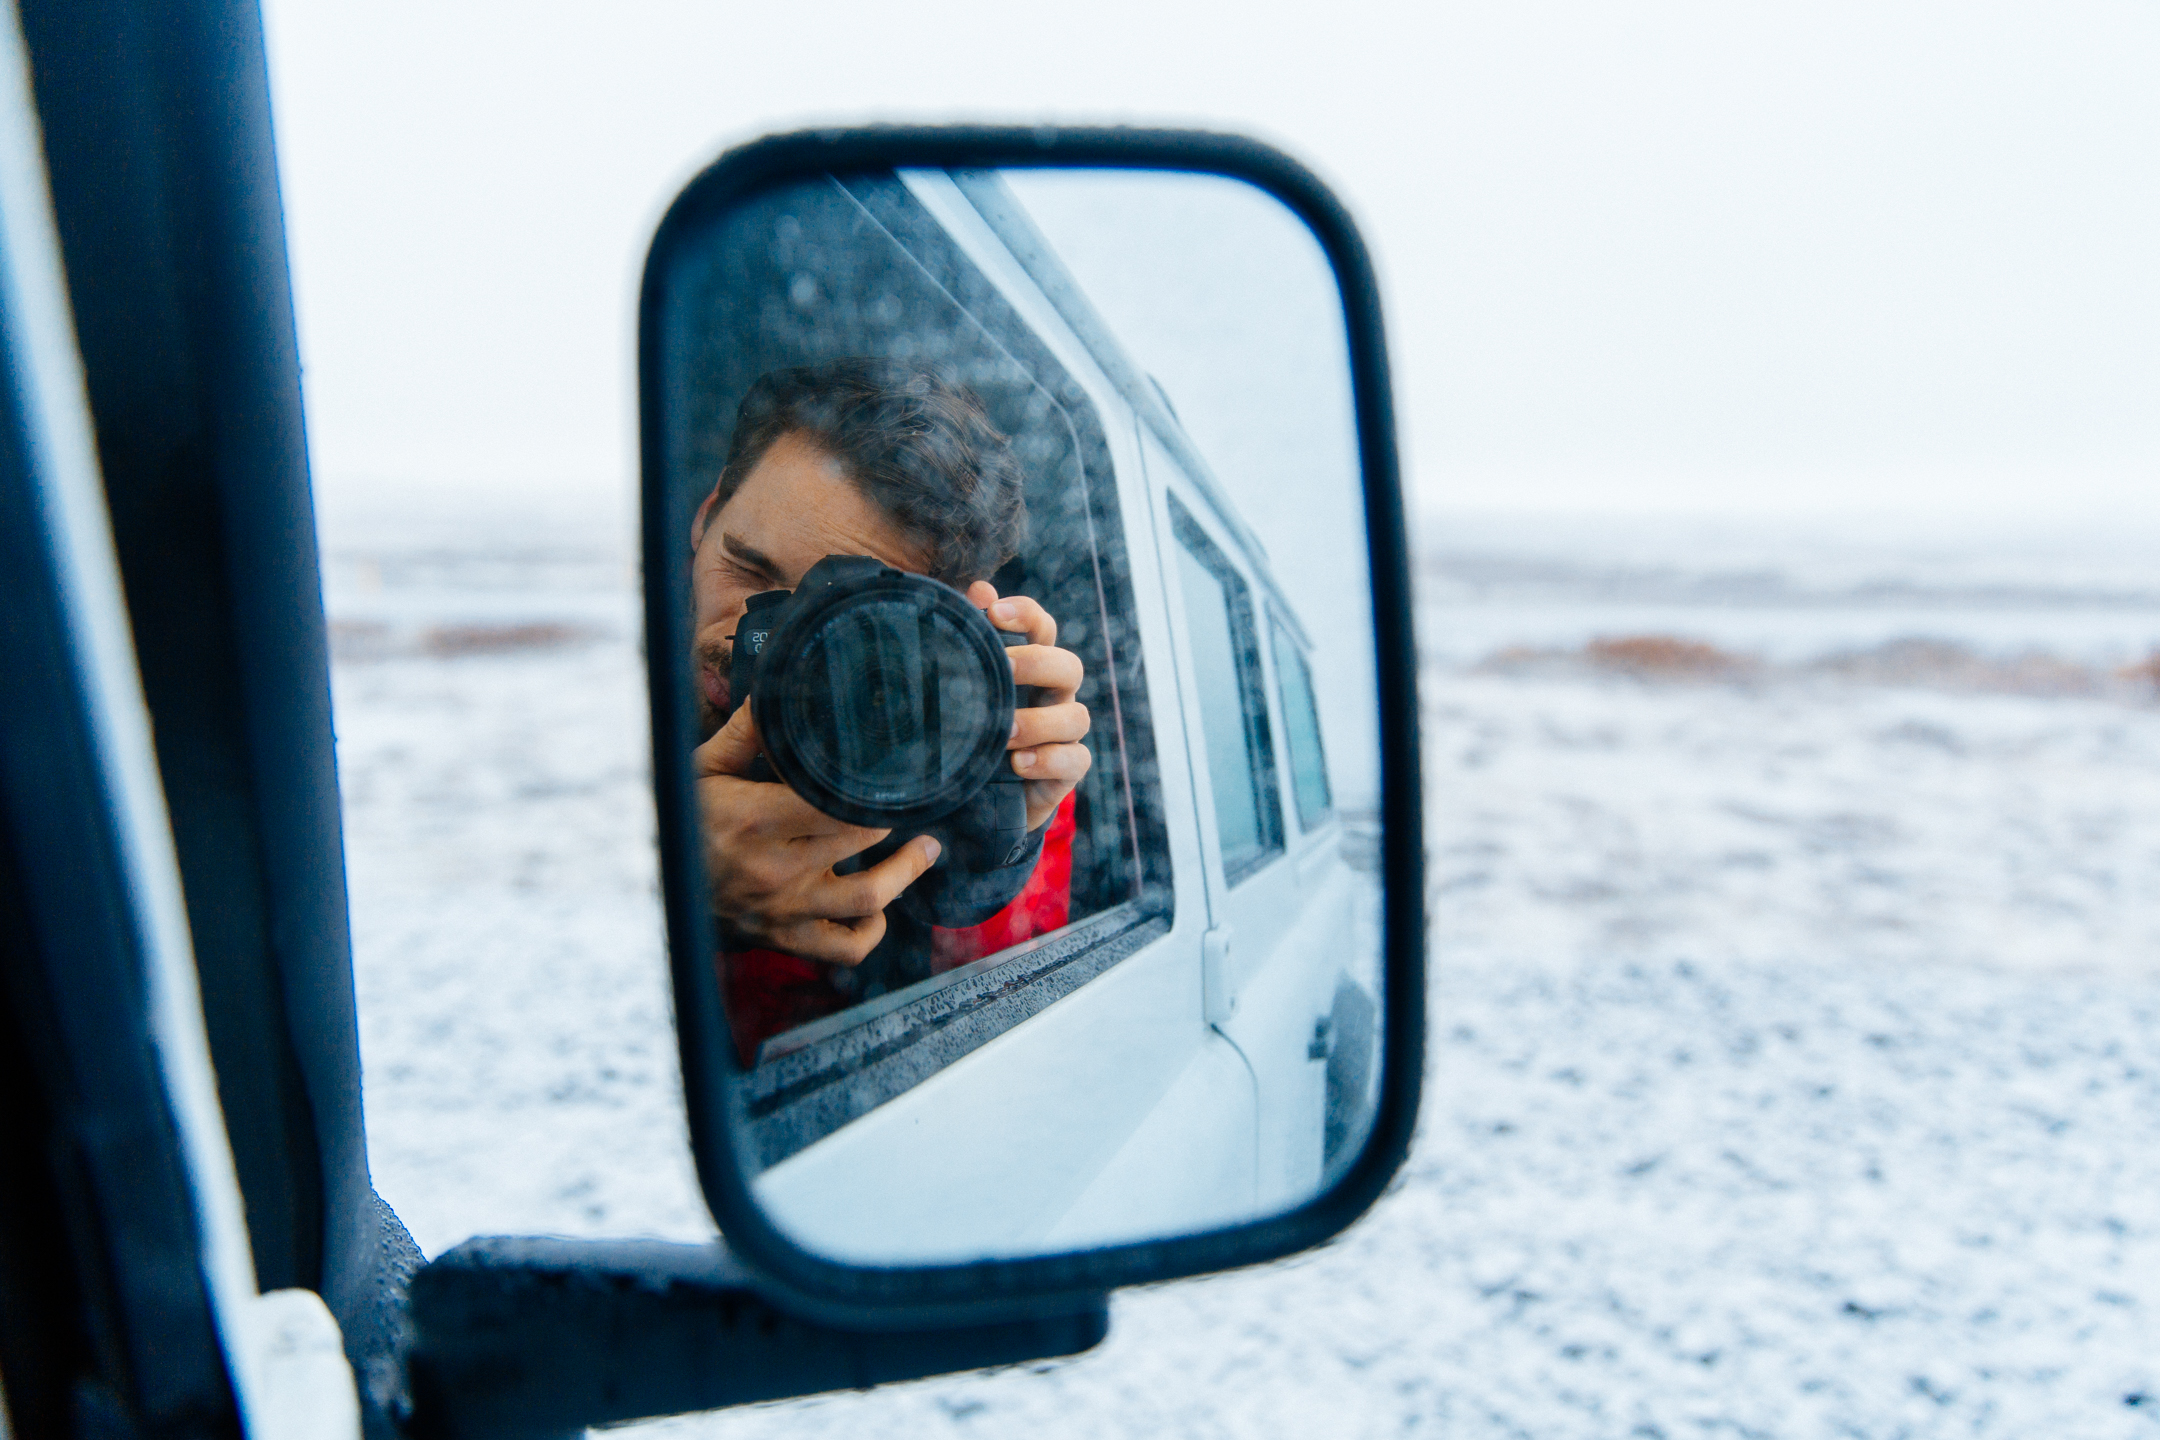
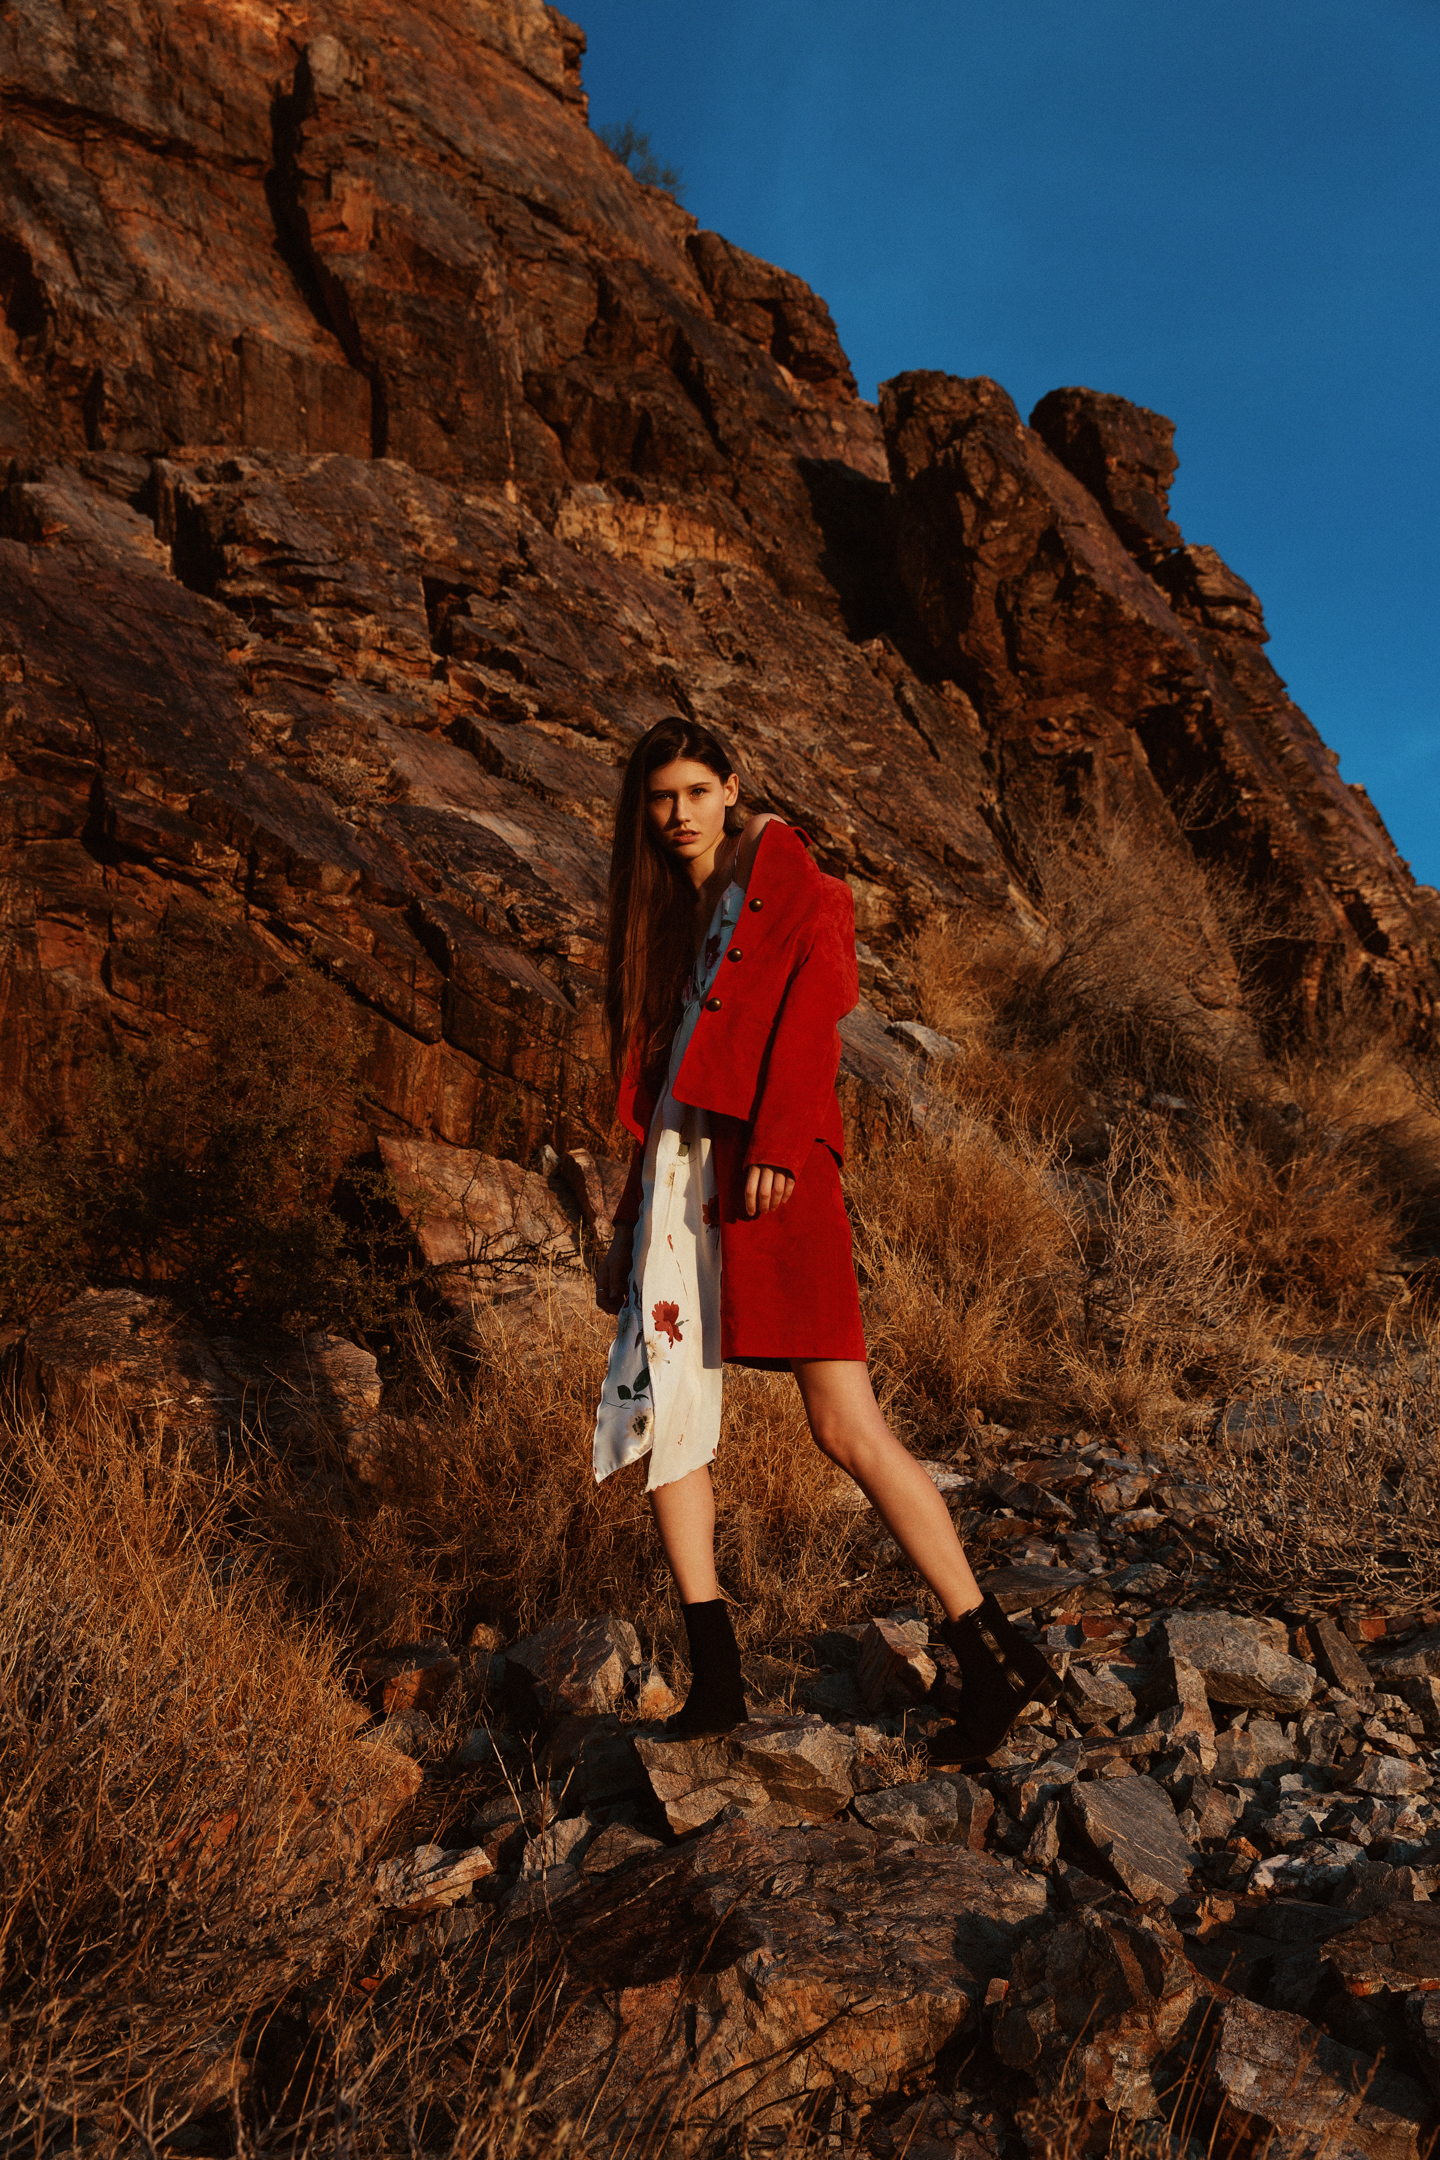
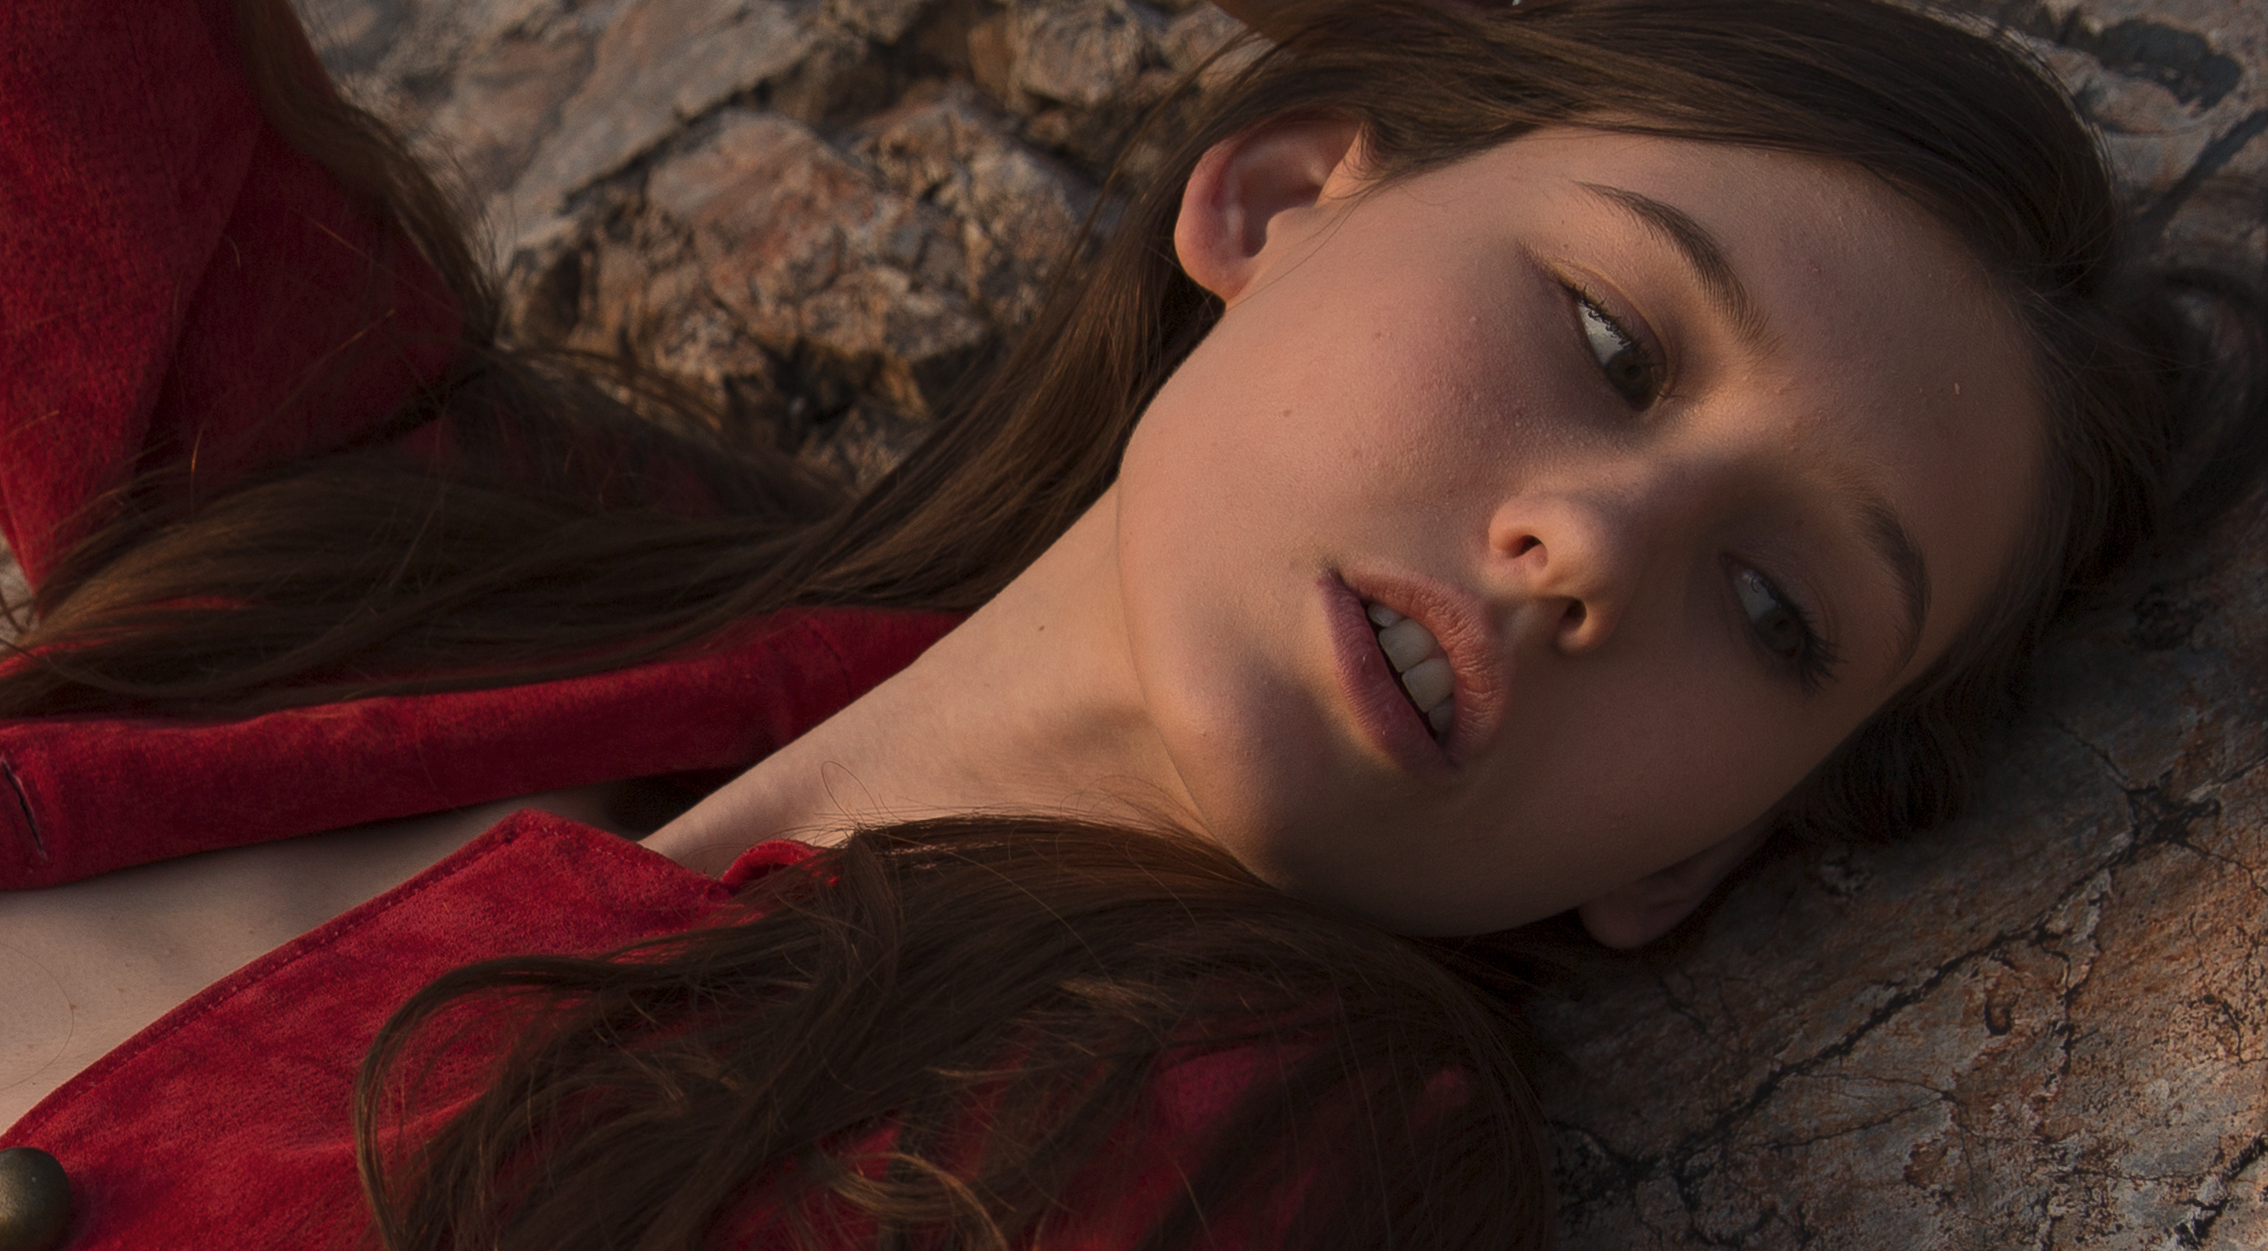
I am not a very good writer. I often find I have a hard time organizing my thoughts into a clear and concise message. Even fumbling around vocabulary to match my tone and expression. I believe that is one of the reasons I thoroughly enjoy photography. I get to still express something without being fully tethered to my proficiency in language. I am able to share an experience without an exchange of words. And I don’t have to be so overt with what is being said, and allow room for an individual to fill in their own pieces. All that to be said I stopped writing for a long time because of those insecurities. I also stopped photographing things outside of work. I felt as if I was taking away a lot of moments from the people I was with. I felt selfish, taking away time to connect with people in my presence to later share images with those who weren’t even there. For this reason I often left my camera at home. Just as anything in life that has value, it takes time, patience, and discipline. I am trying to discipline my ability to read and write to extend past the medium of photography and bridge gaps that I want to fill with expression. I am trying to discipline my time outside of jobs to still connect with other and have time to shoot things that I find meaningful.
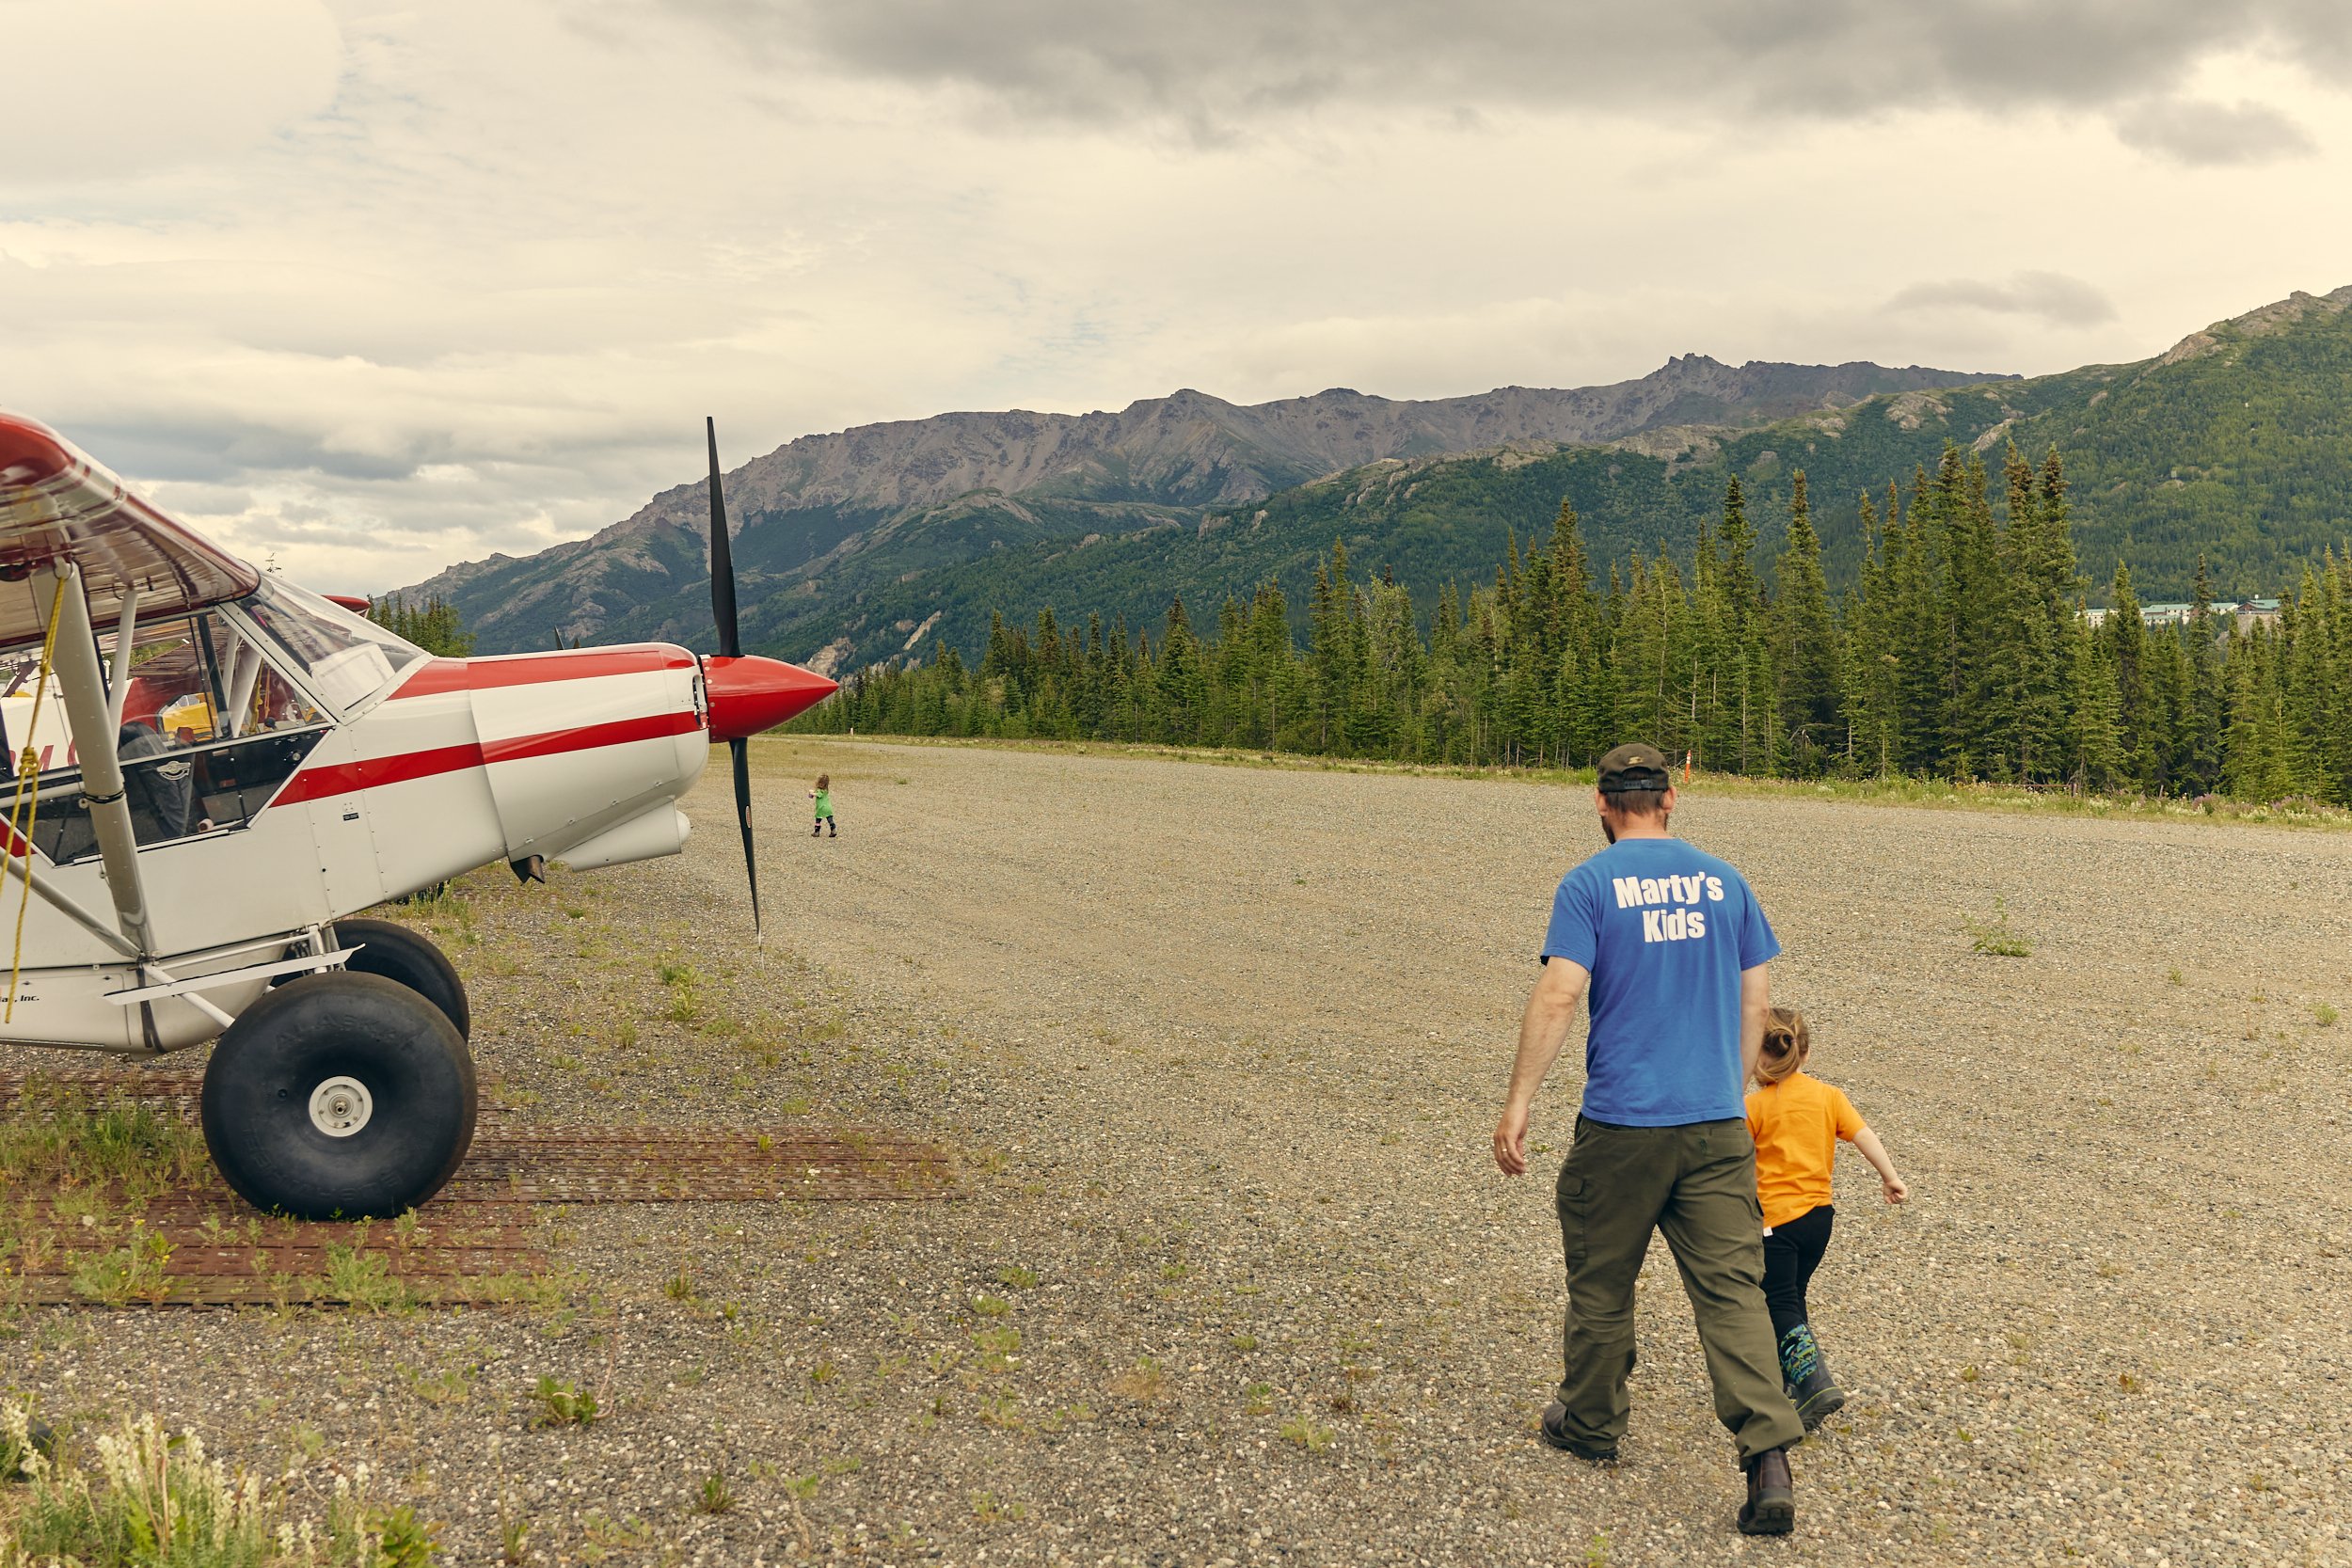
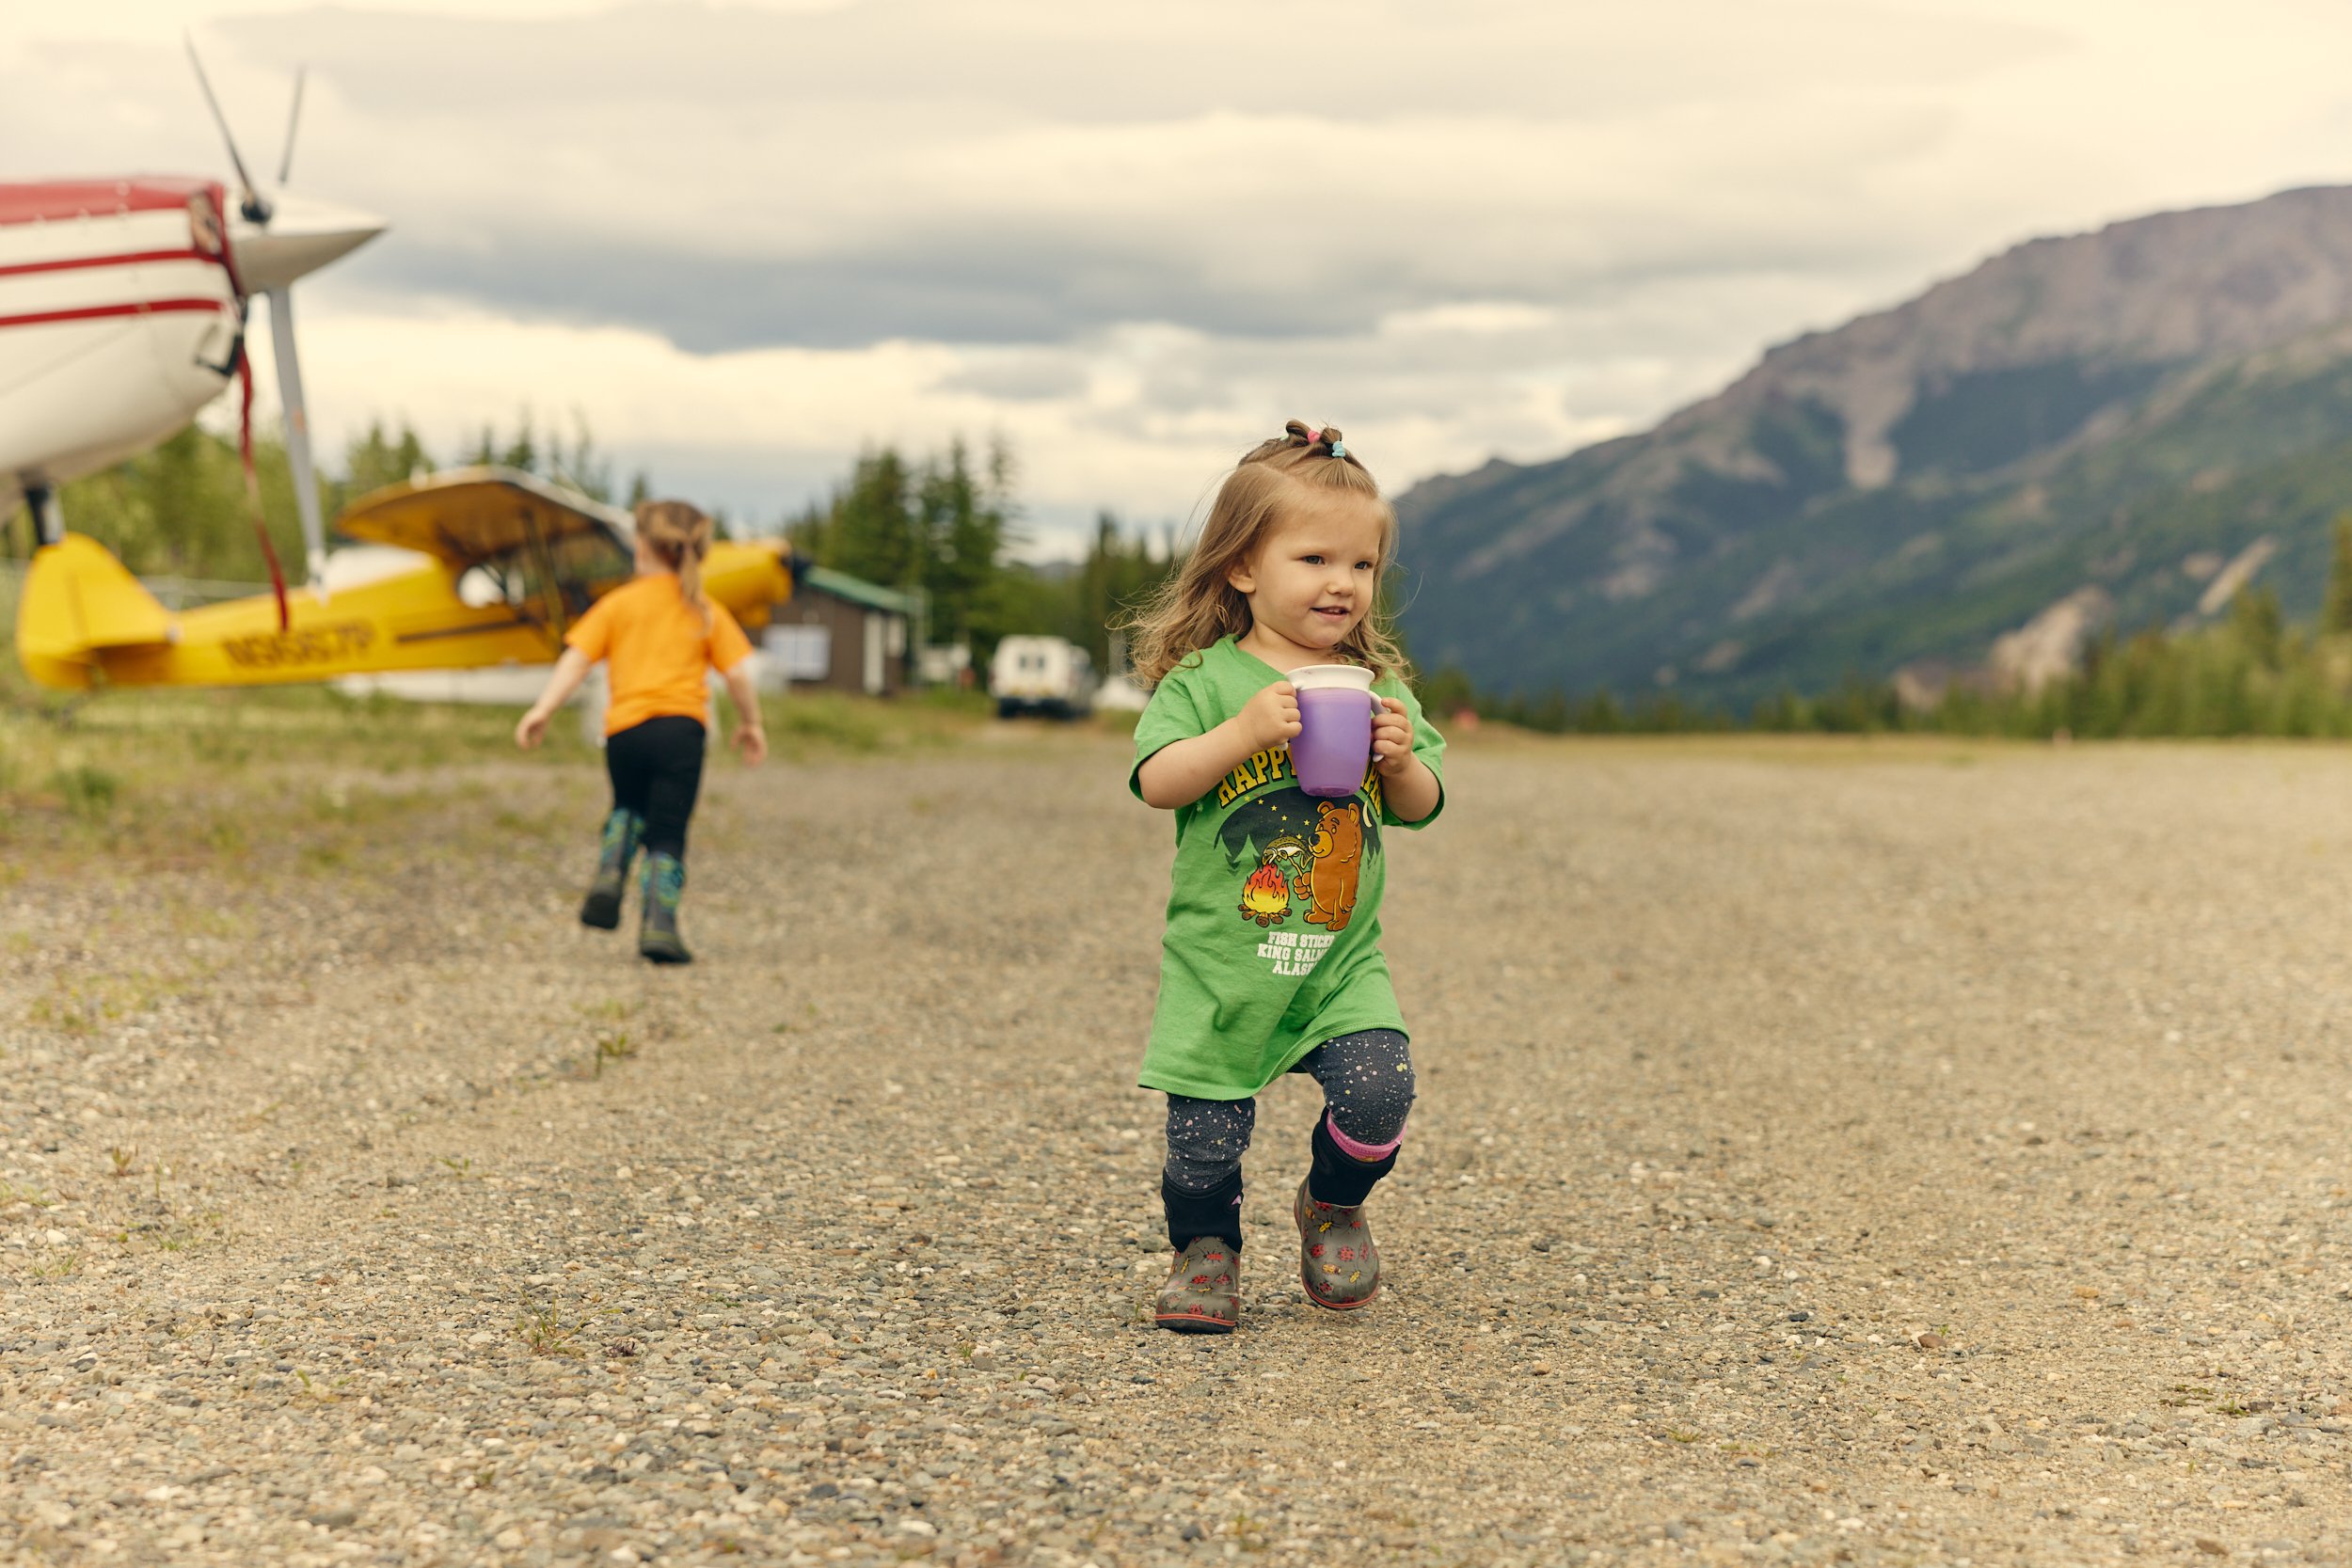
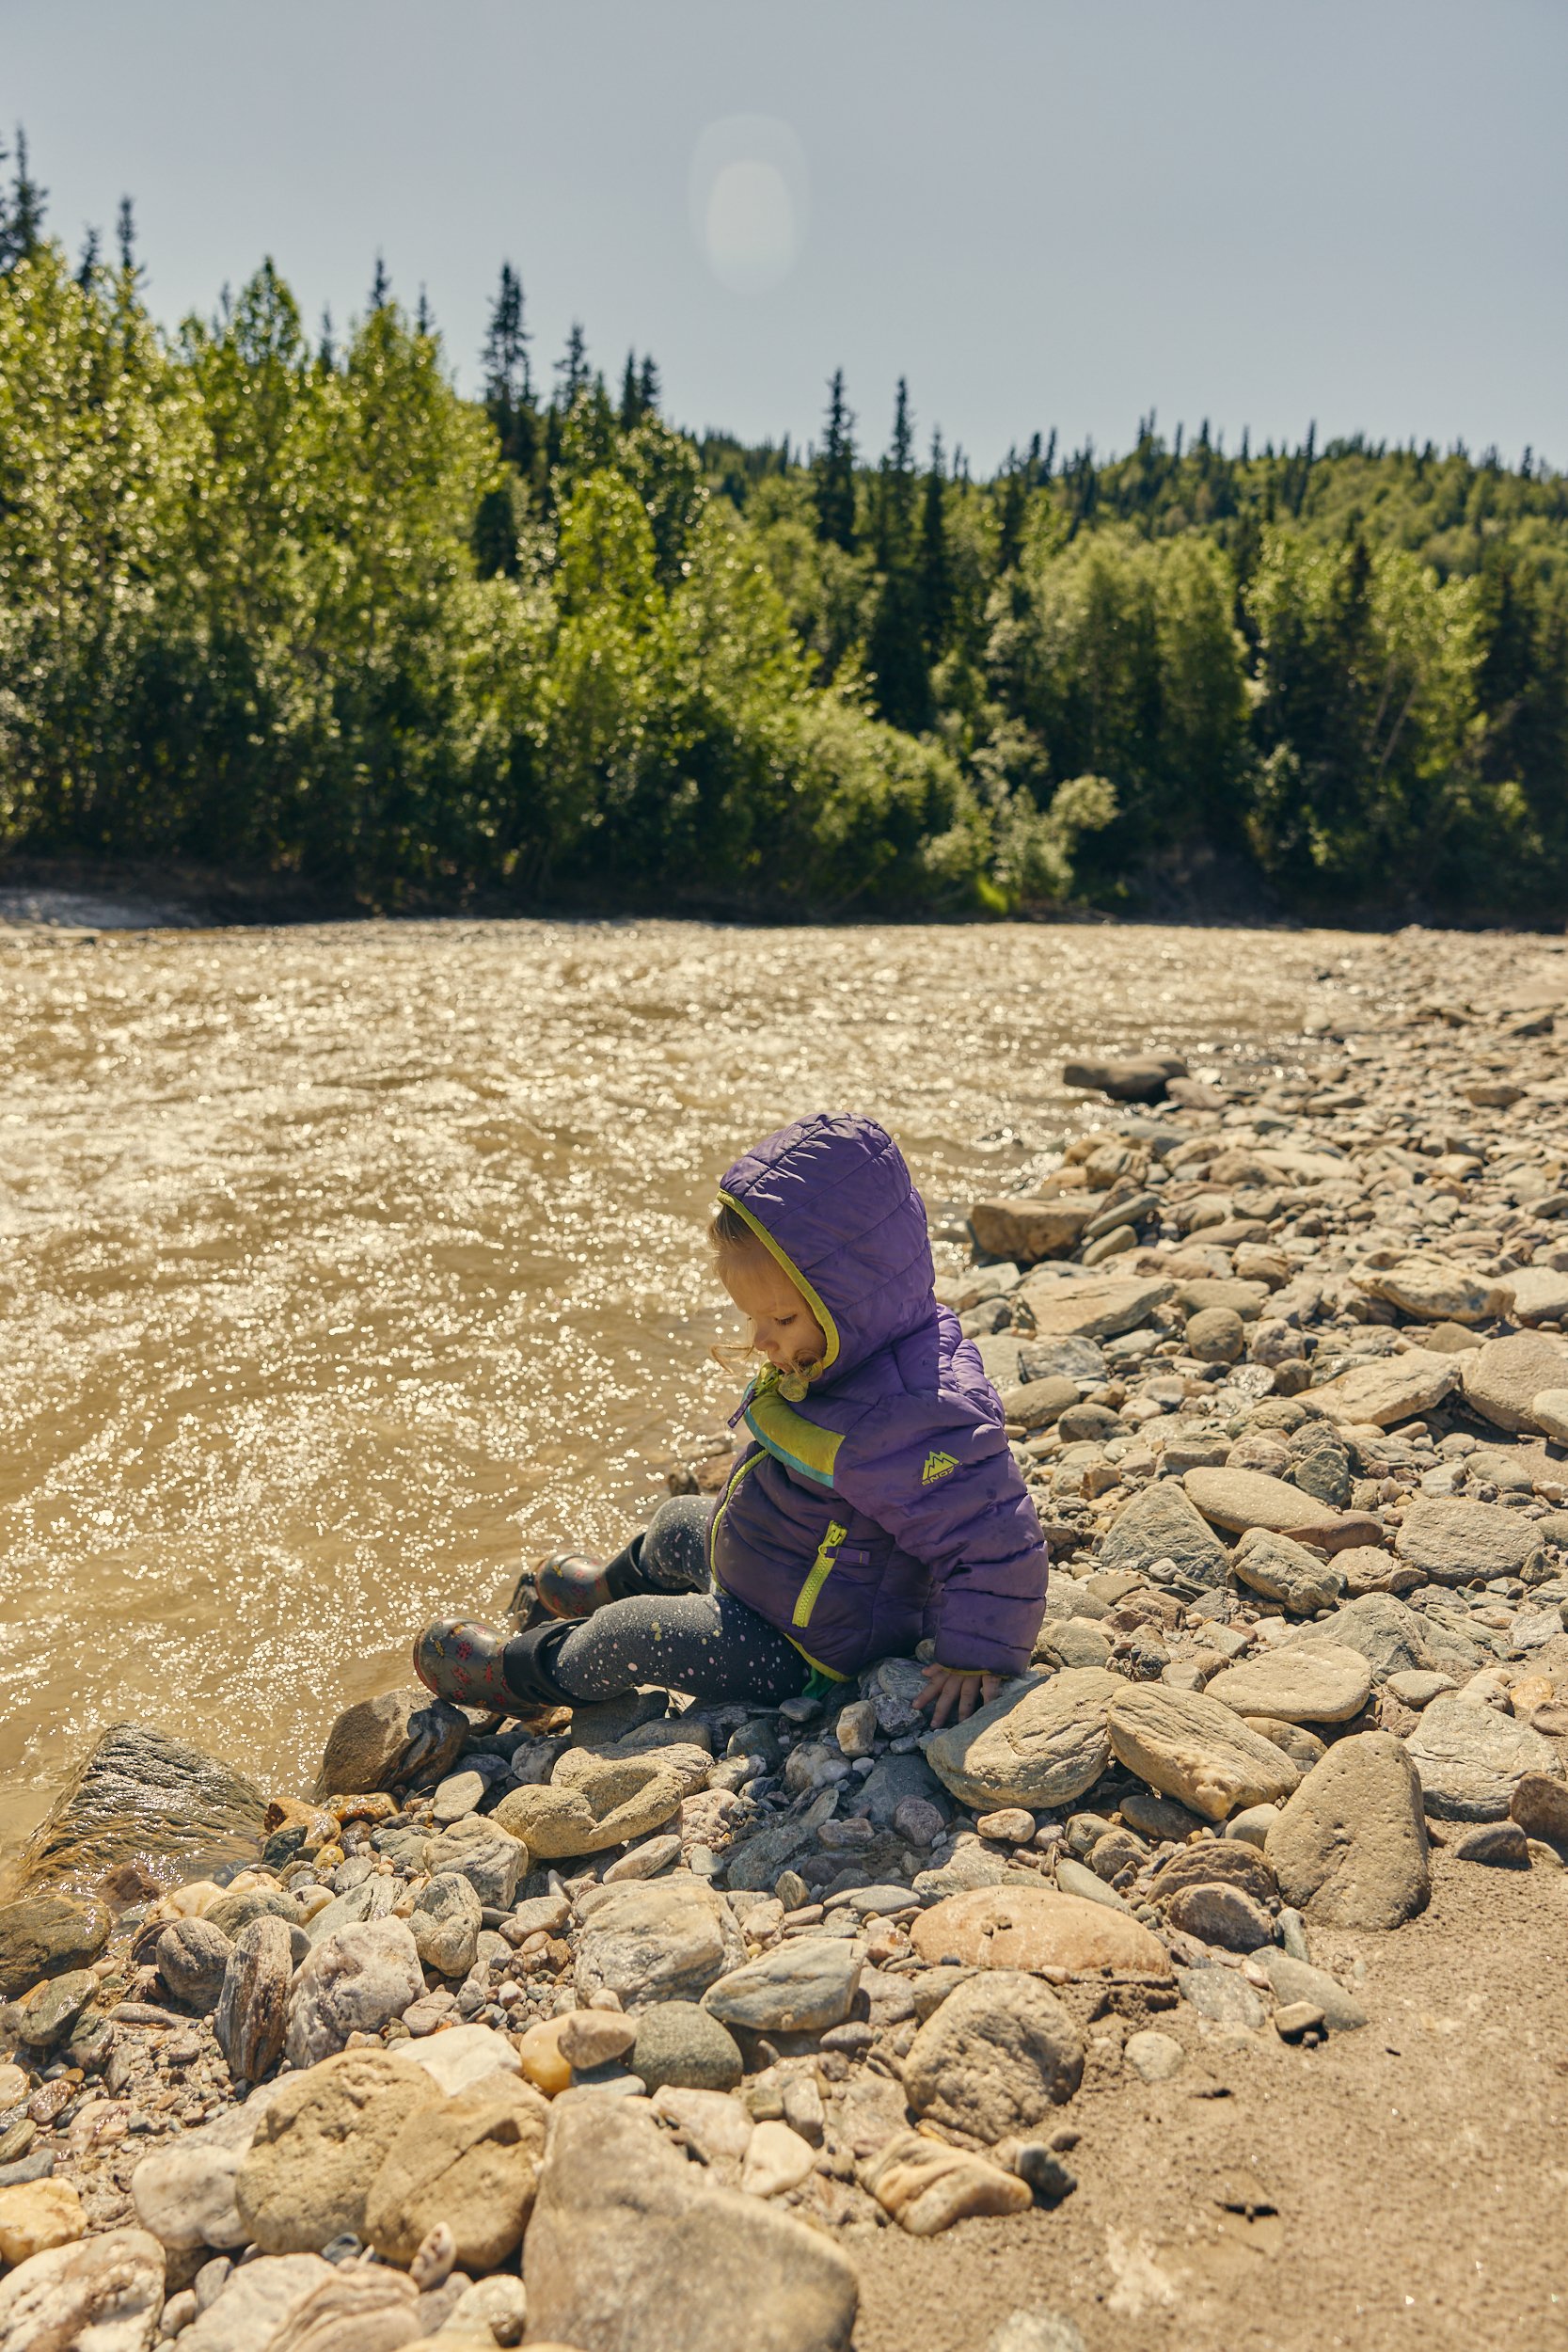
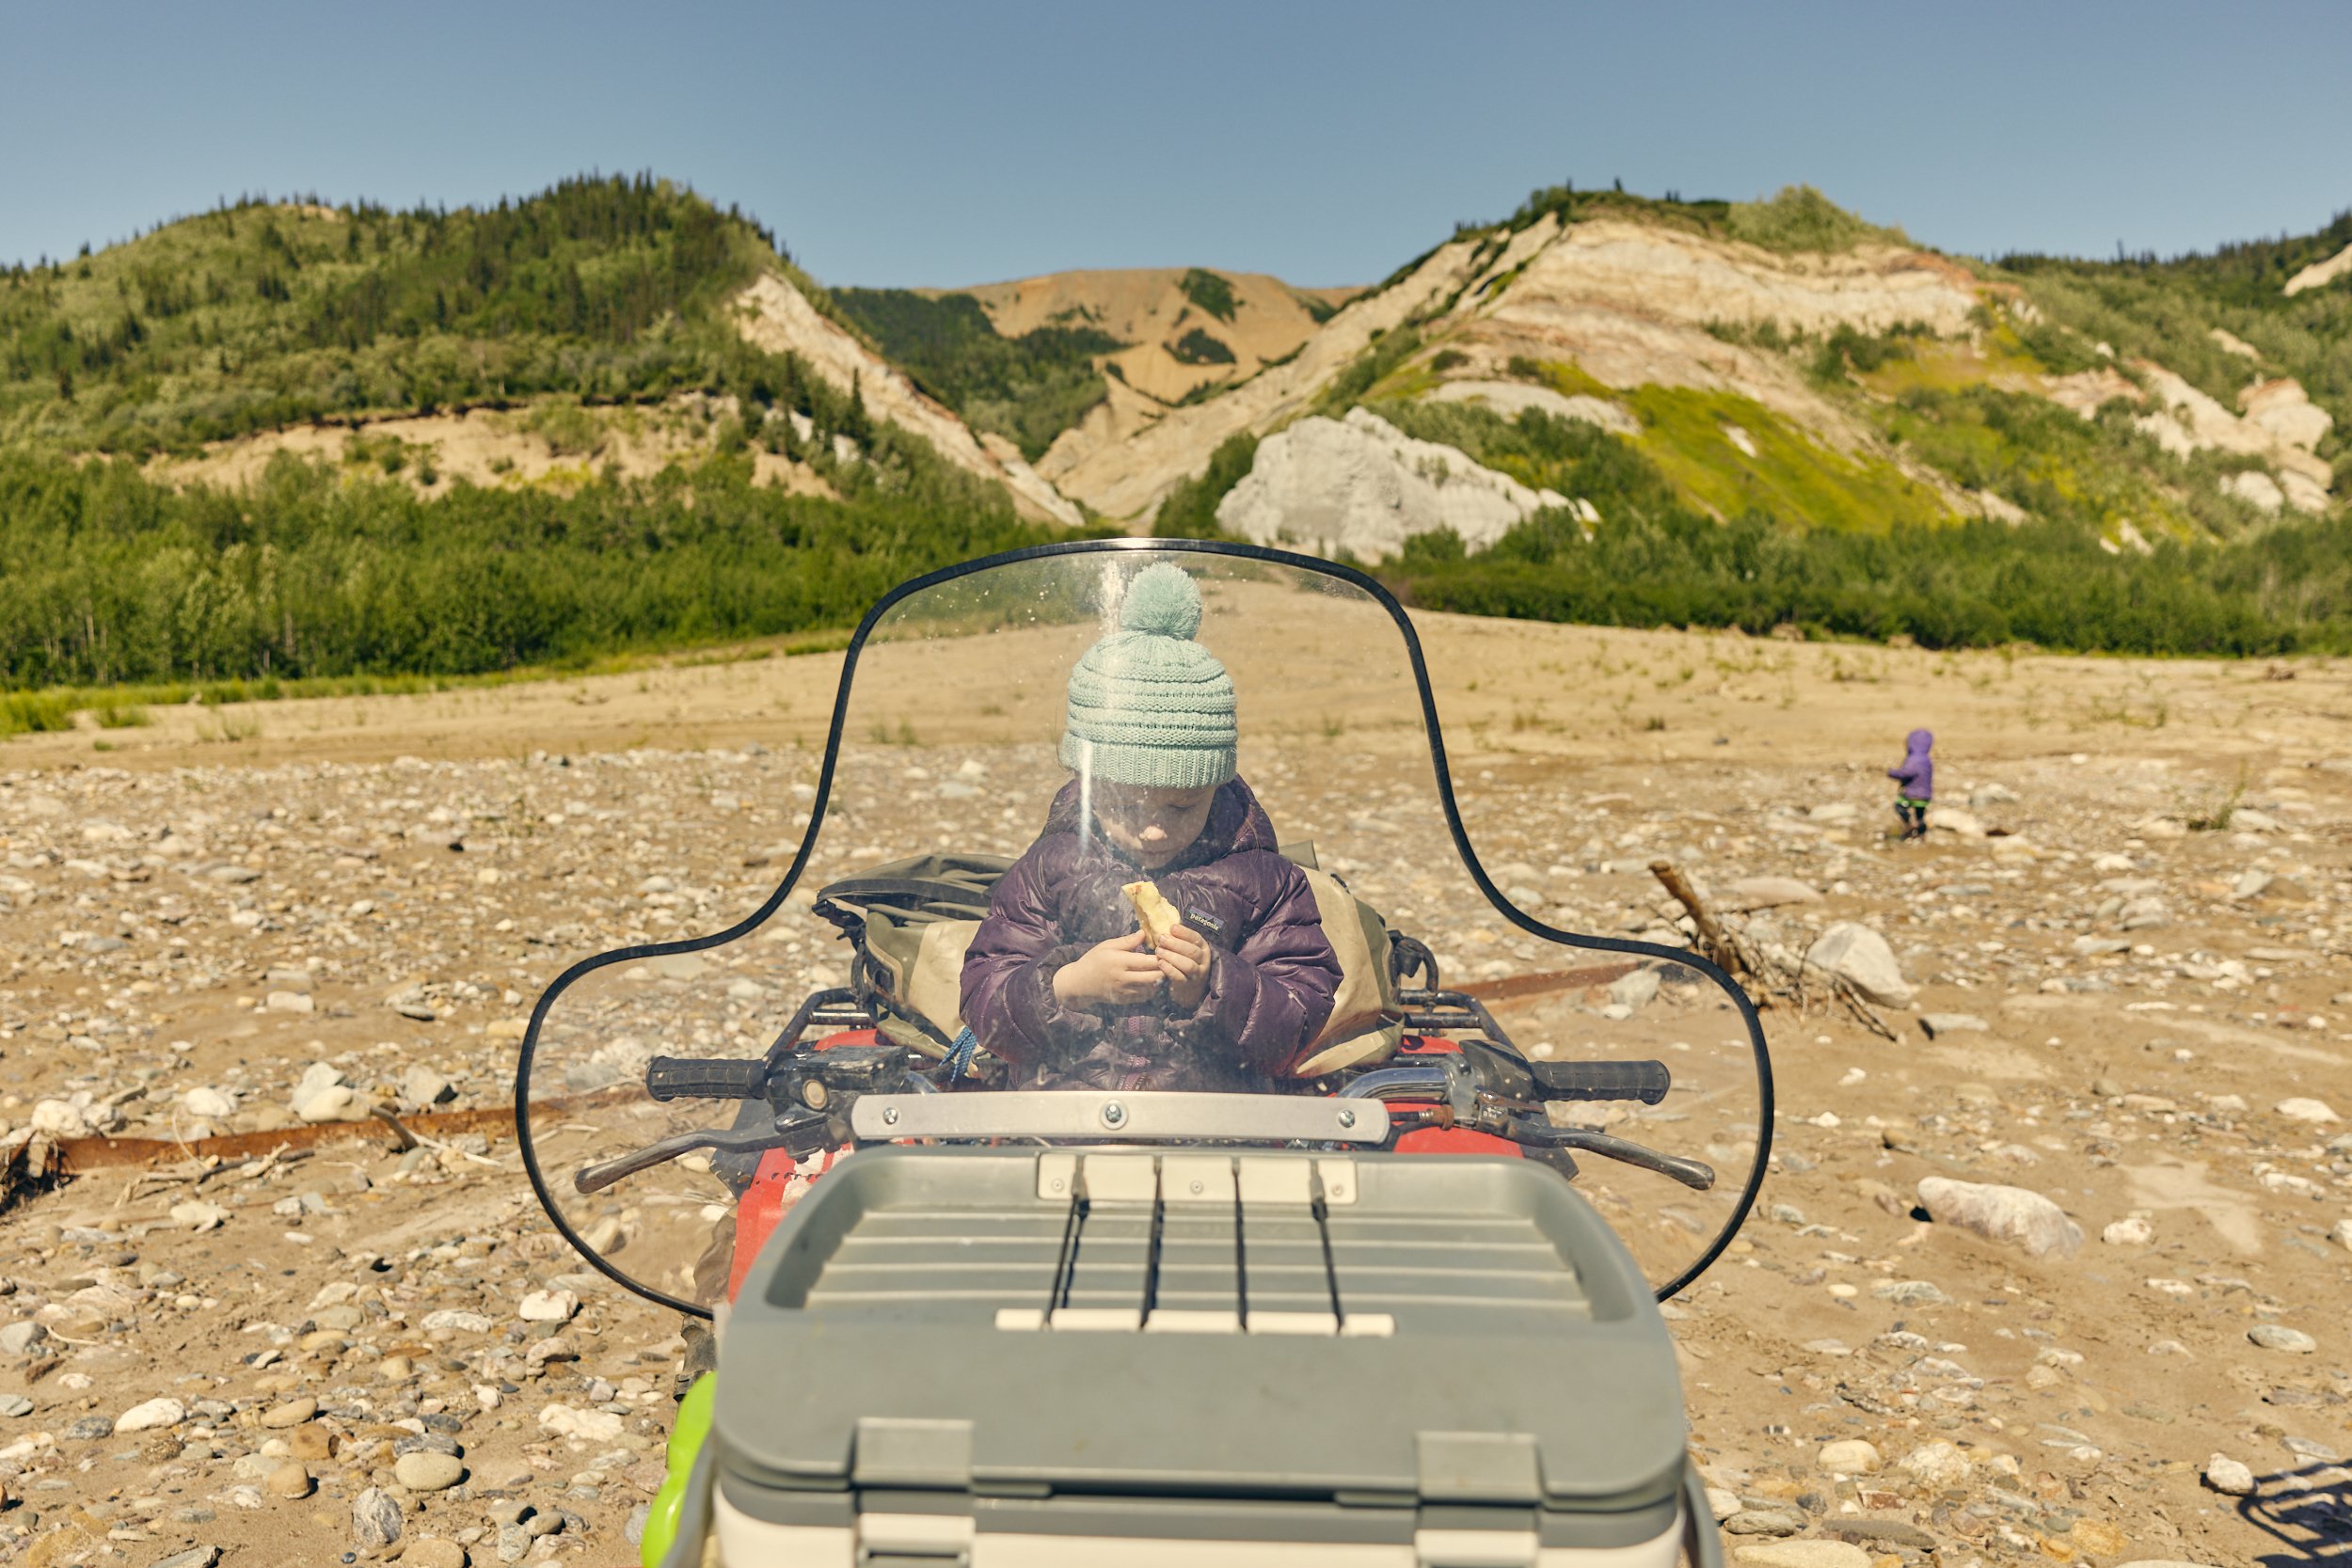
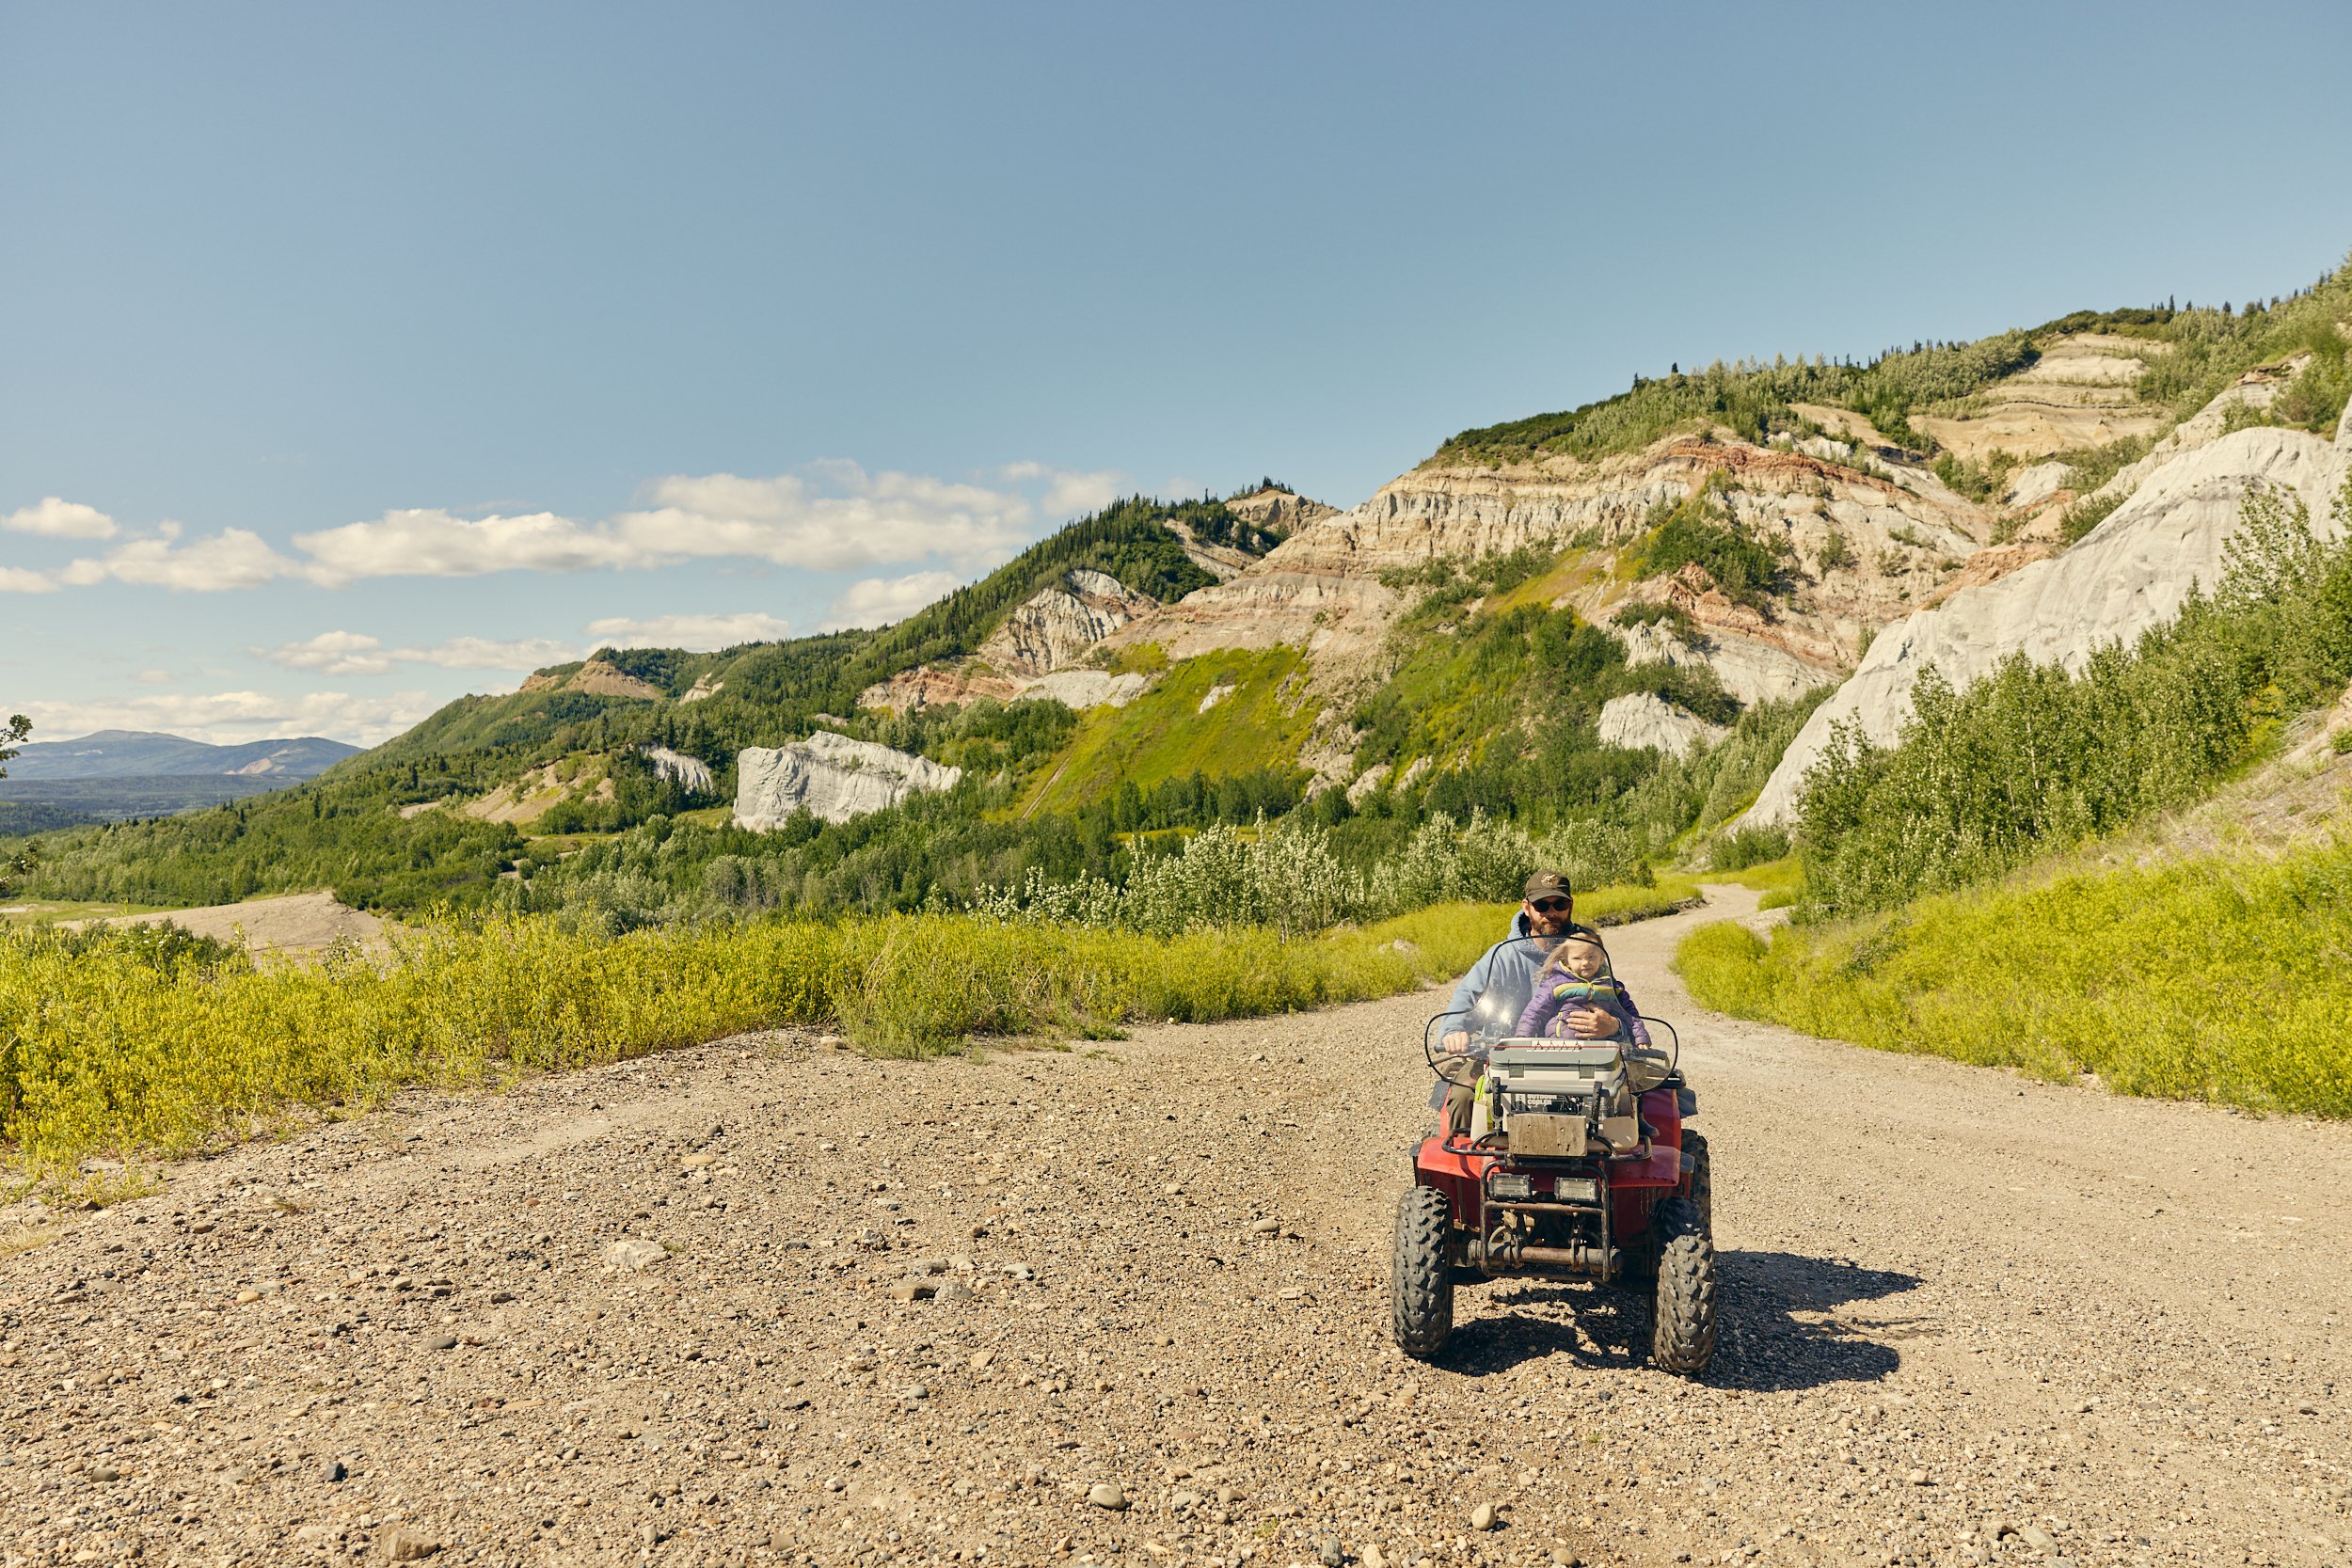
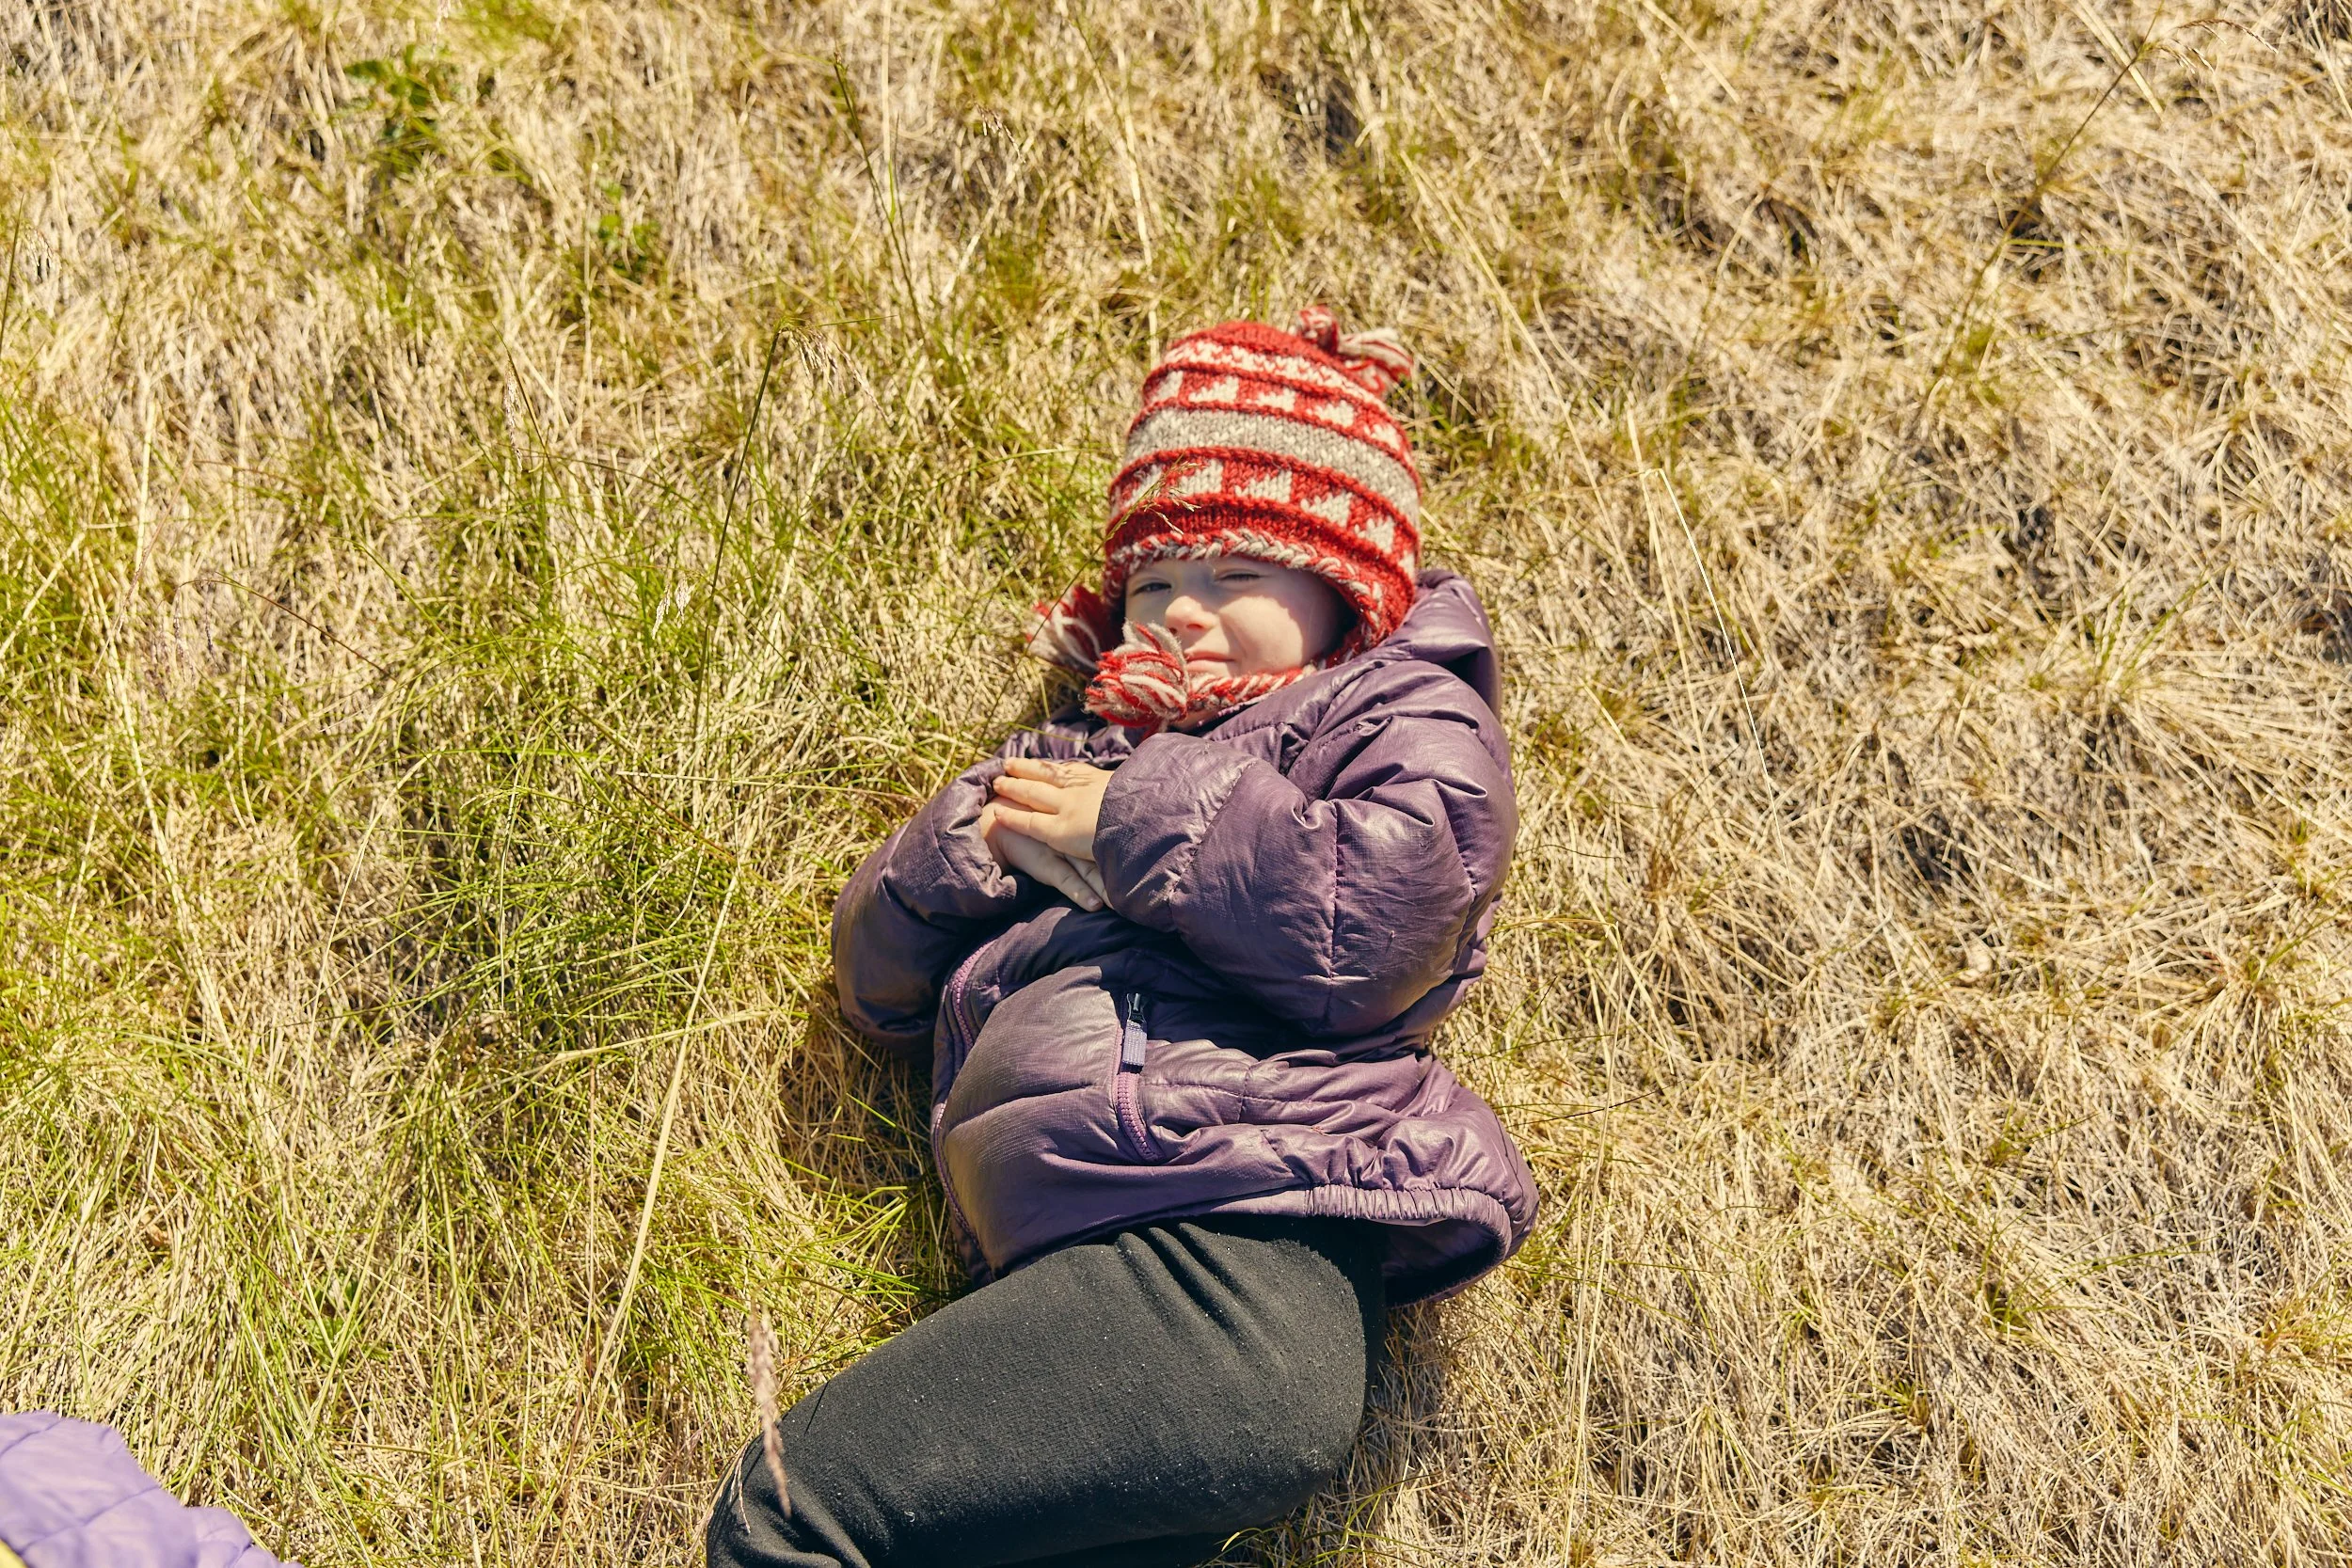
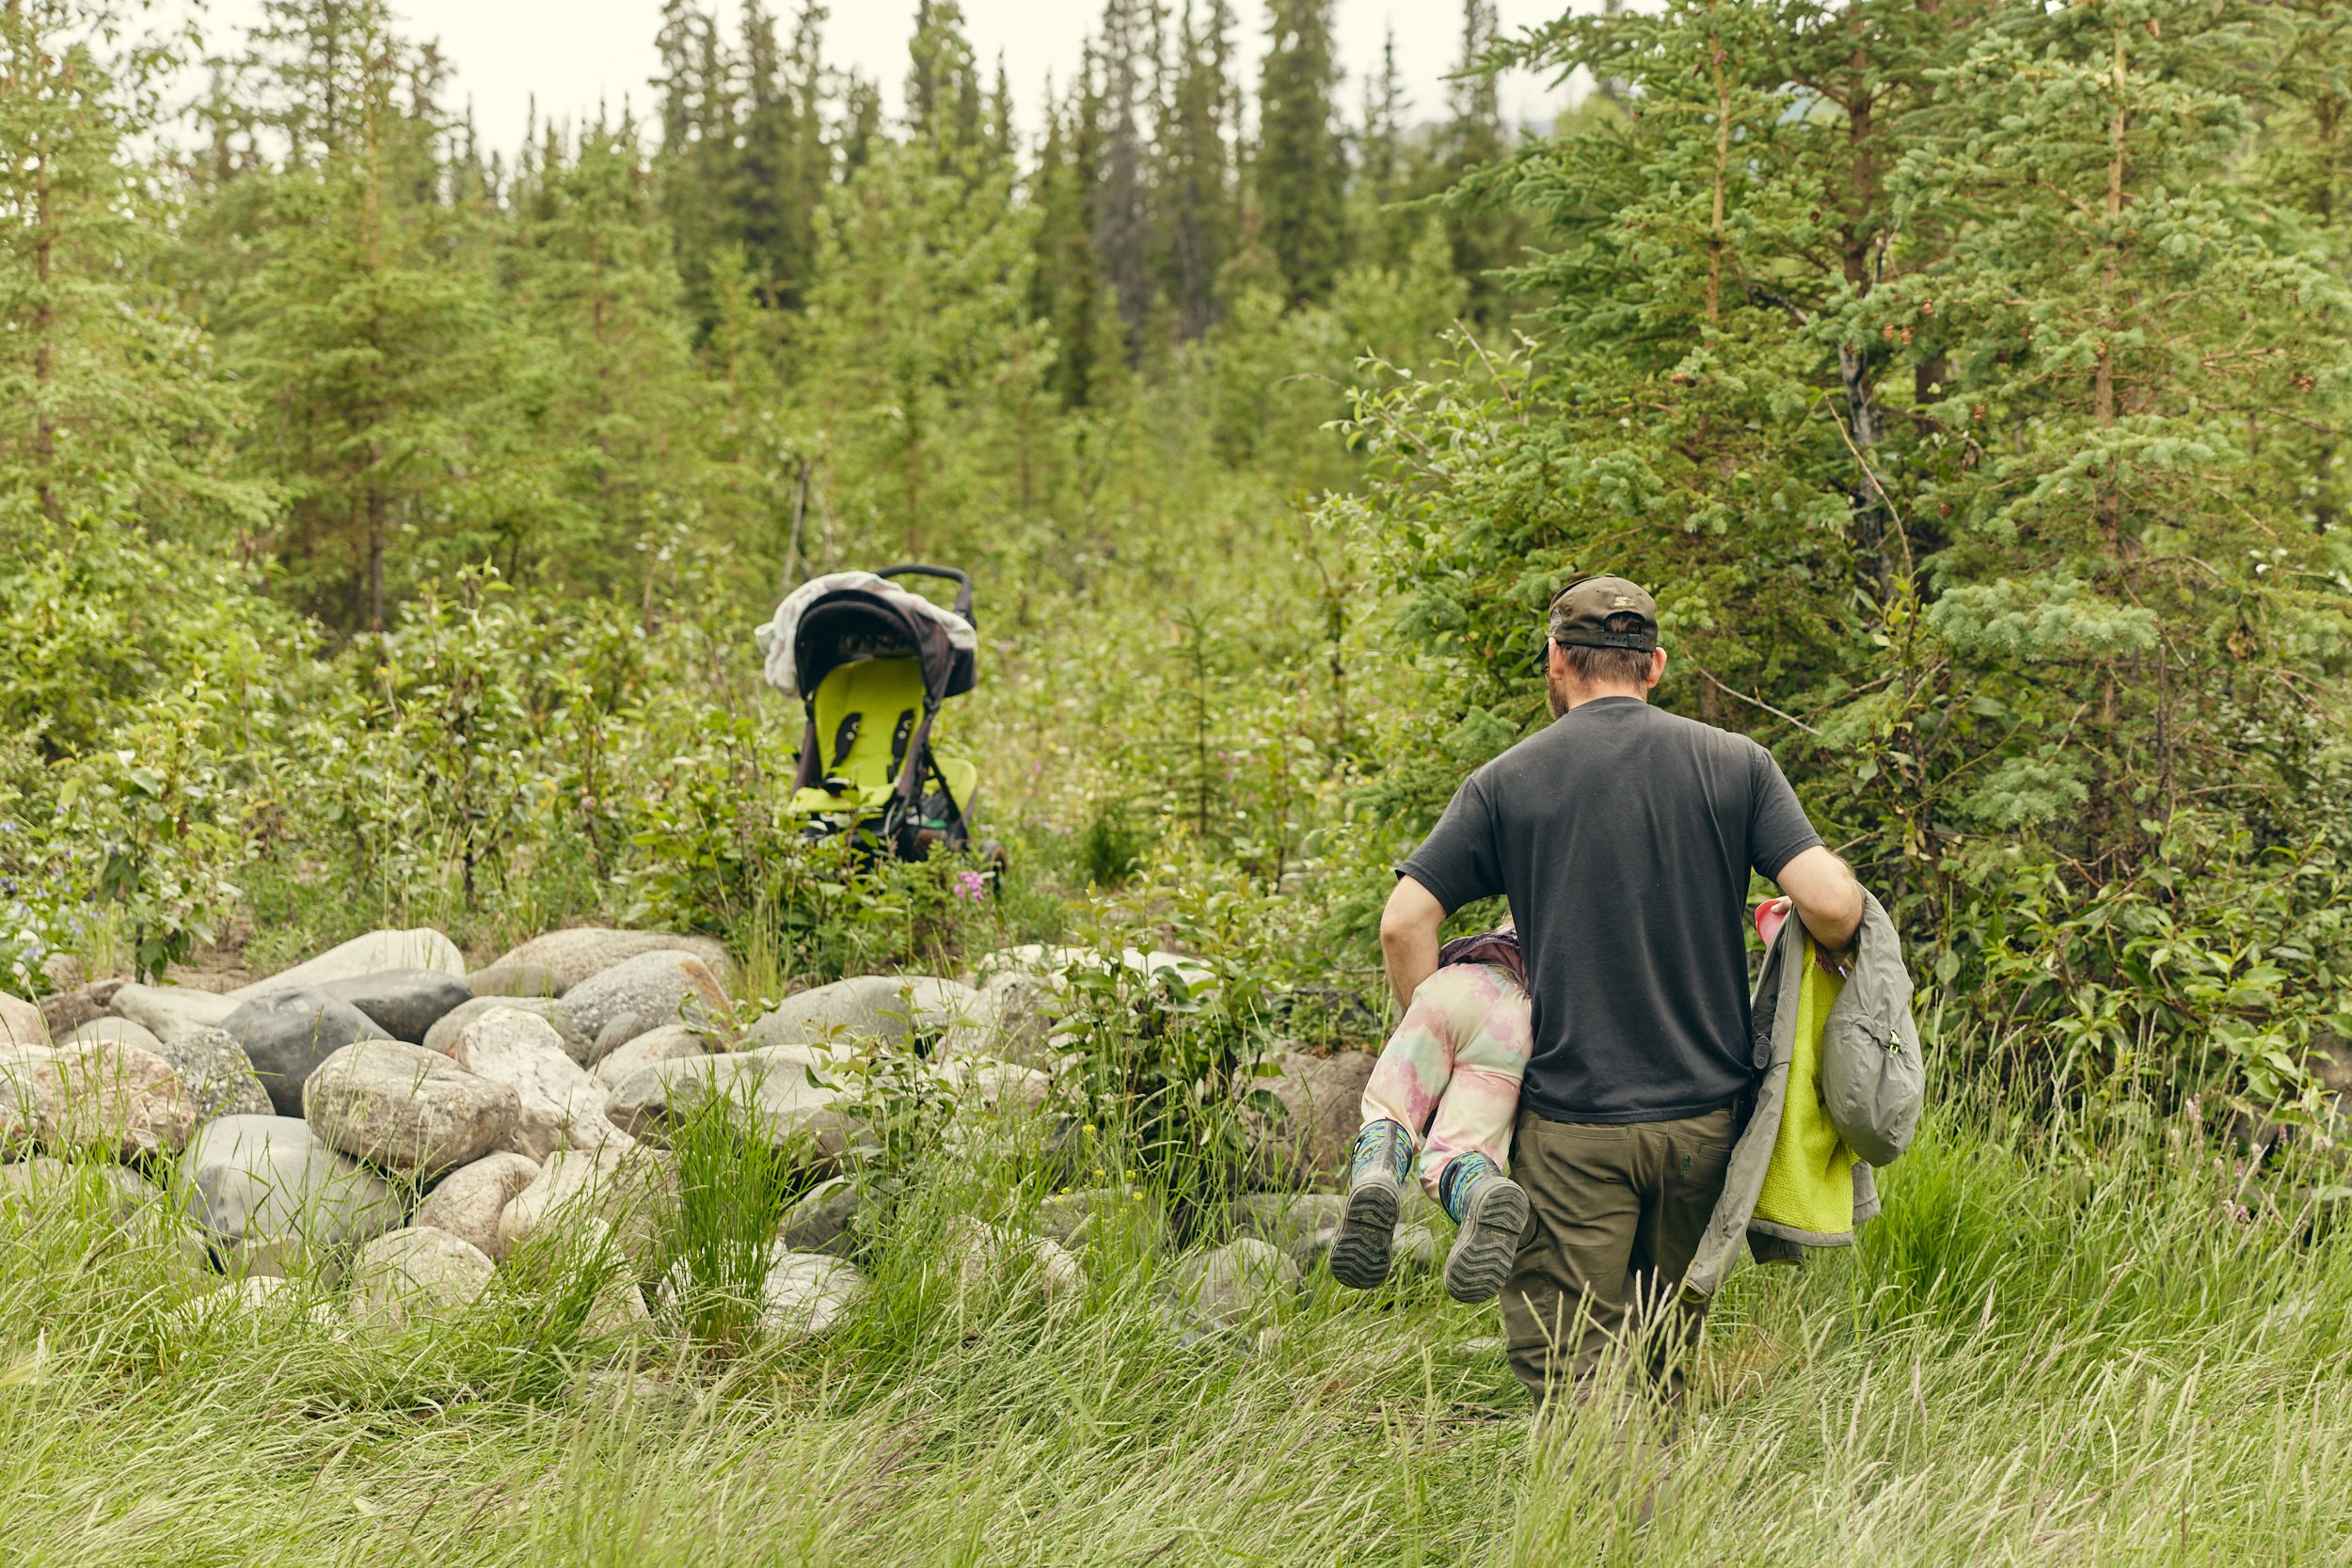
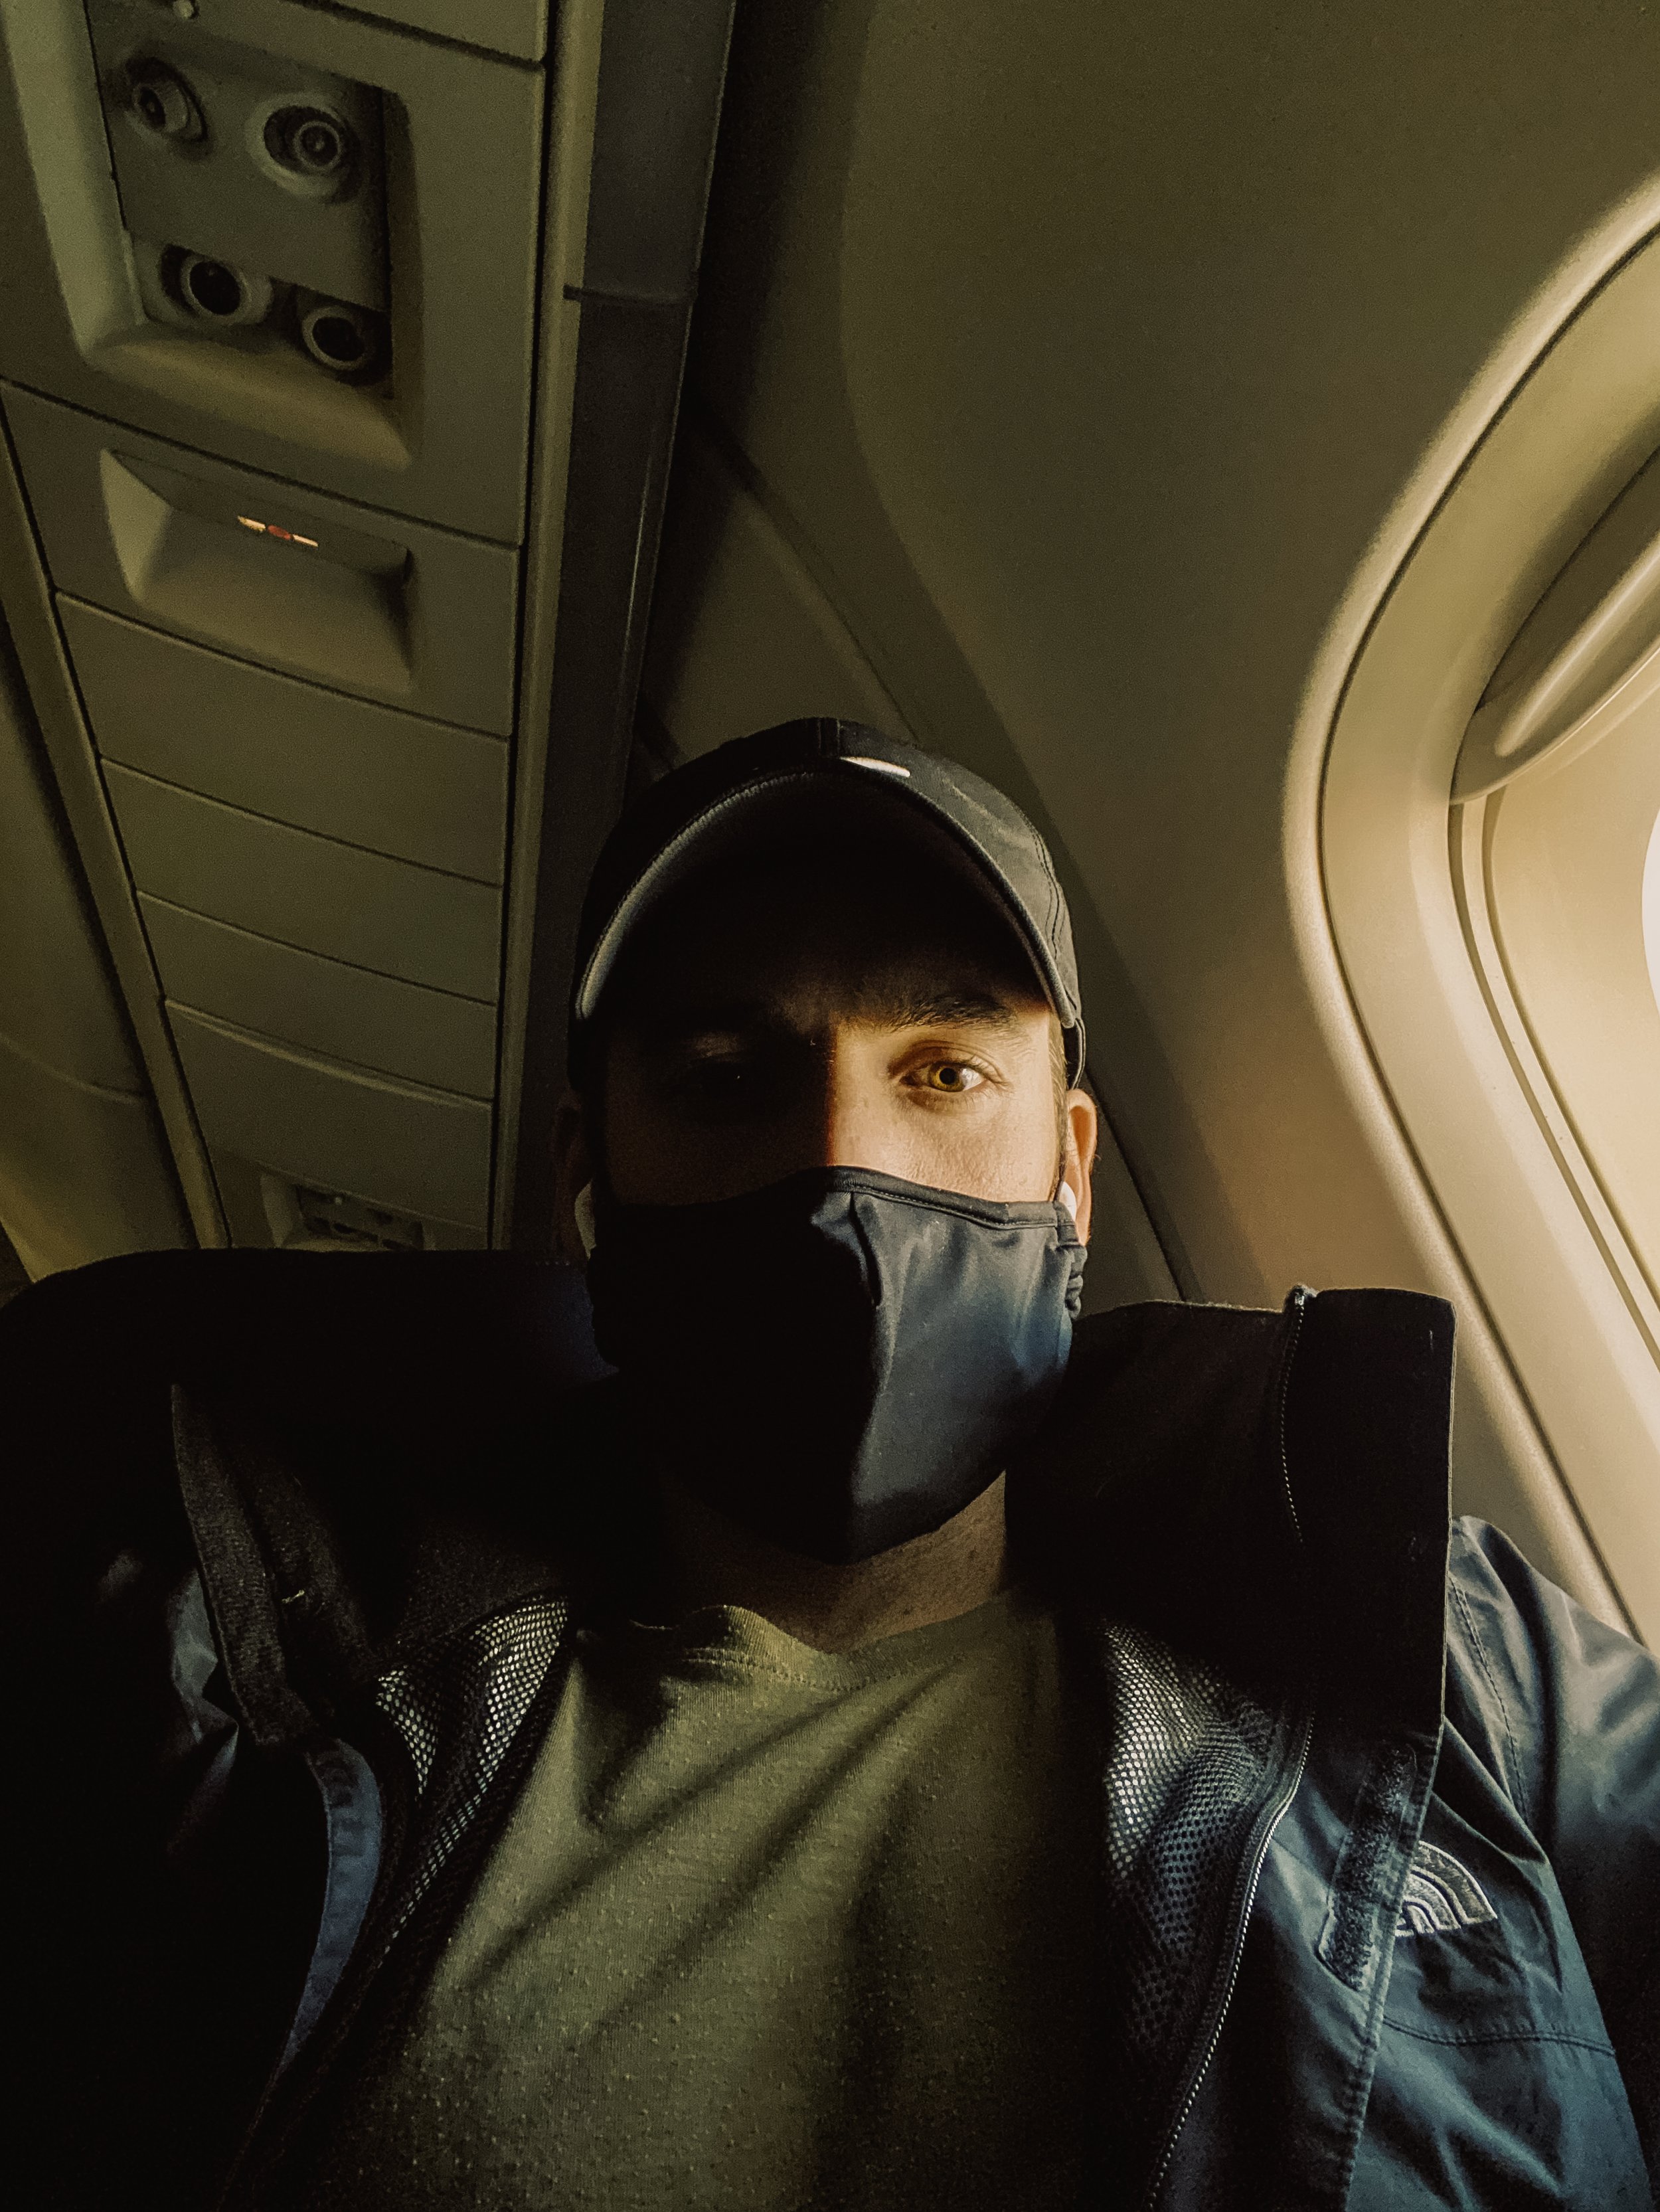
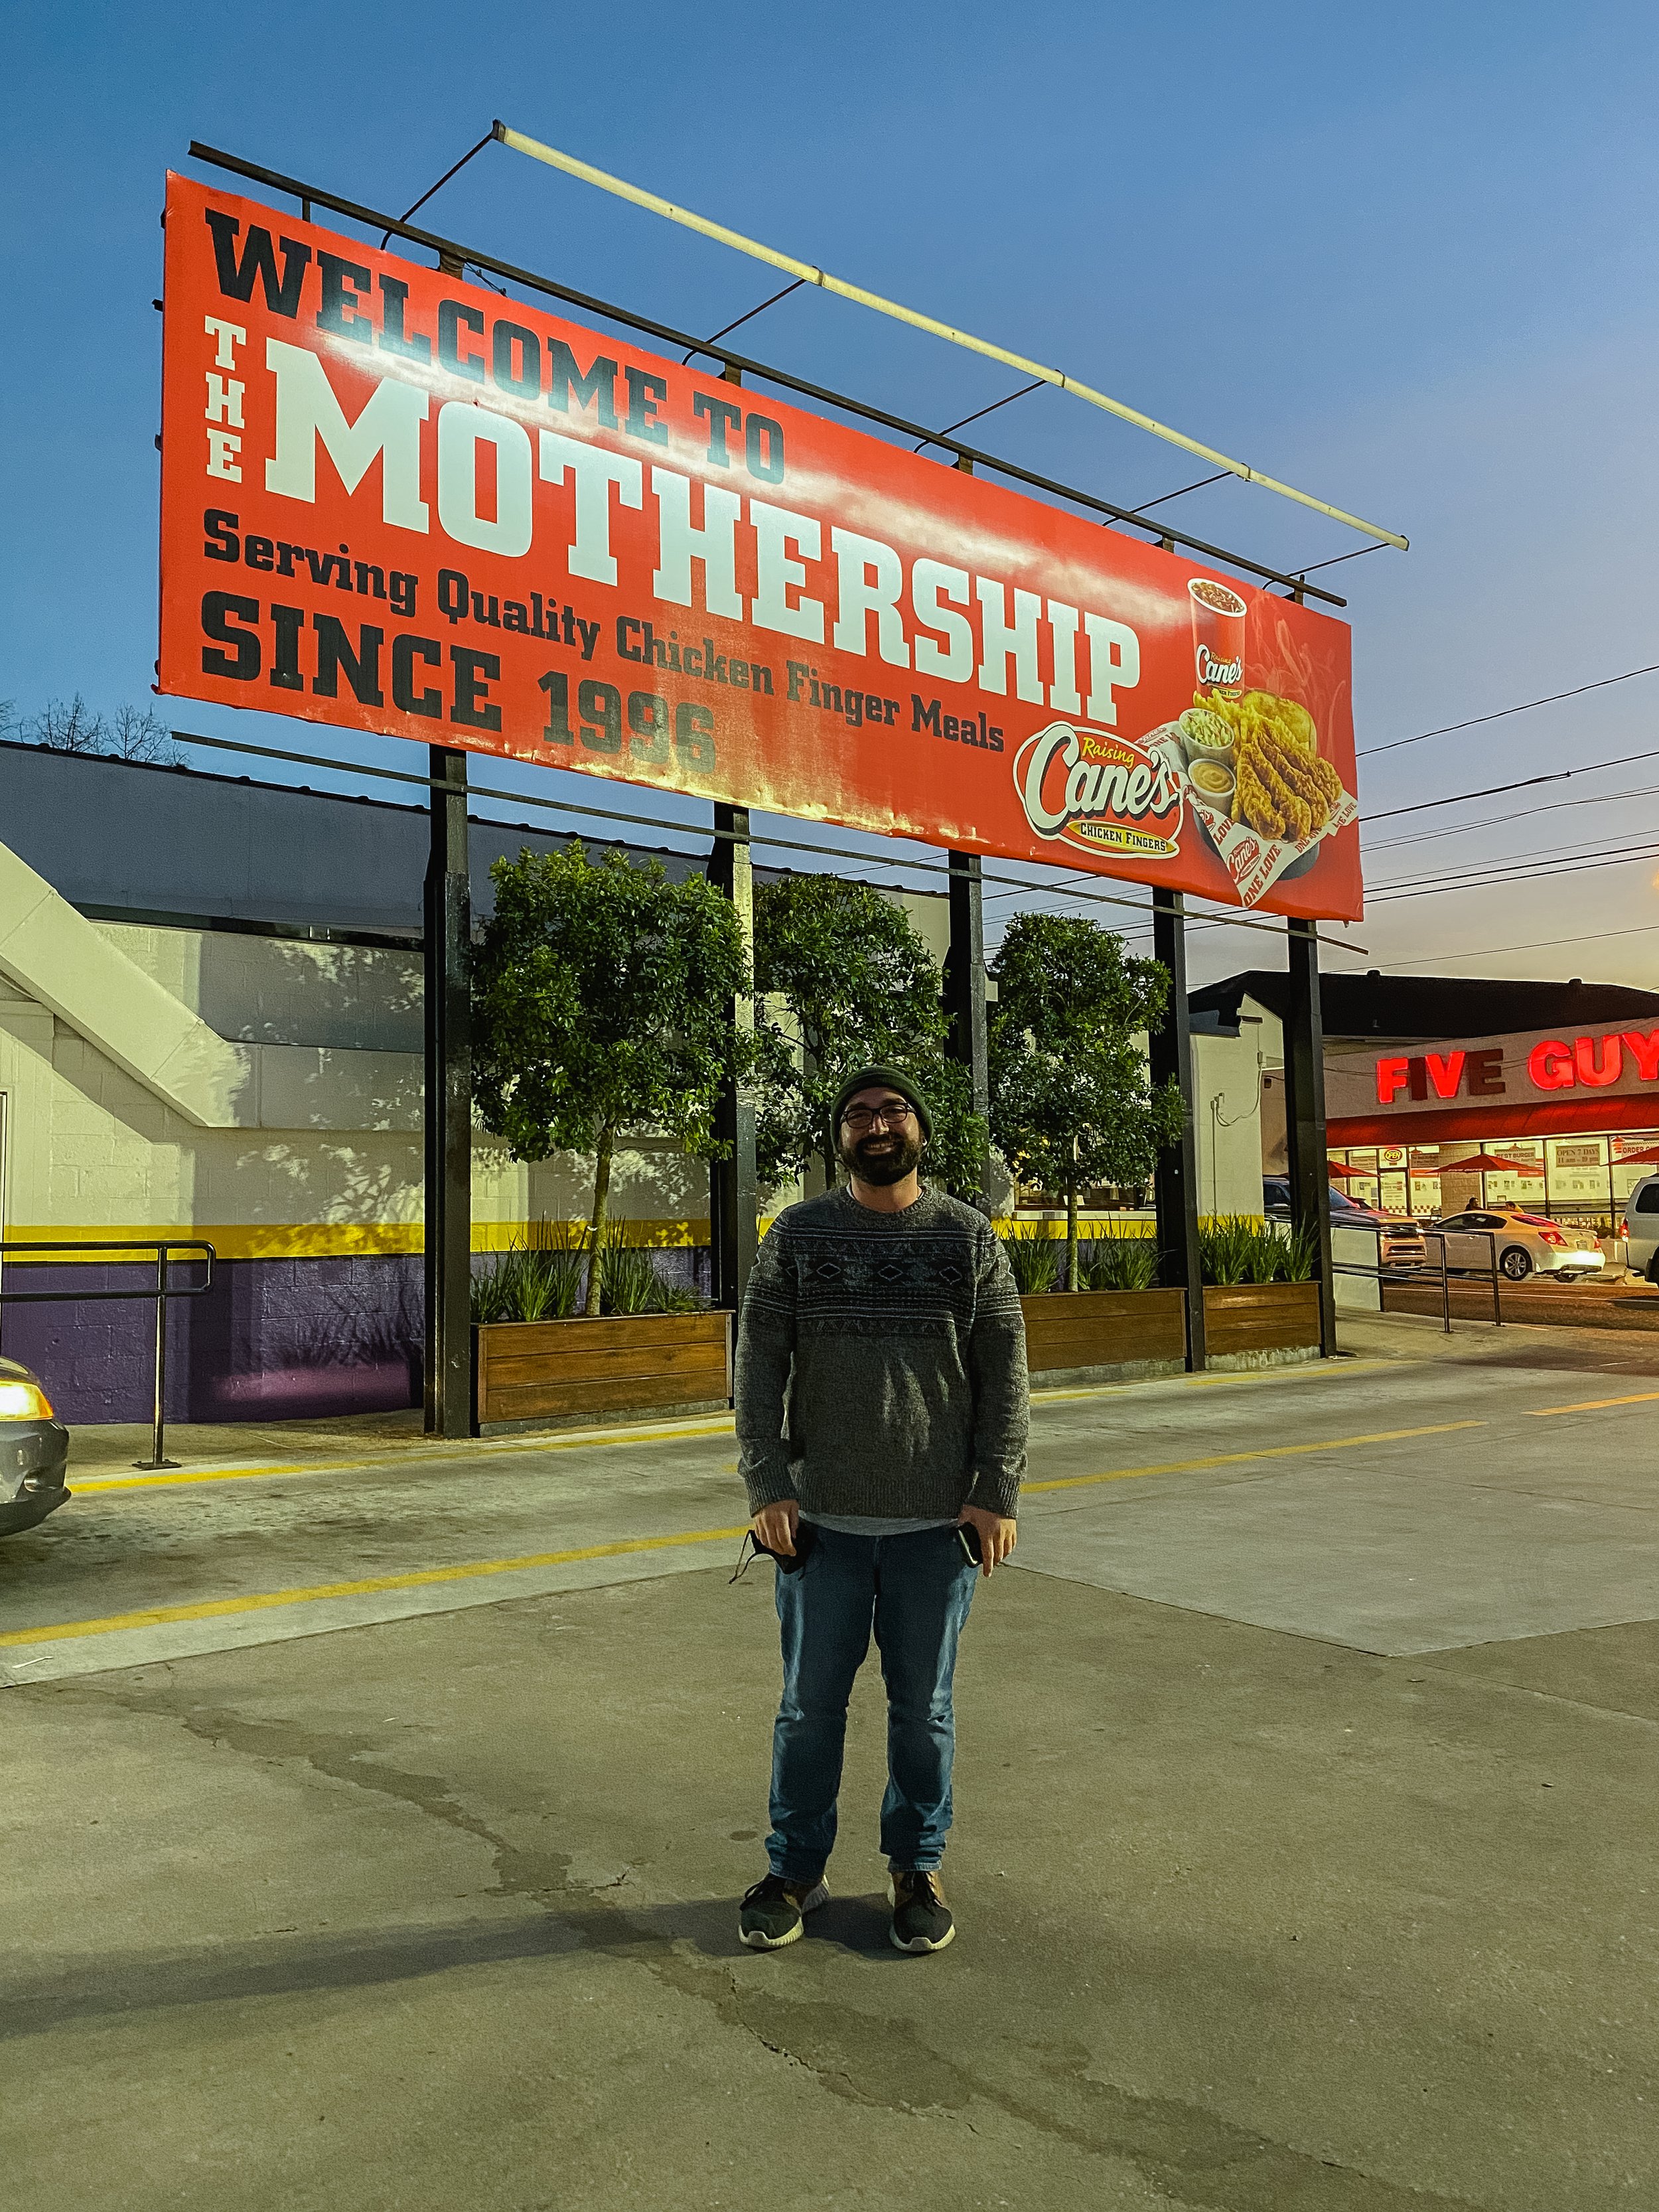
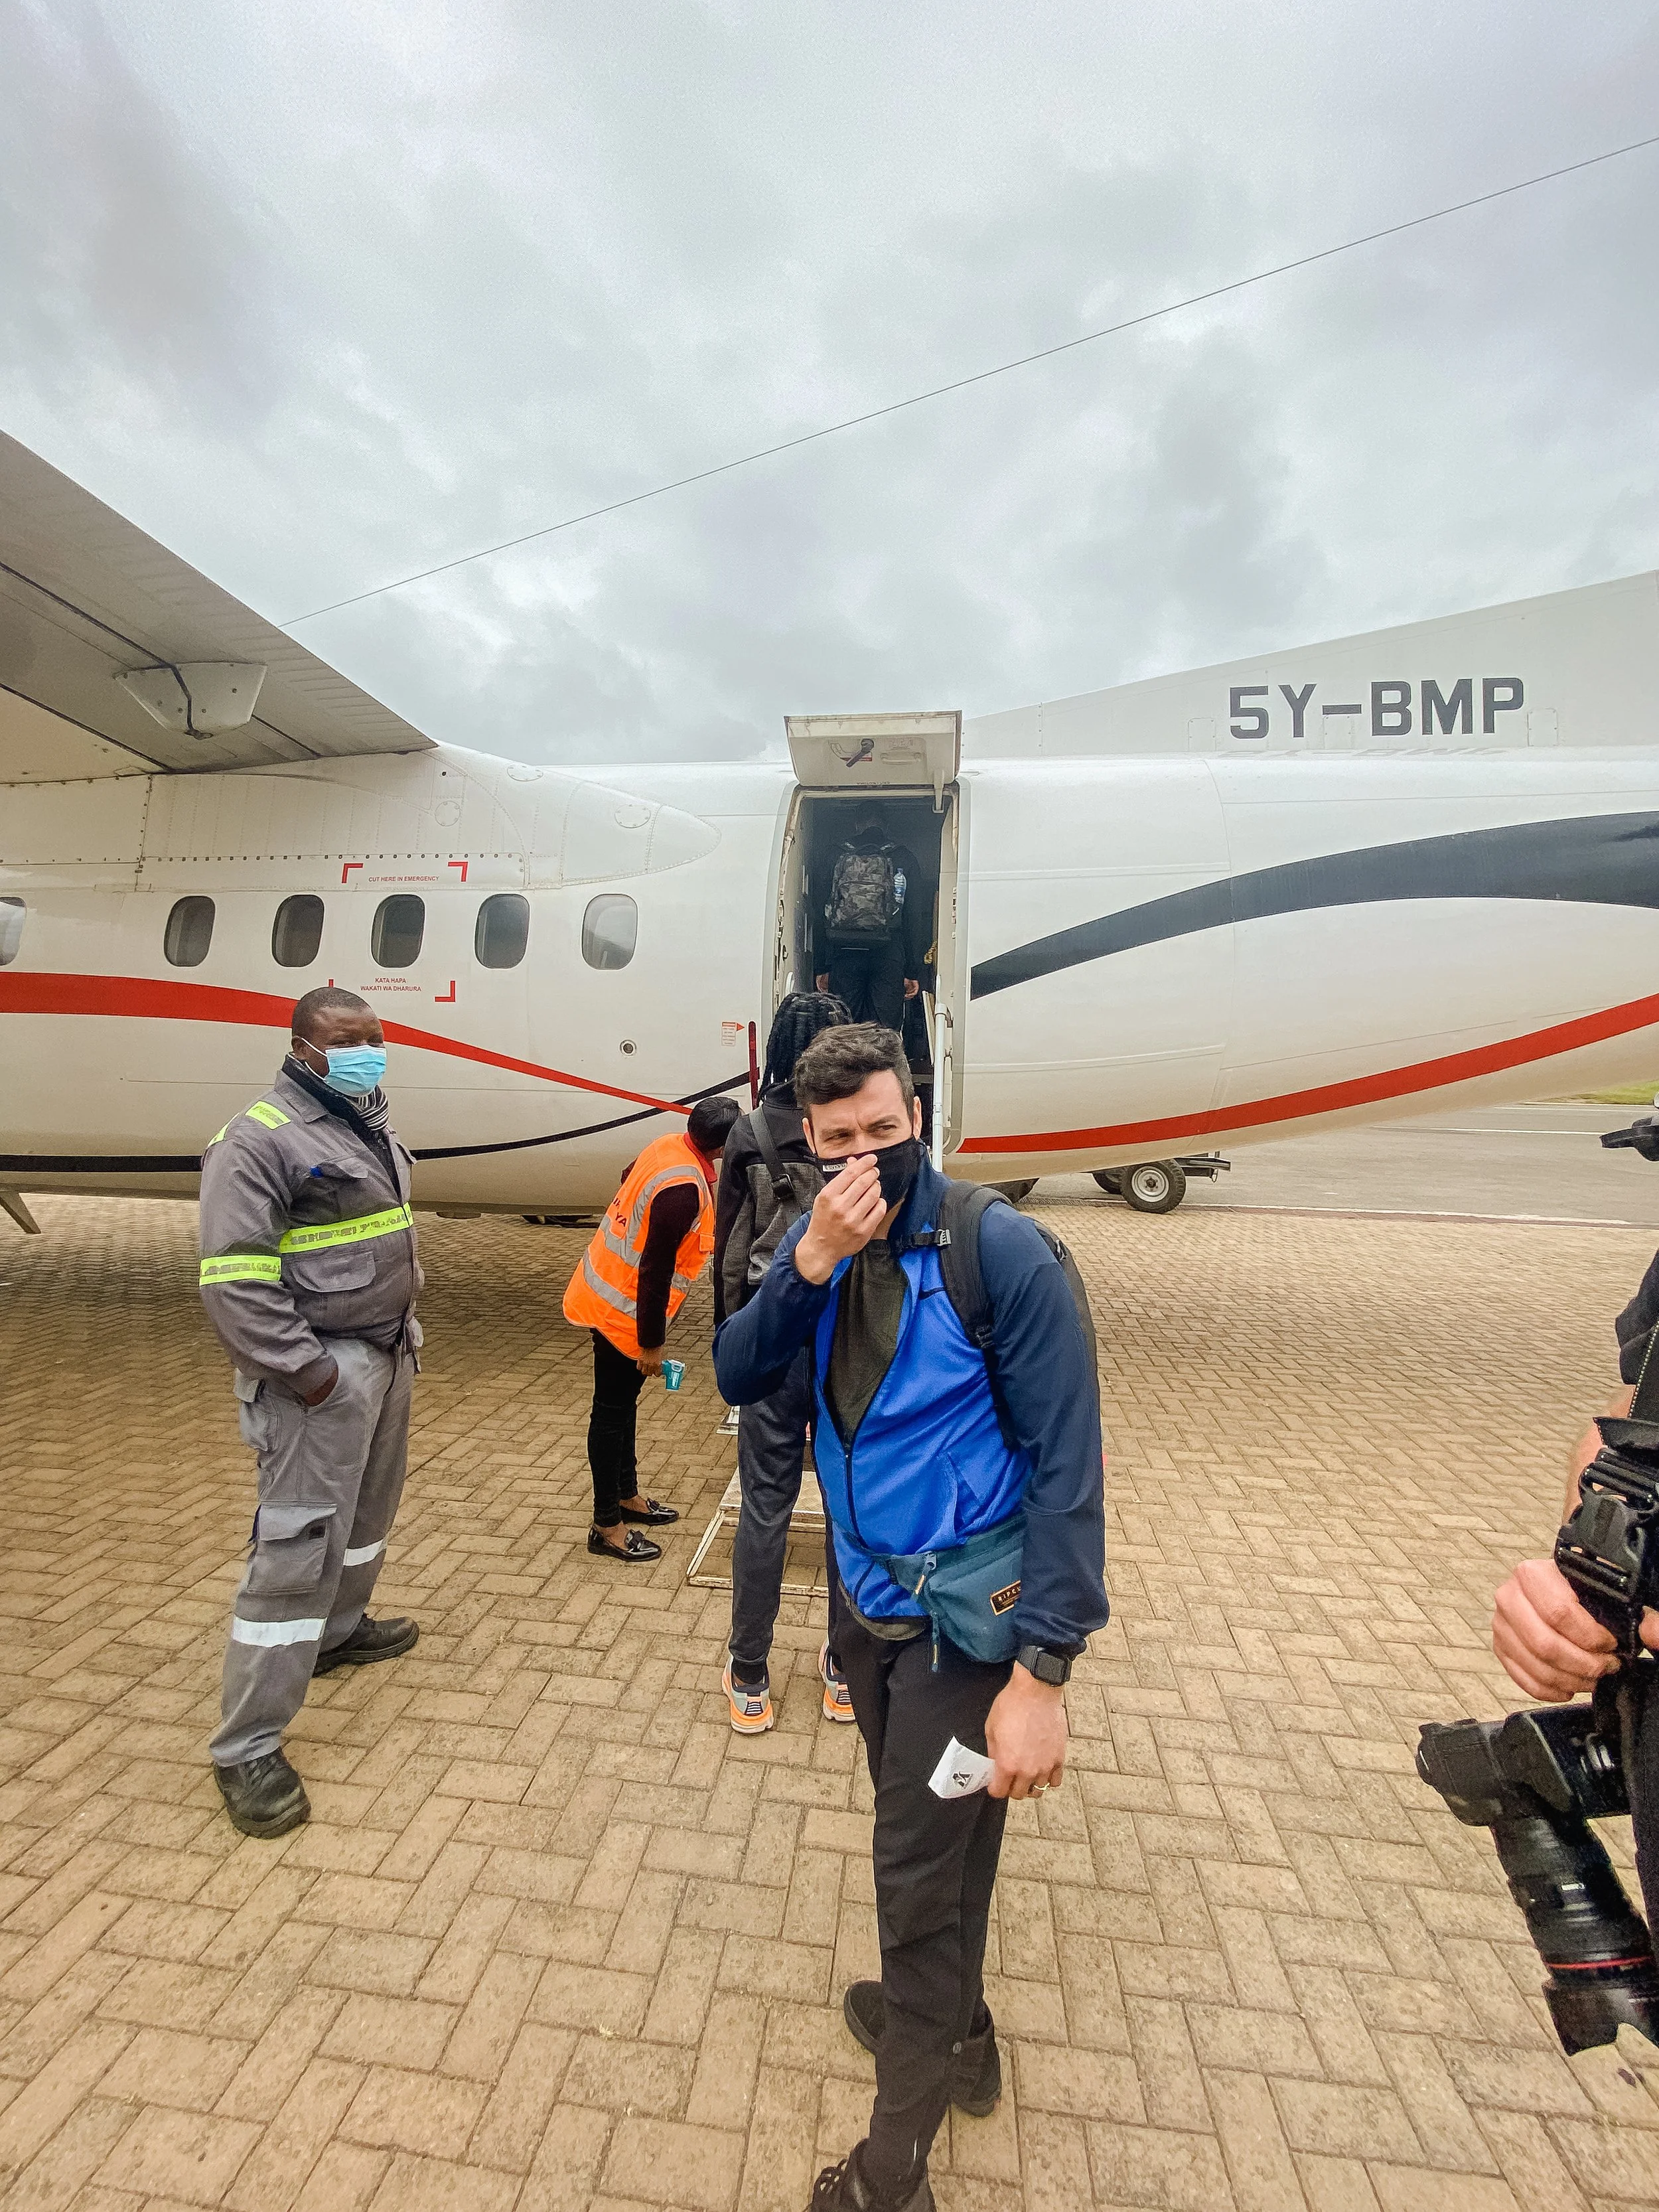
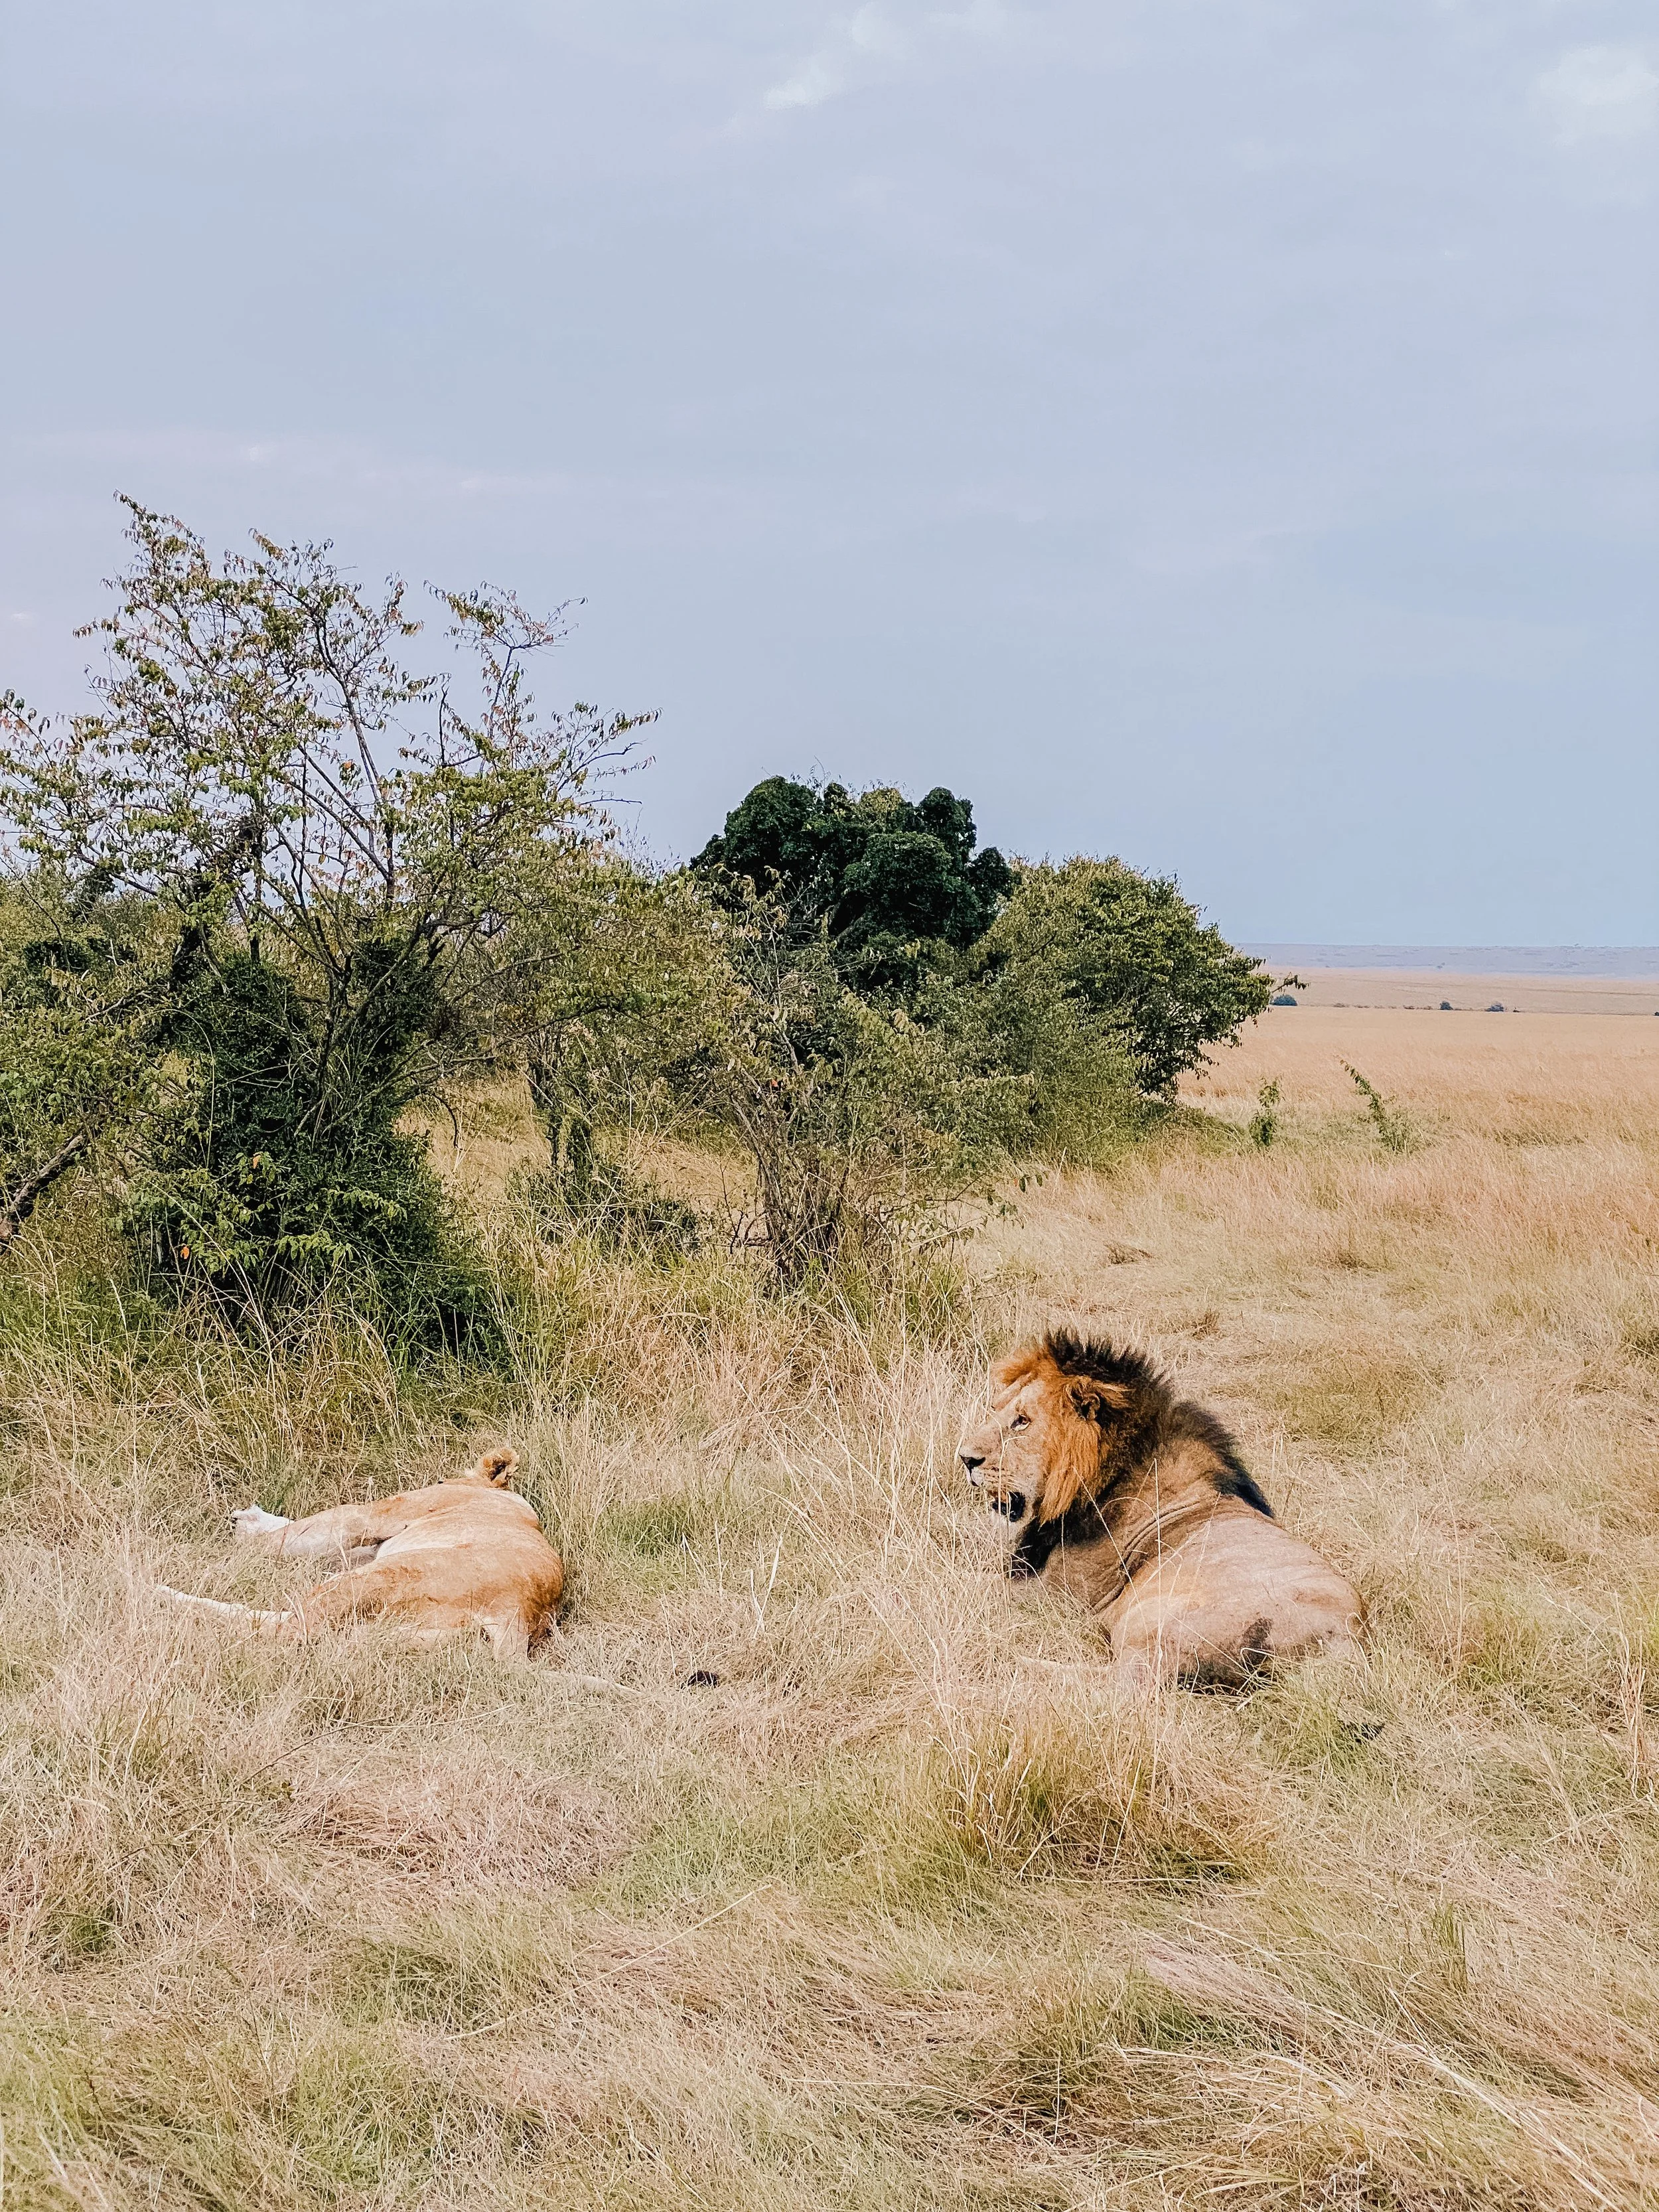
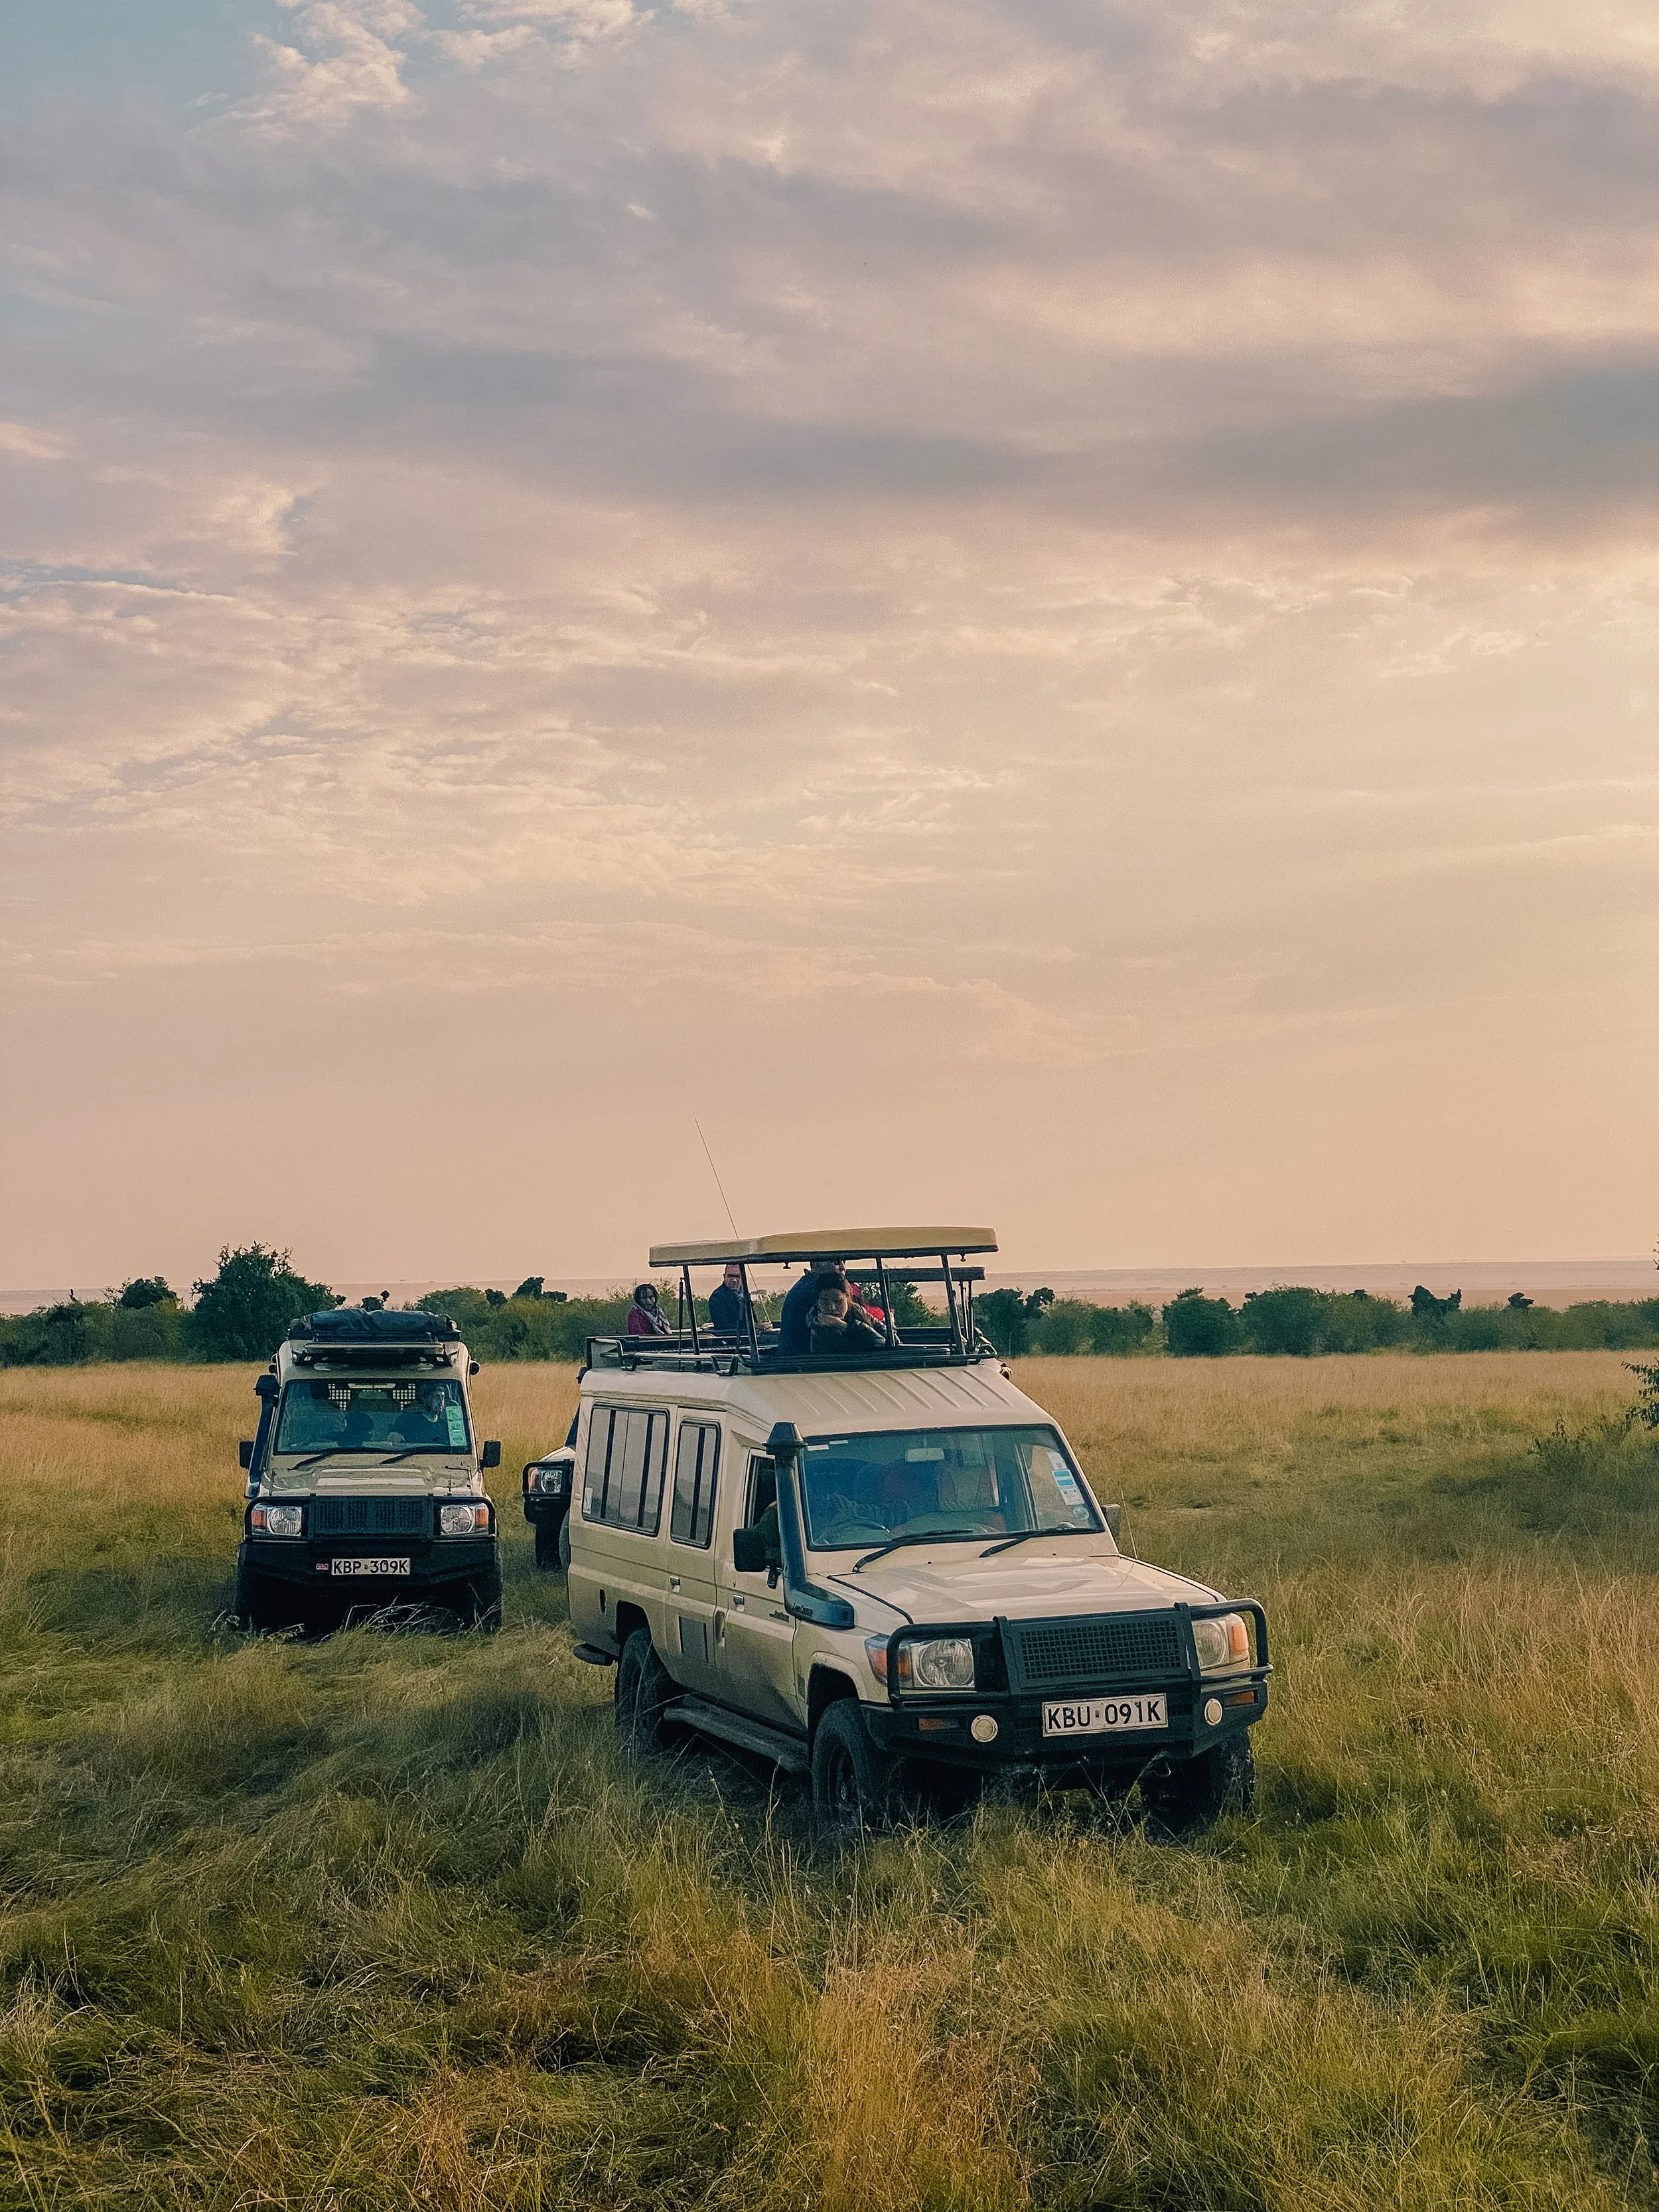
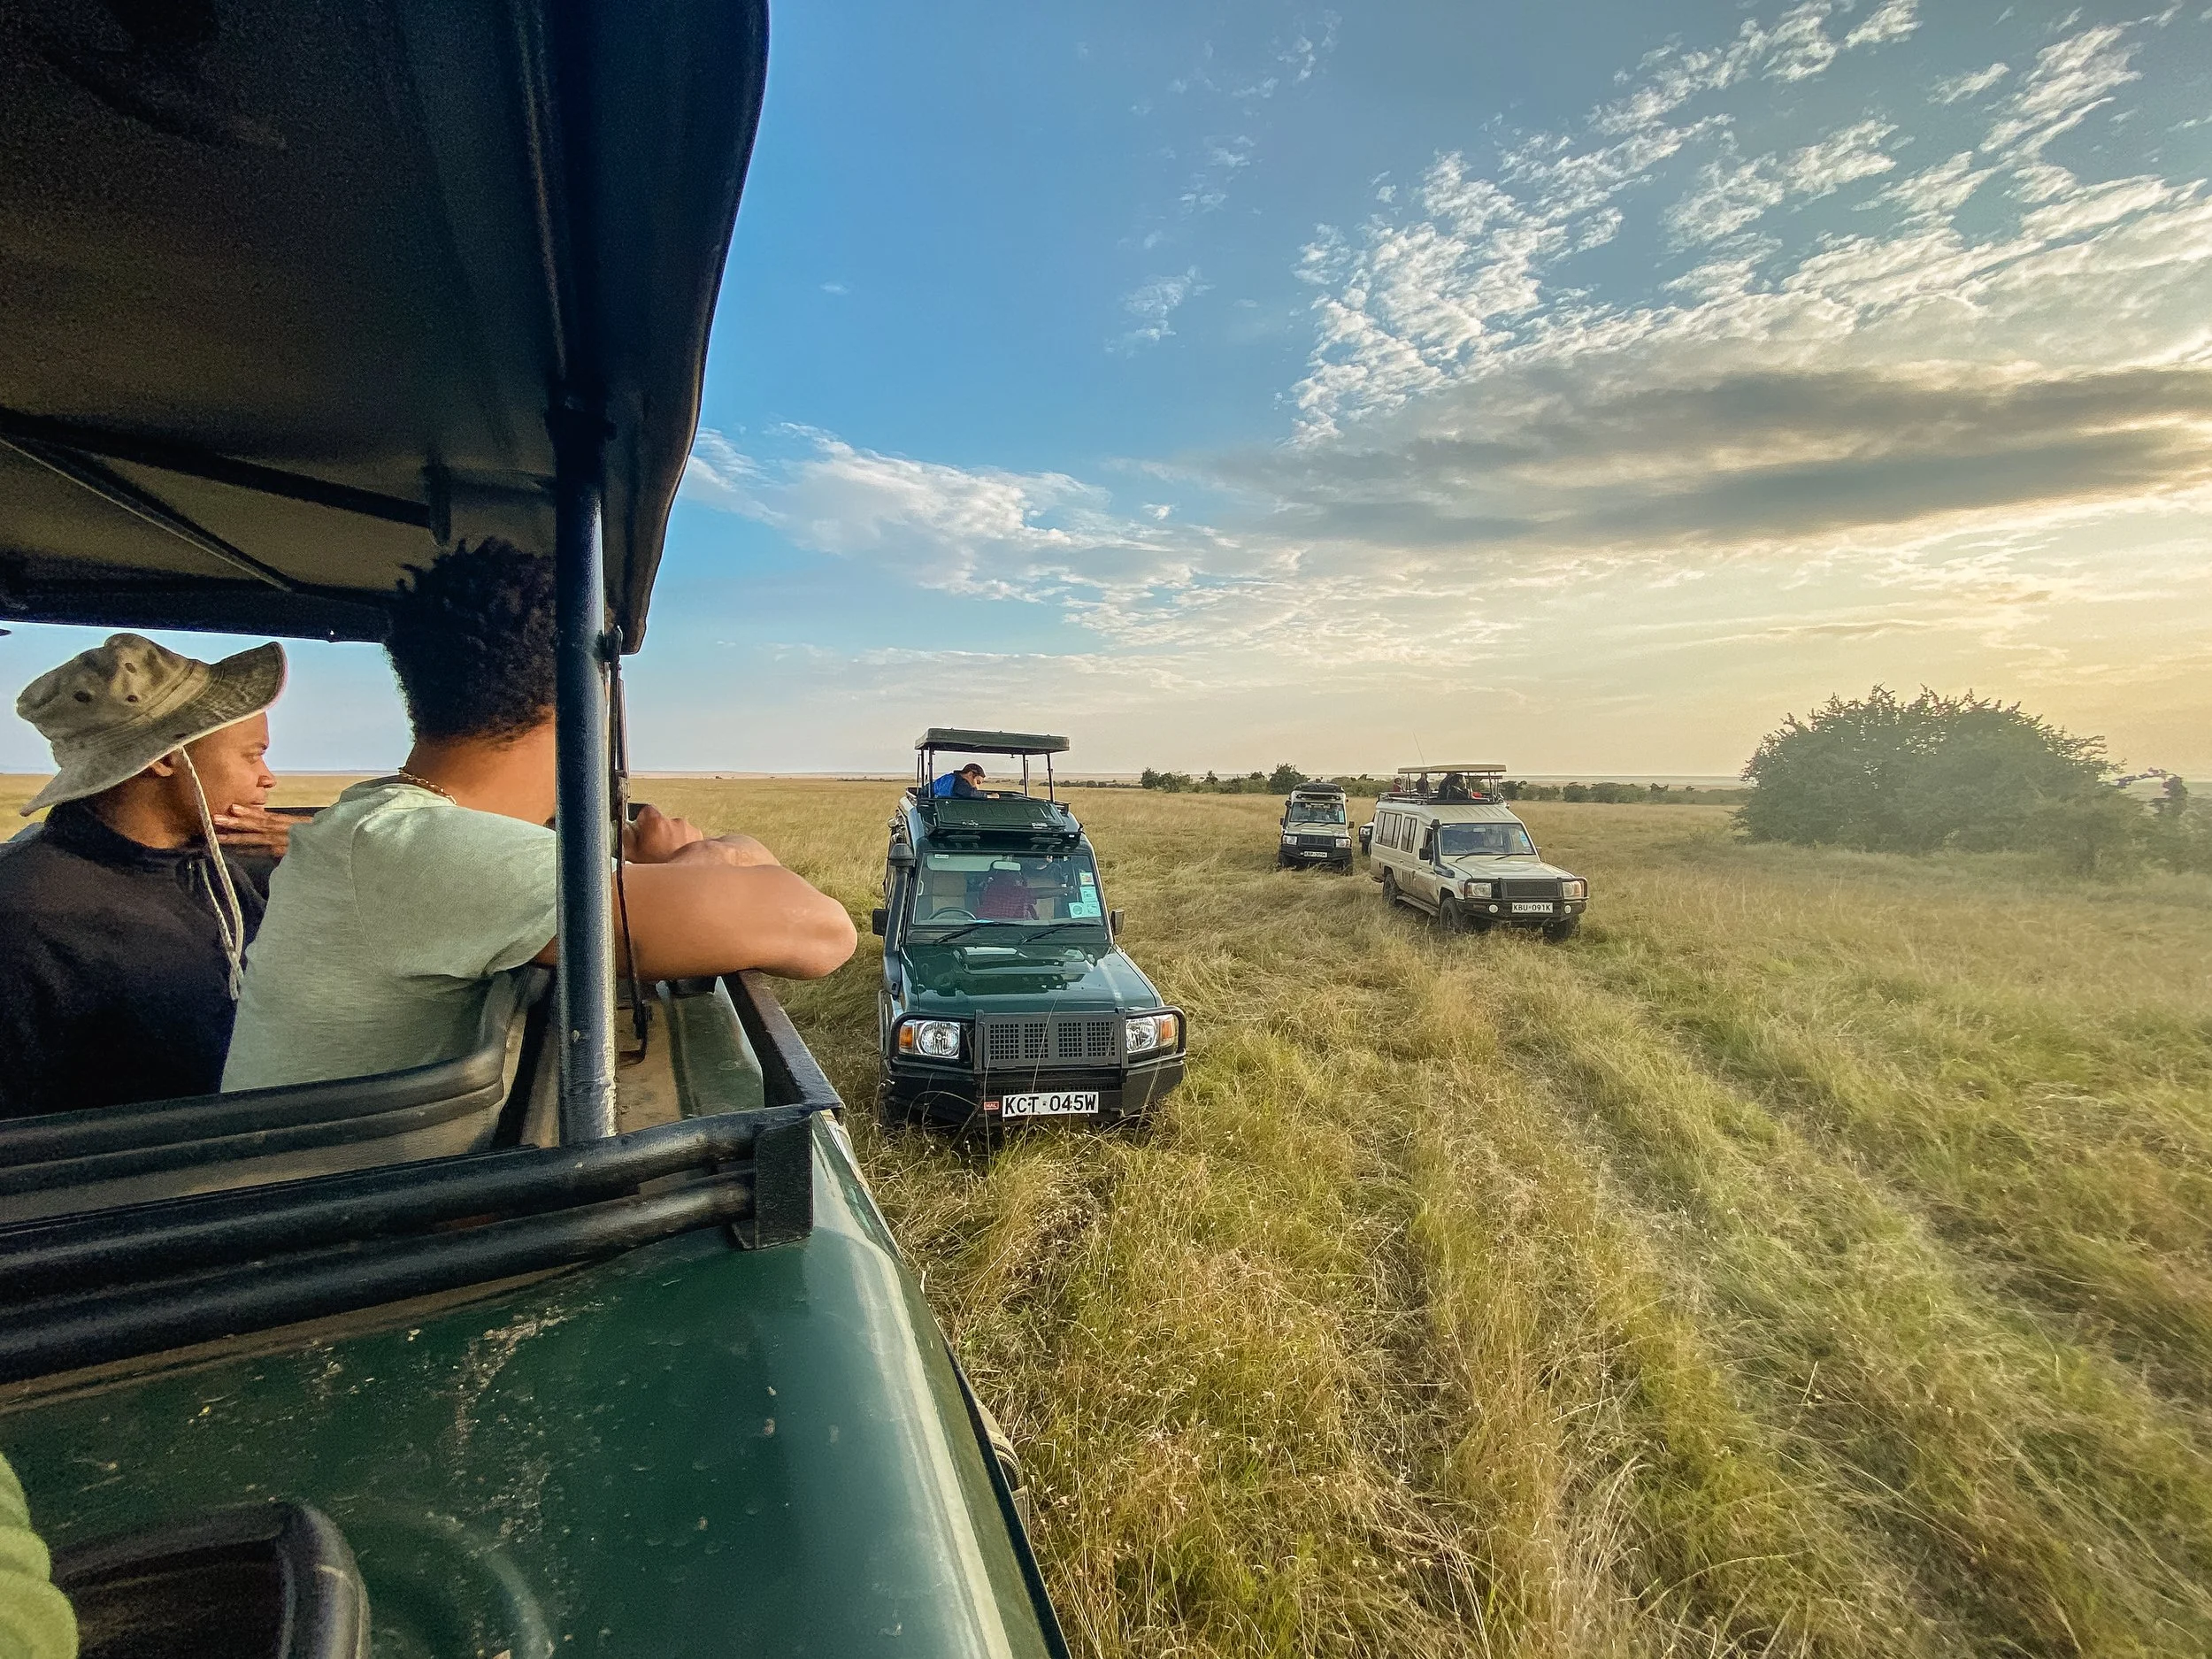
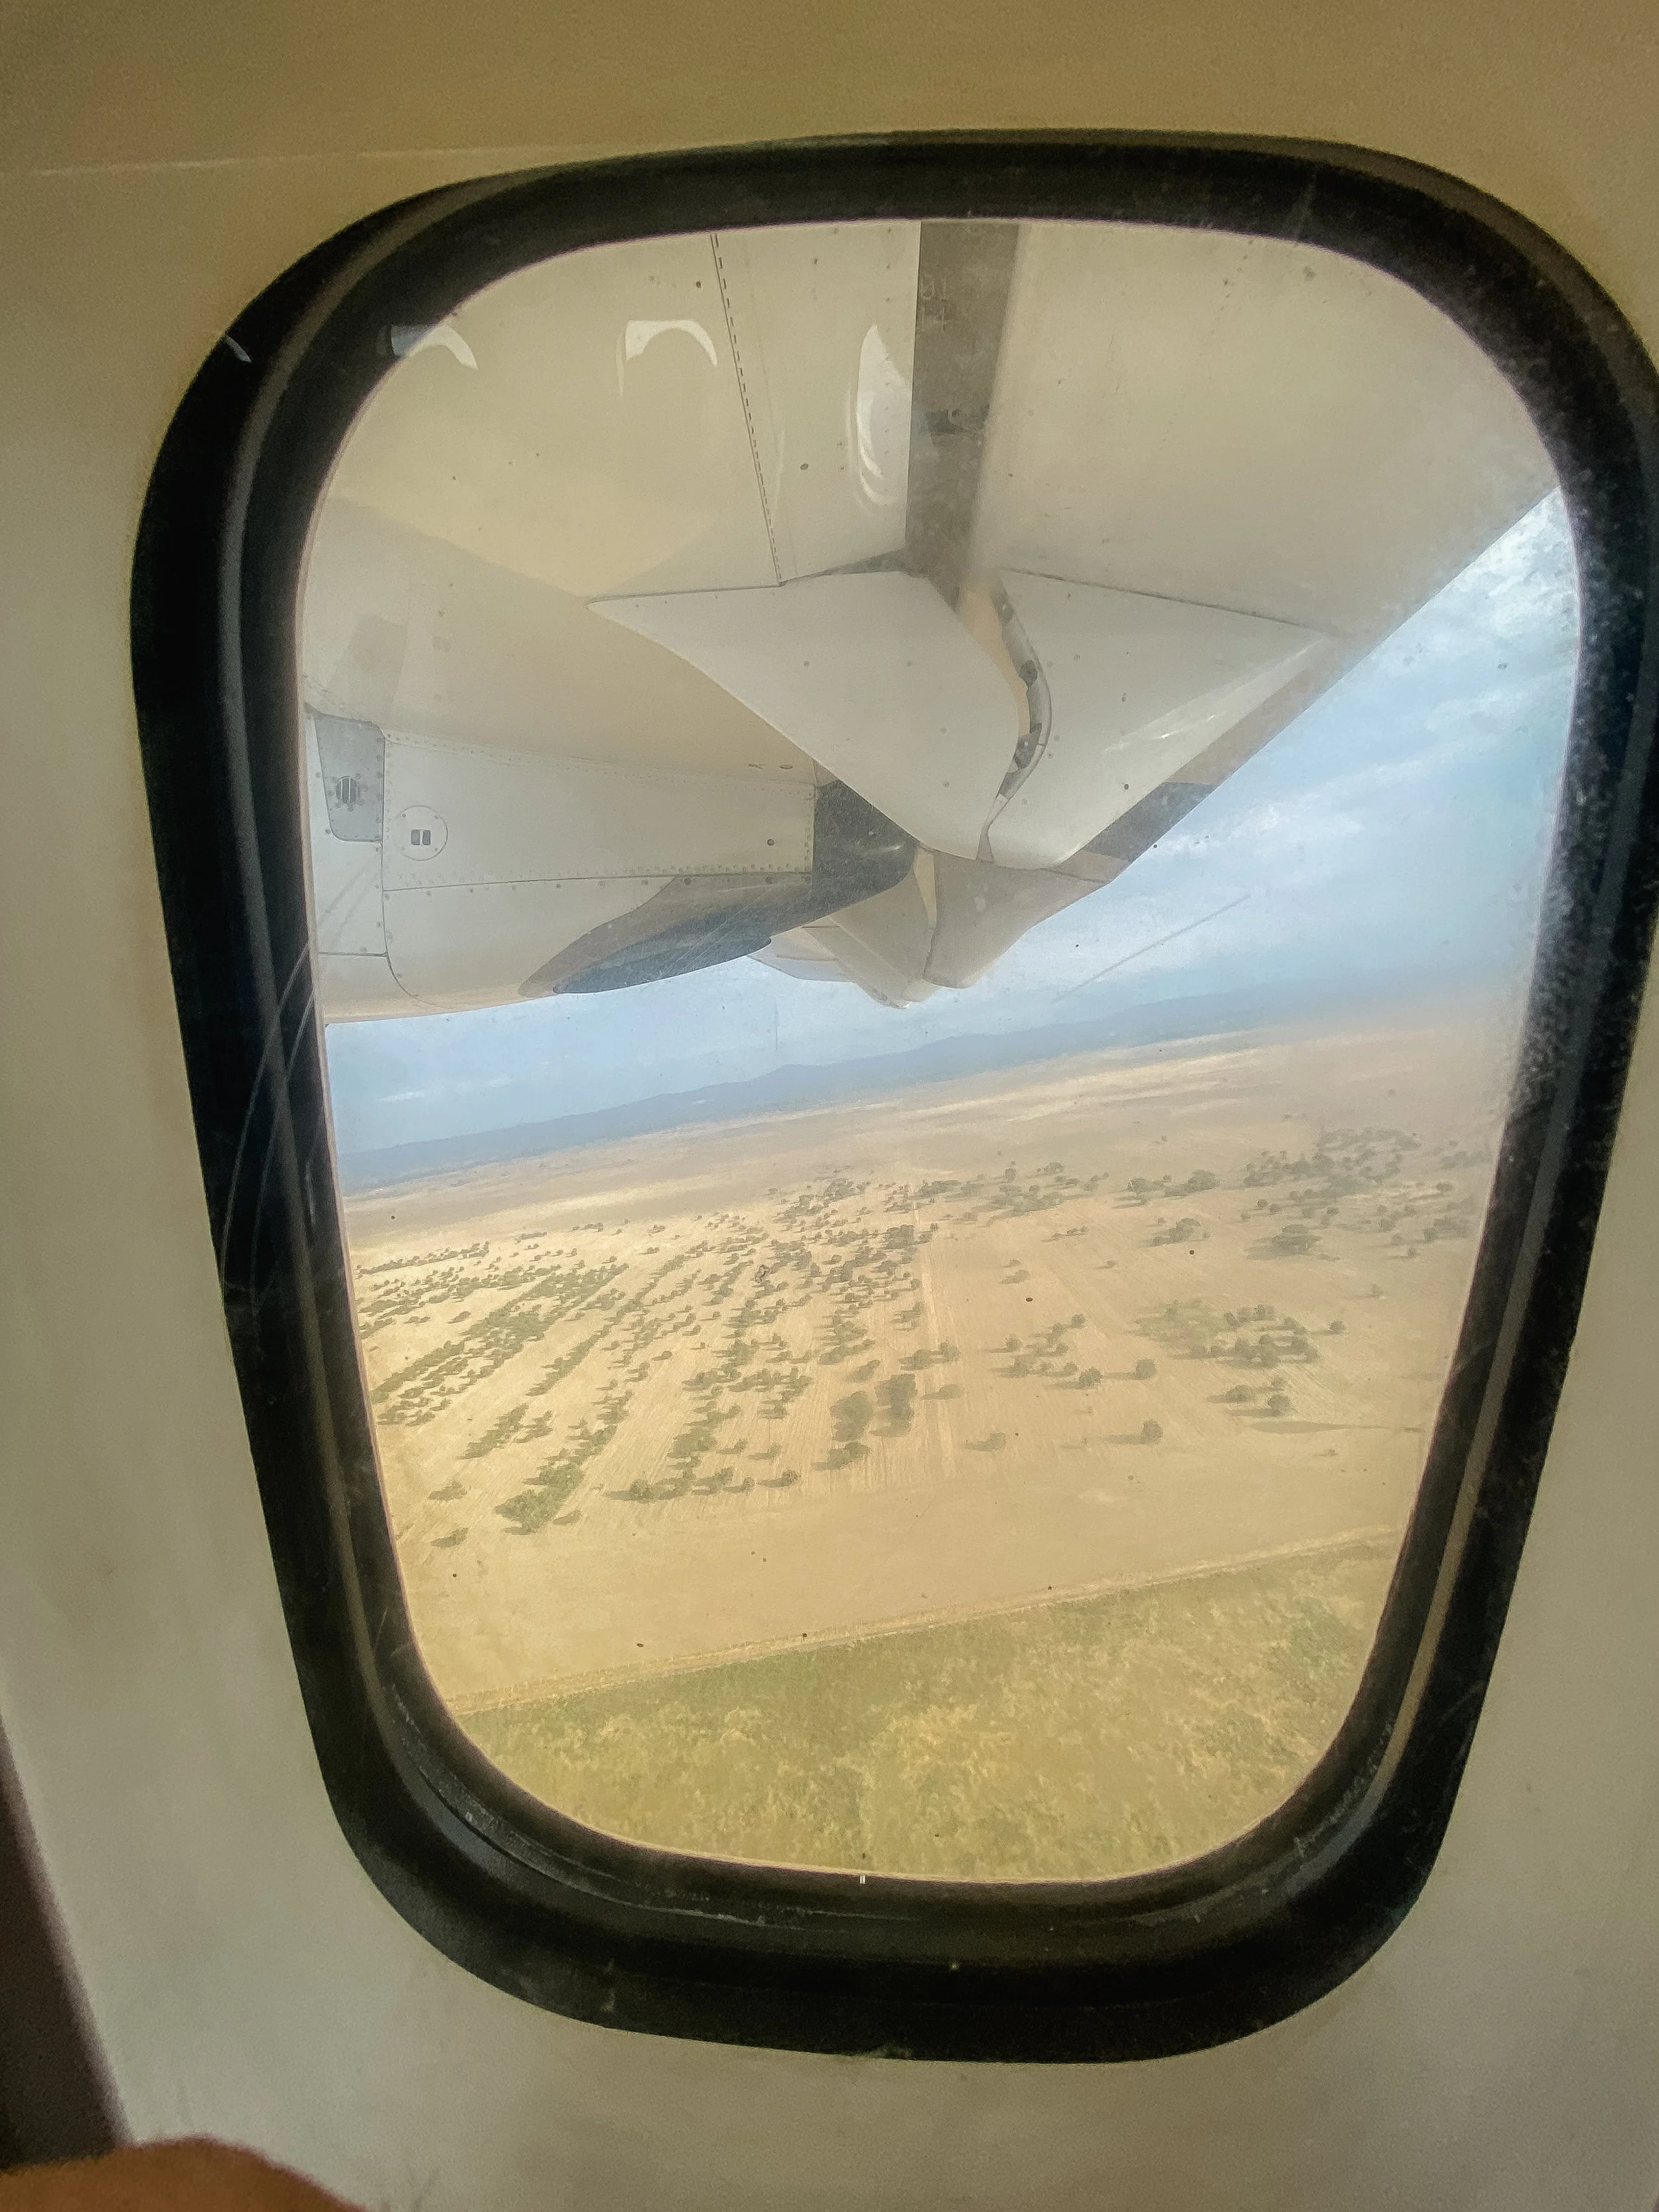
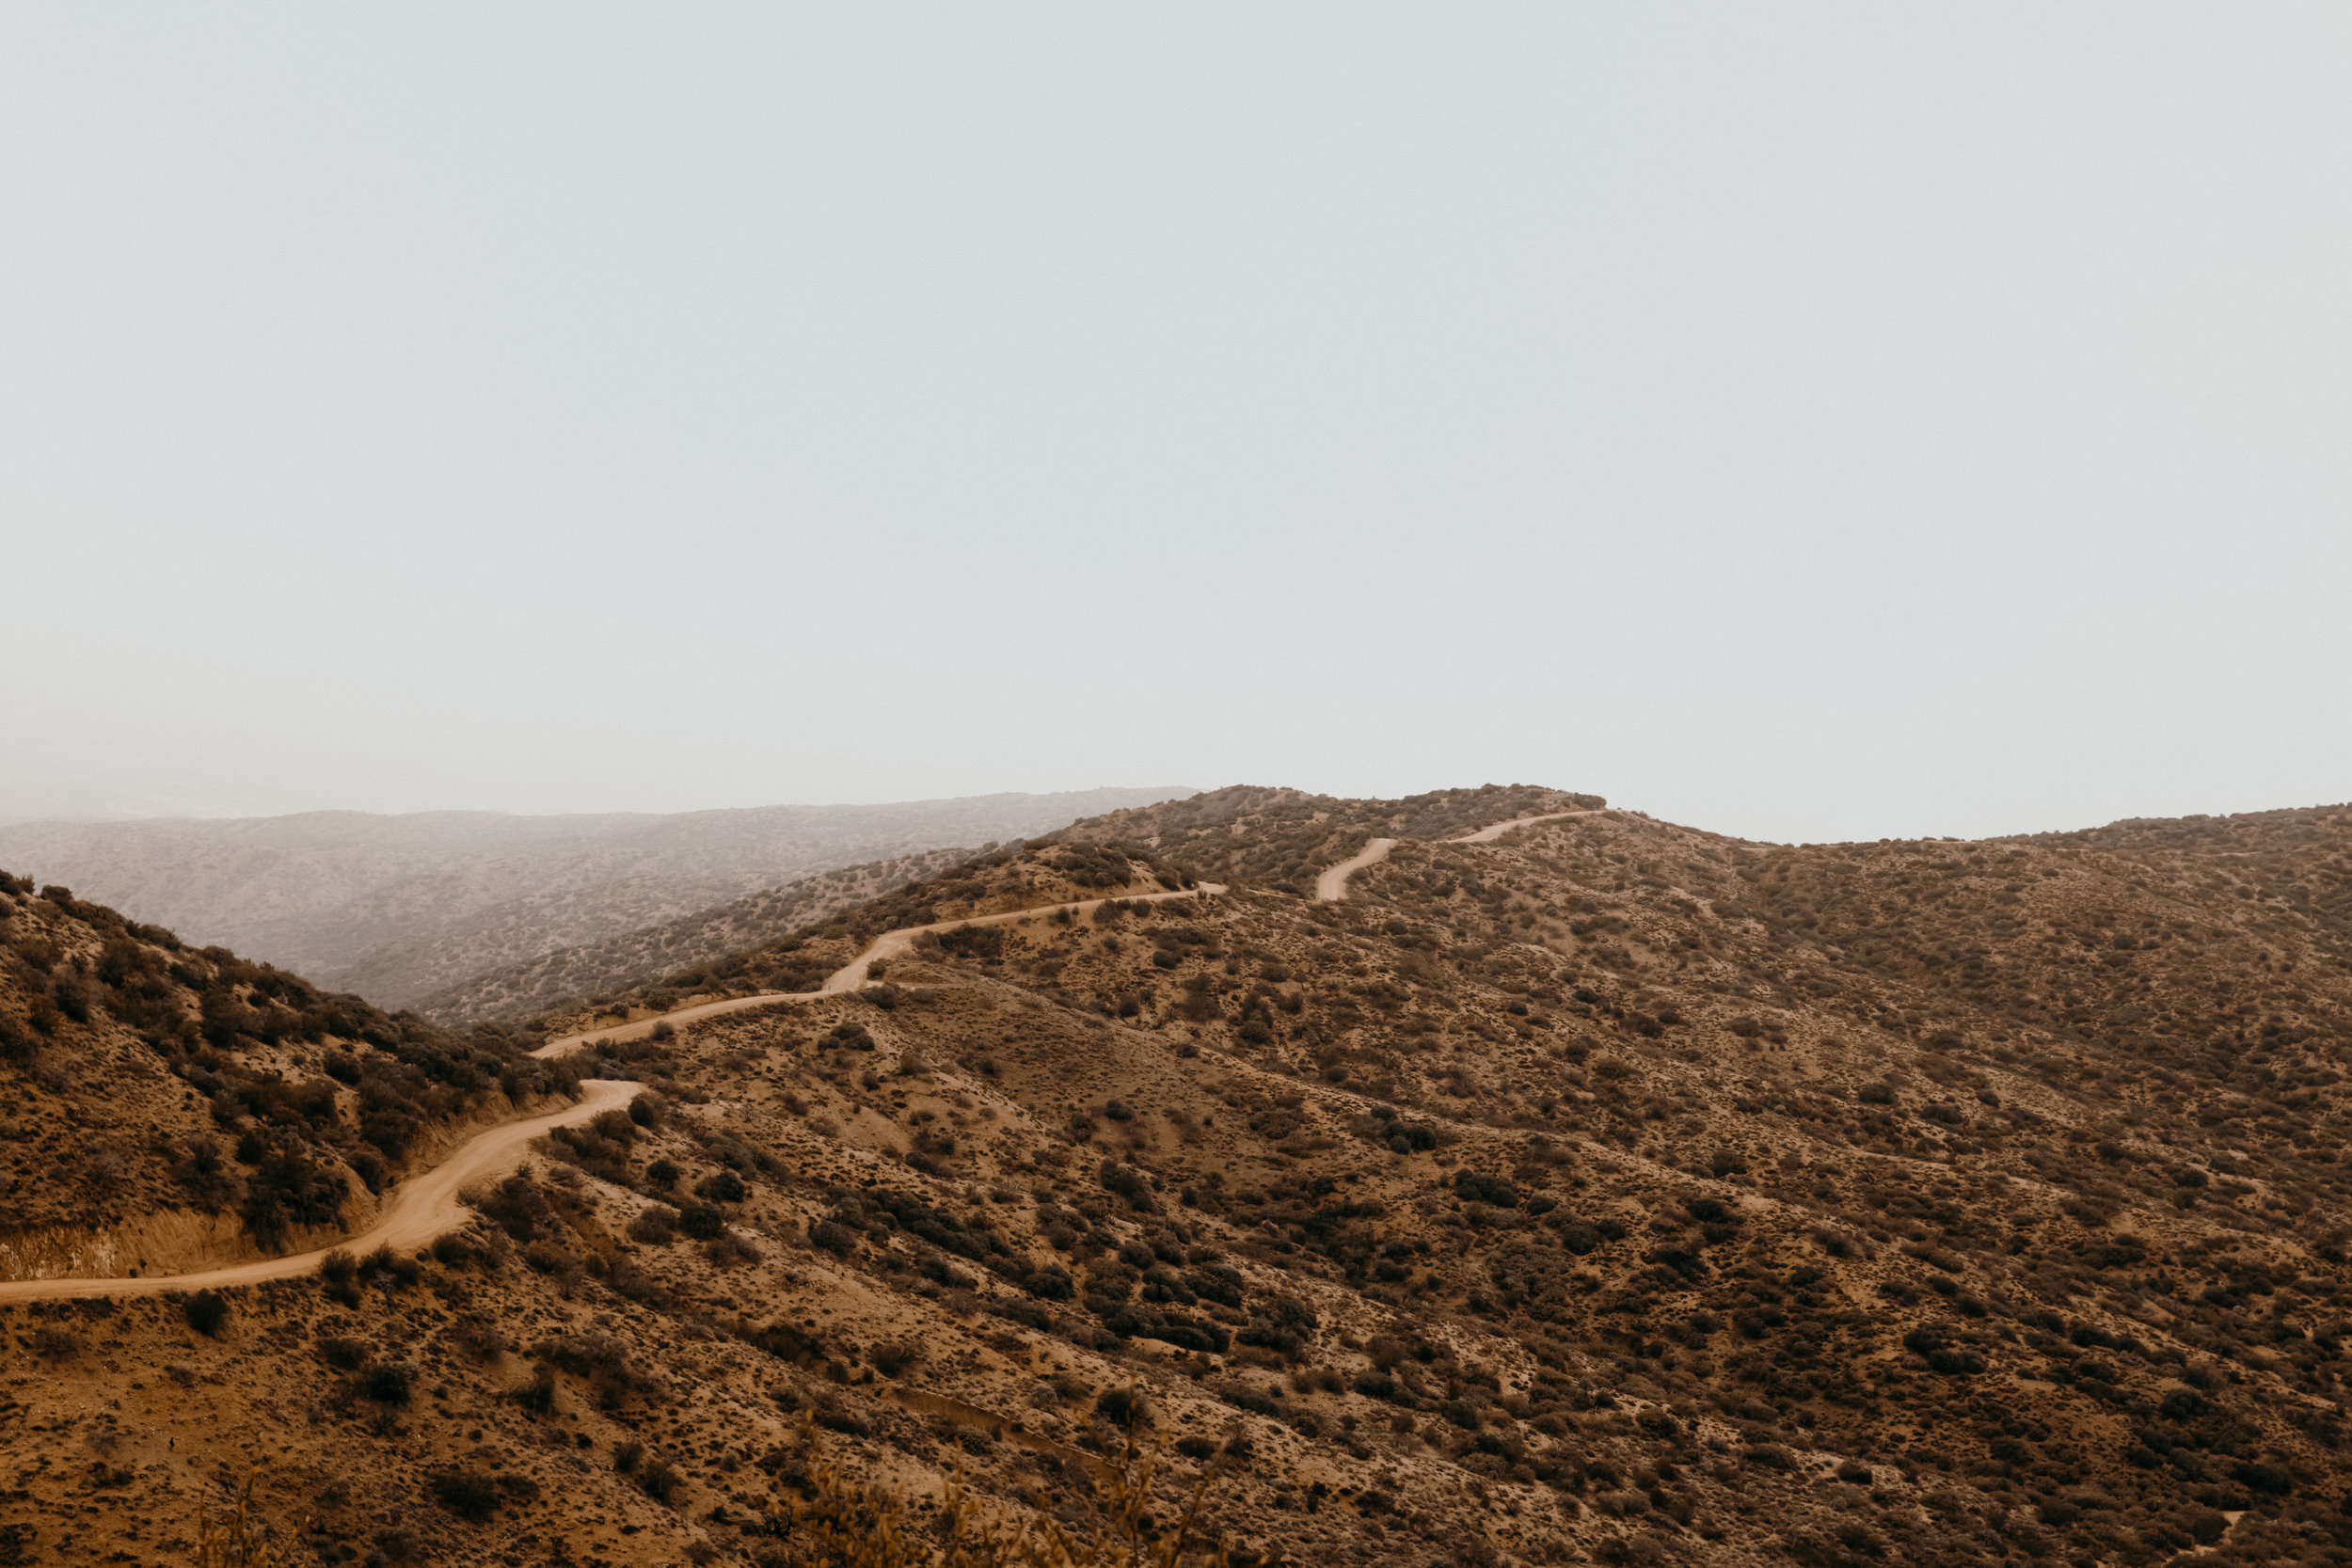
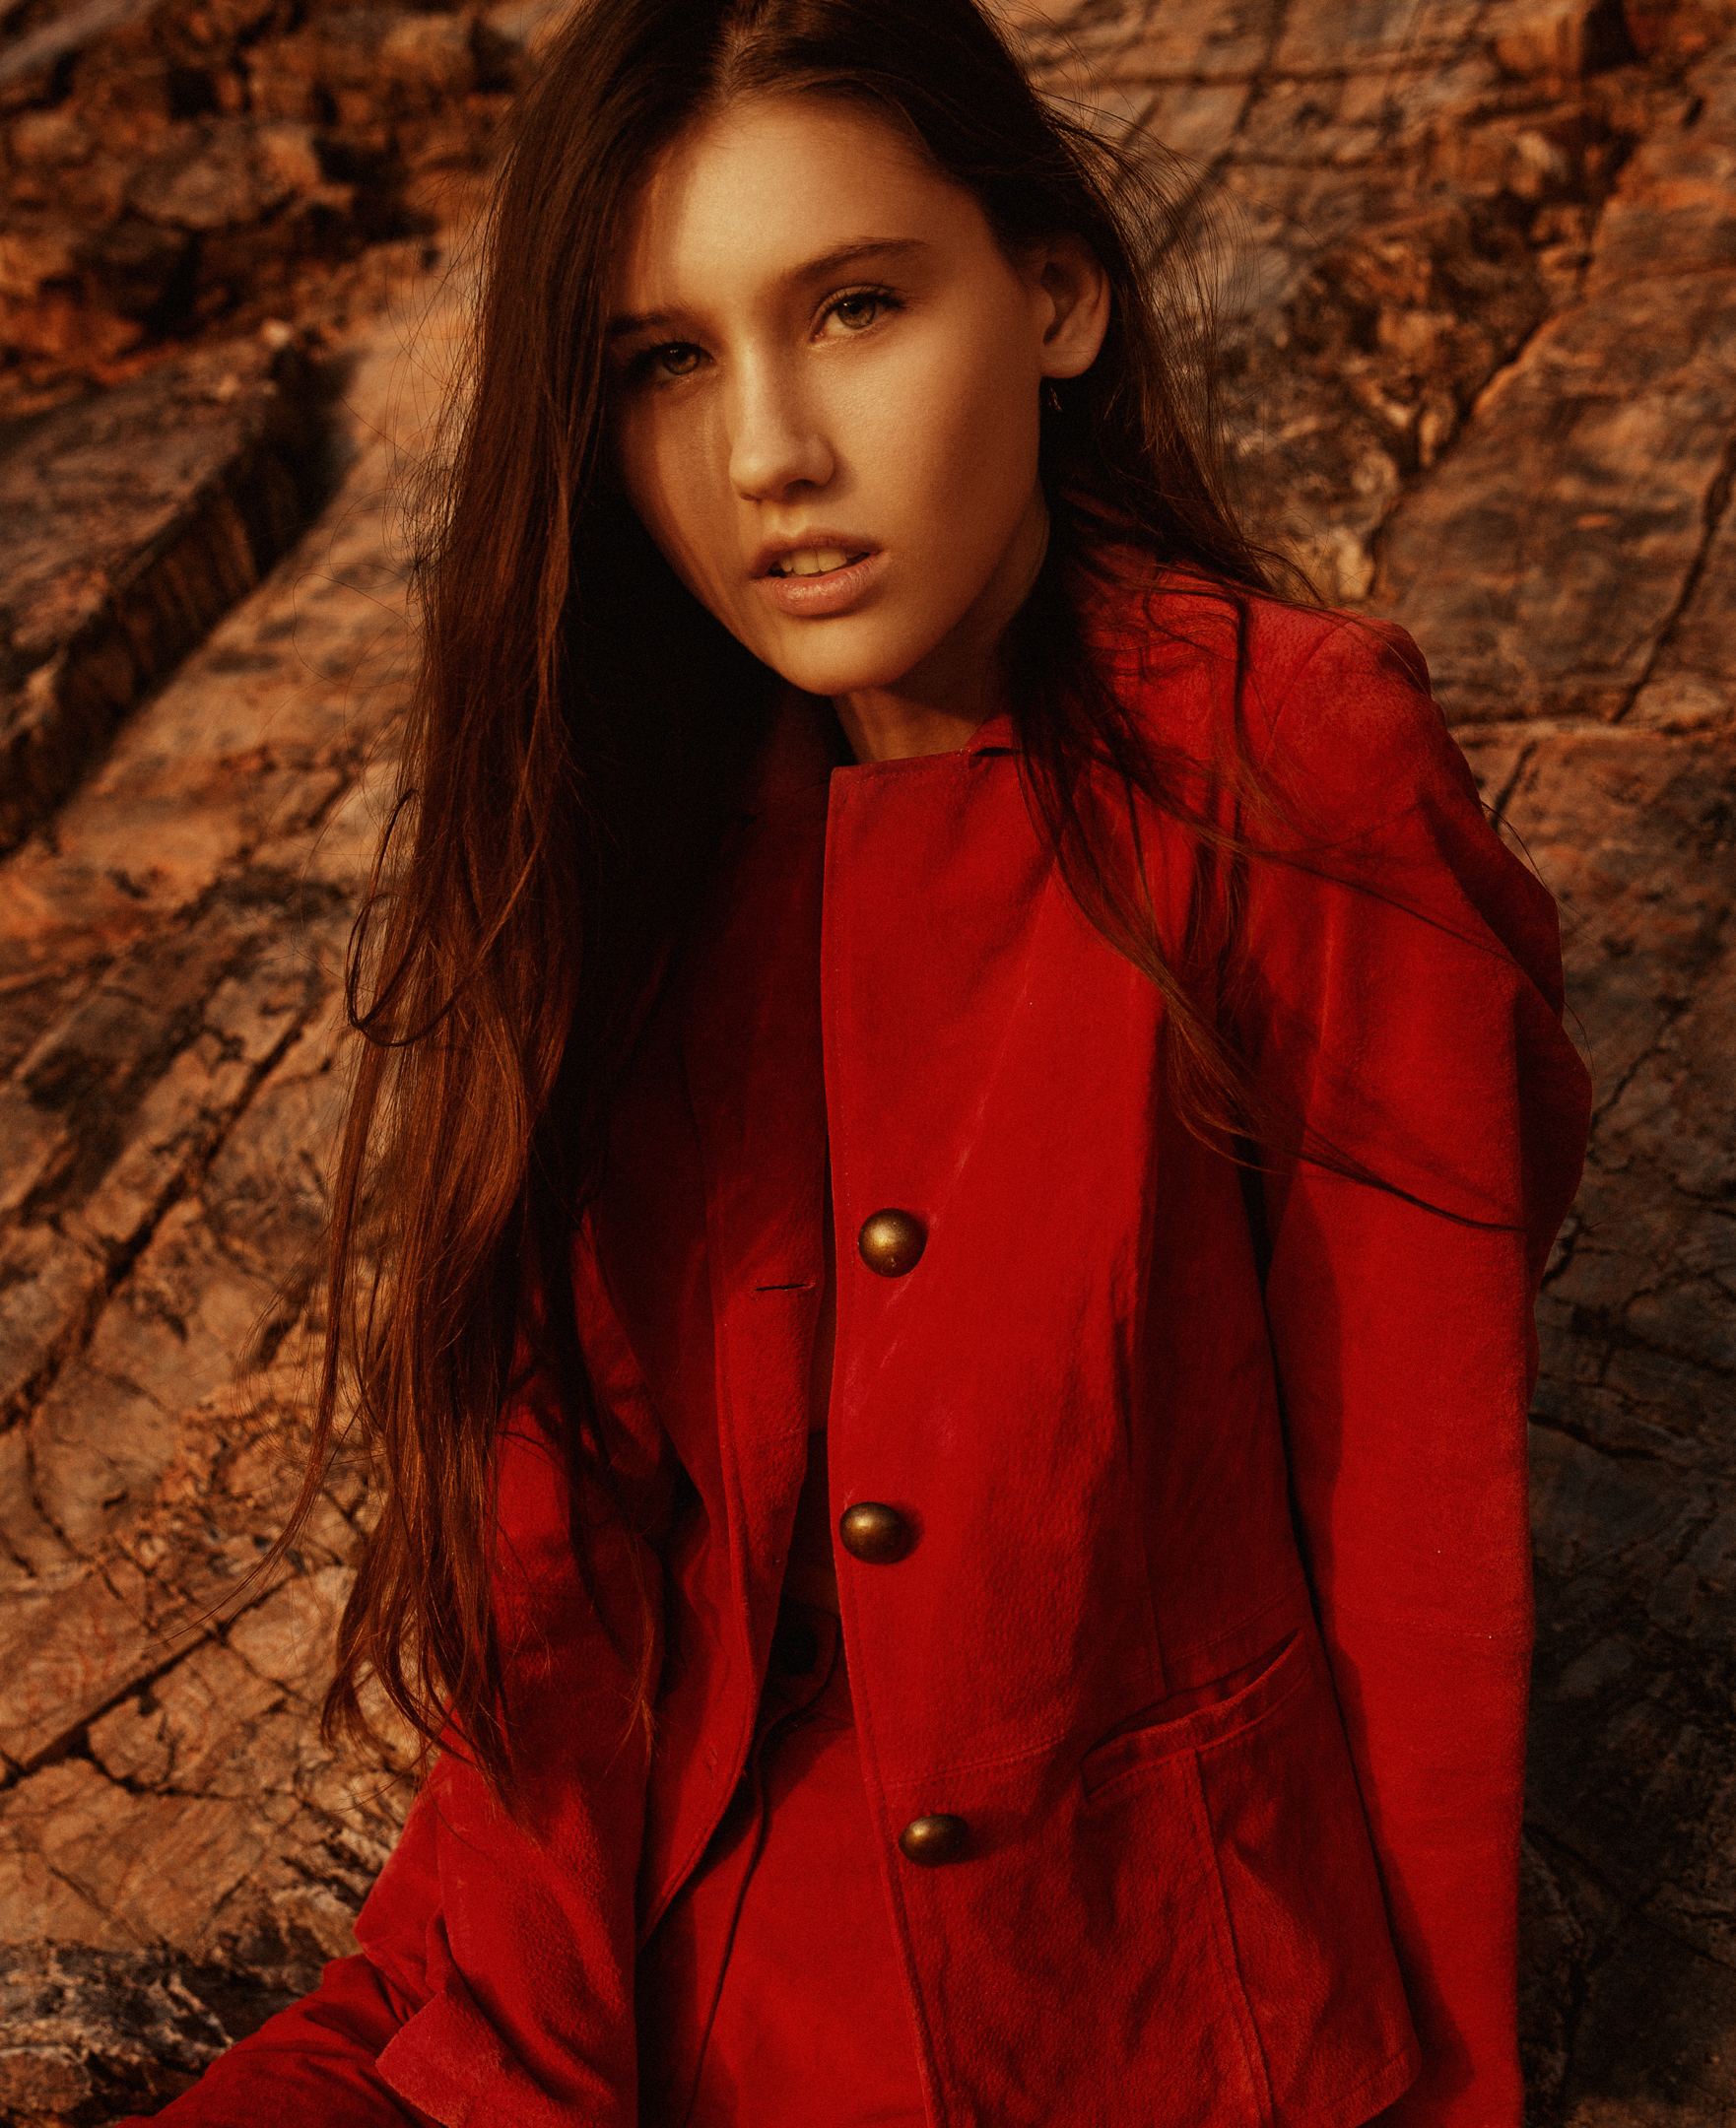
So now that I have that lengthy intro out of the way I want to share a trip to Alaska I recently took. When I was 6 years old I moved to a new neighborhood and met a kid named Justin Wiseman. We became great friends and spent years hanging out at each others houses, eating dinner at one house, then going to the others house for 2nd dinner, playing in the desert and riding quads. We did this for a little more than a decade, and as we left high school we started on seperate paths to adulthood. Justin would take on seasonal work mainly as a fishing guide at private remote lodges in Alaska. After several years of doing that Justin became interested in being the pilot that would fly the guests into the lodges. So in Justin’s typically figure it out attitude, he began to learn to pilot small planes. Years past and I did not see Justin, I was busy with my career as well. For years I was hyper career focused, causing me to lose friendships, relationships, and putting a strain on any bonds with people I had. As I entered my thirties I have avidly worked to change this to be more than just my work. So Justin and I connected again as he informed me about his new position as the head pilot at the Denali National Park in Alaska, and he just had his 3rd child, if these weren’t good reasons to visit him then what would be? These photos are of my experience going to see an old friend who has become a respected pilot, a loving father, and can make some great Rhubarb pie. I was not sure what to expect when I booked my tickets but I quickly learned that life in Denali is quite the antithesis of mine in Phoenix. 1 grocery store, 24 hours of daylight, and plenty of open land and time to ride quads. I choose to reflect as often as I can, and through this experience I saw that we can all take some time to slow down and enjoy the fruits of our labor, give love as often as we can to those around us, and to make a Rhubarb pie you only need pie crust, flour, butter, sugar, and fresh Rhubarb.


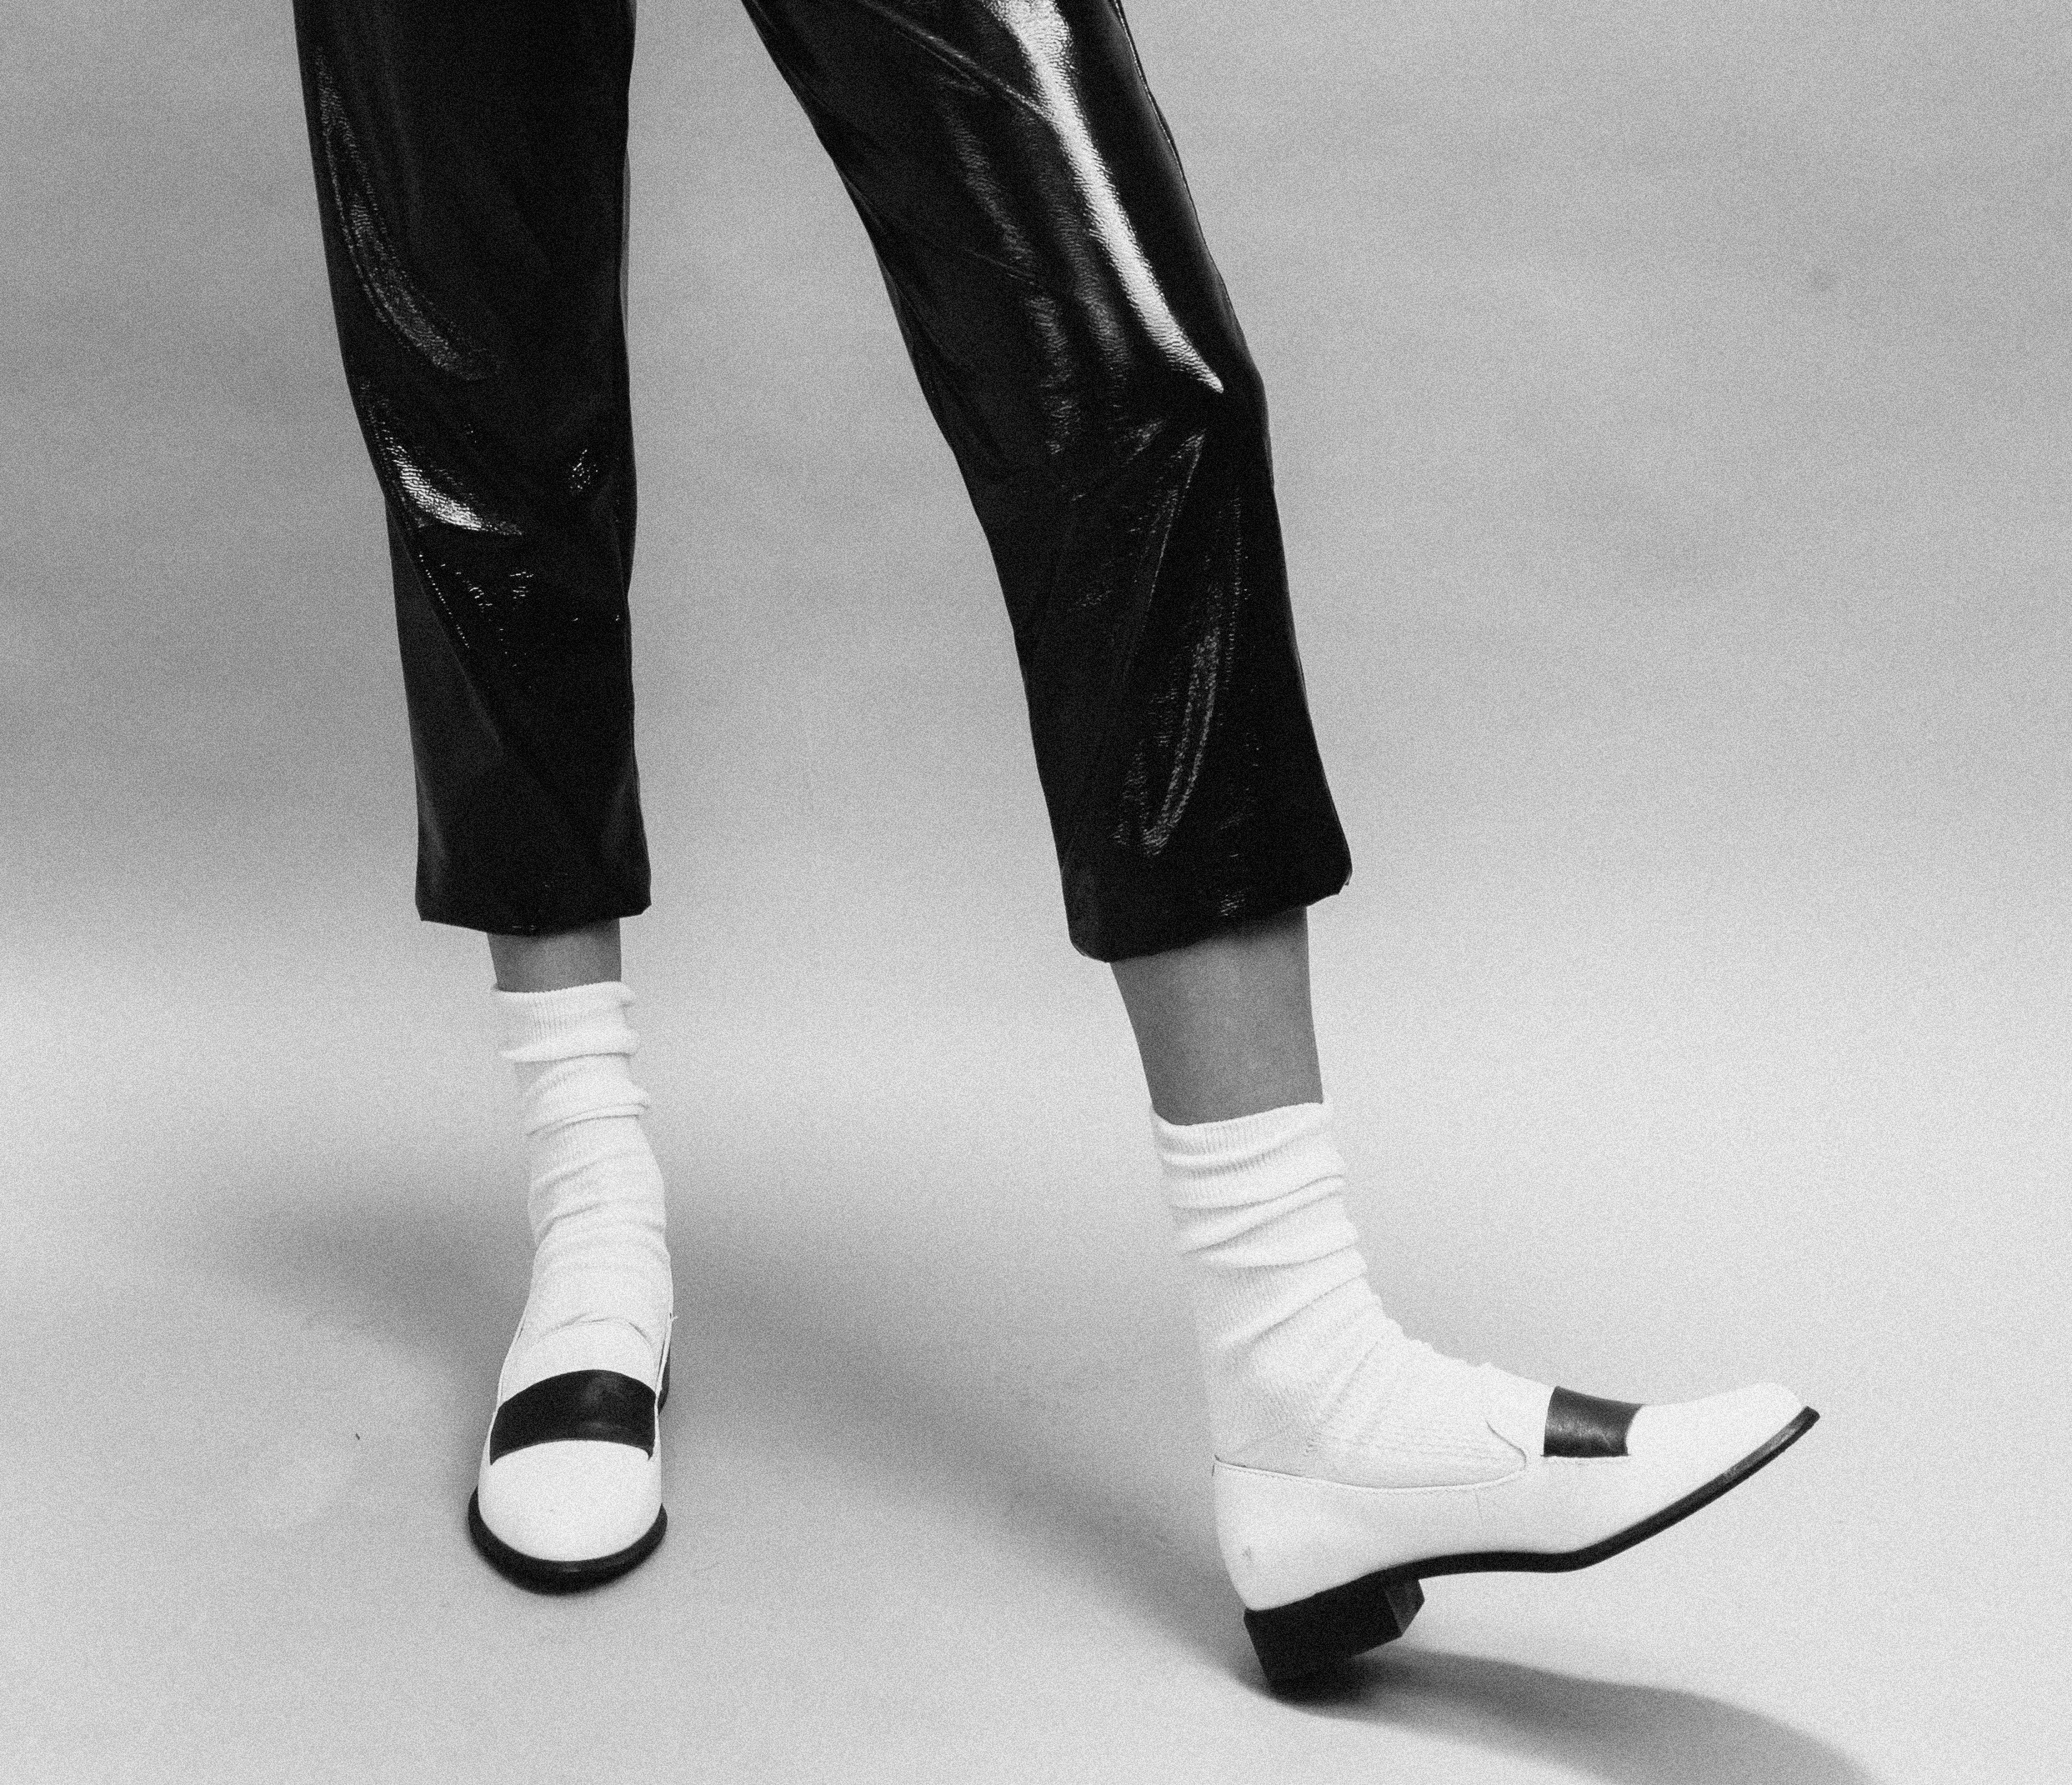
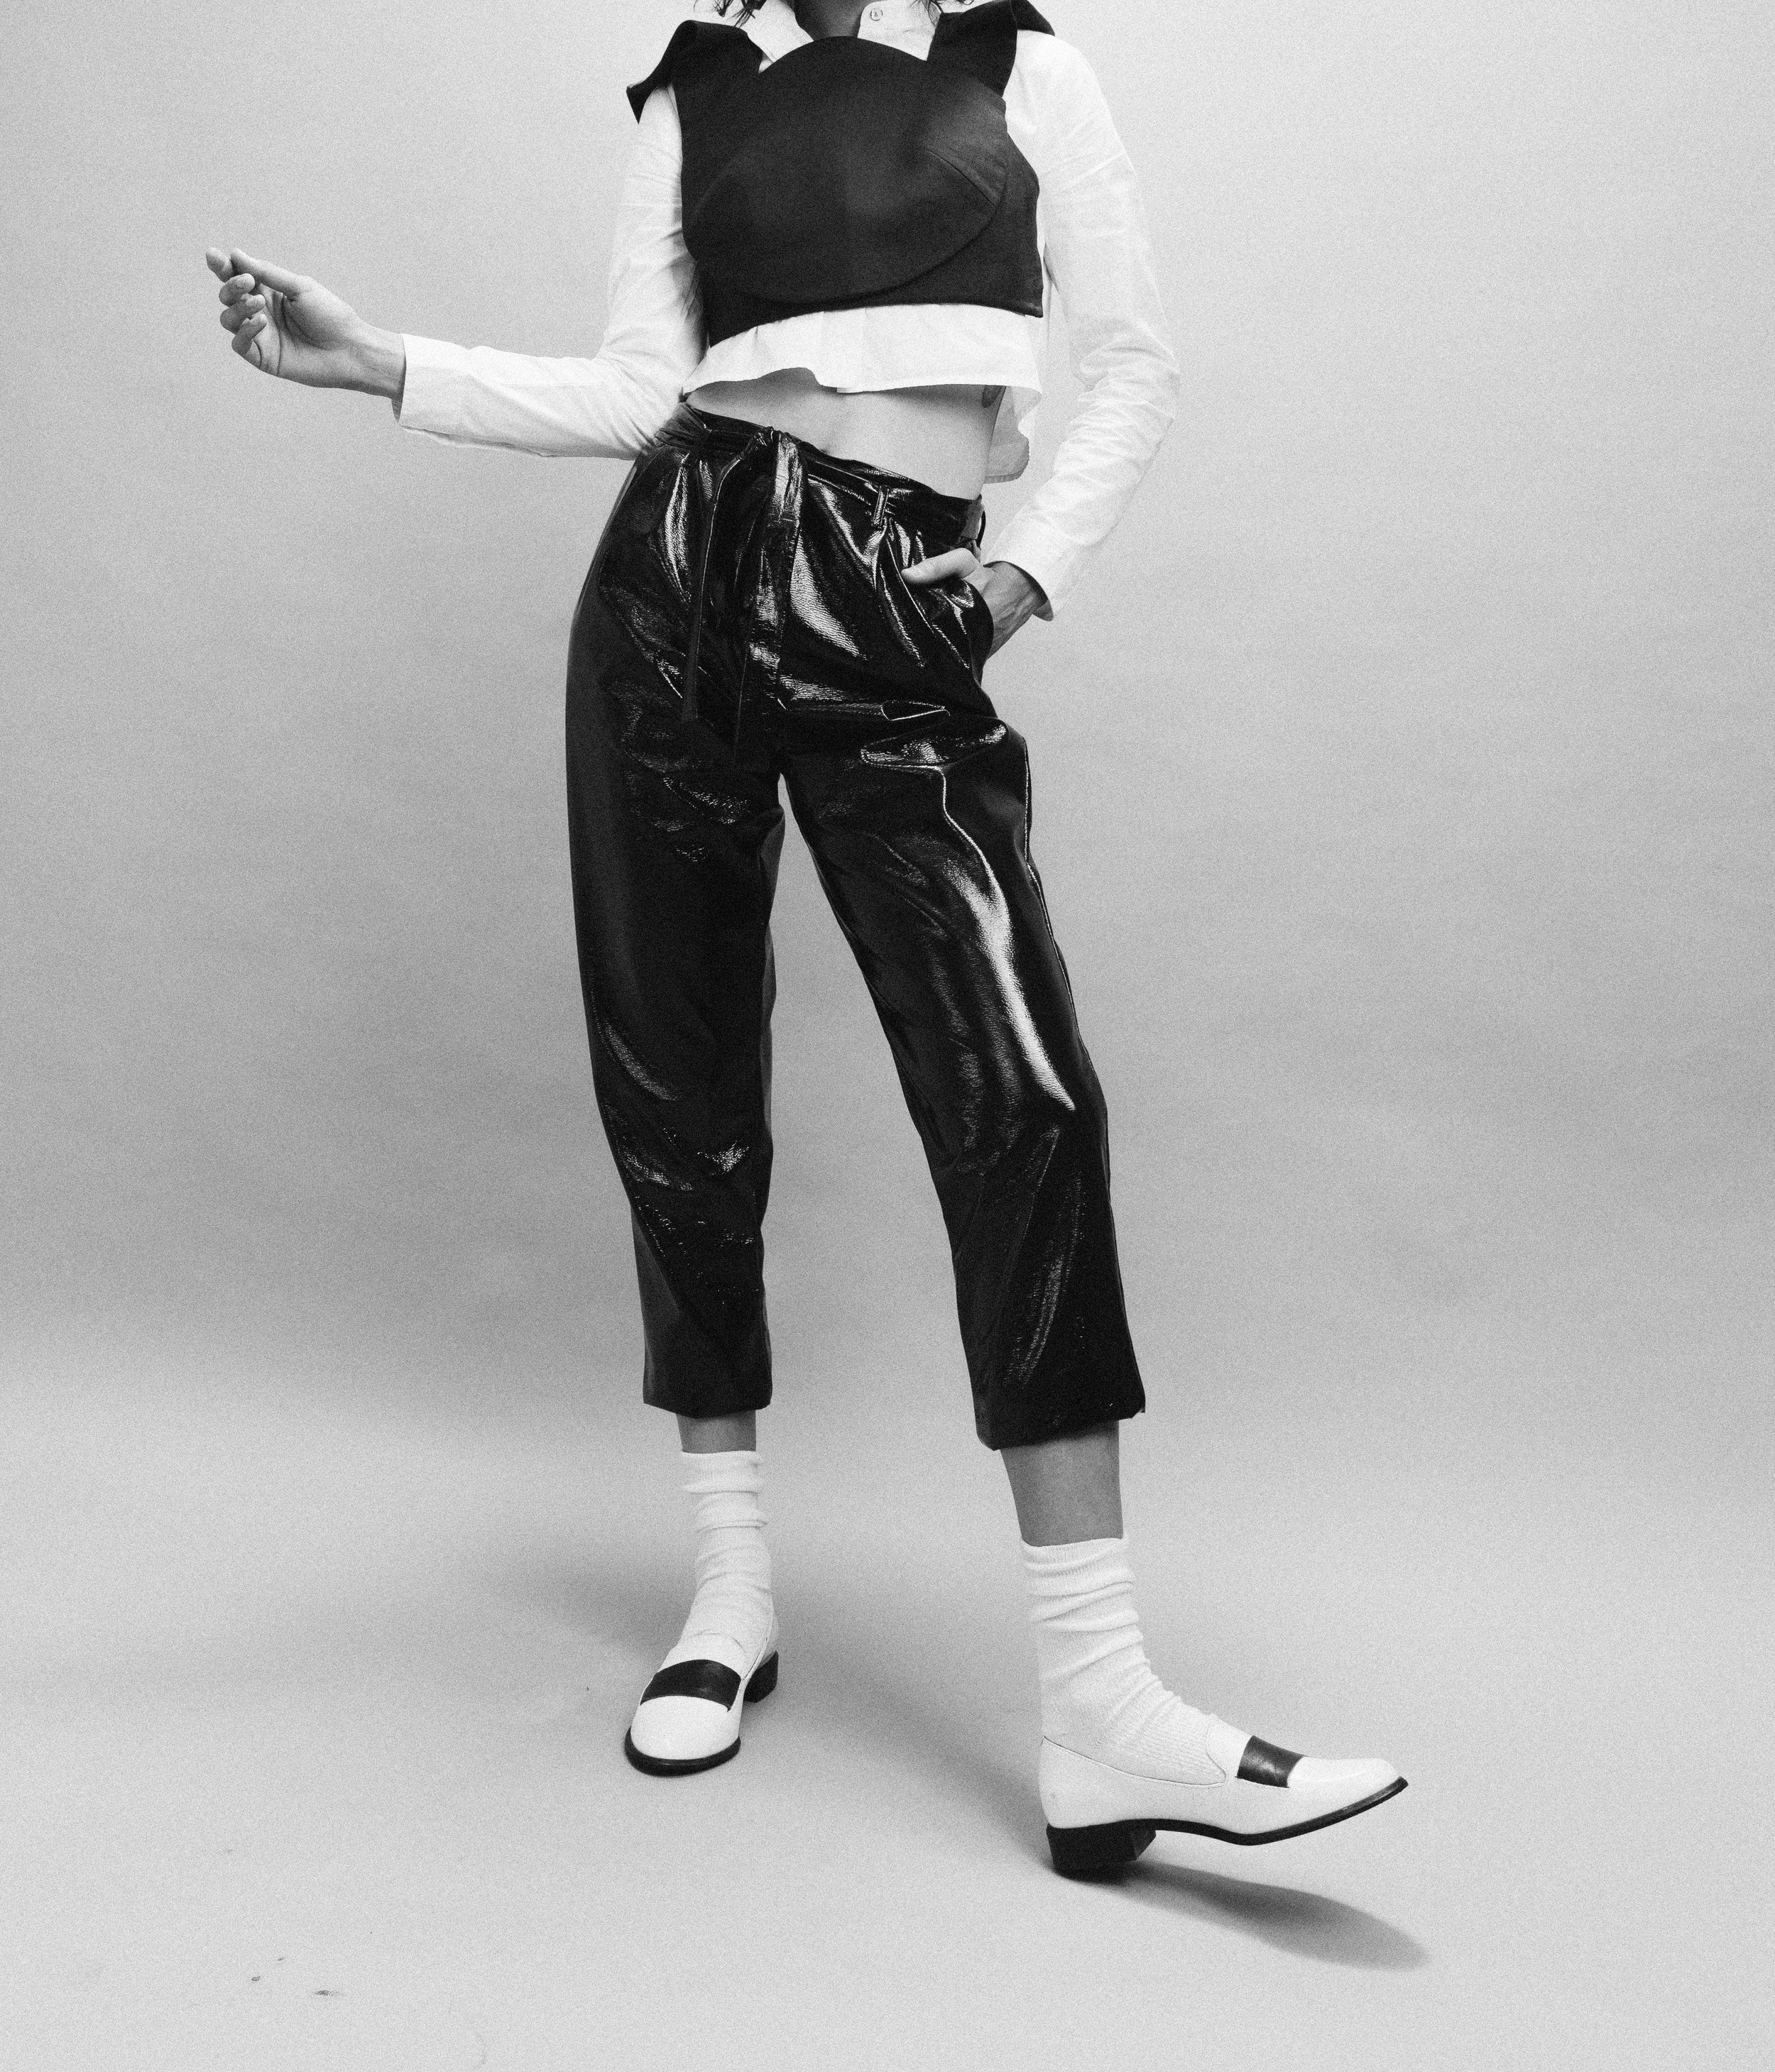
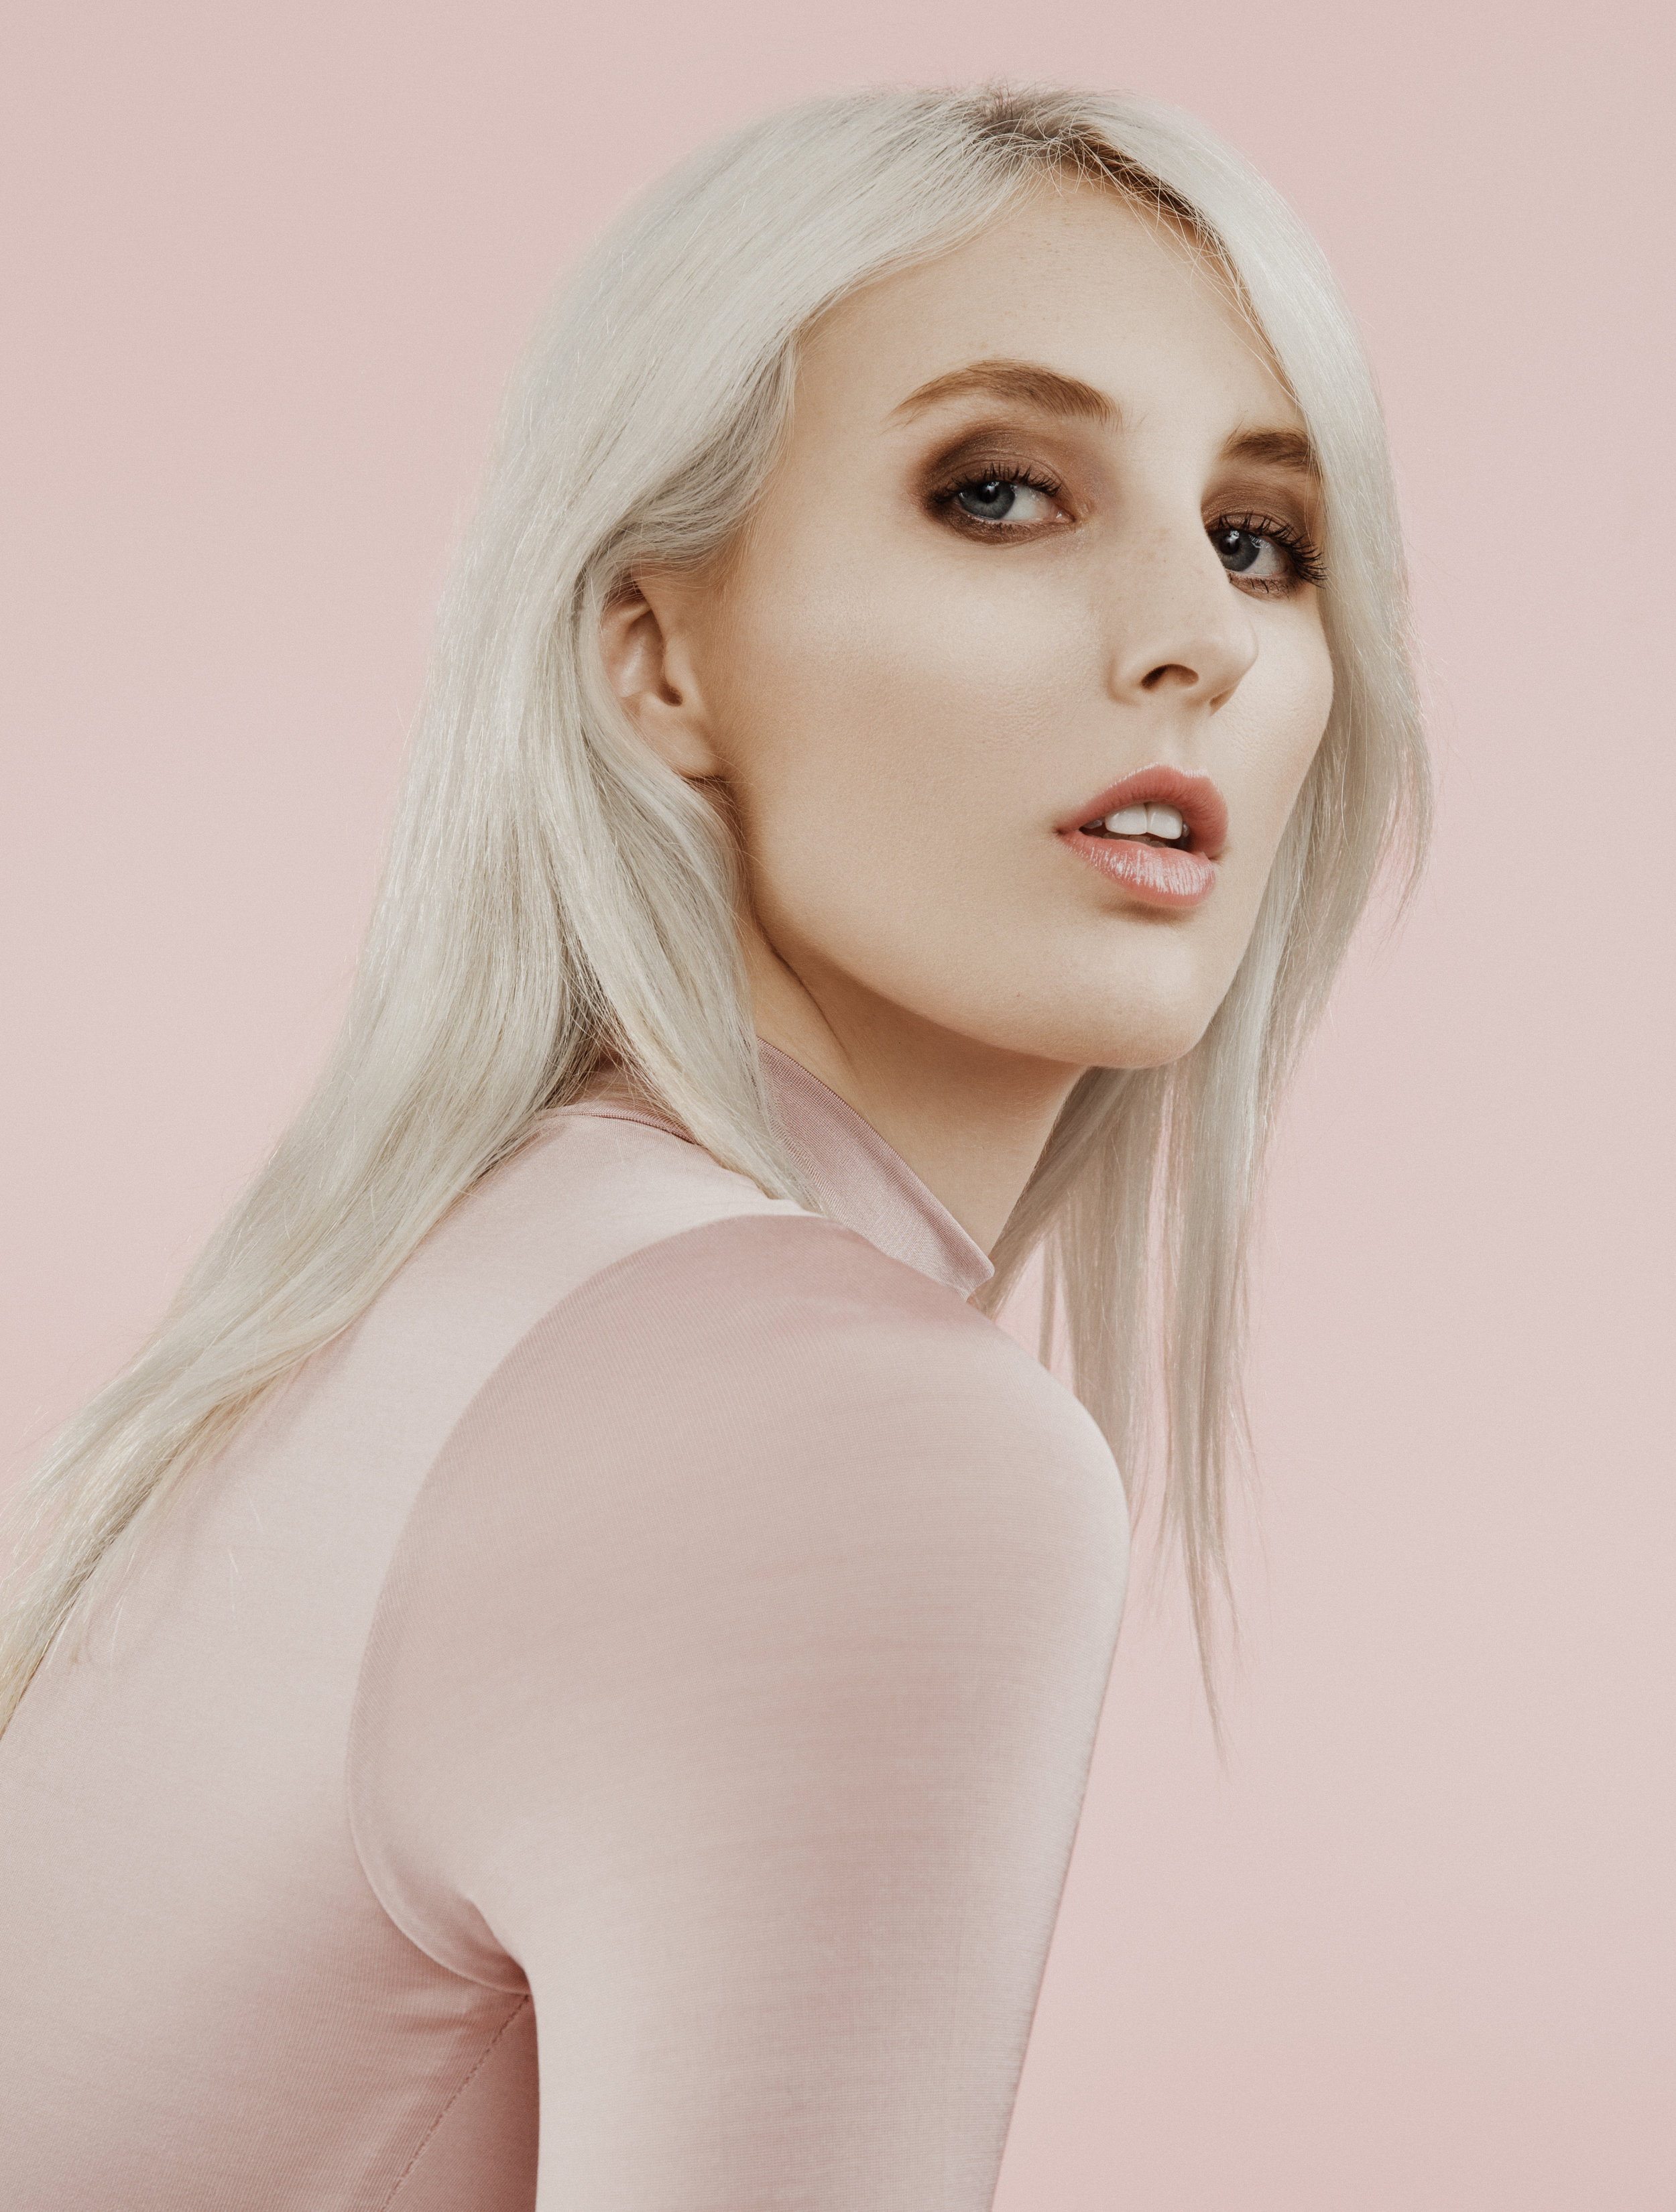
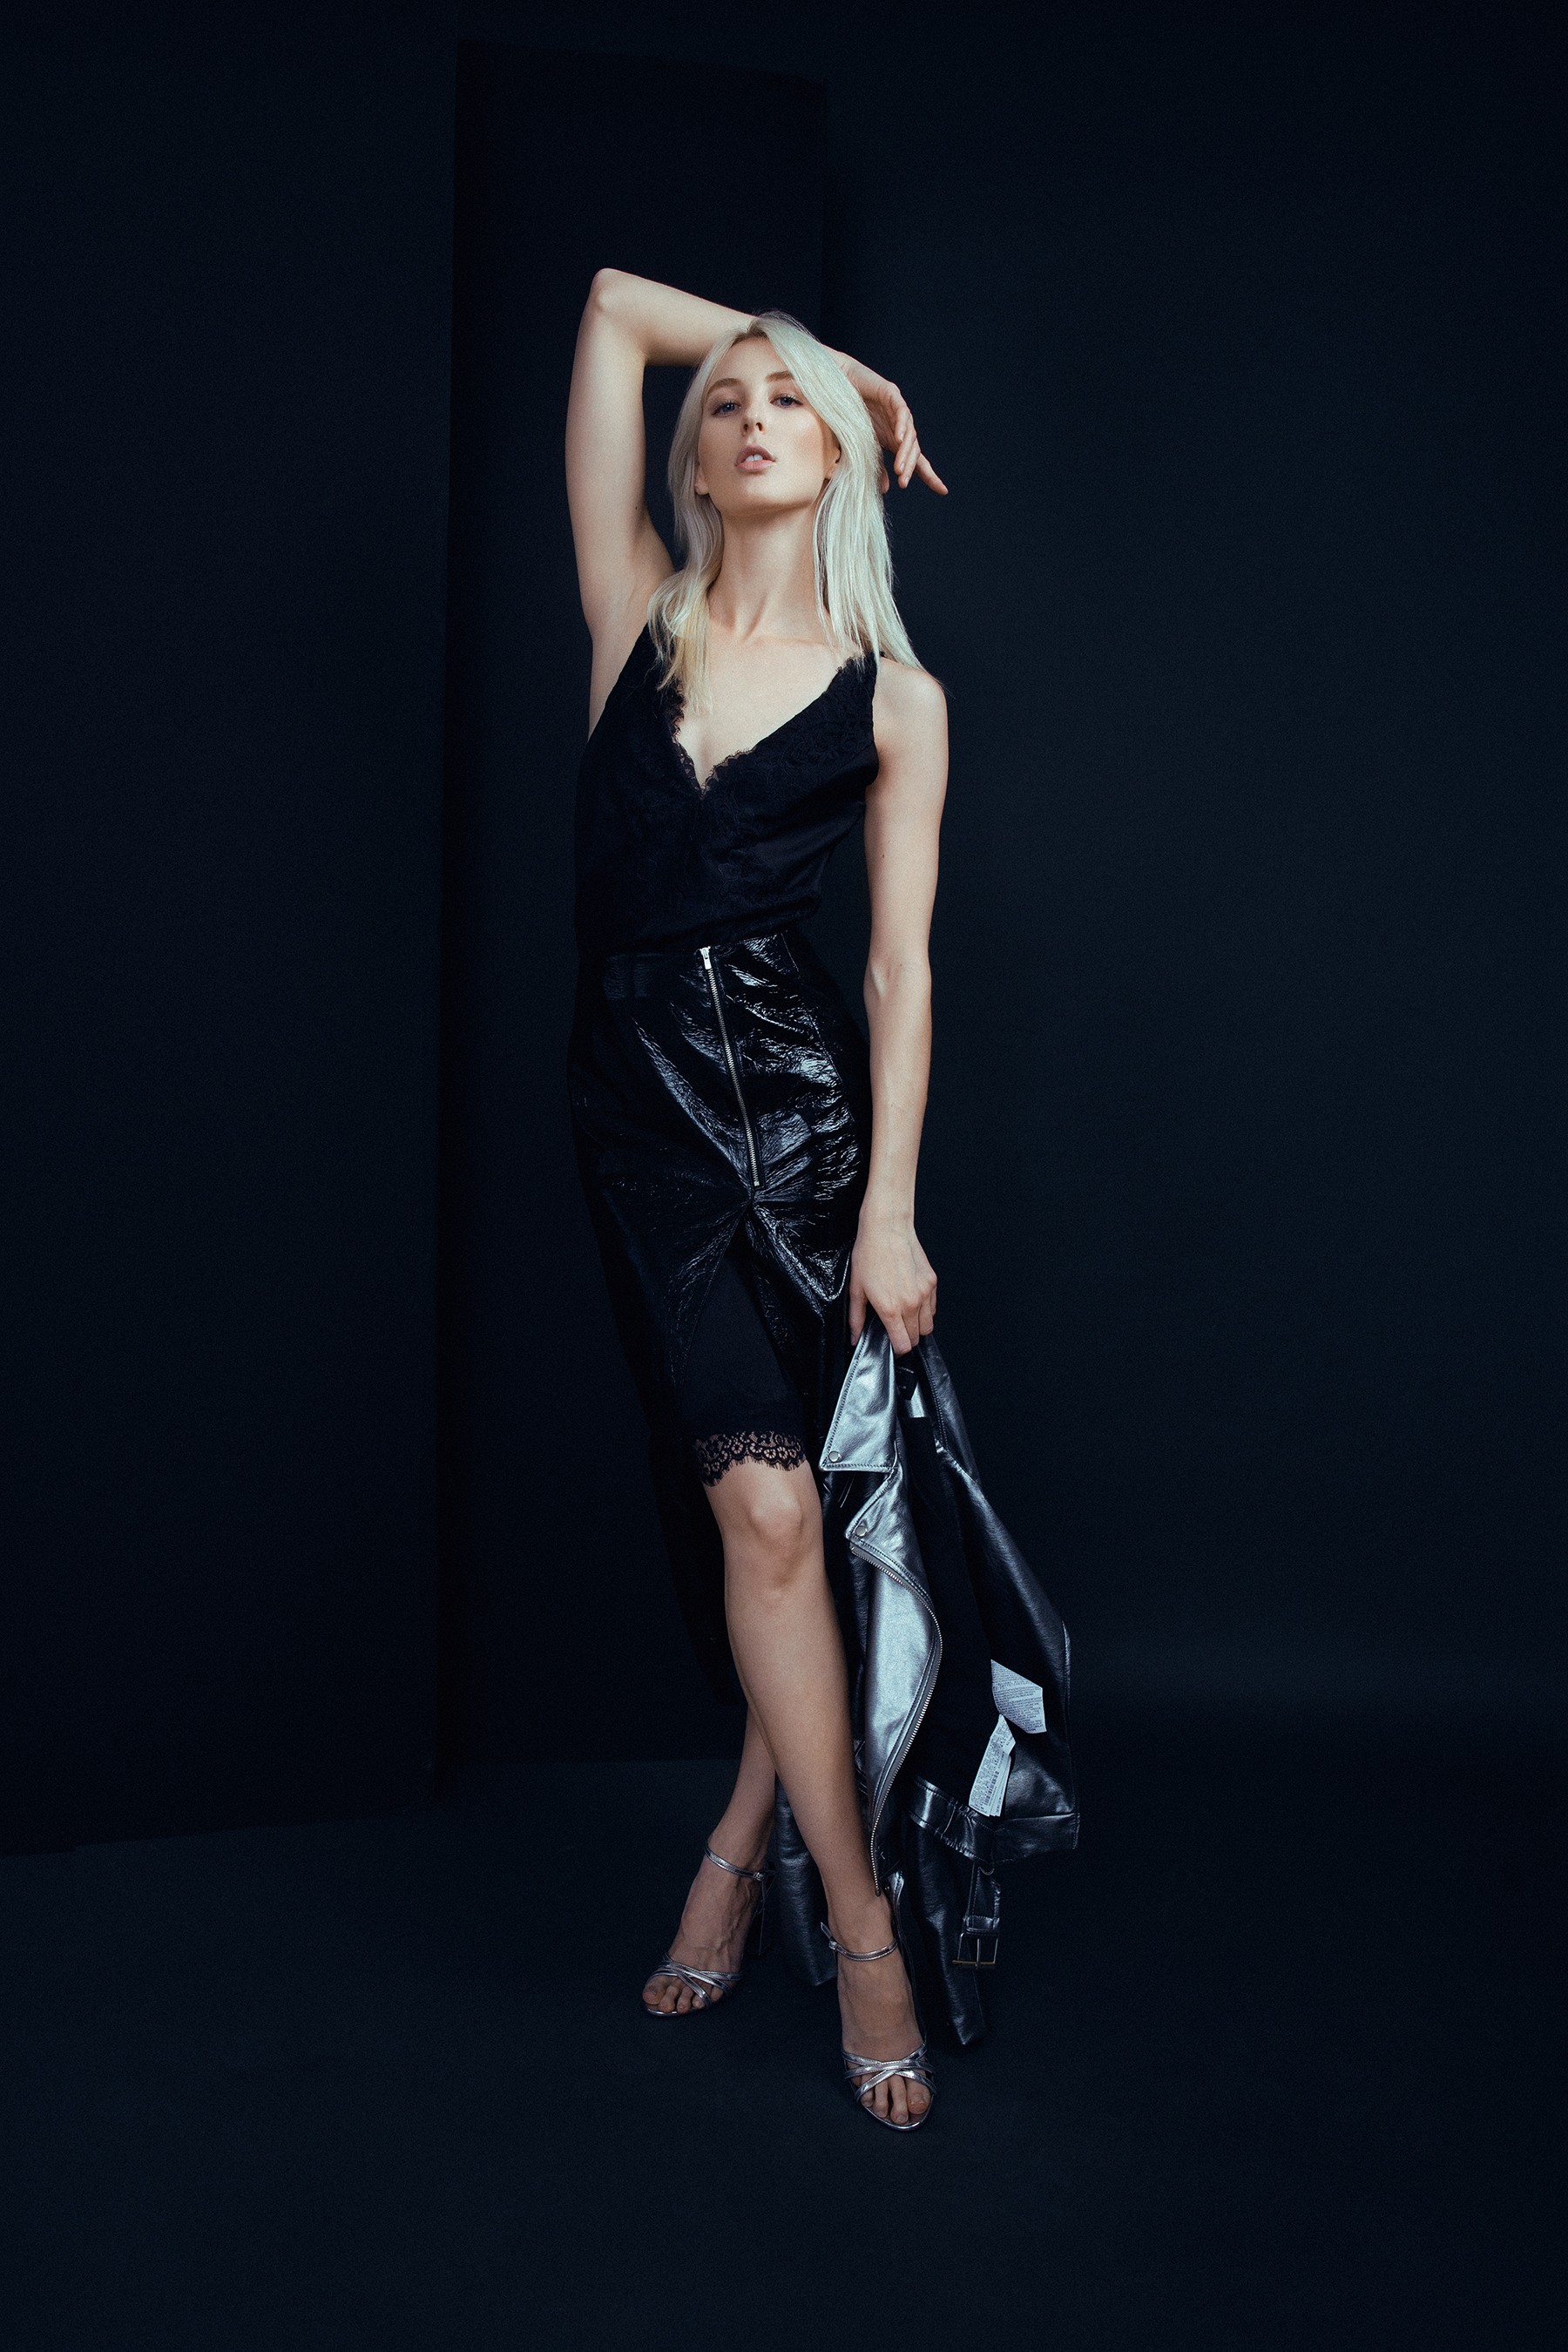
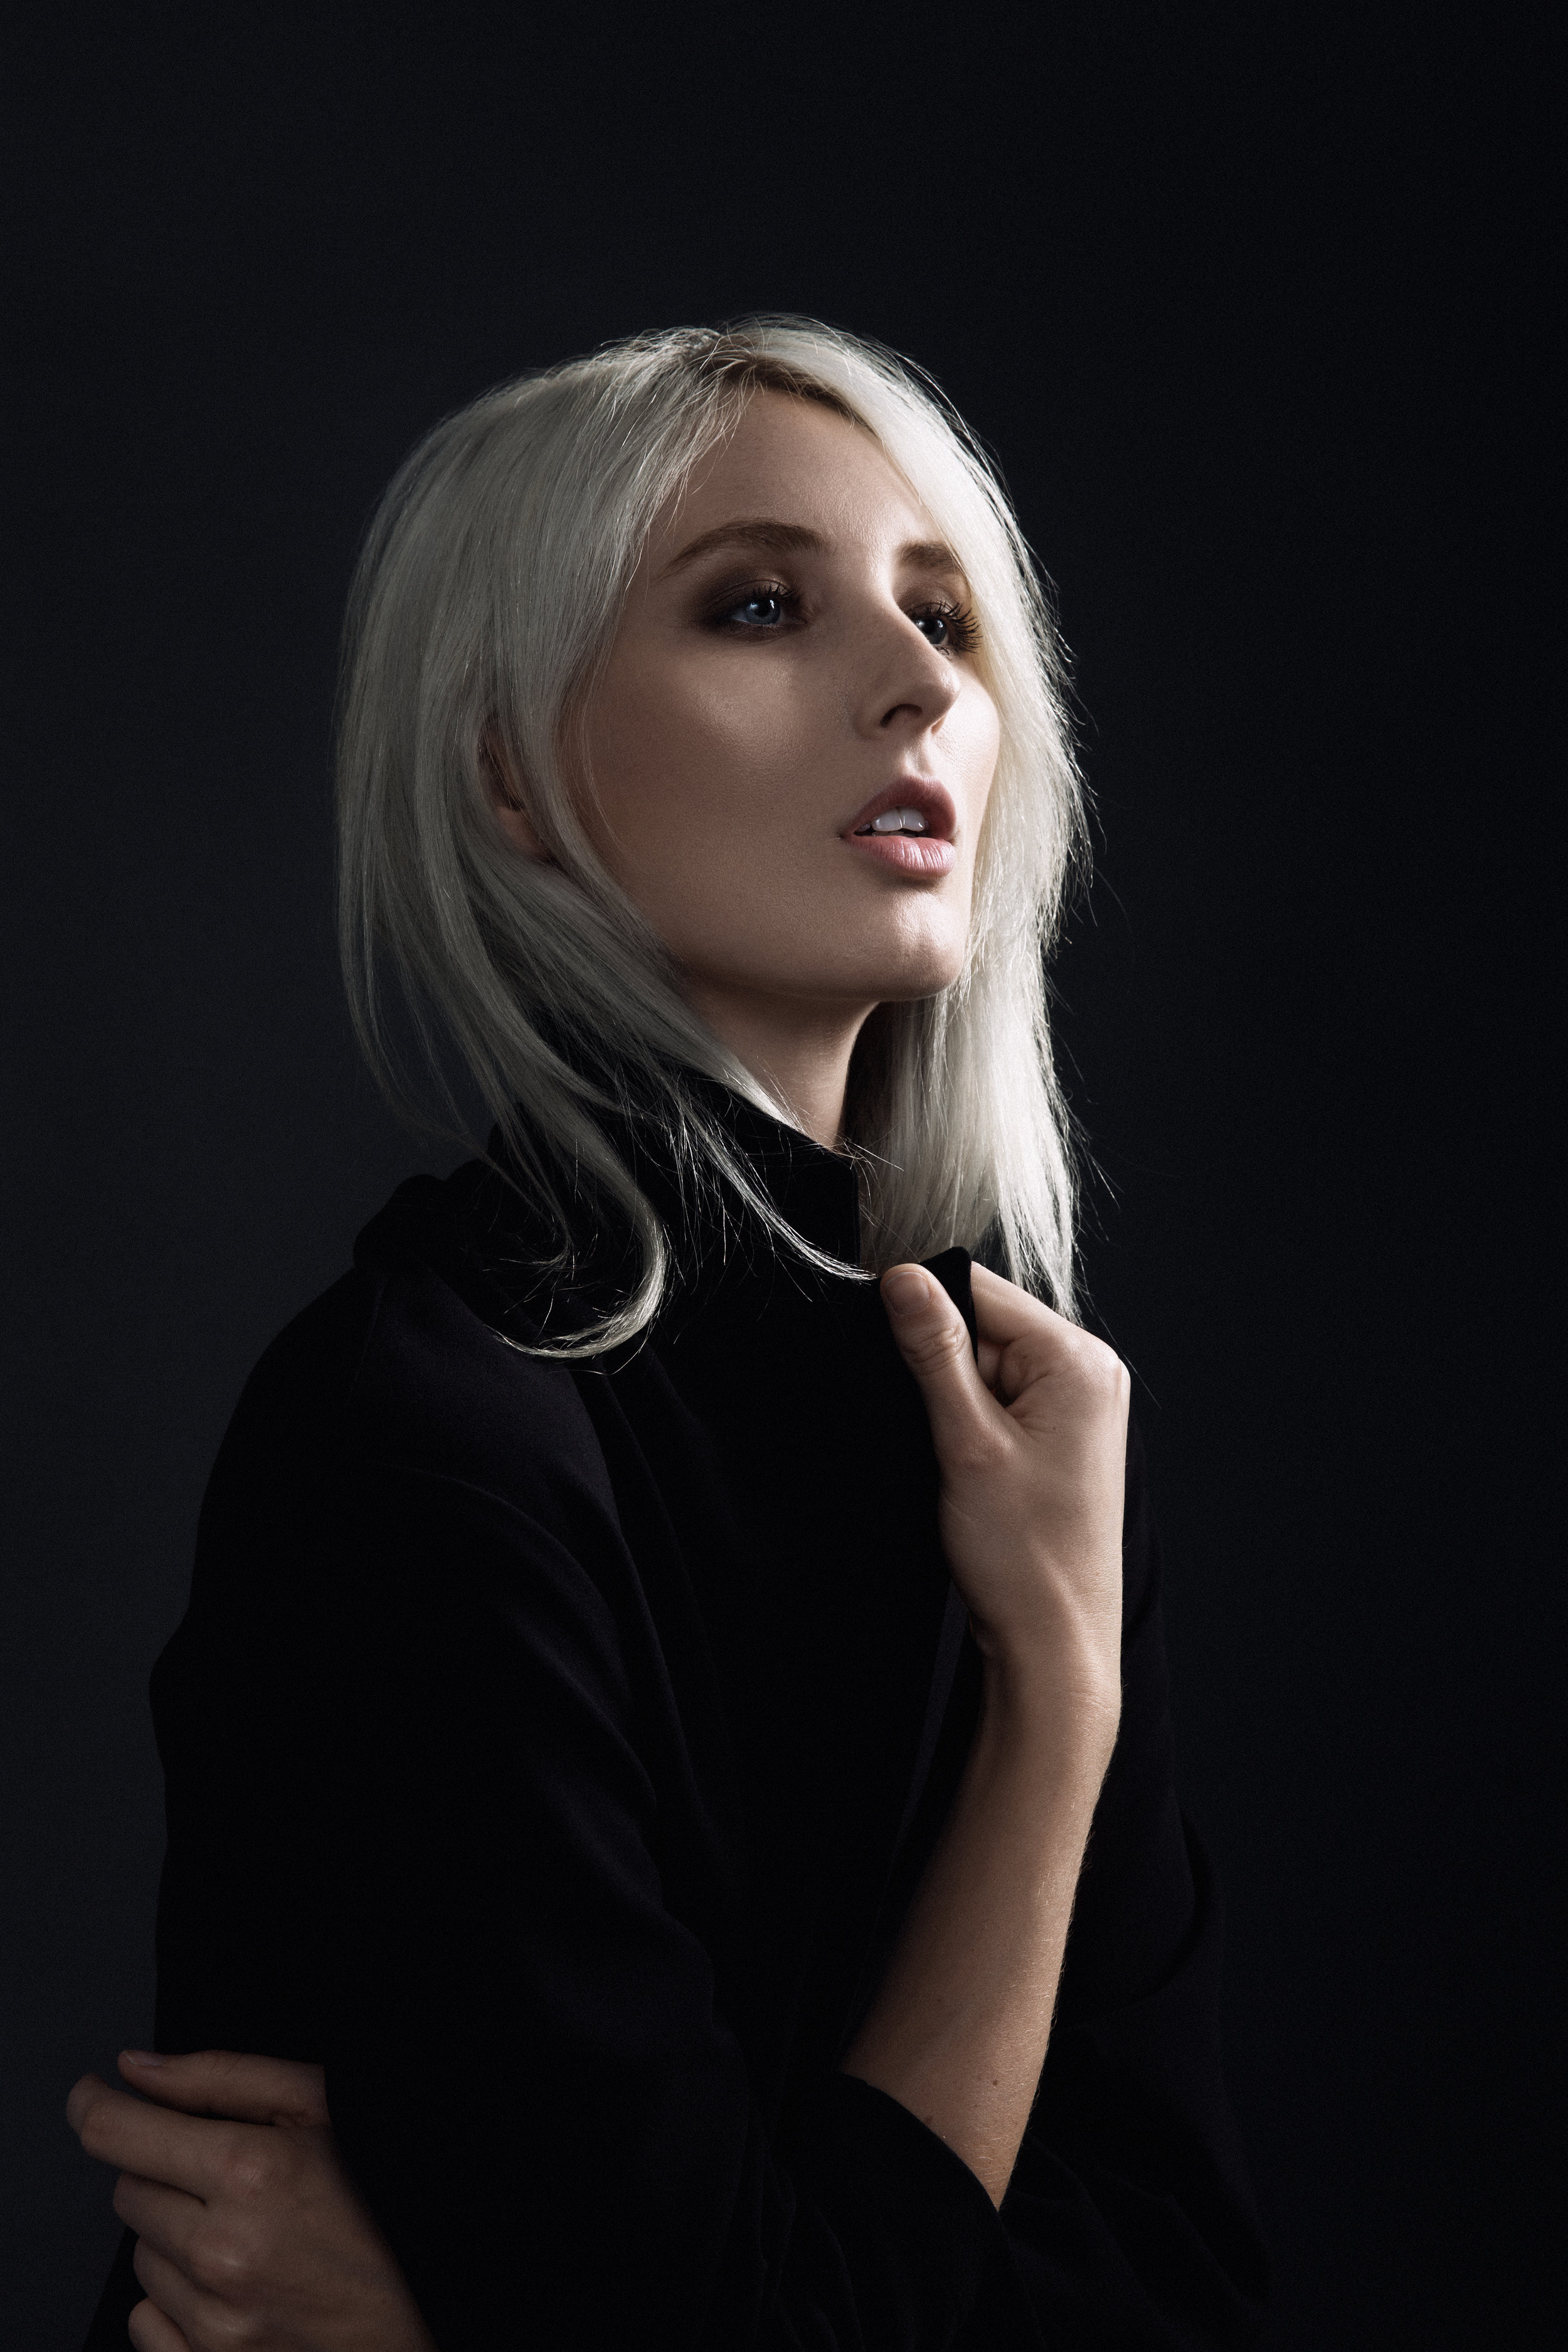
Year In Review
2021 Year In Review
I have not been very elaborate with words lately so I will keep it short.
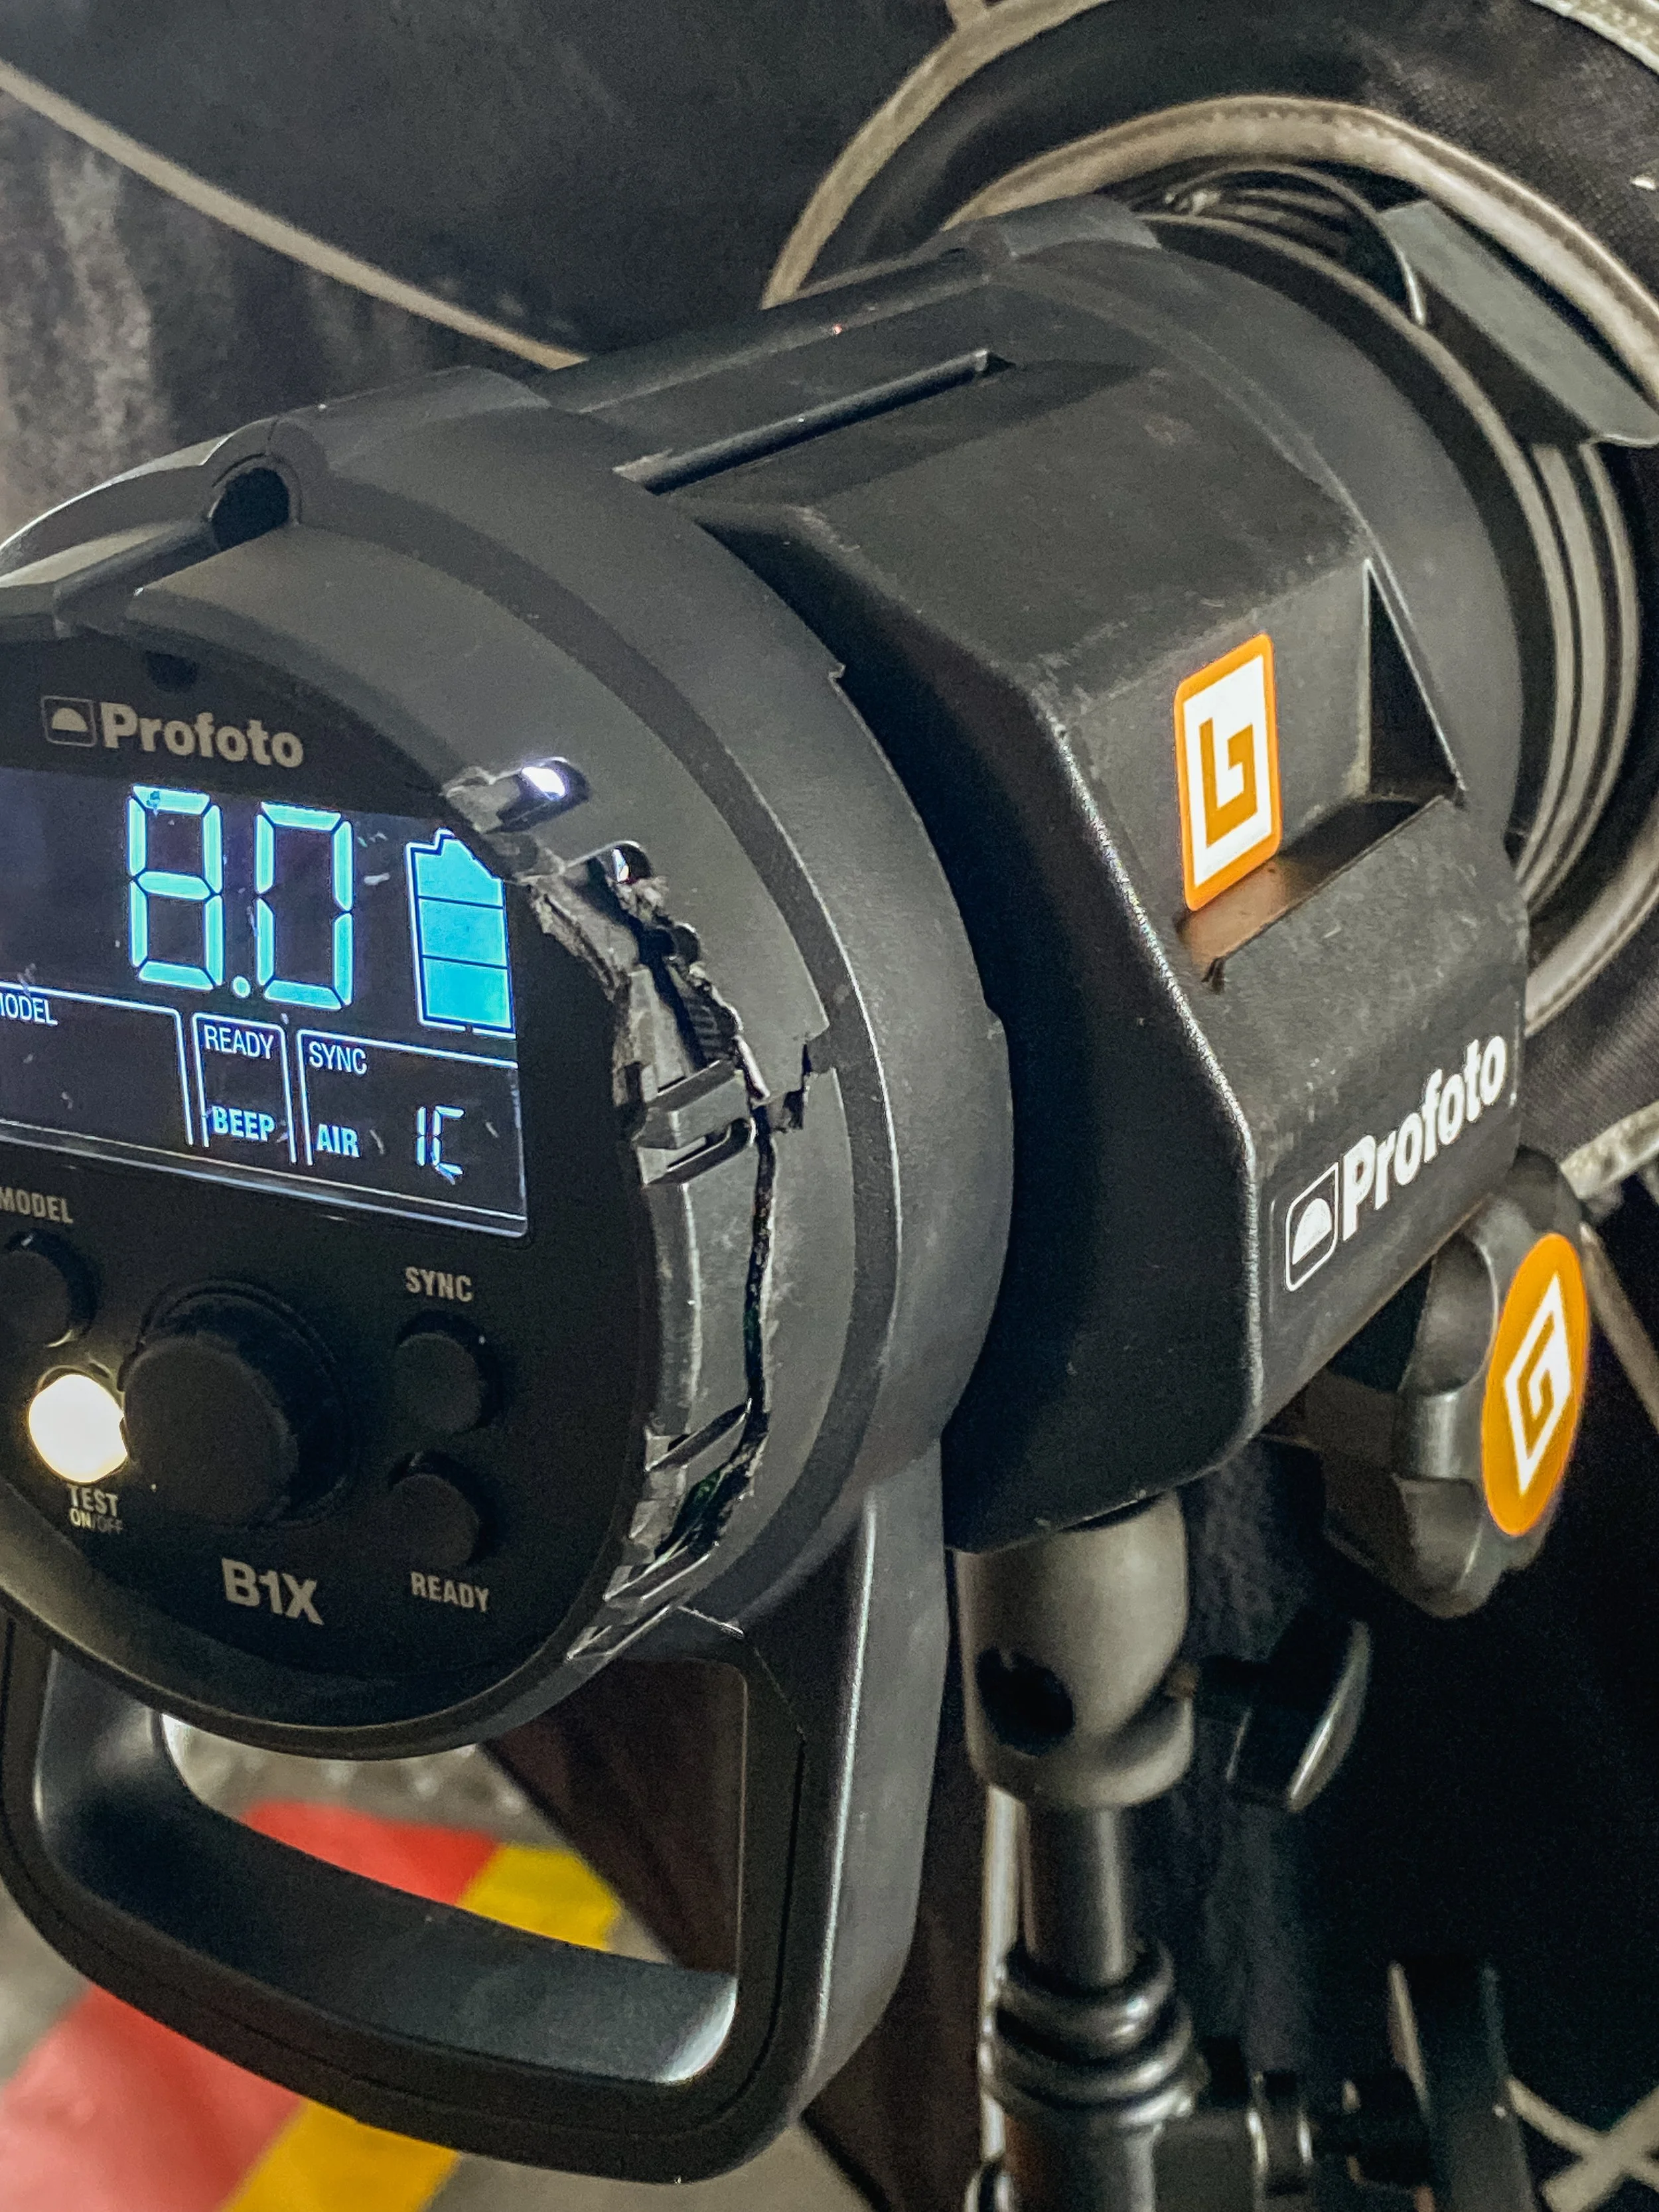
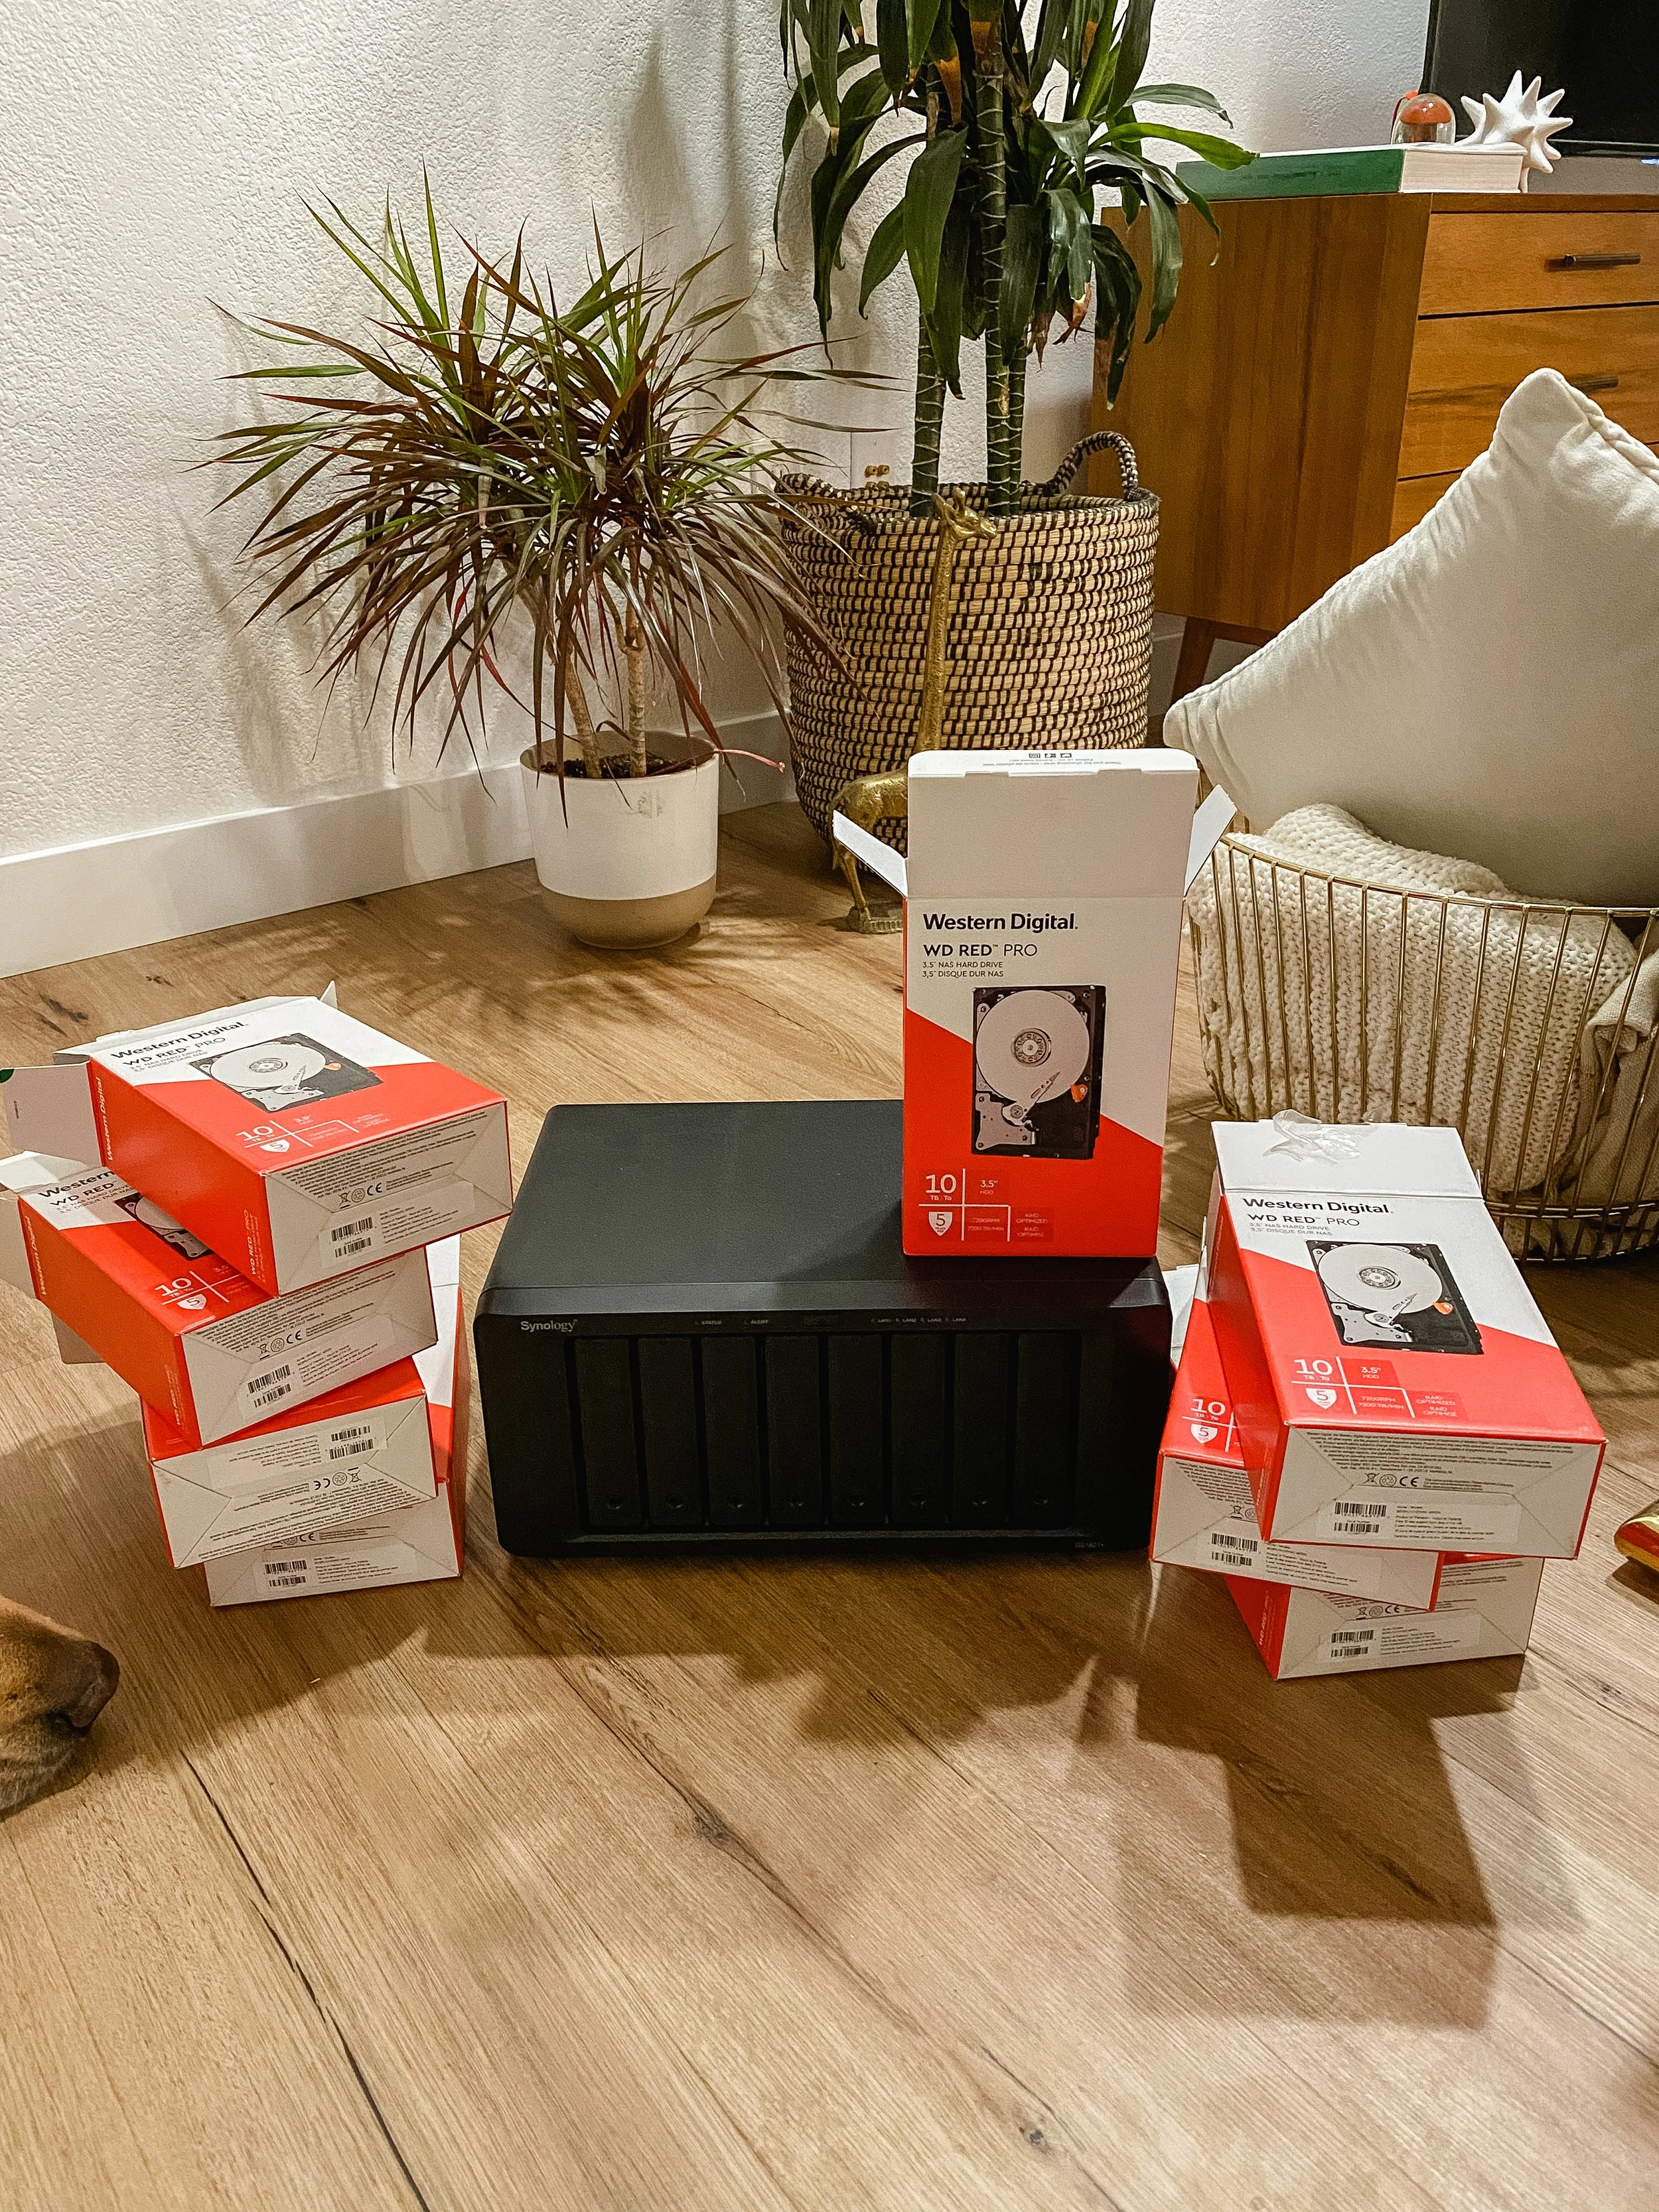
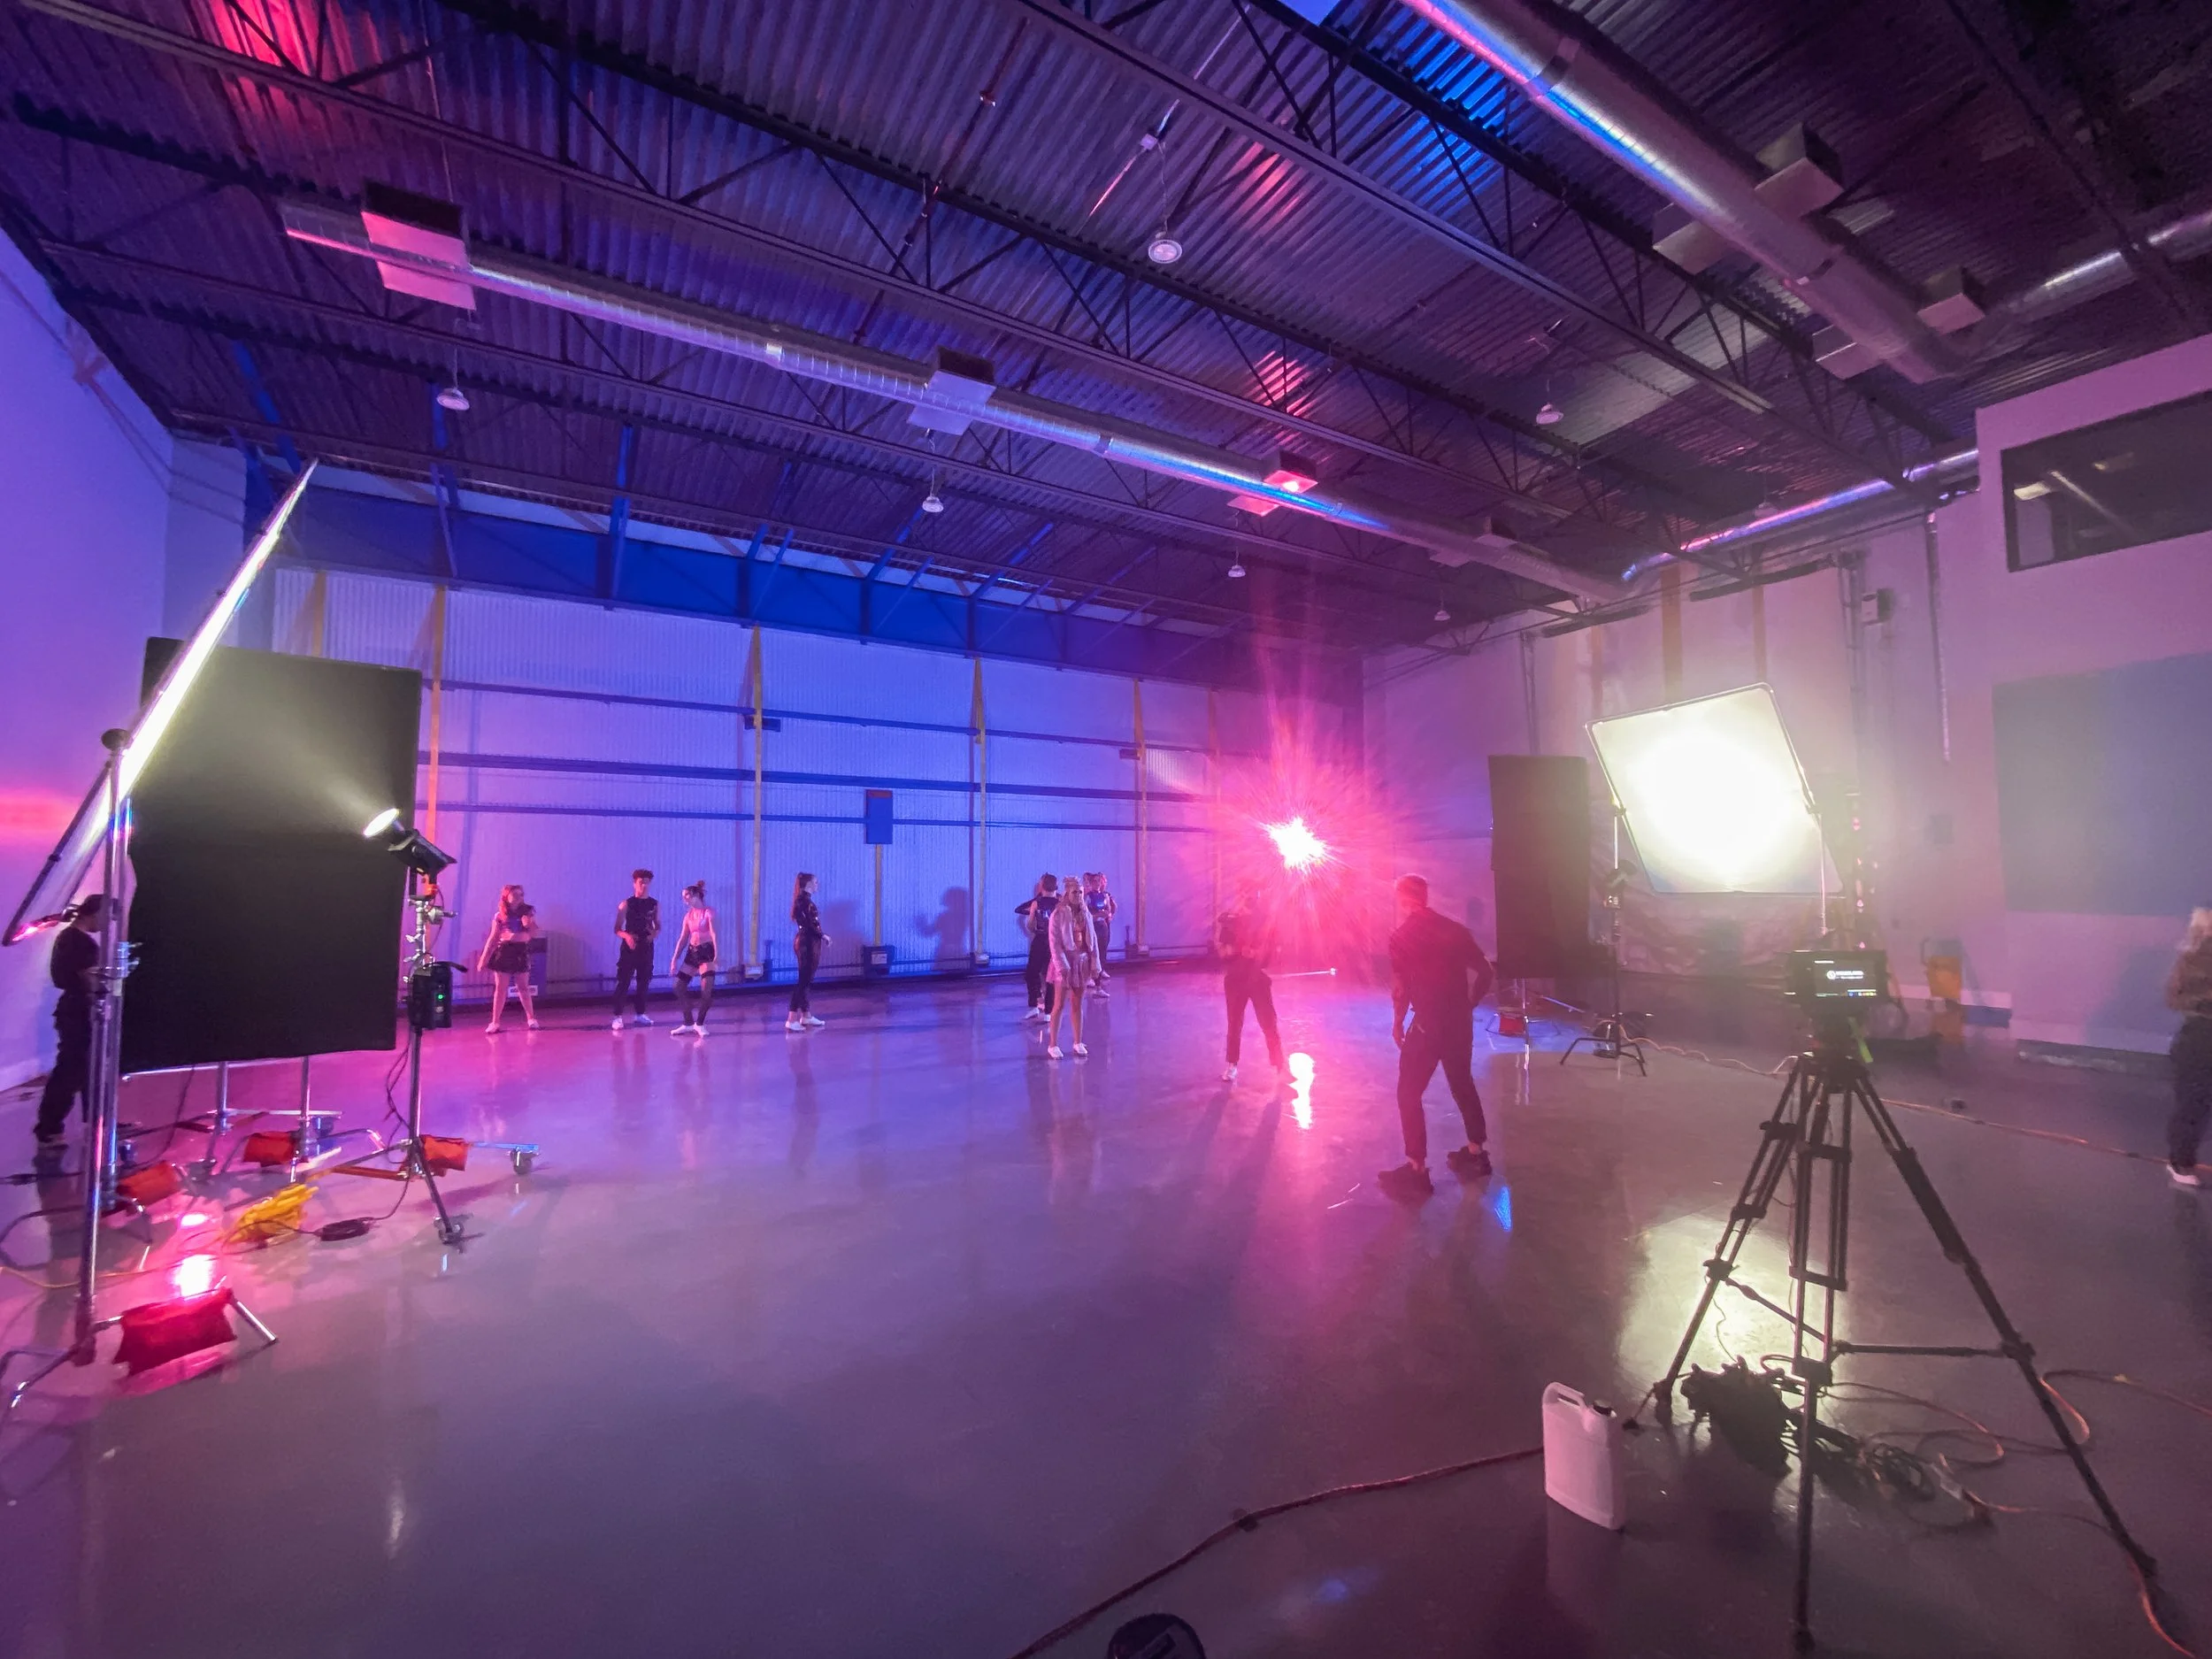
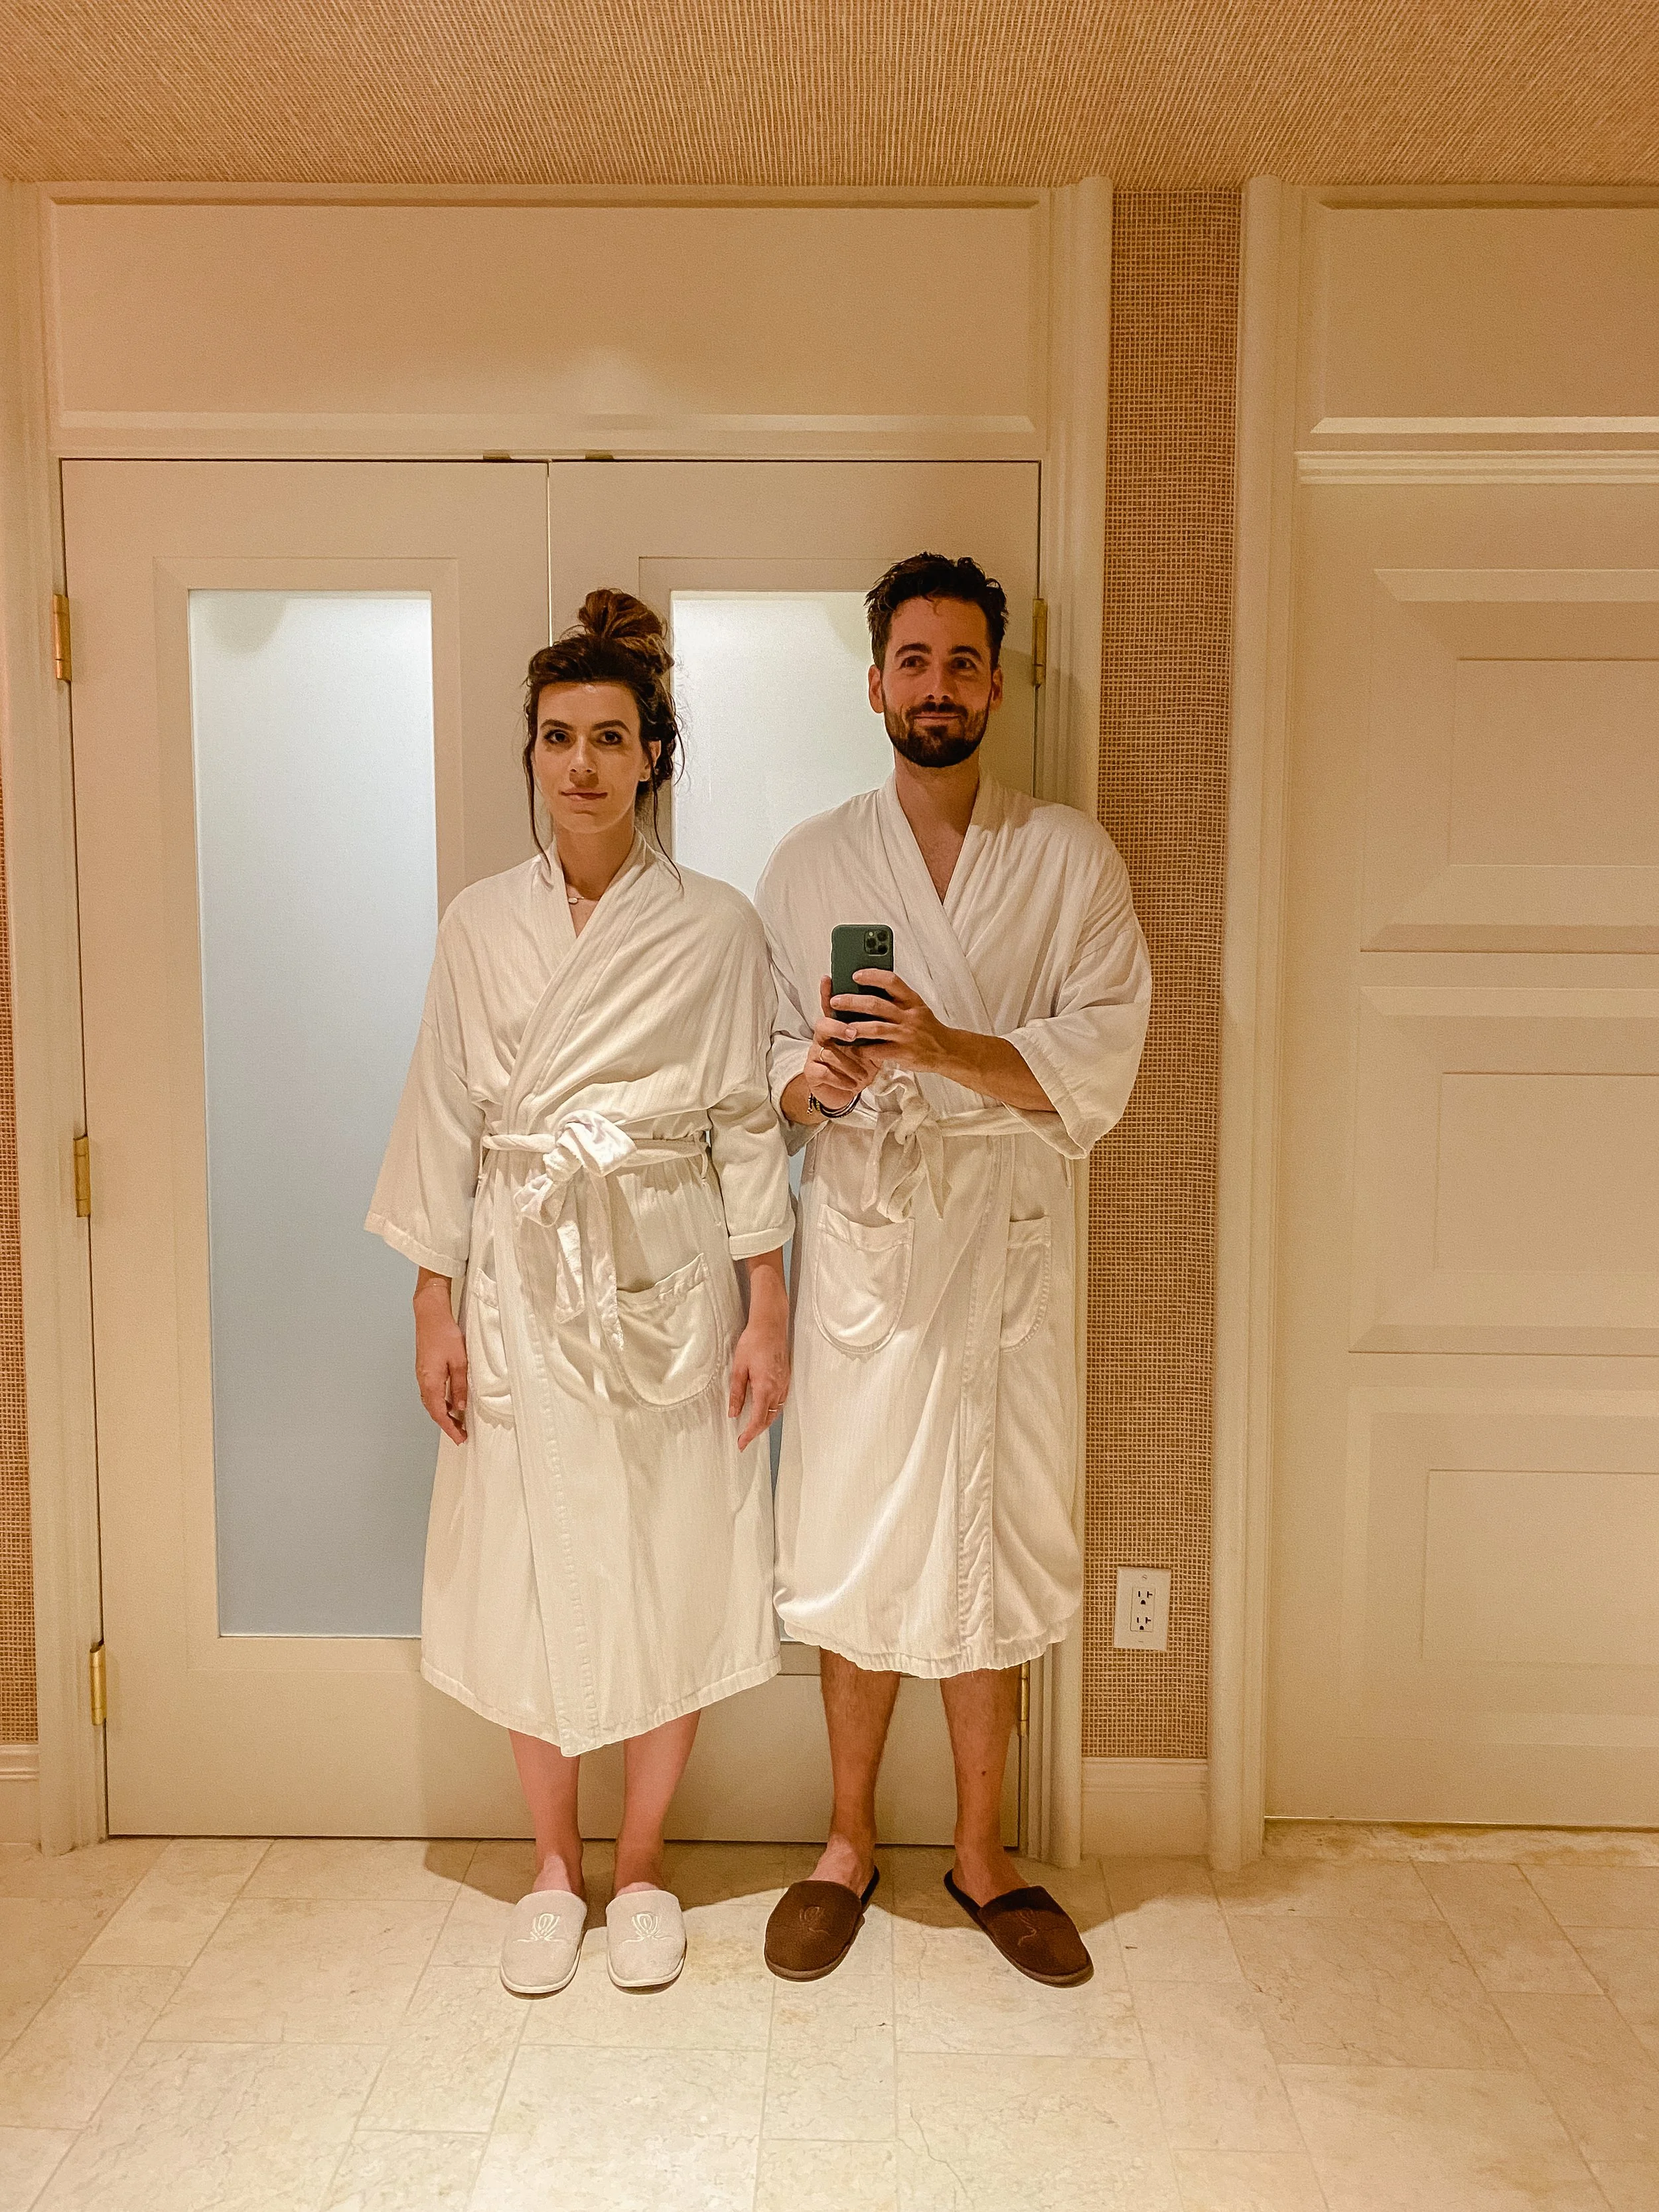
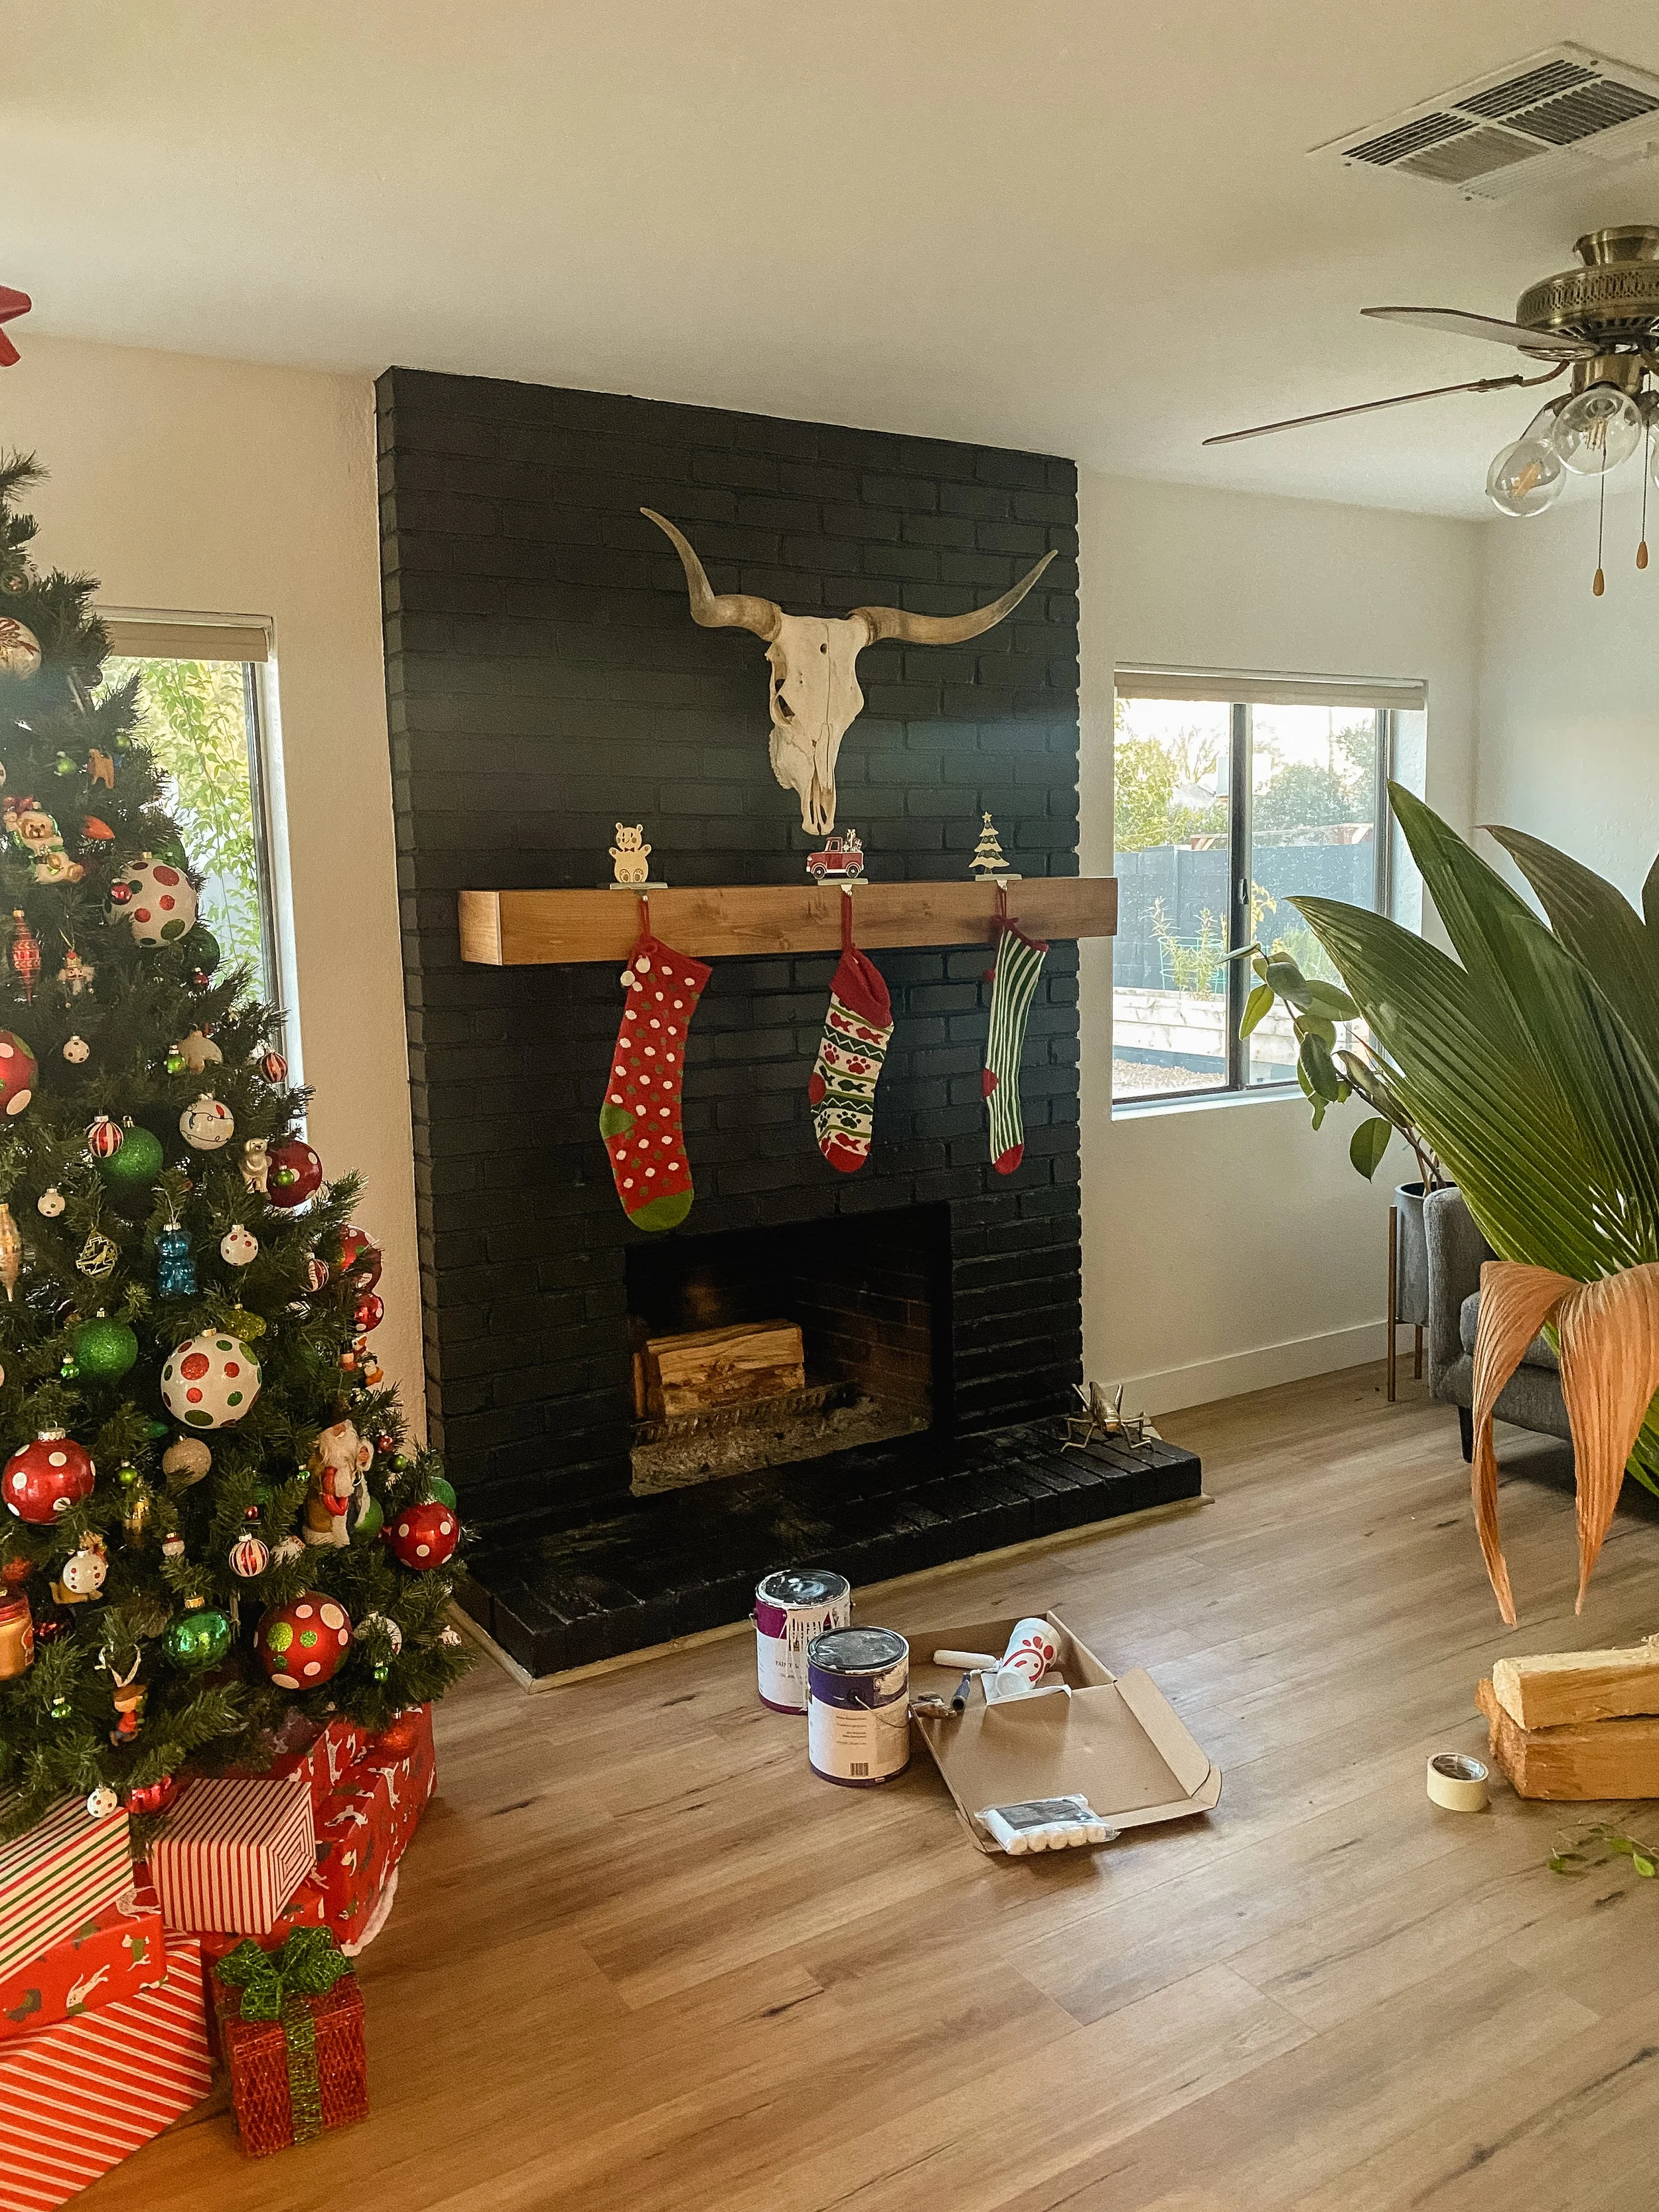
It sure has been a strange year. I was happy to start seeing family, friends, and coworkers after 2020. I was very blessed to work on some incredible projects around the world, spend some time renovating the house, and got more into video. It was exciting to see Litebox expand to offer more in rentals and production. I also broke more gear than I ever have in a 3 month period, destroyed a few B1X’s and a drone. Lastly I ended the year investing into a Red camera. I am looking forward to 2022. What were some of your favorite parts of the year?
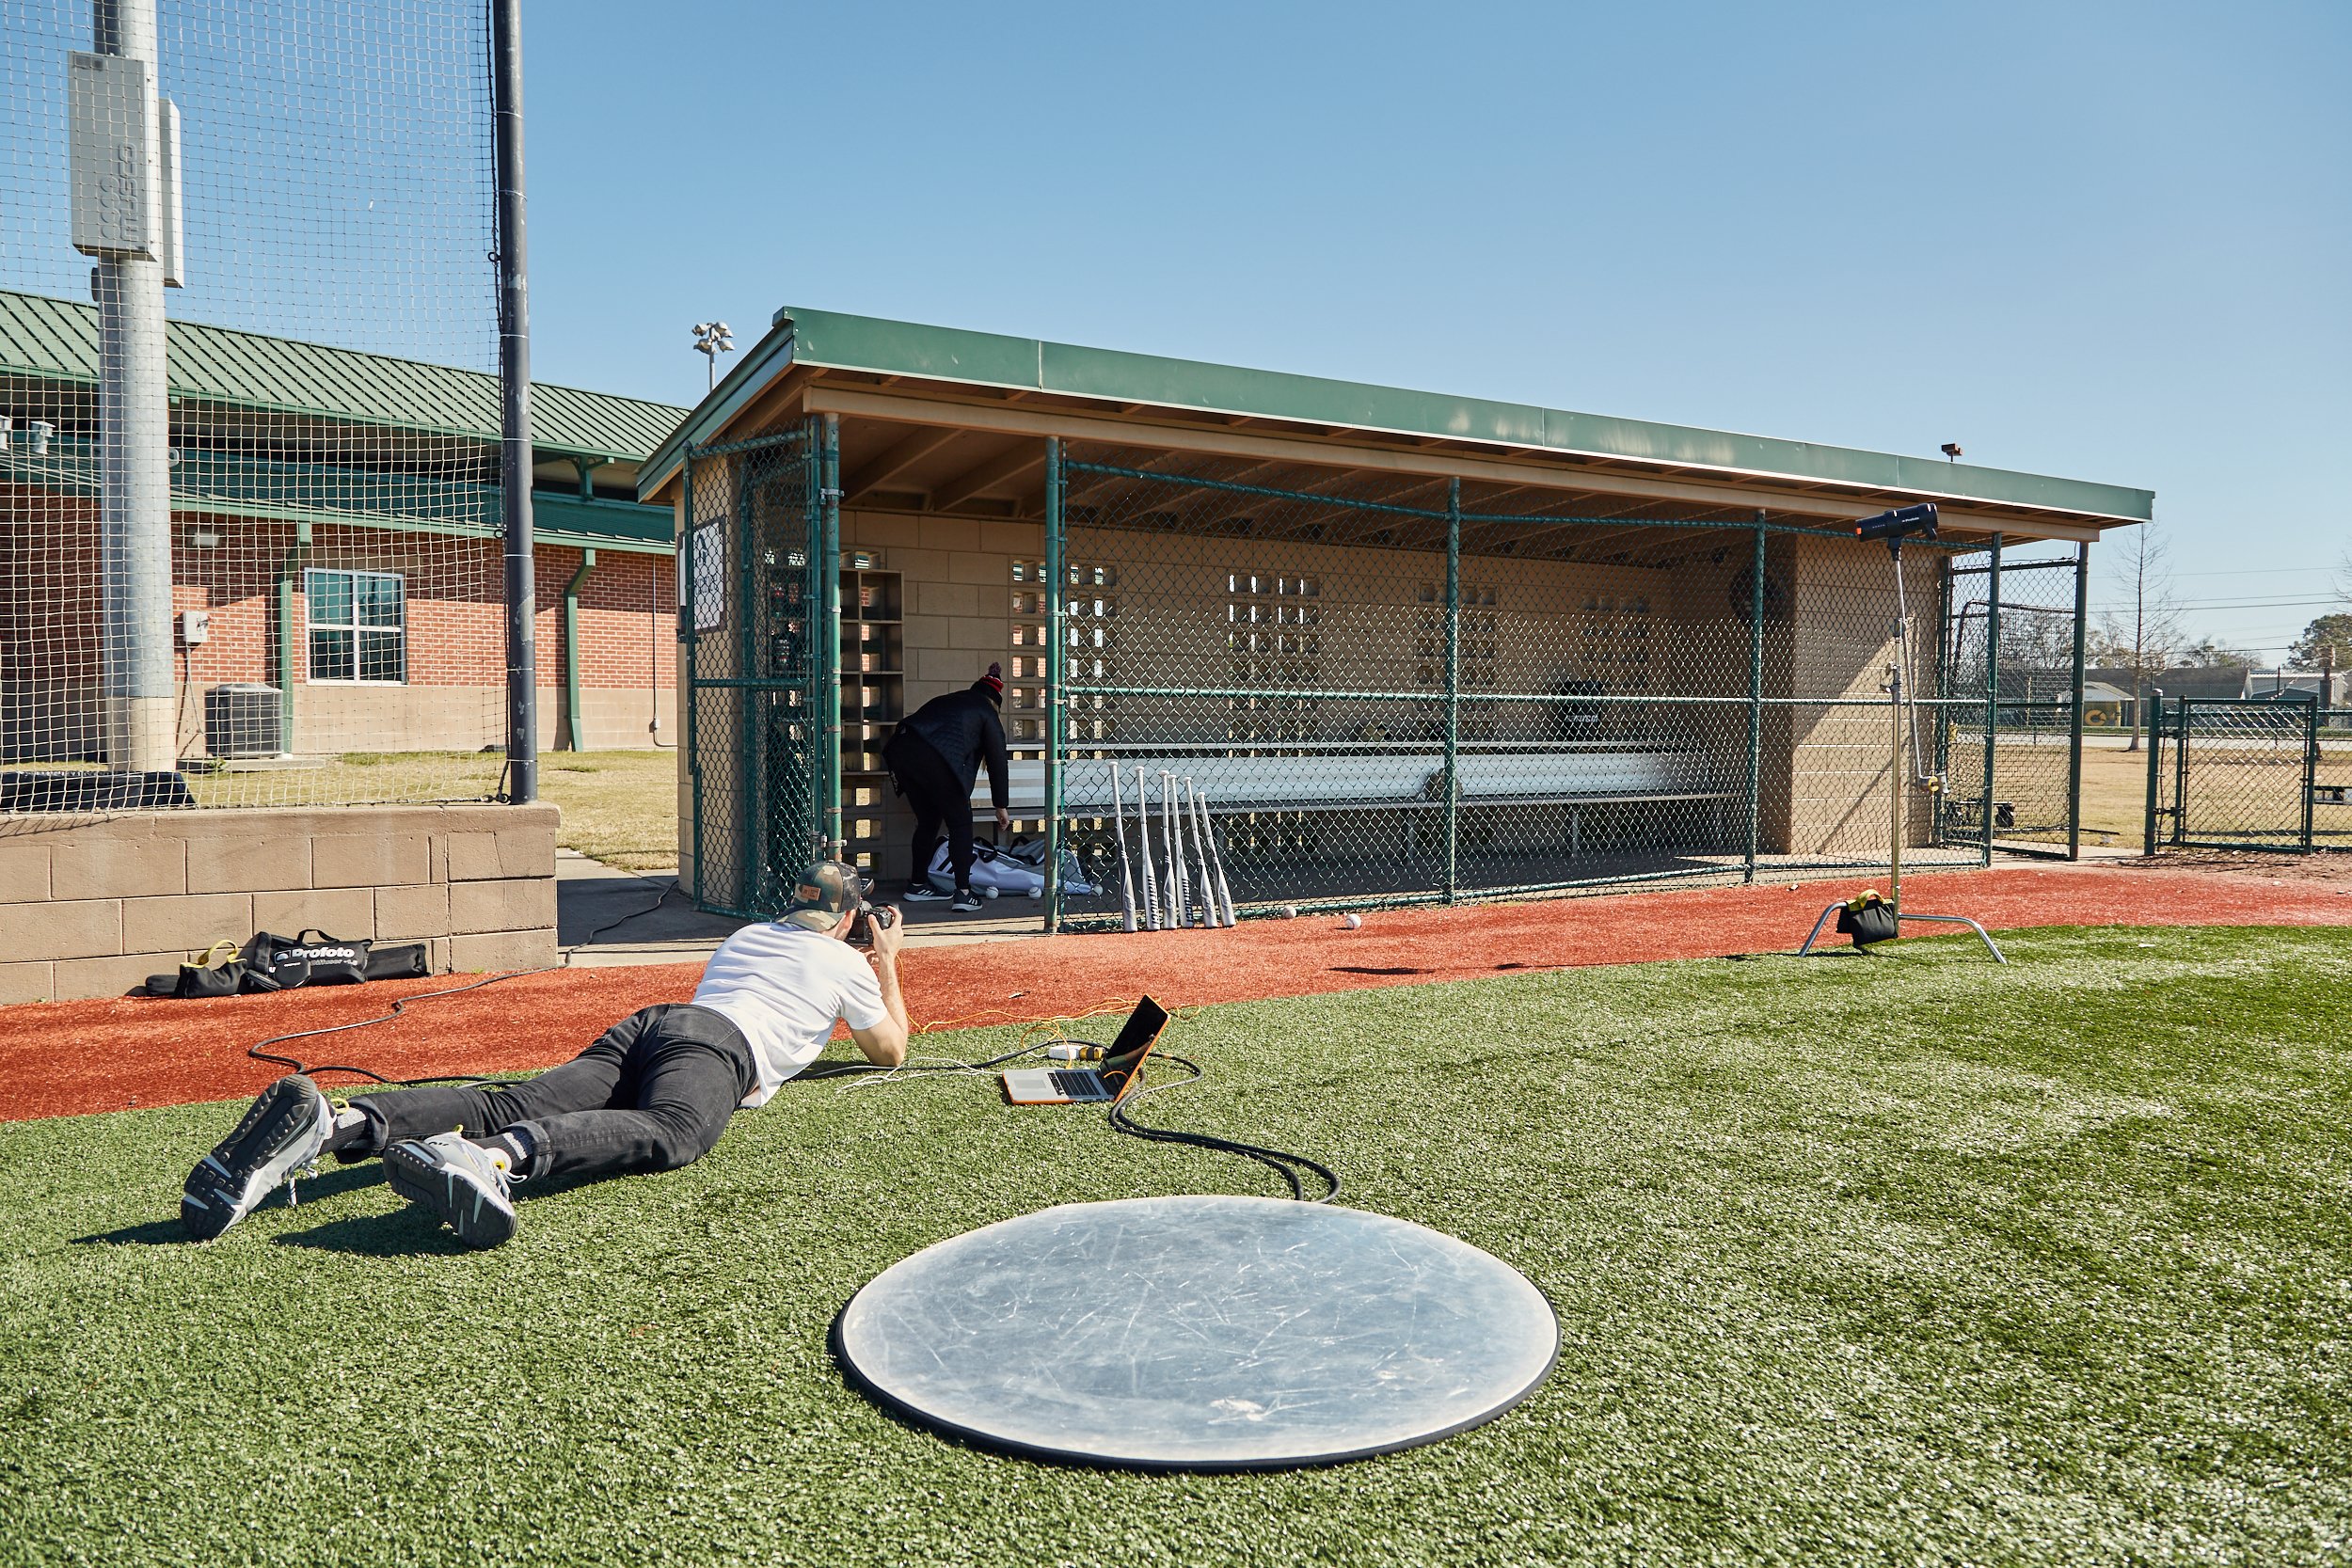
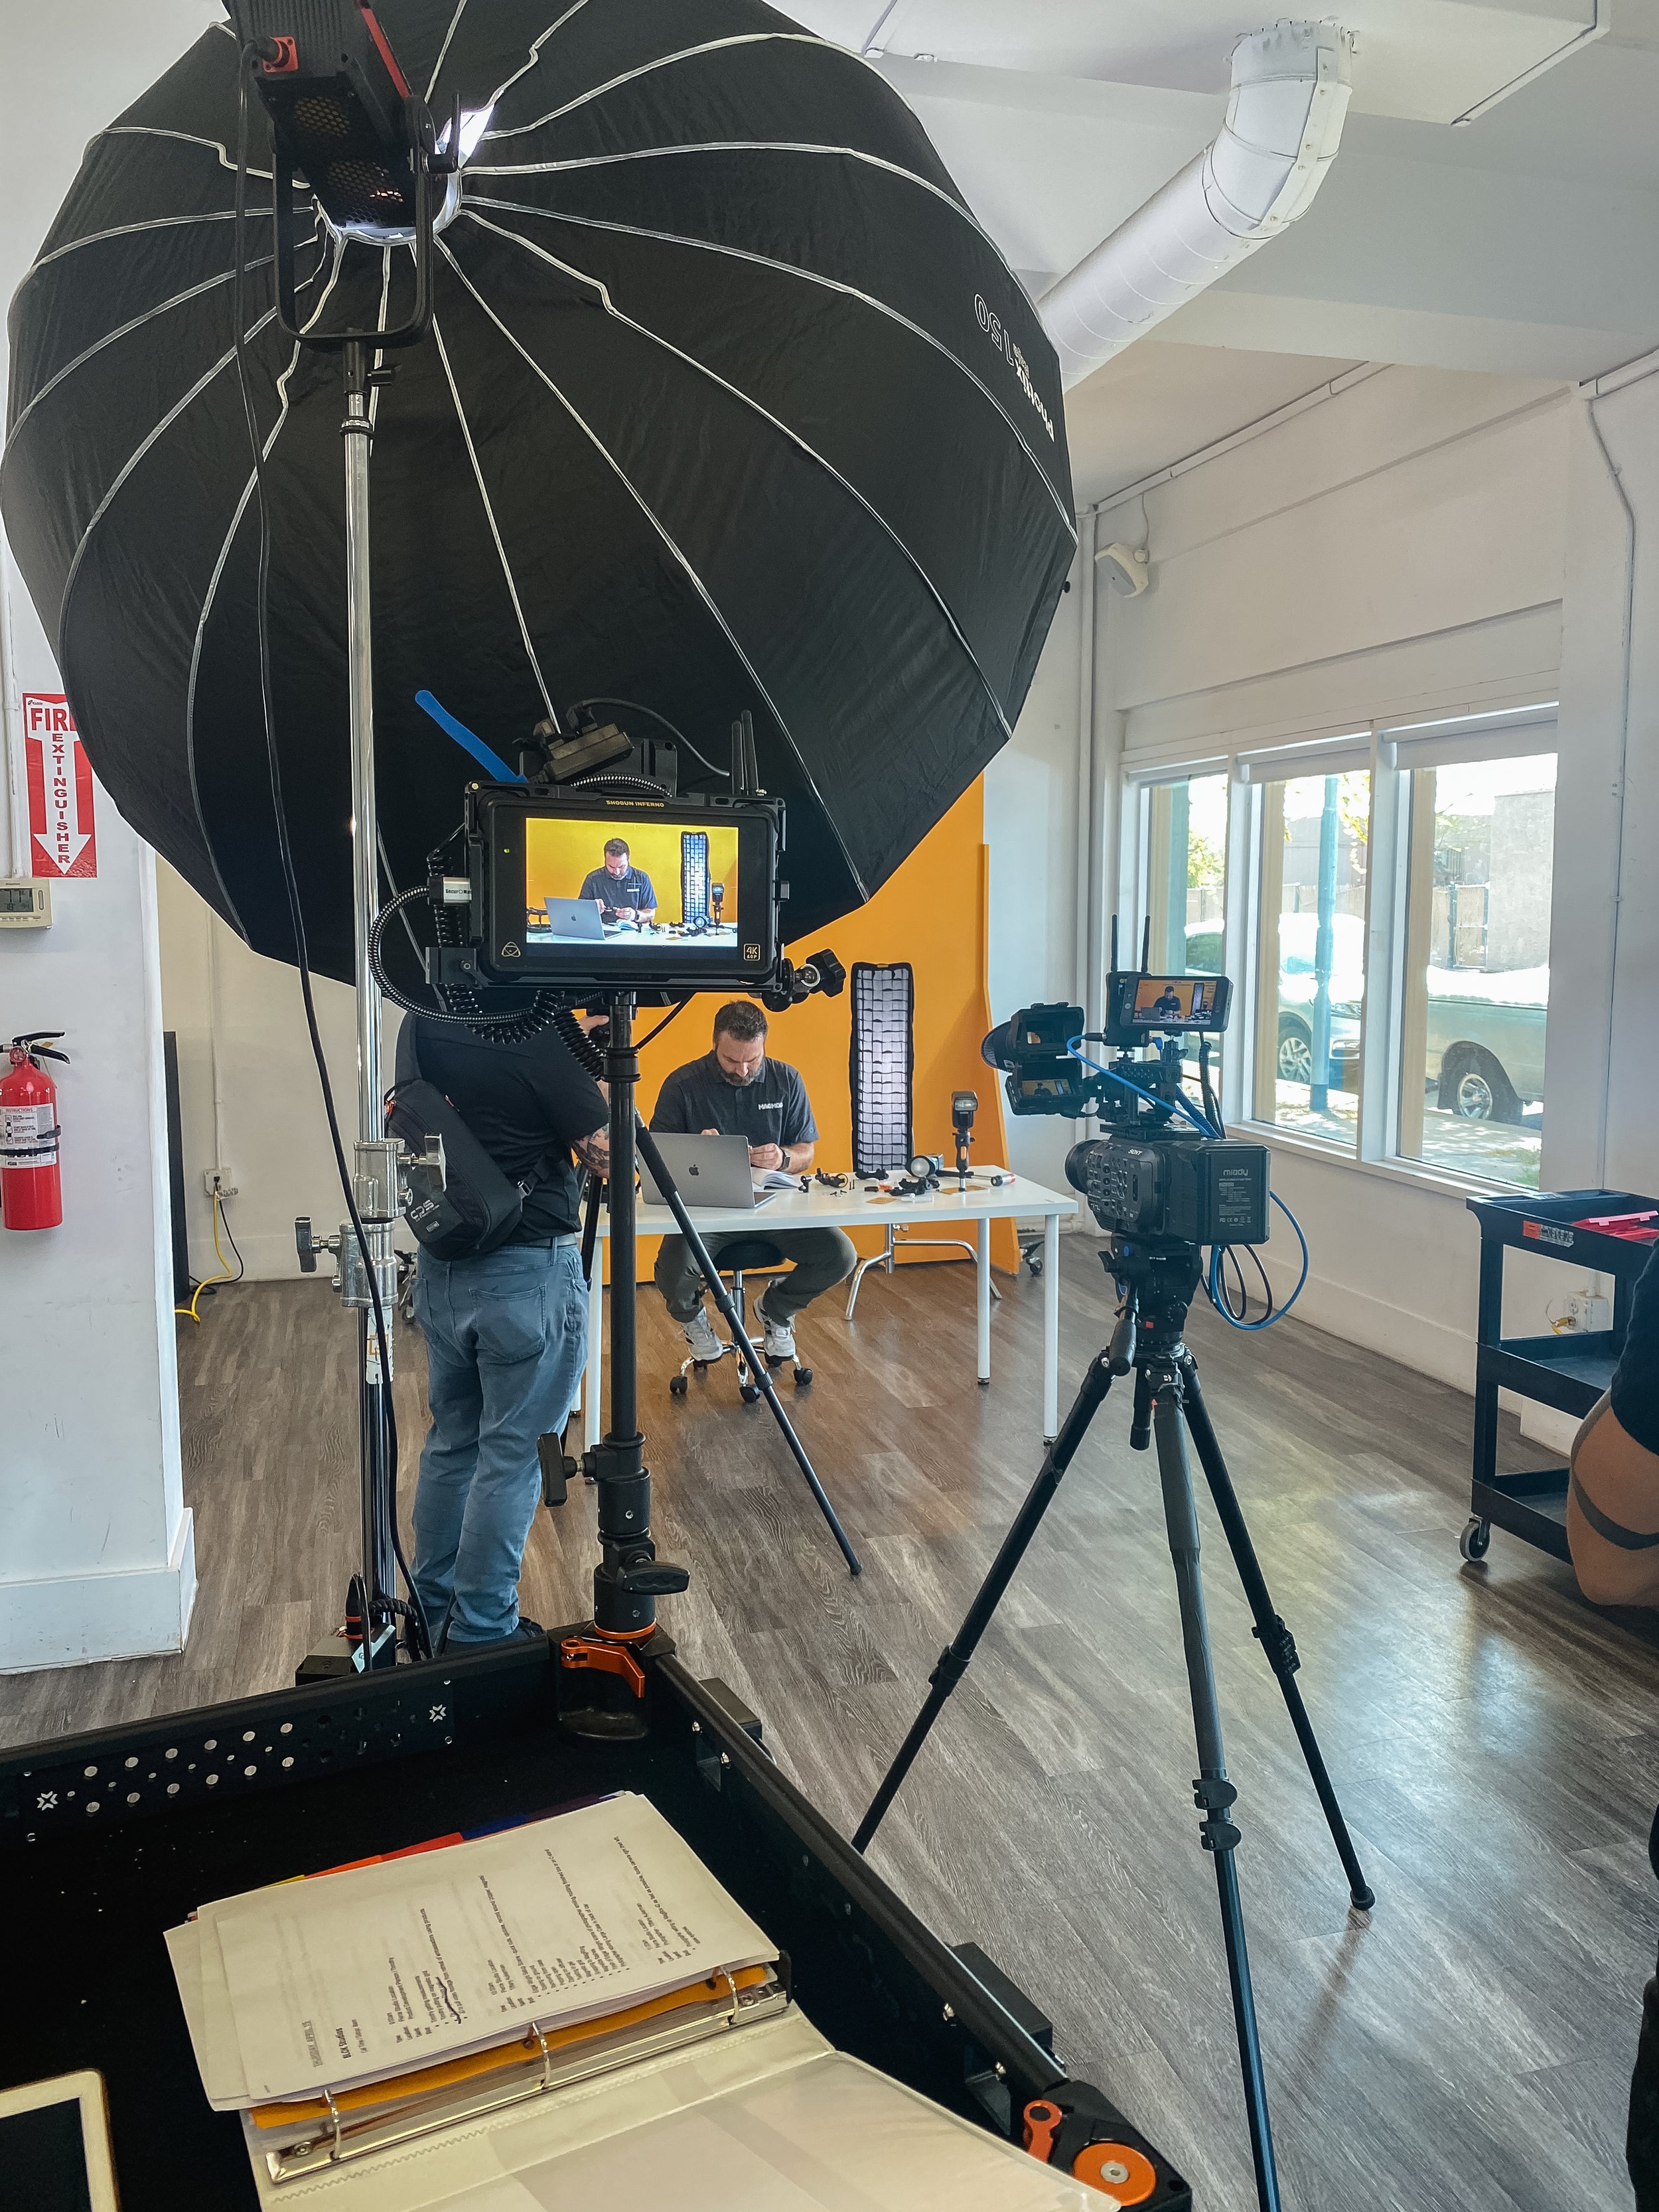
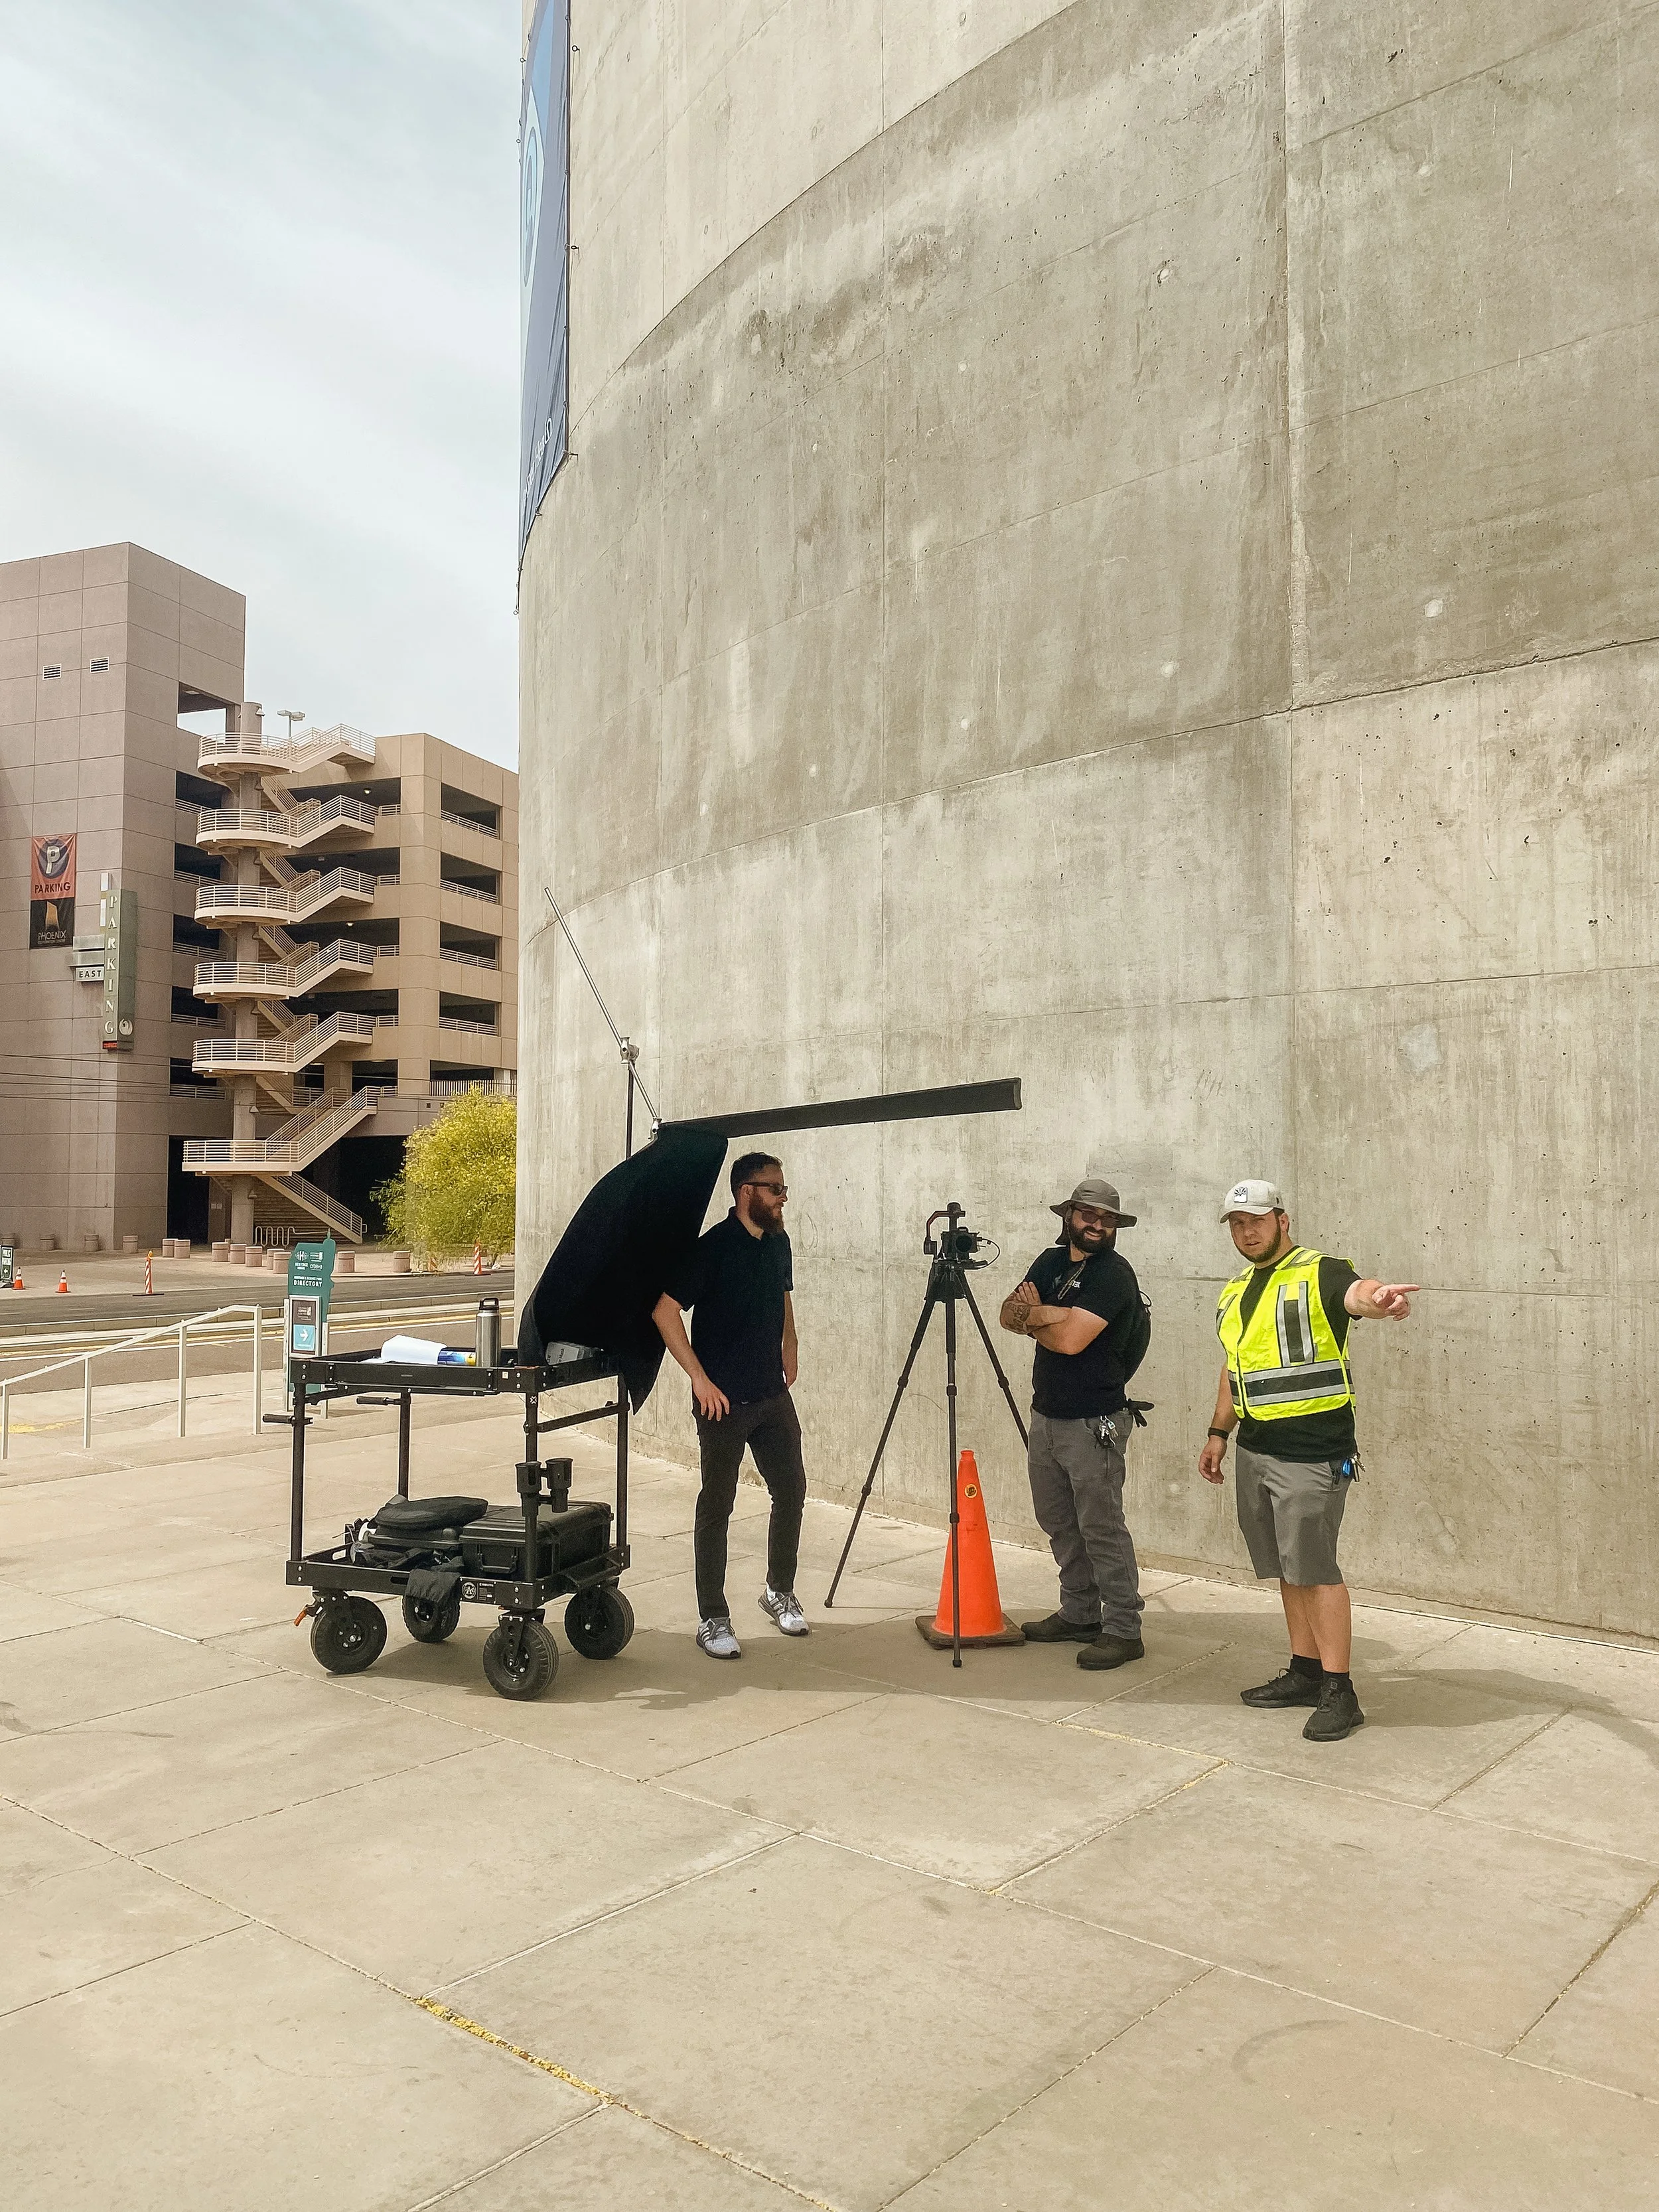
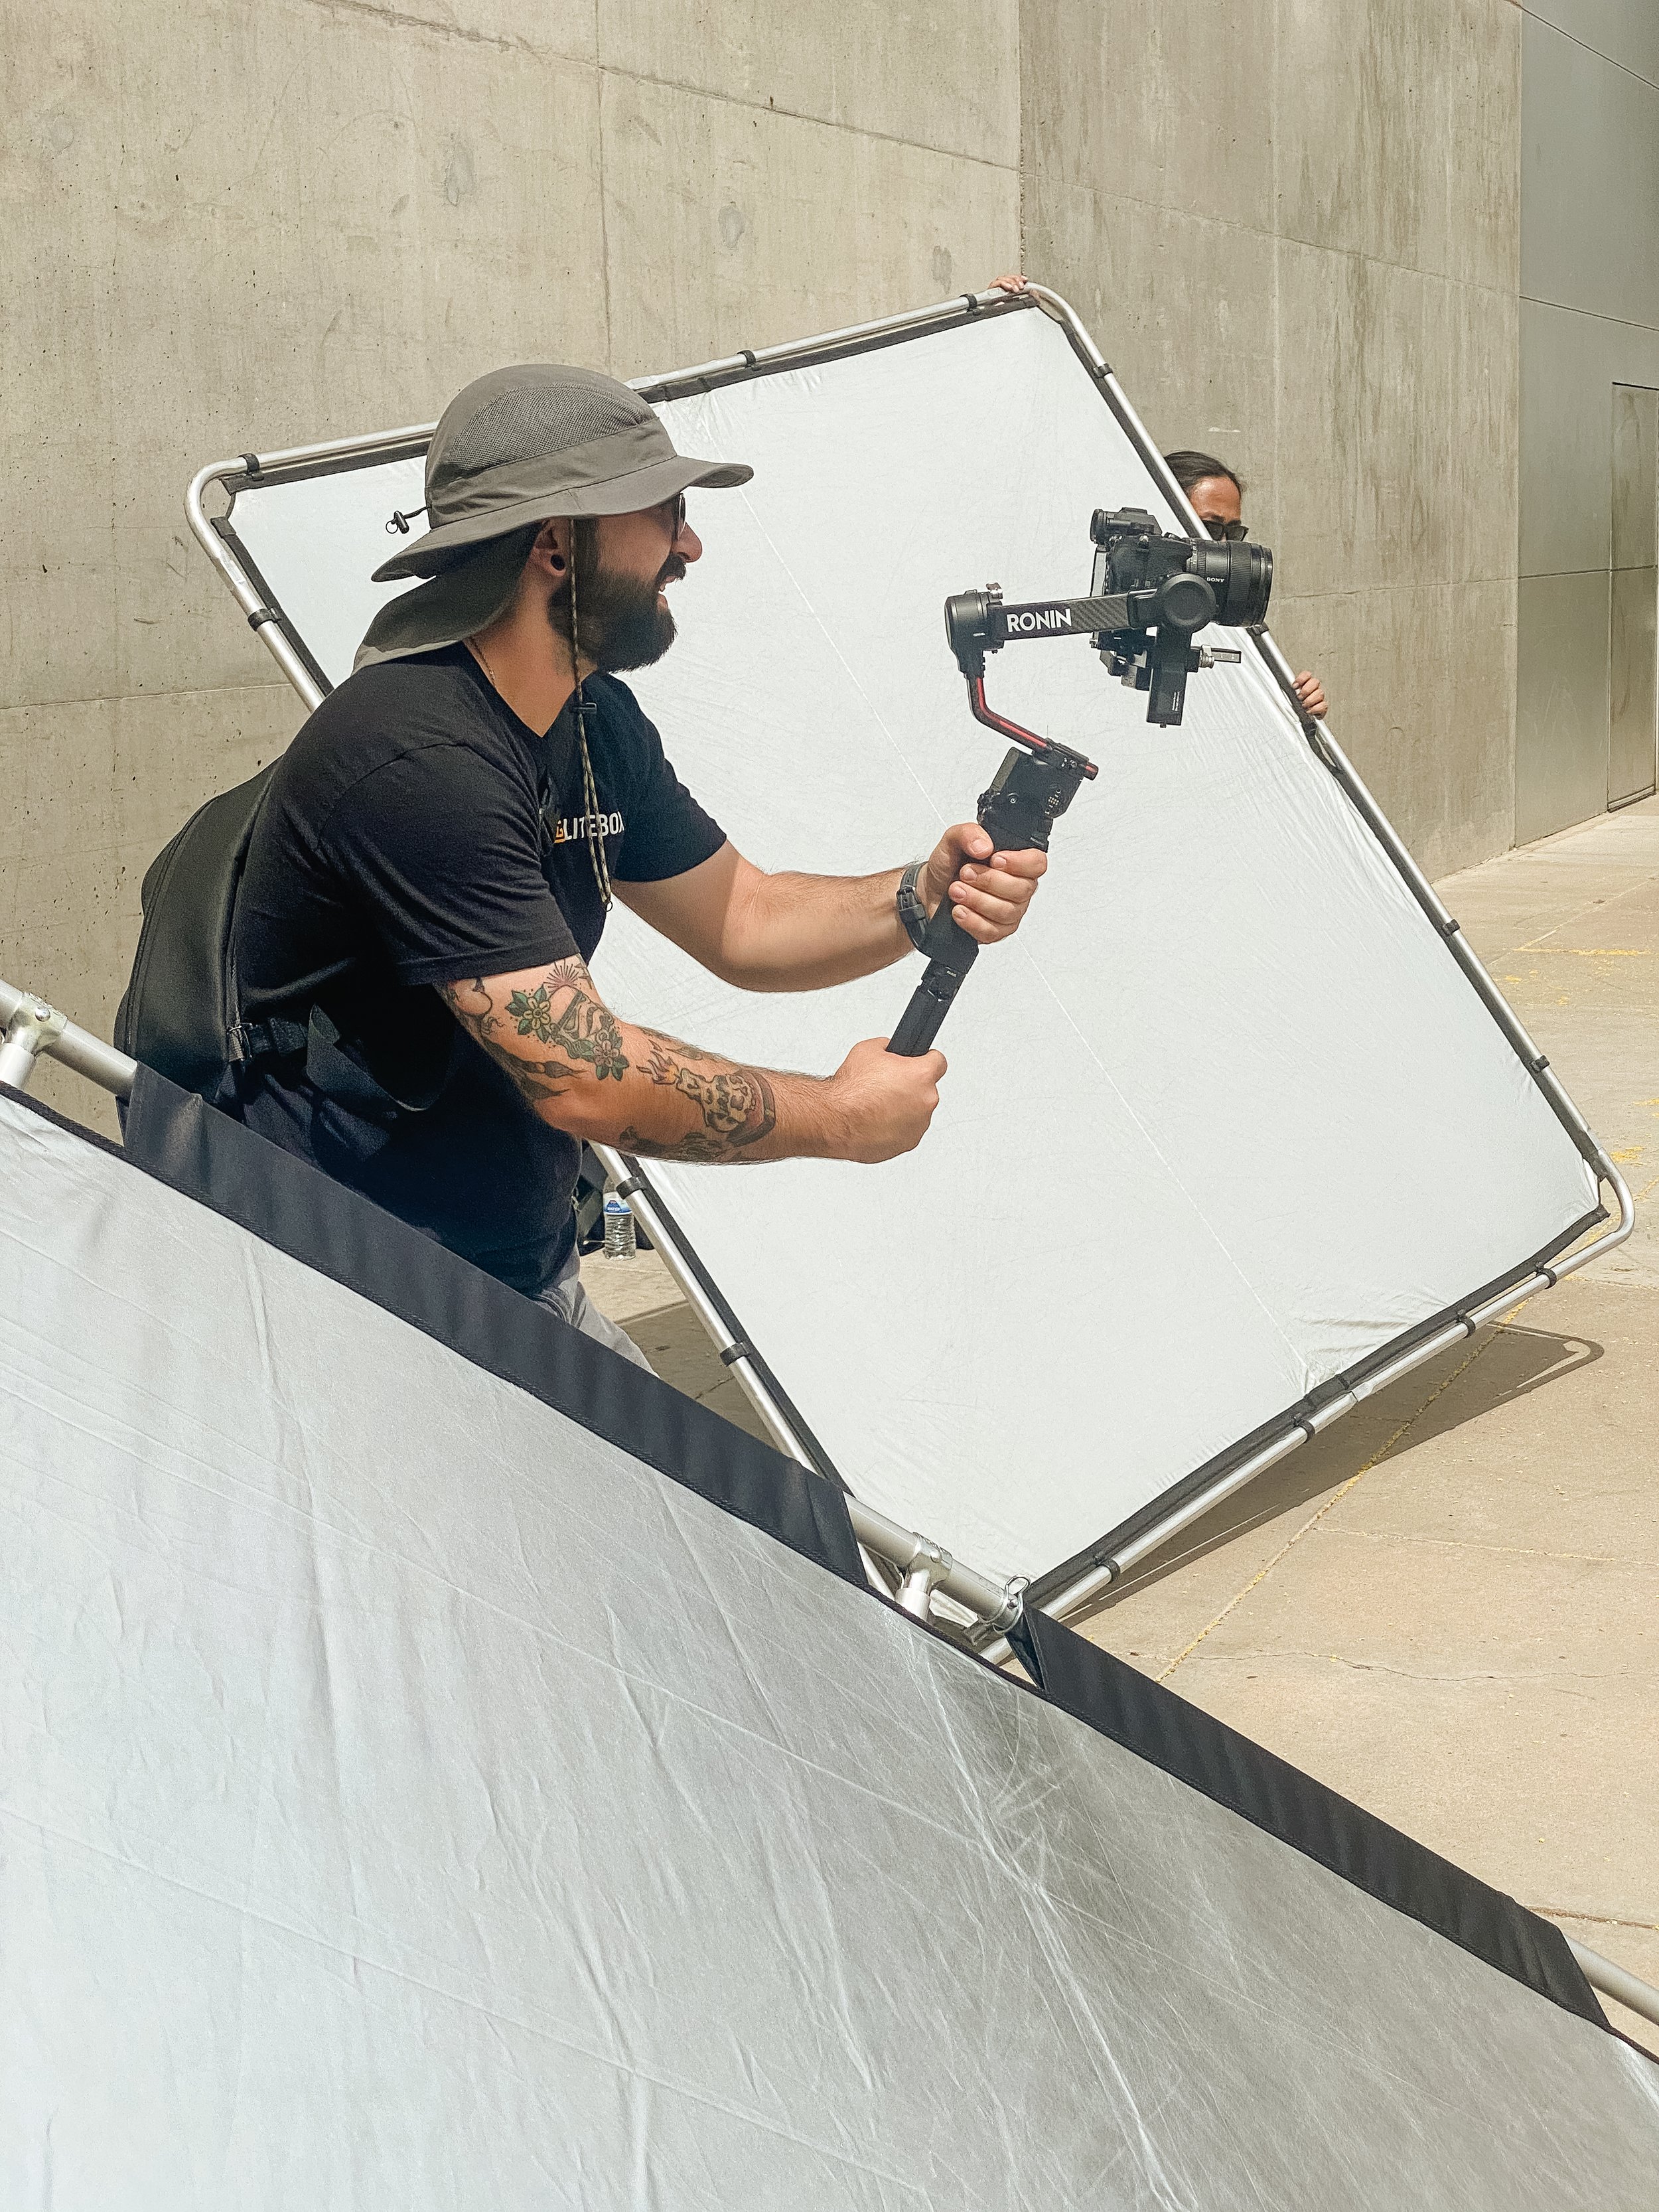
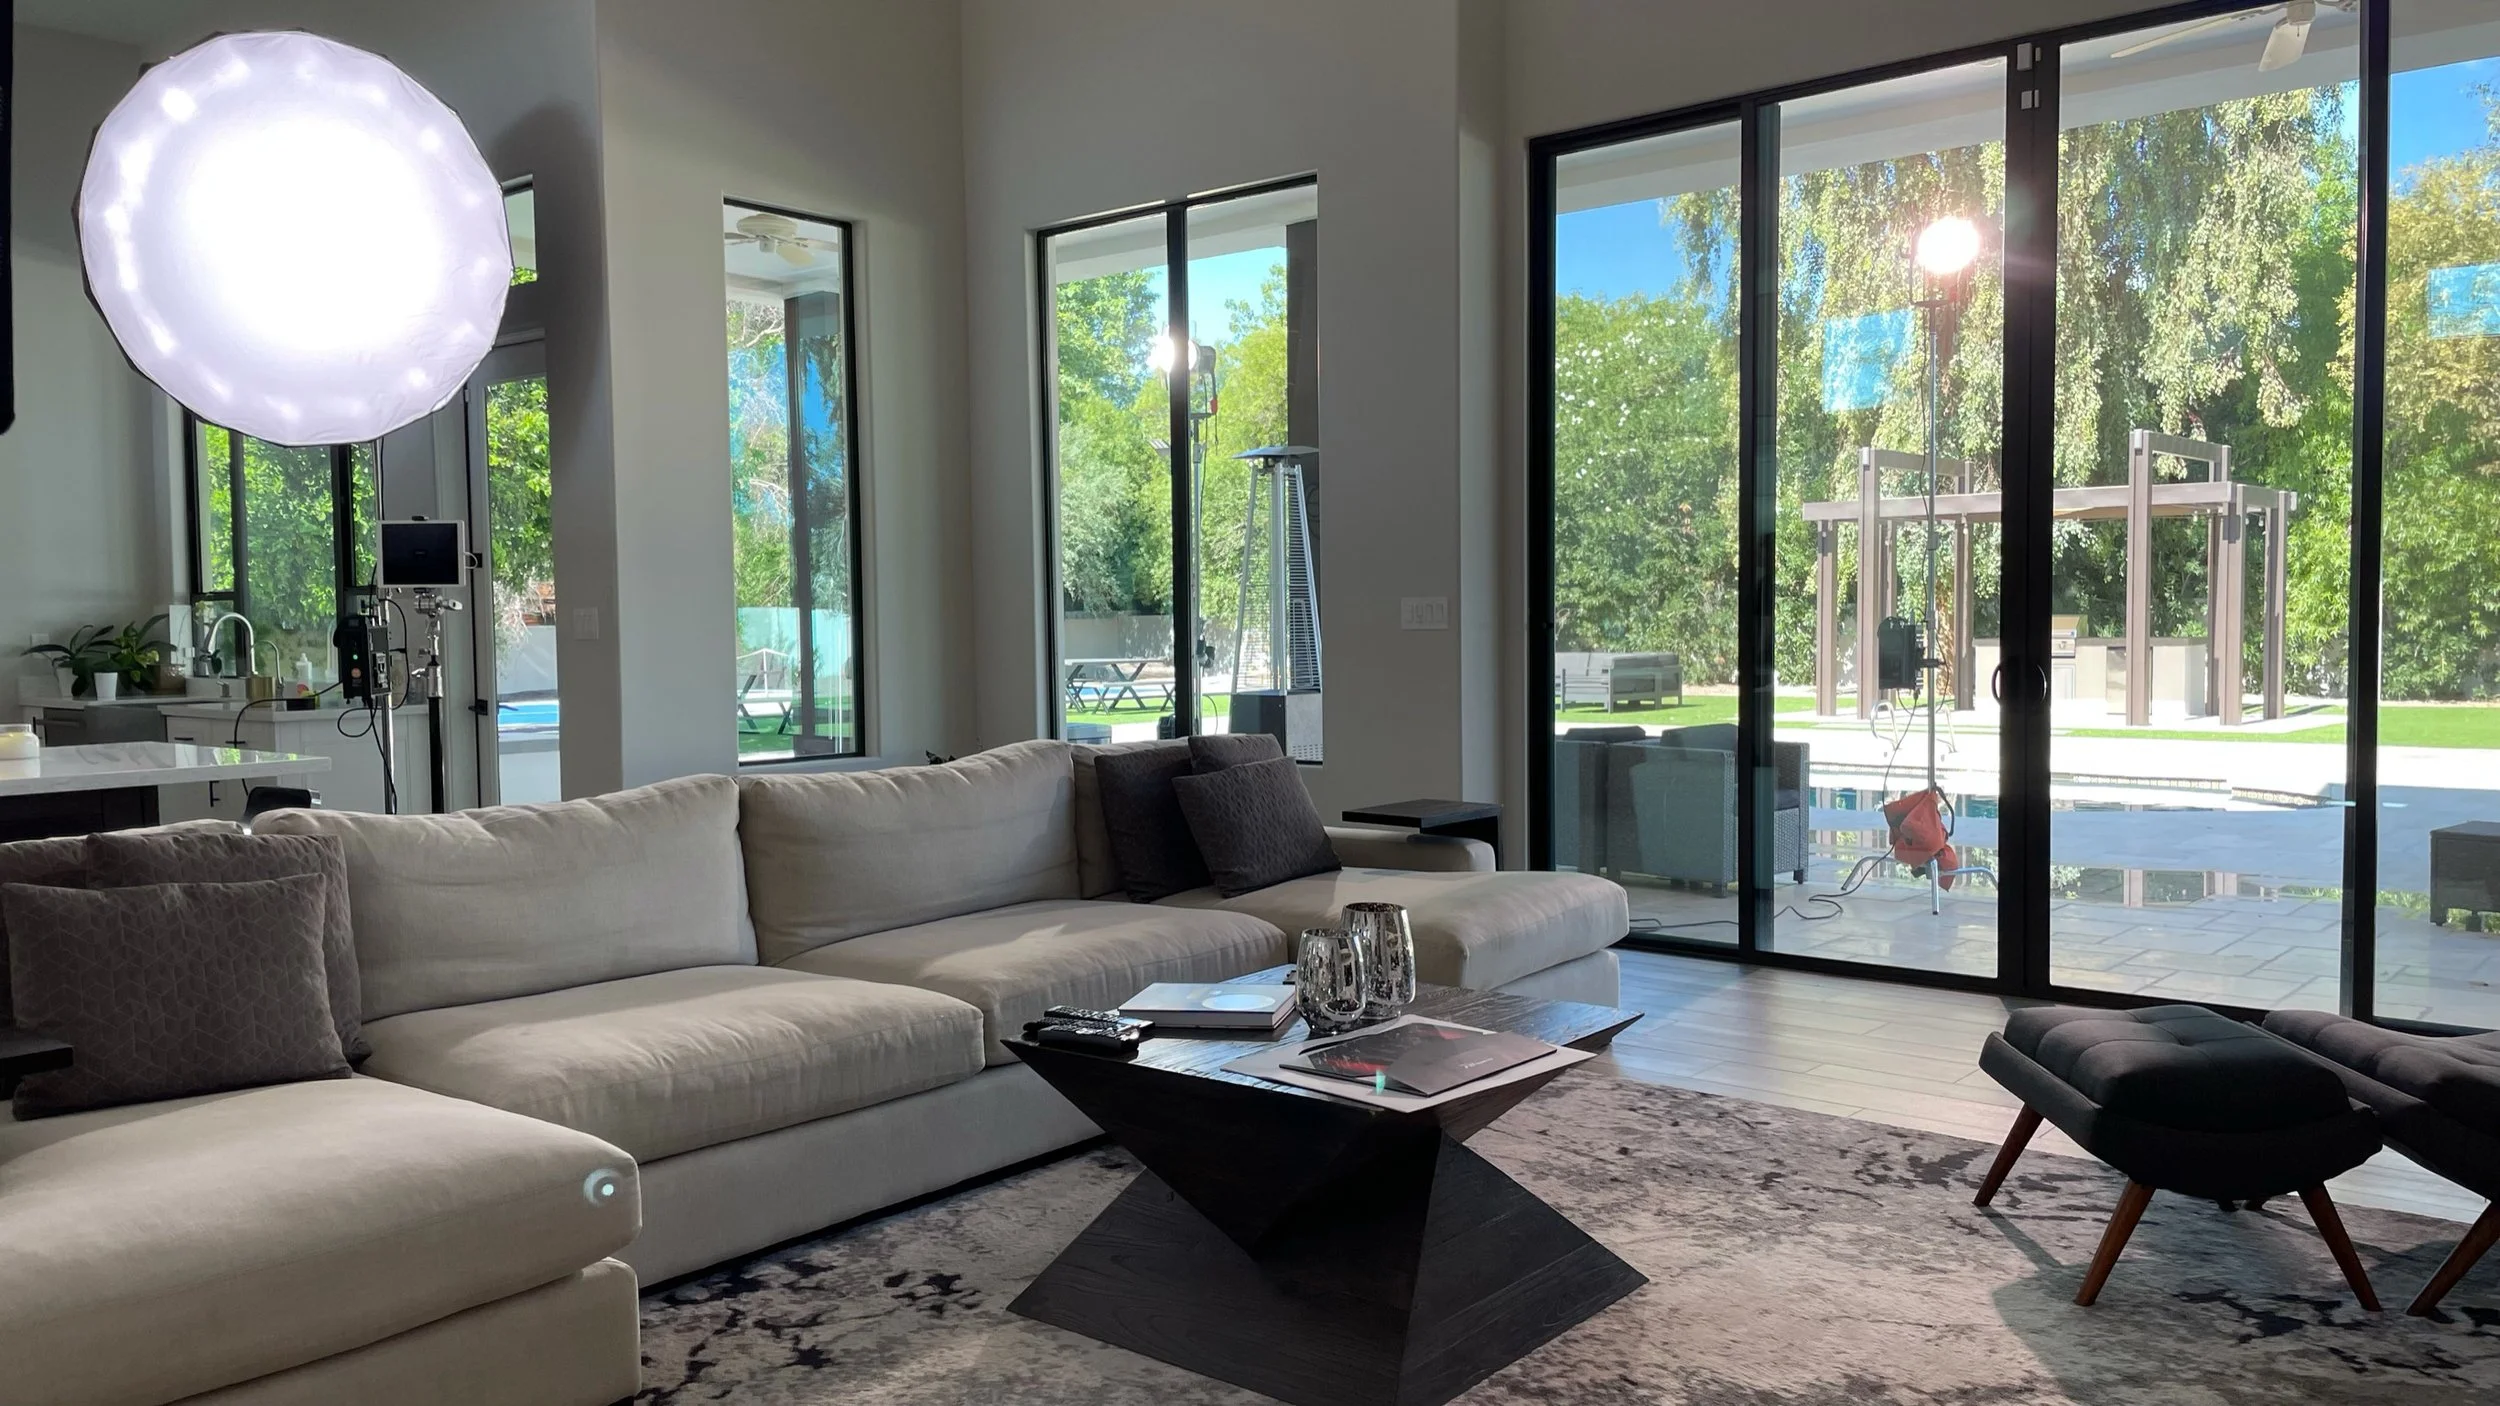
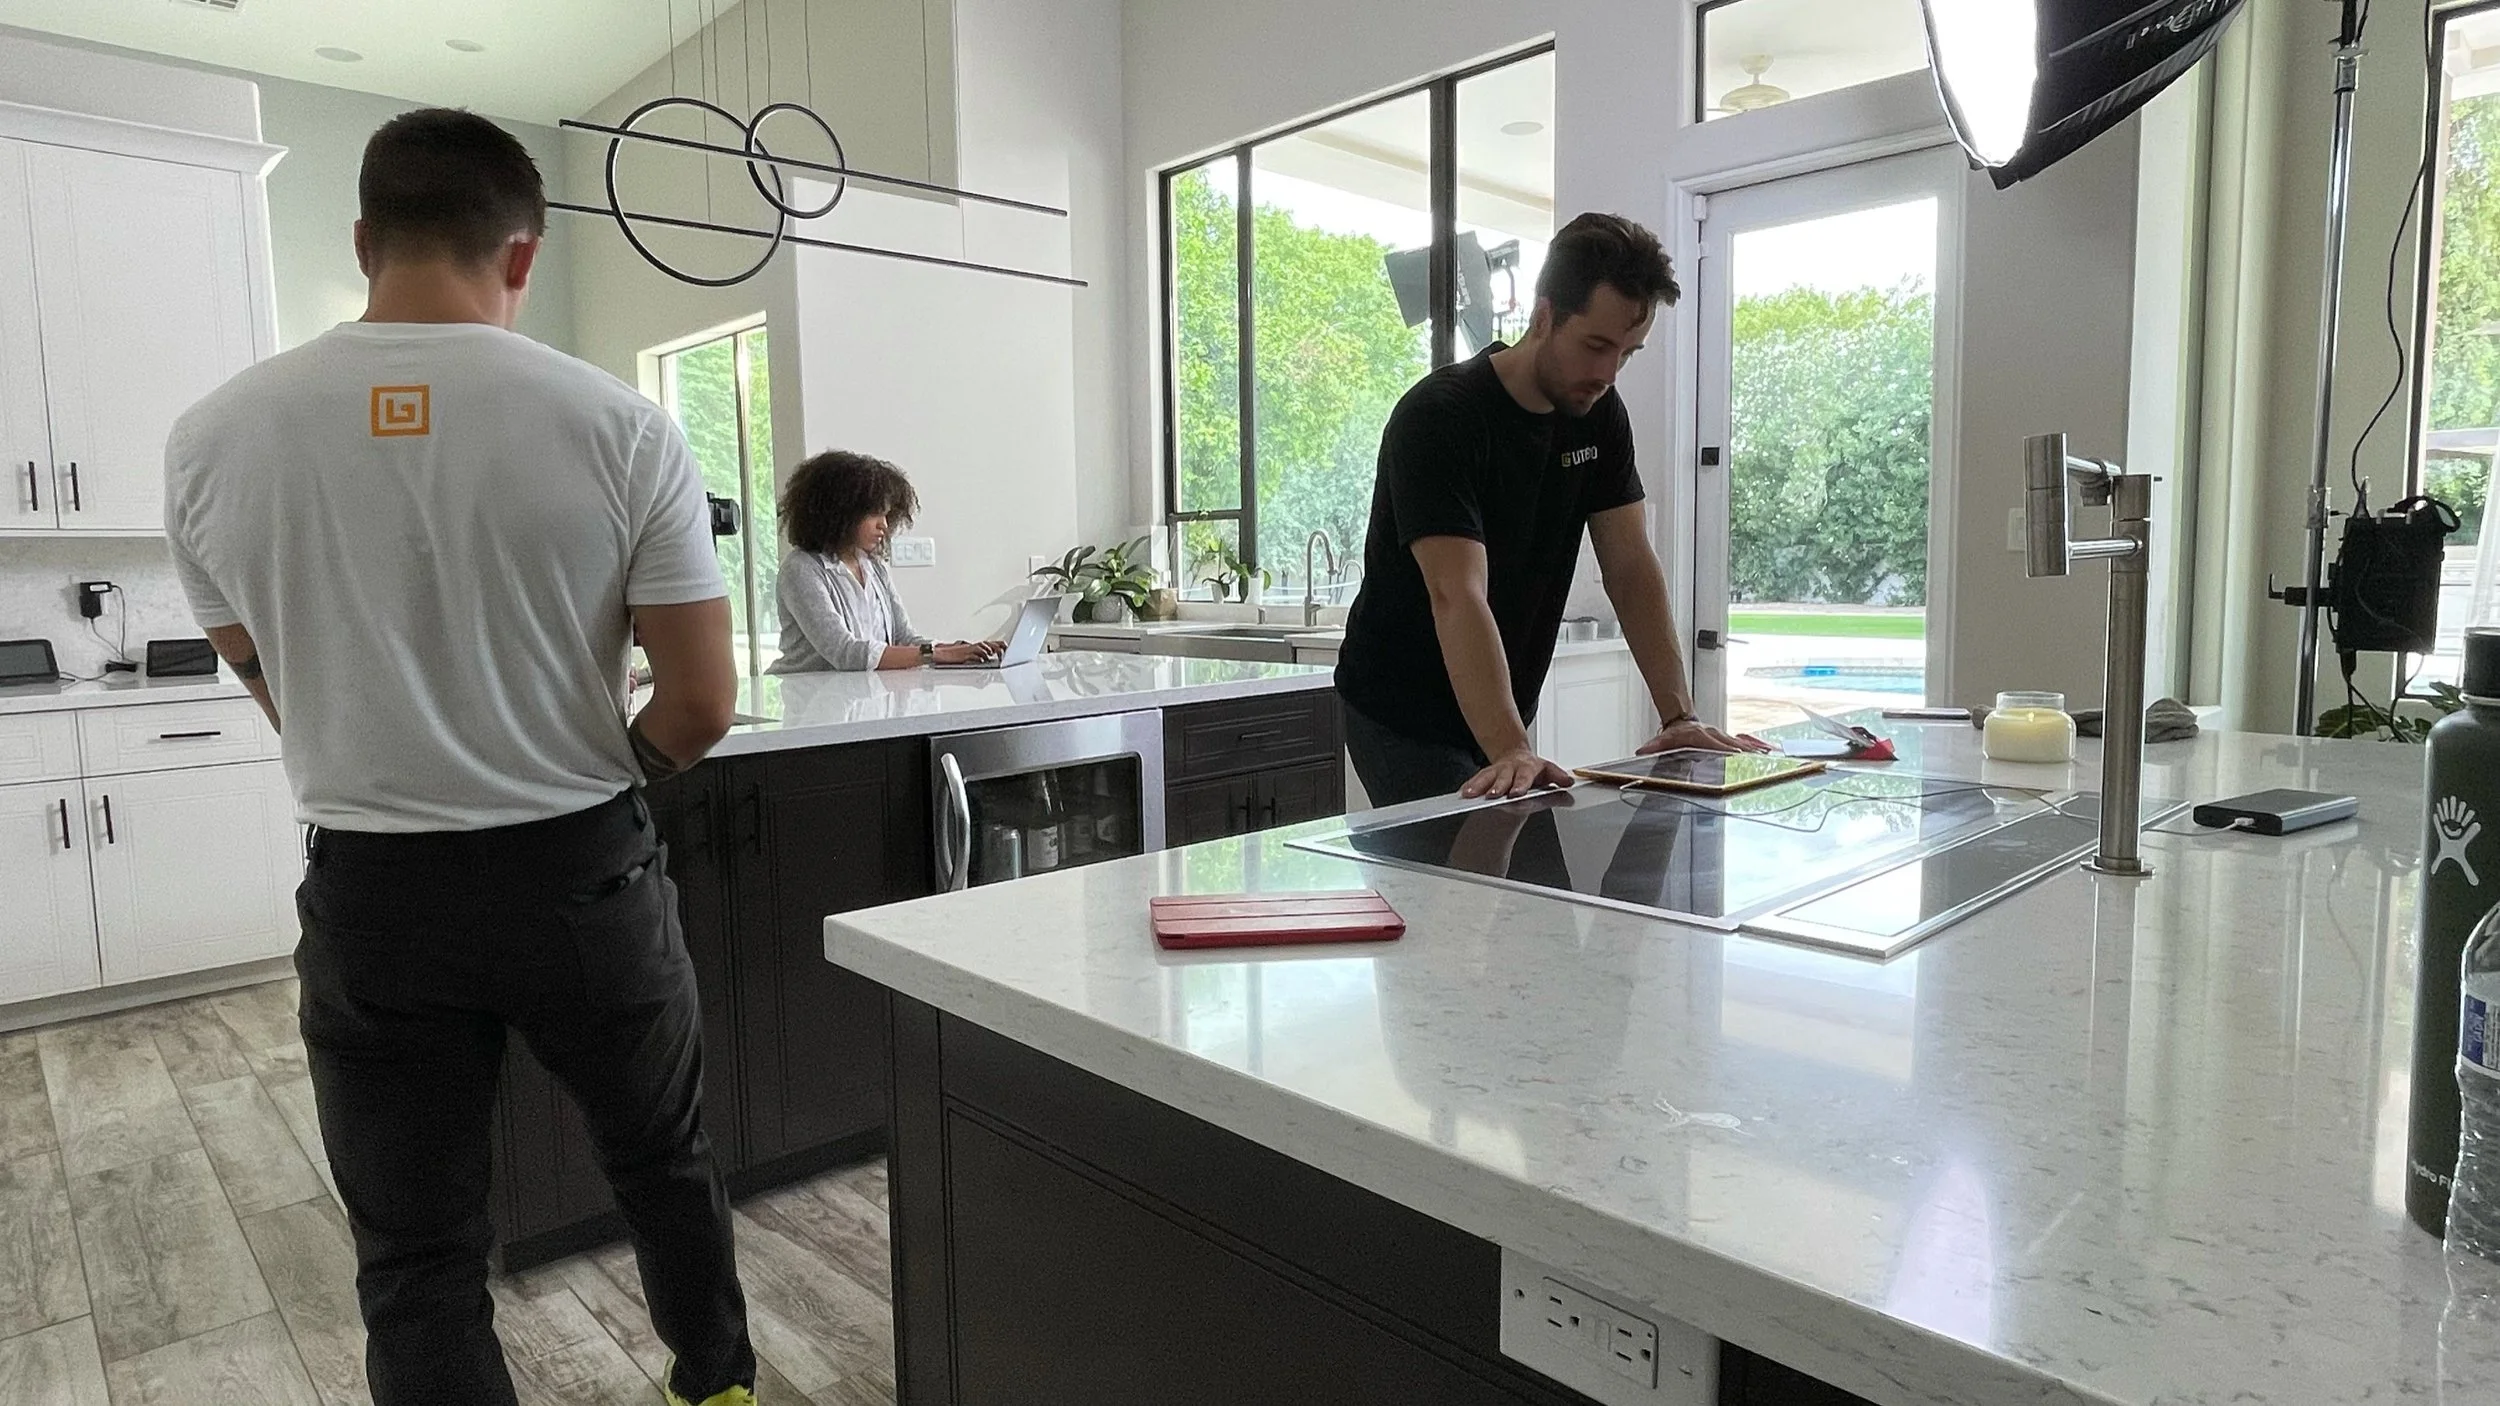
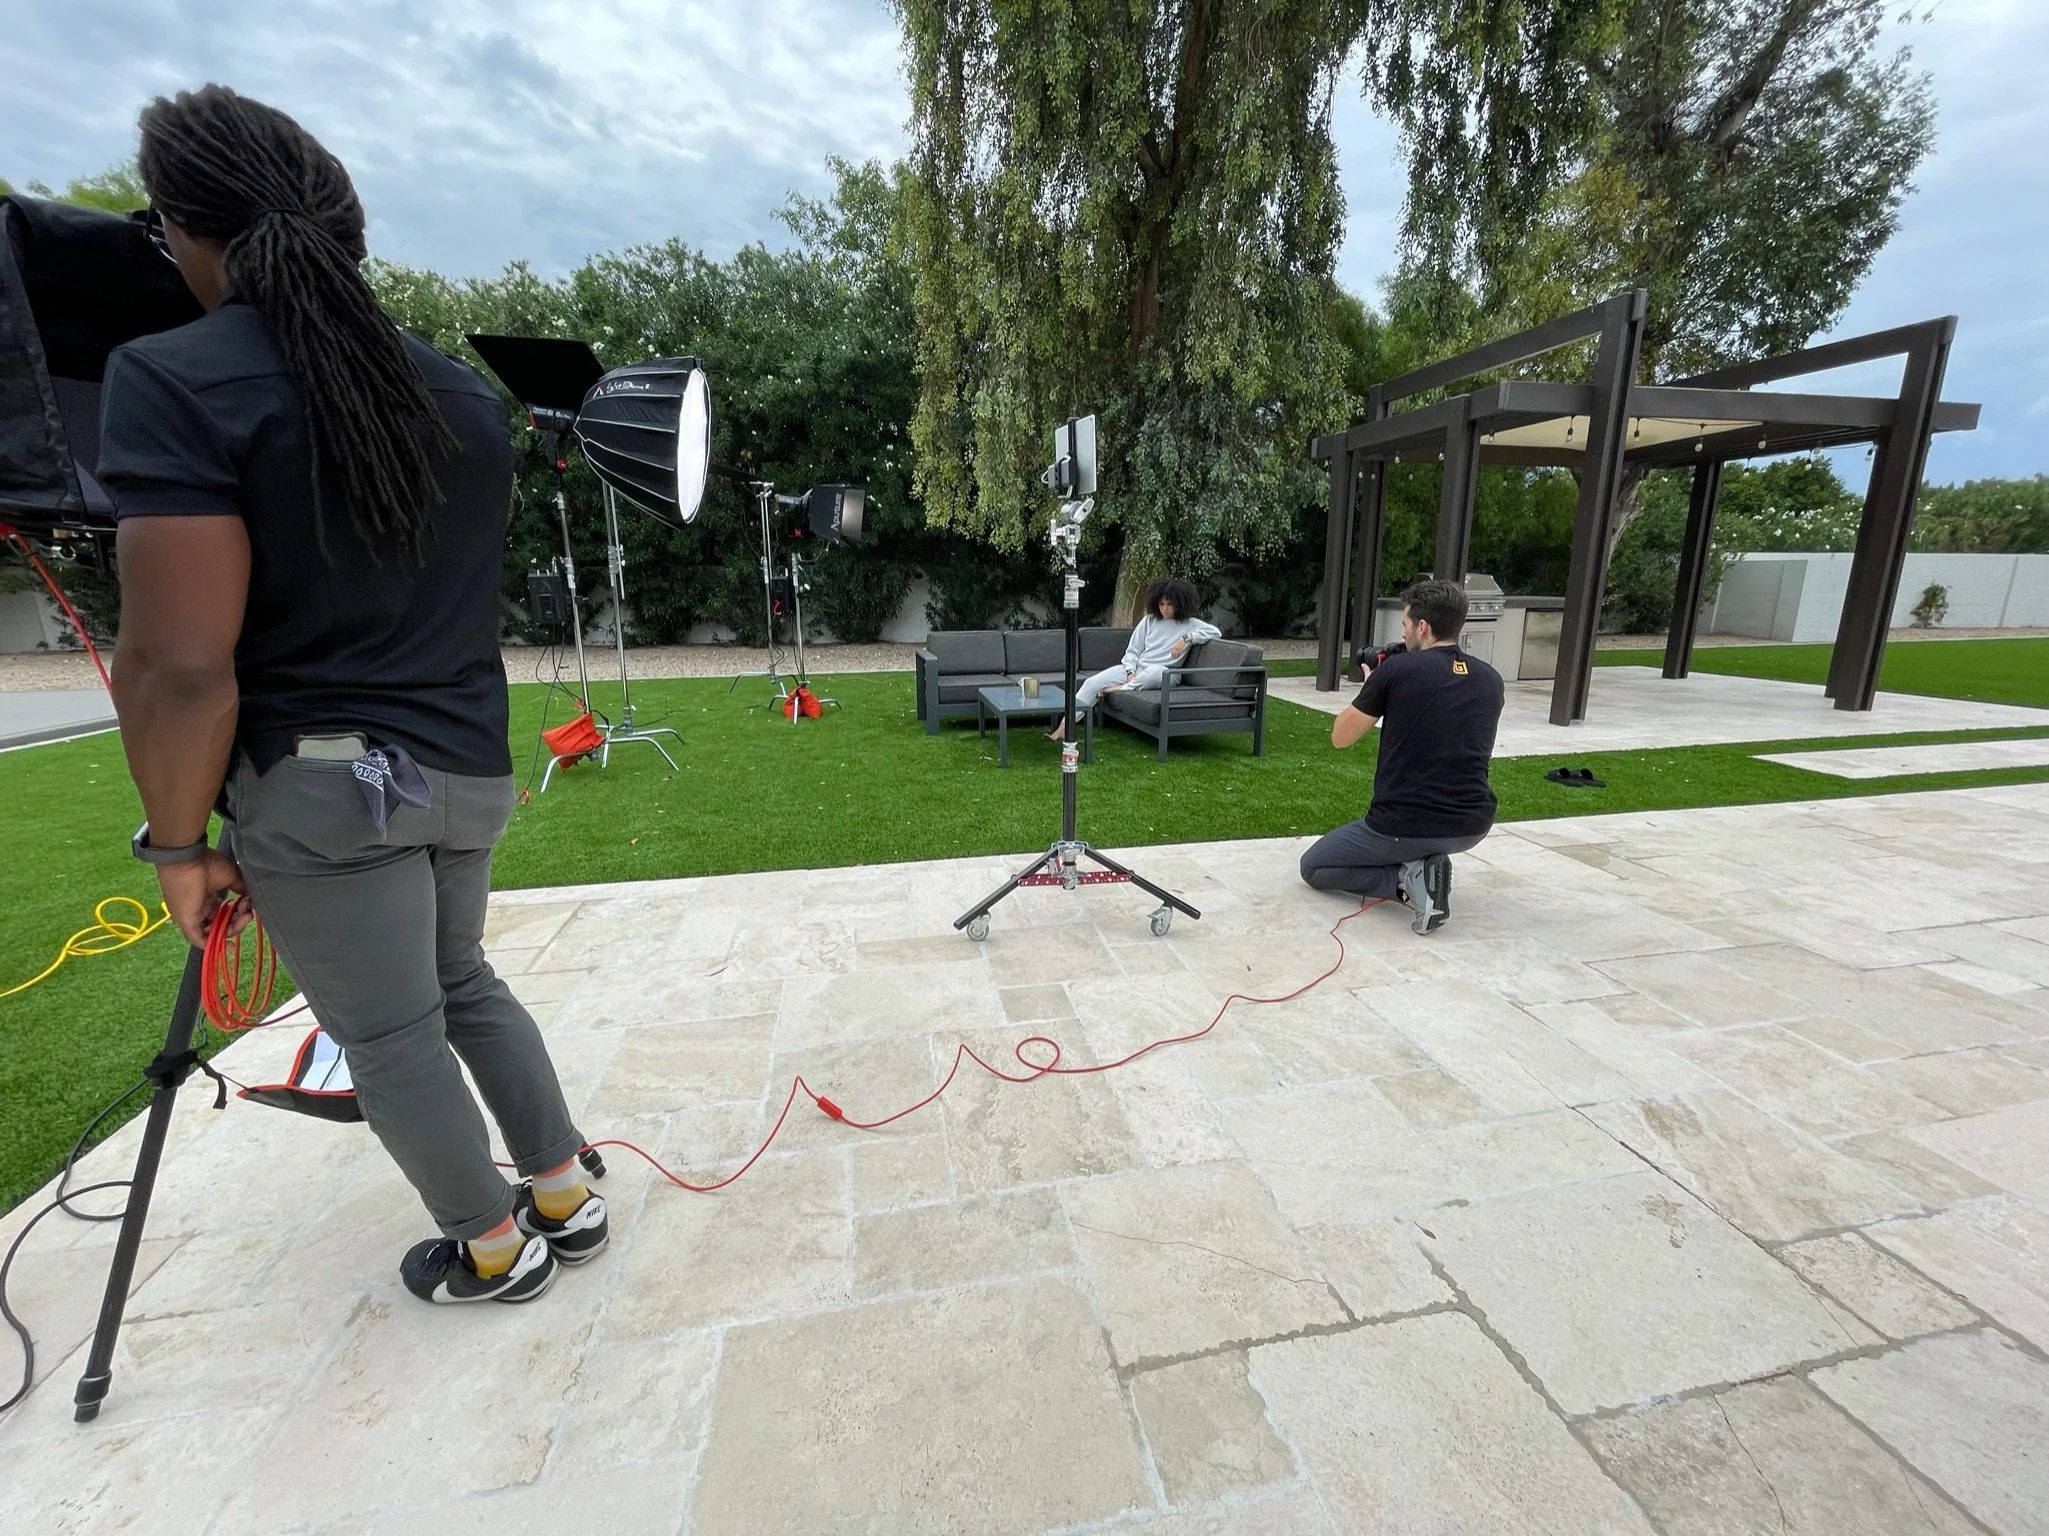
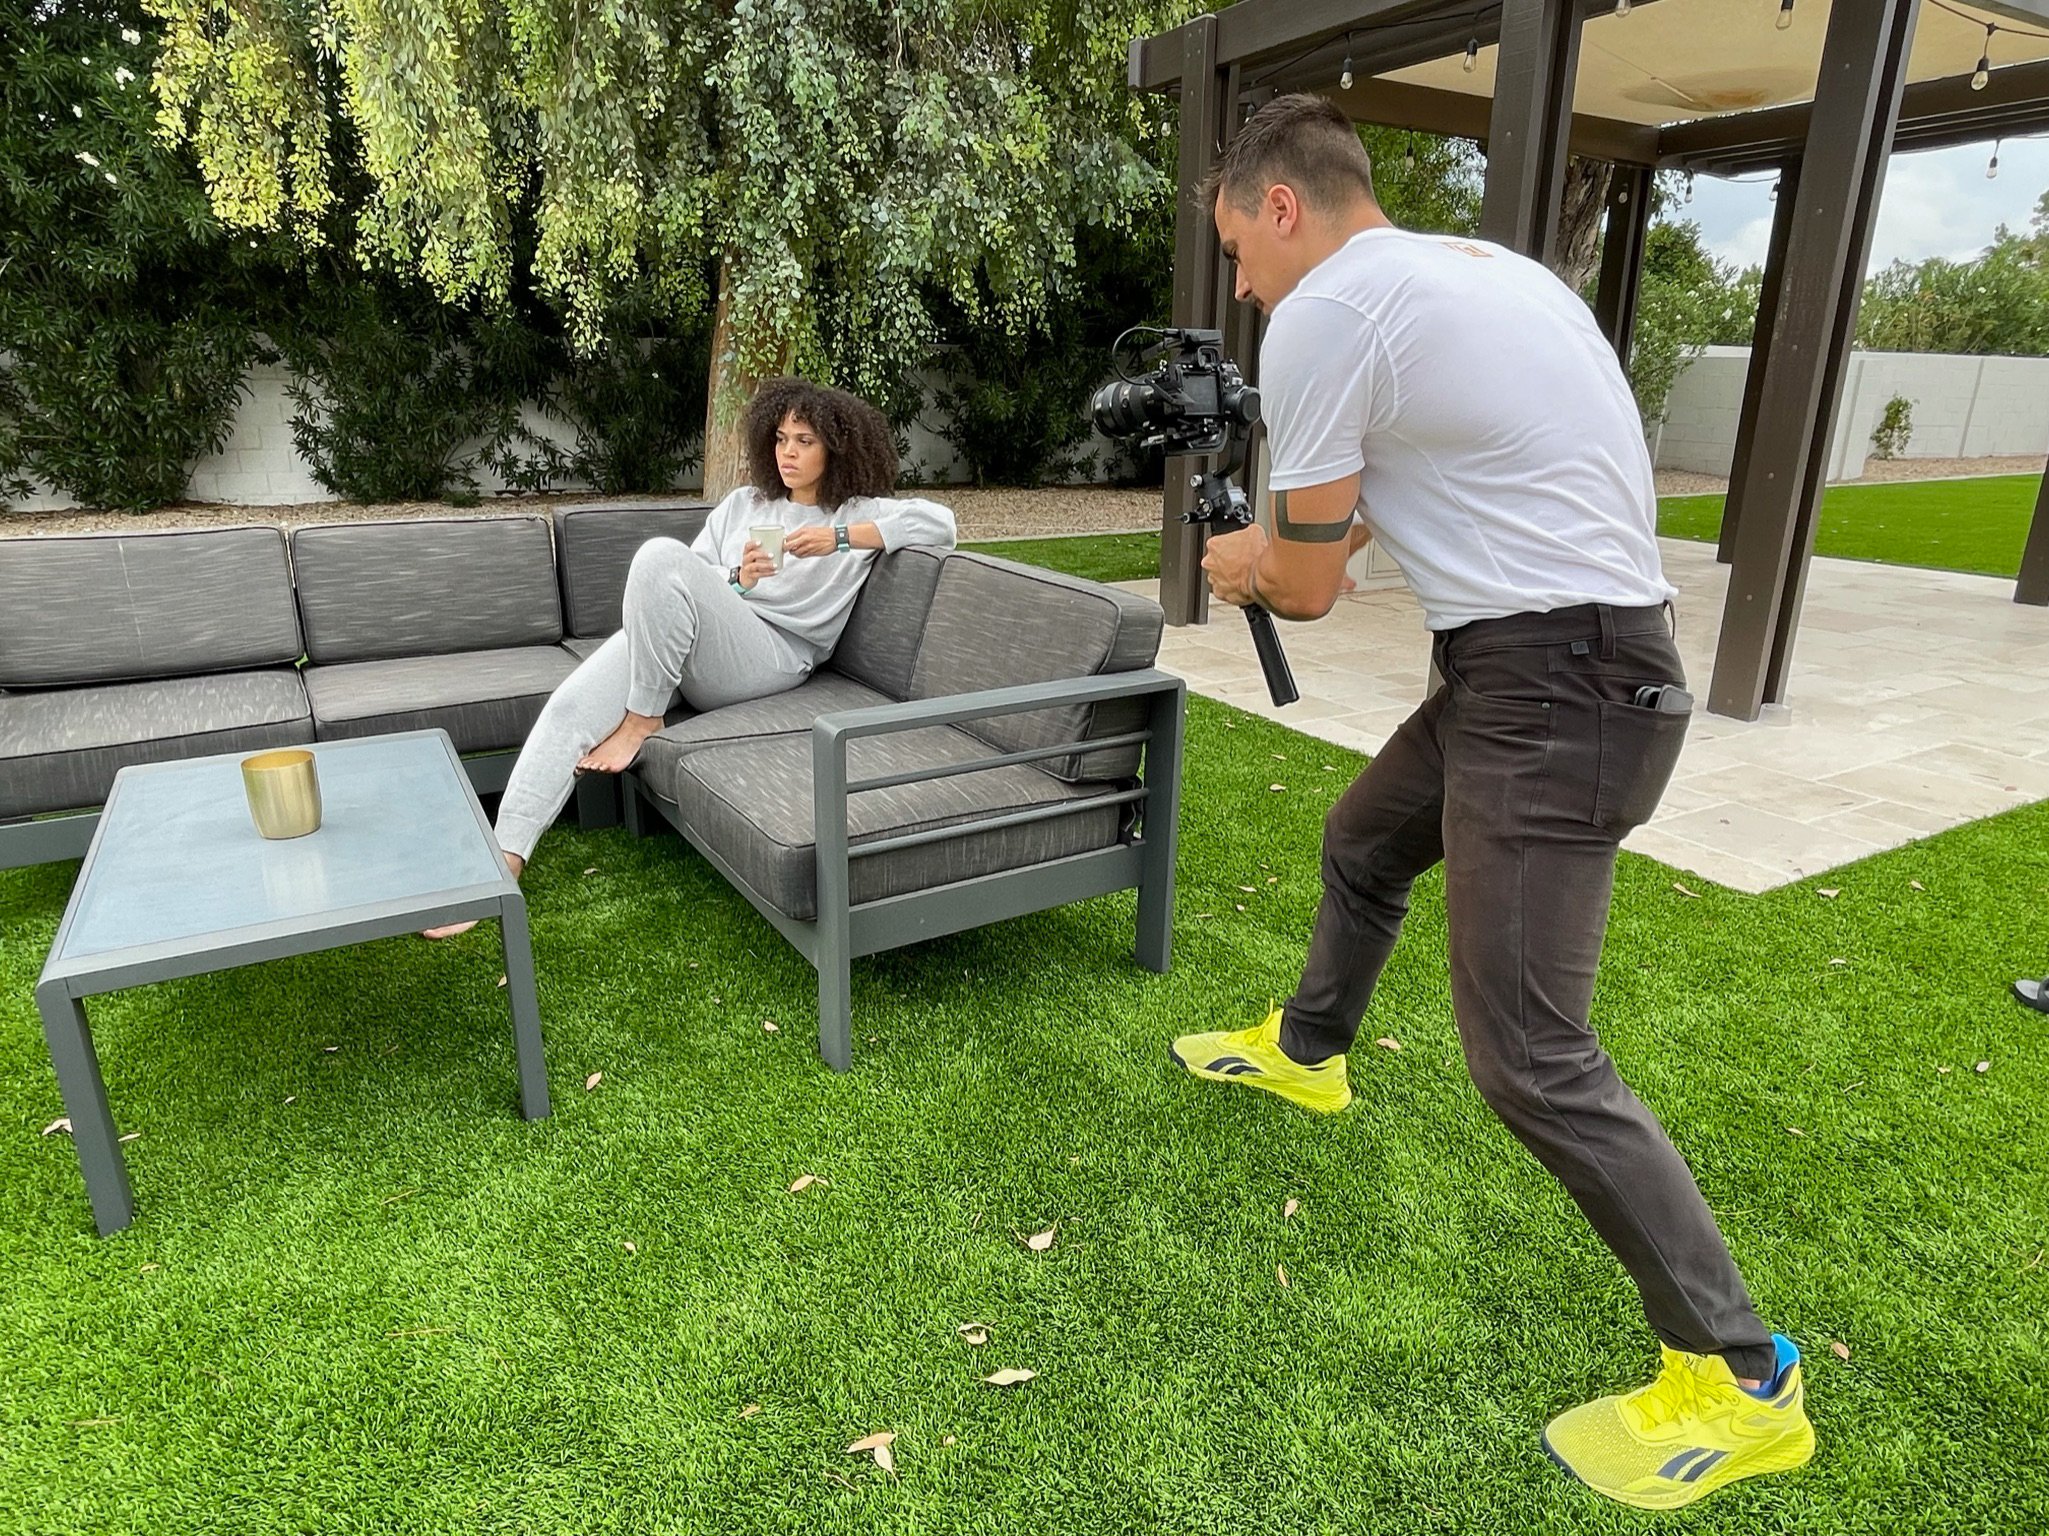
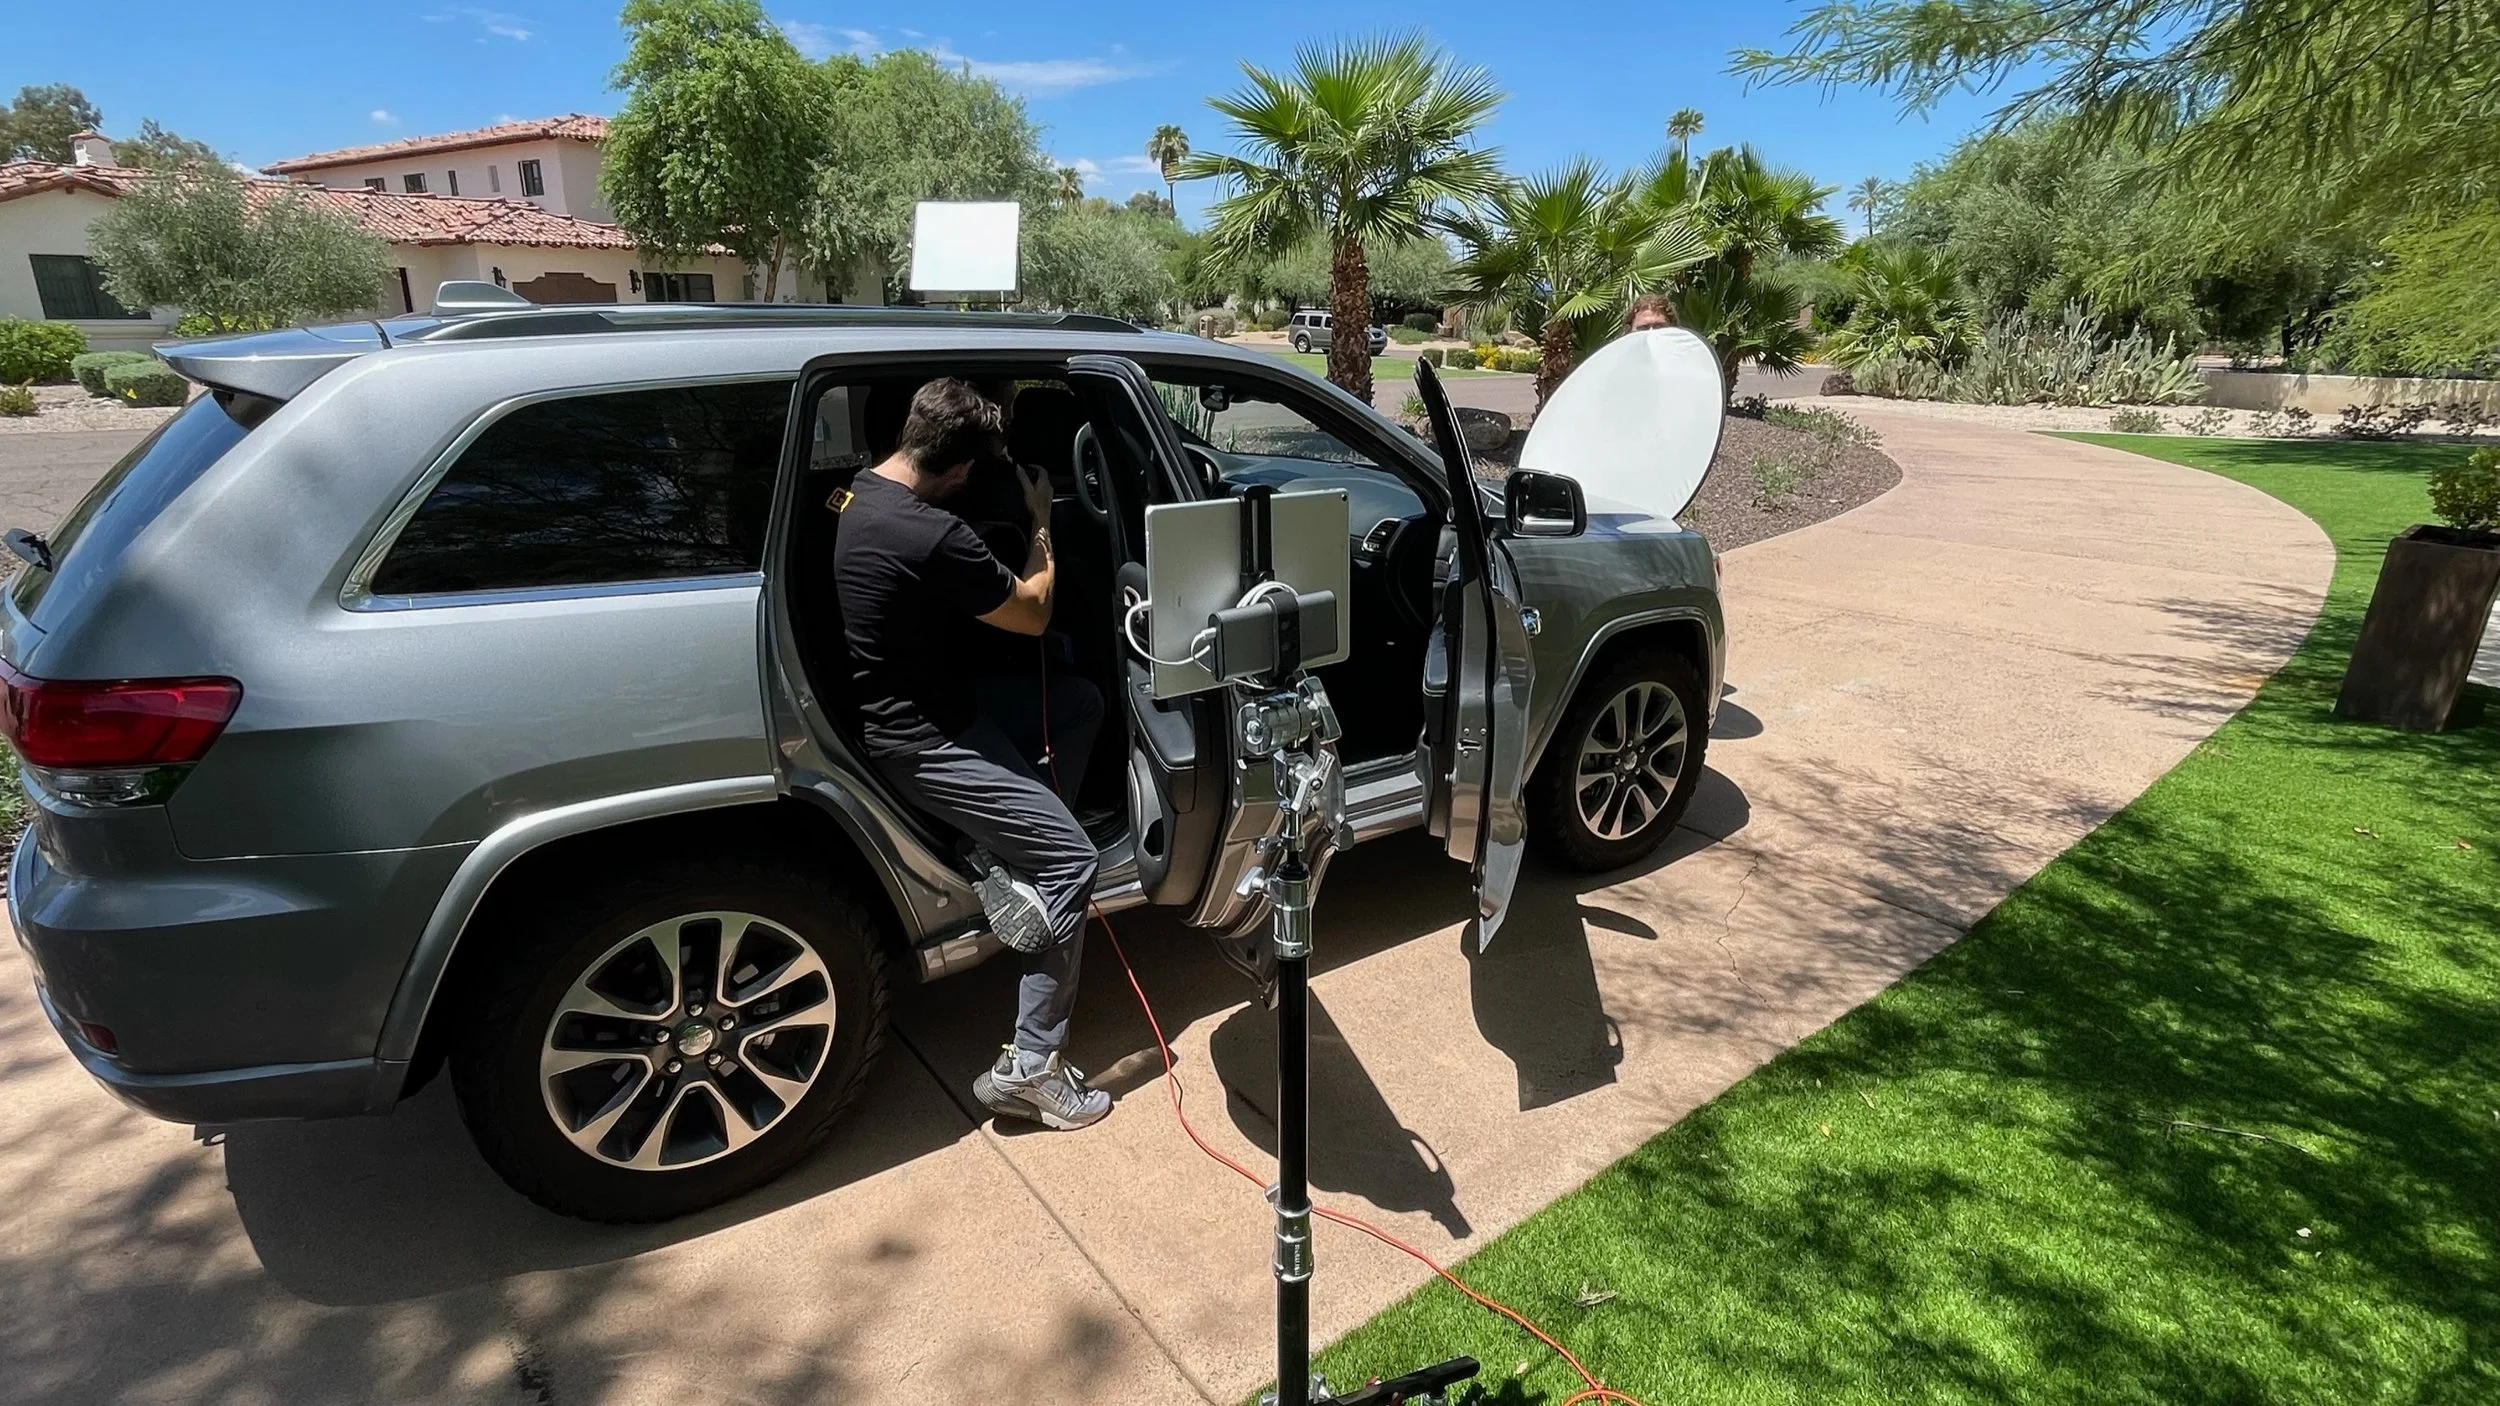
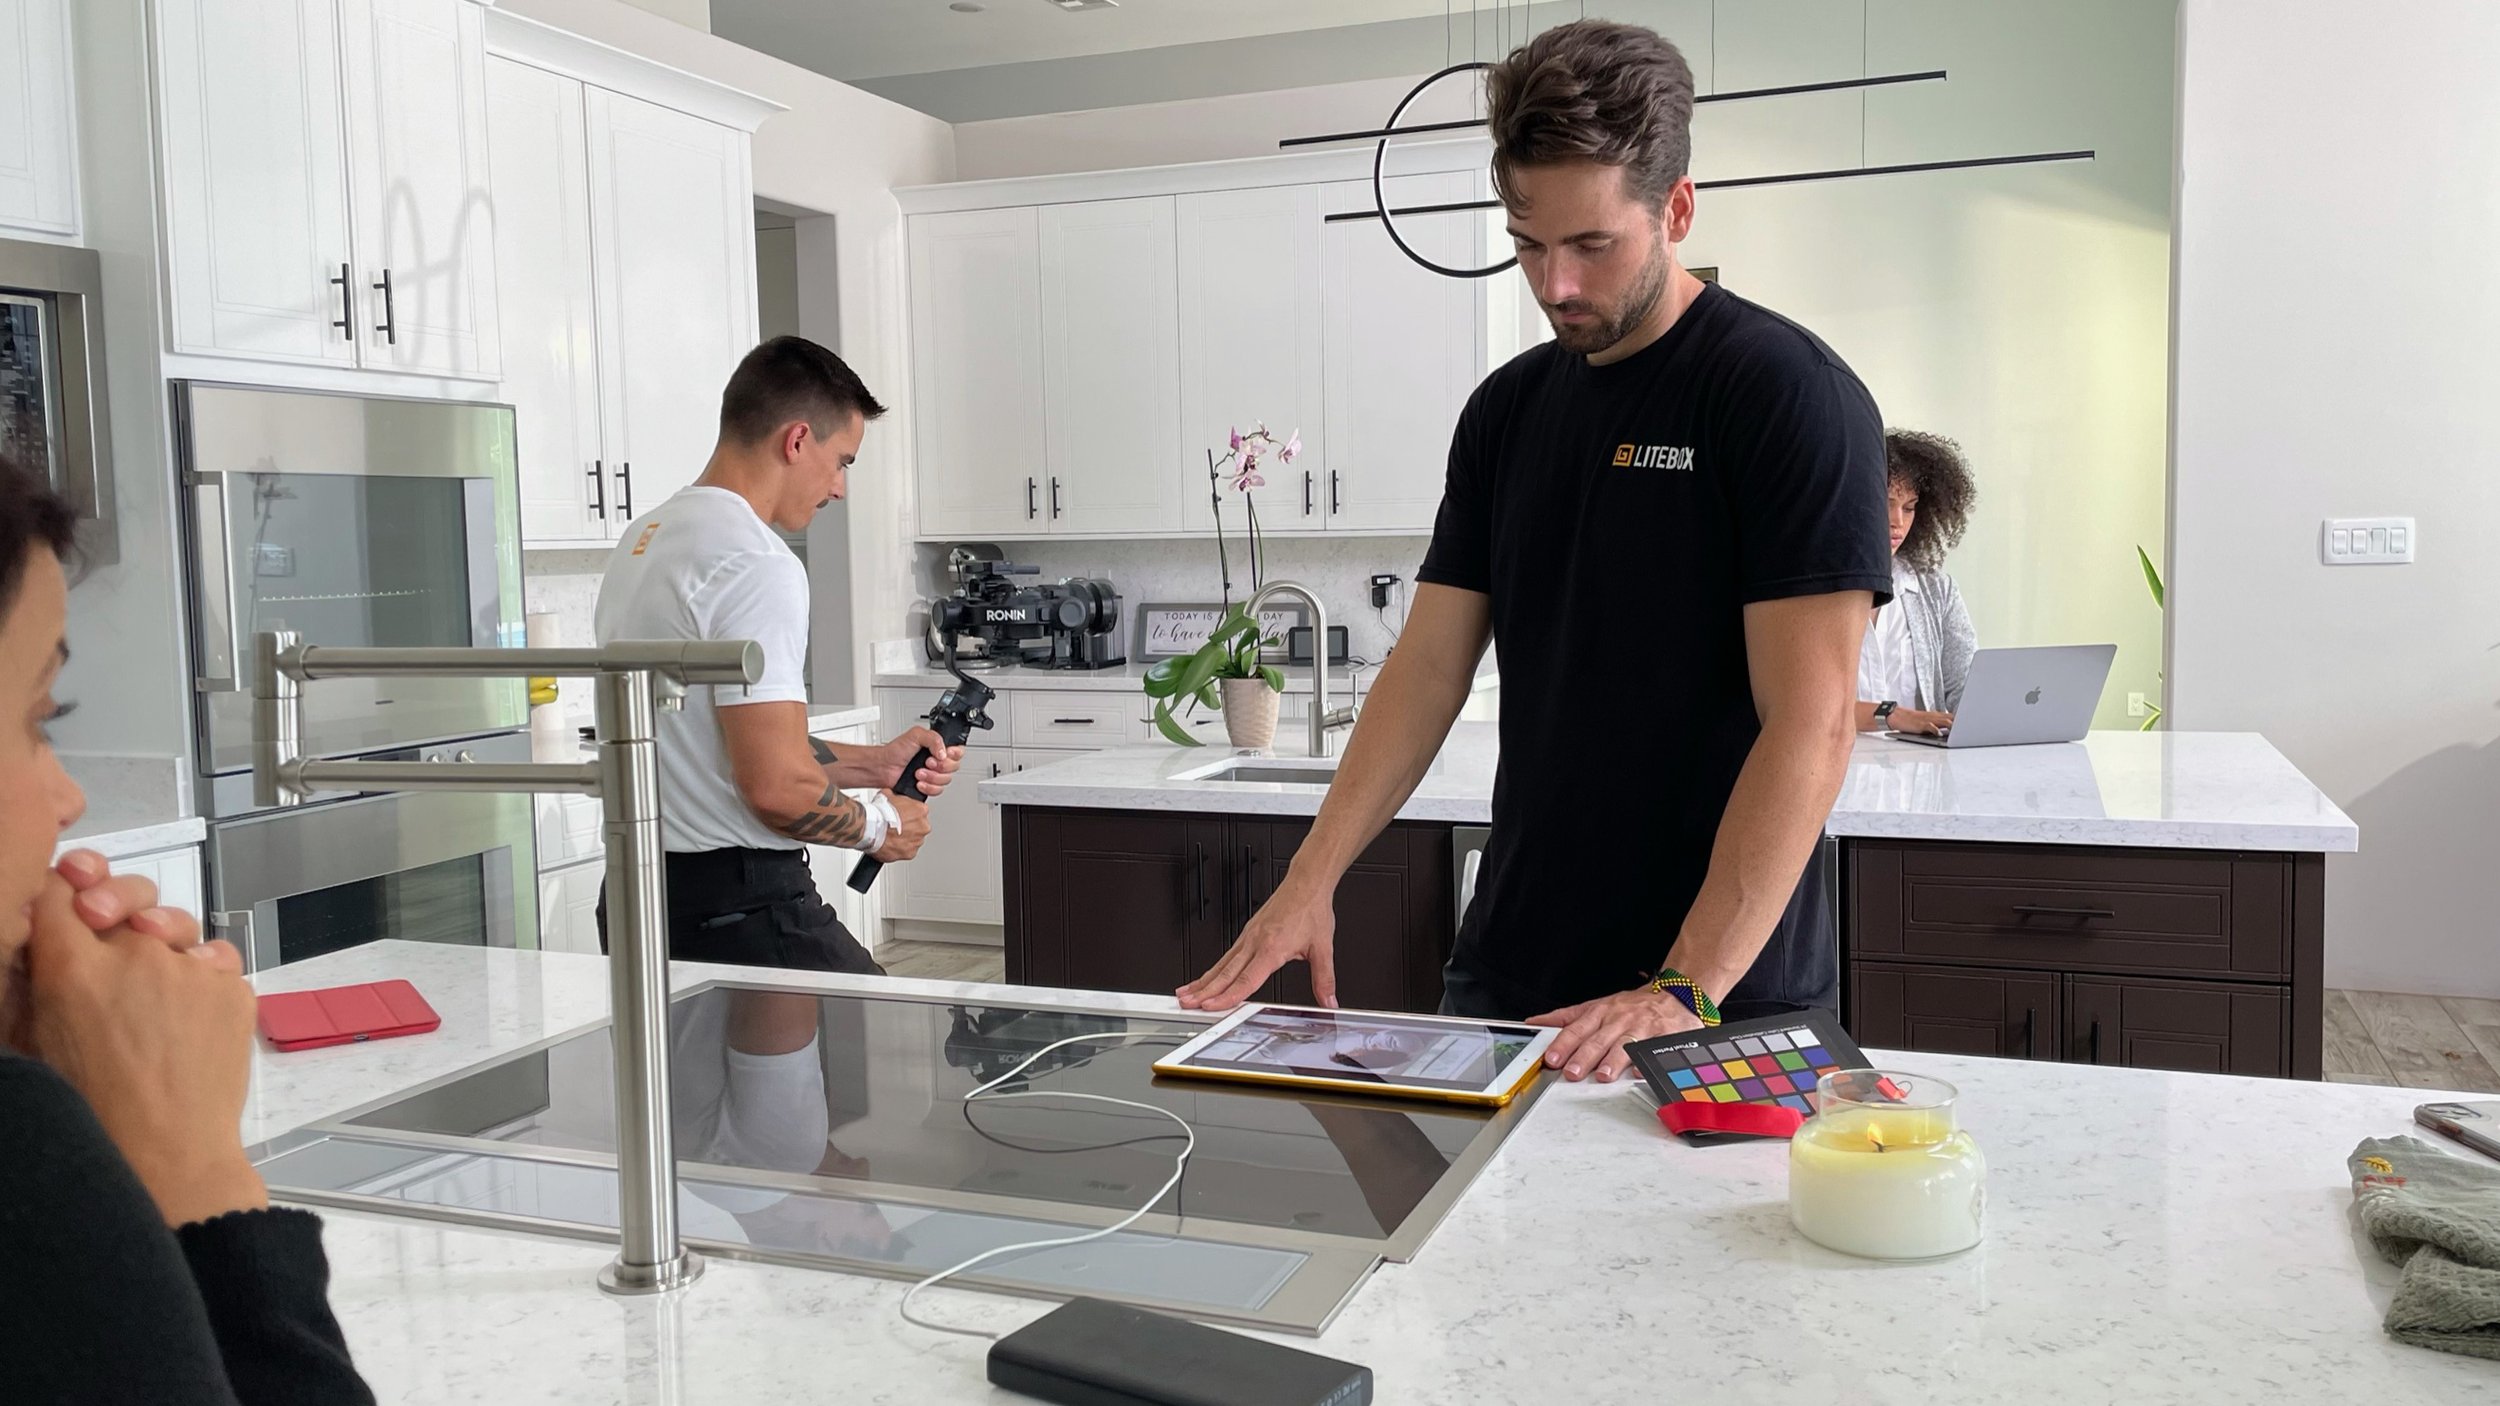
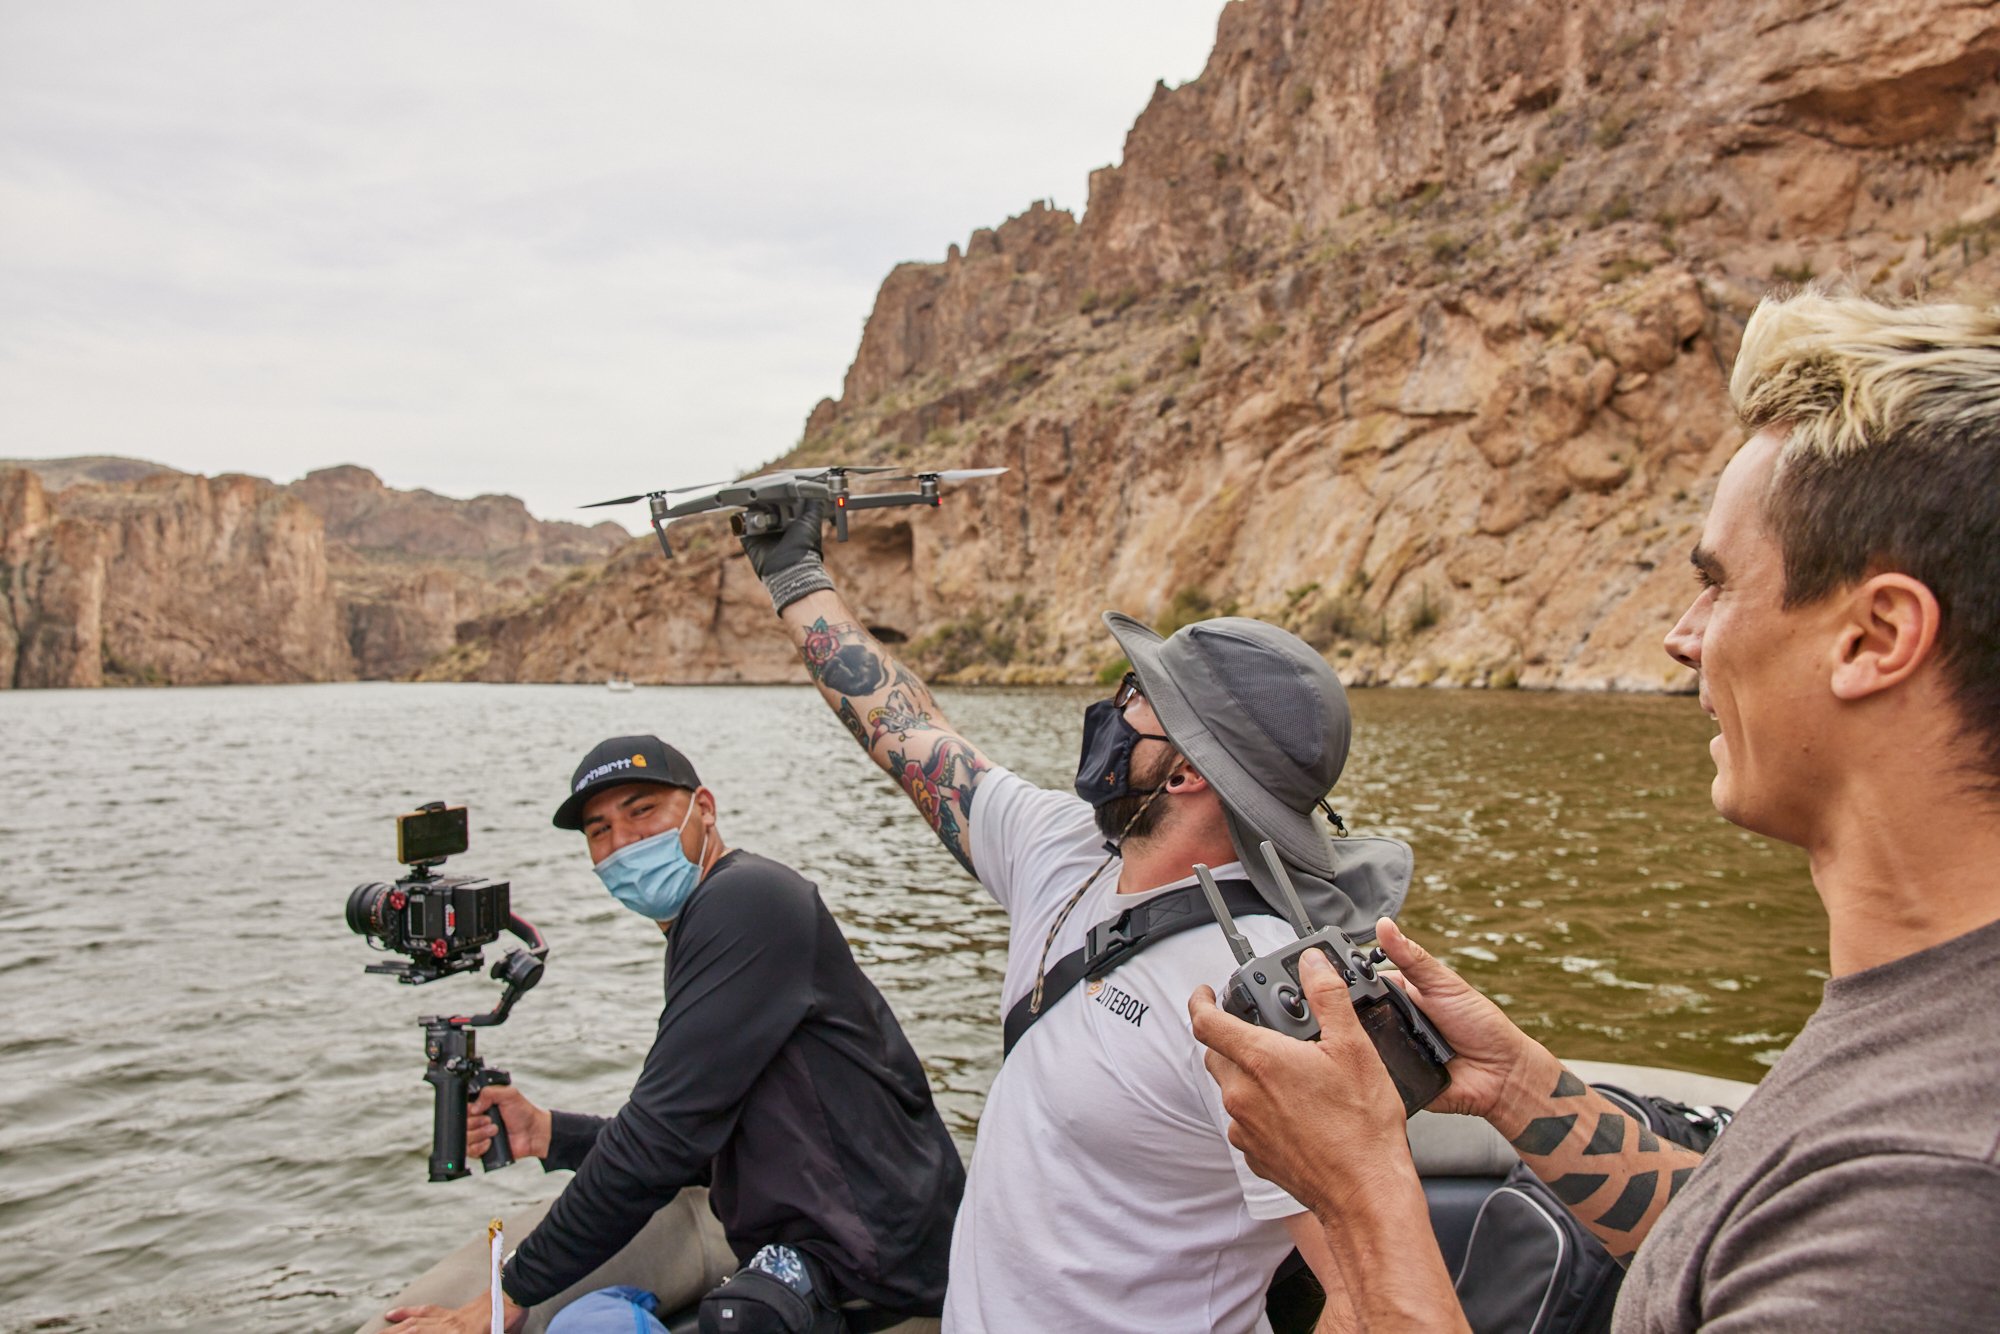
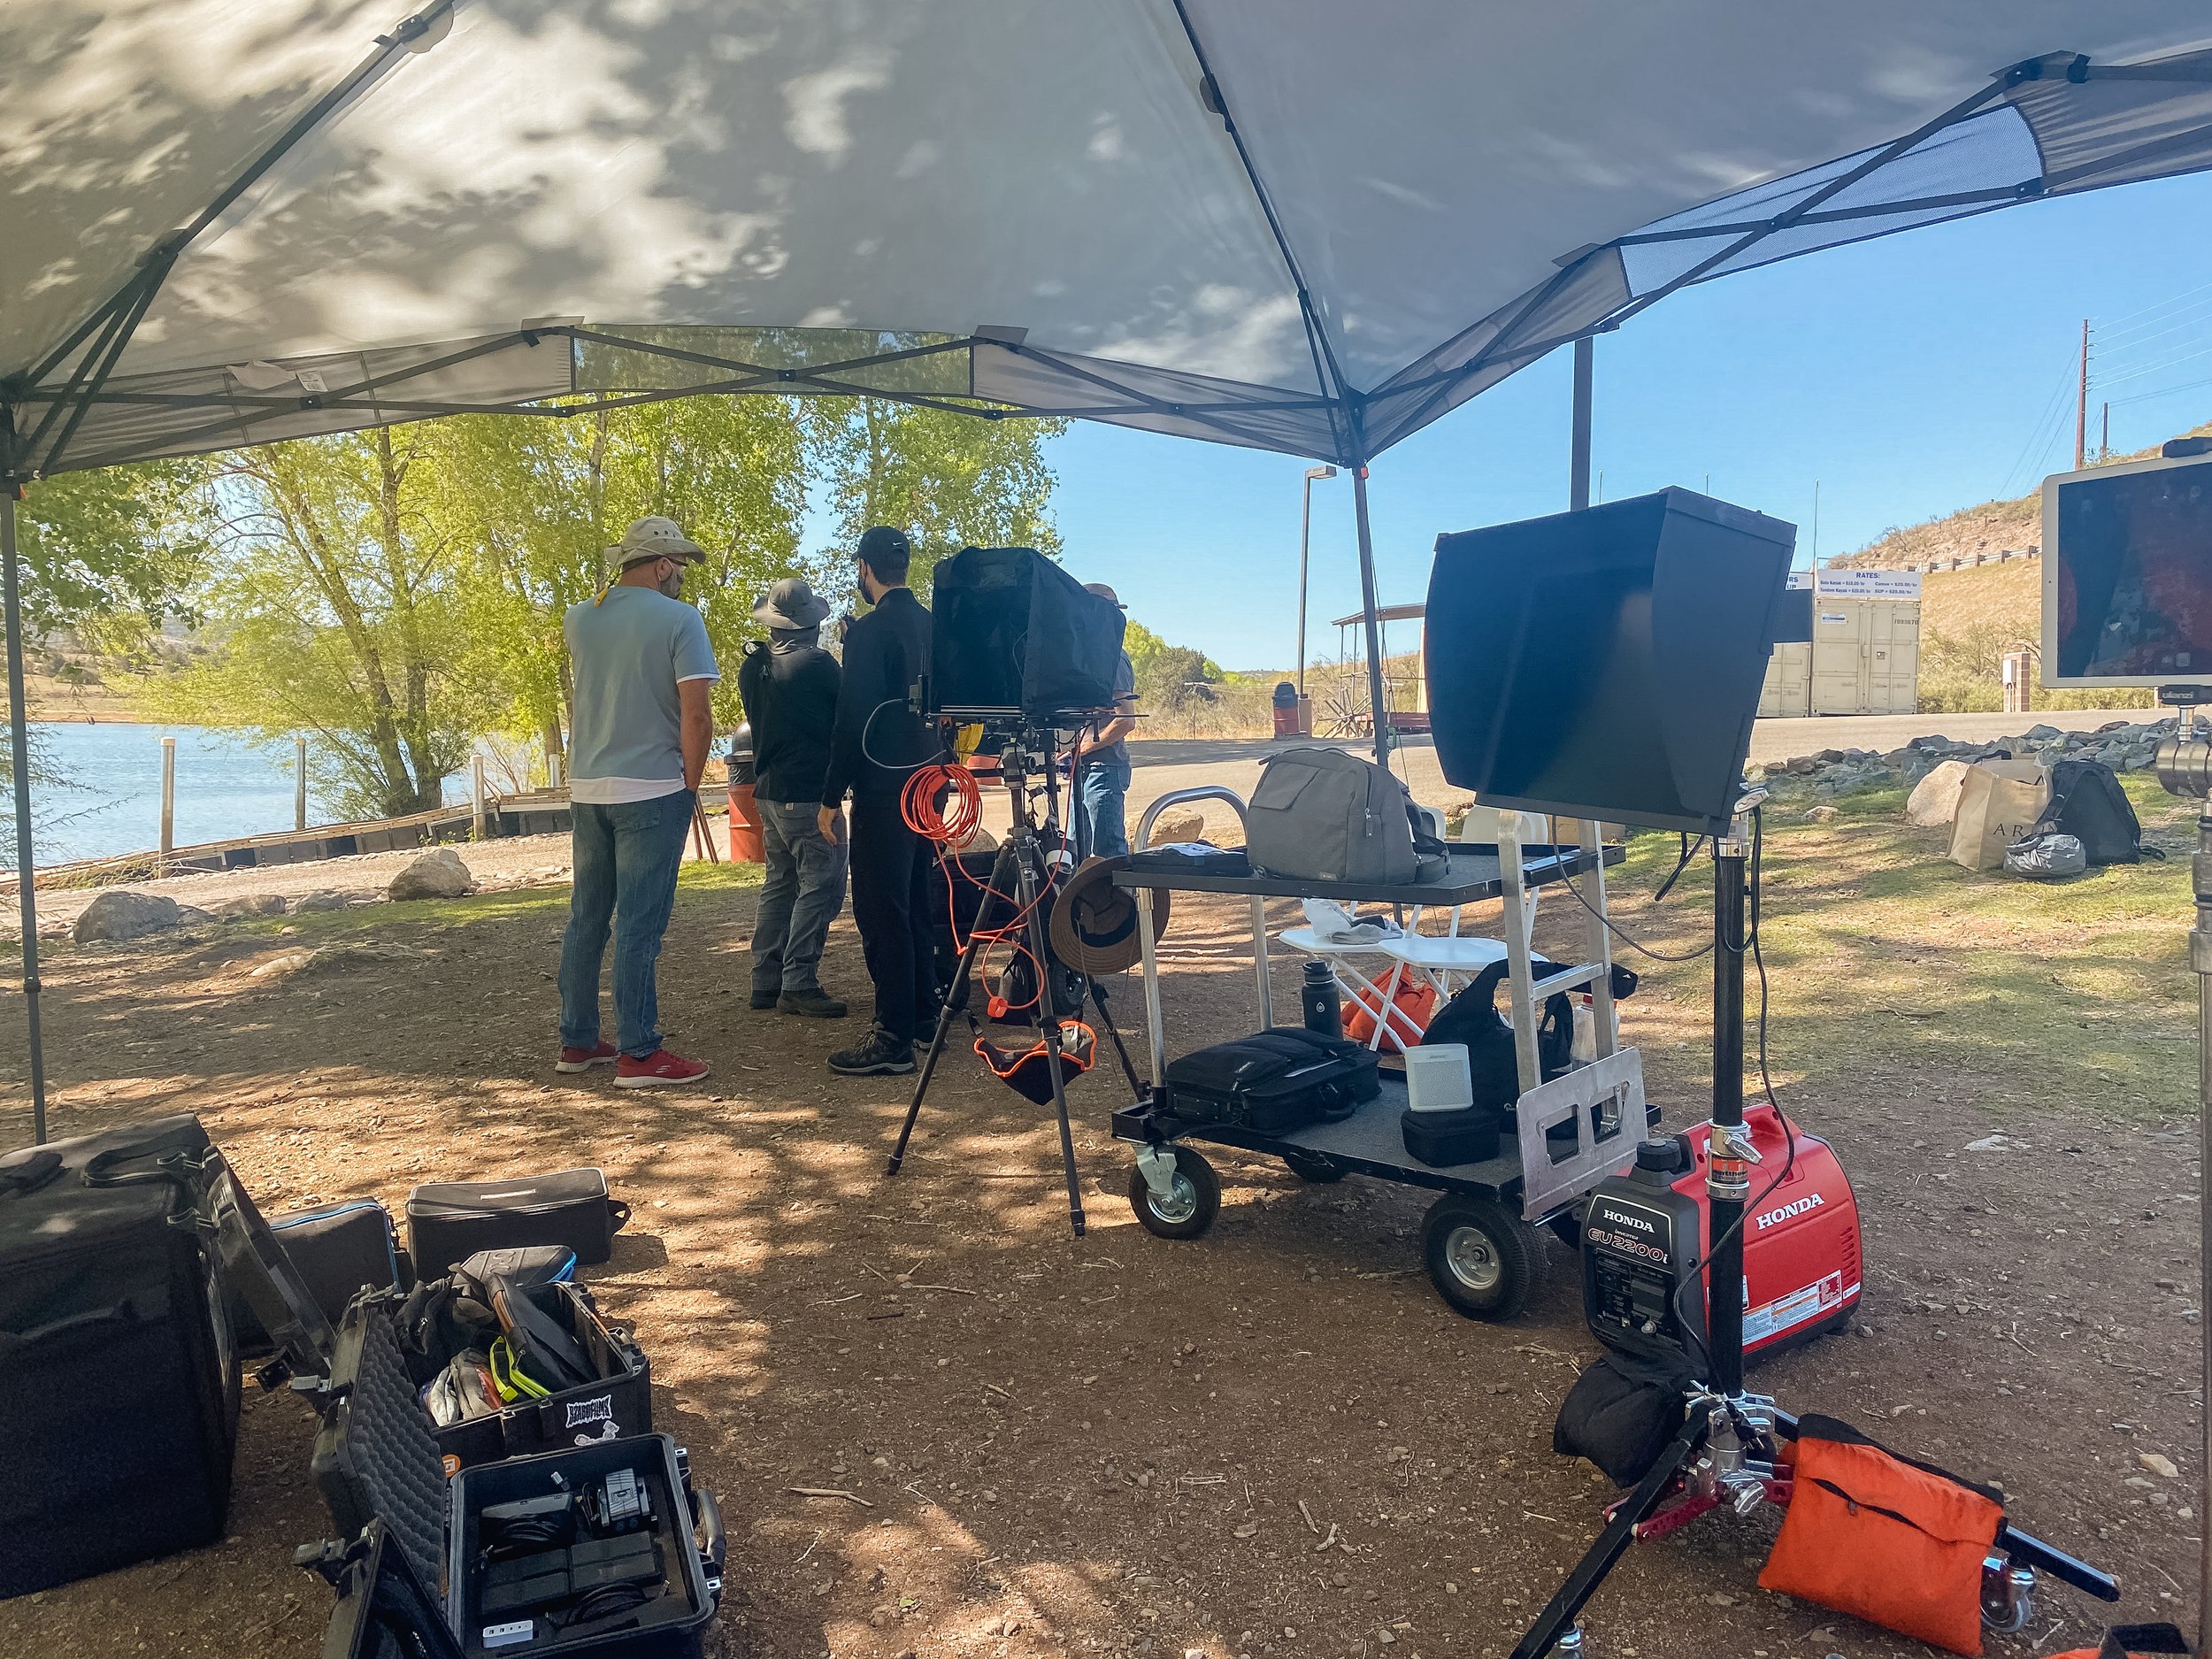
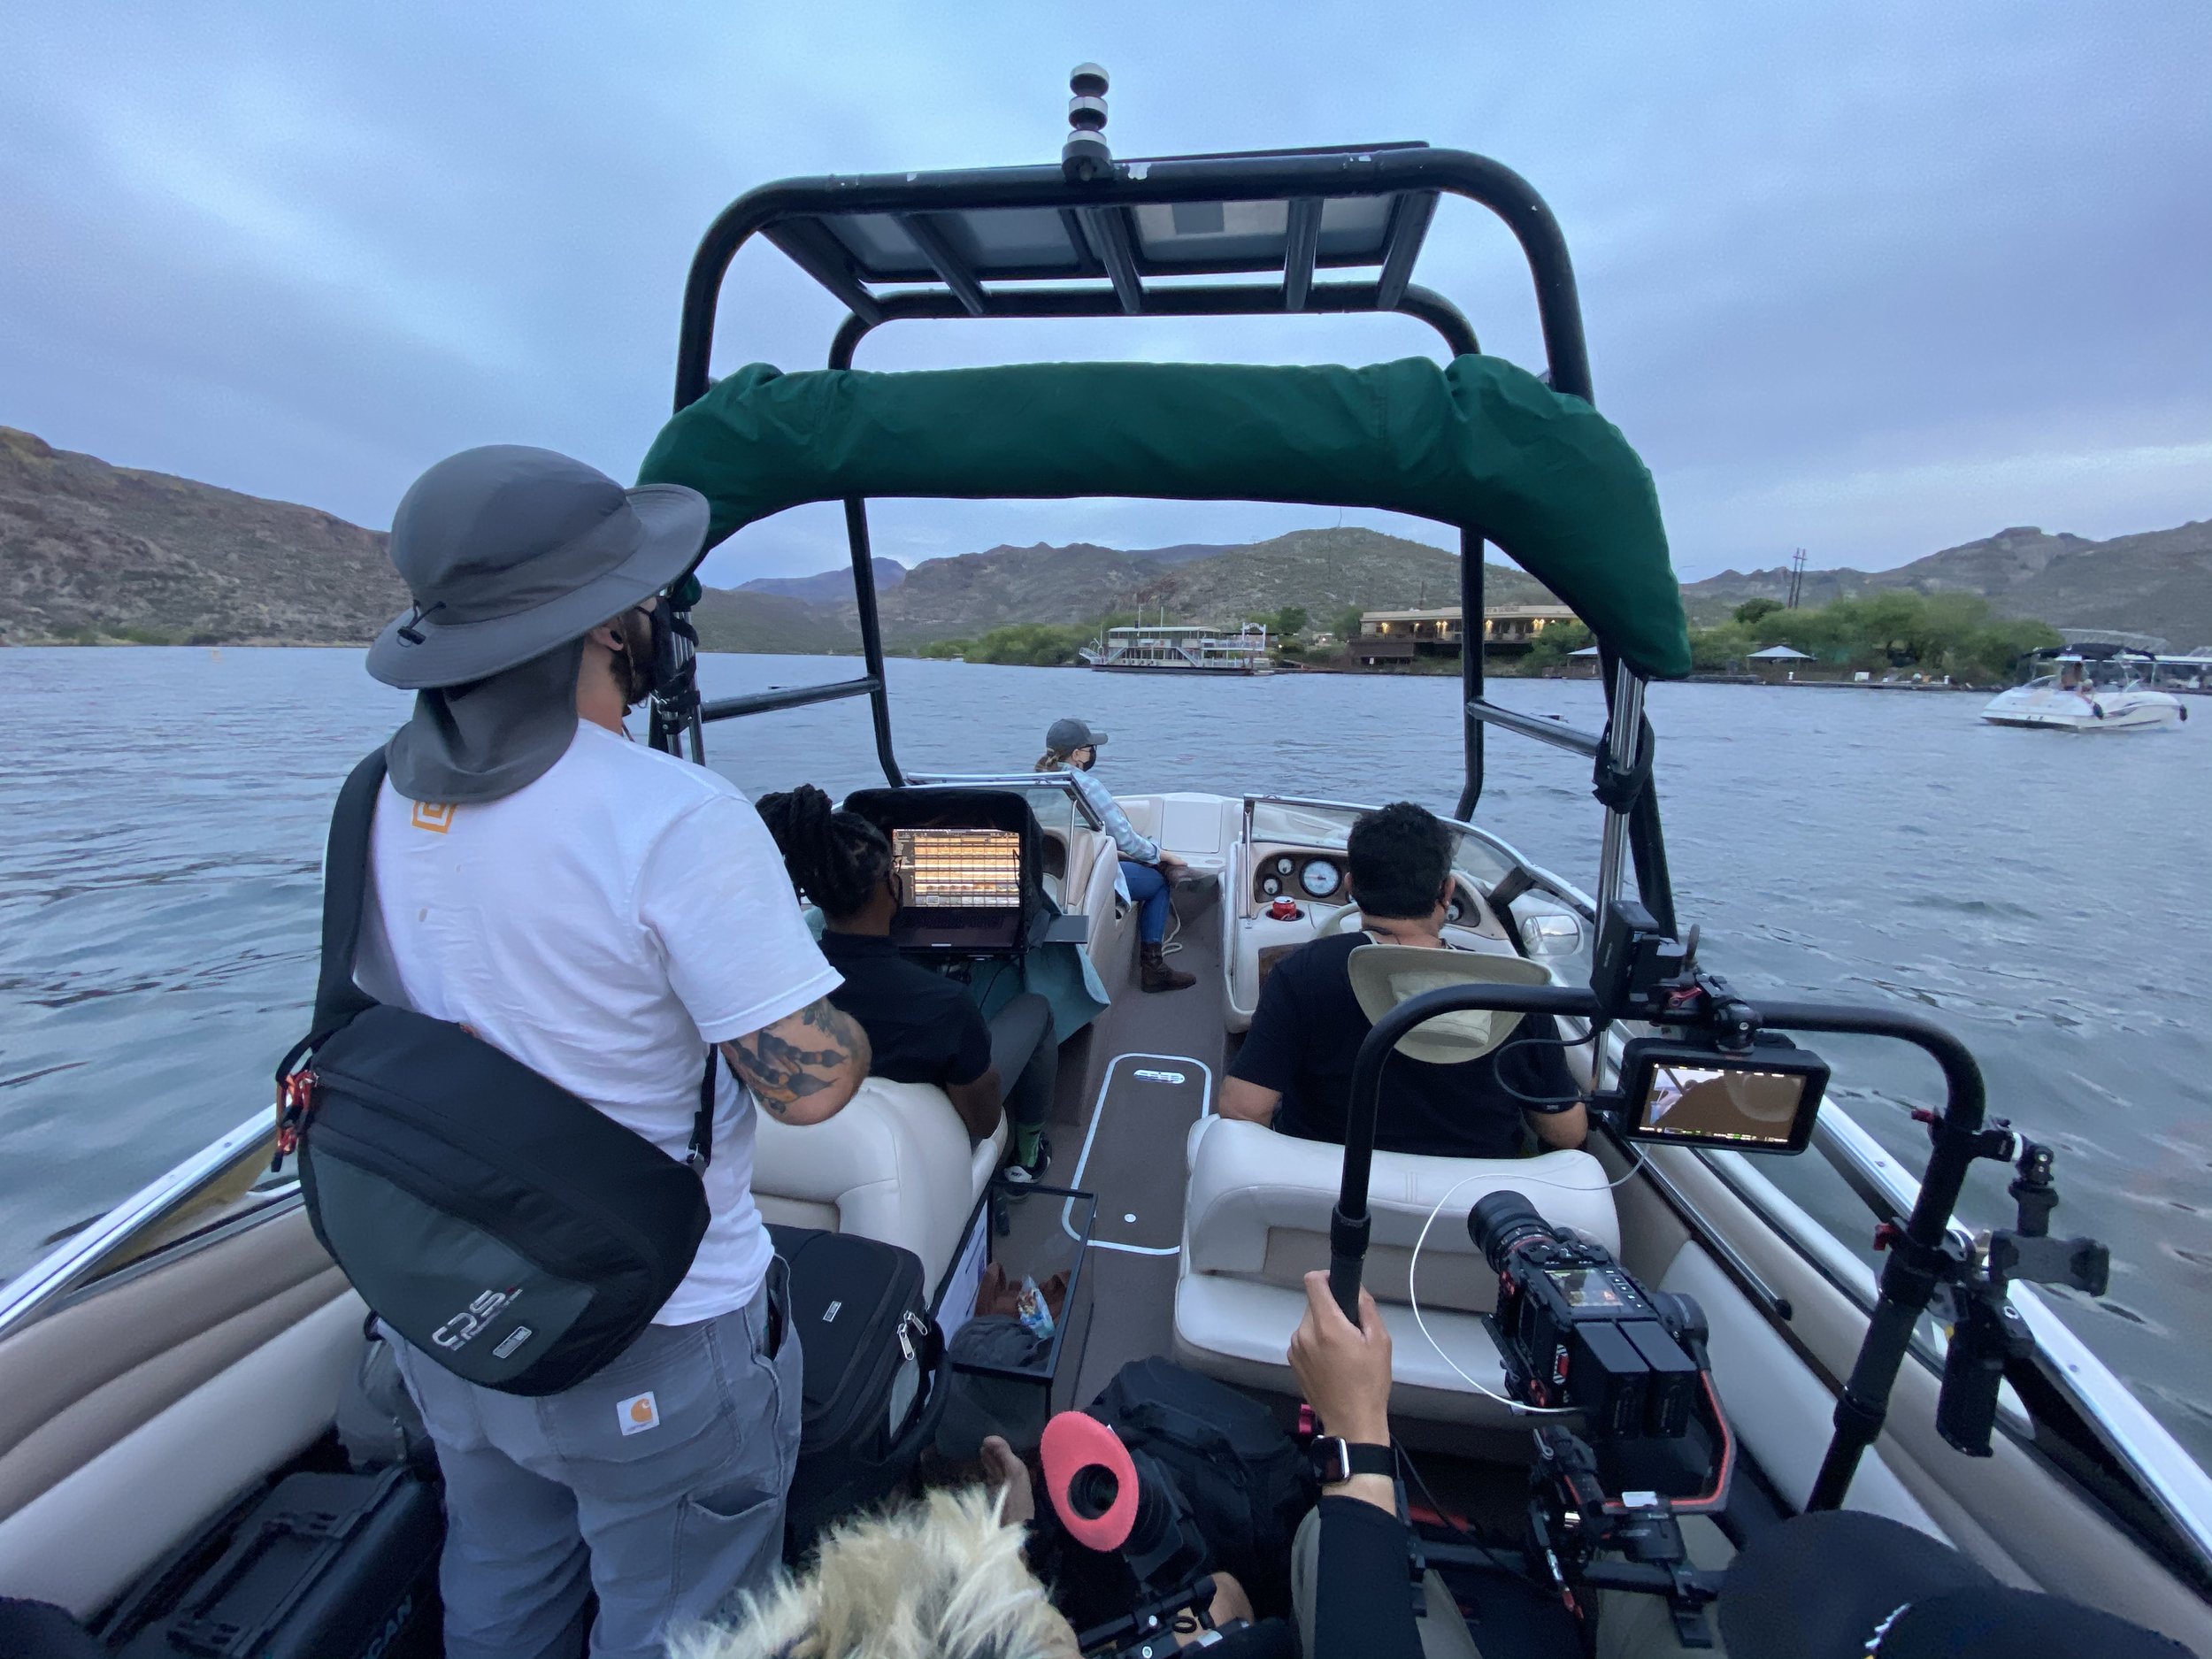
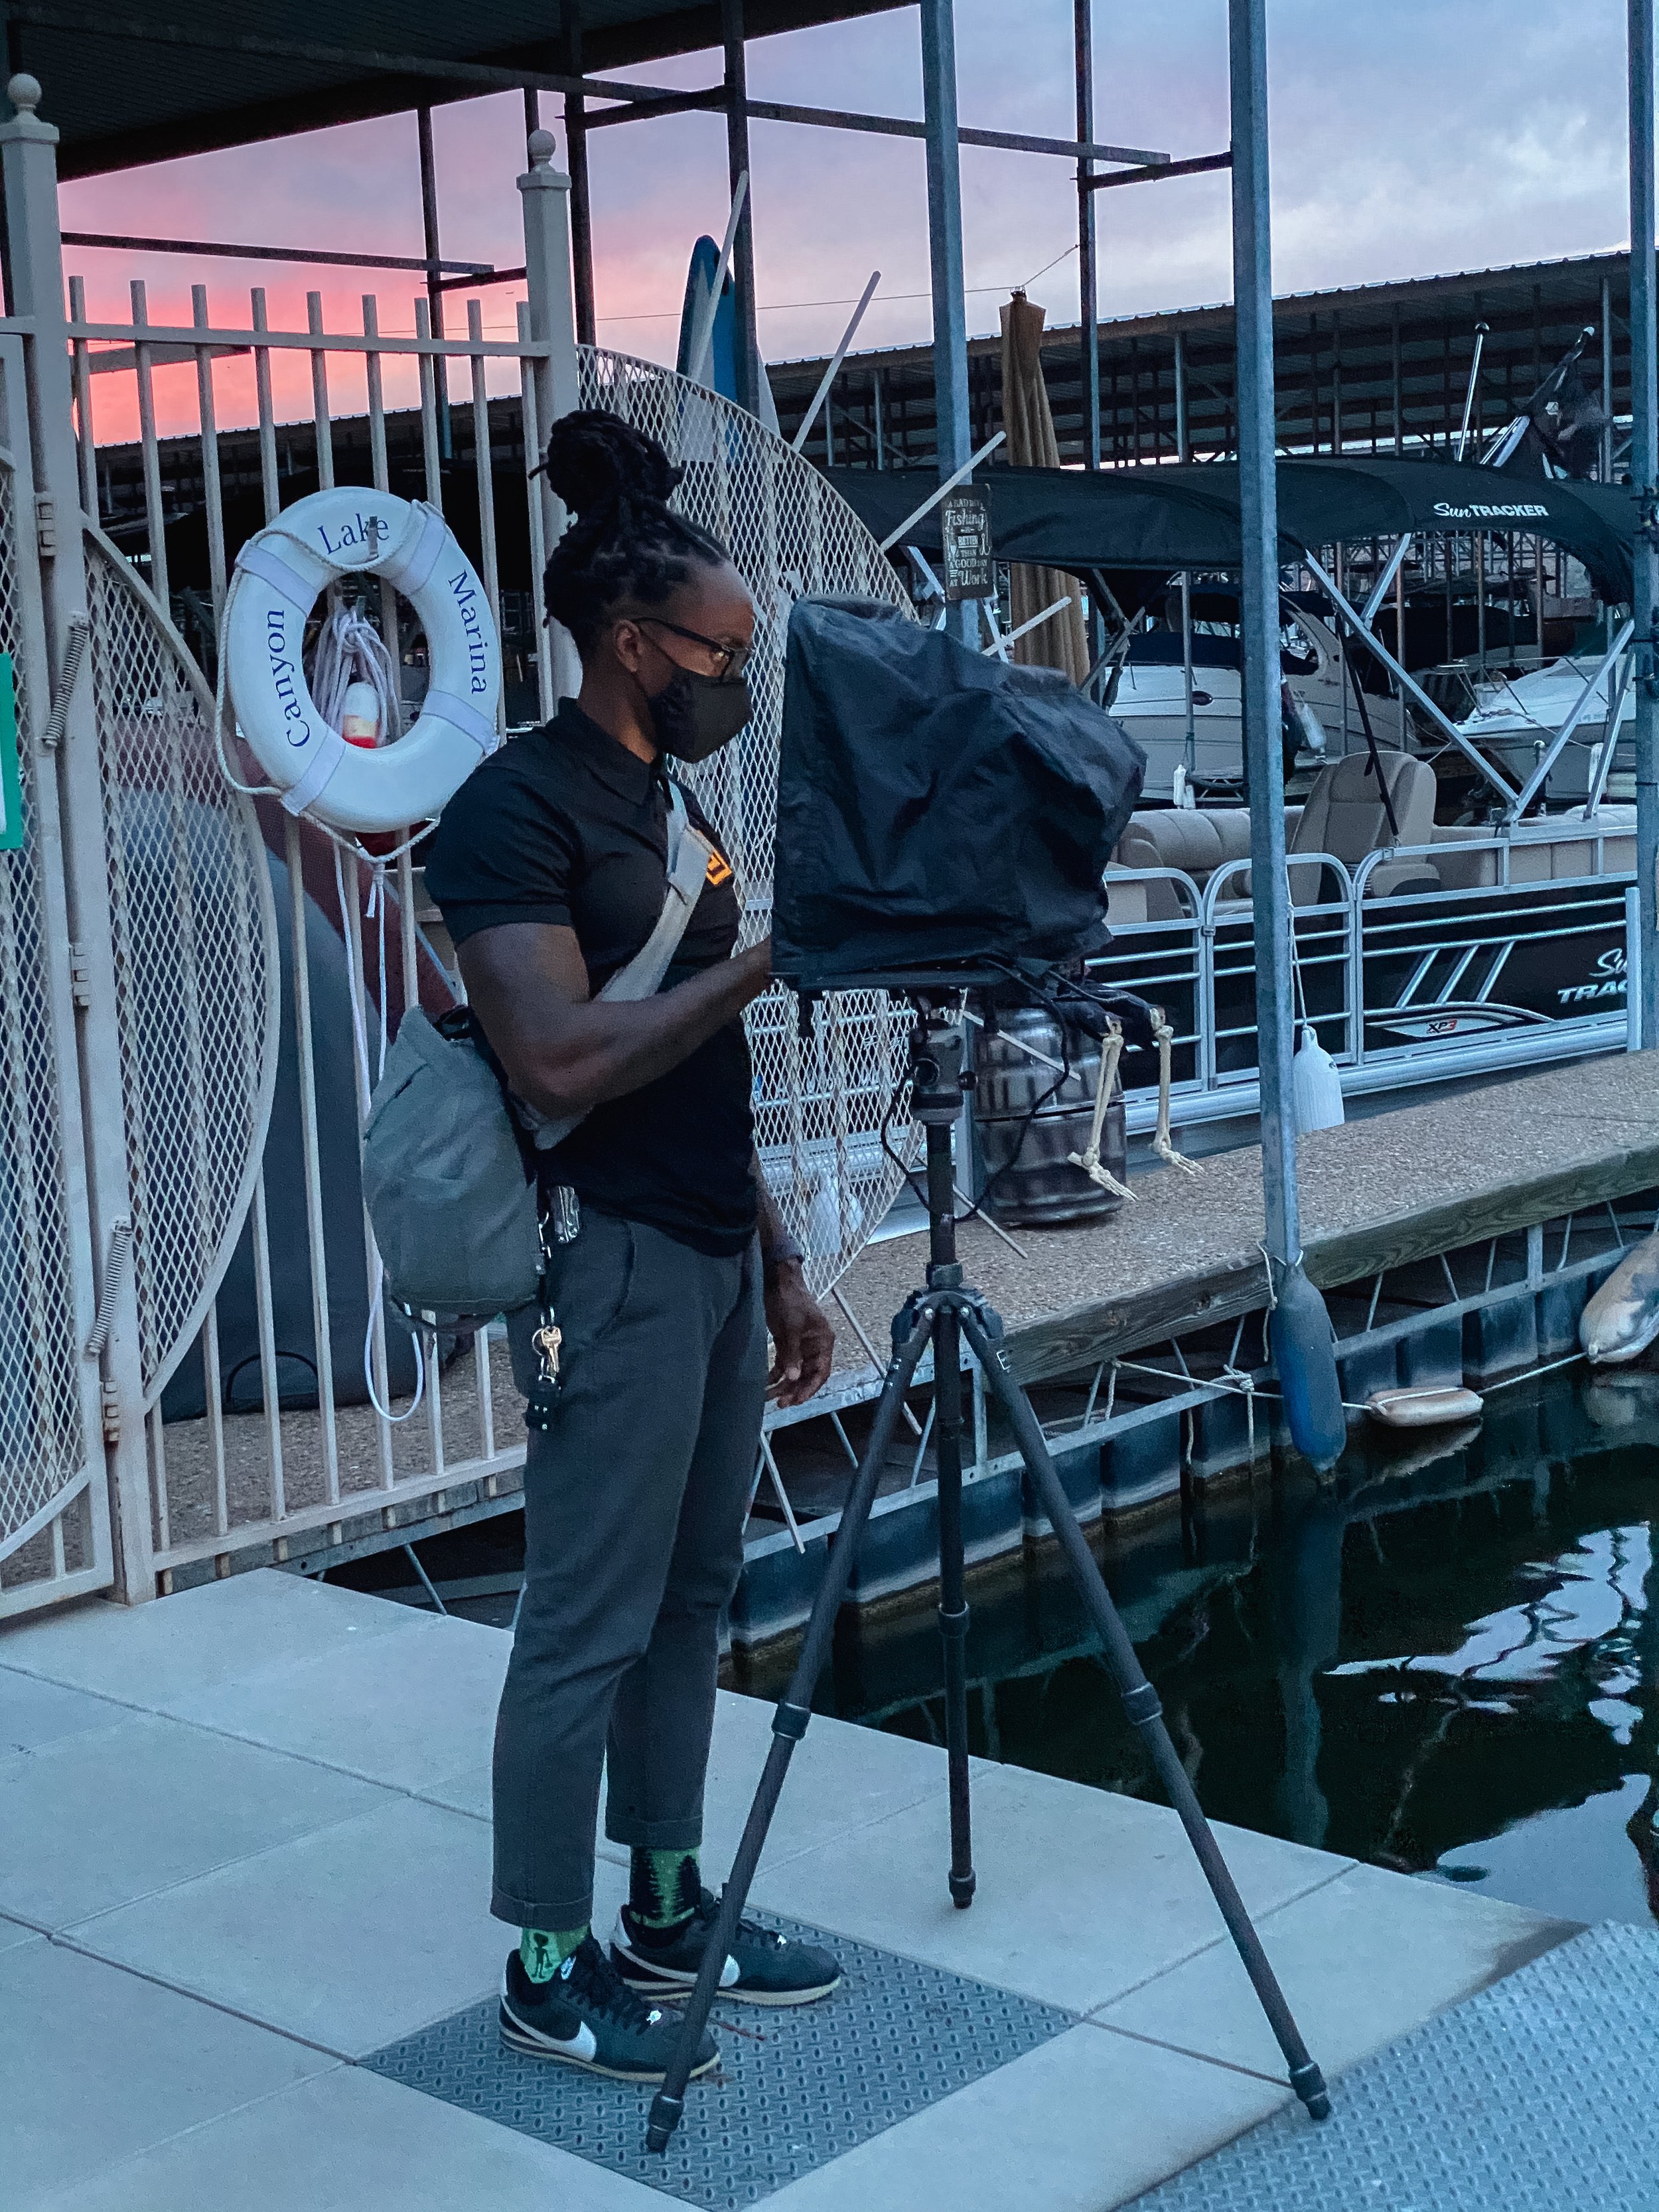
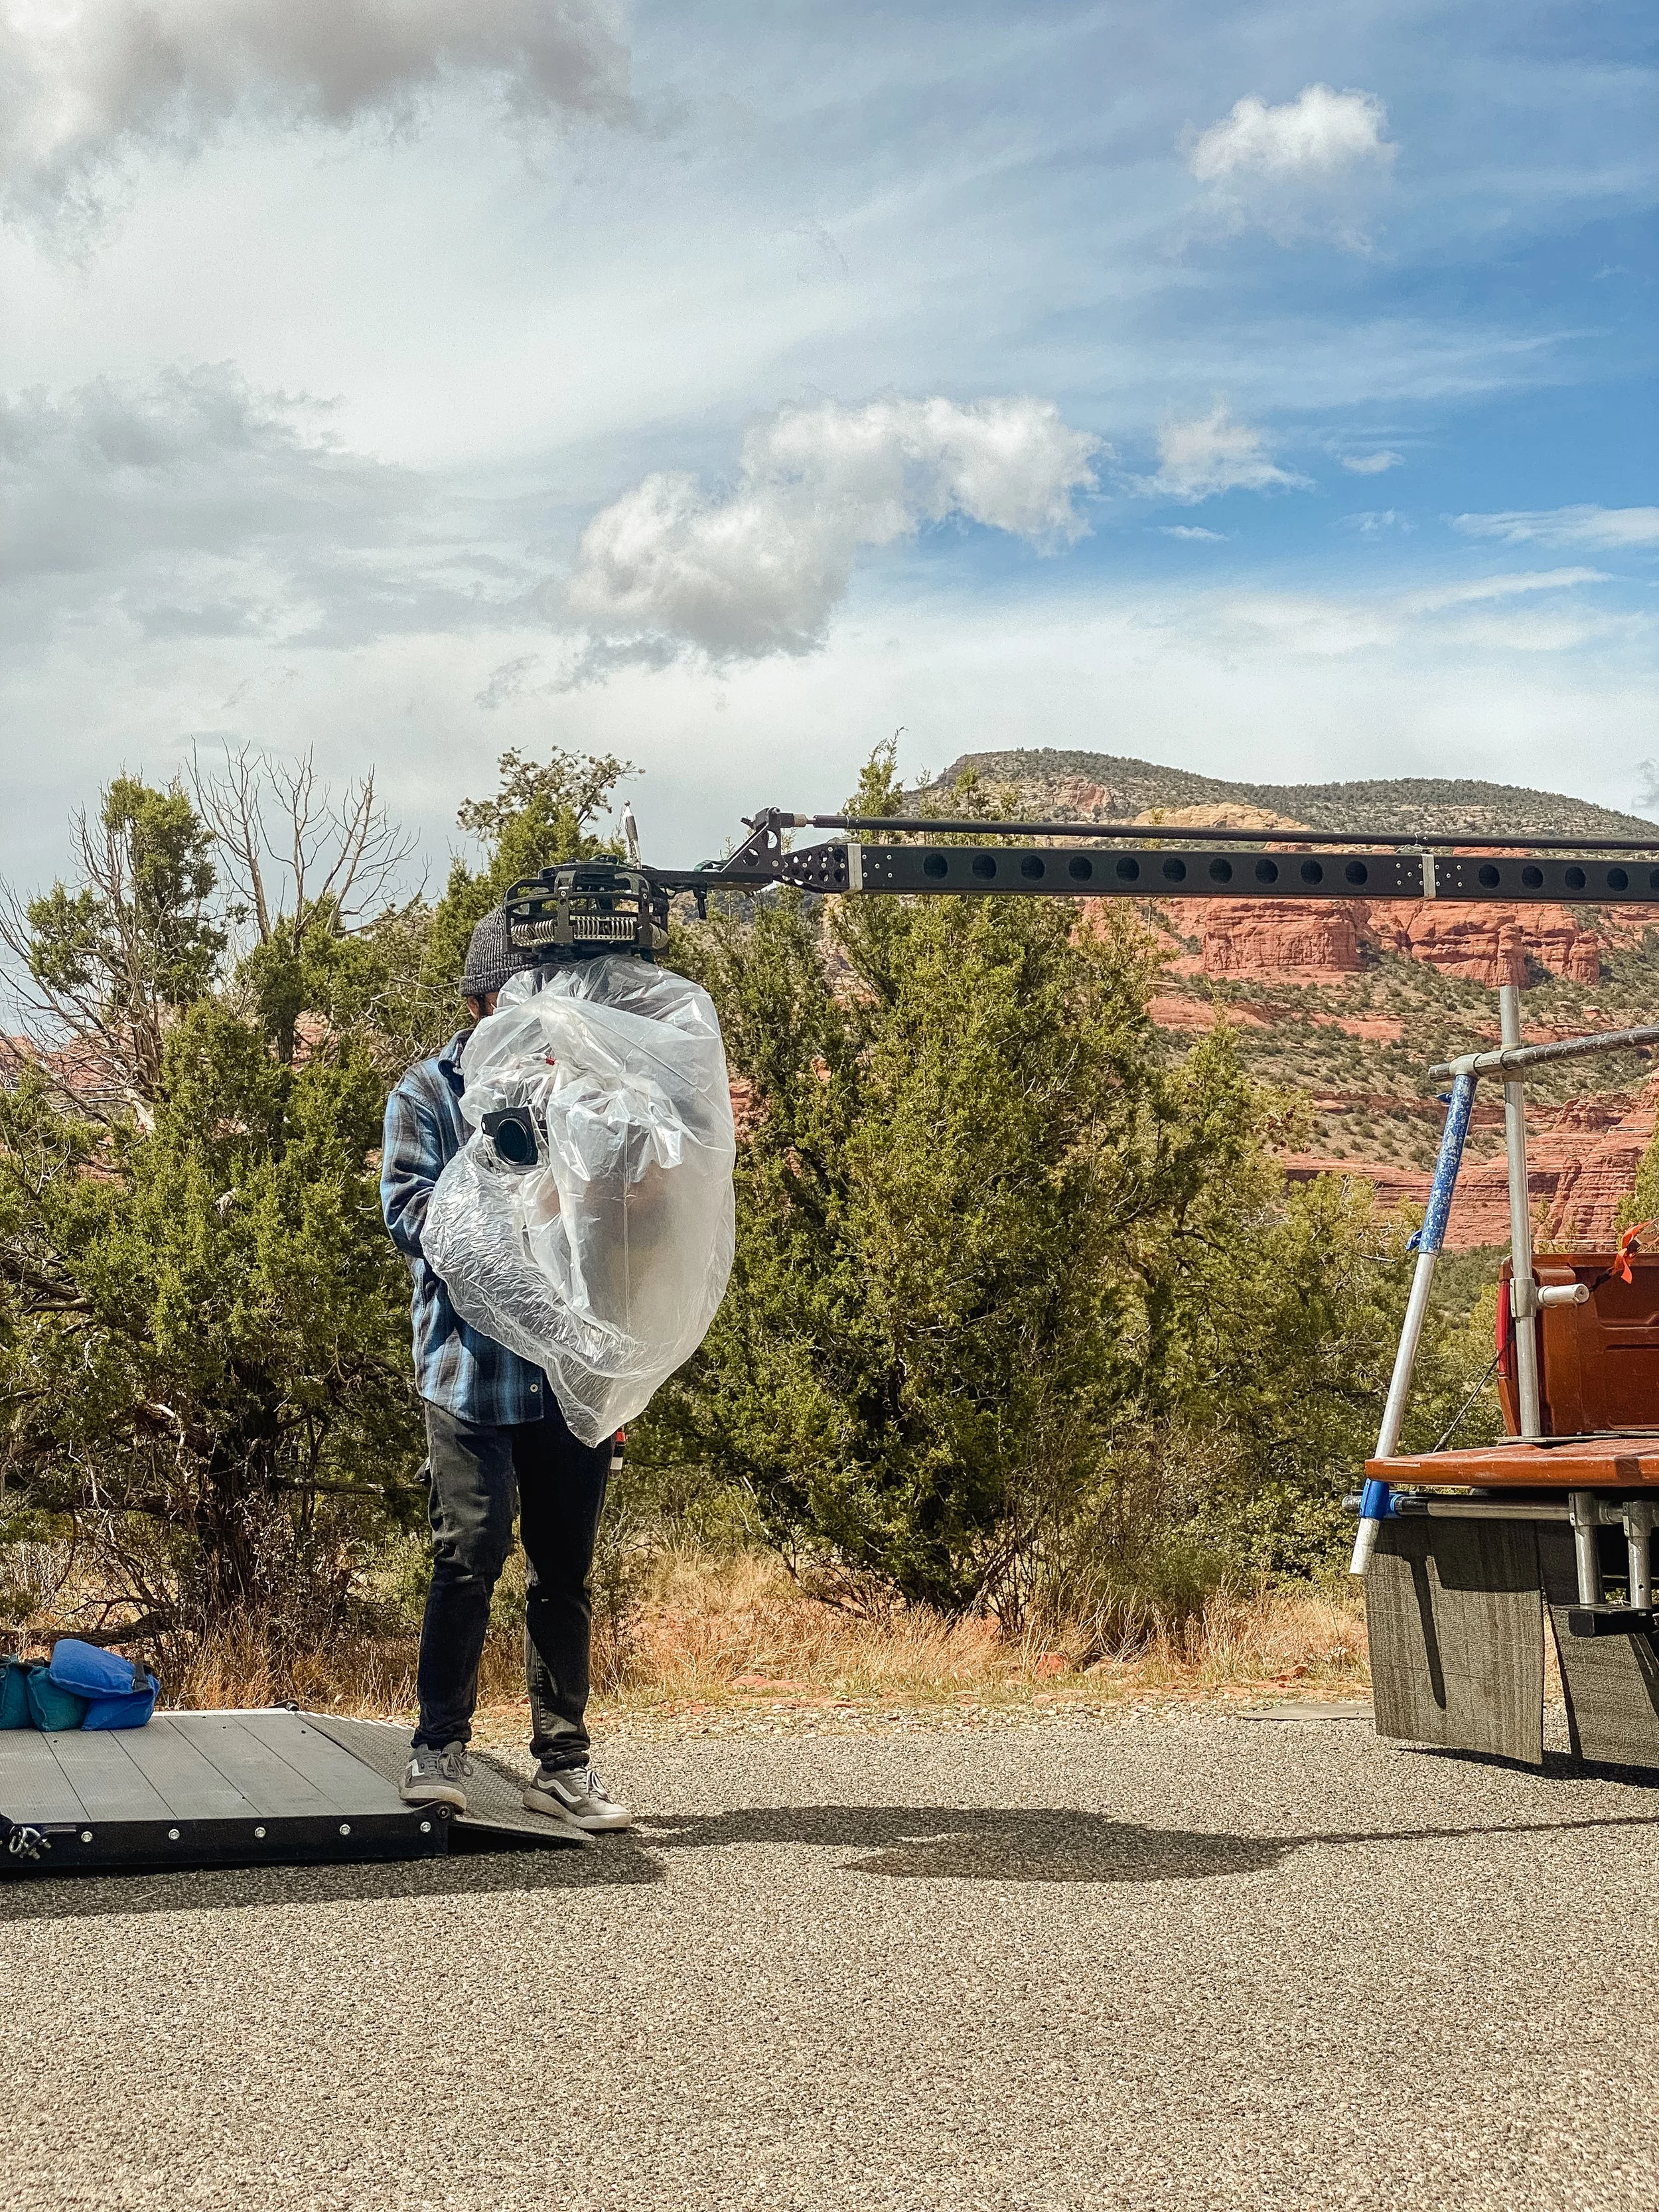
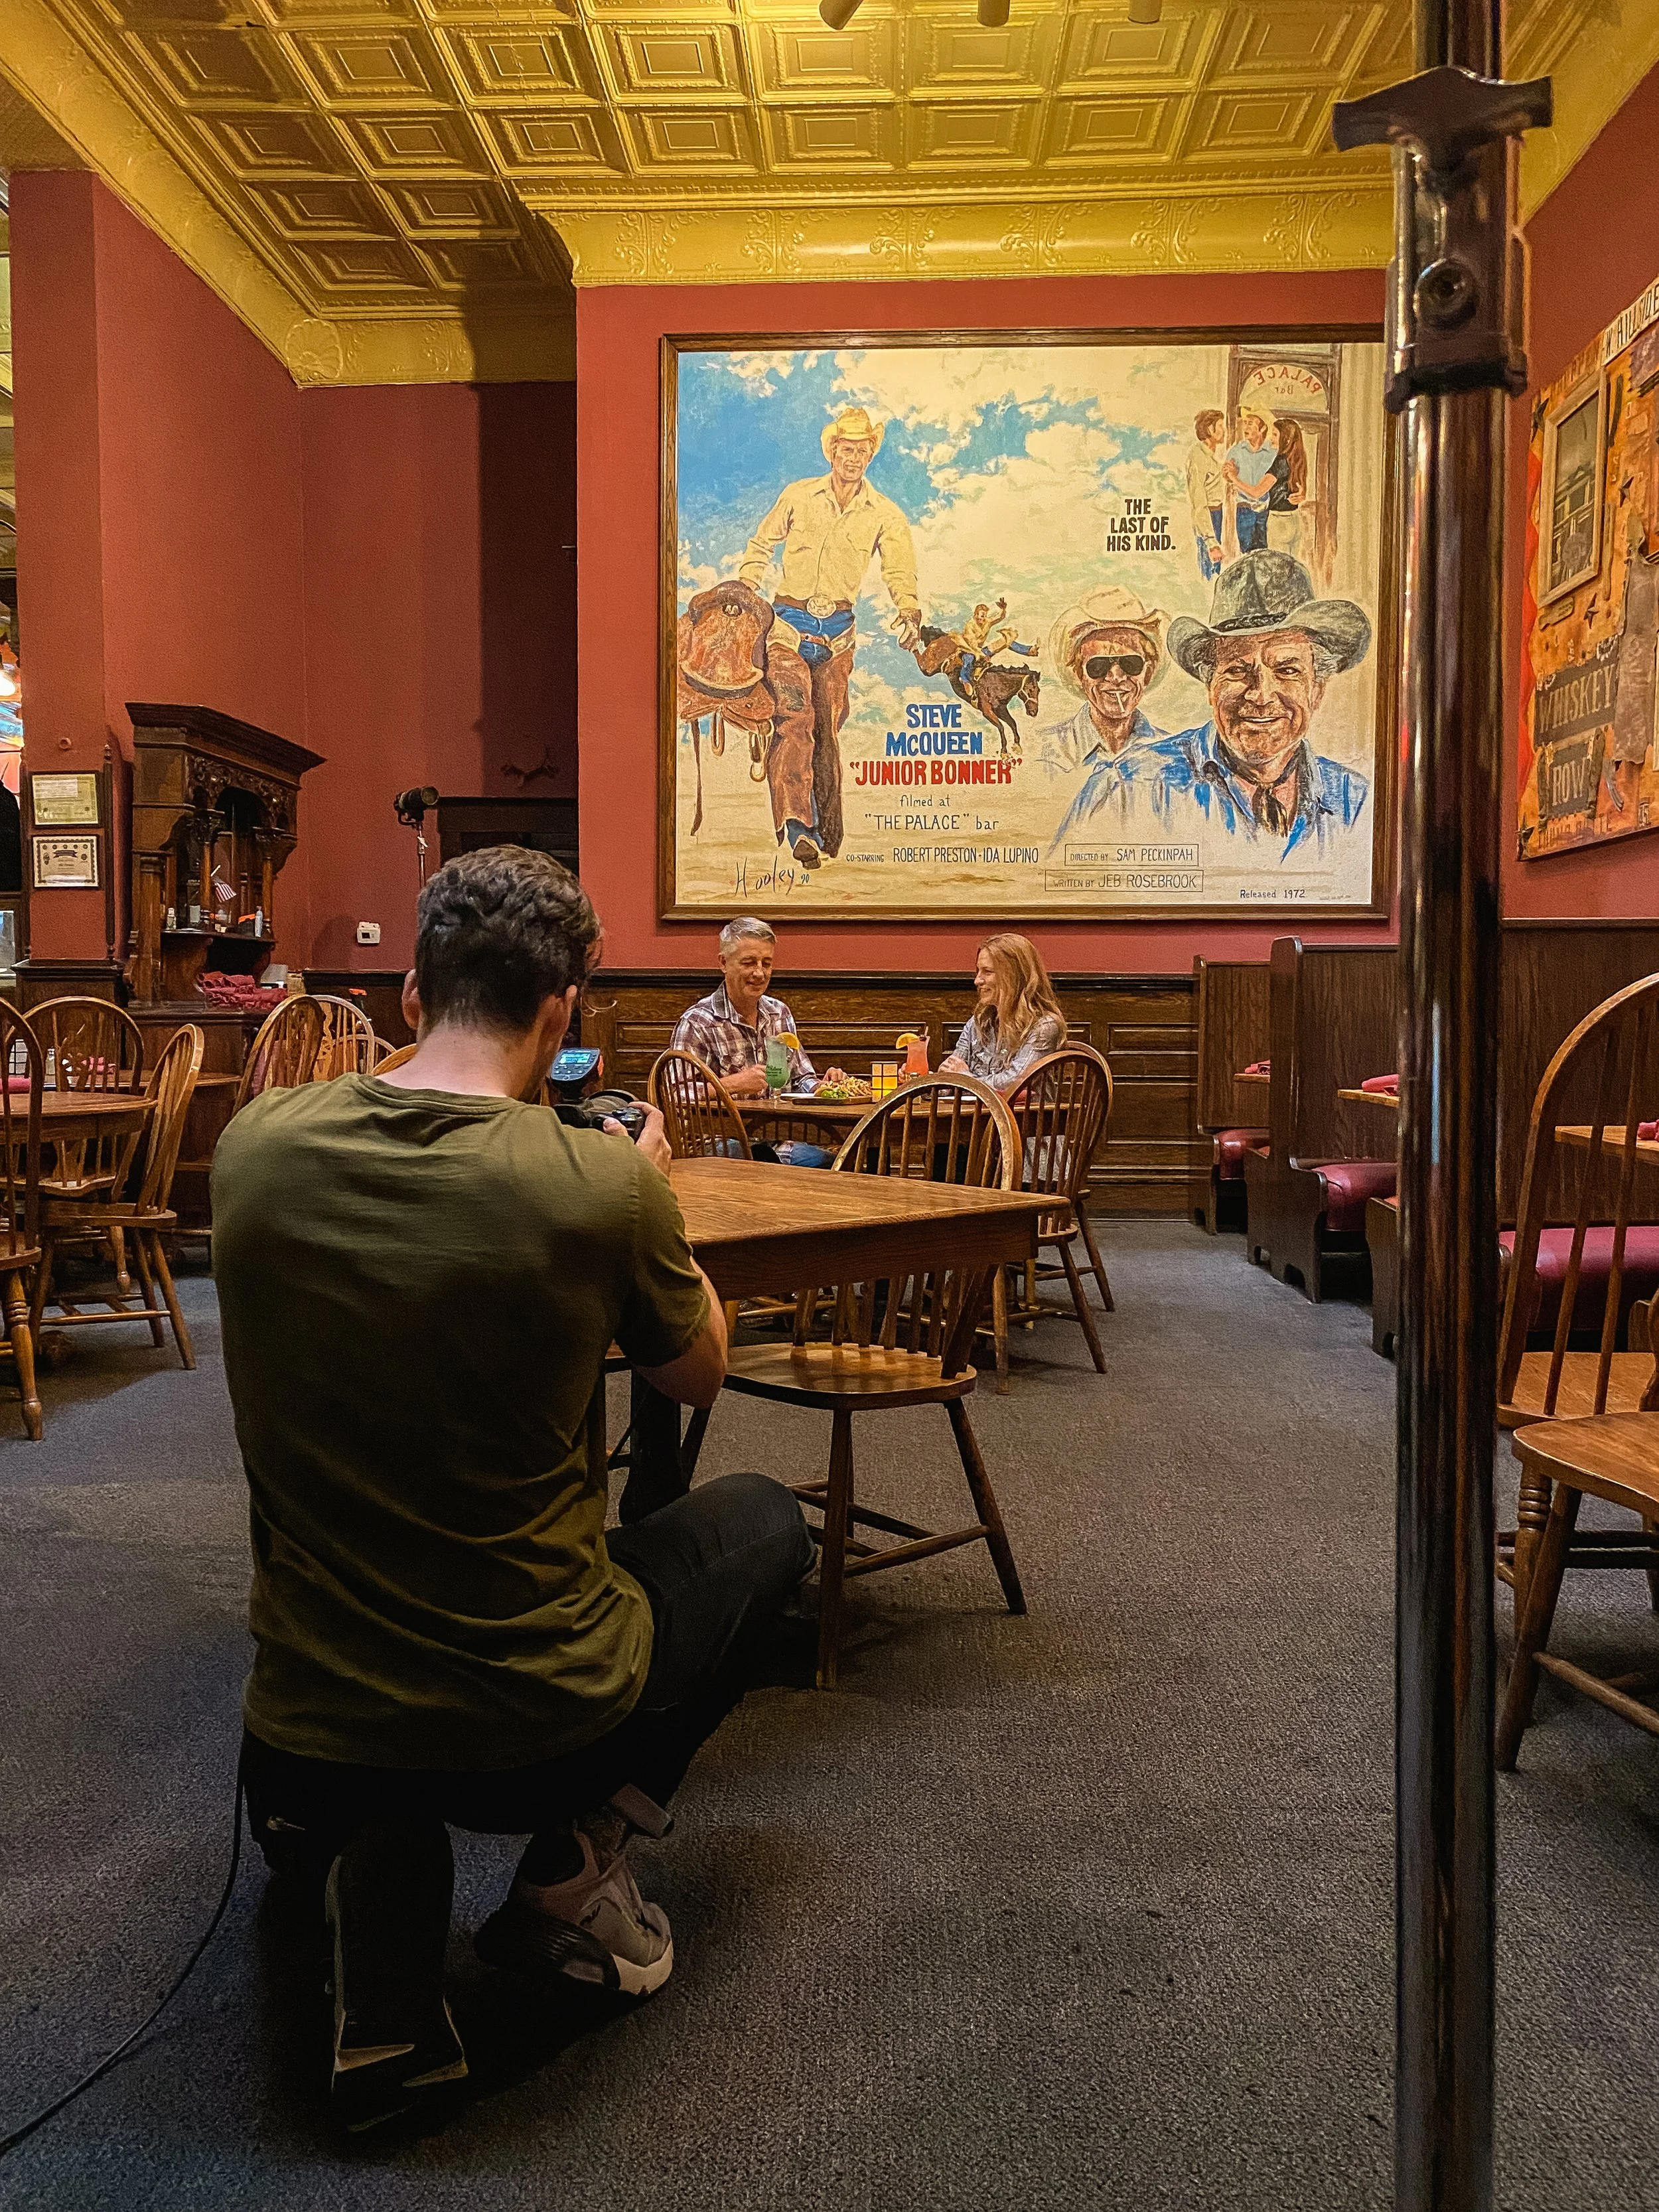
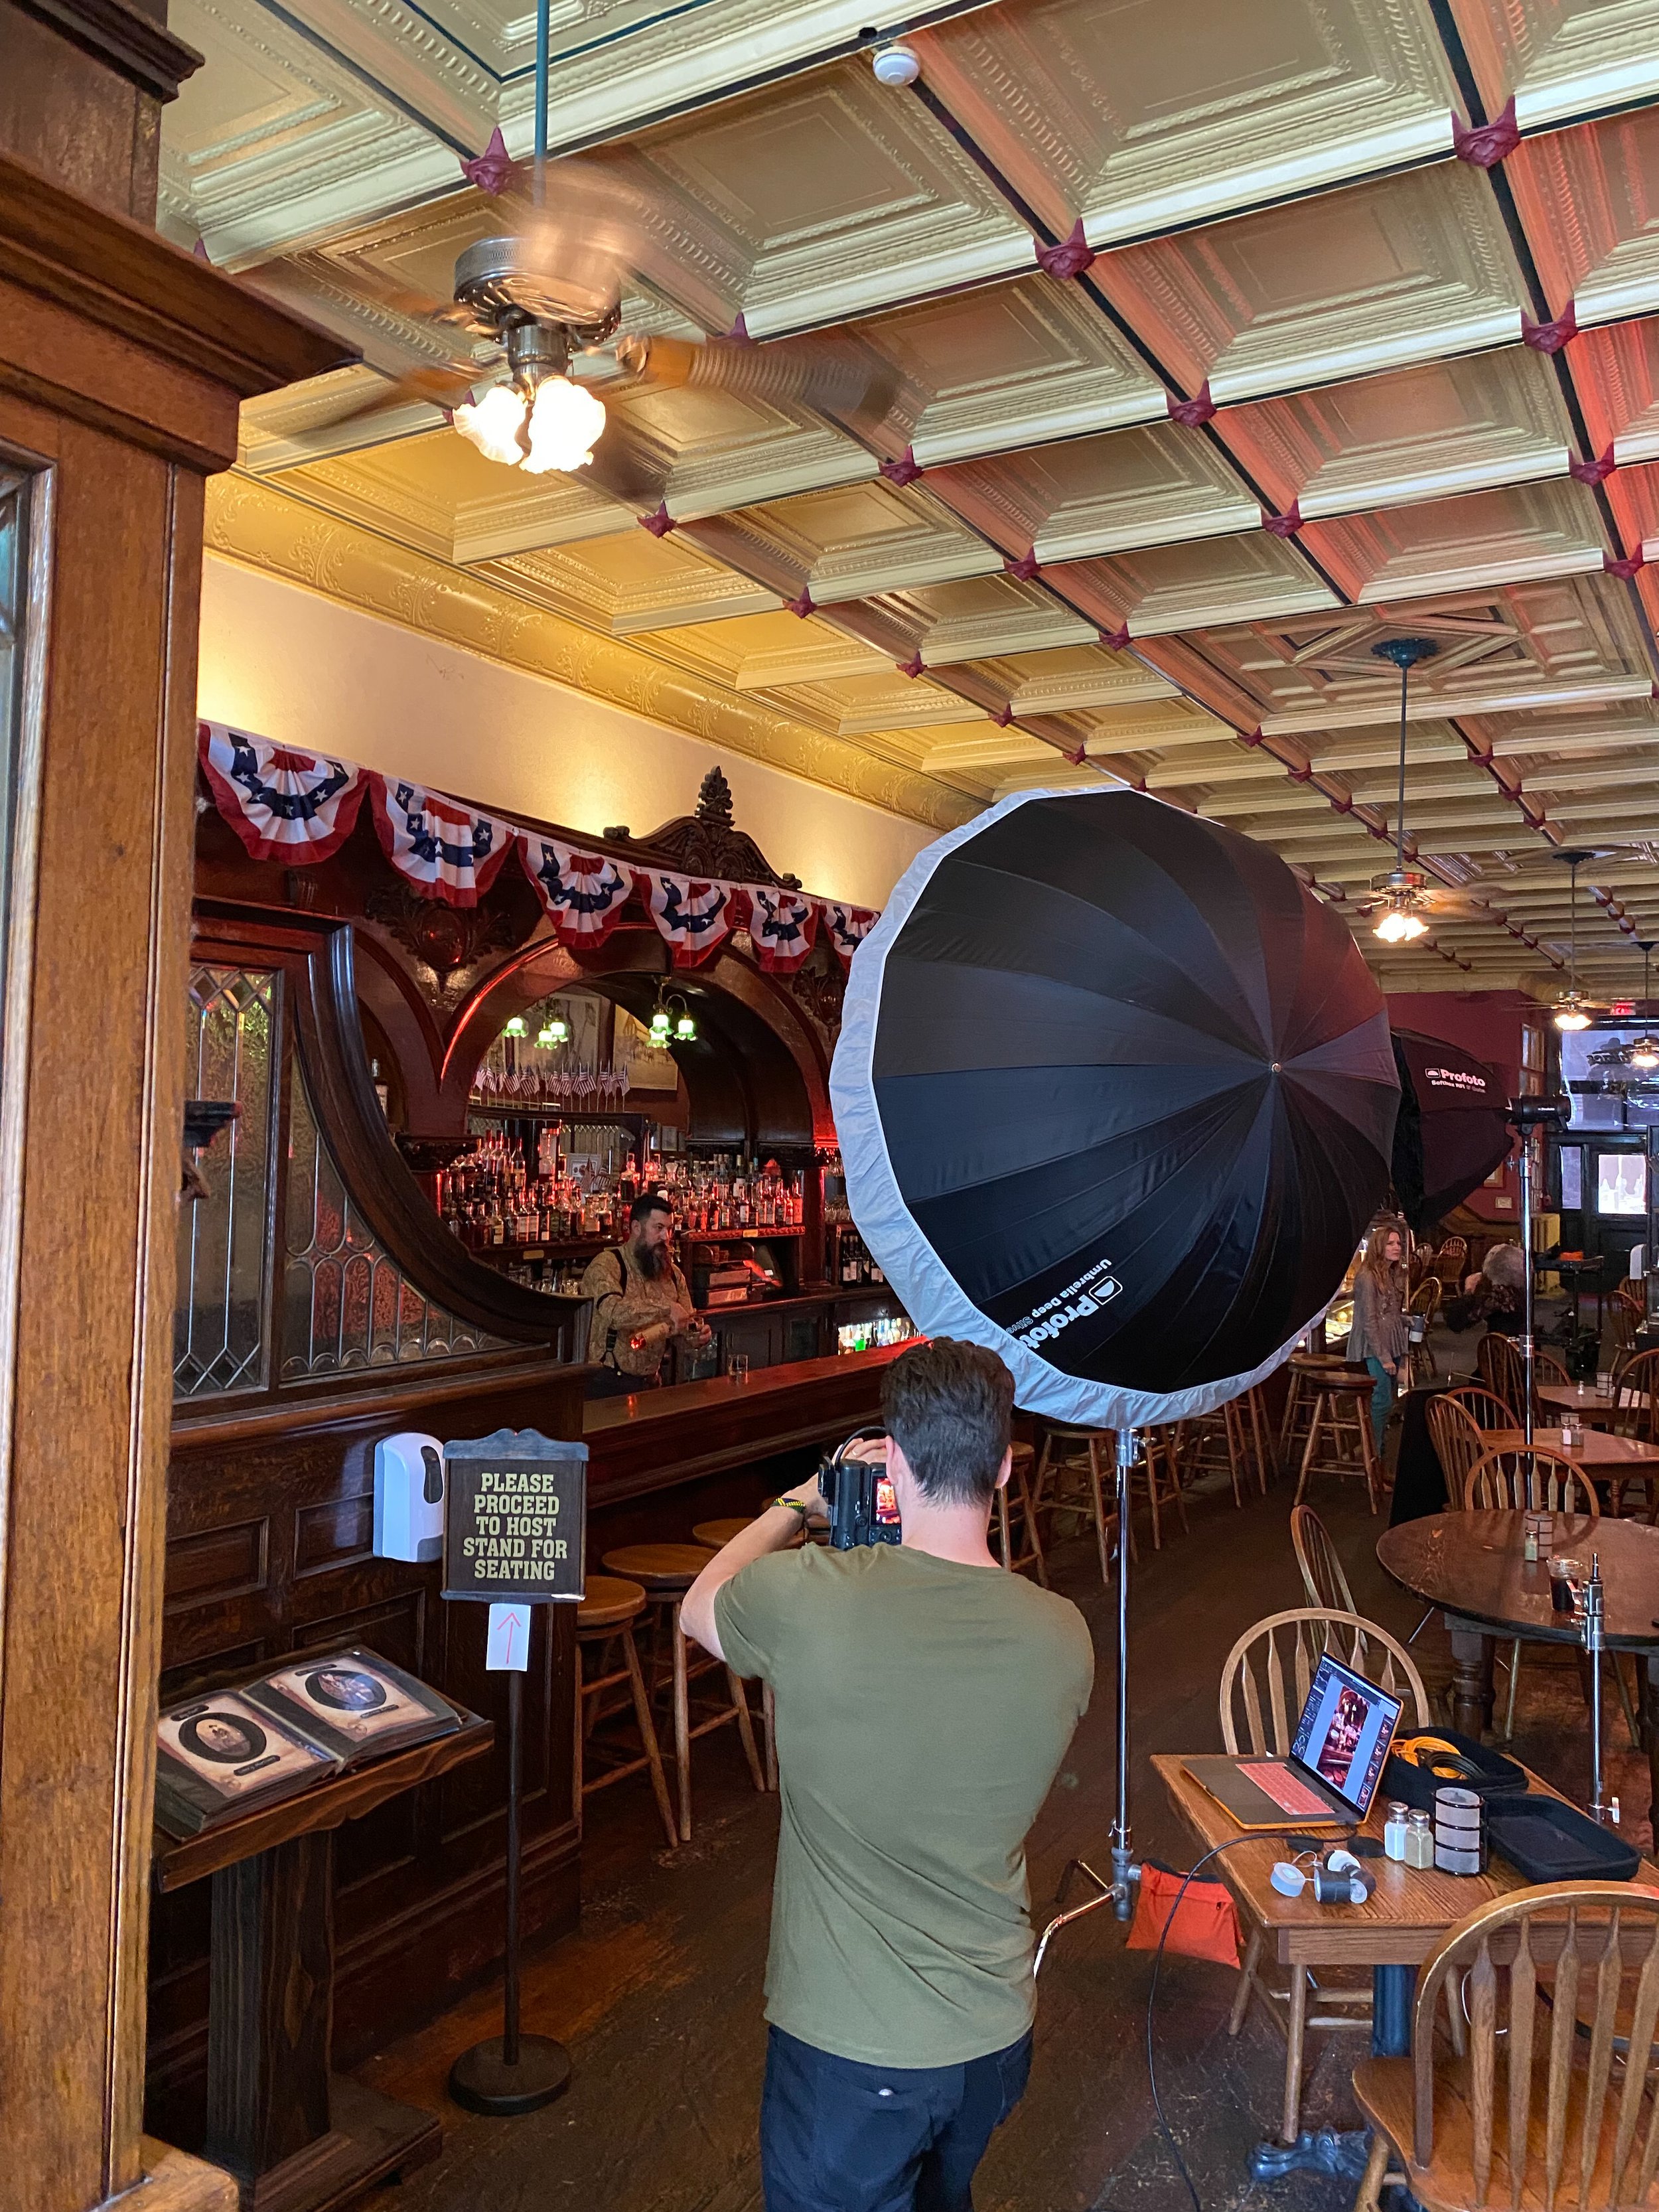
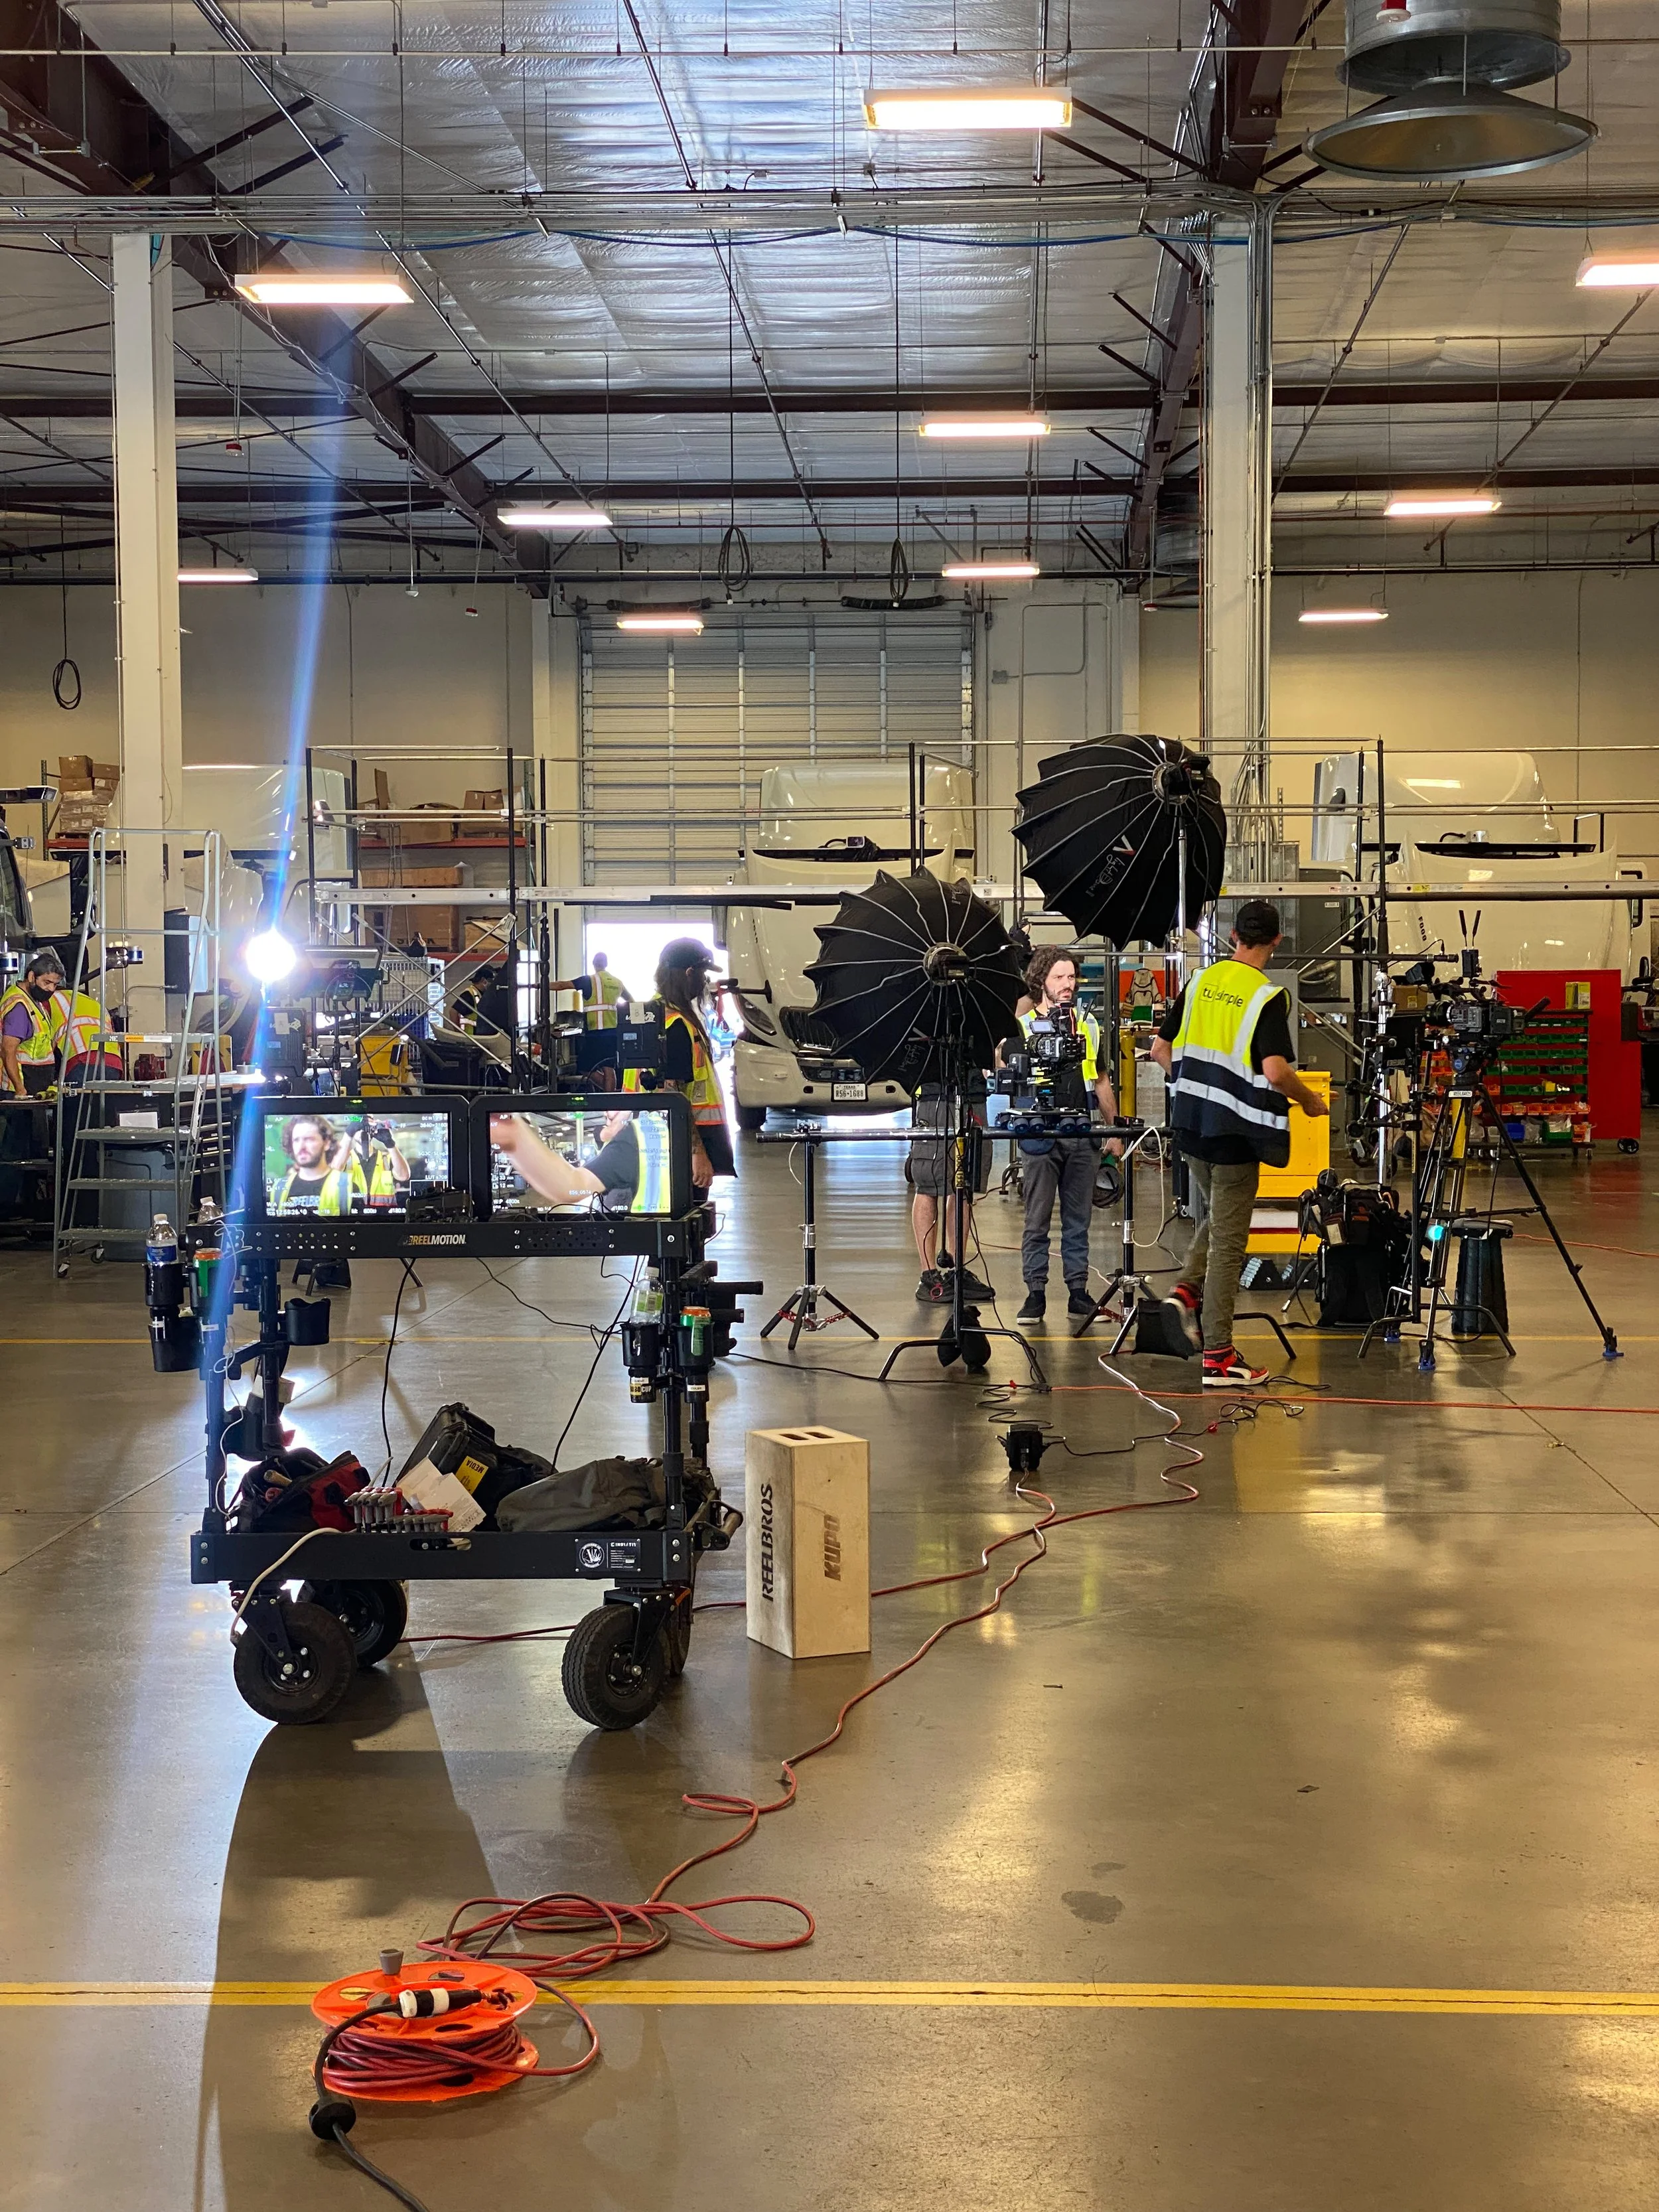
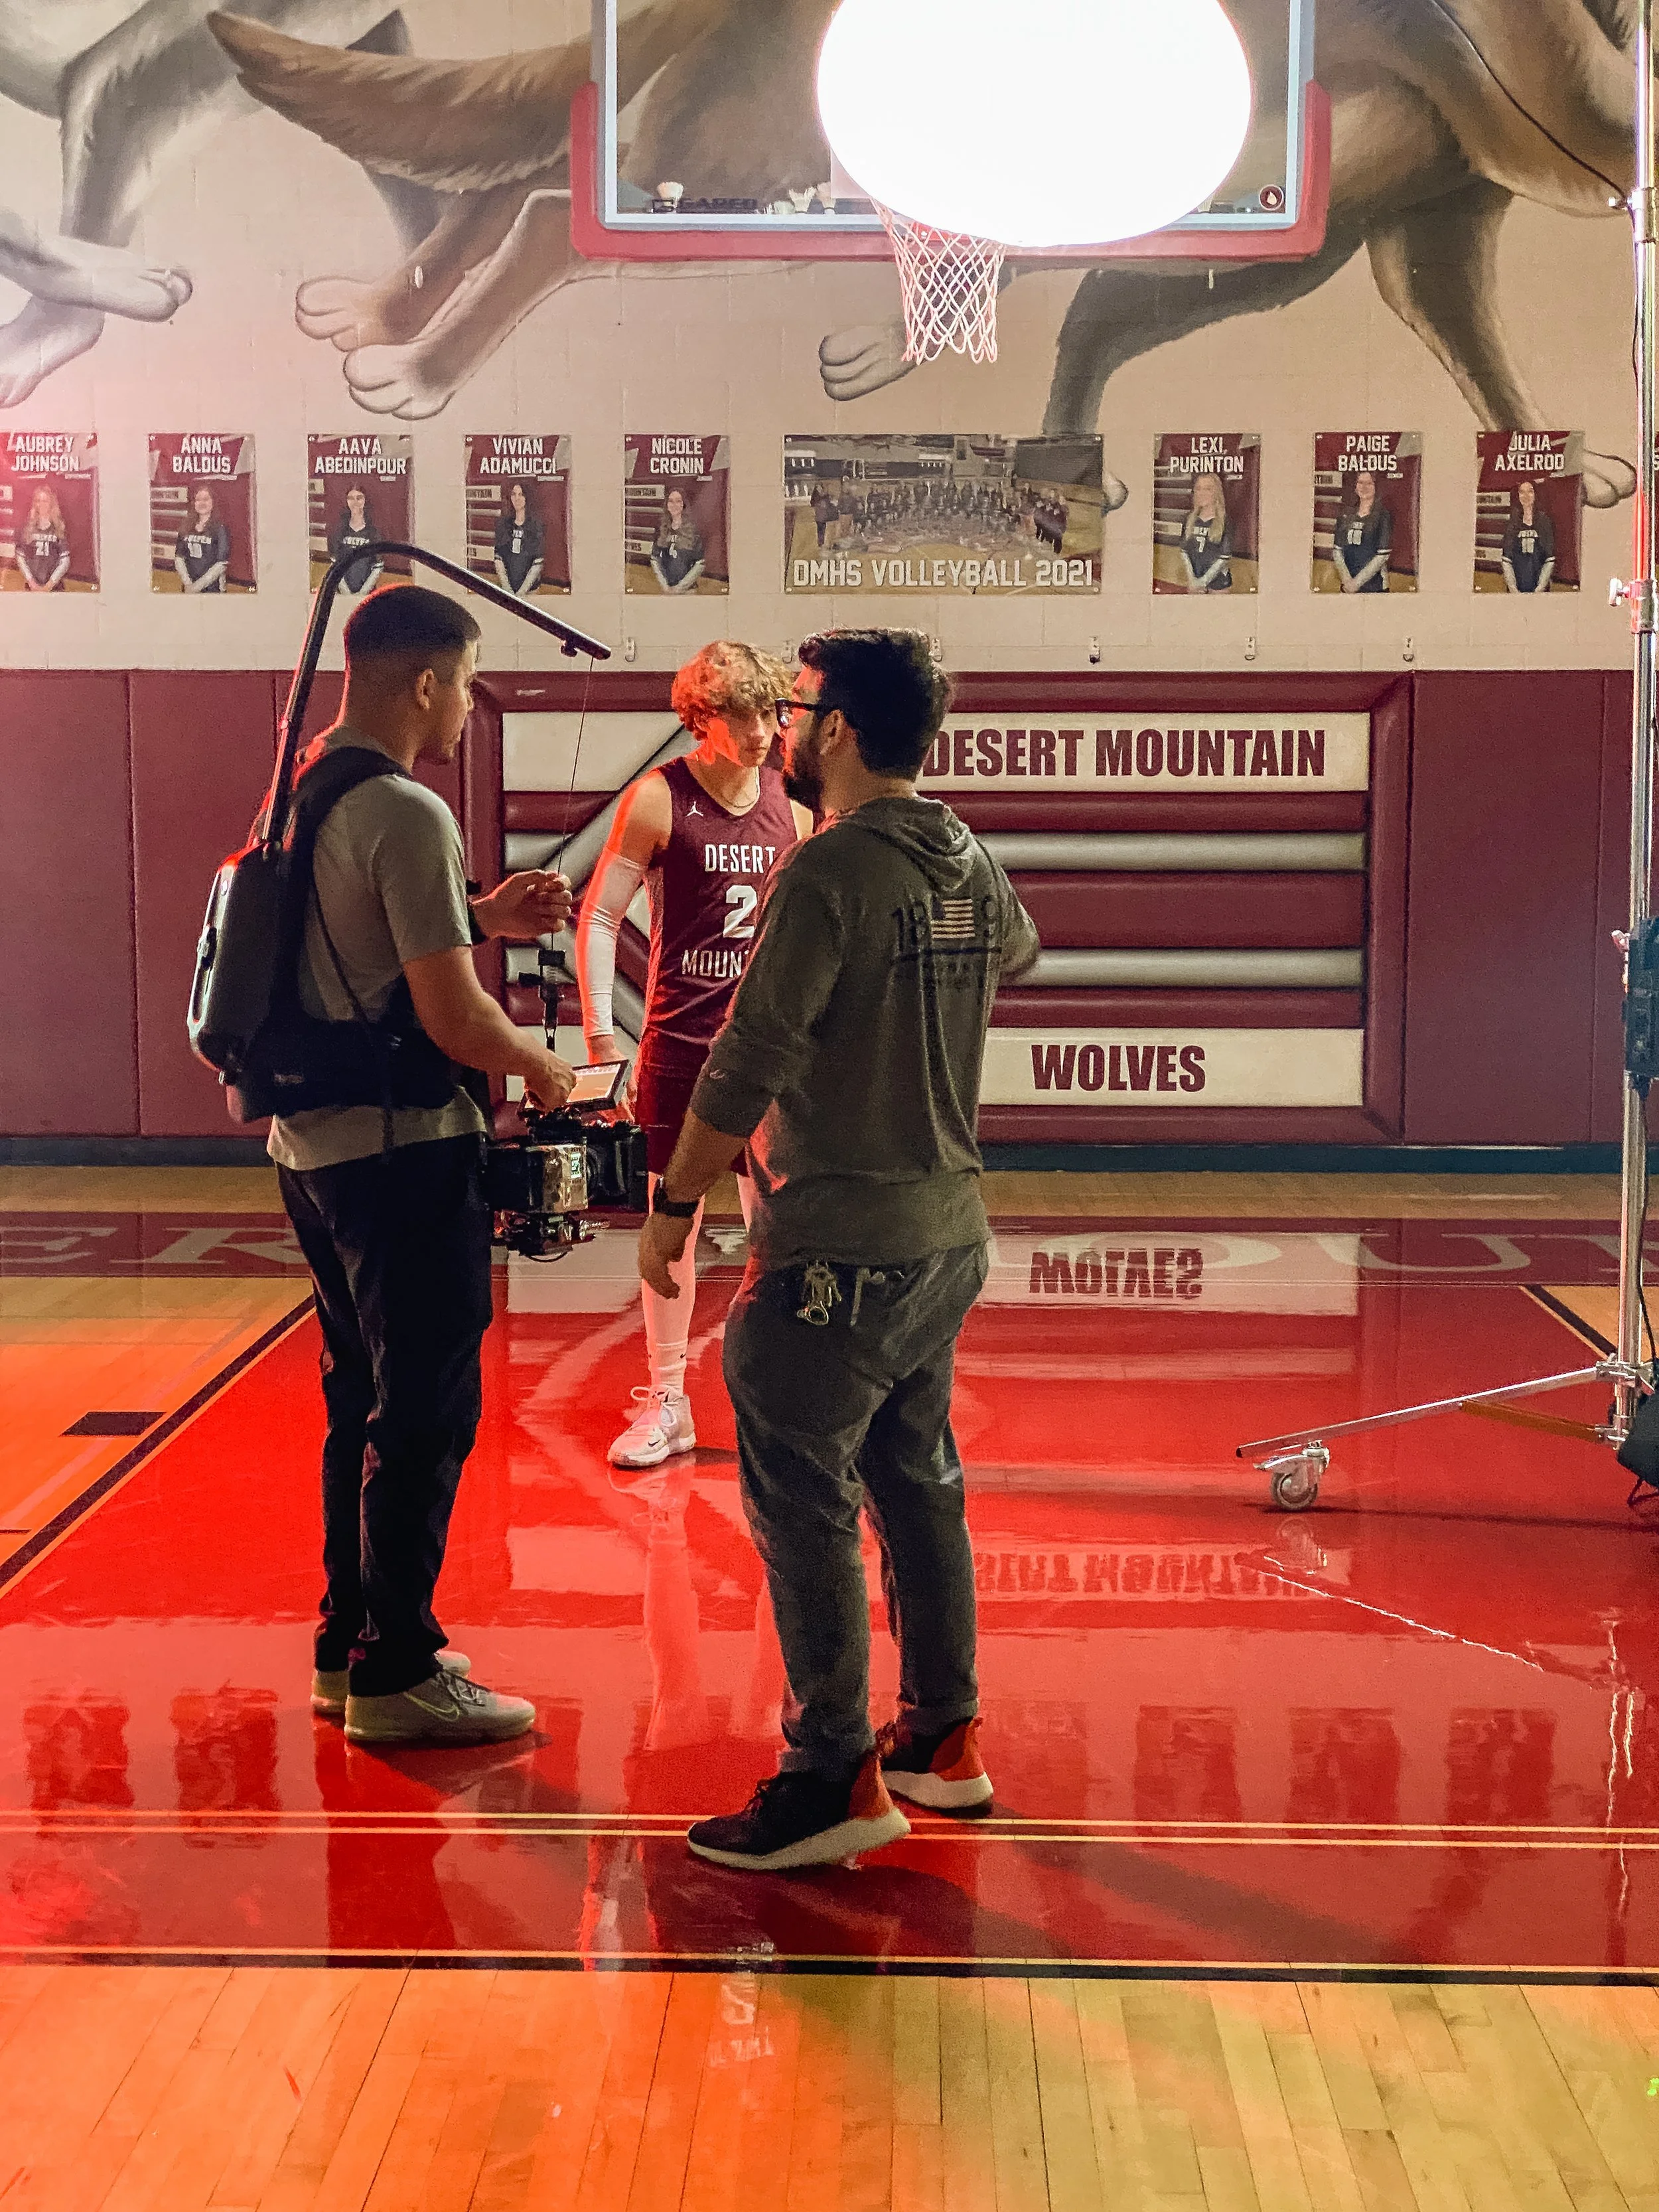
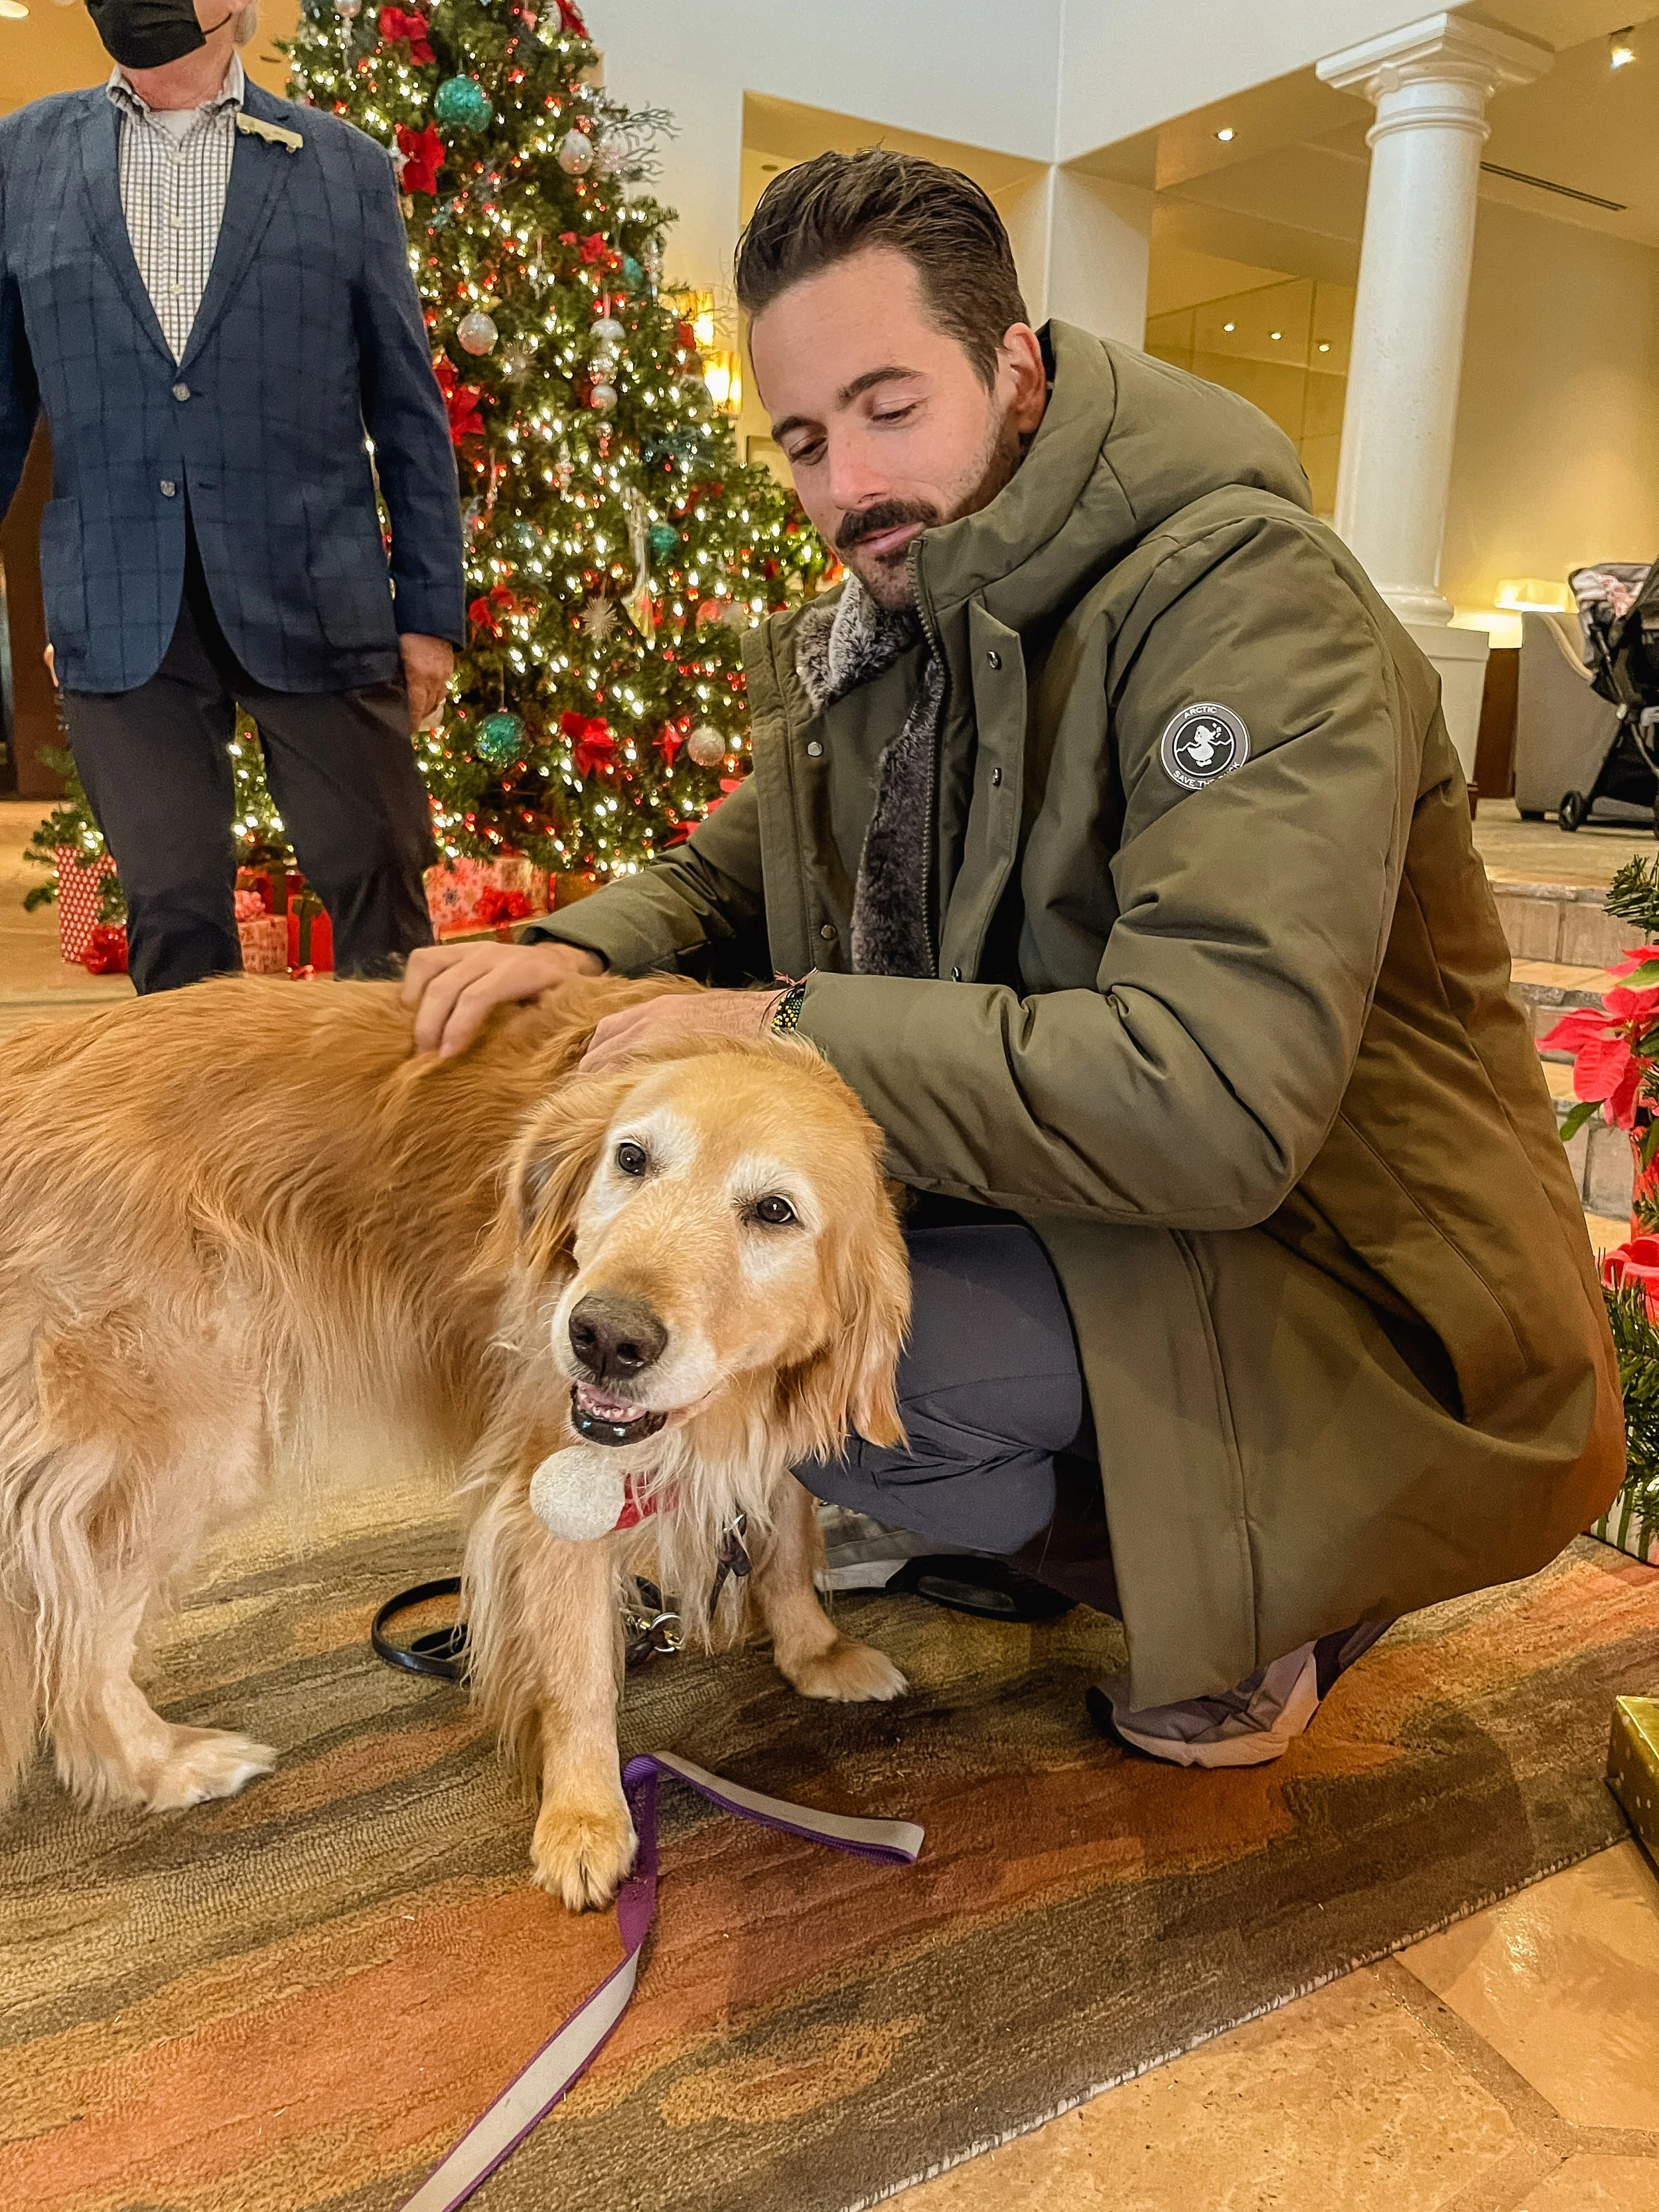
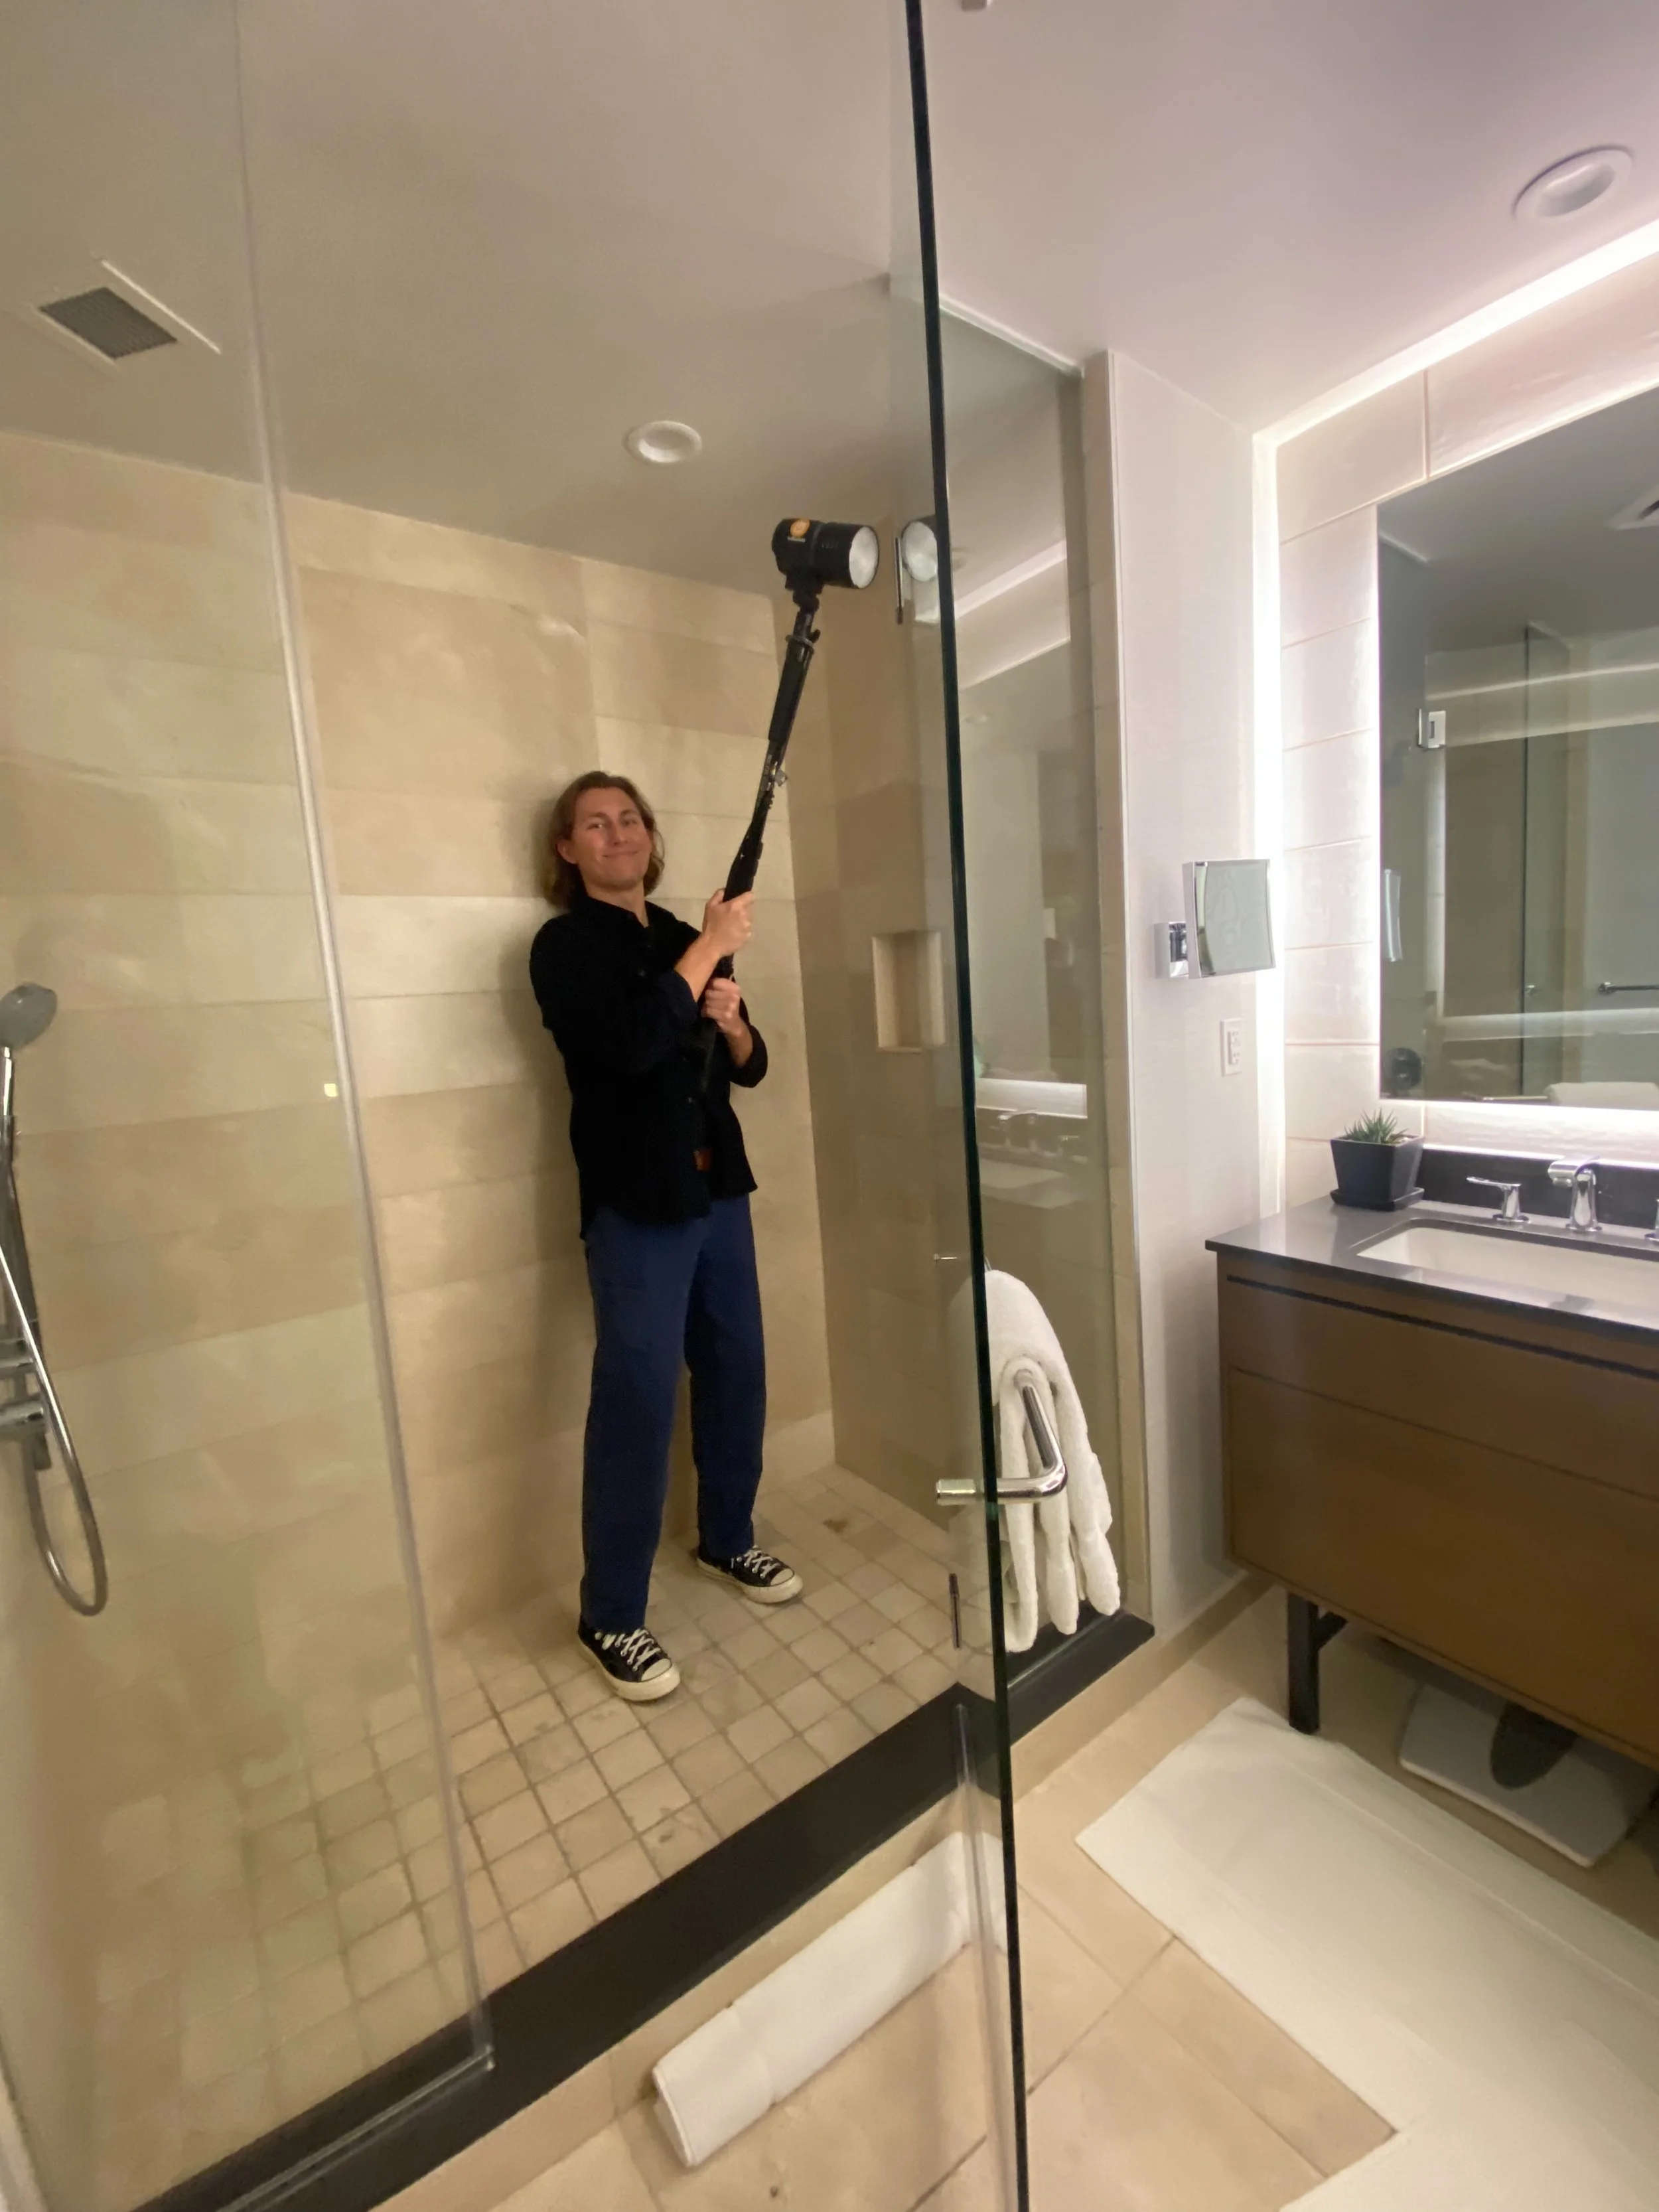
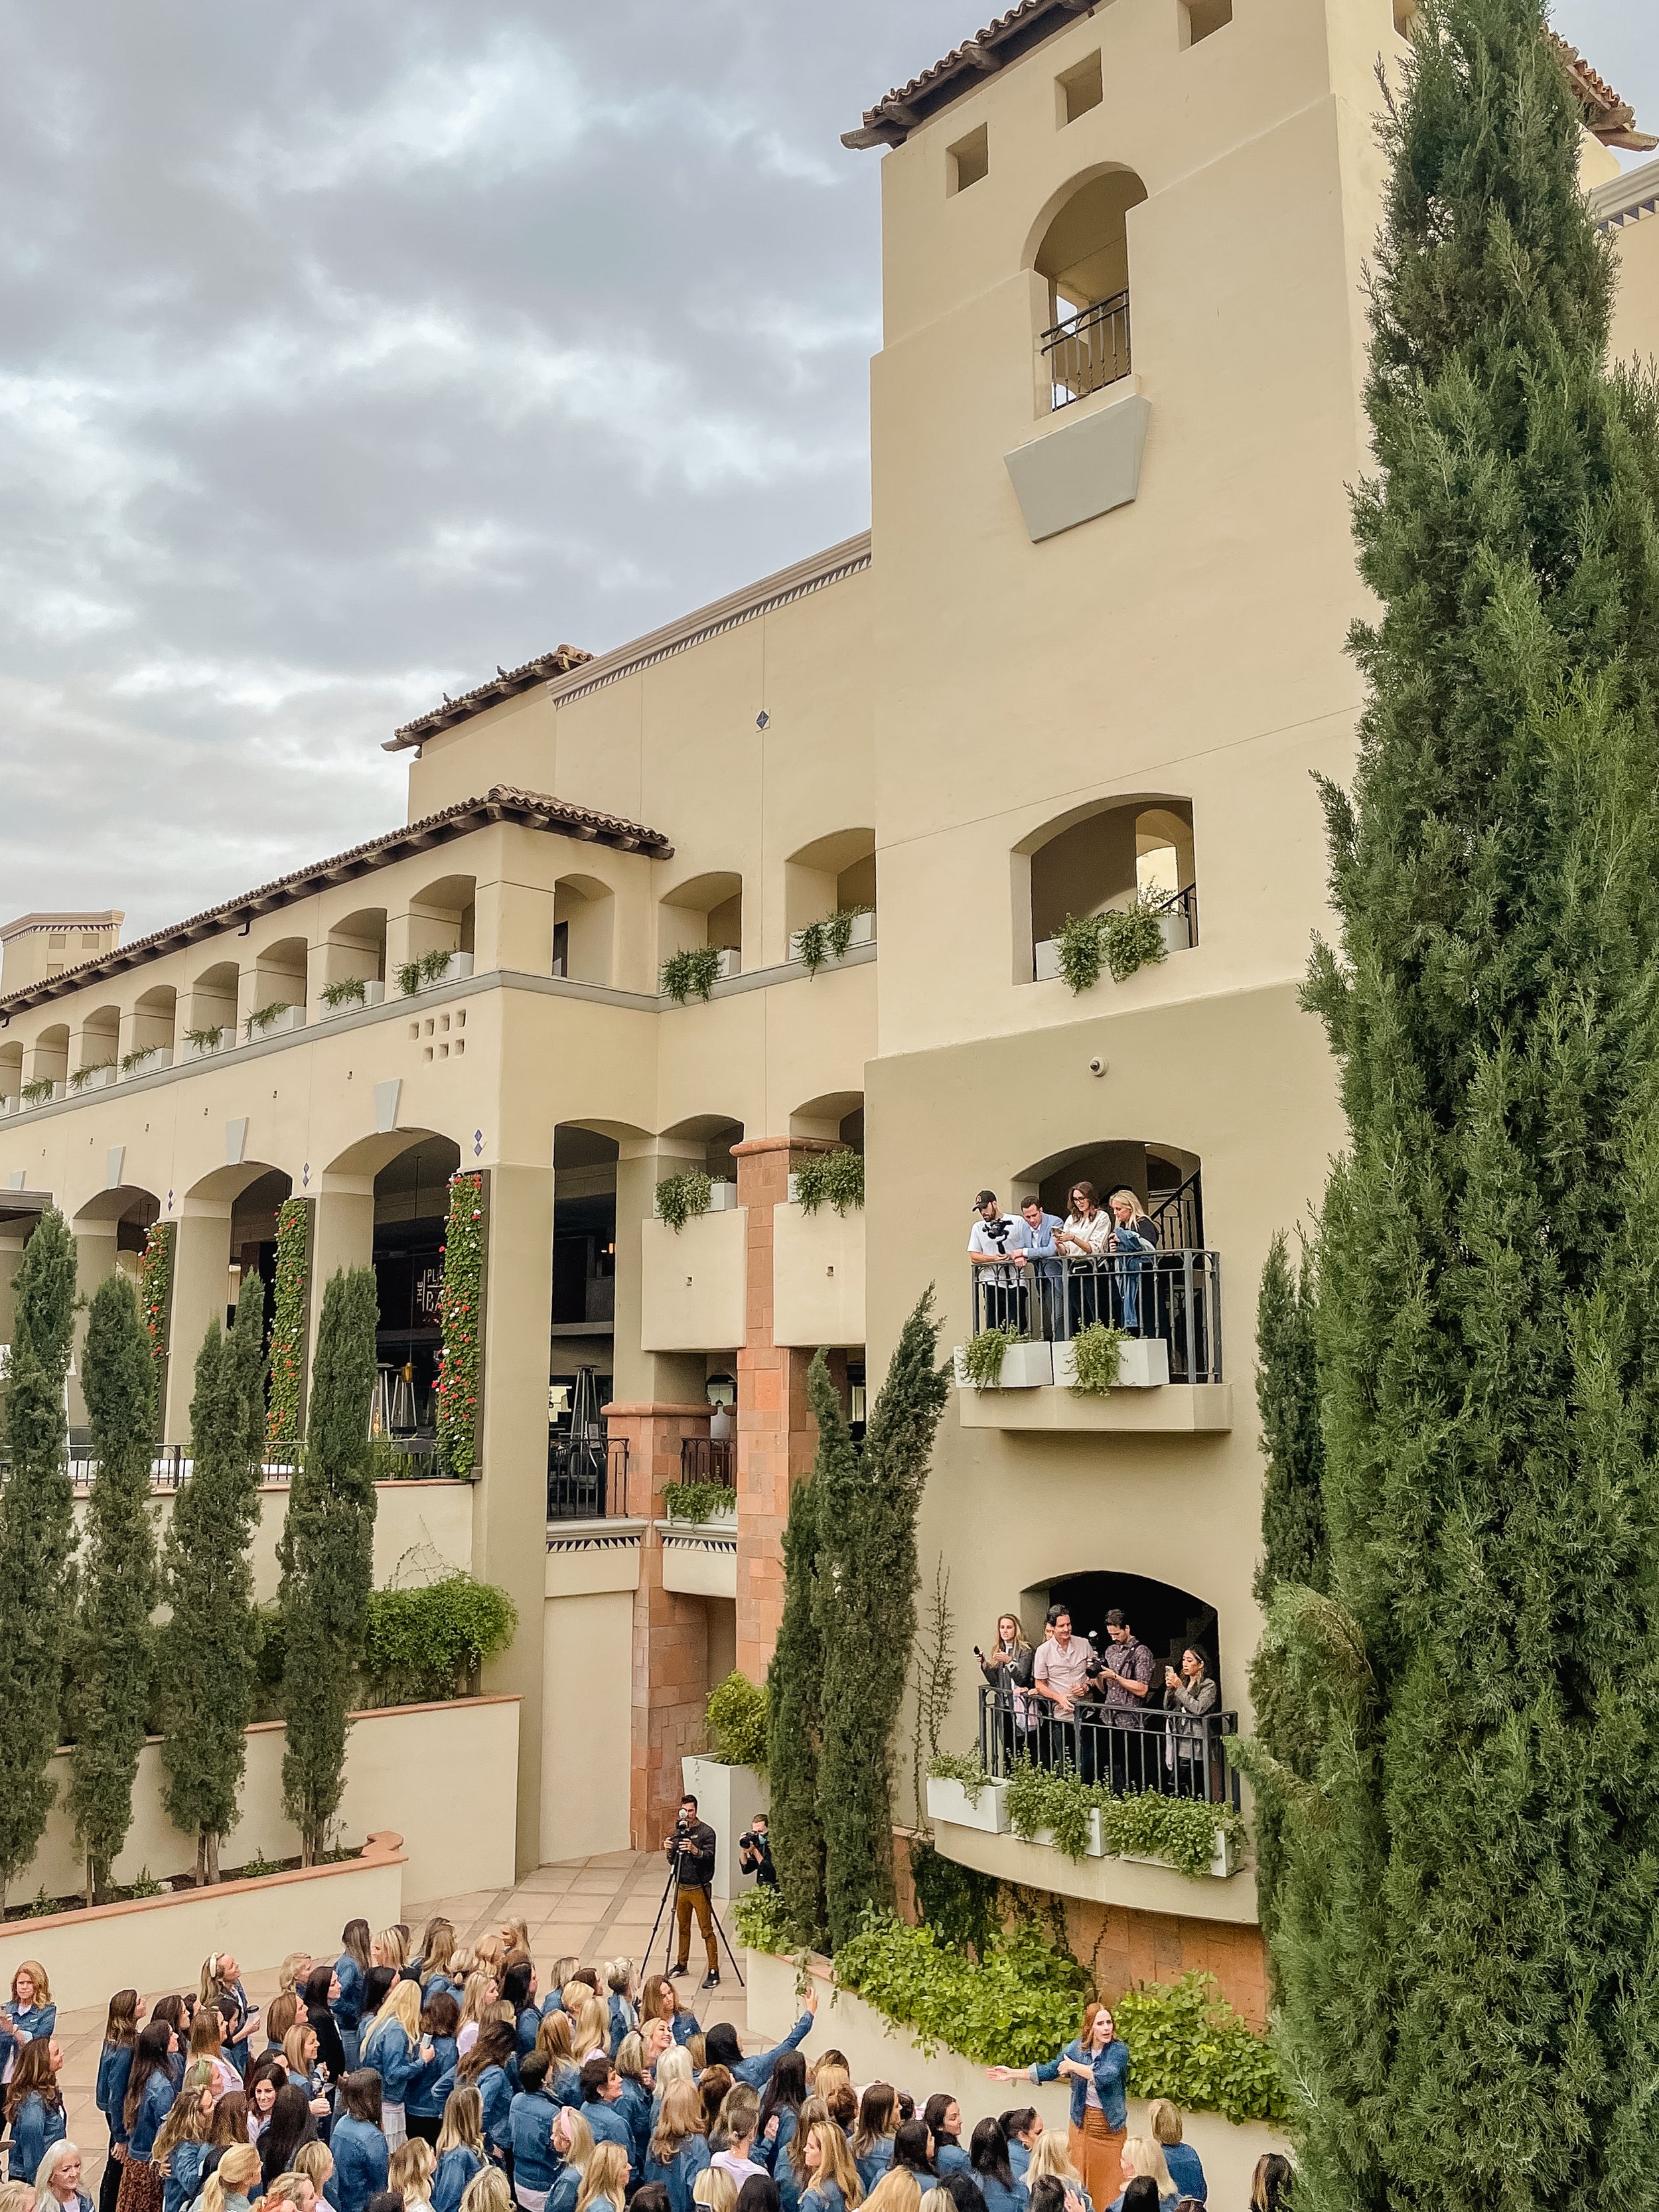
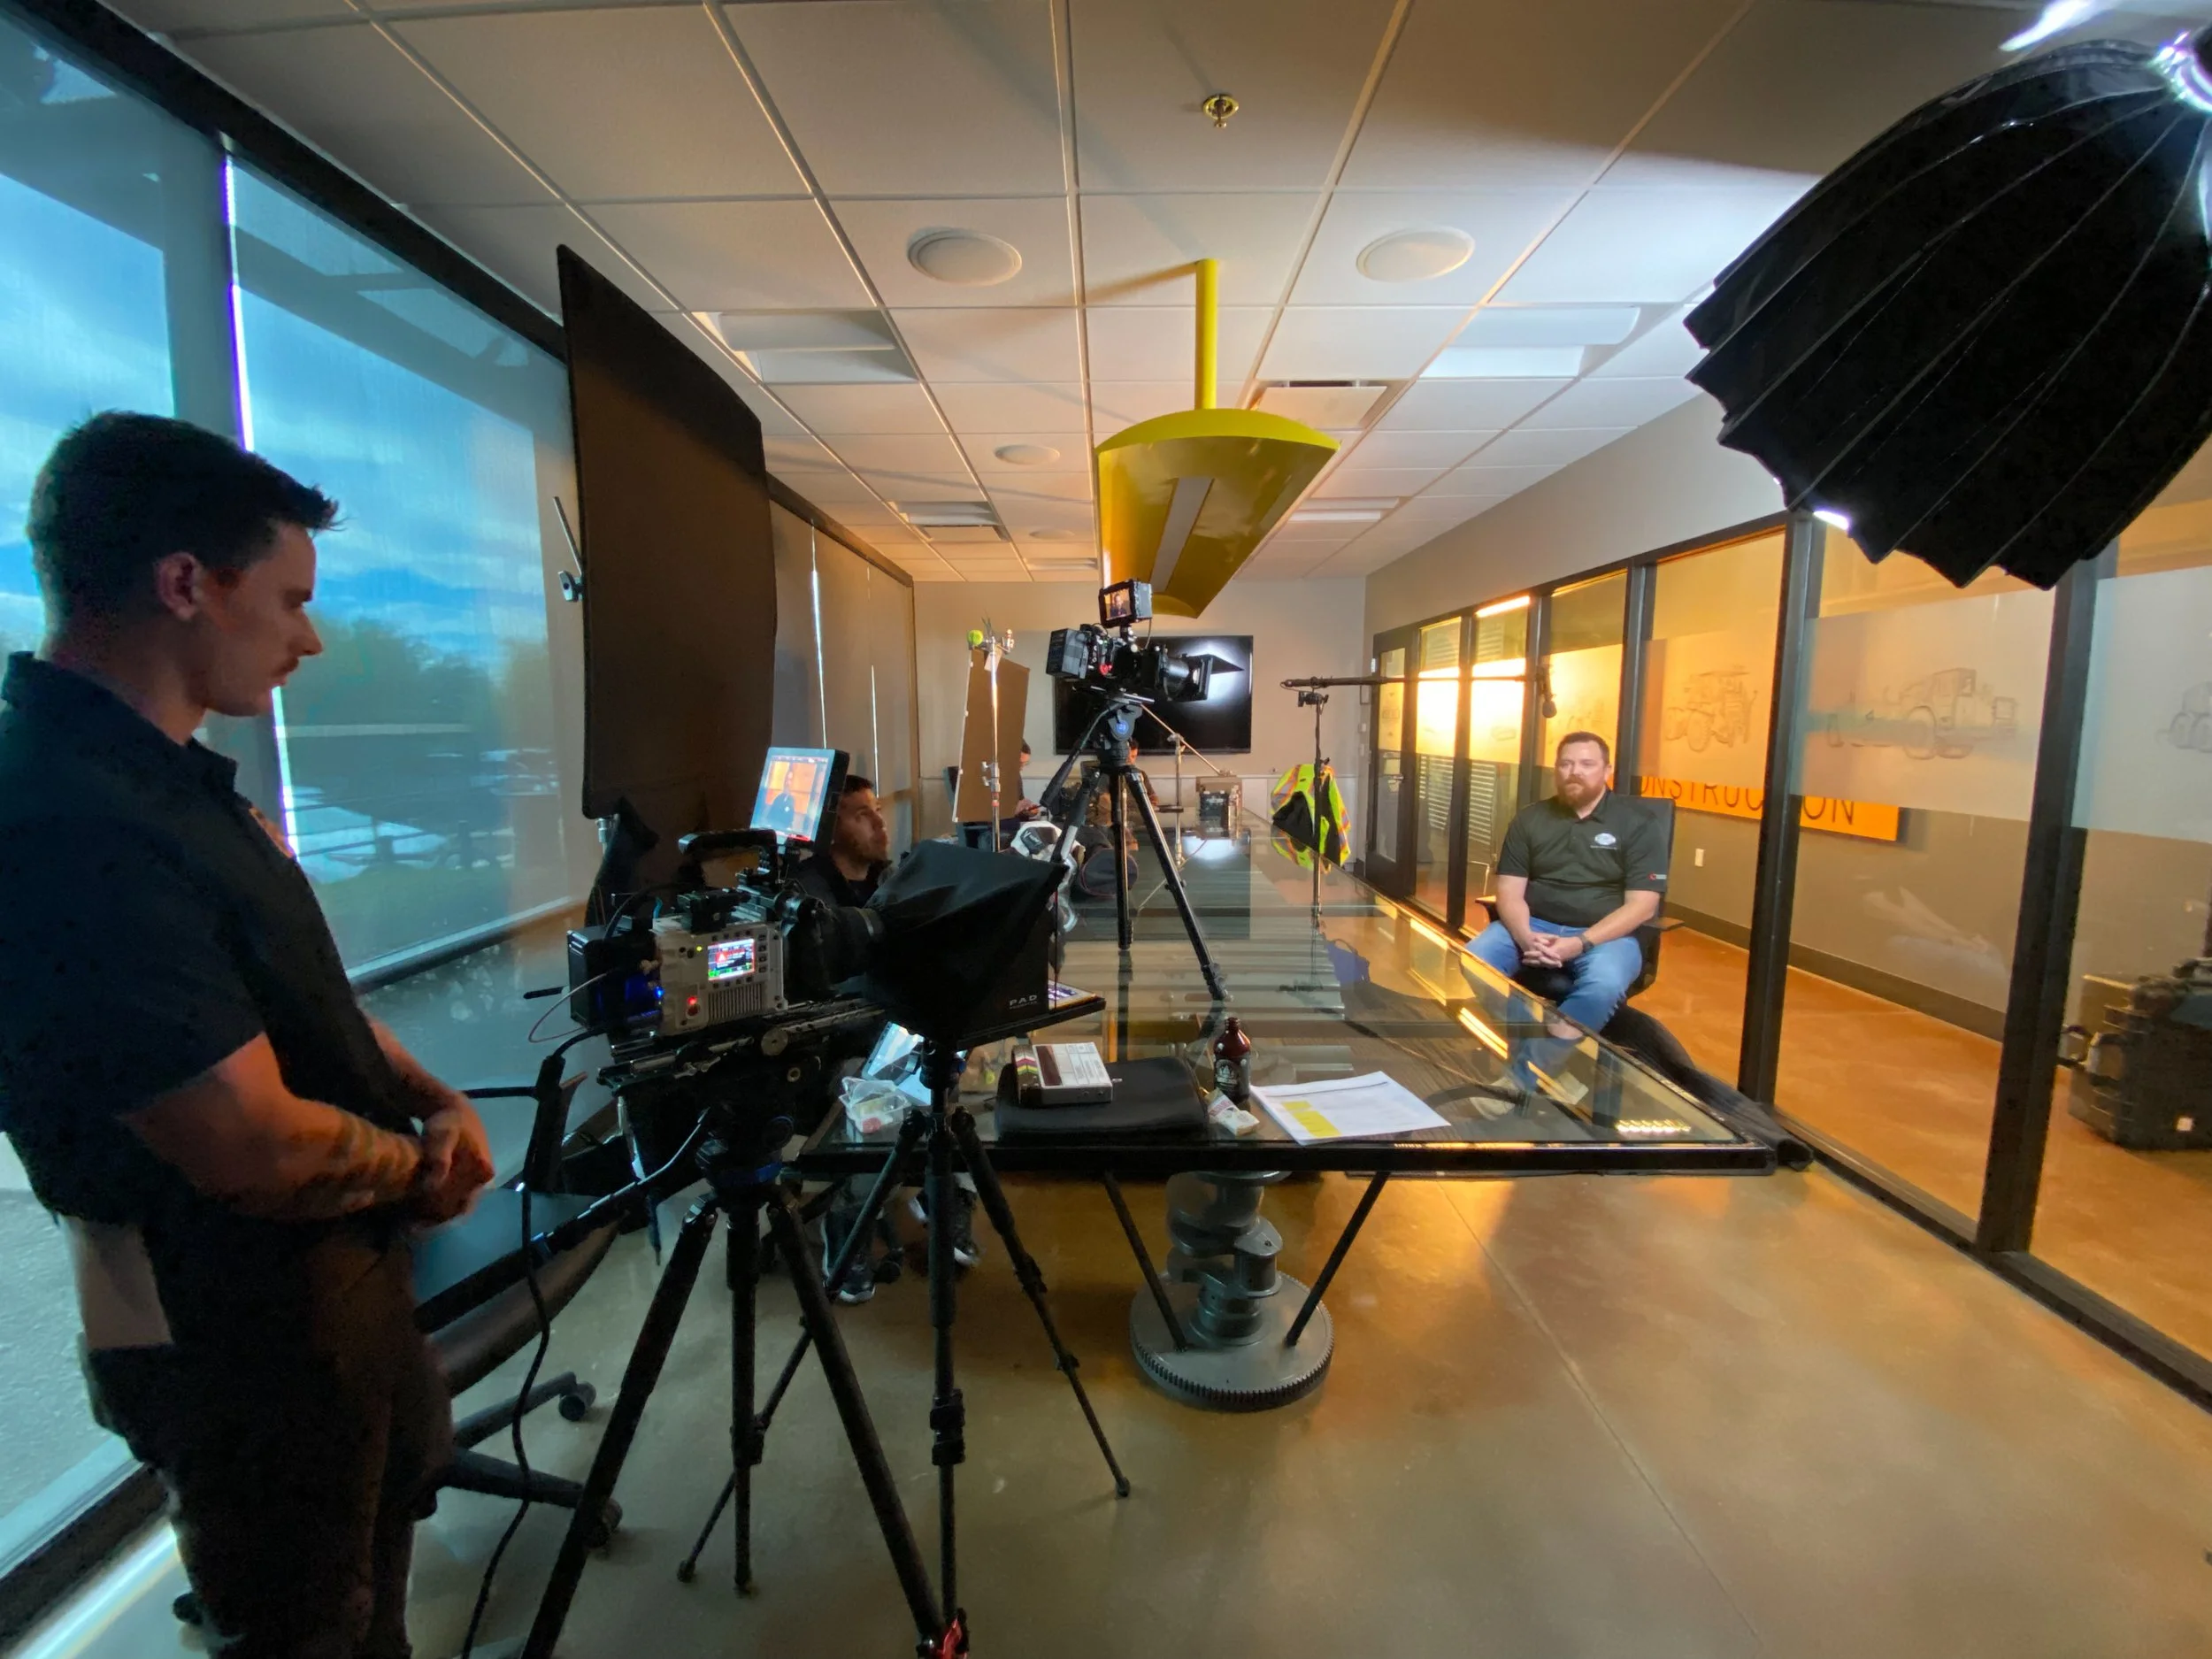
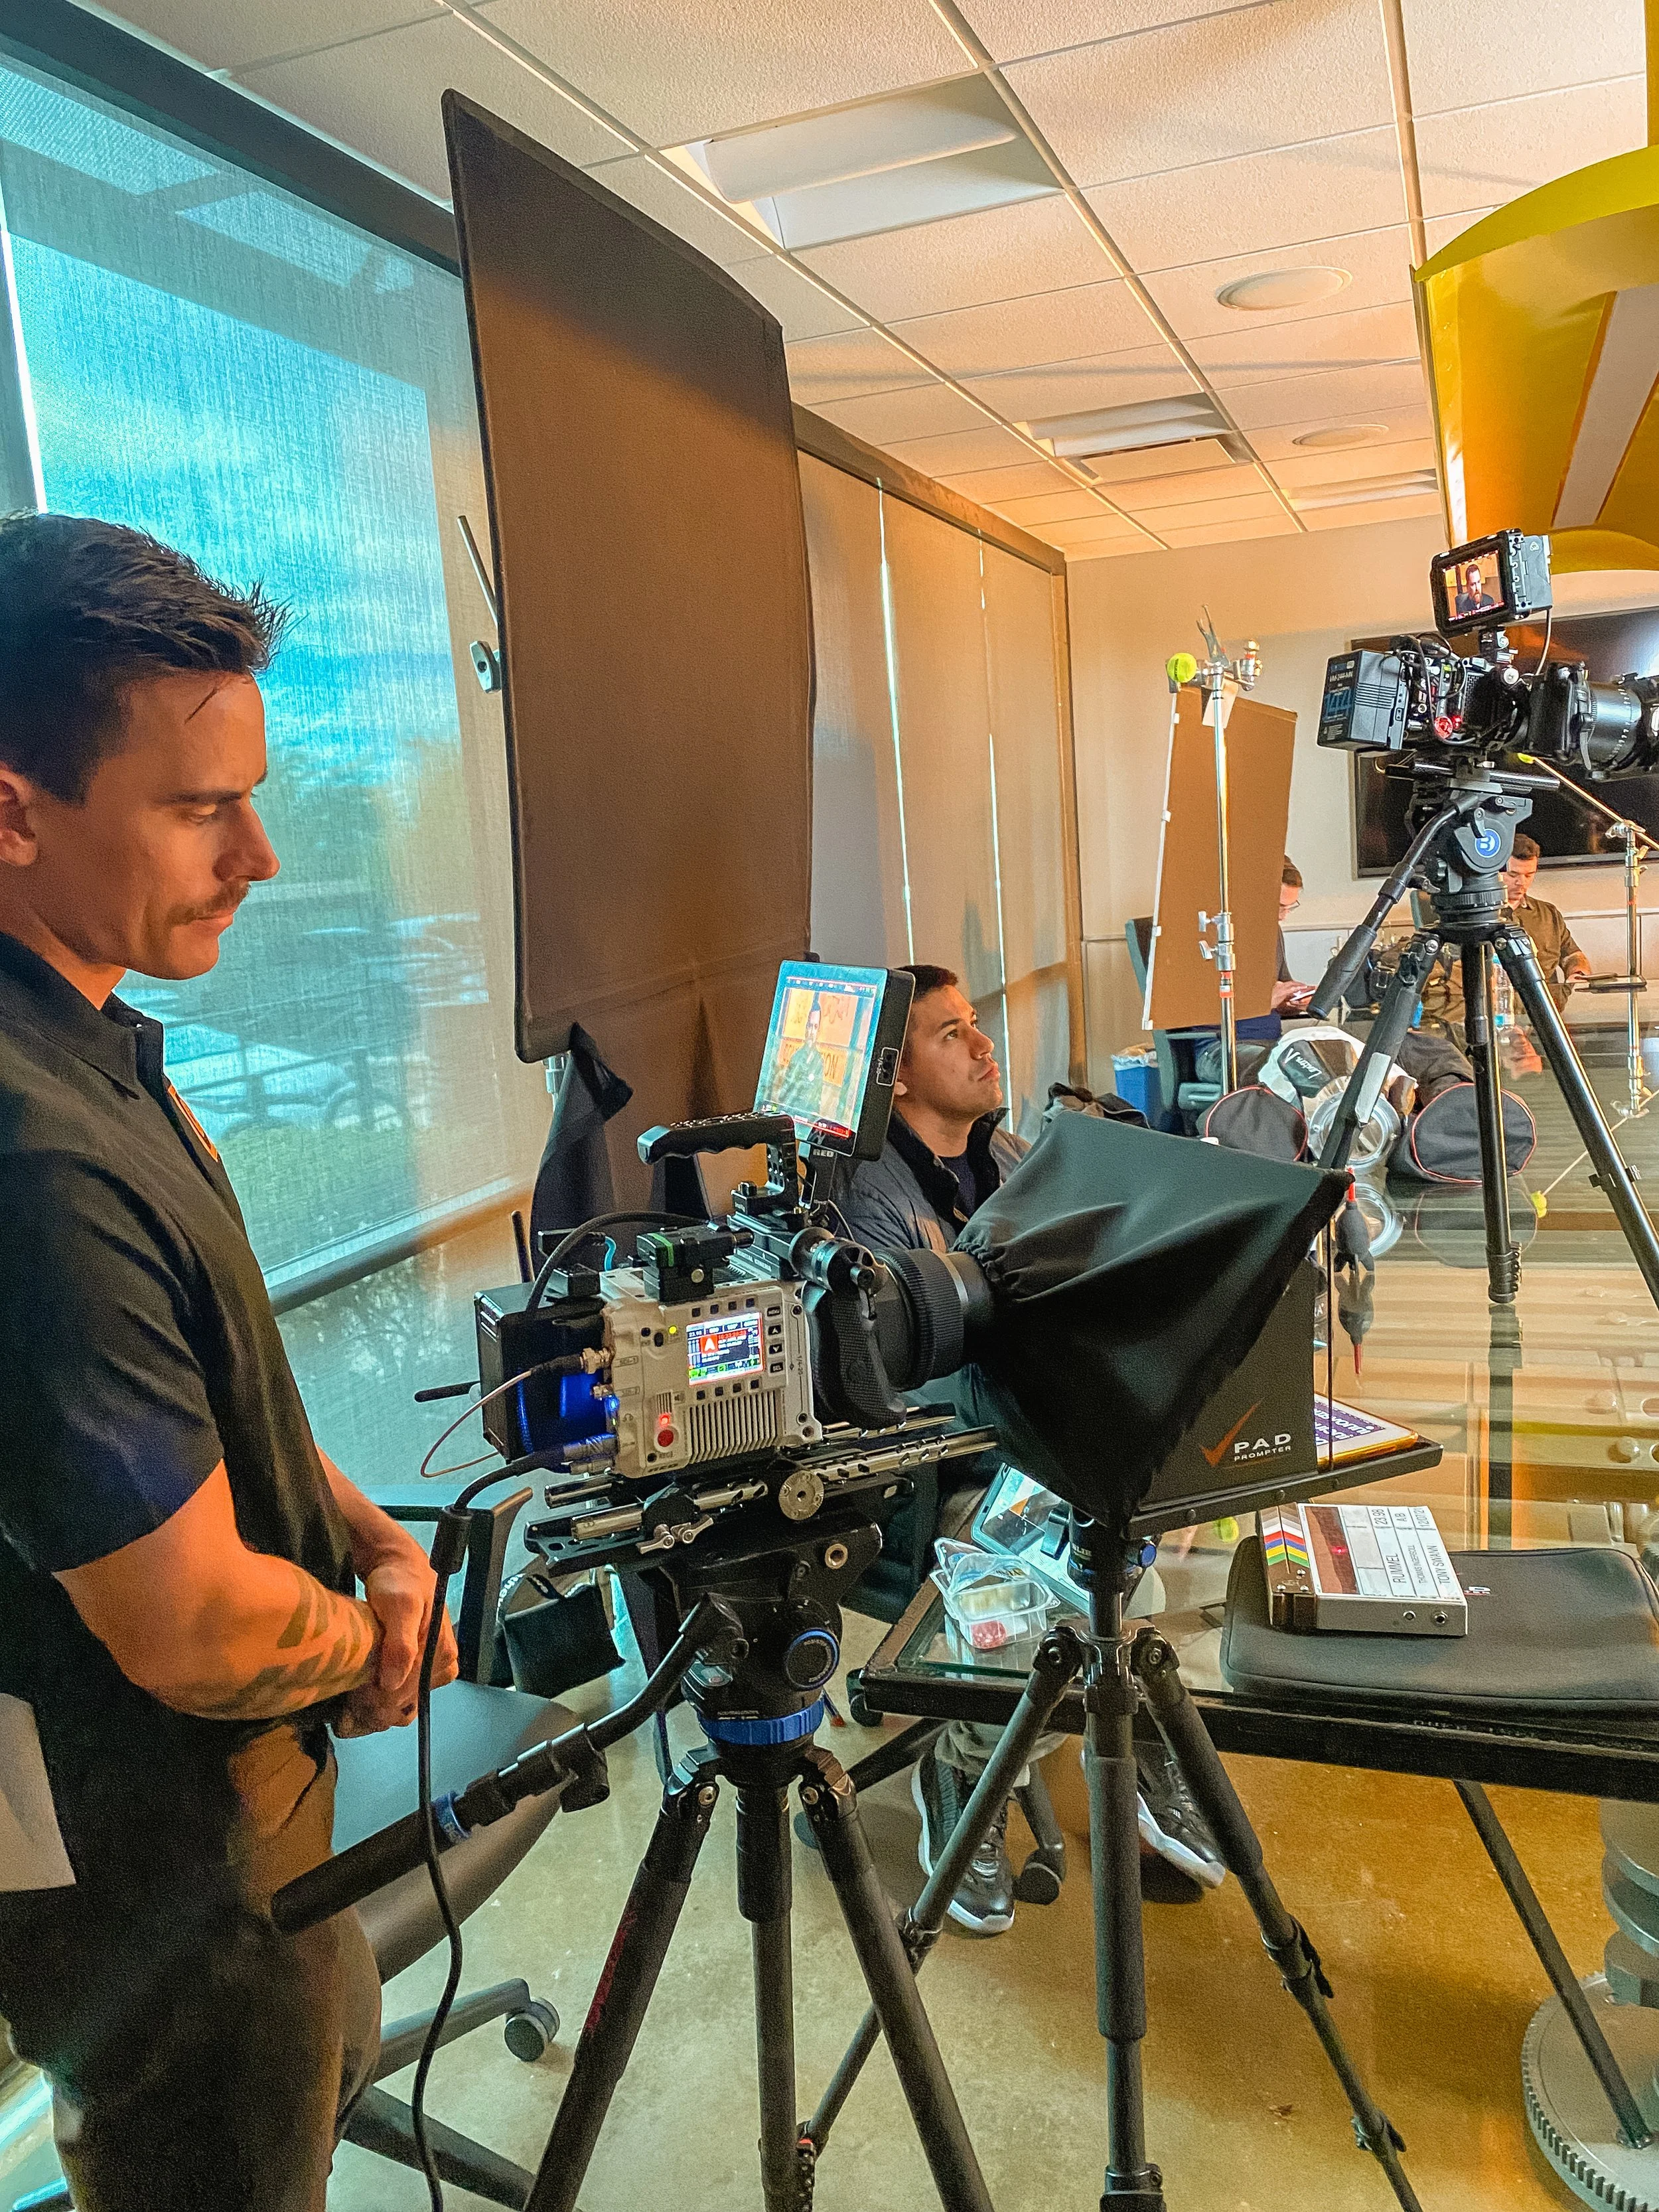
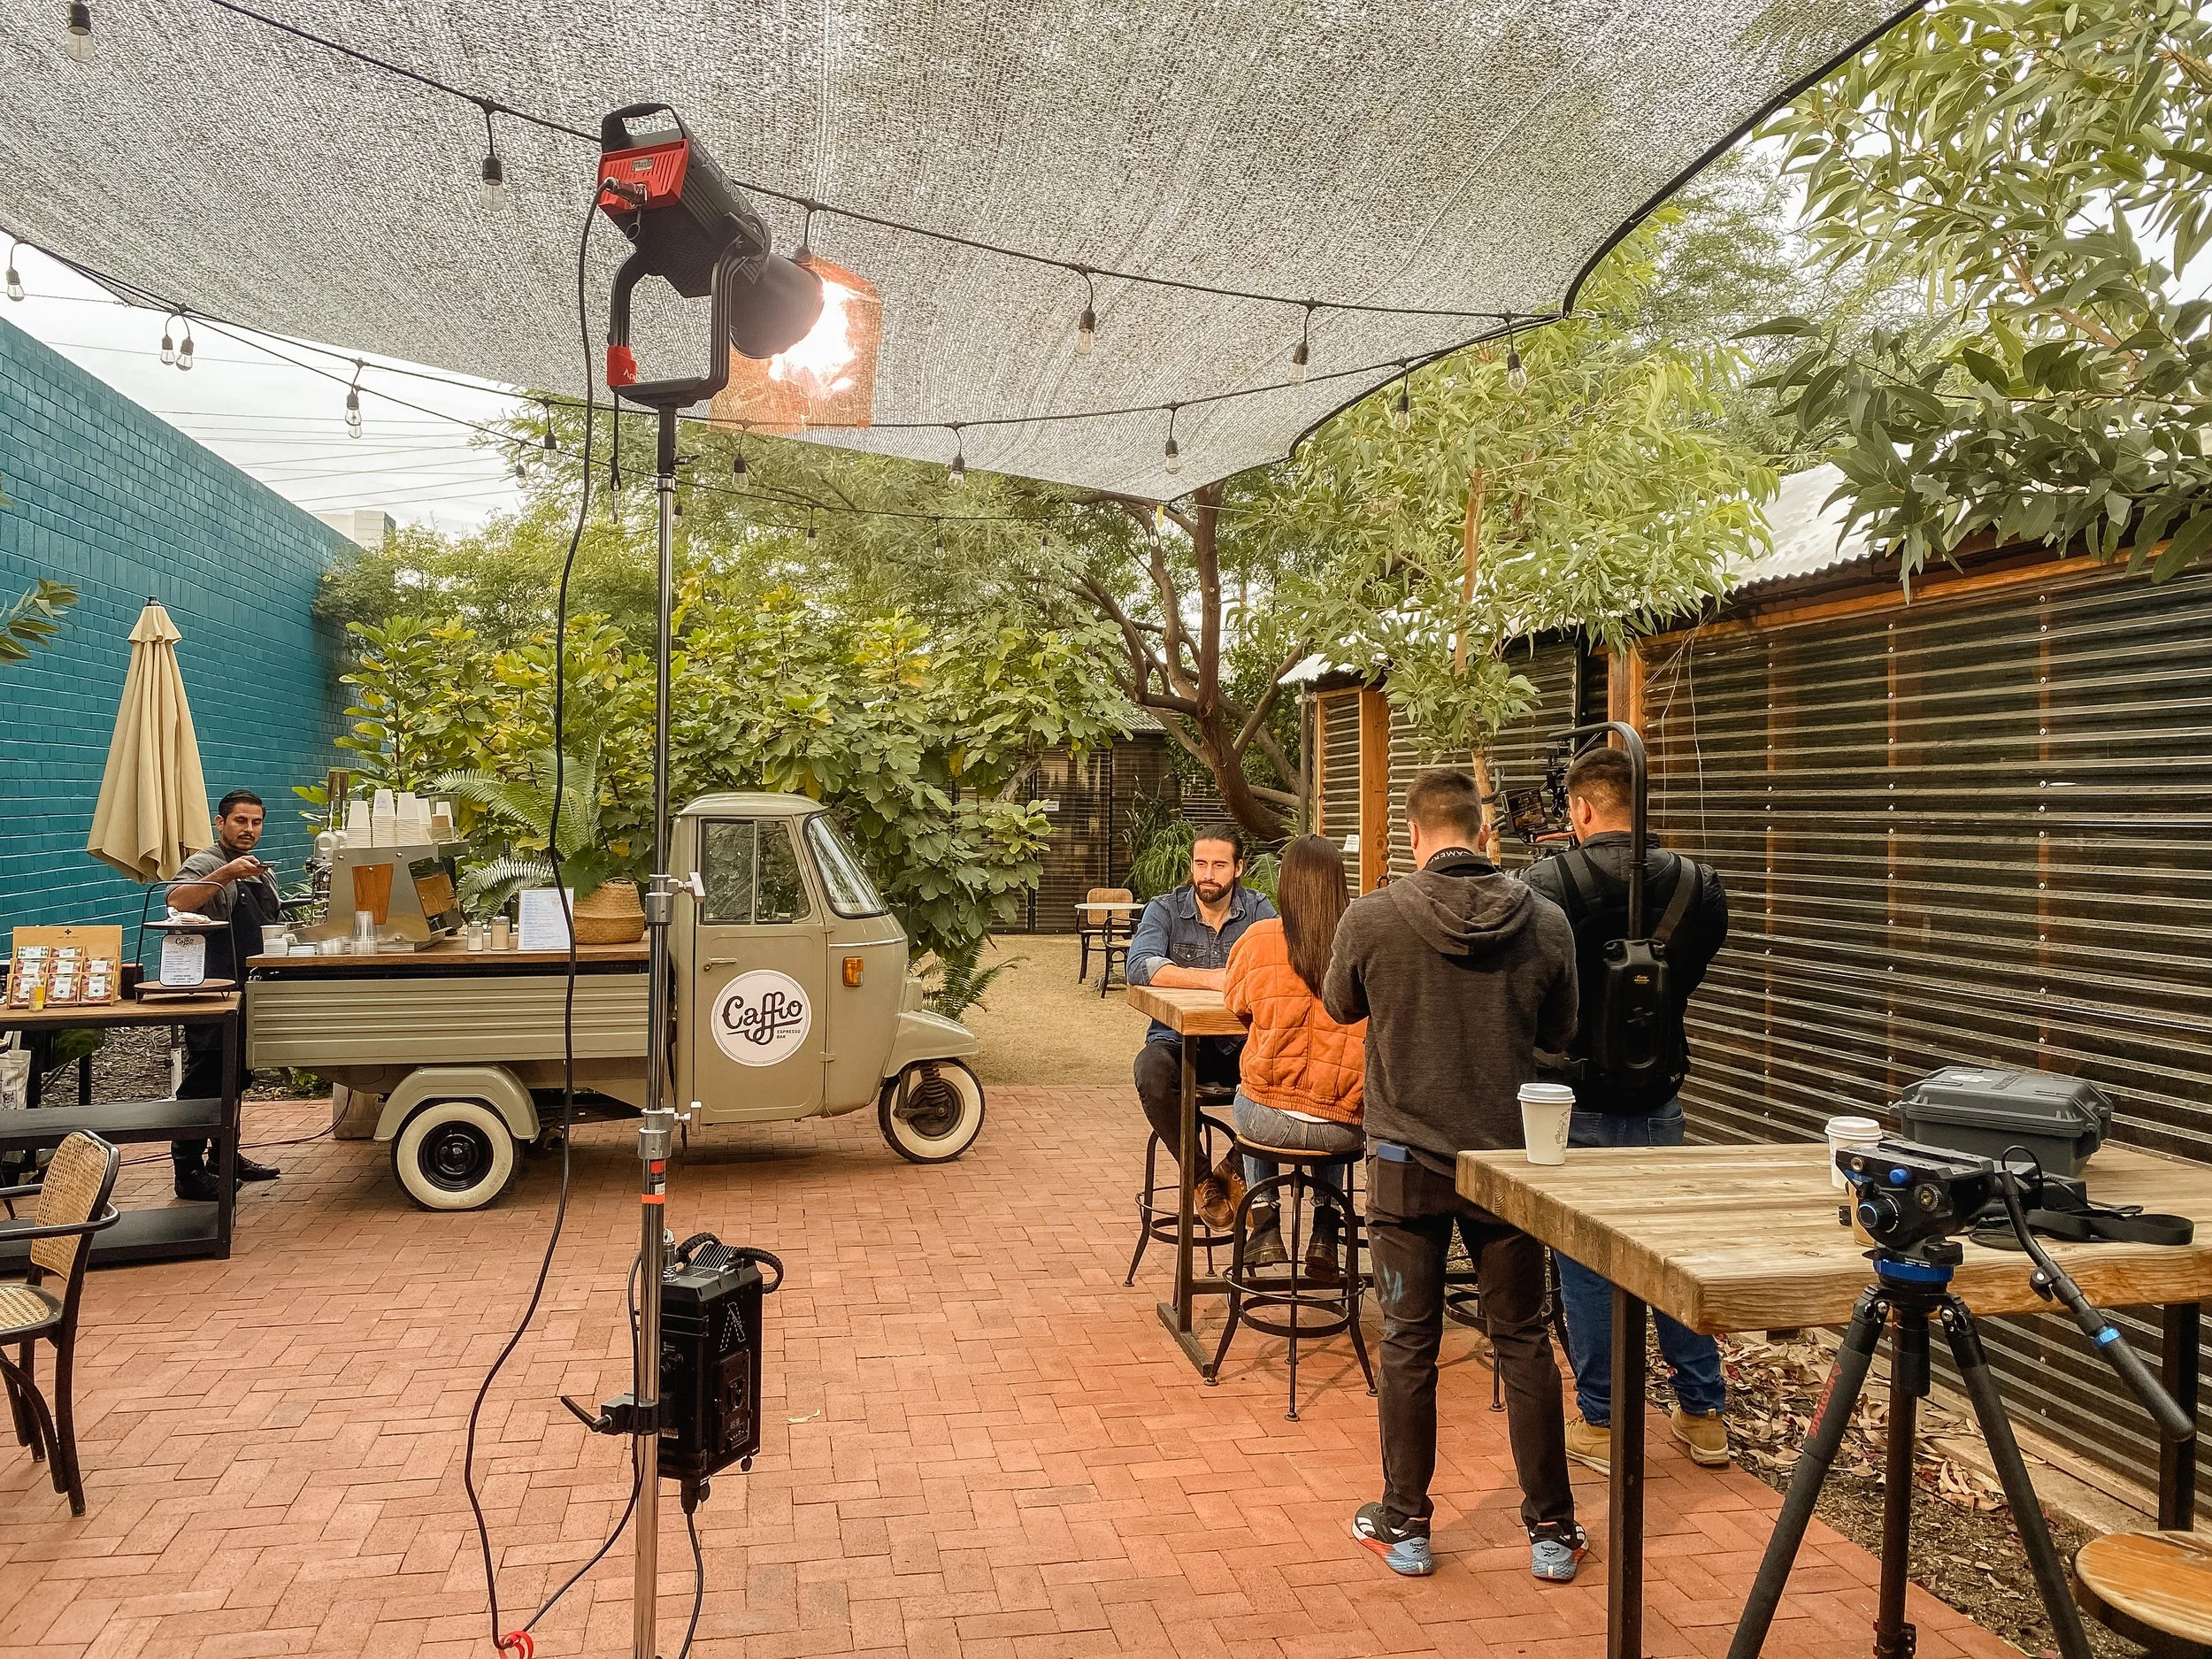
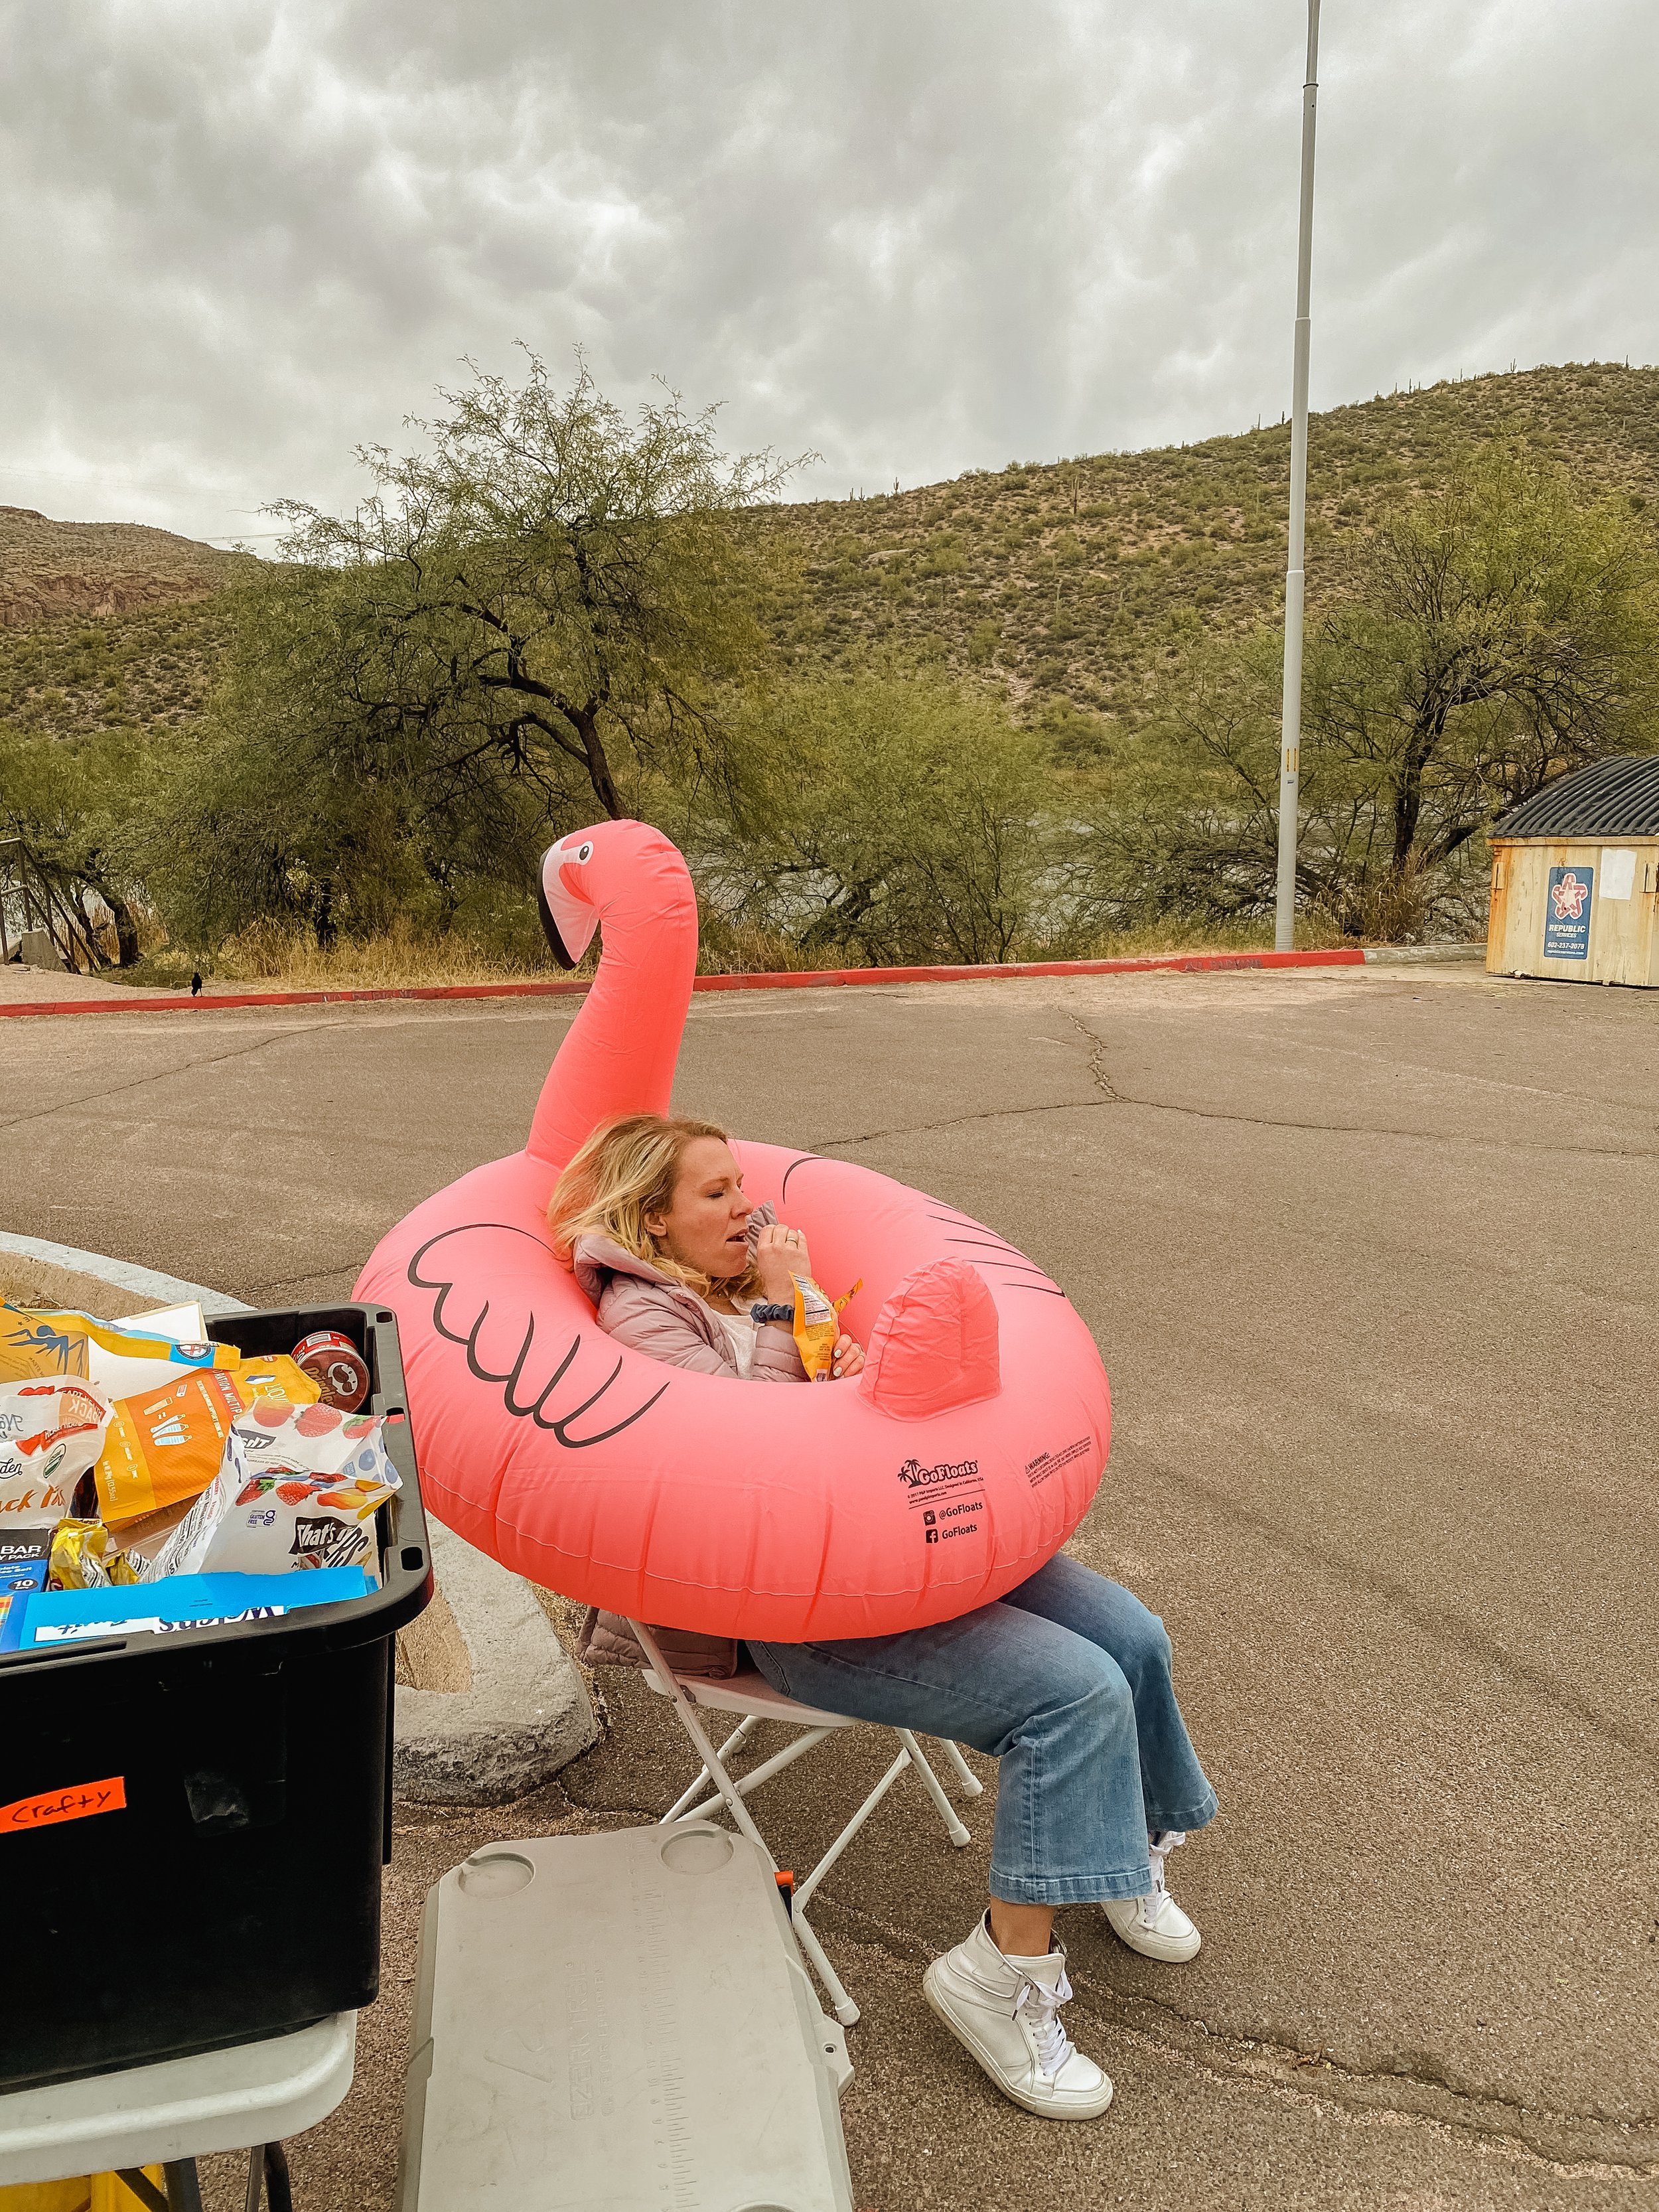
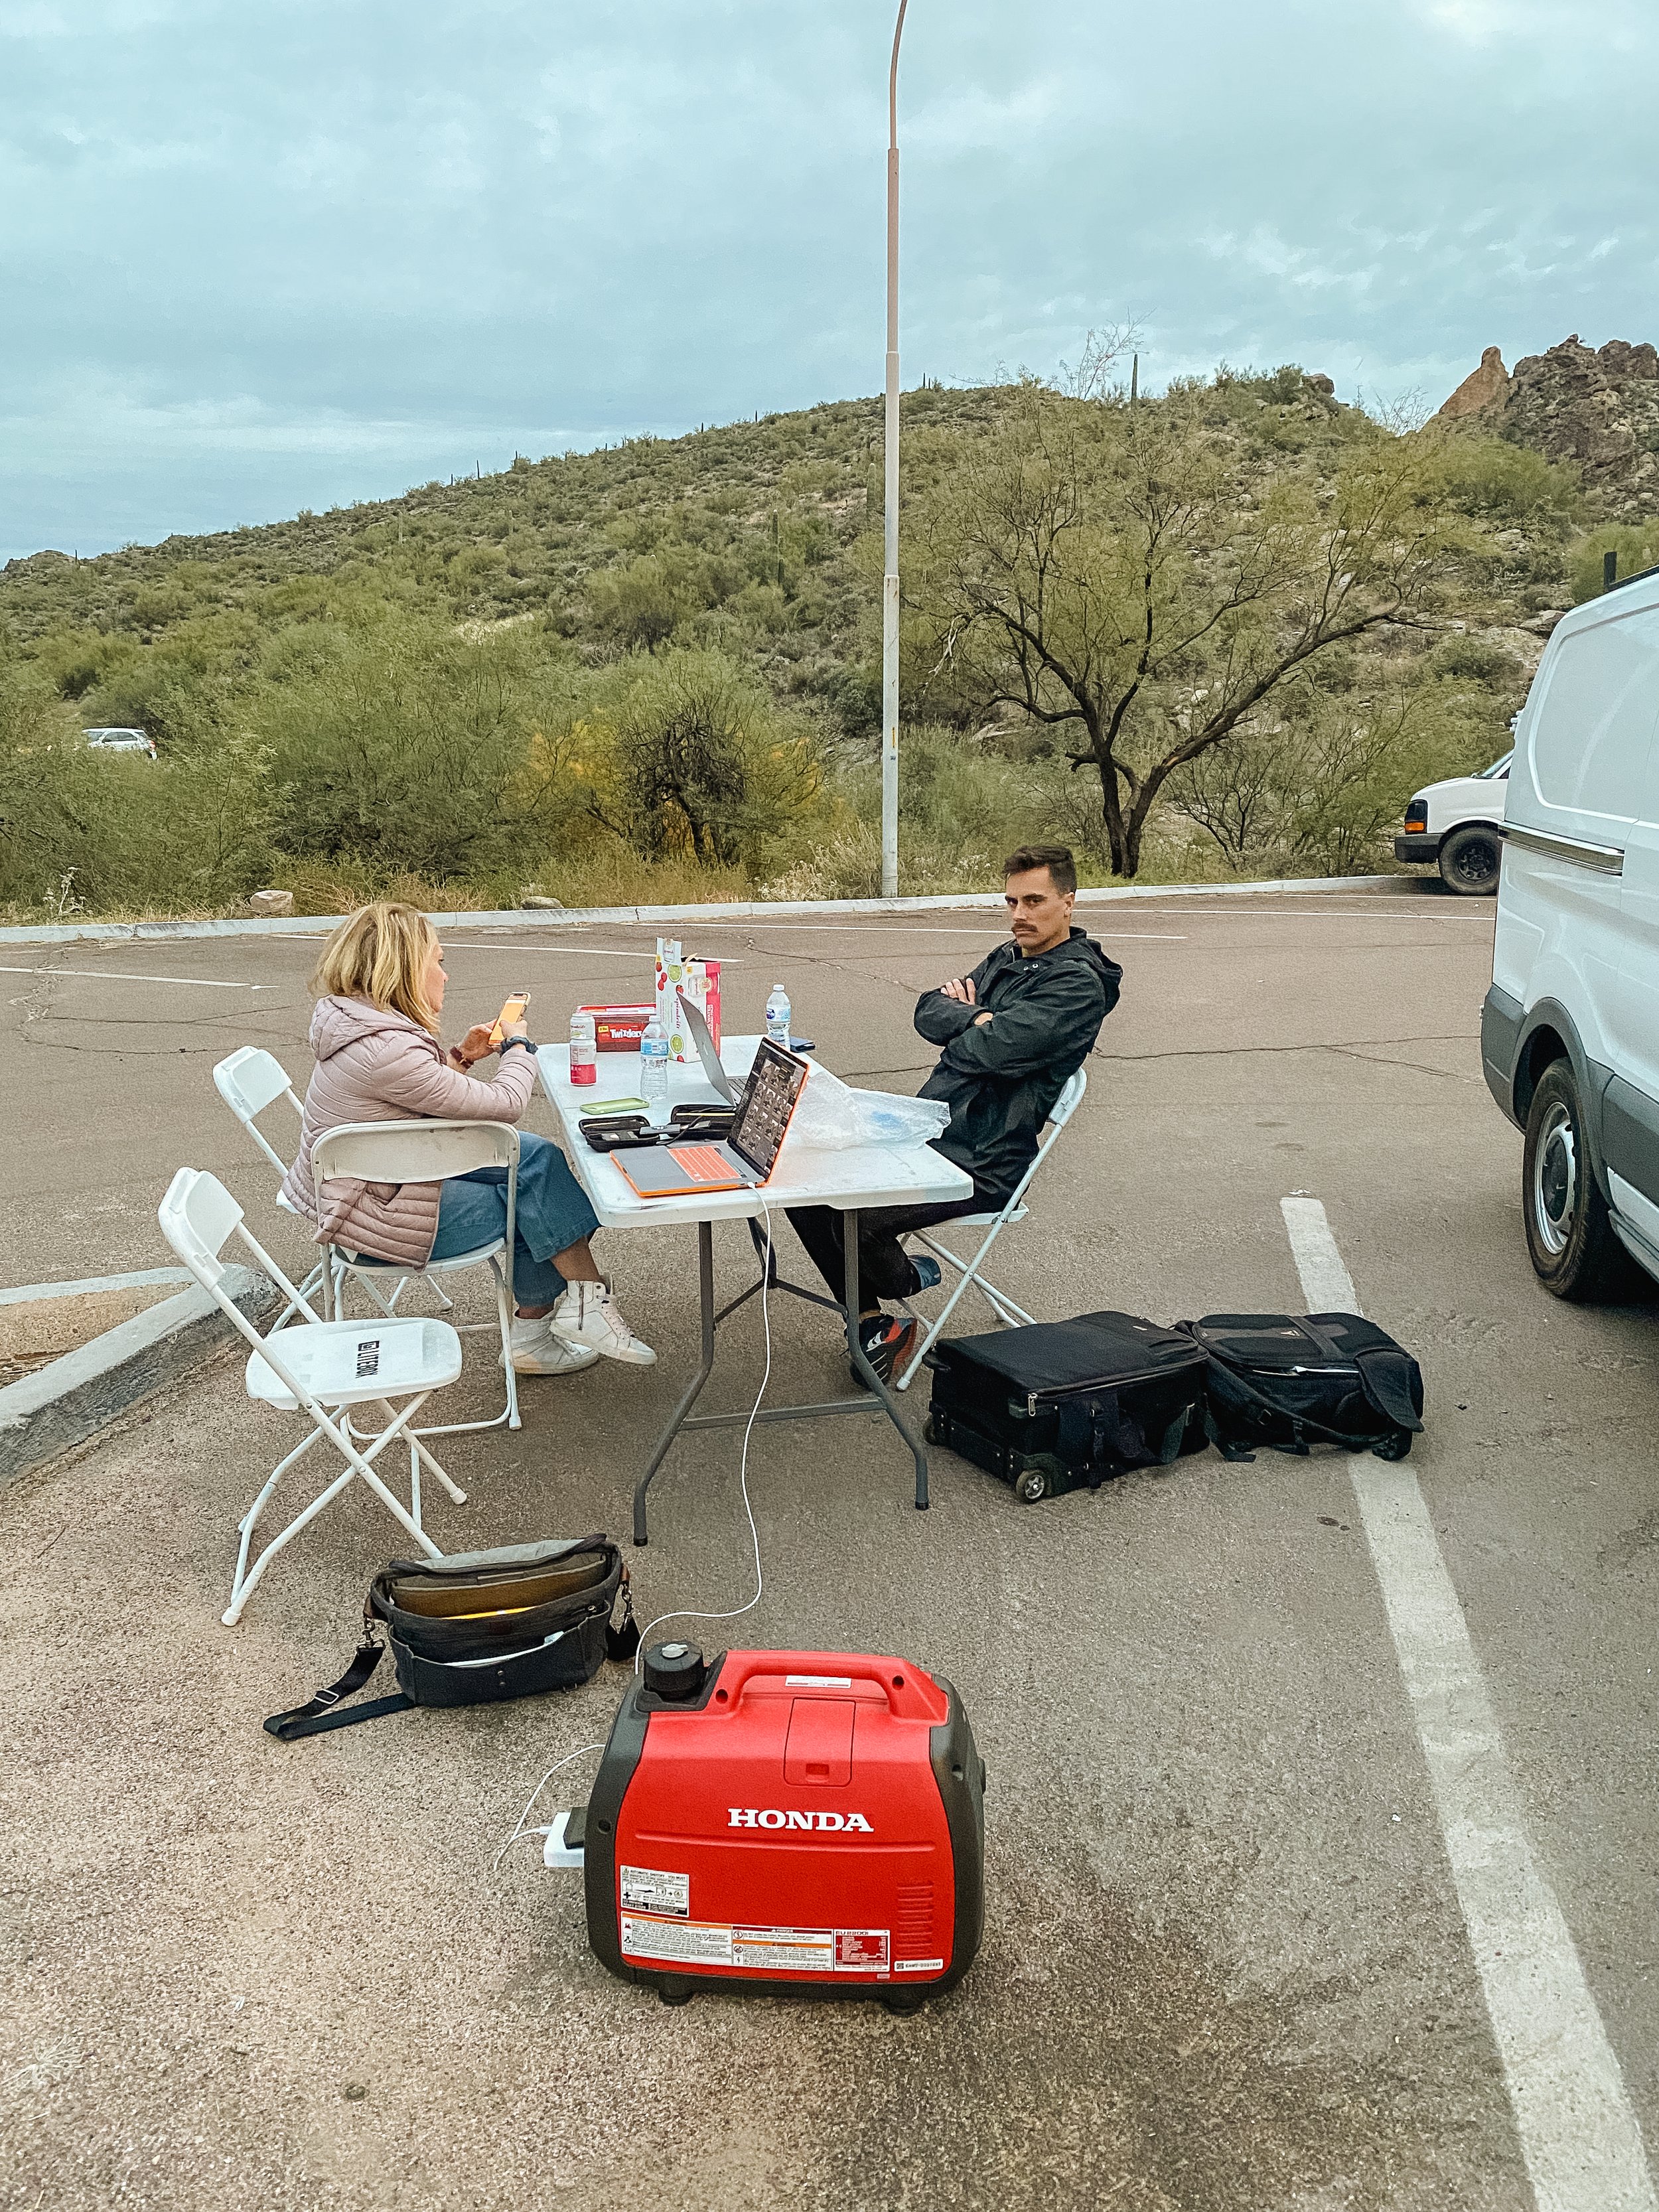
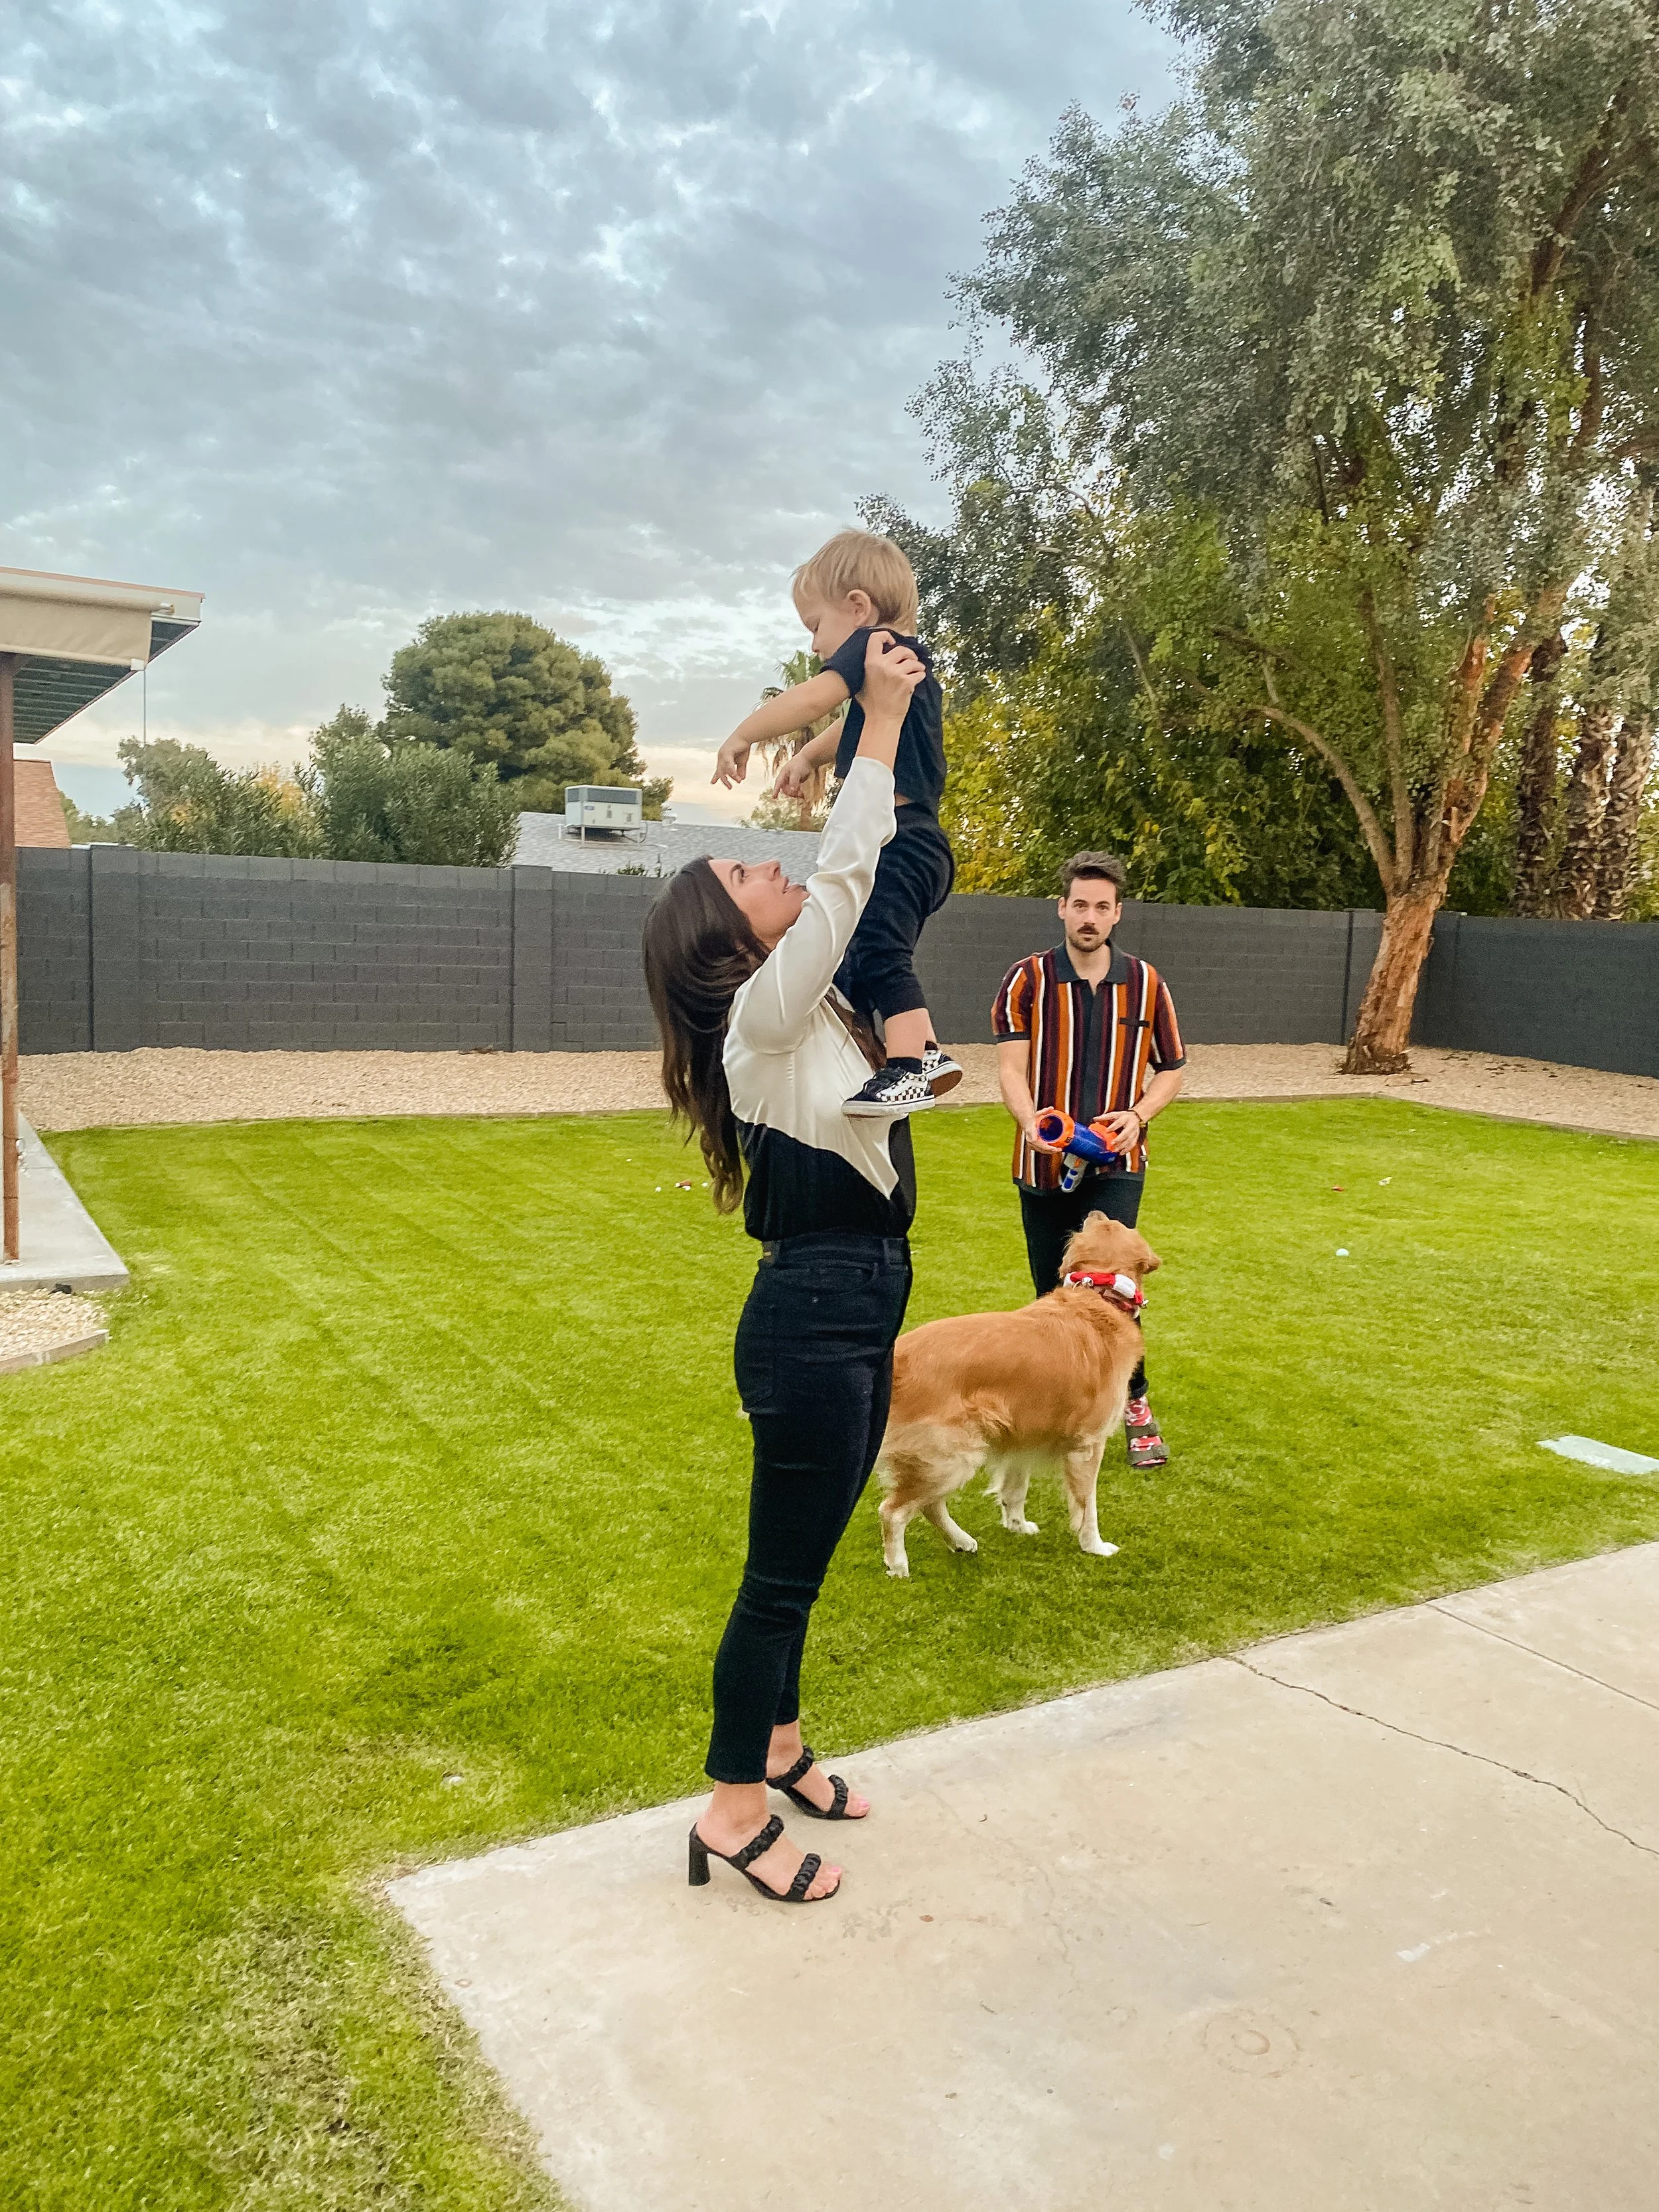
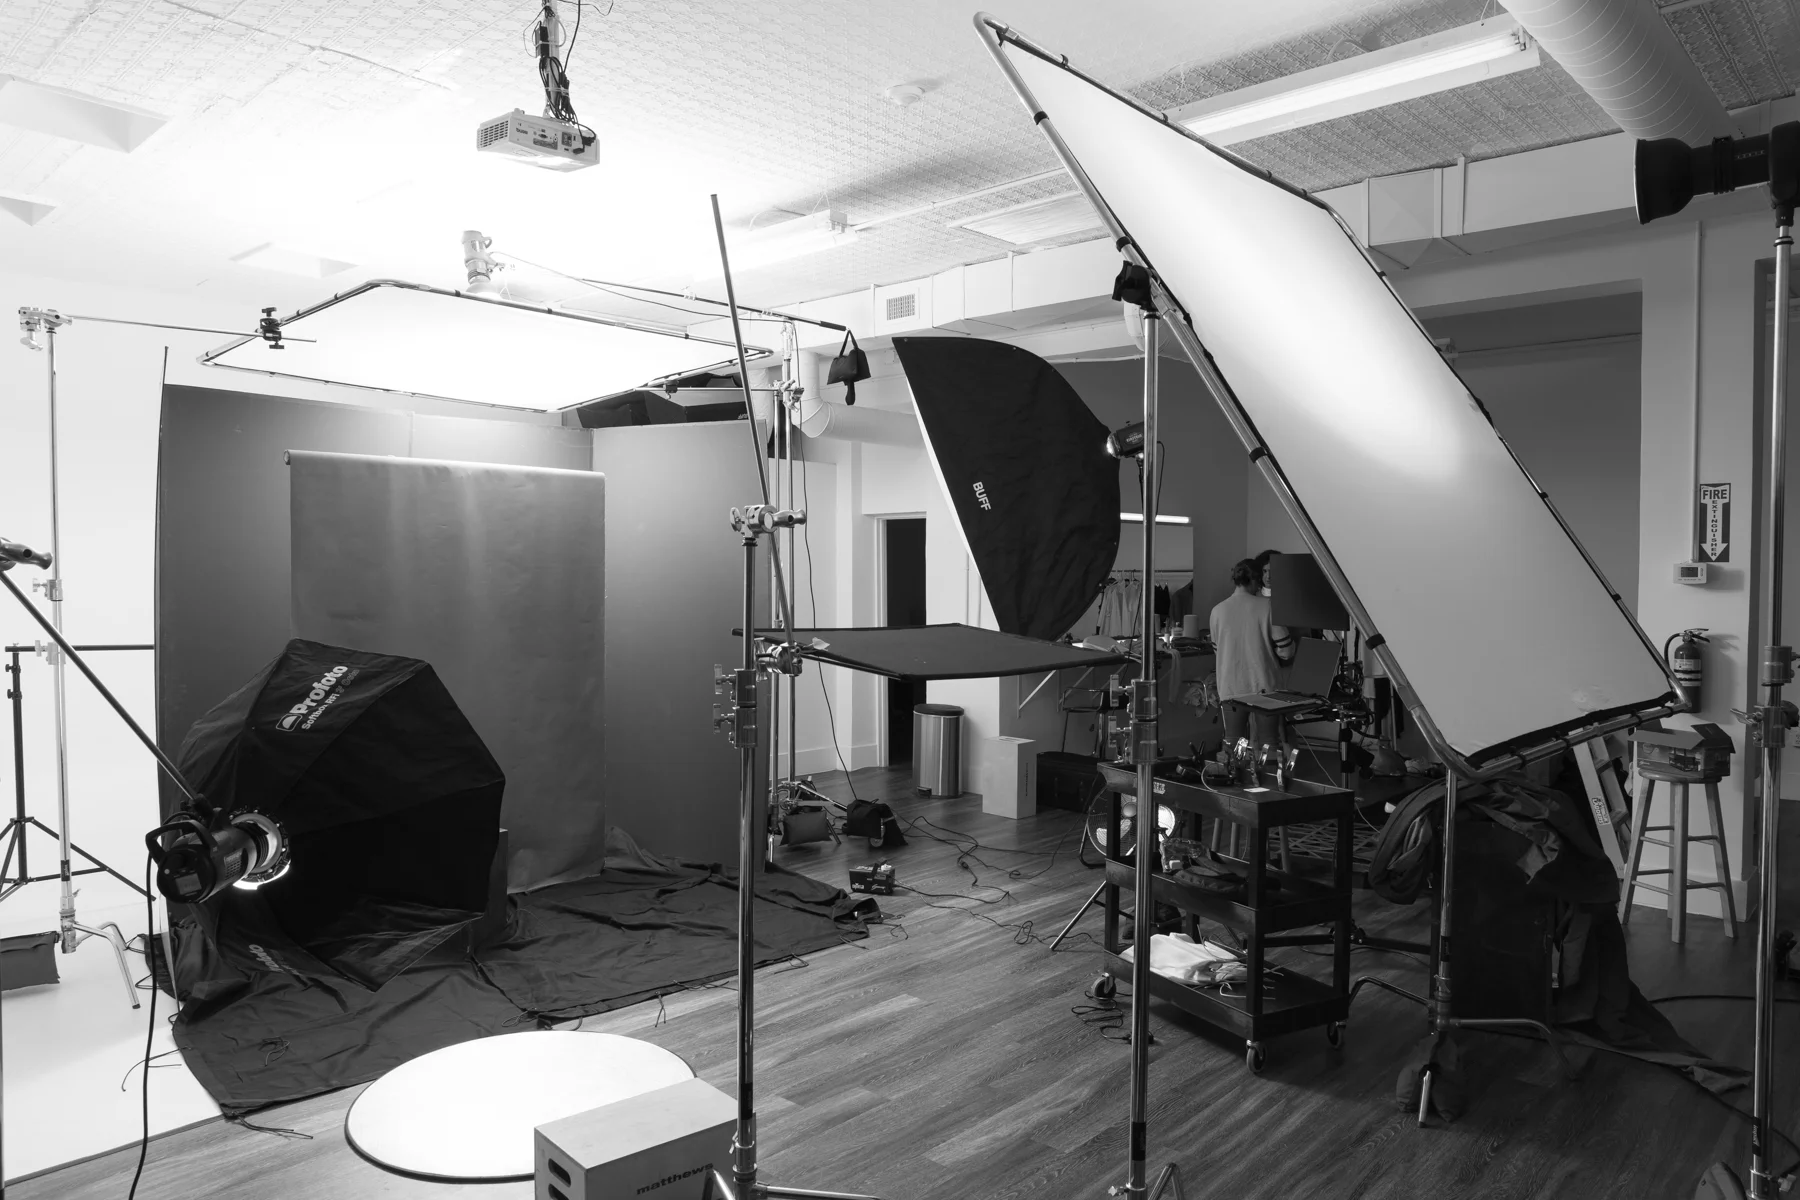
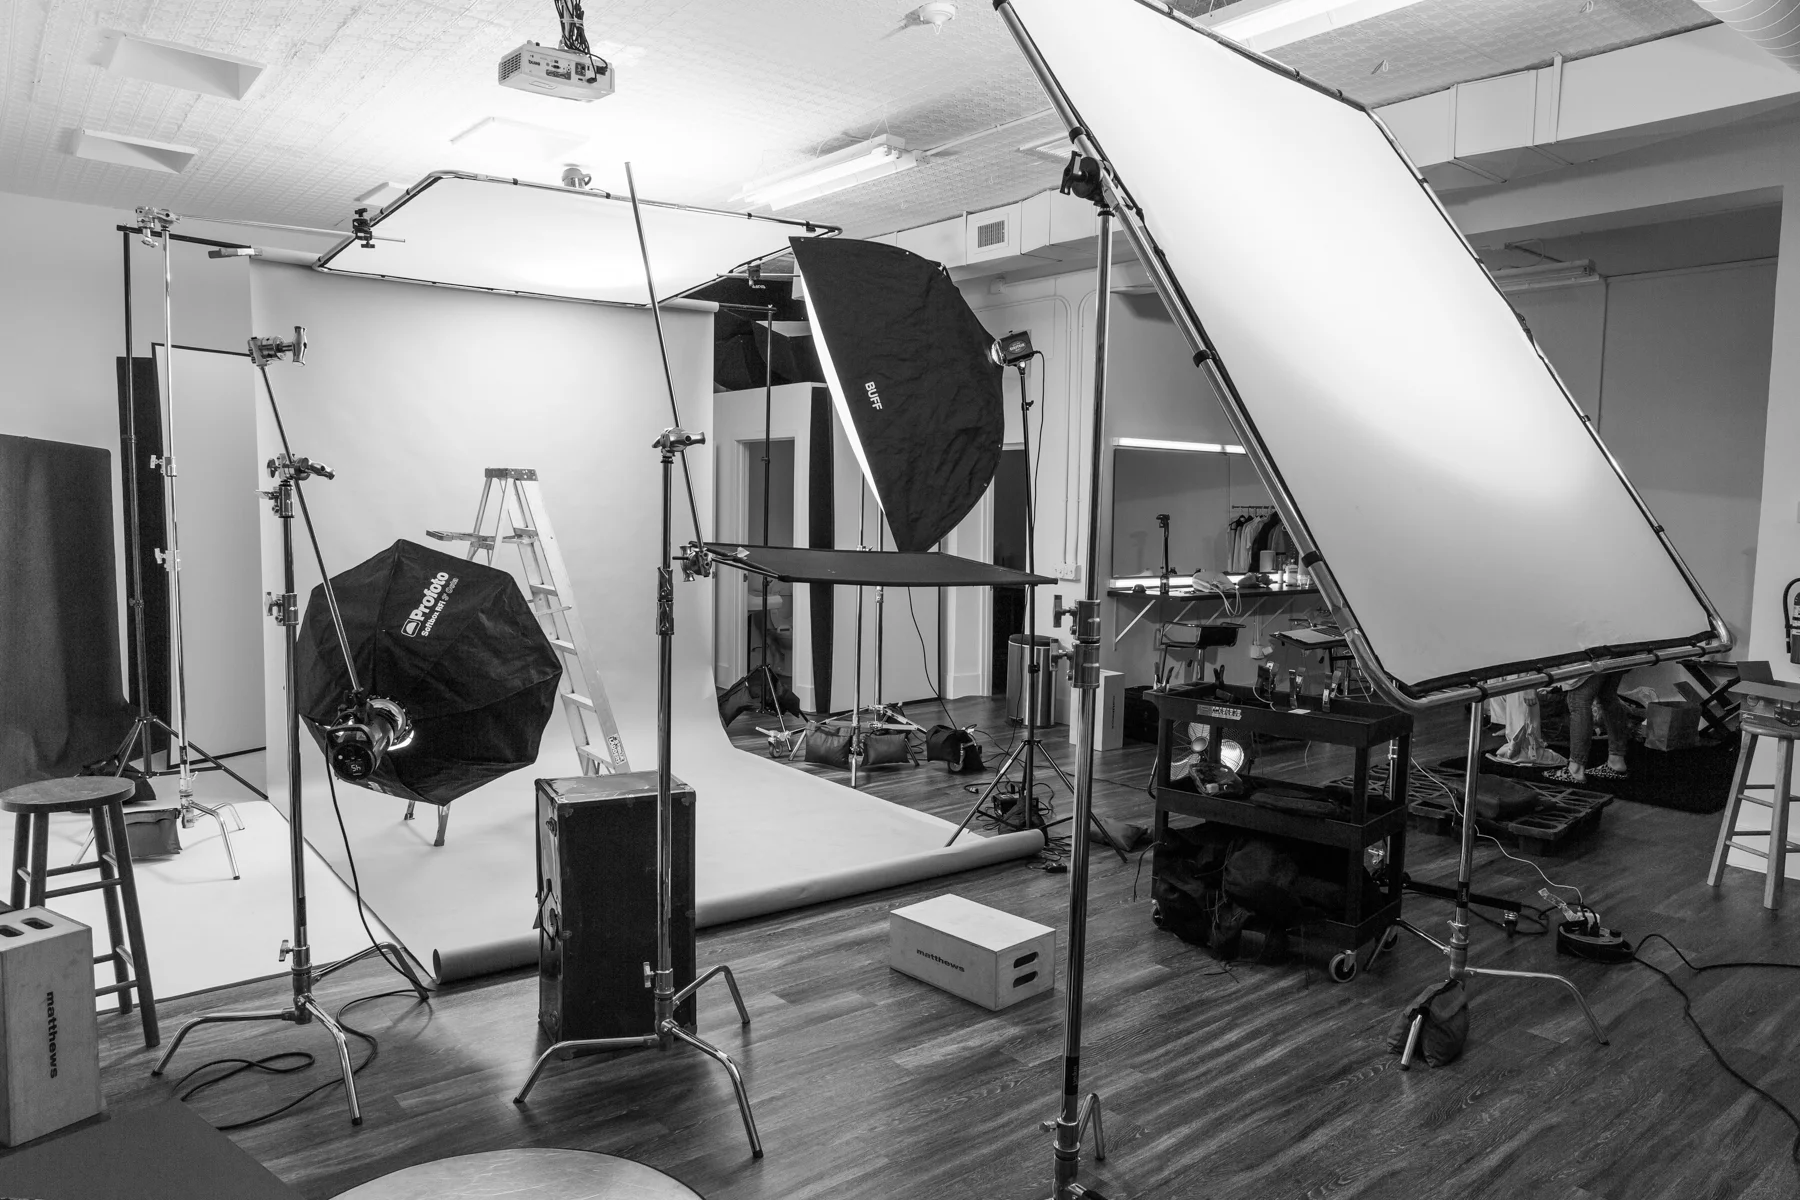
Behind The Scenes

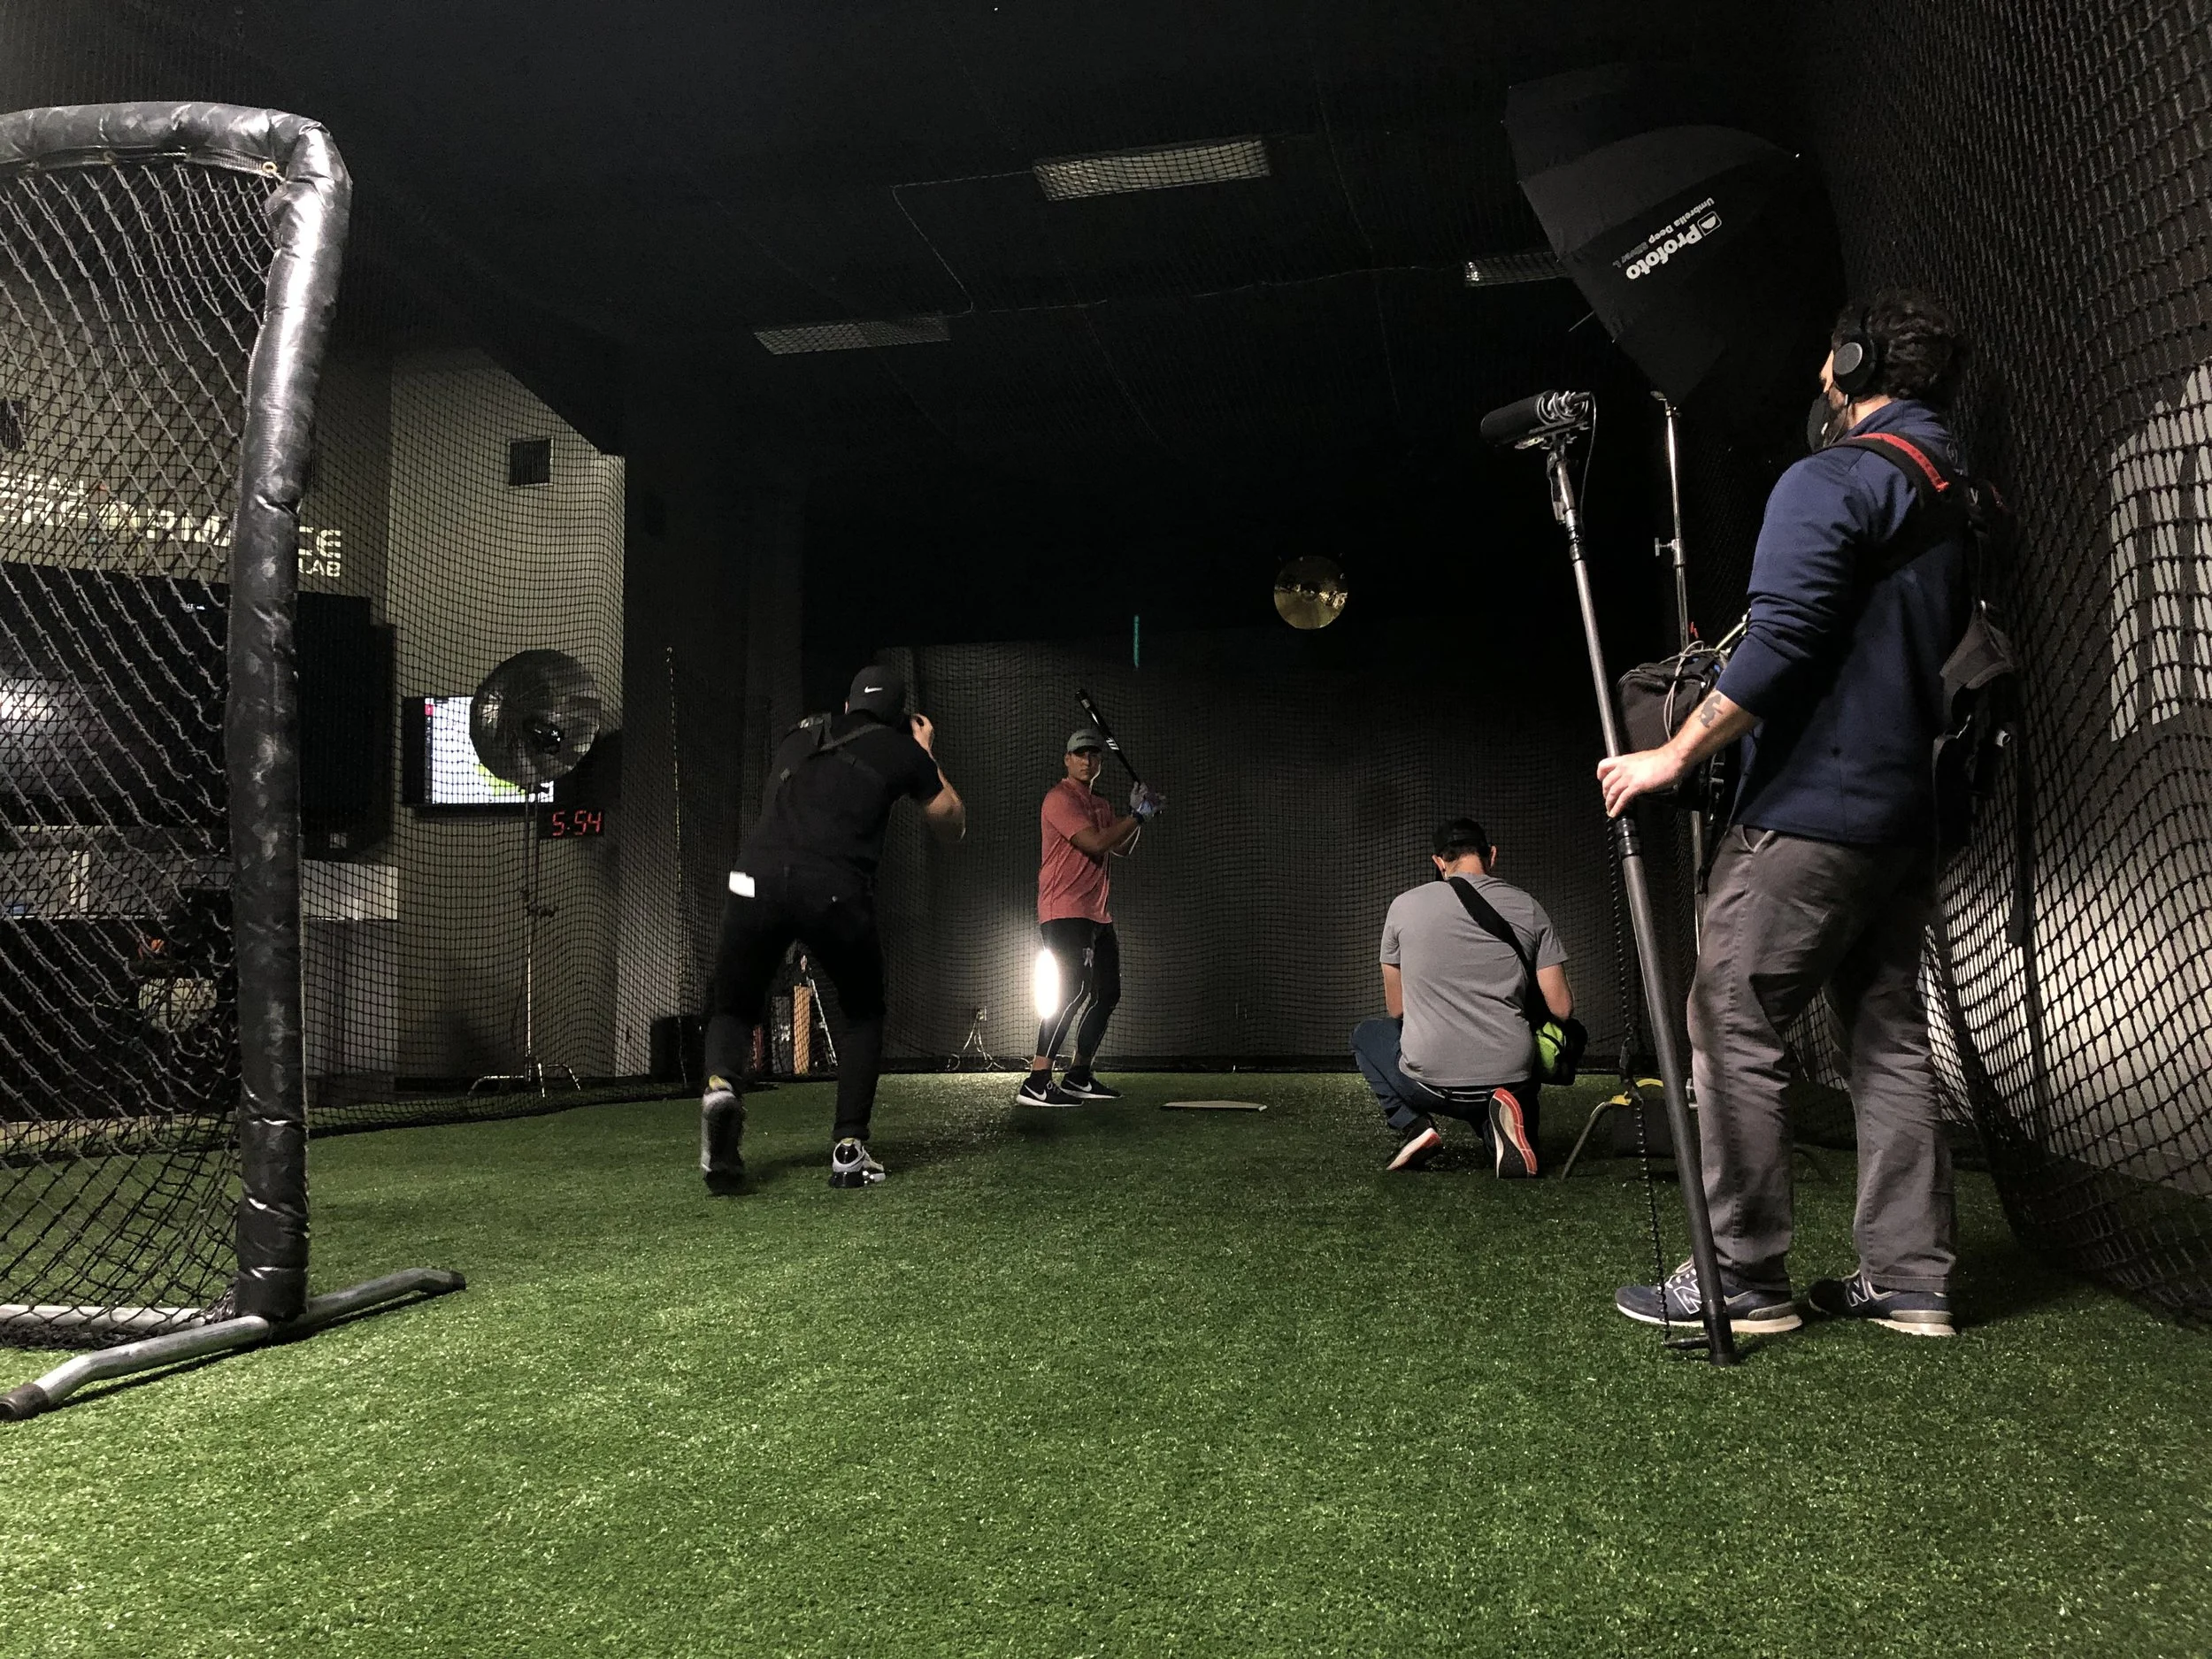


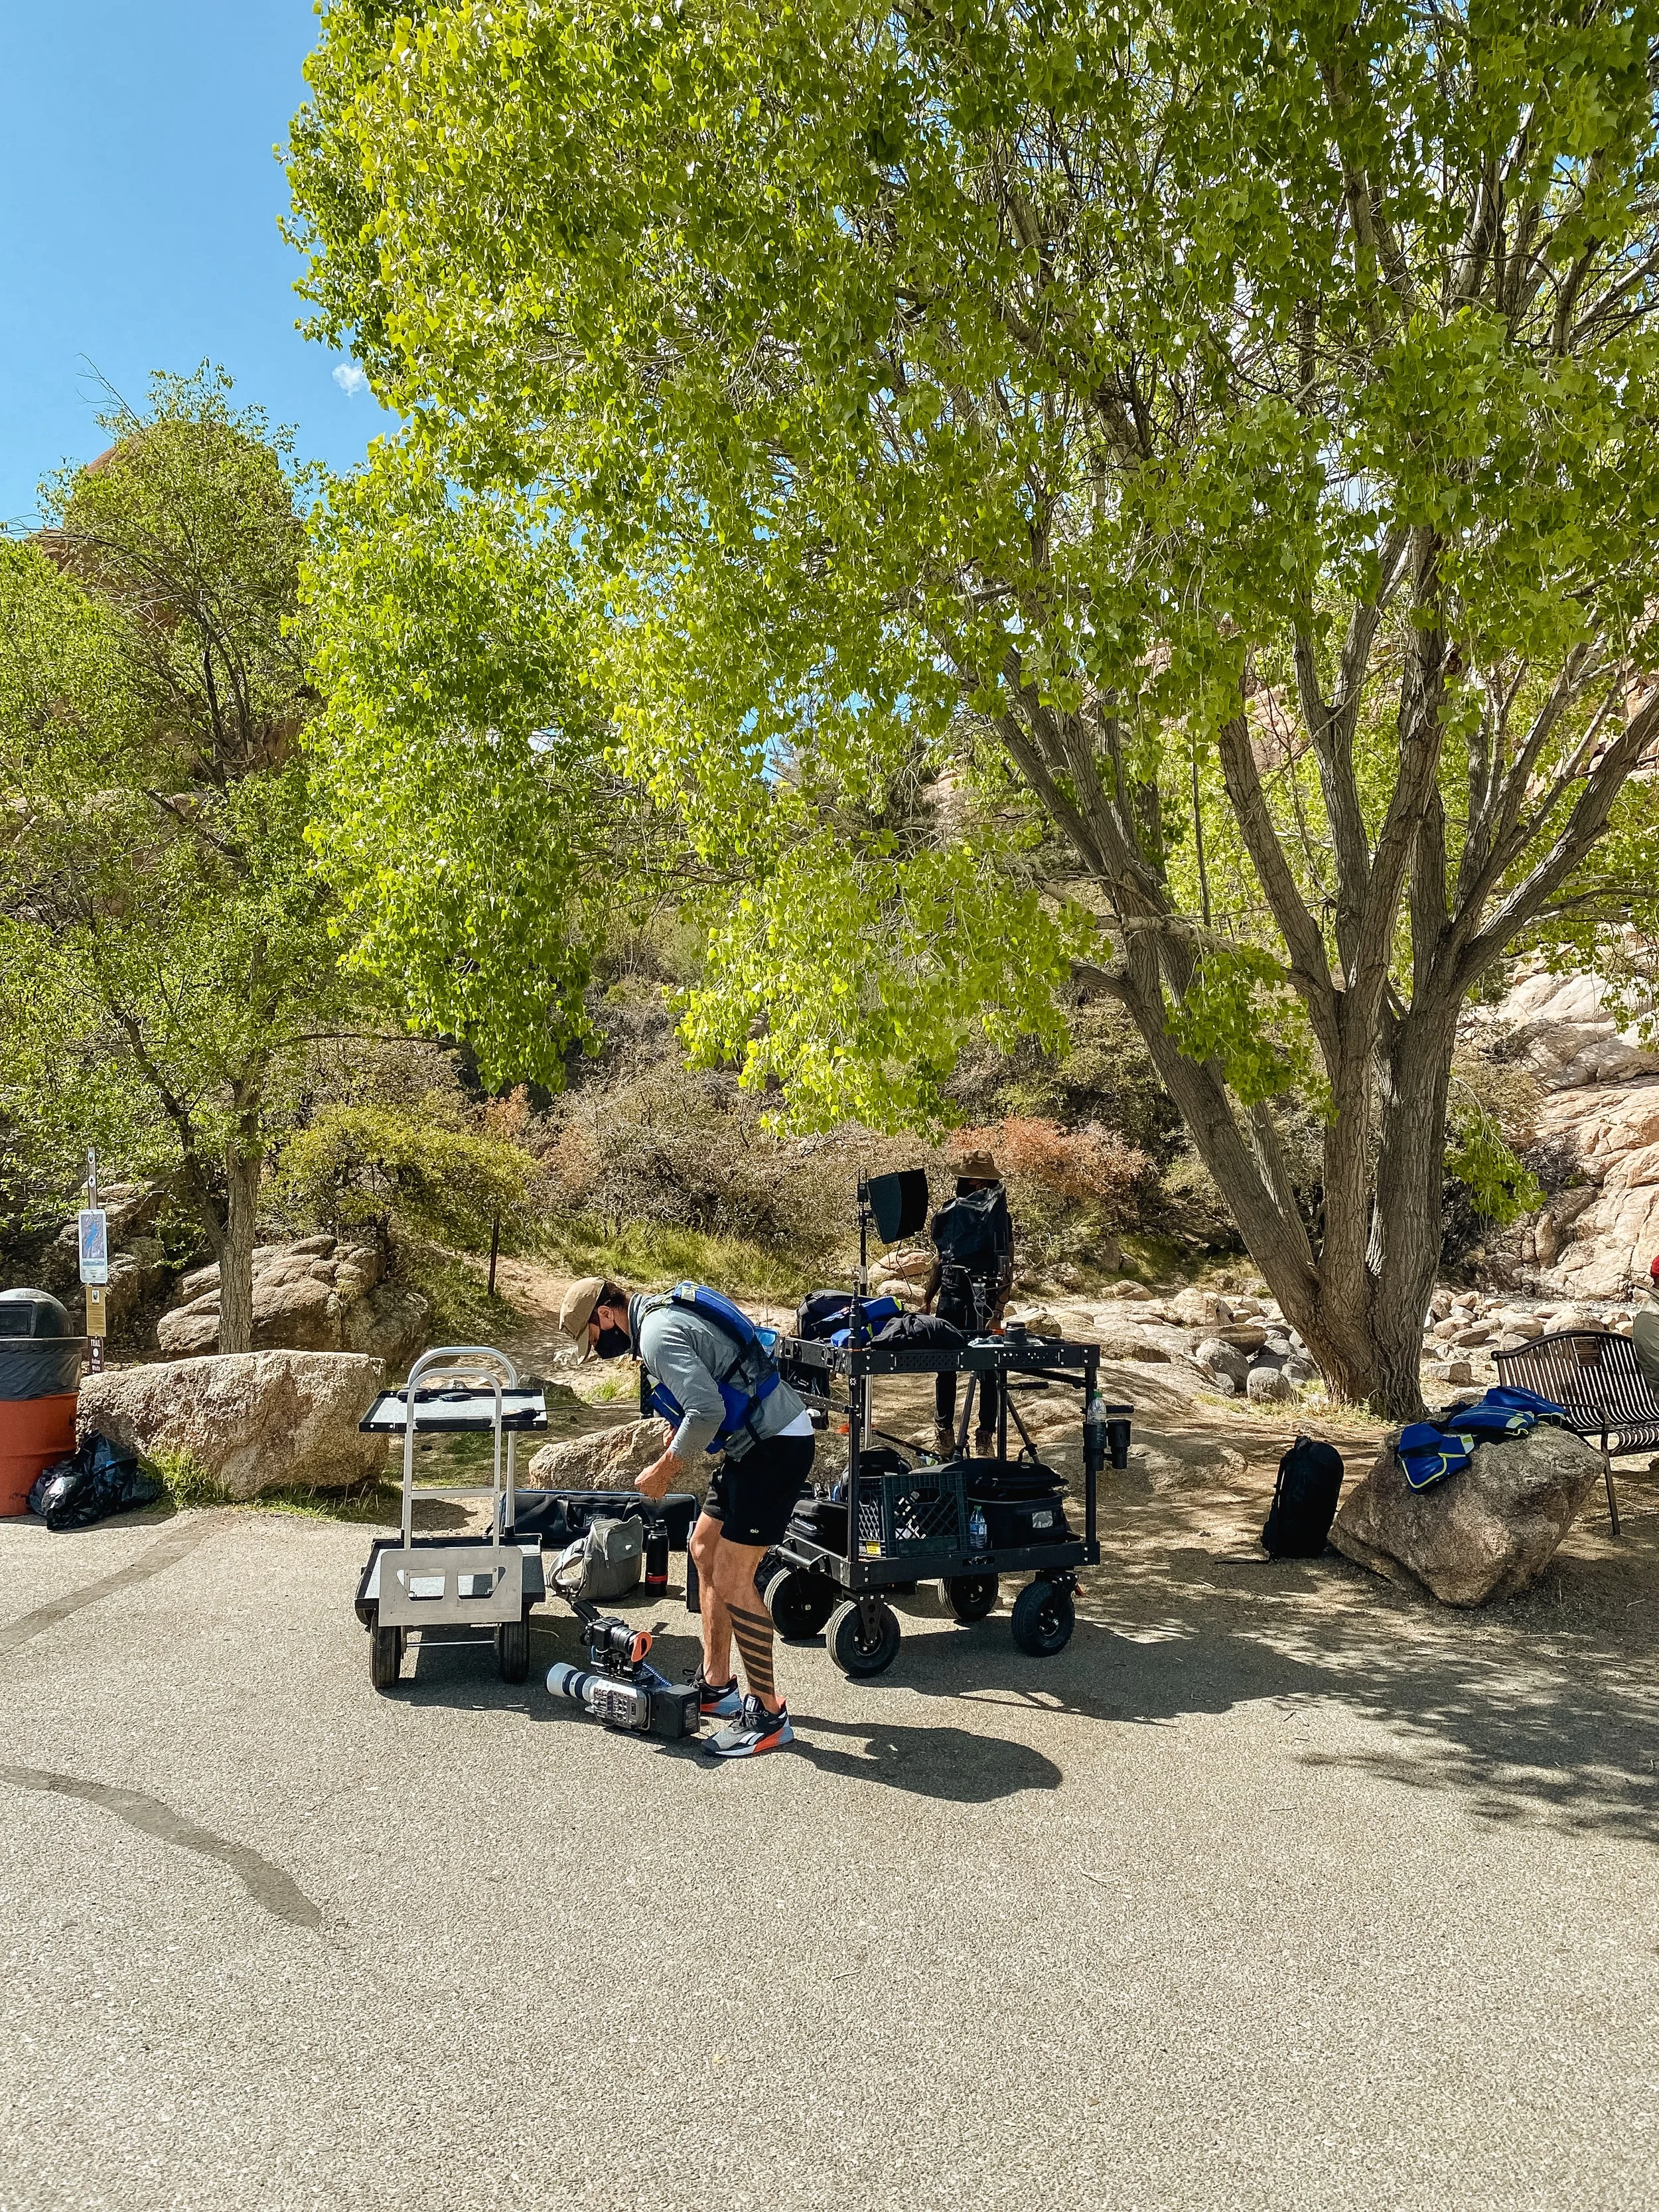
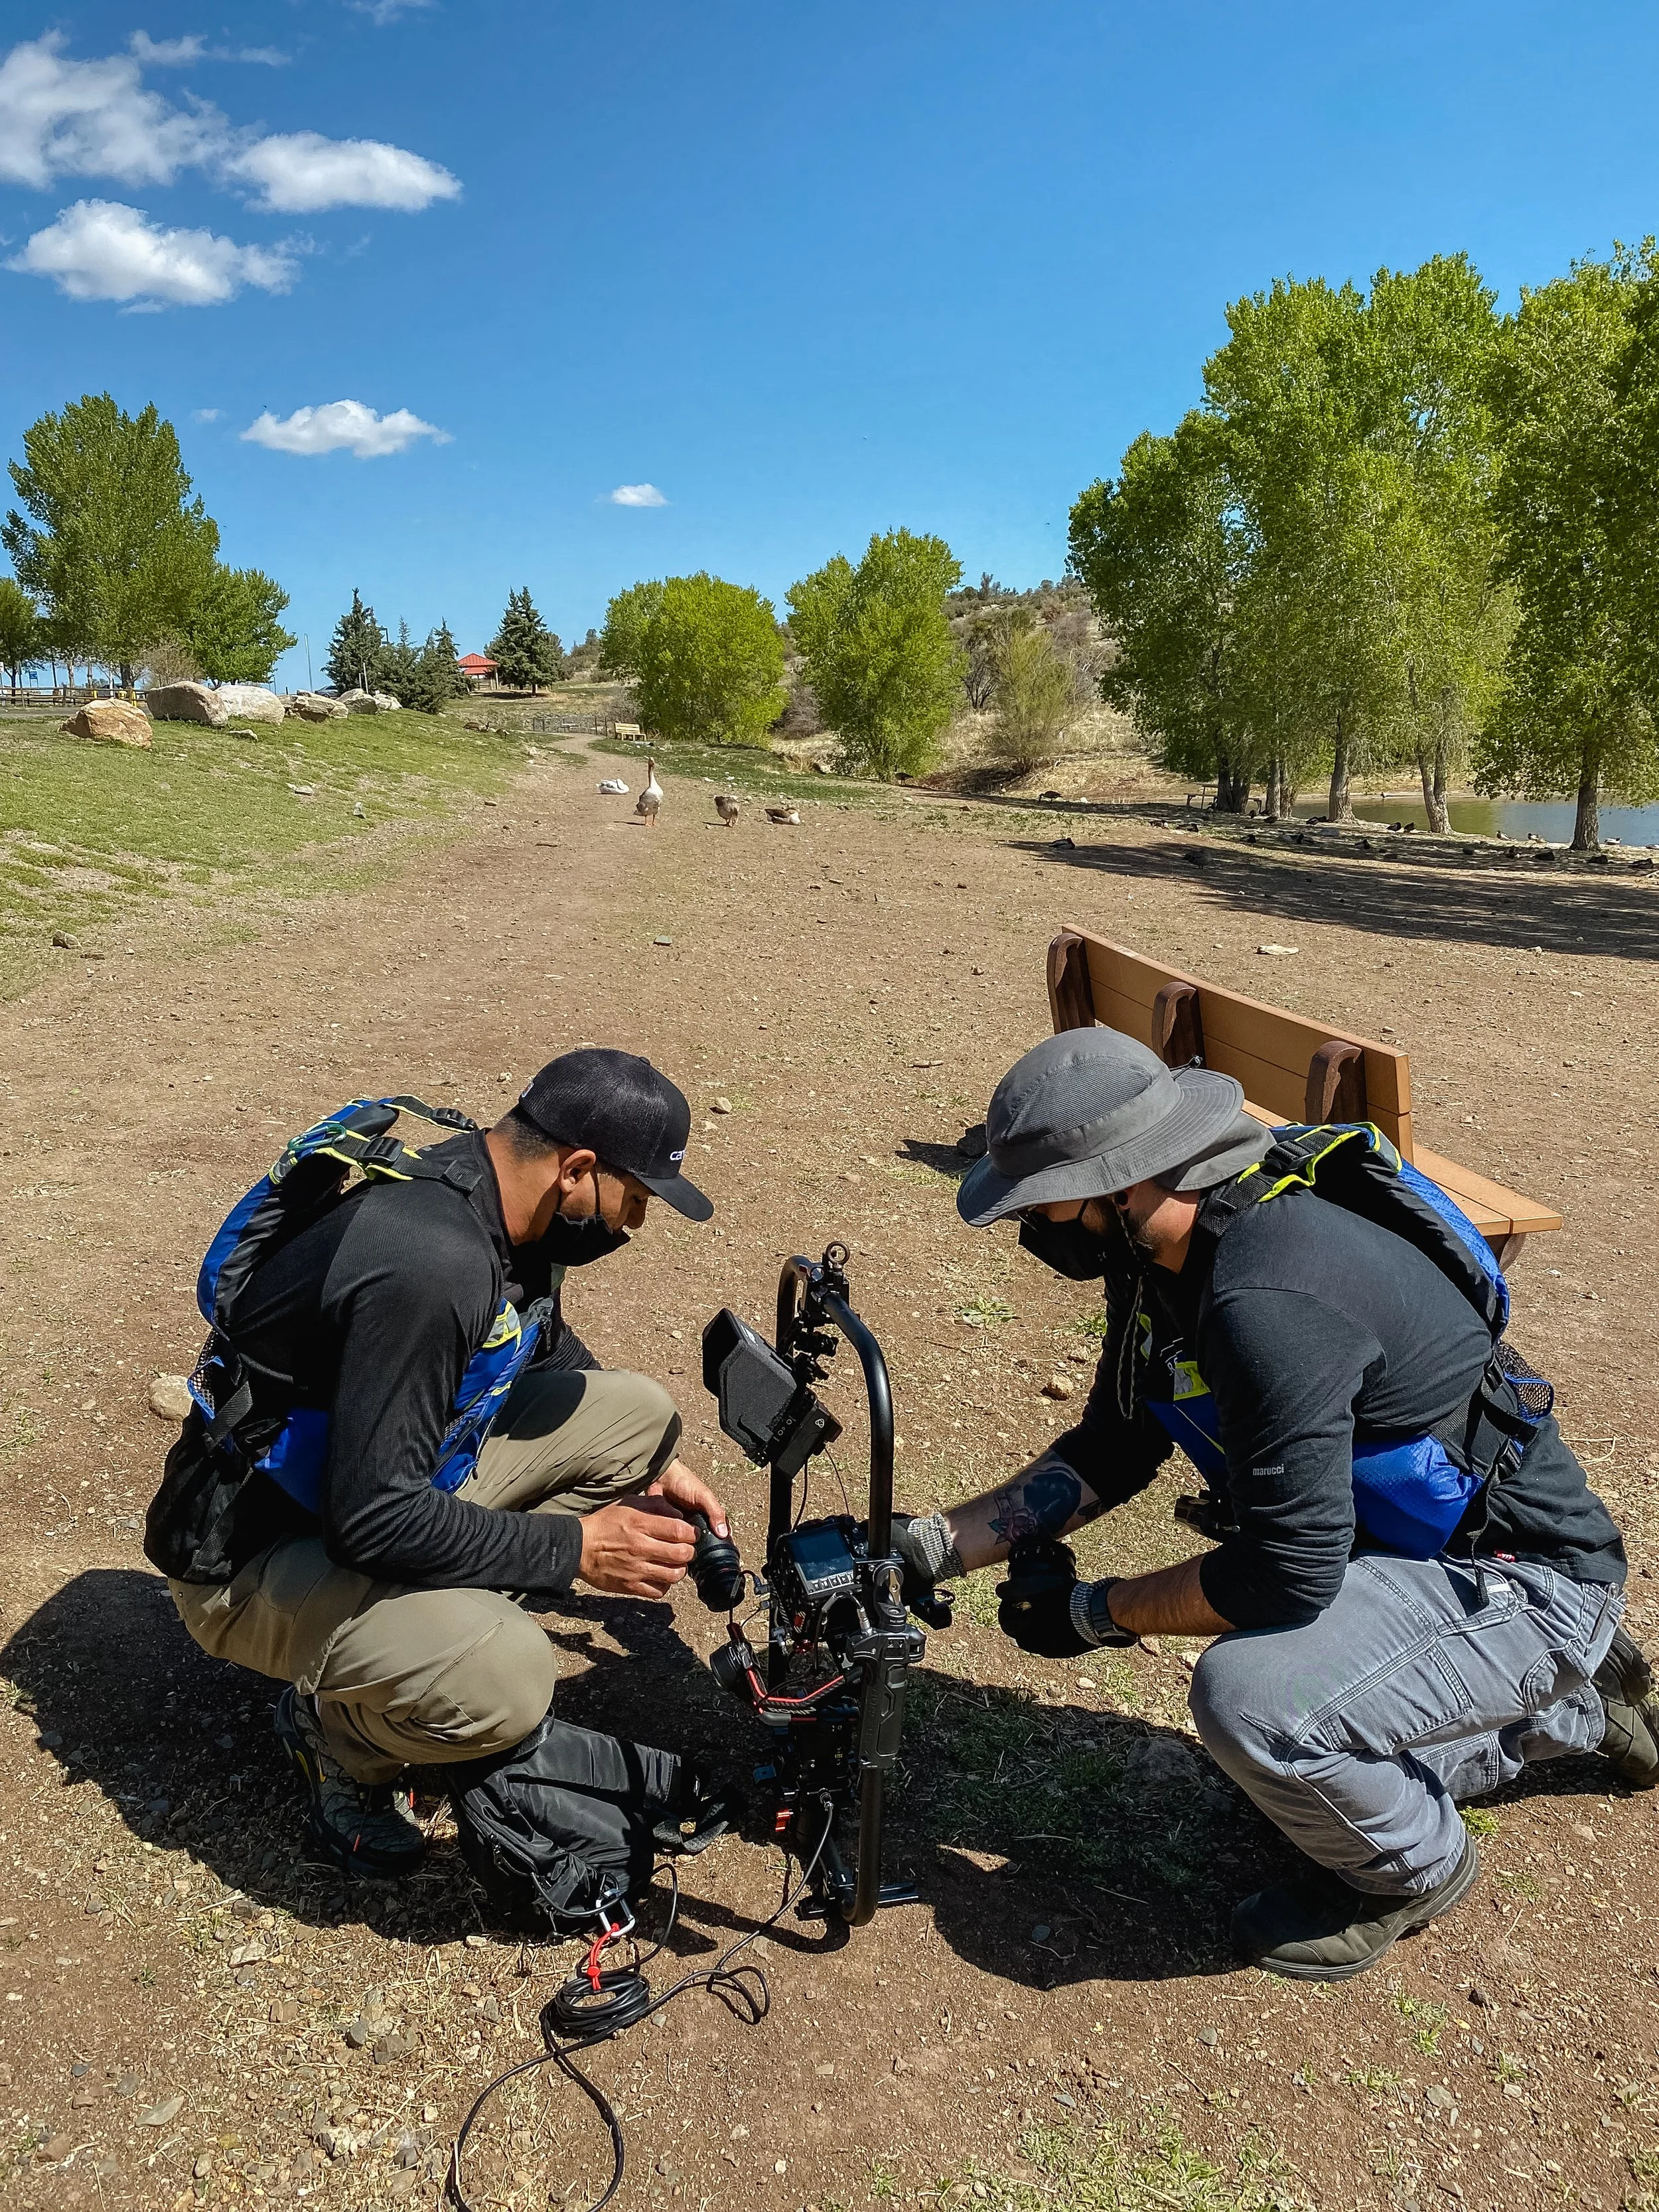


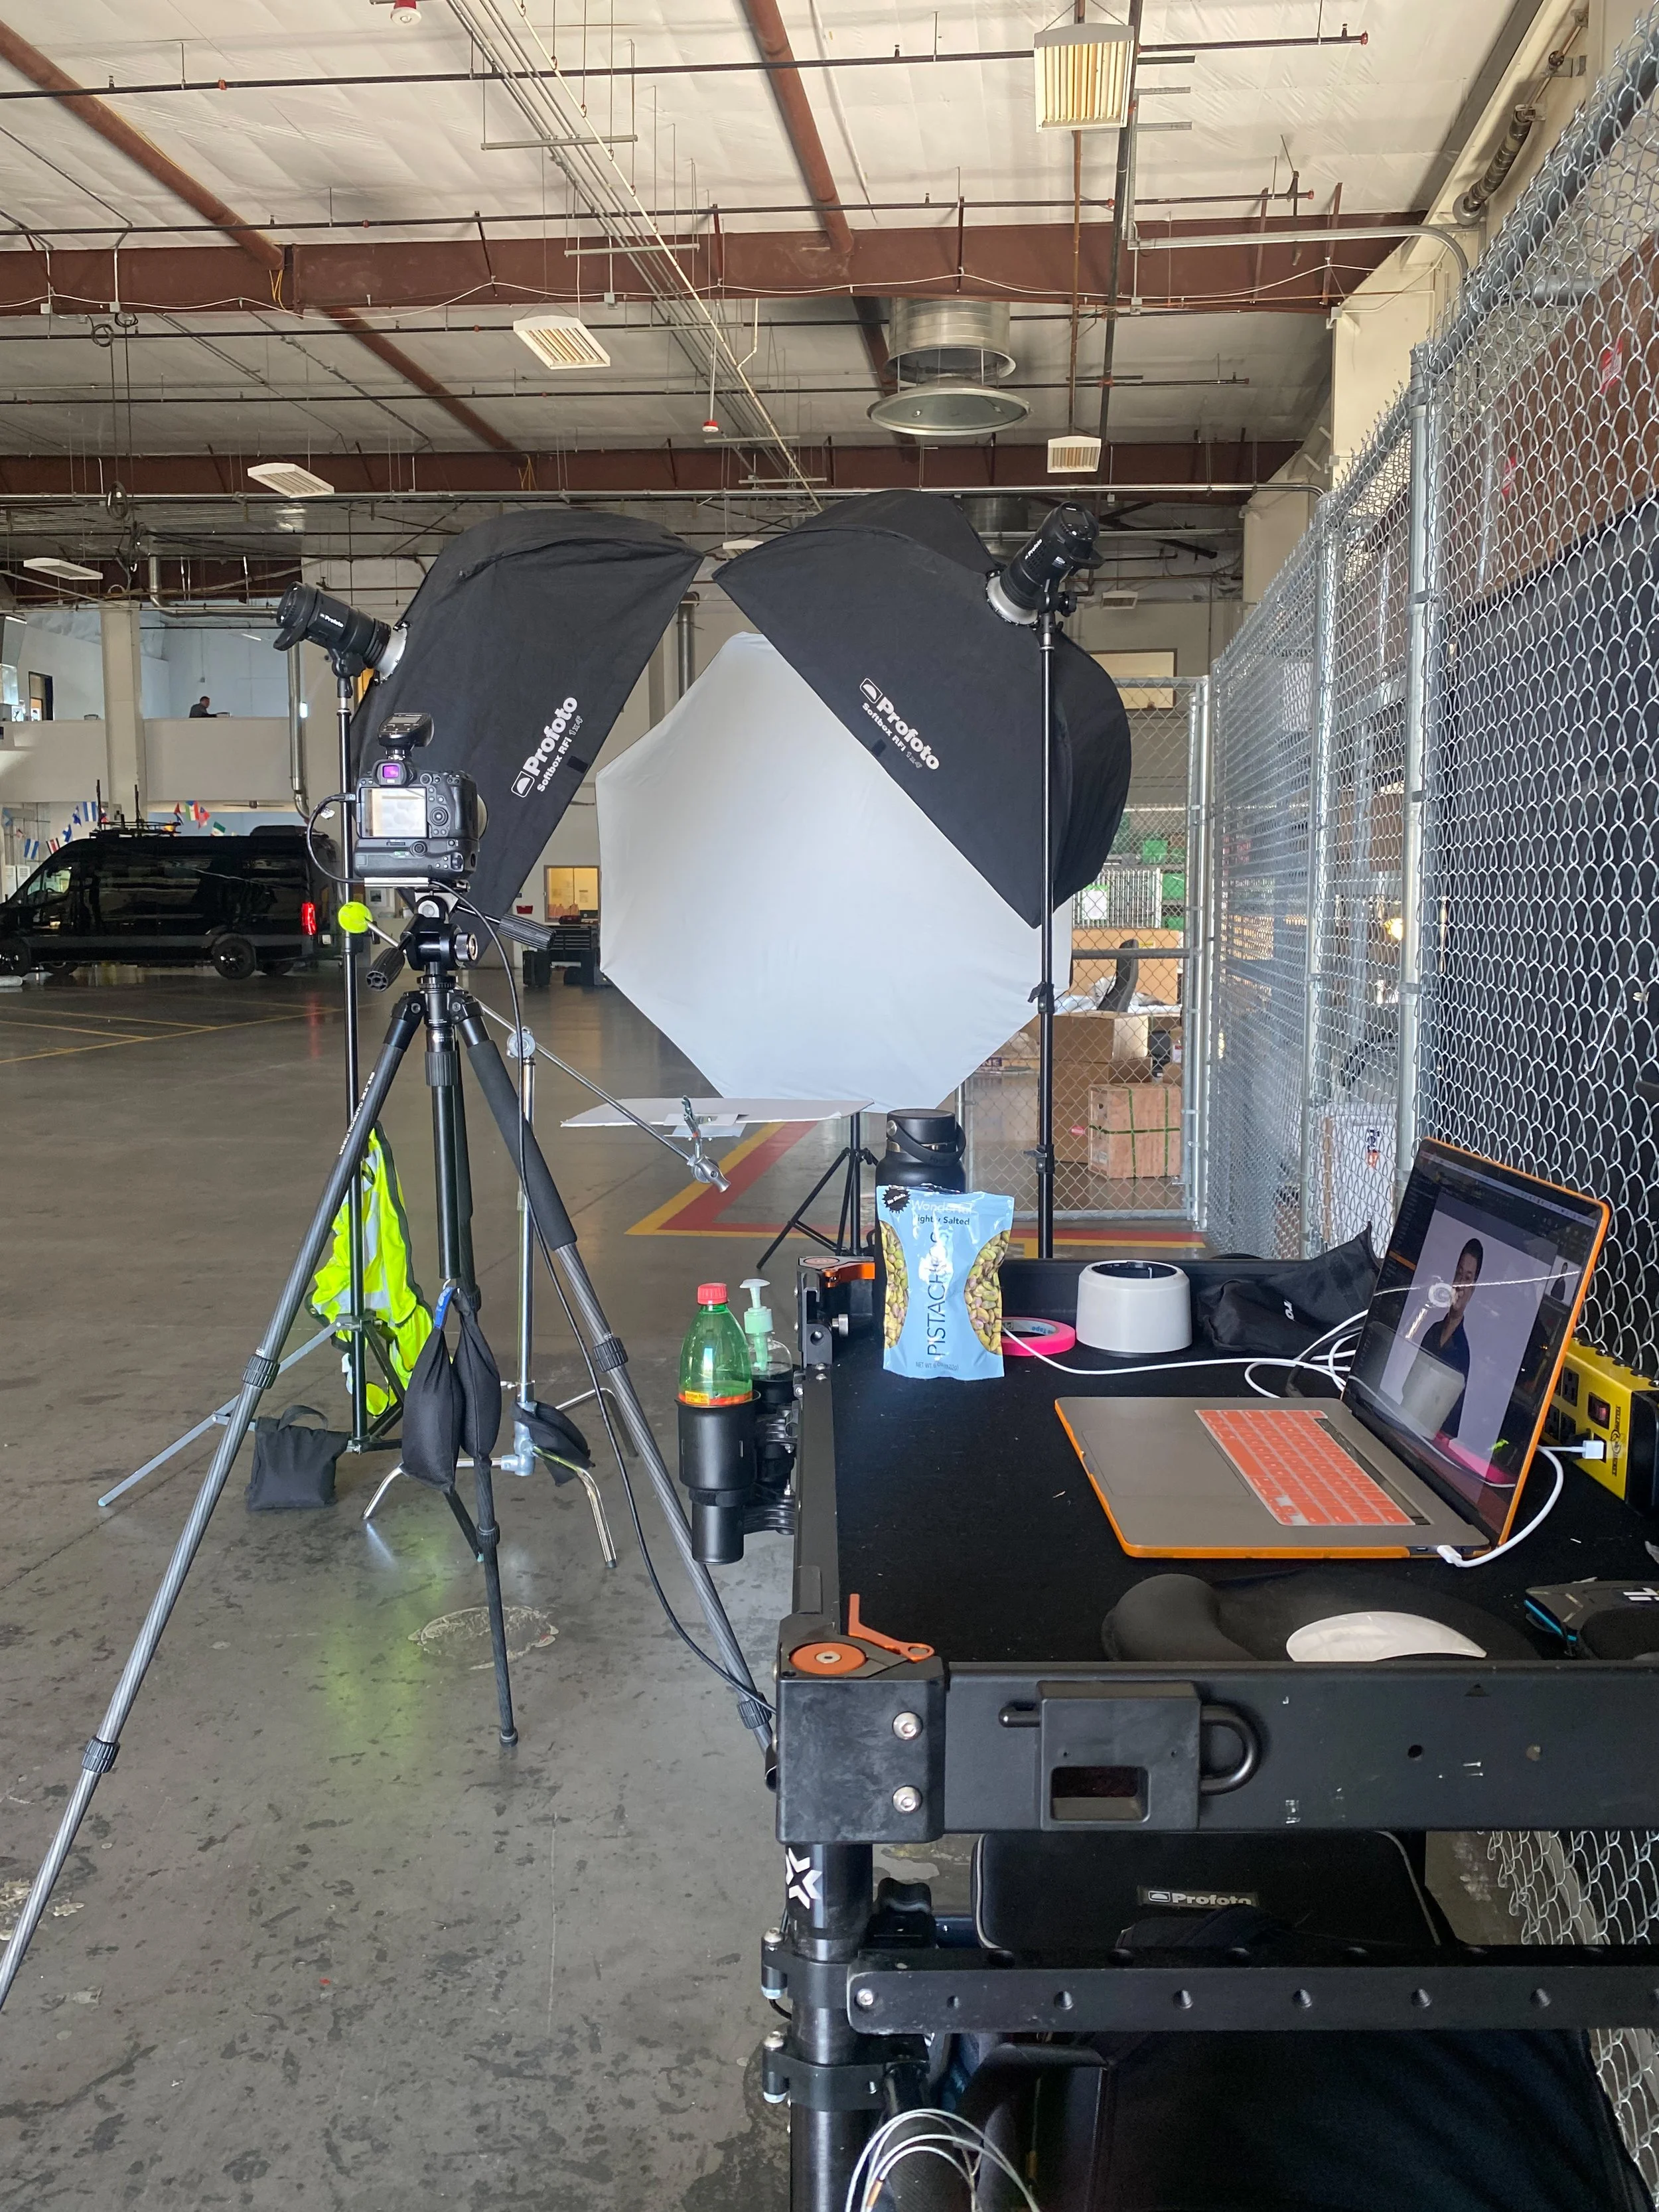


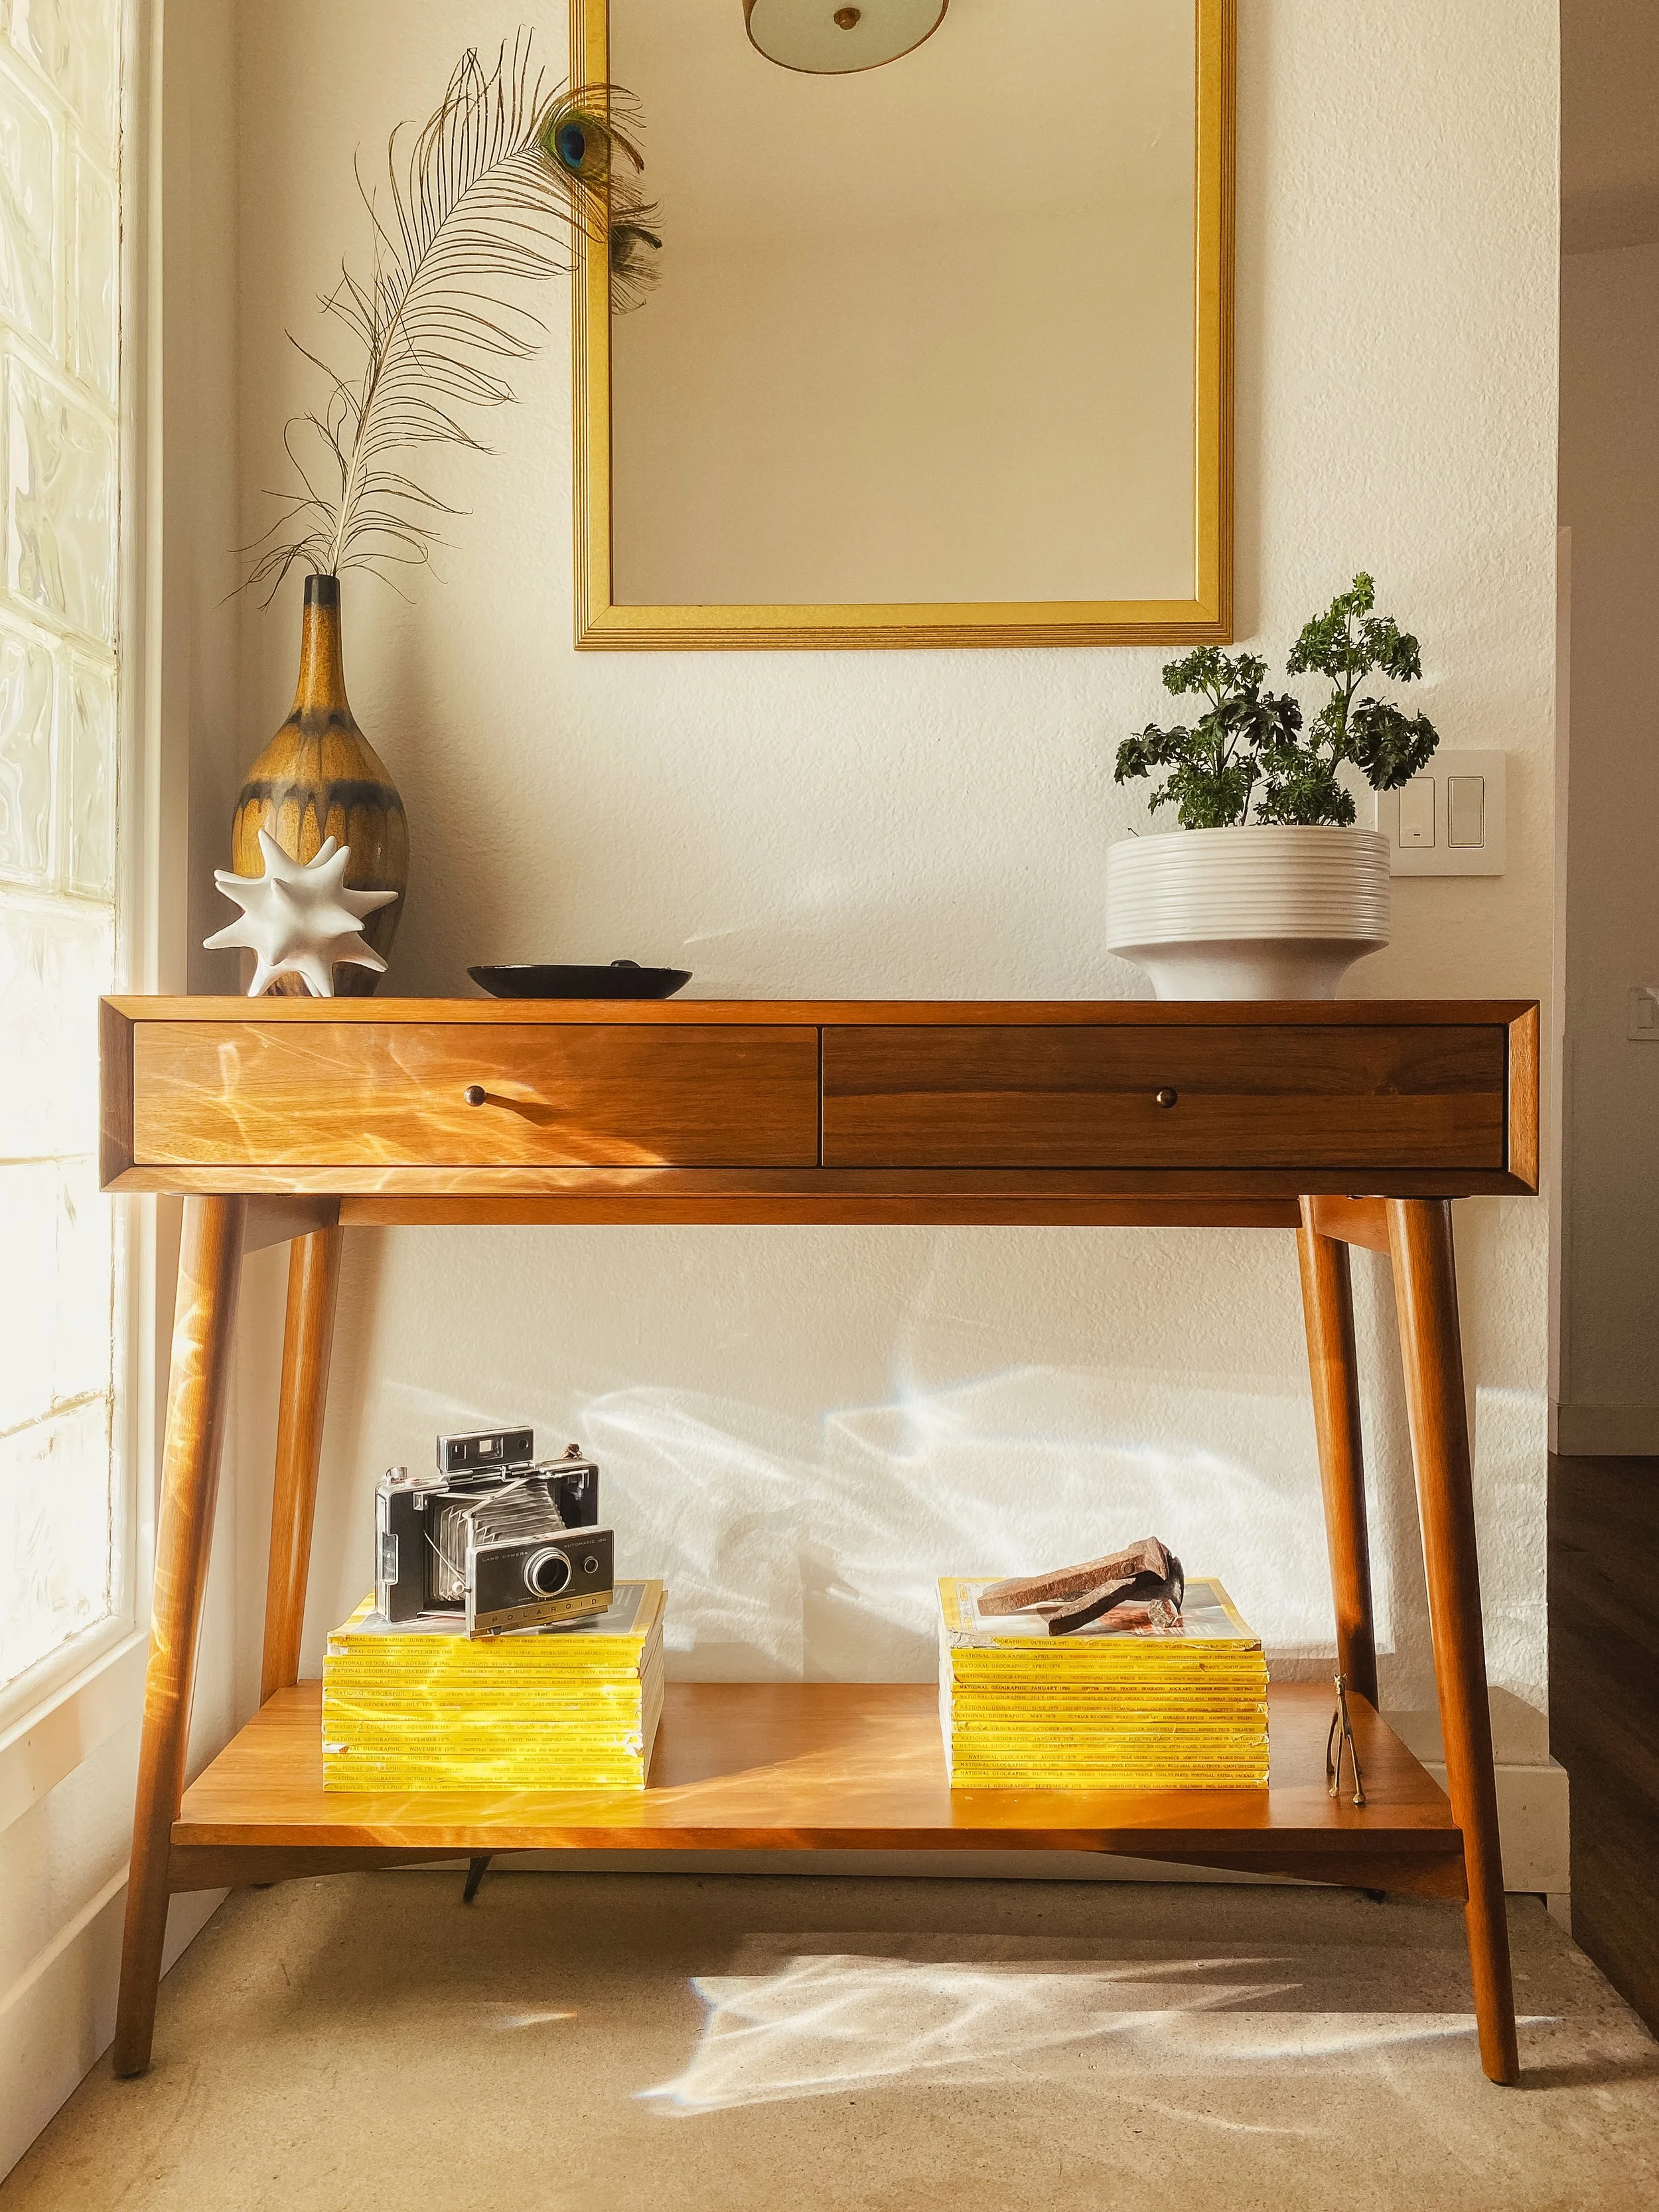
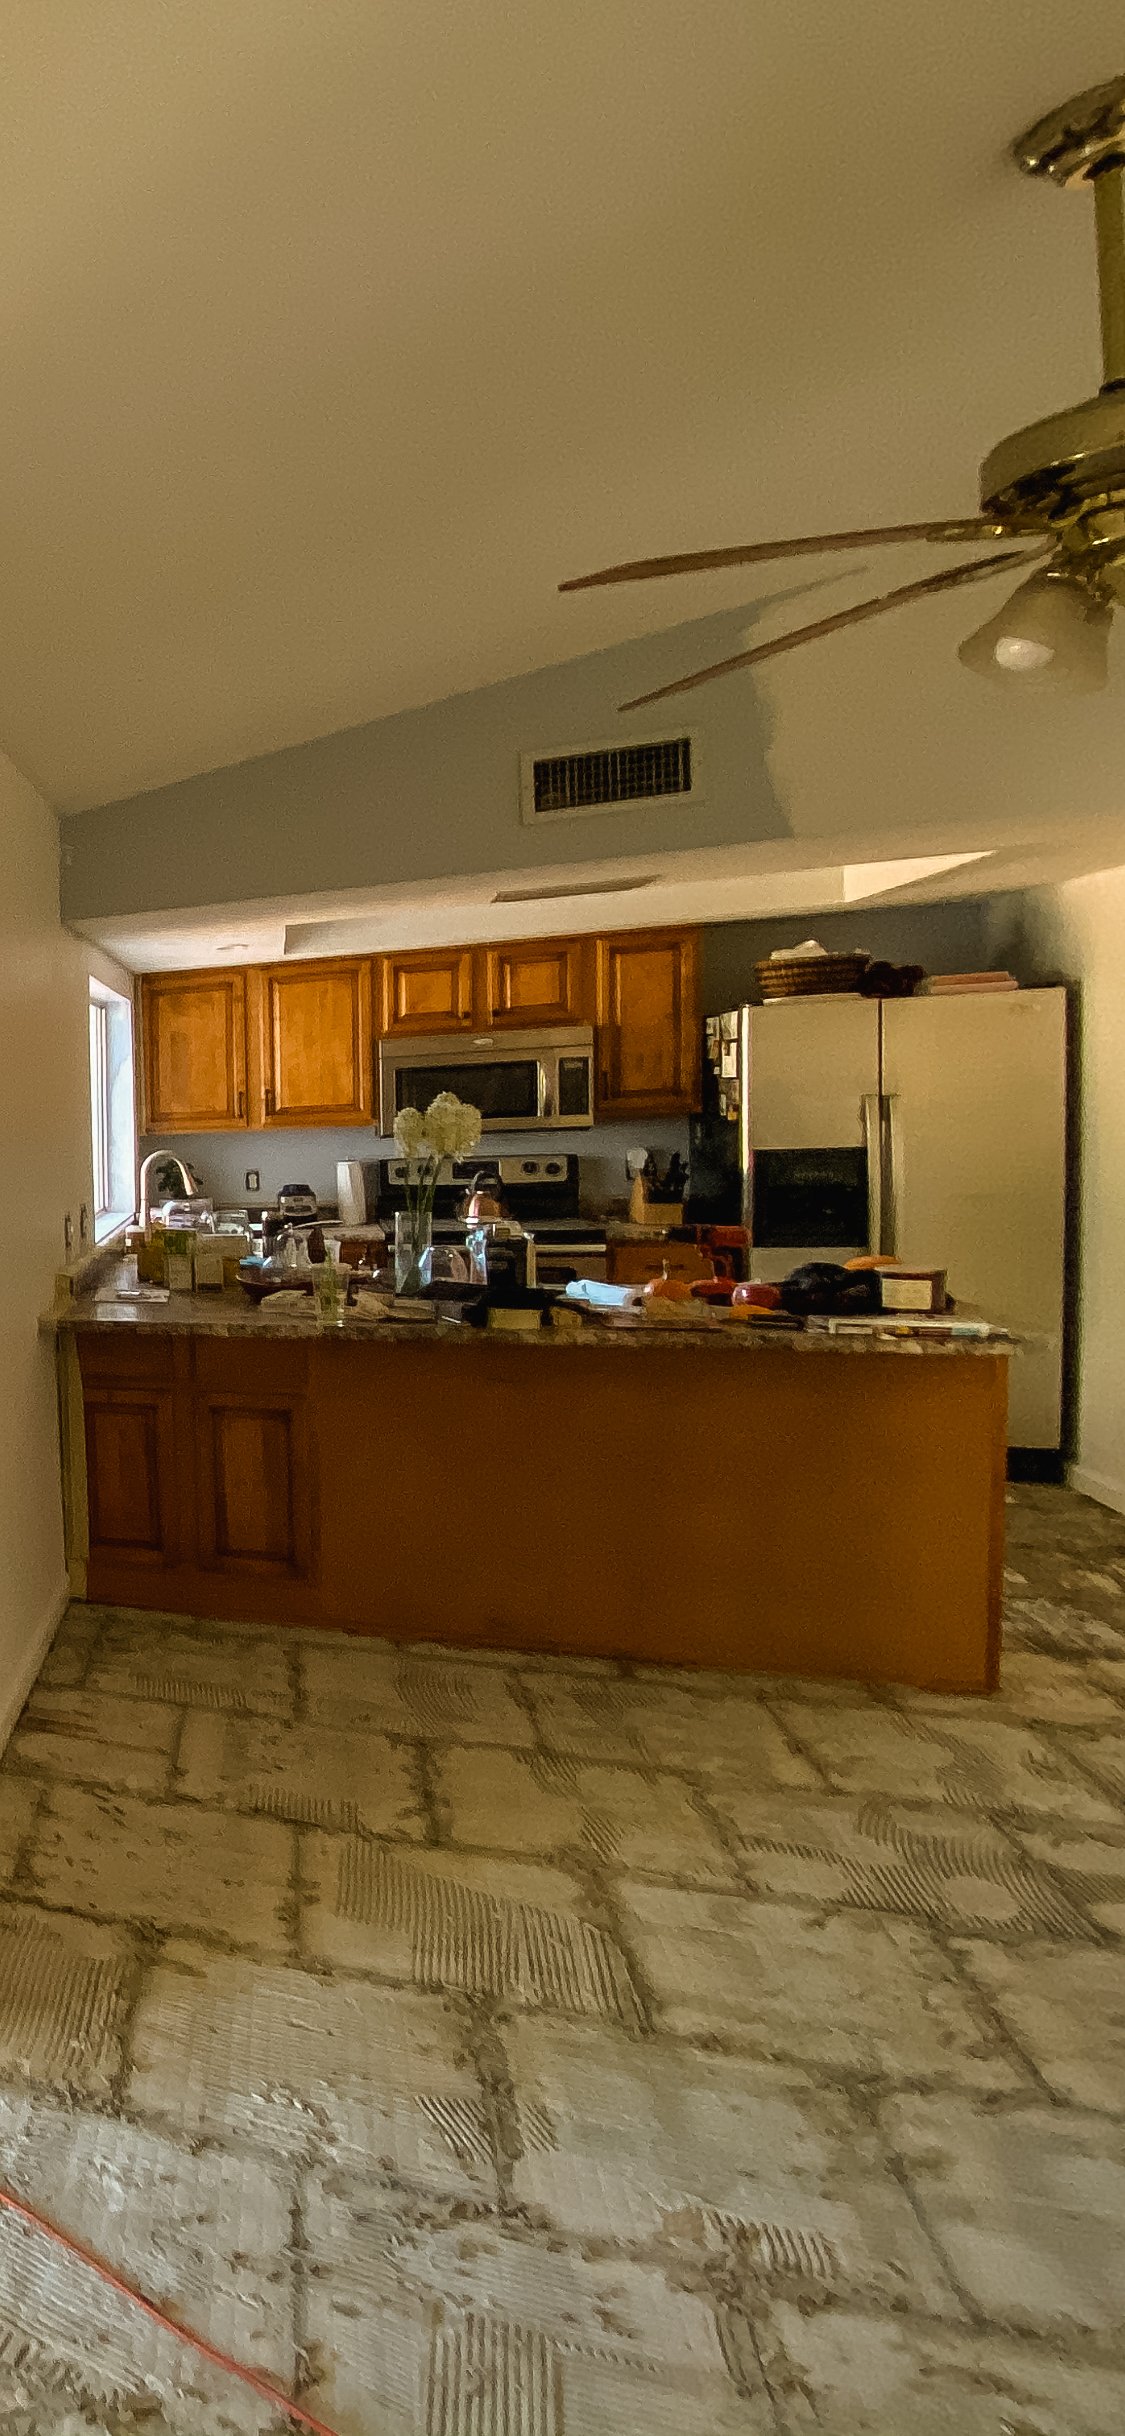
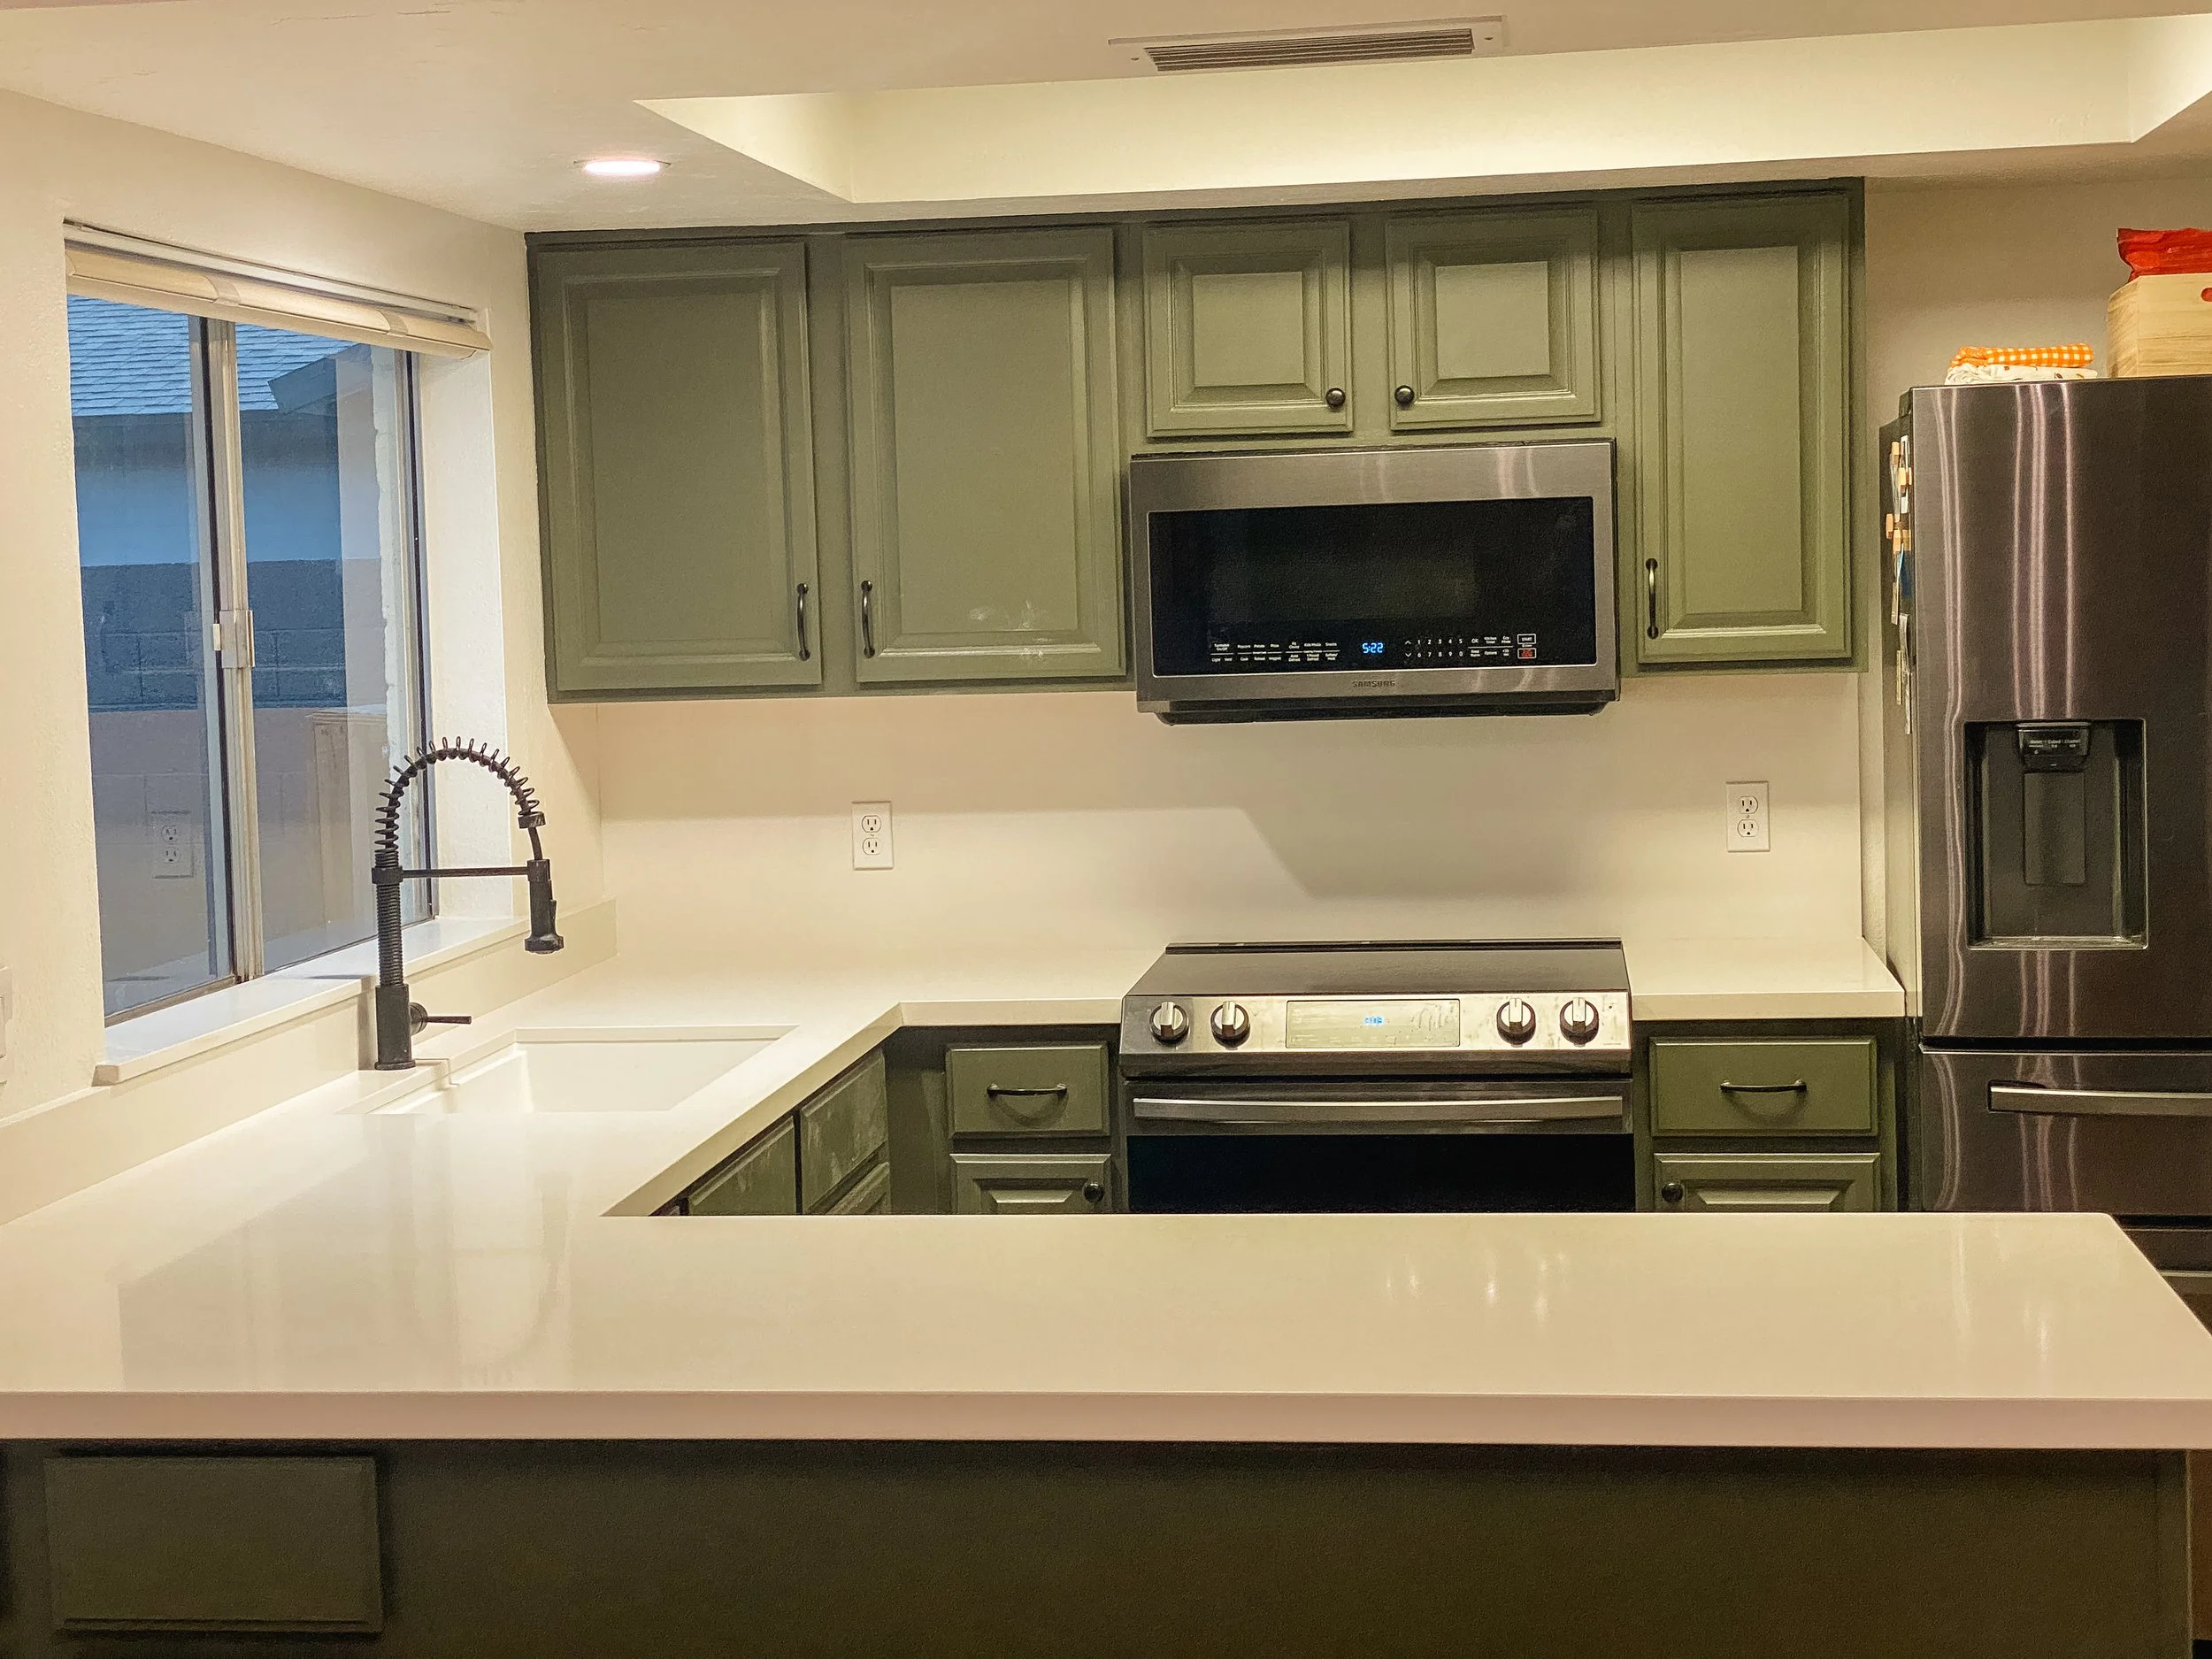
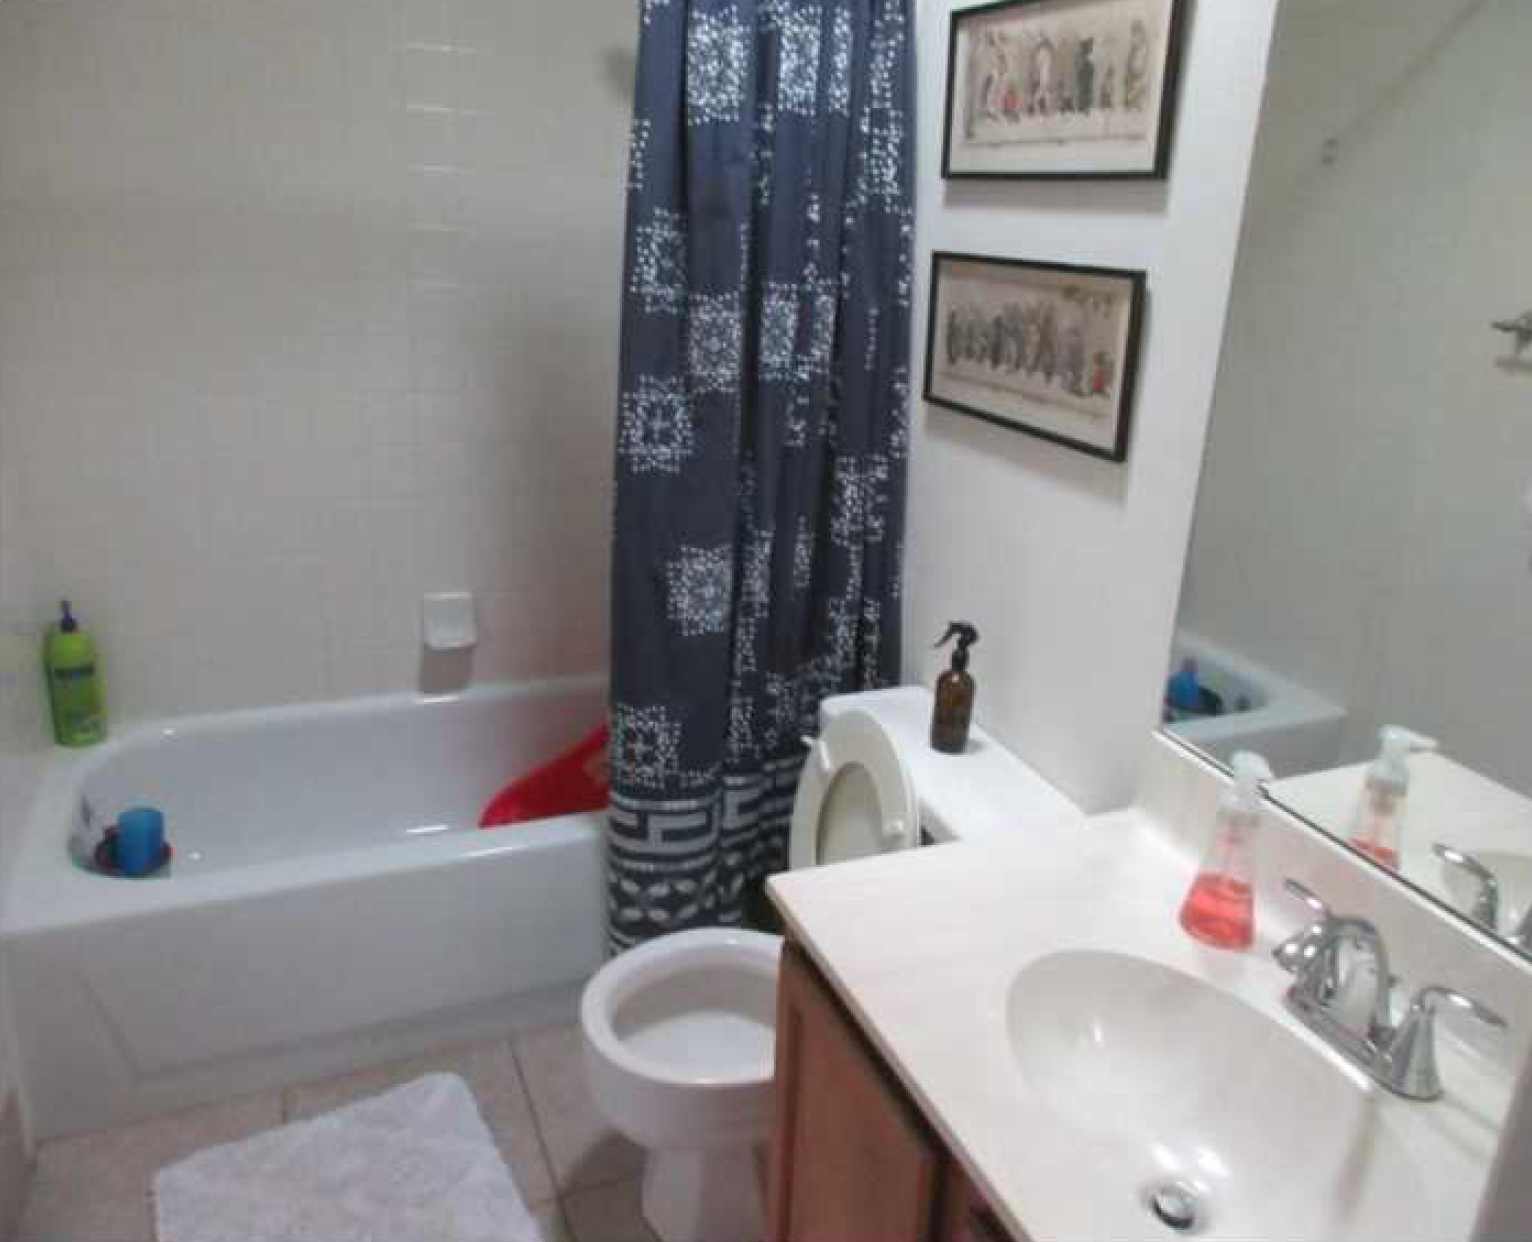
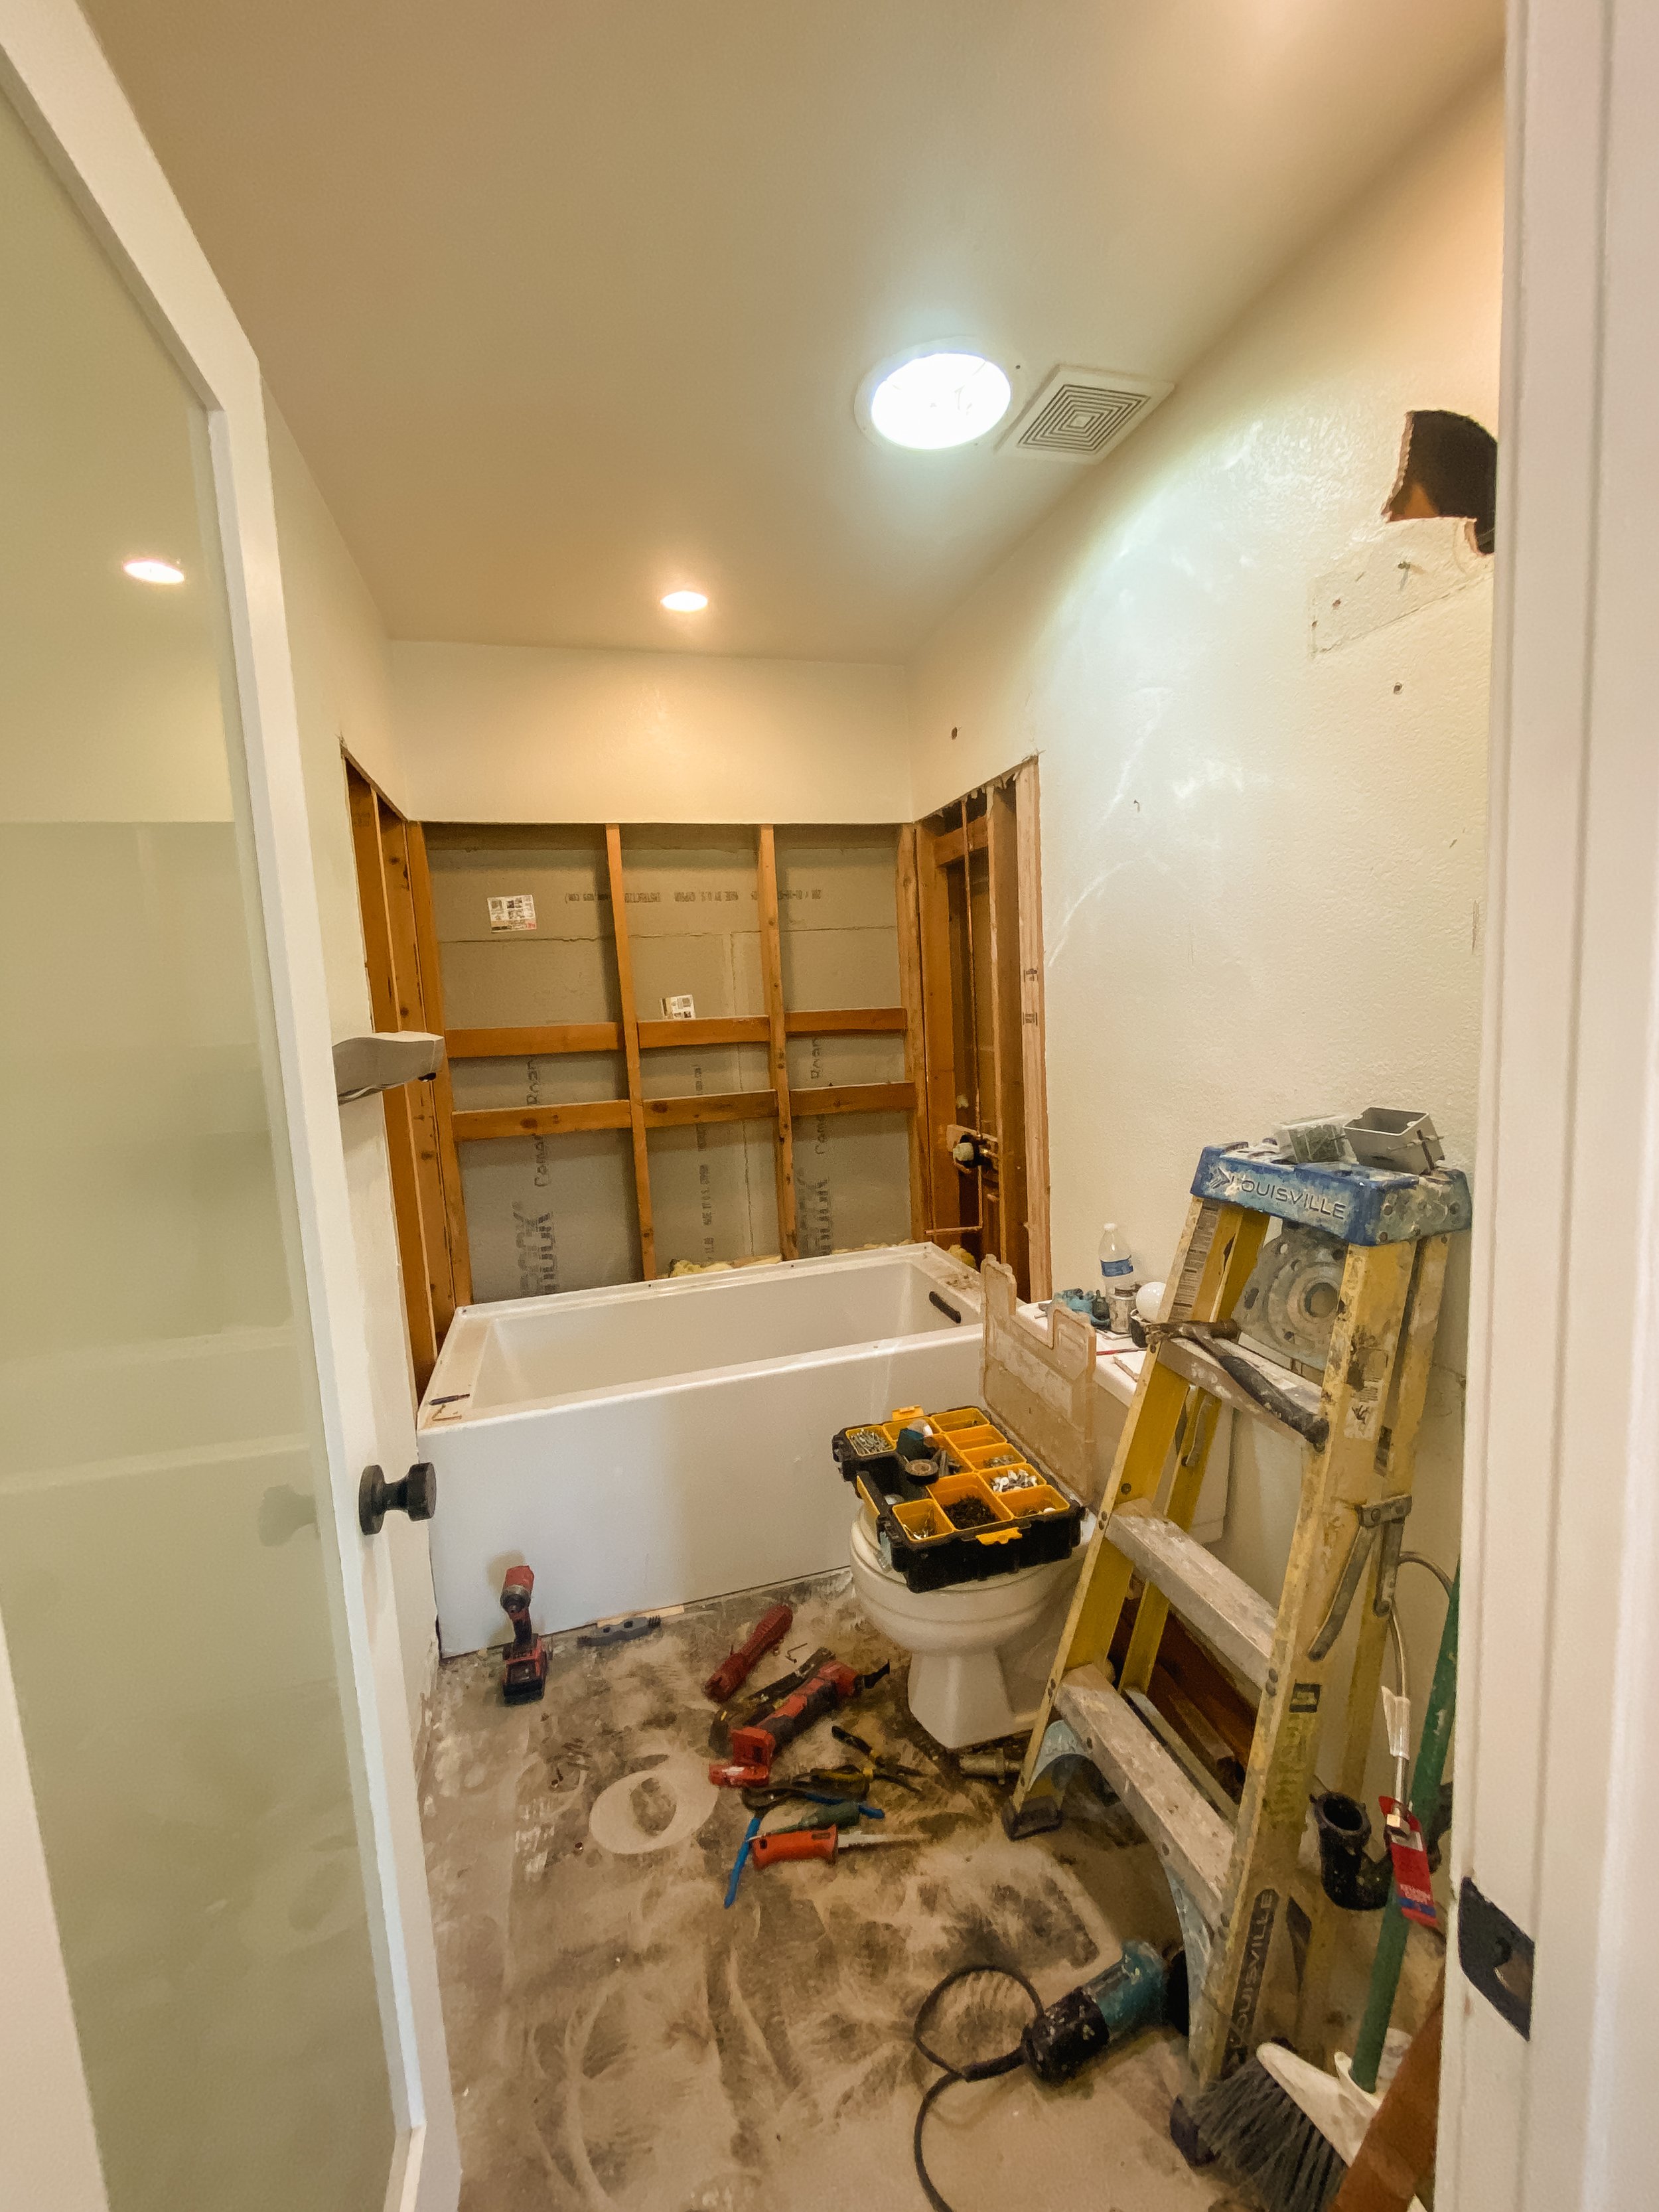
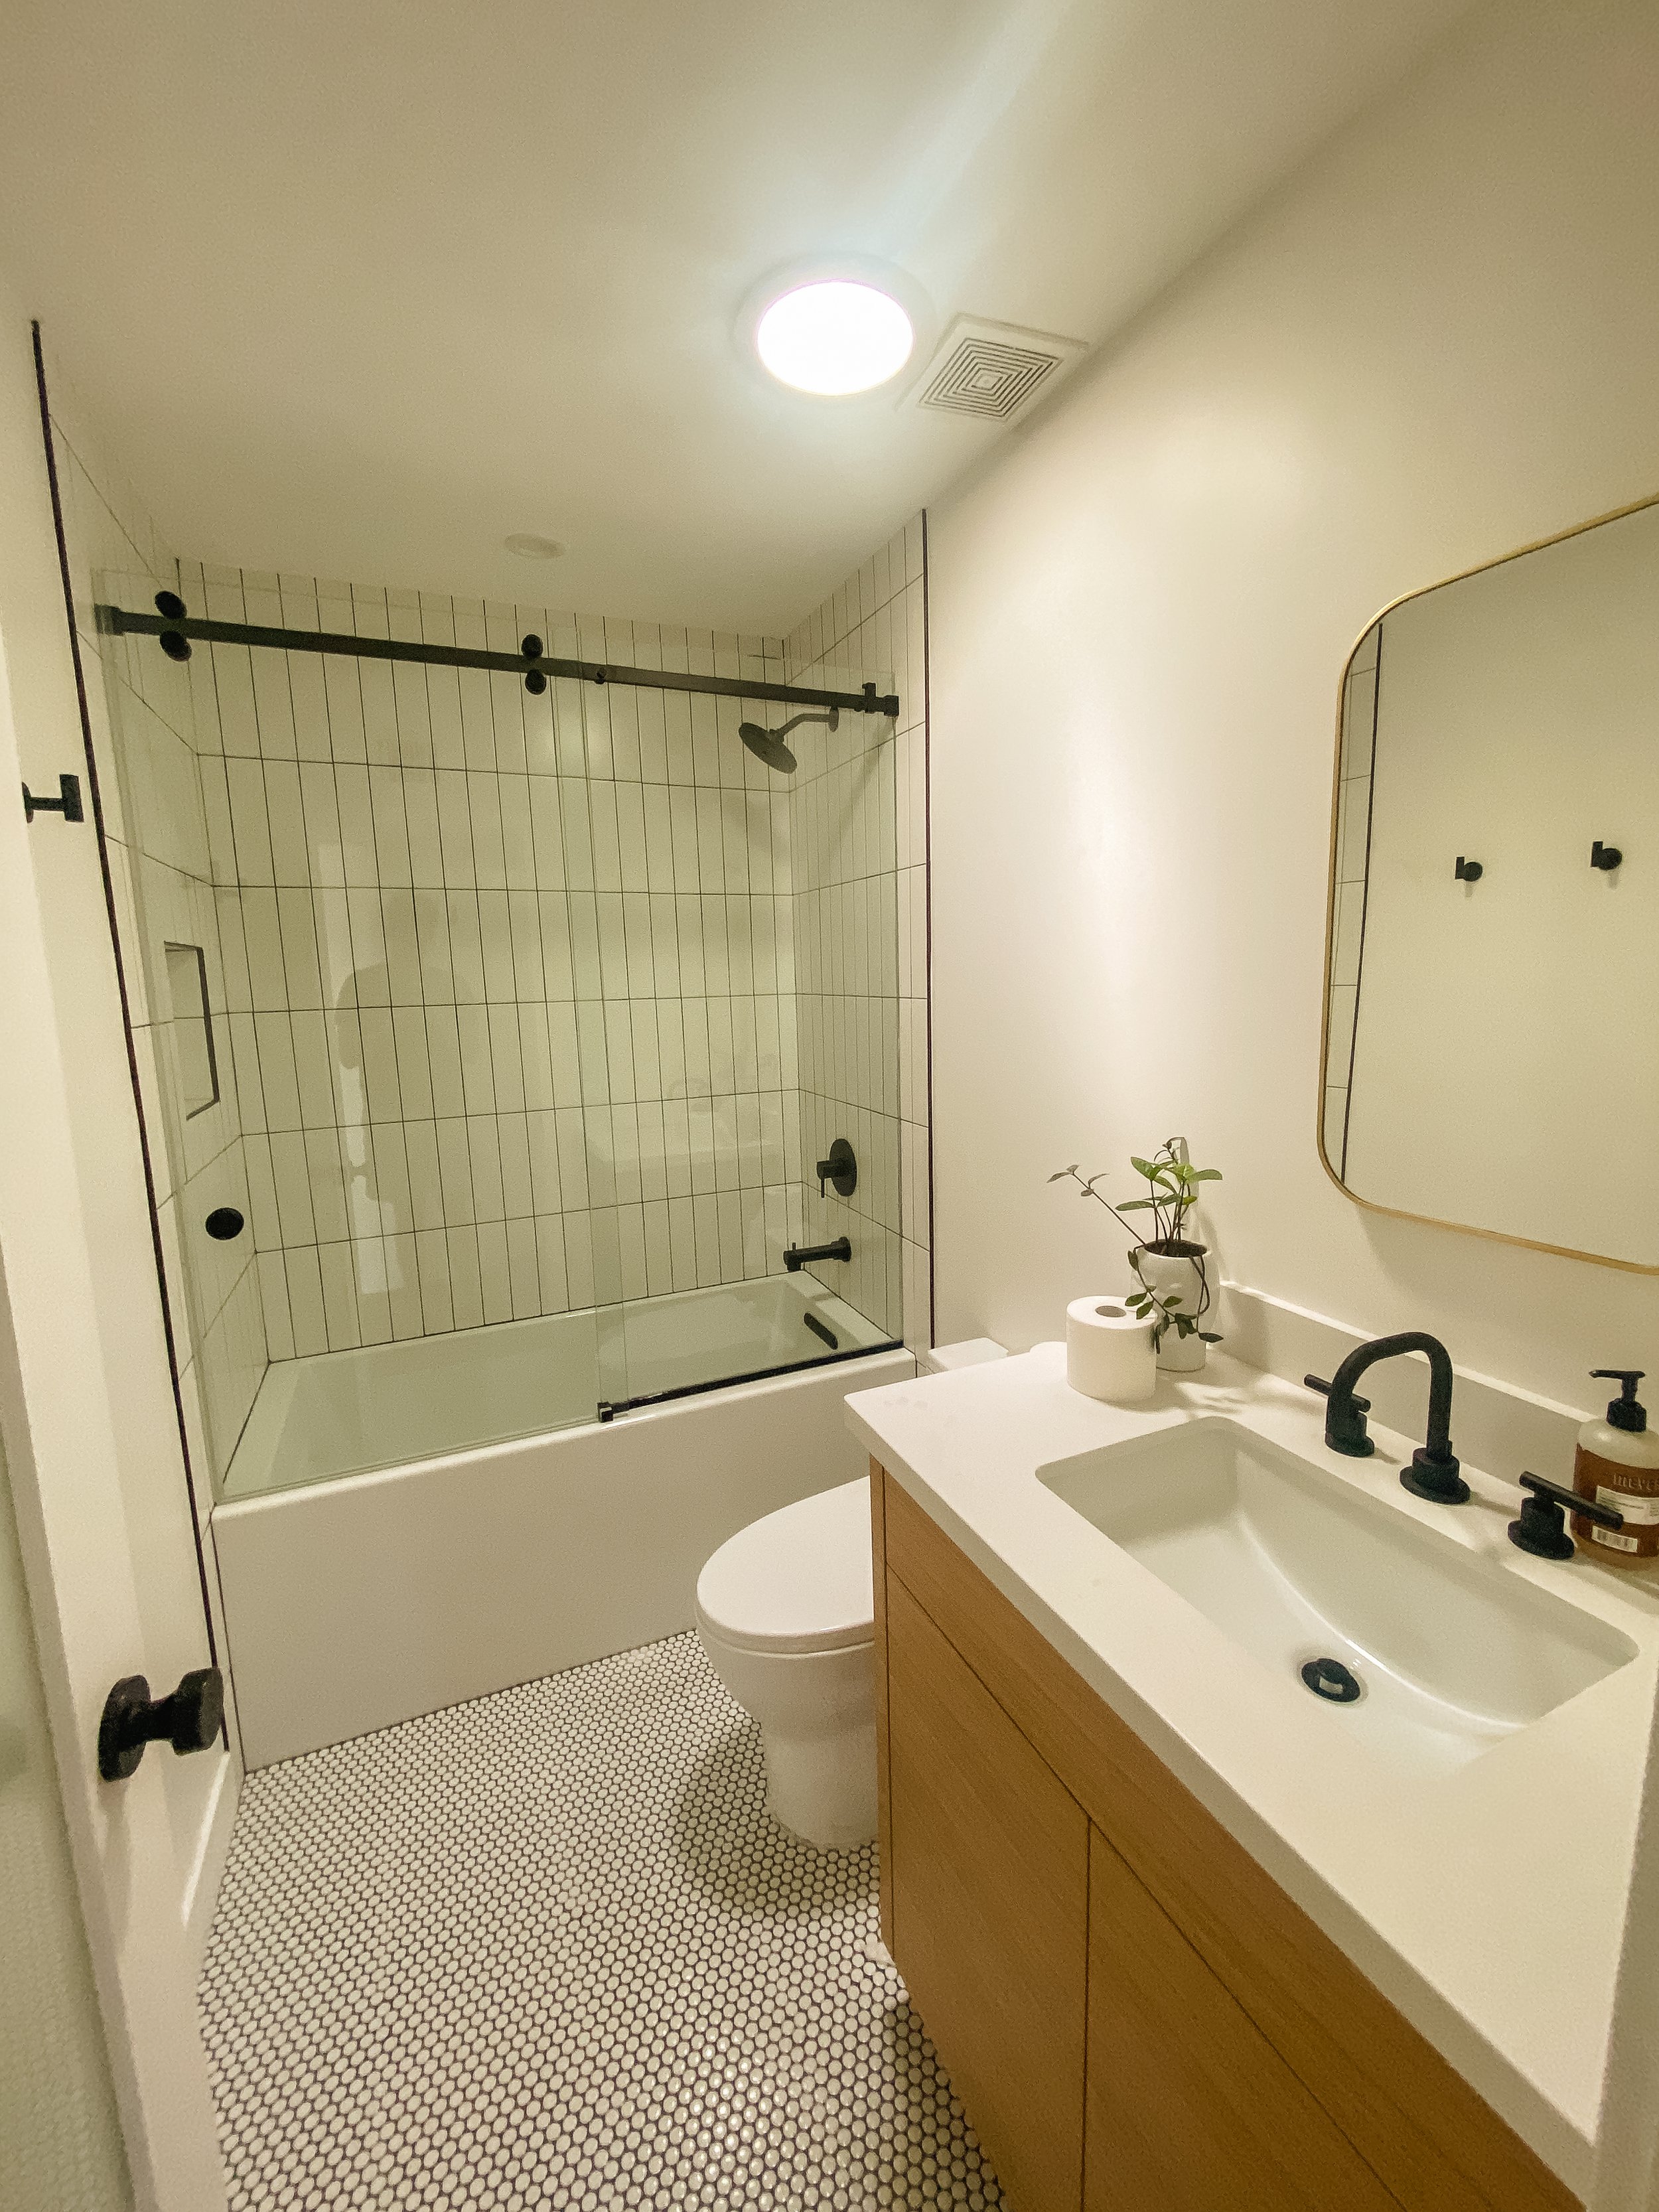
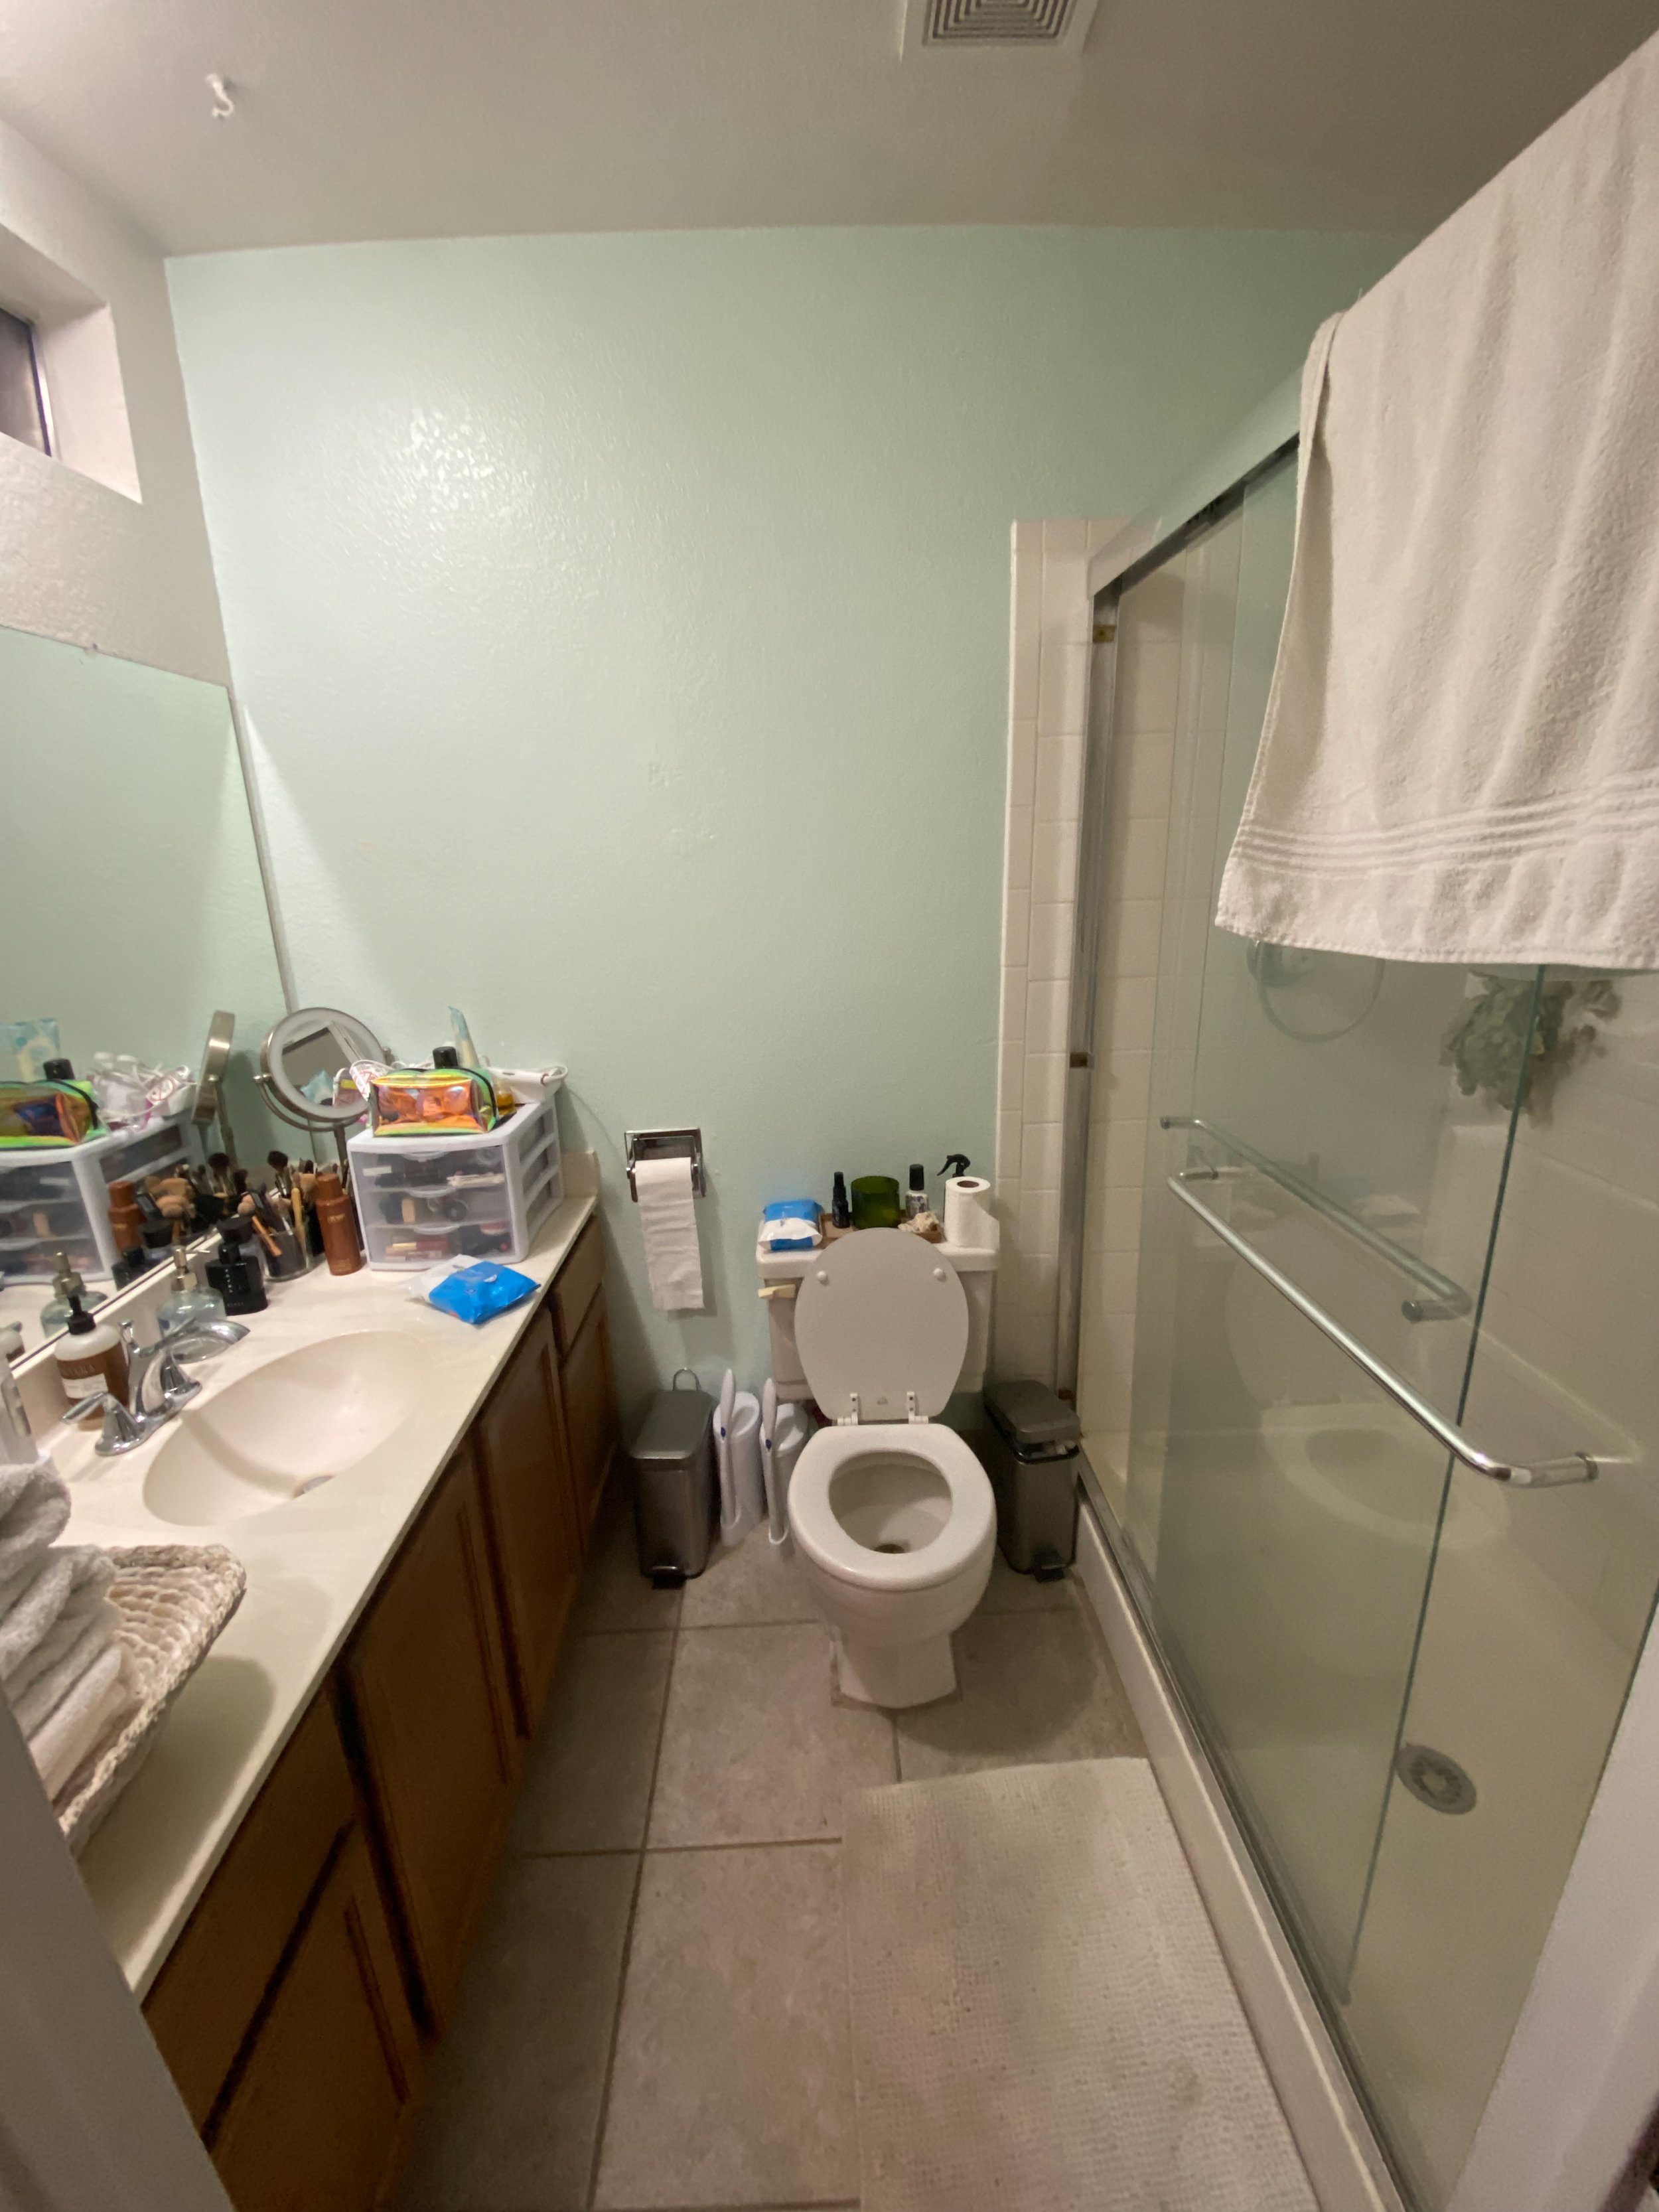
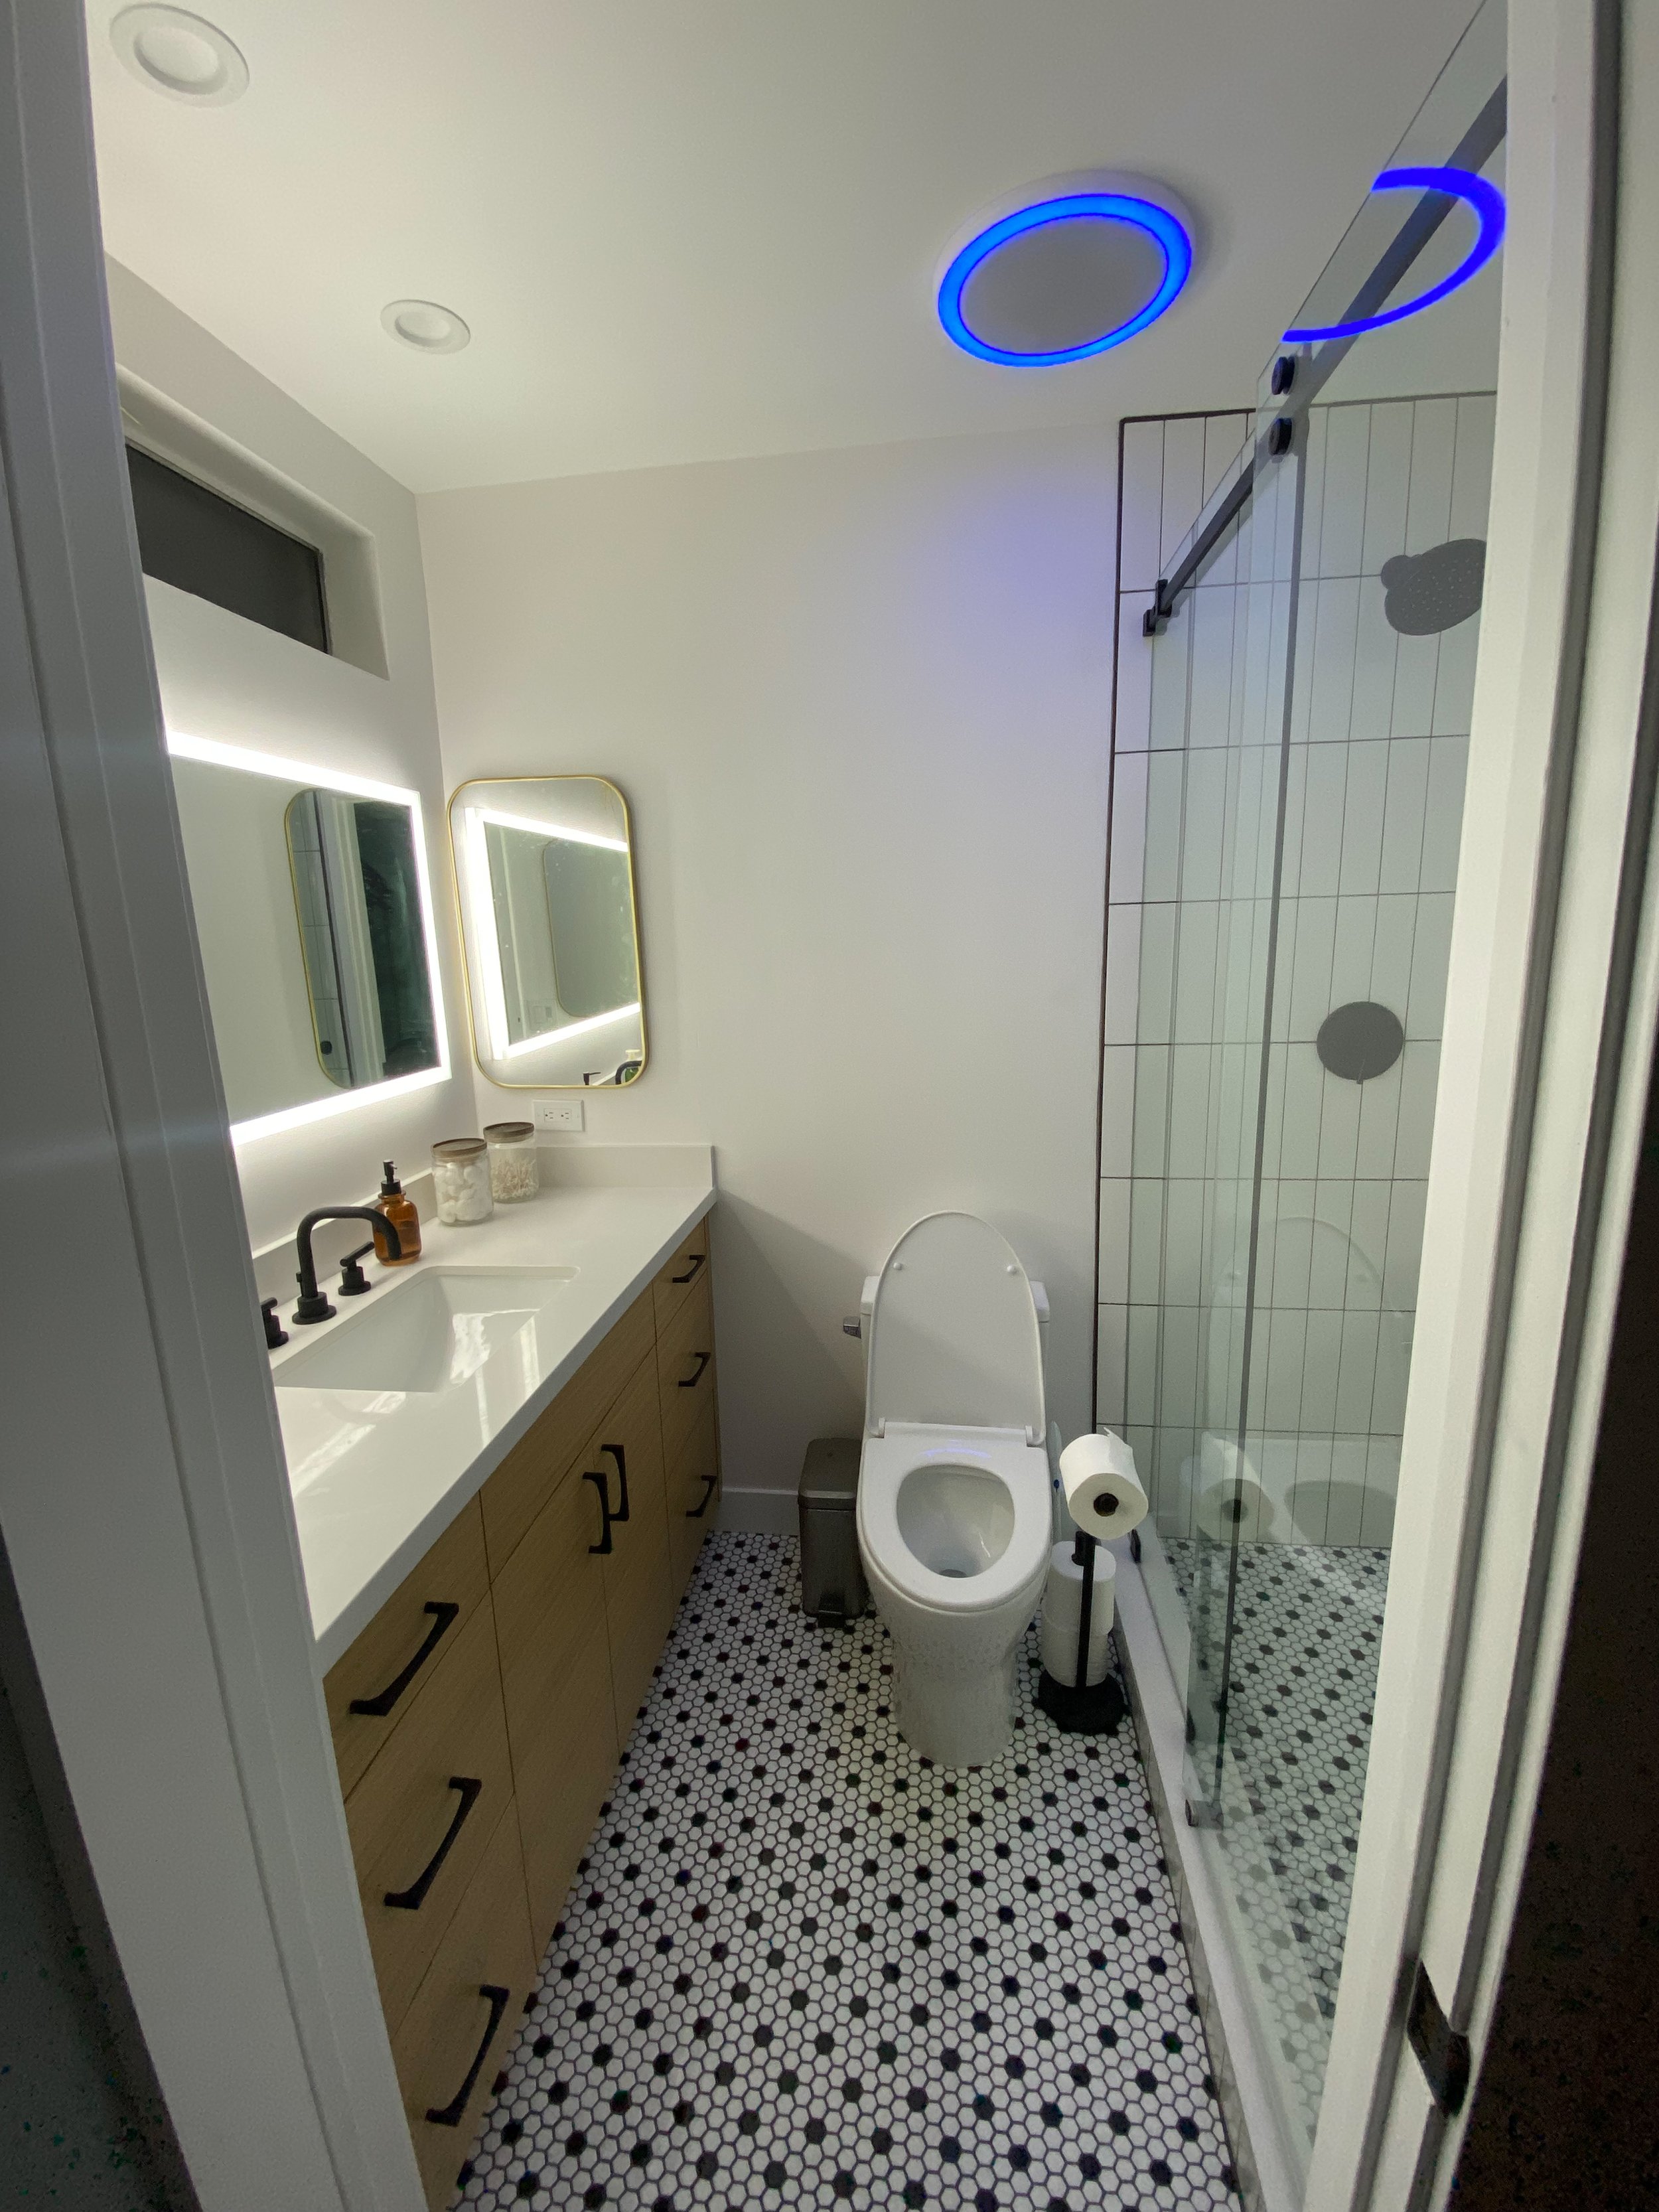
Home Renovation


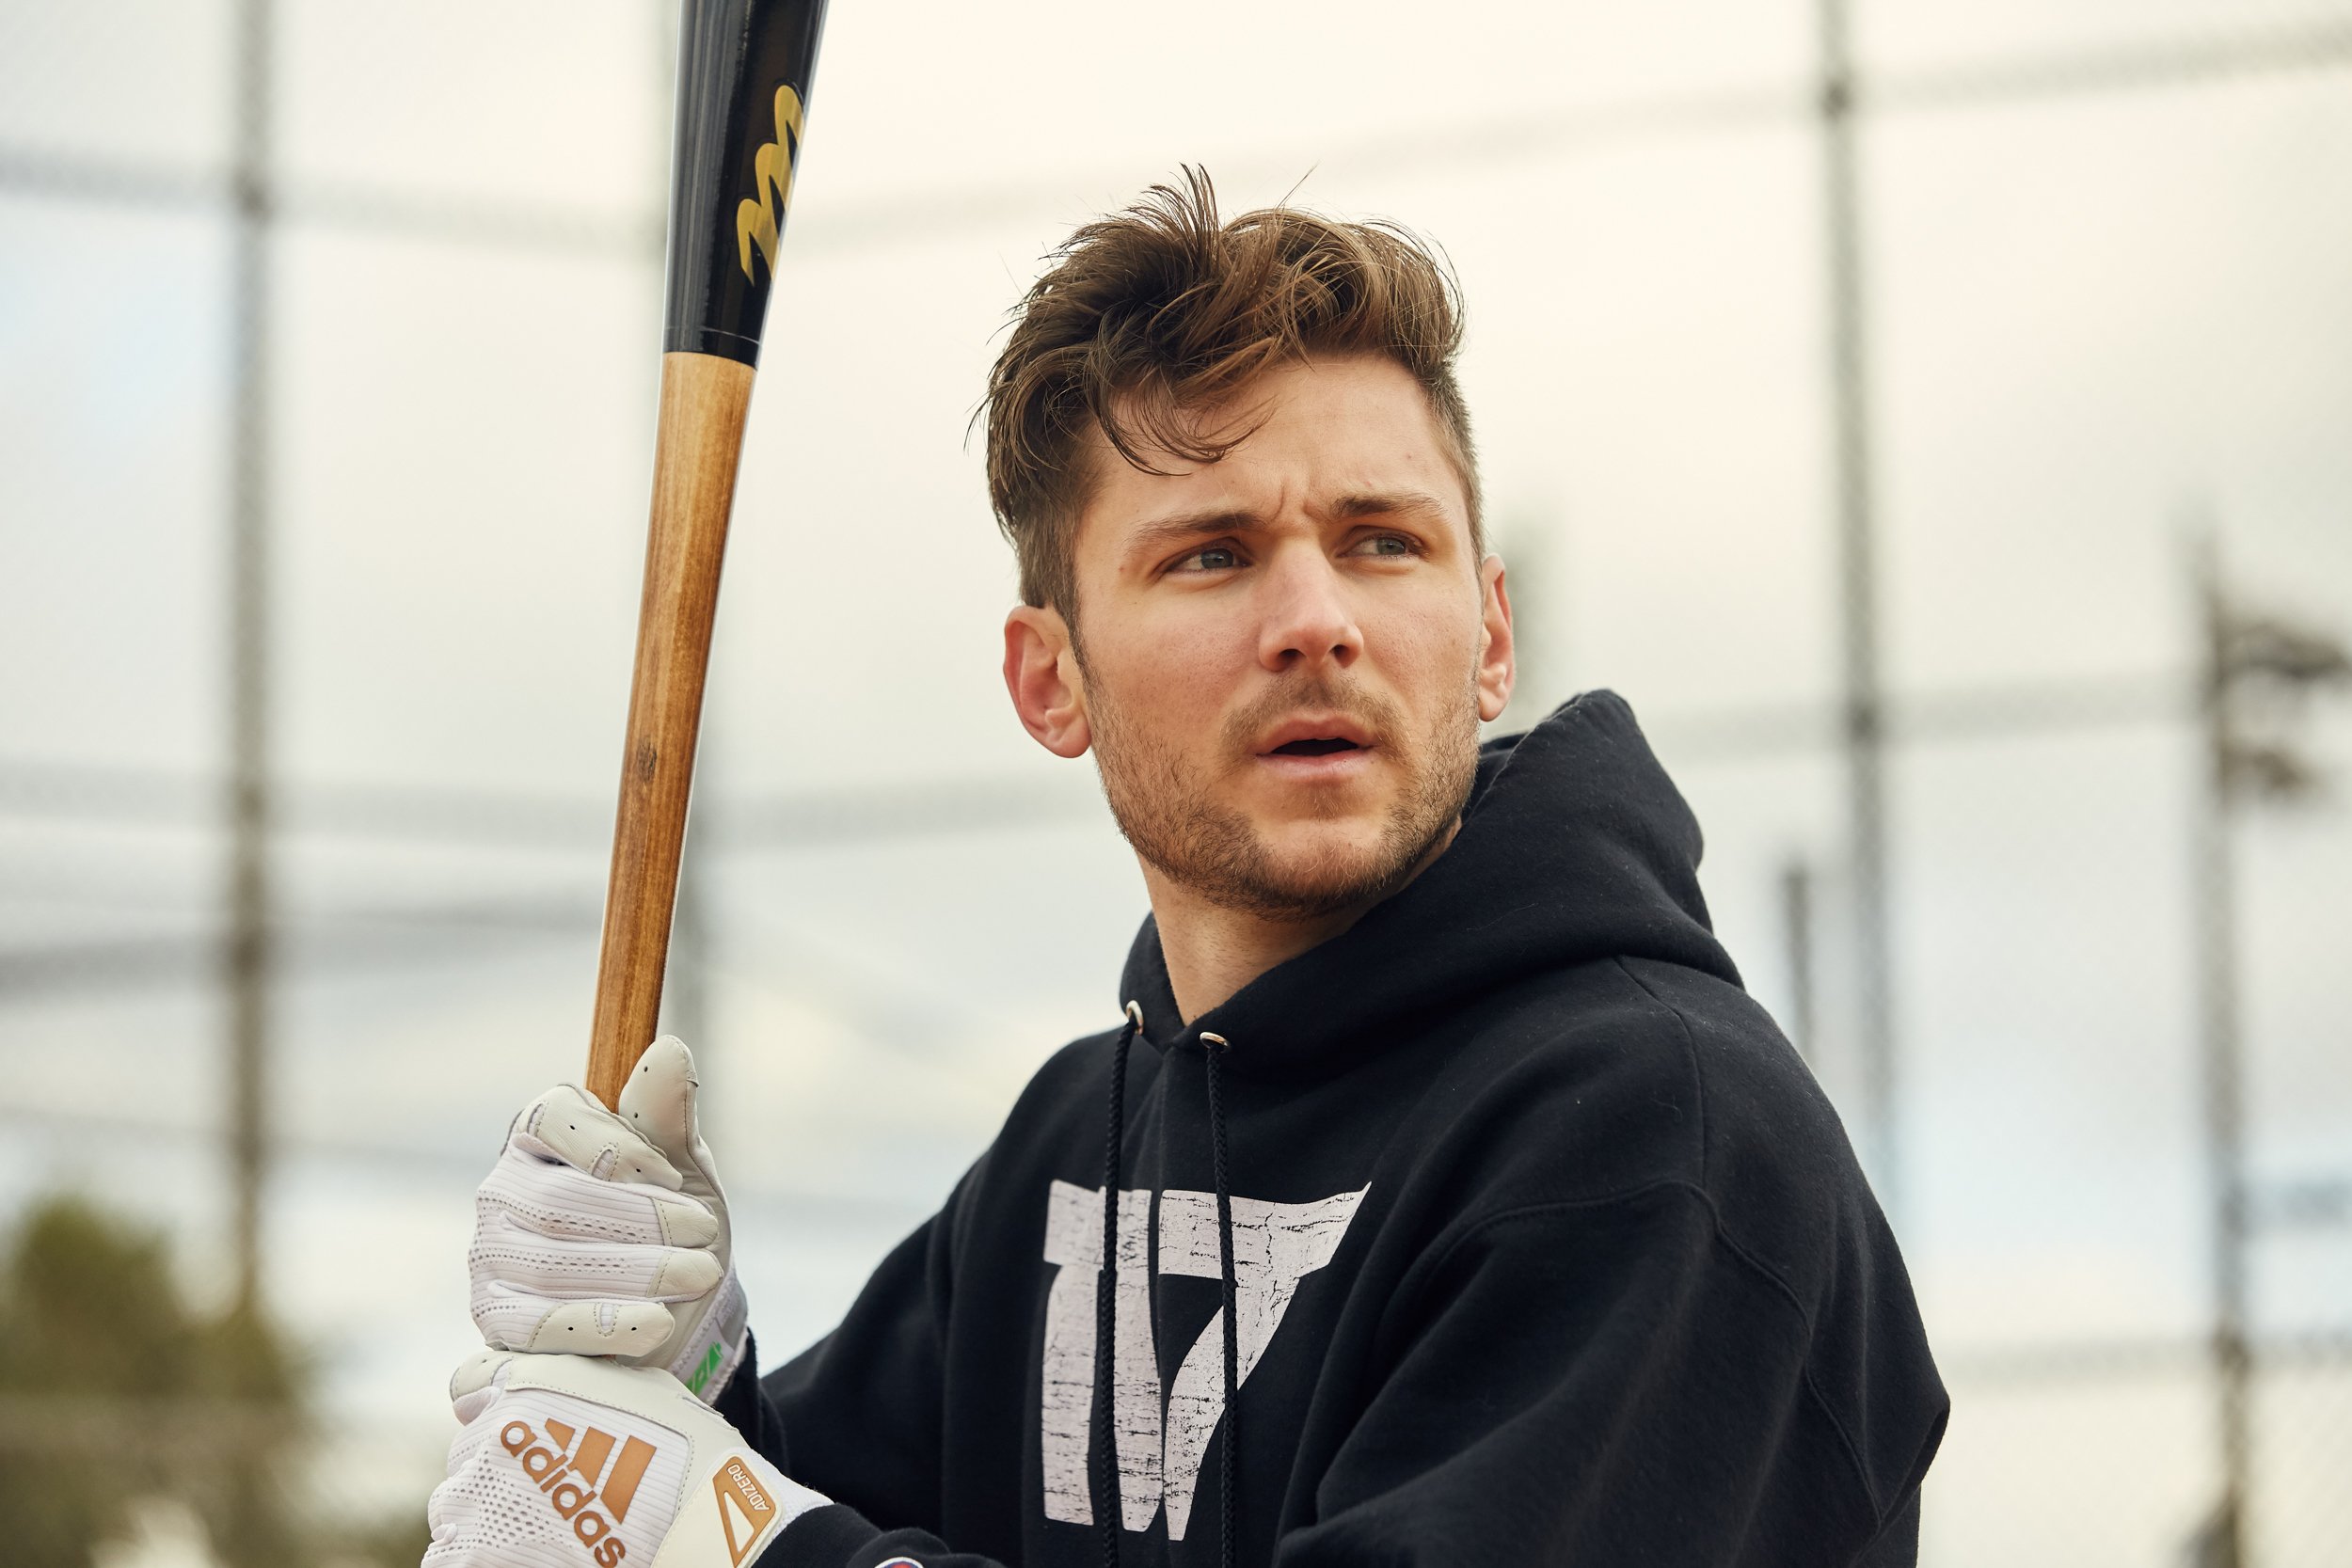
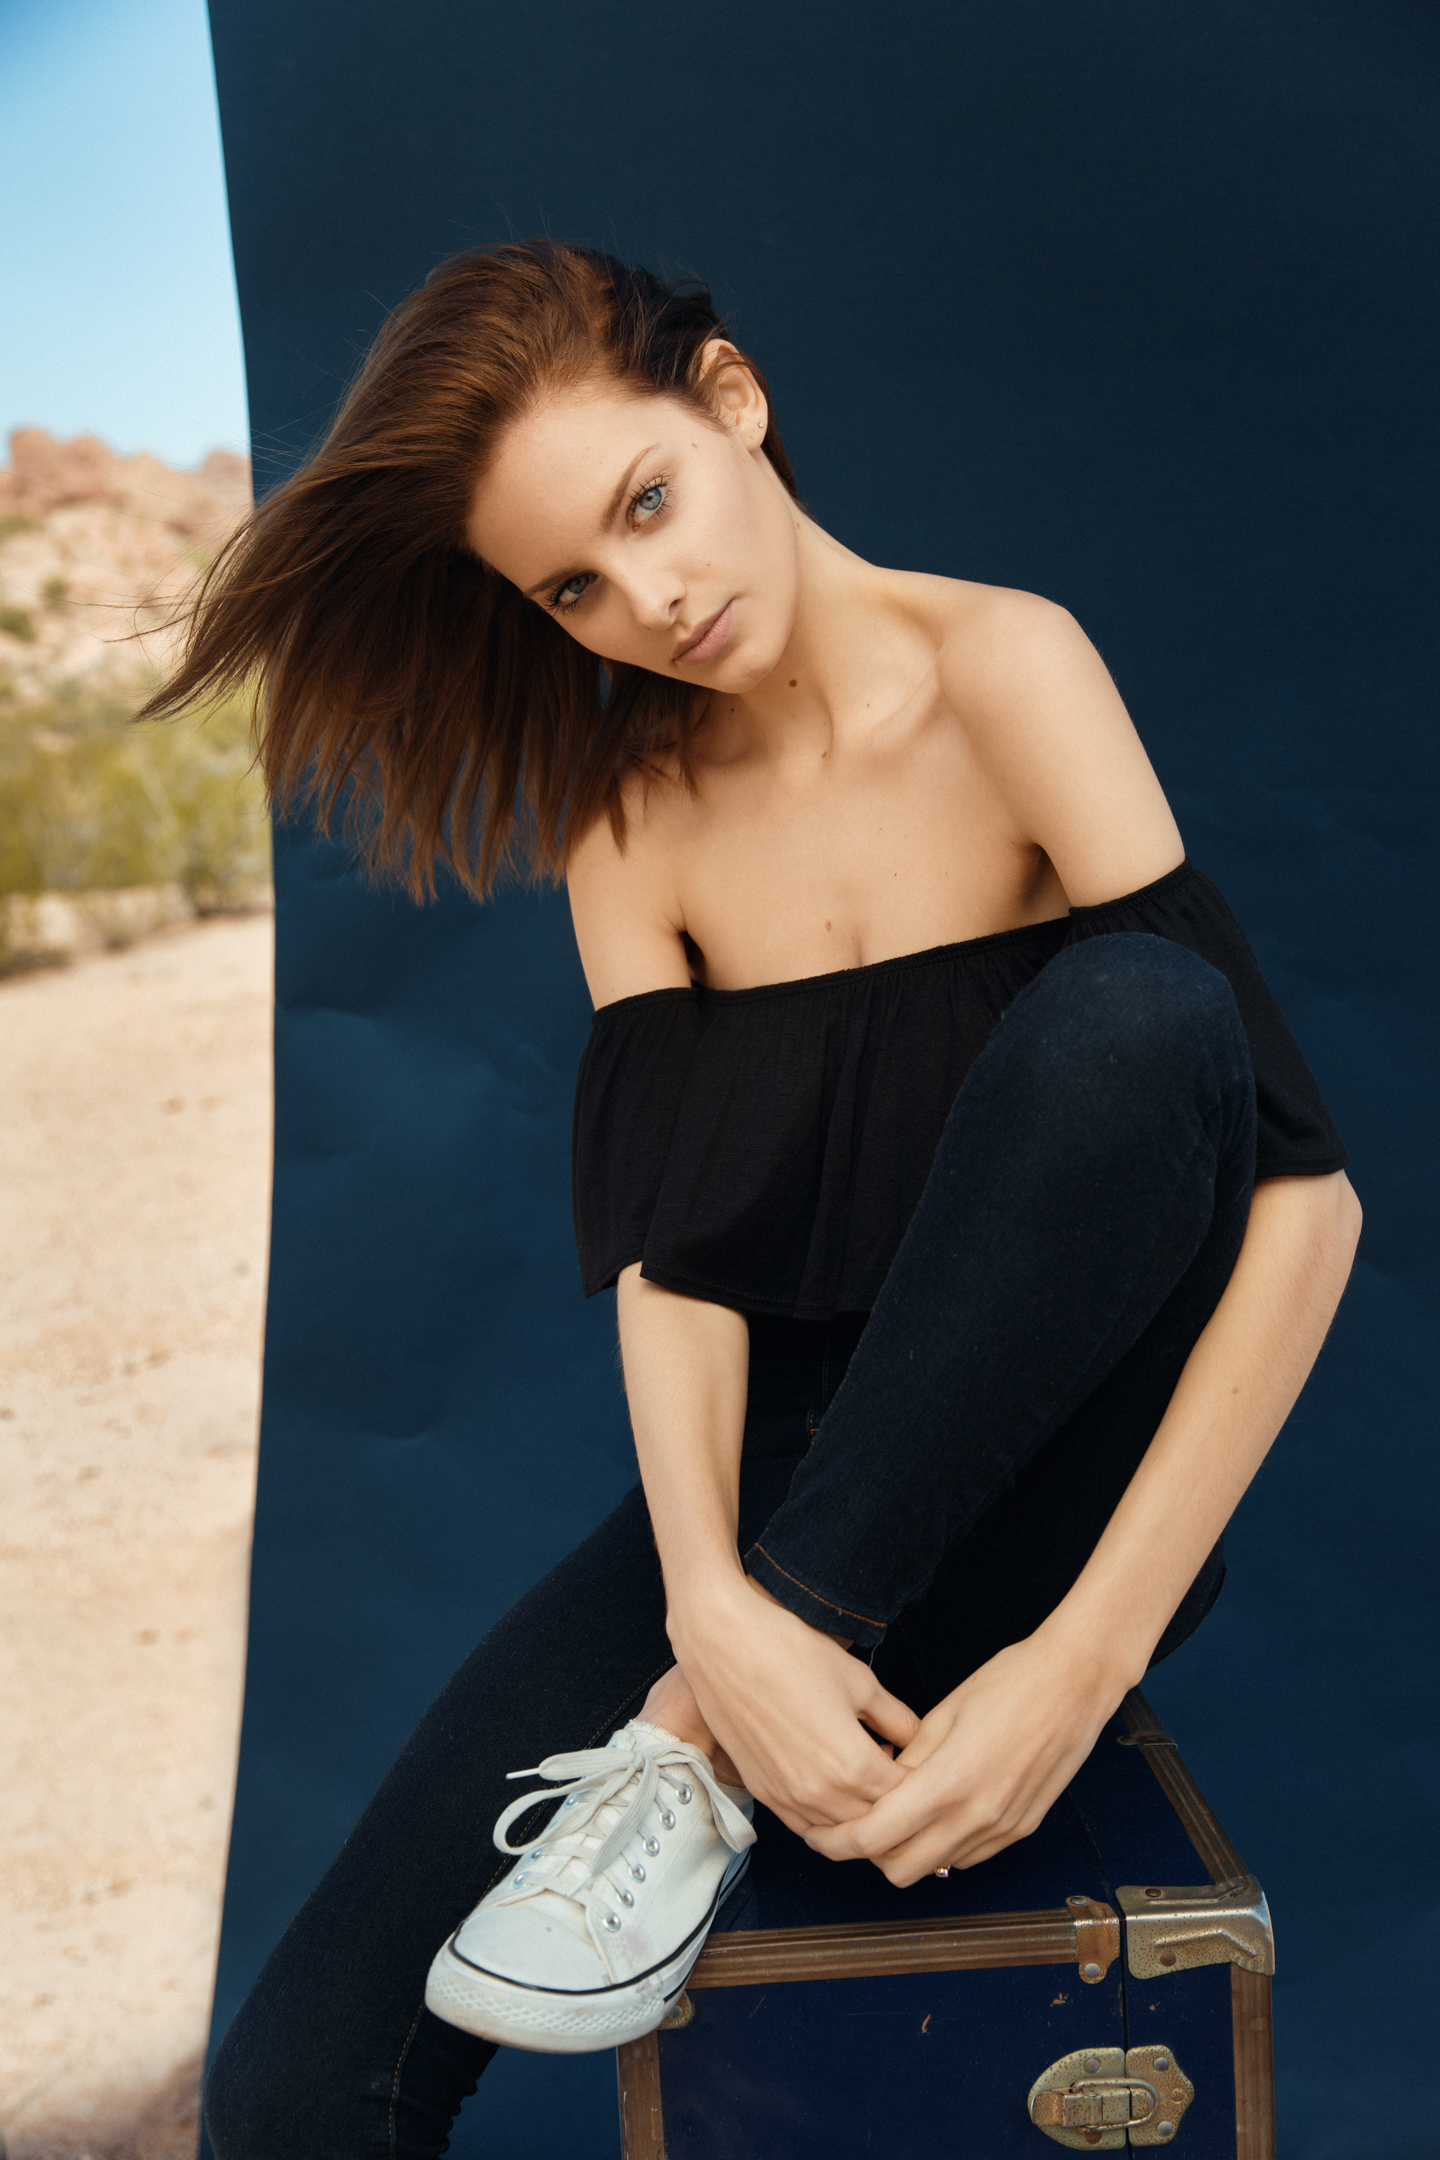
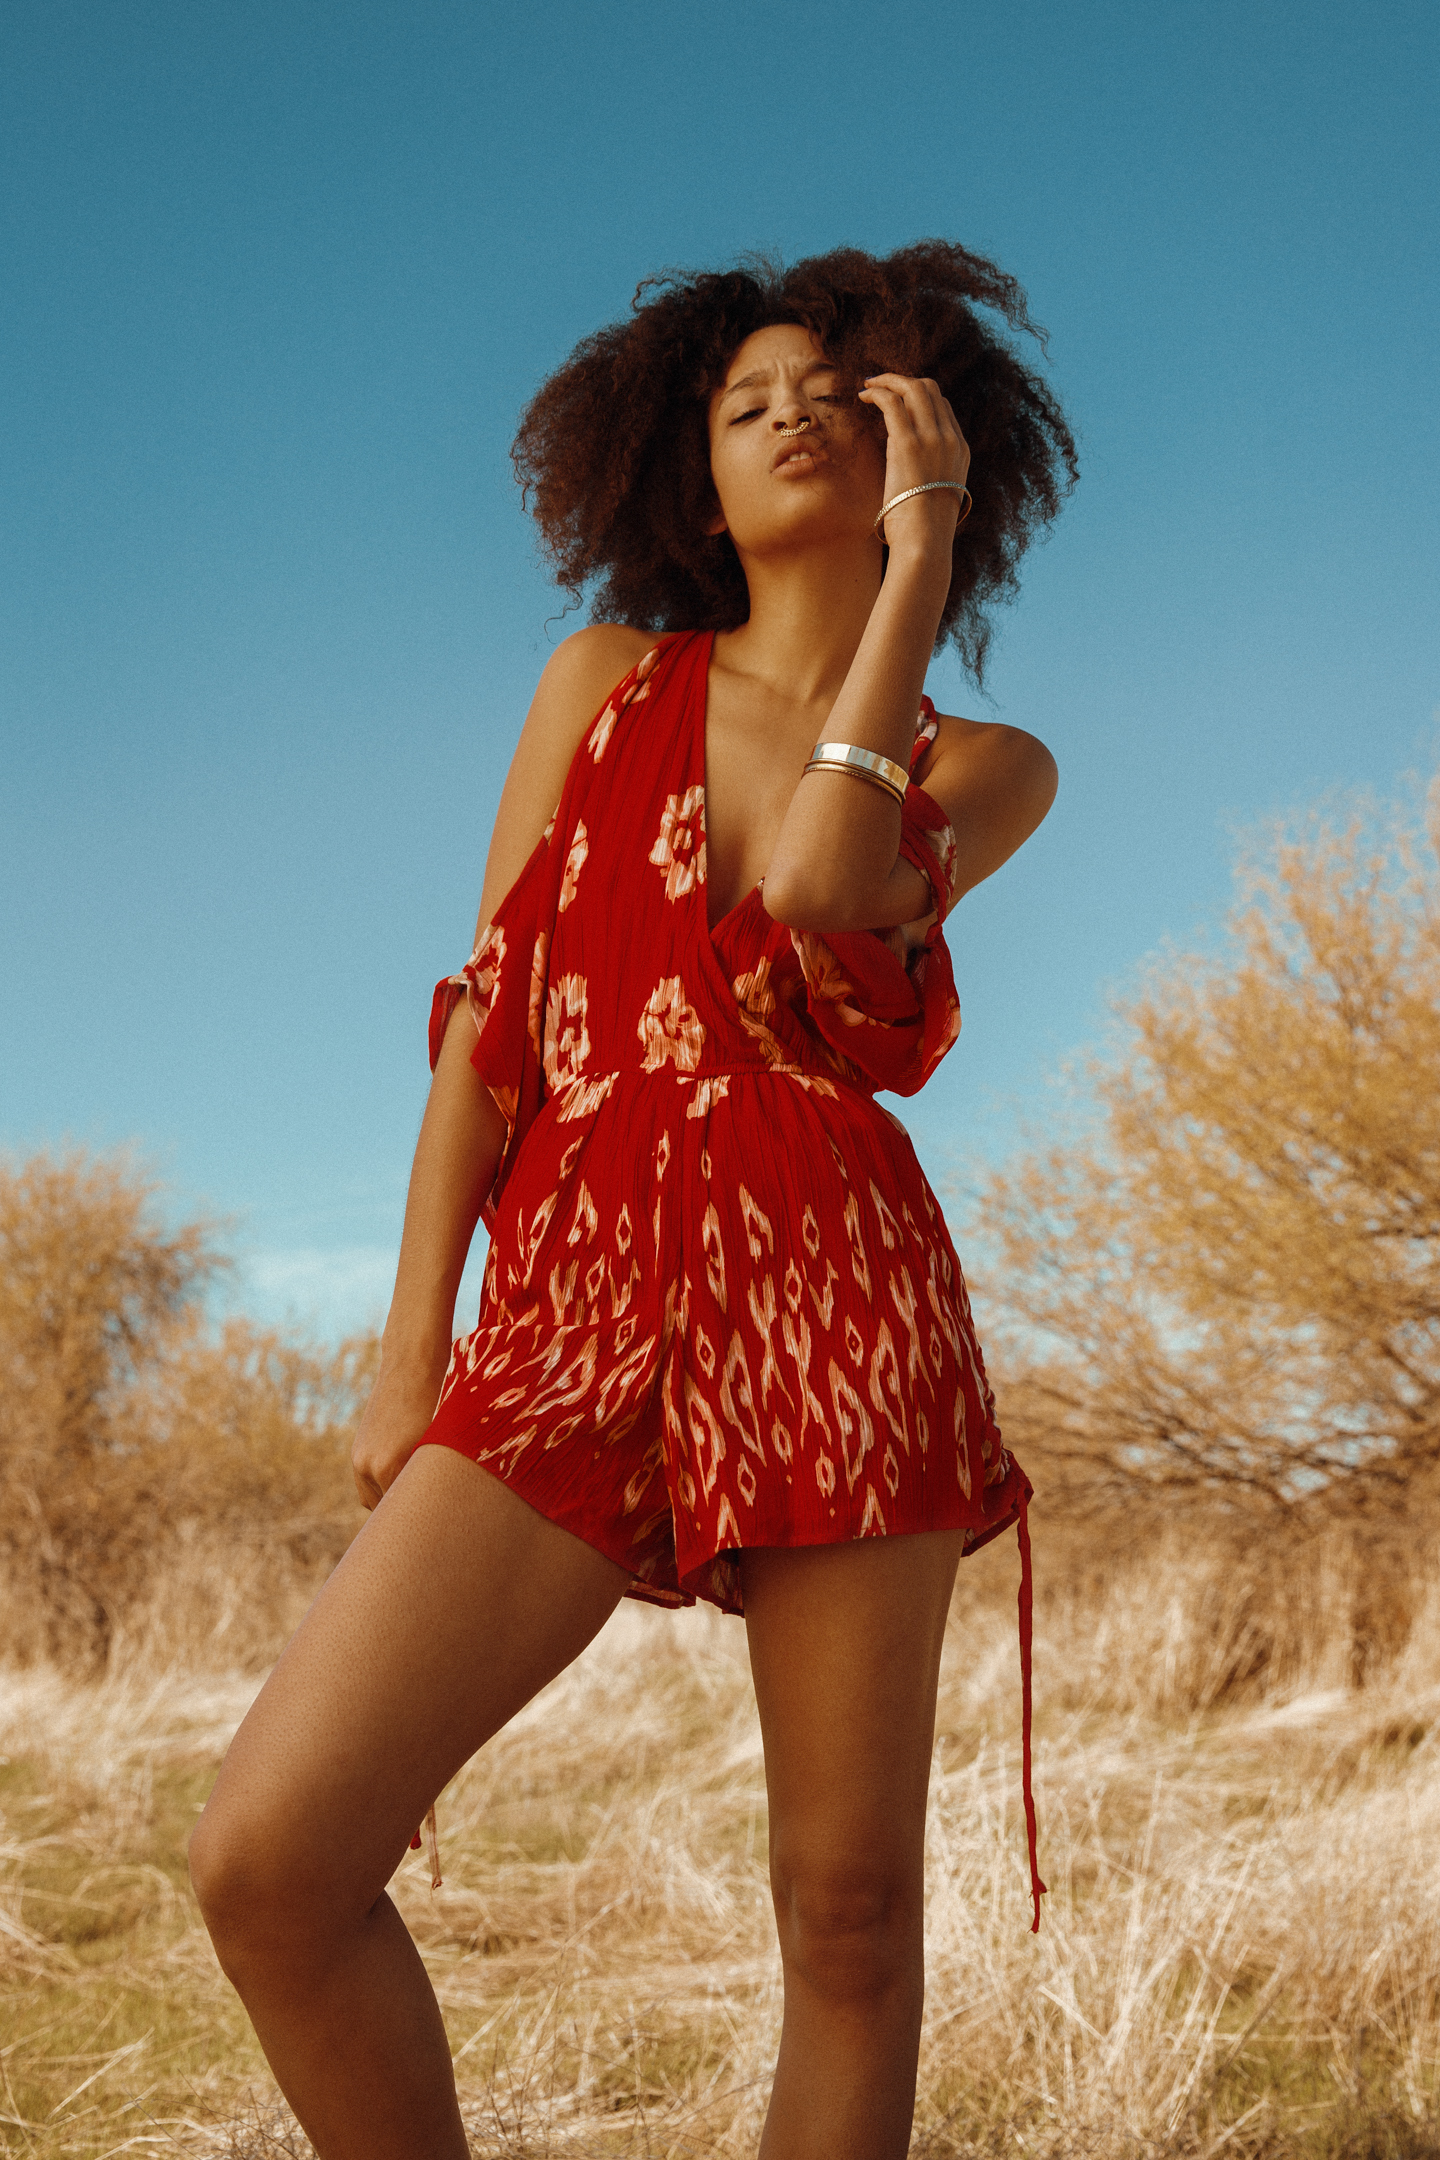
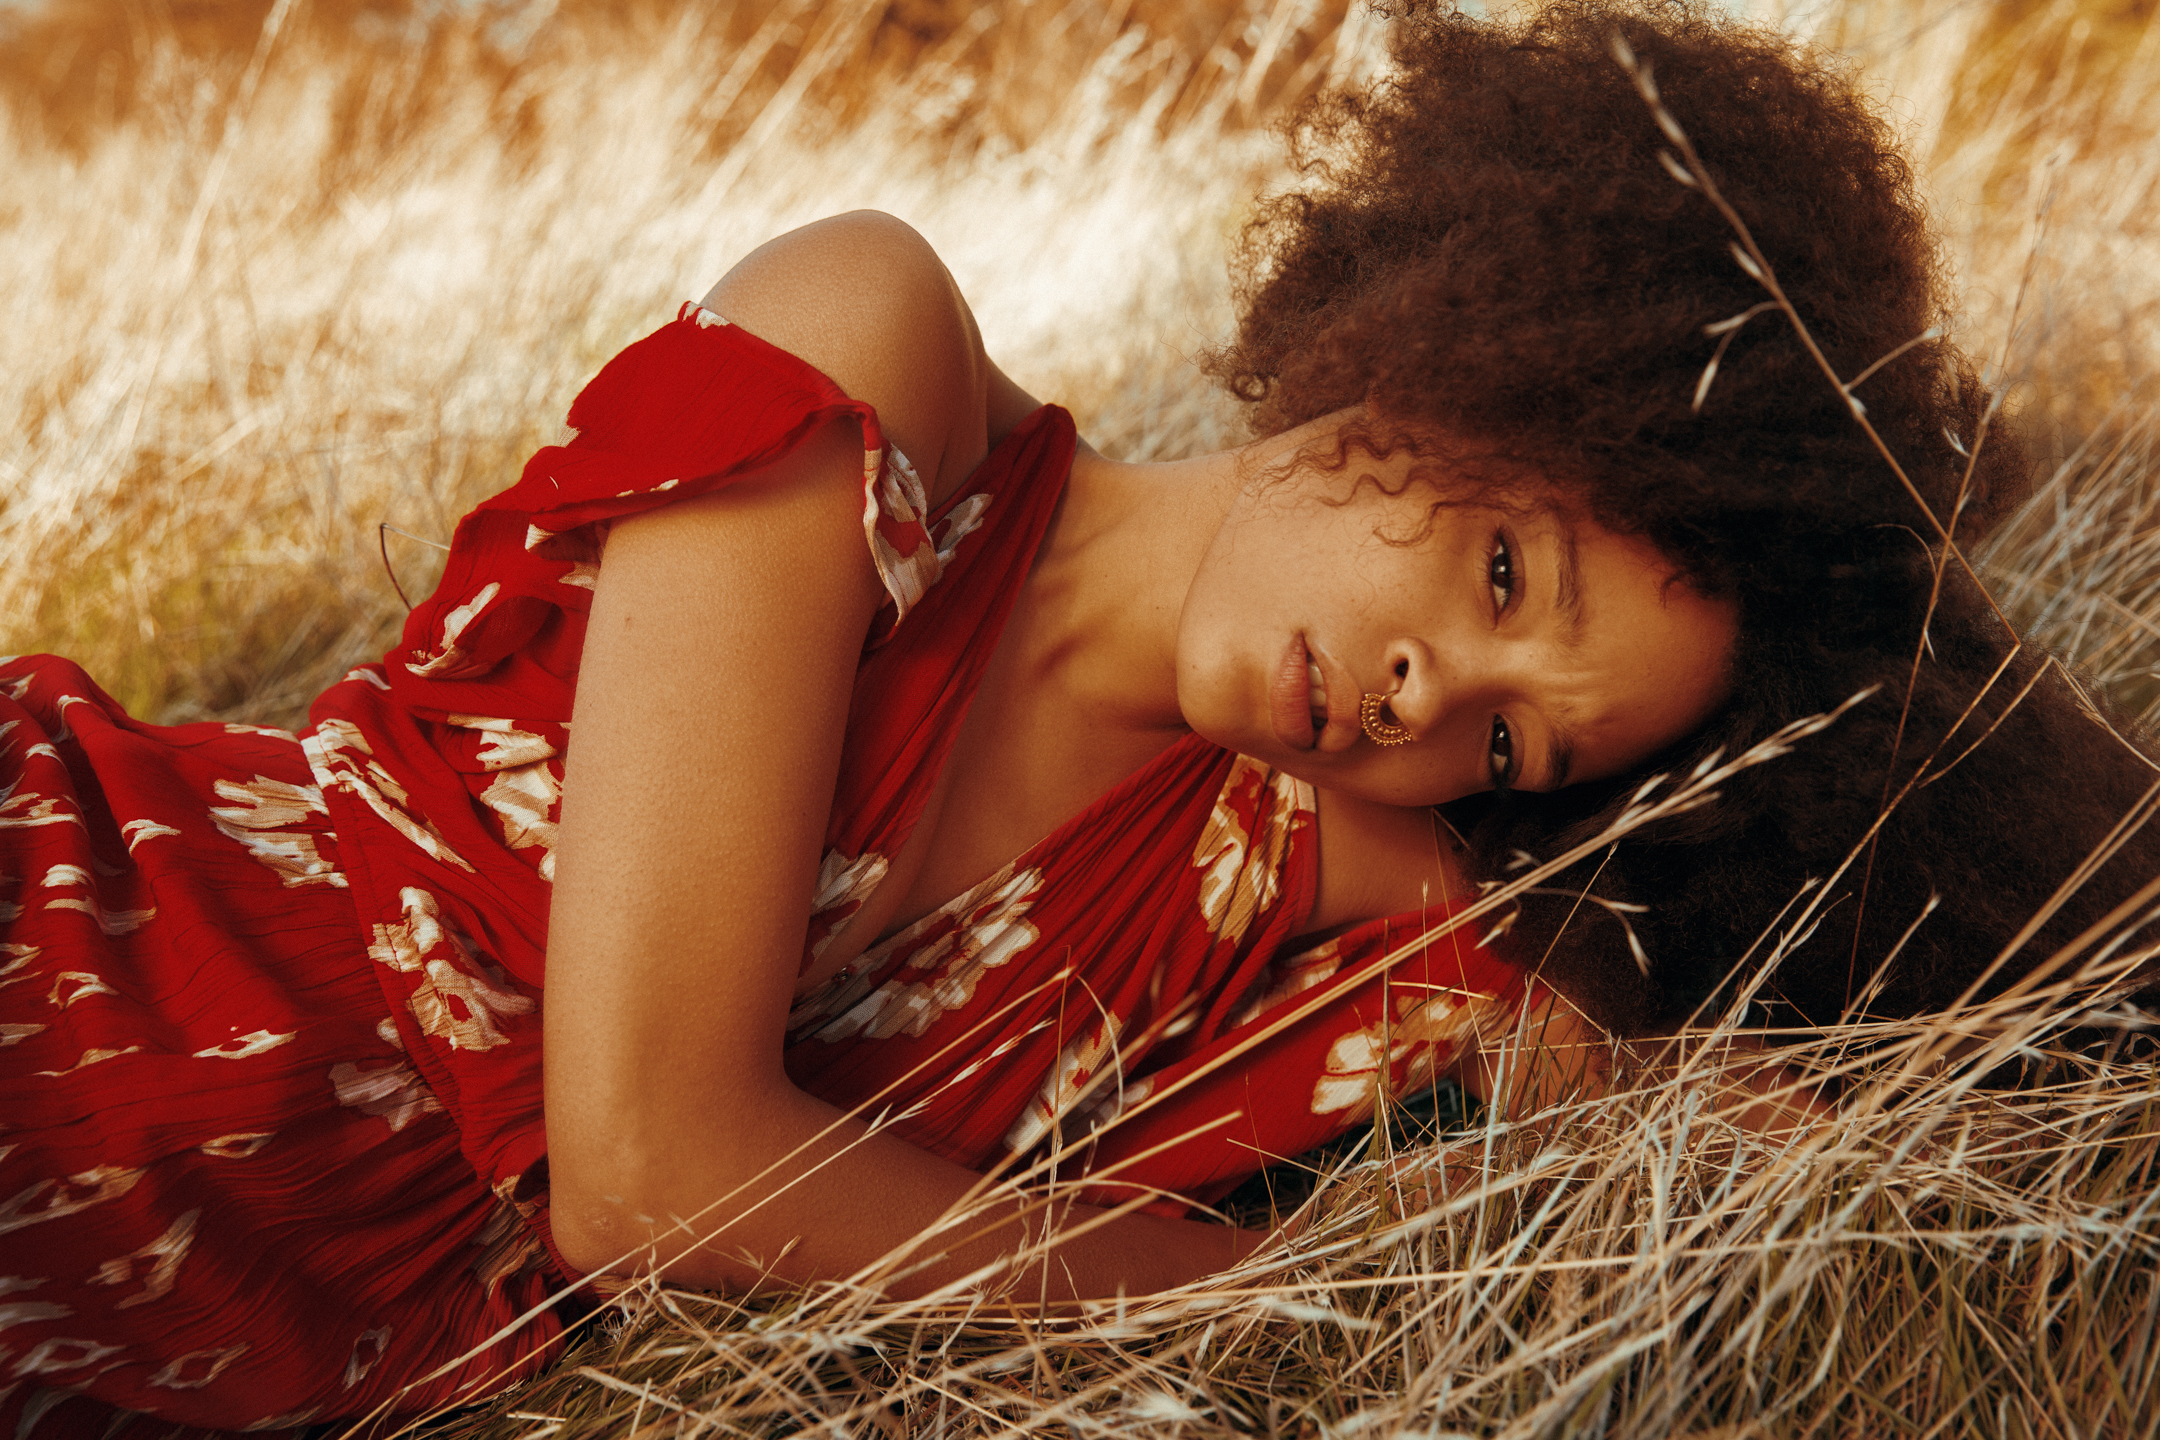
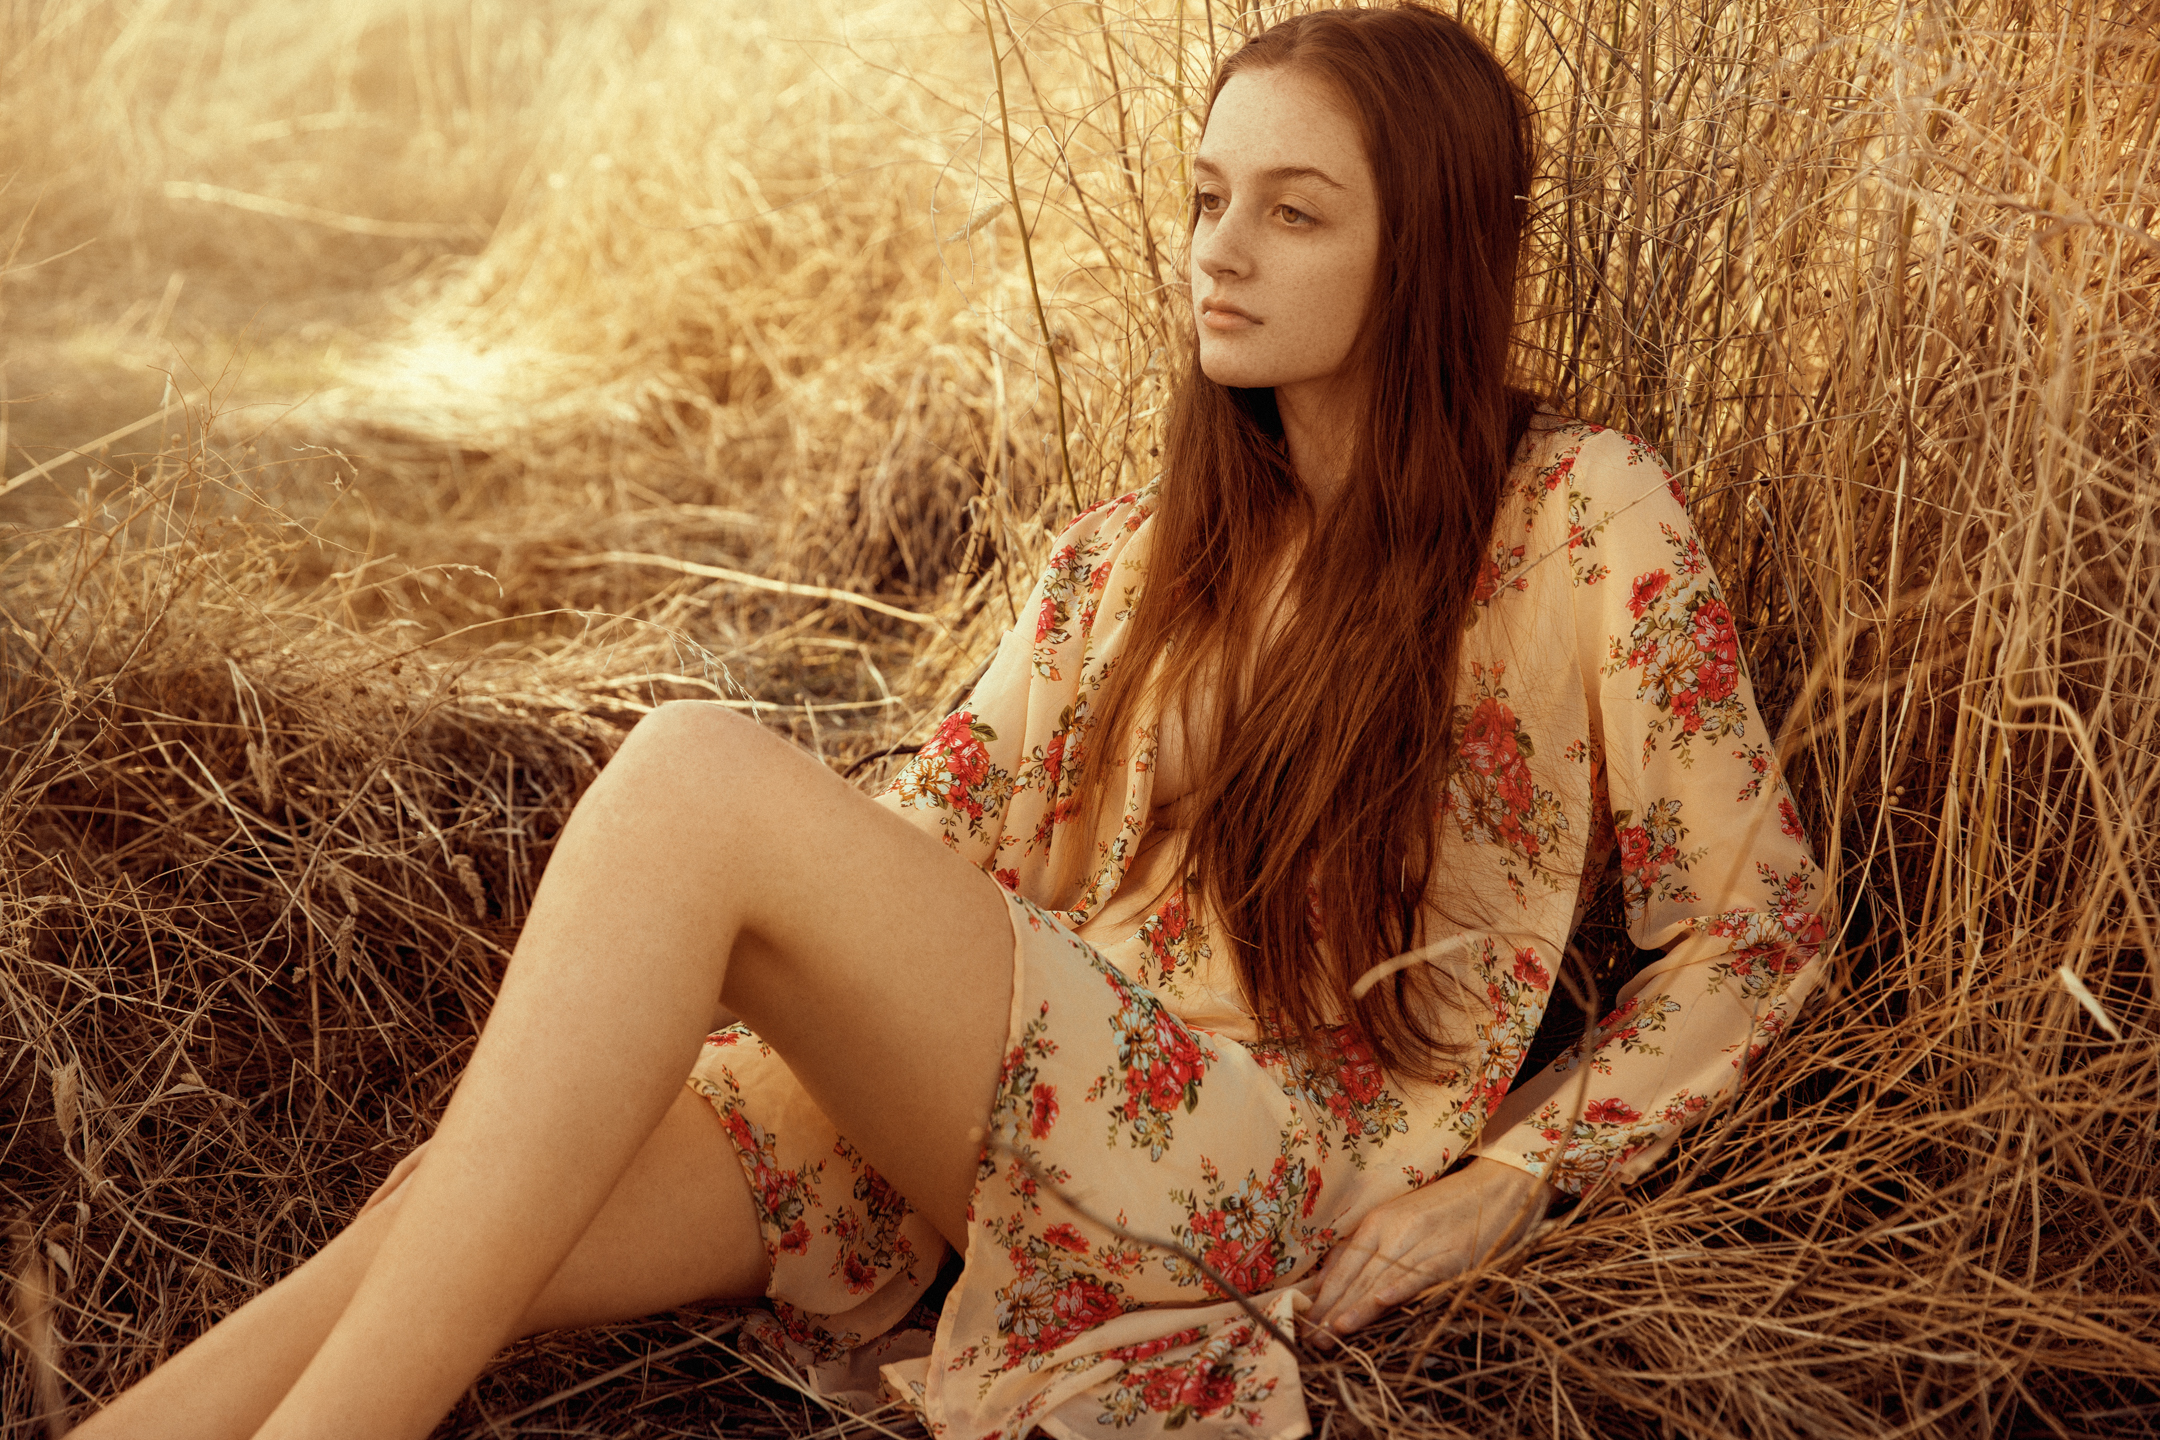
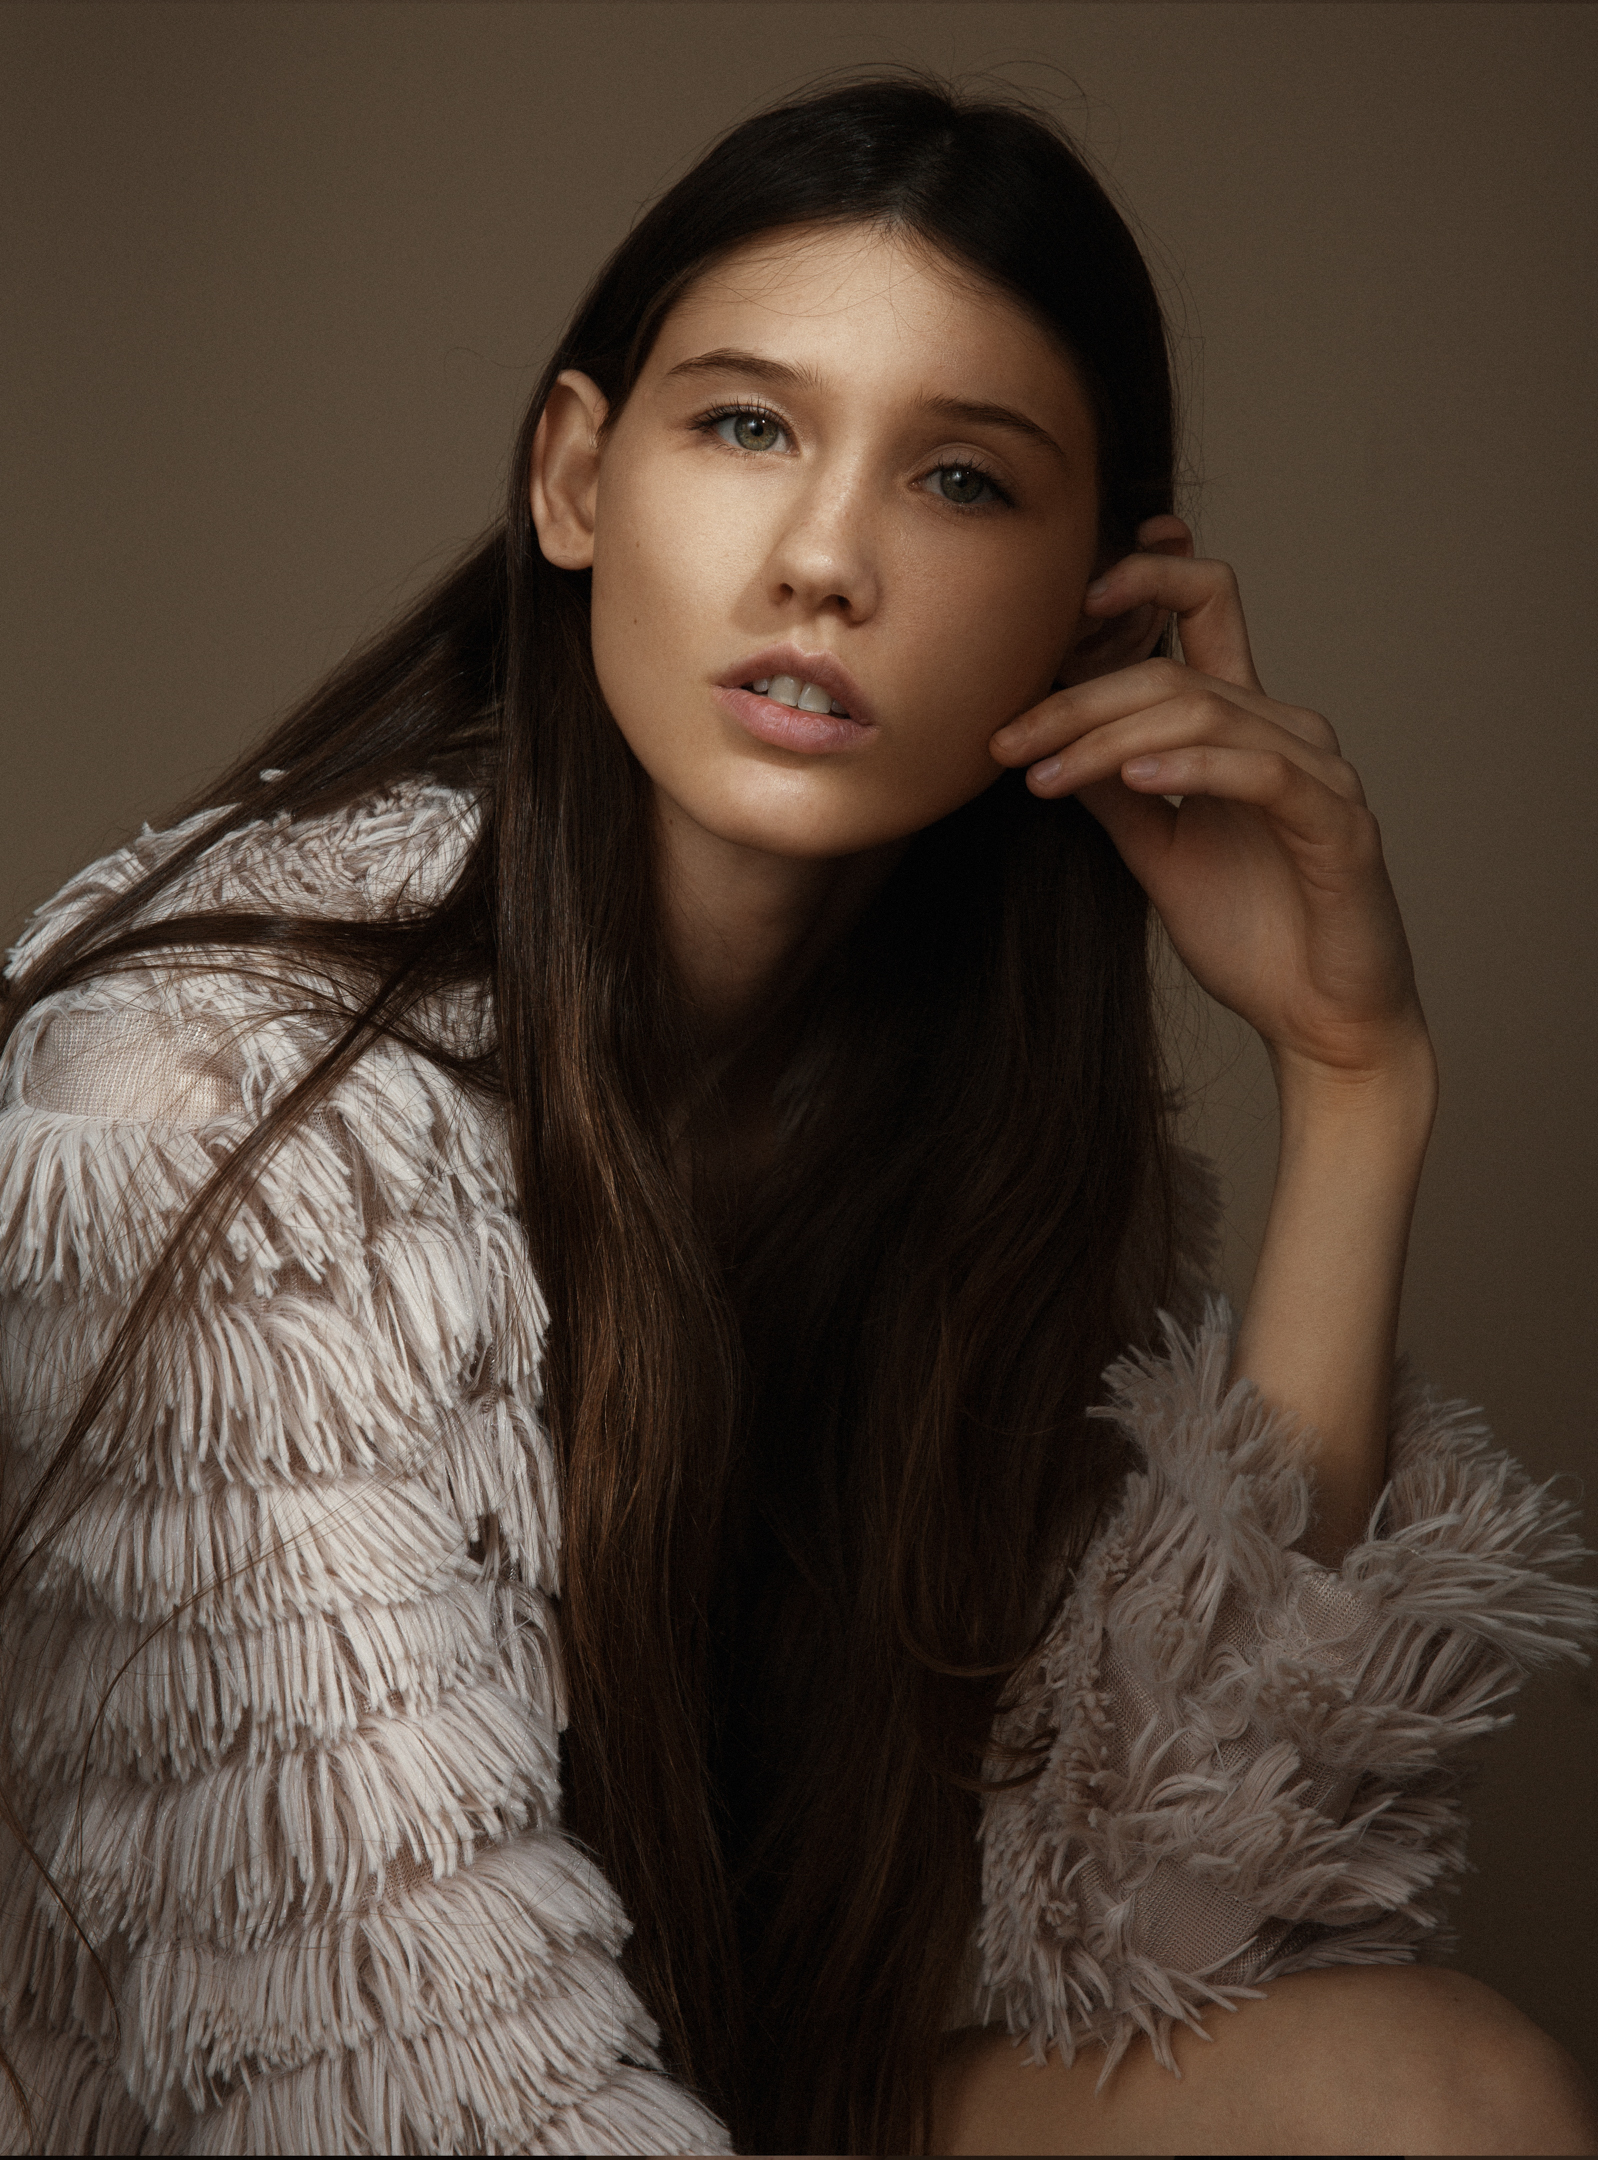
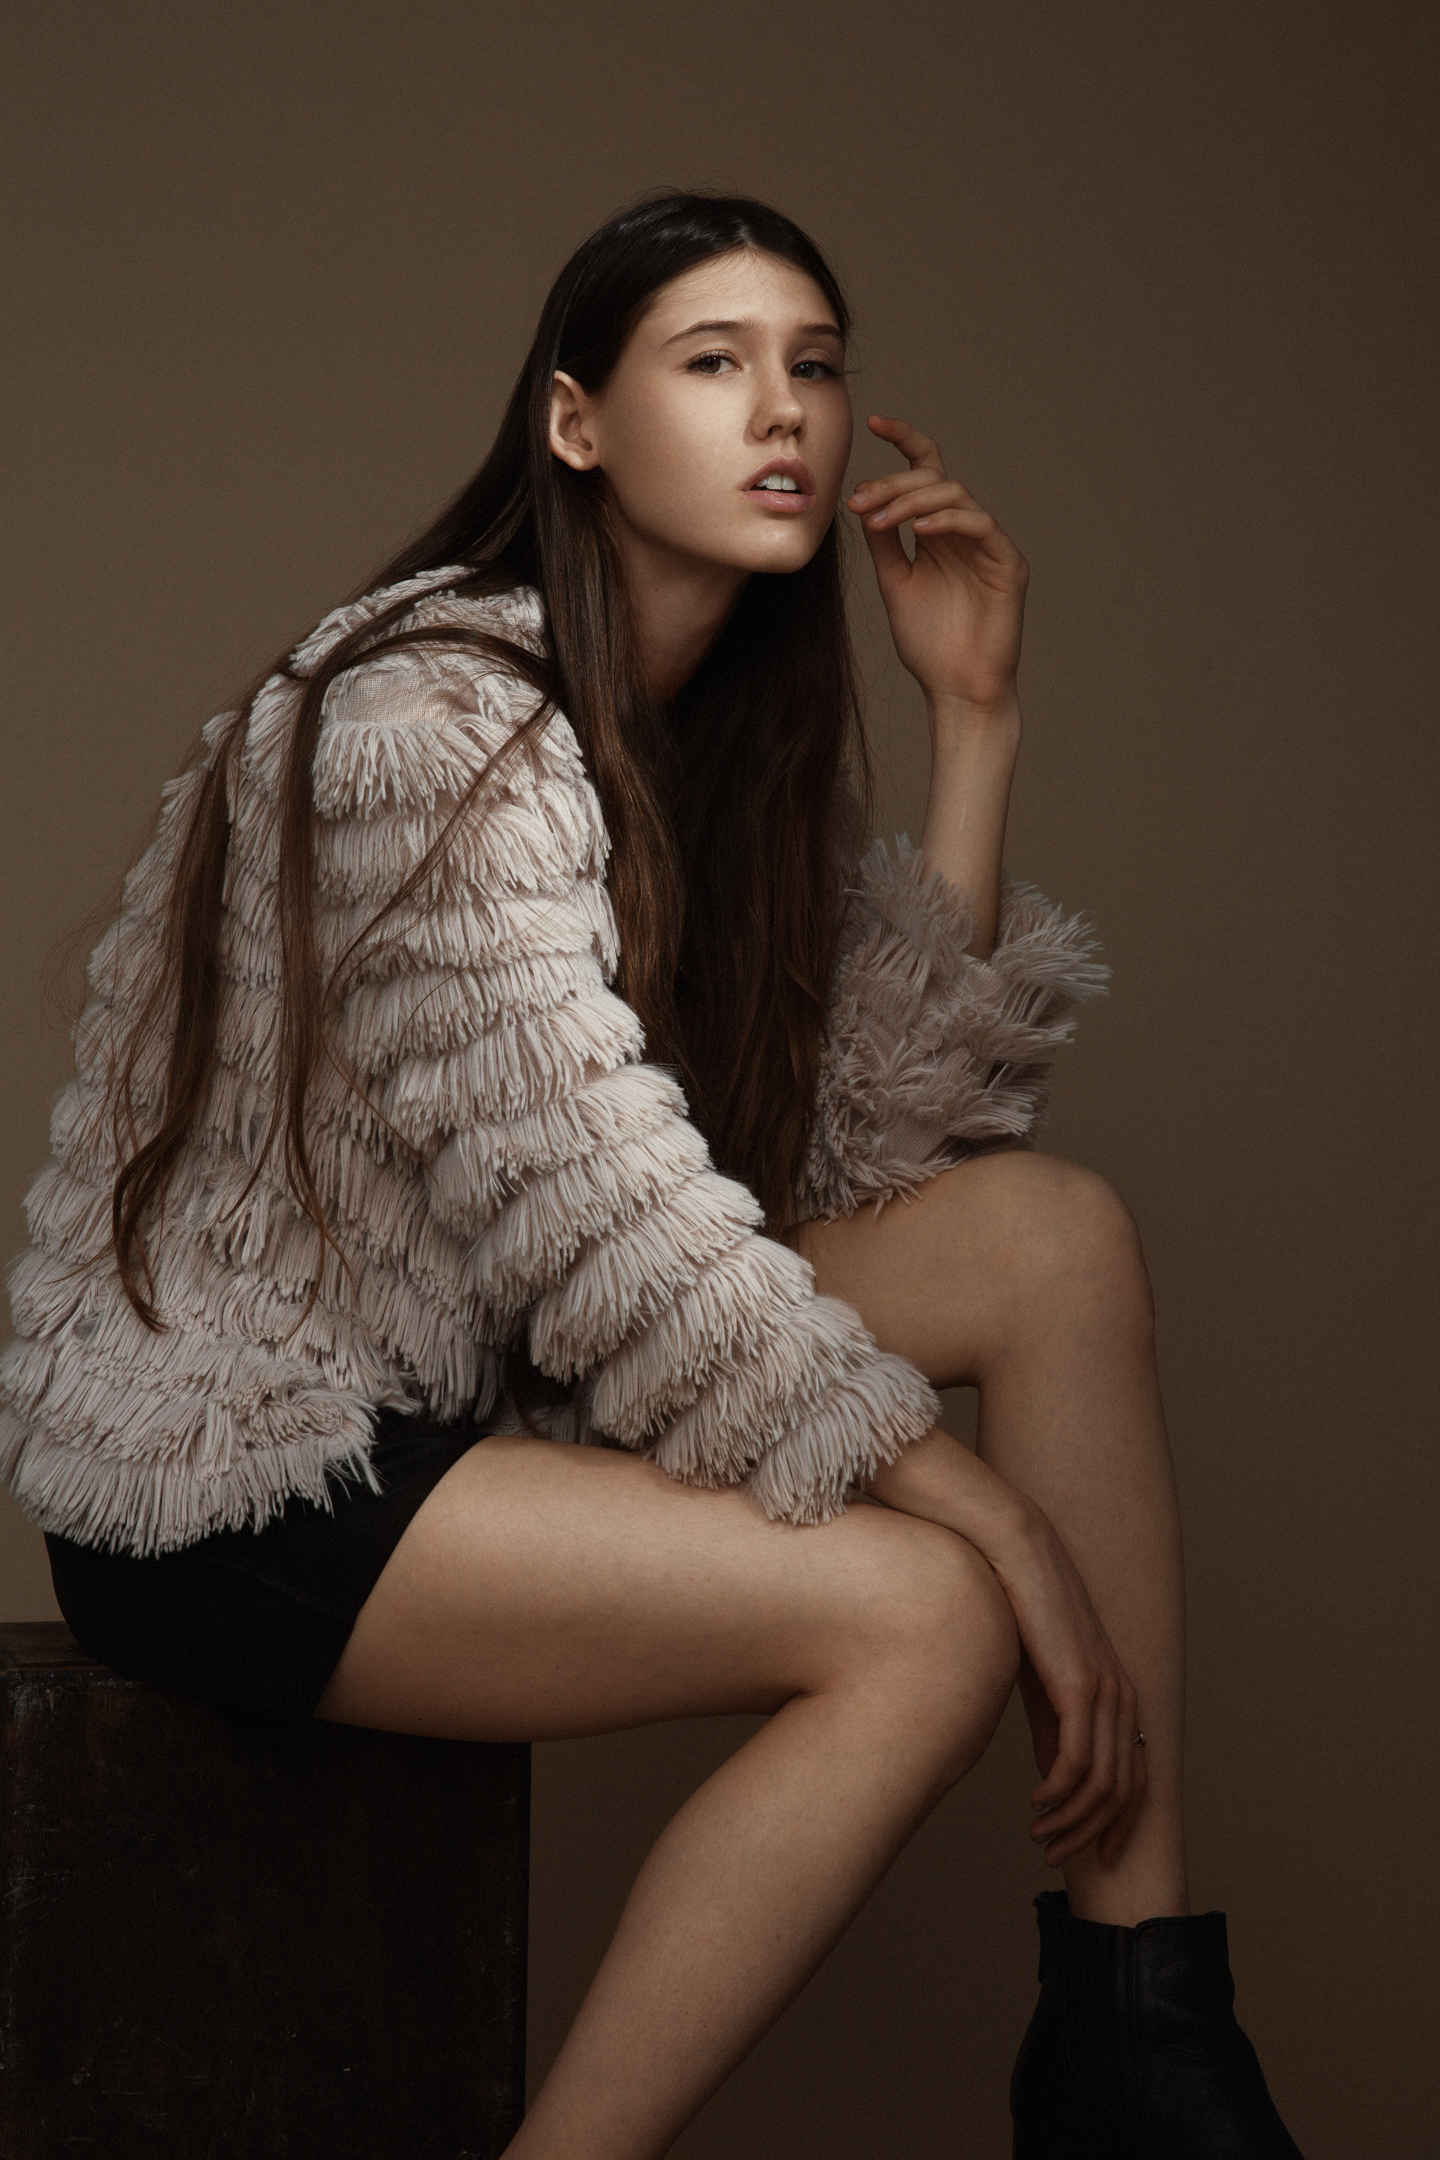
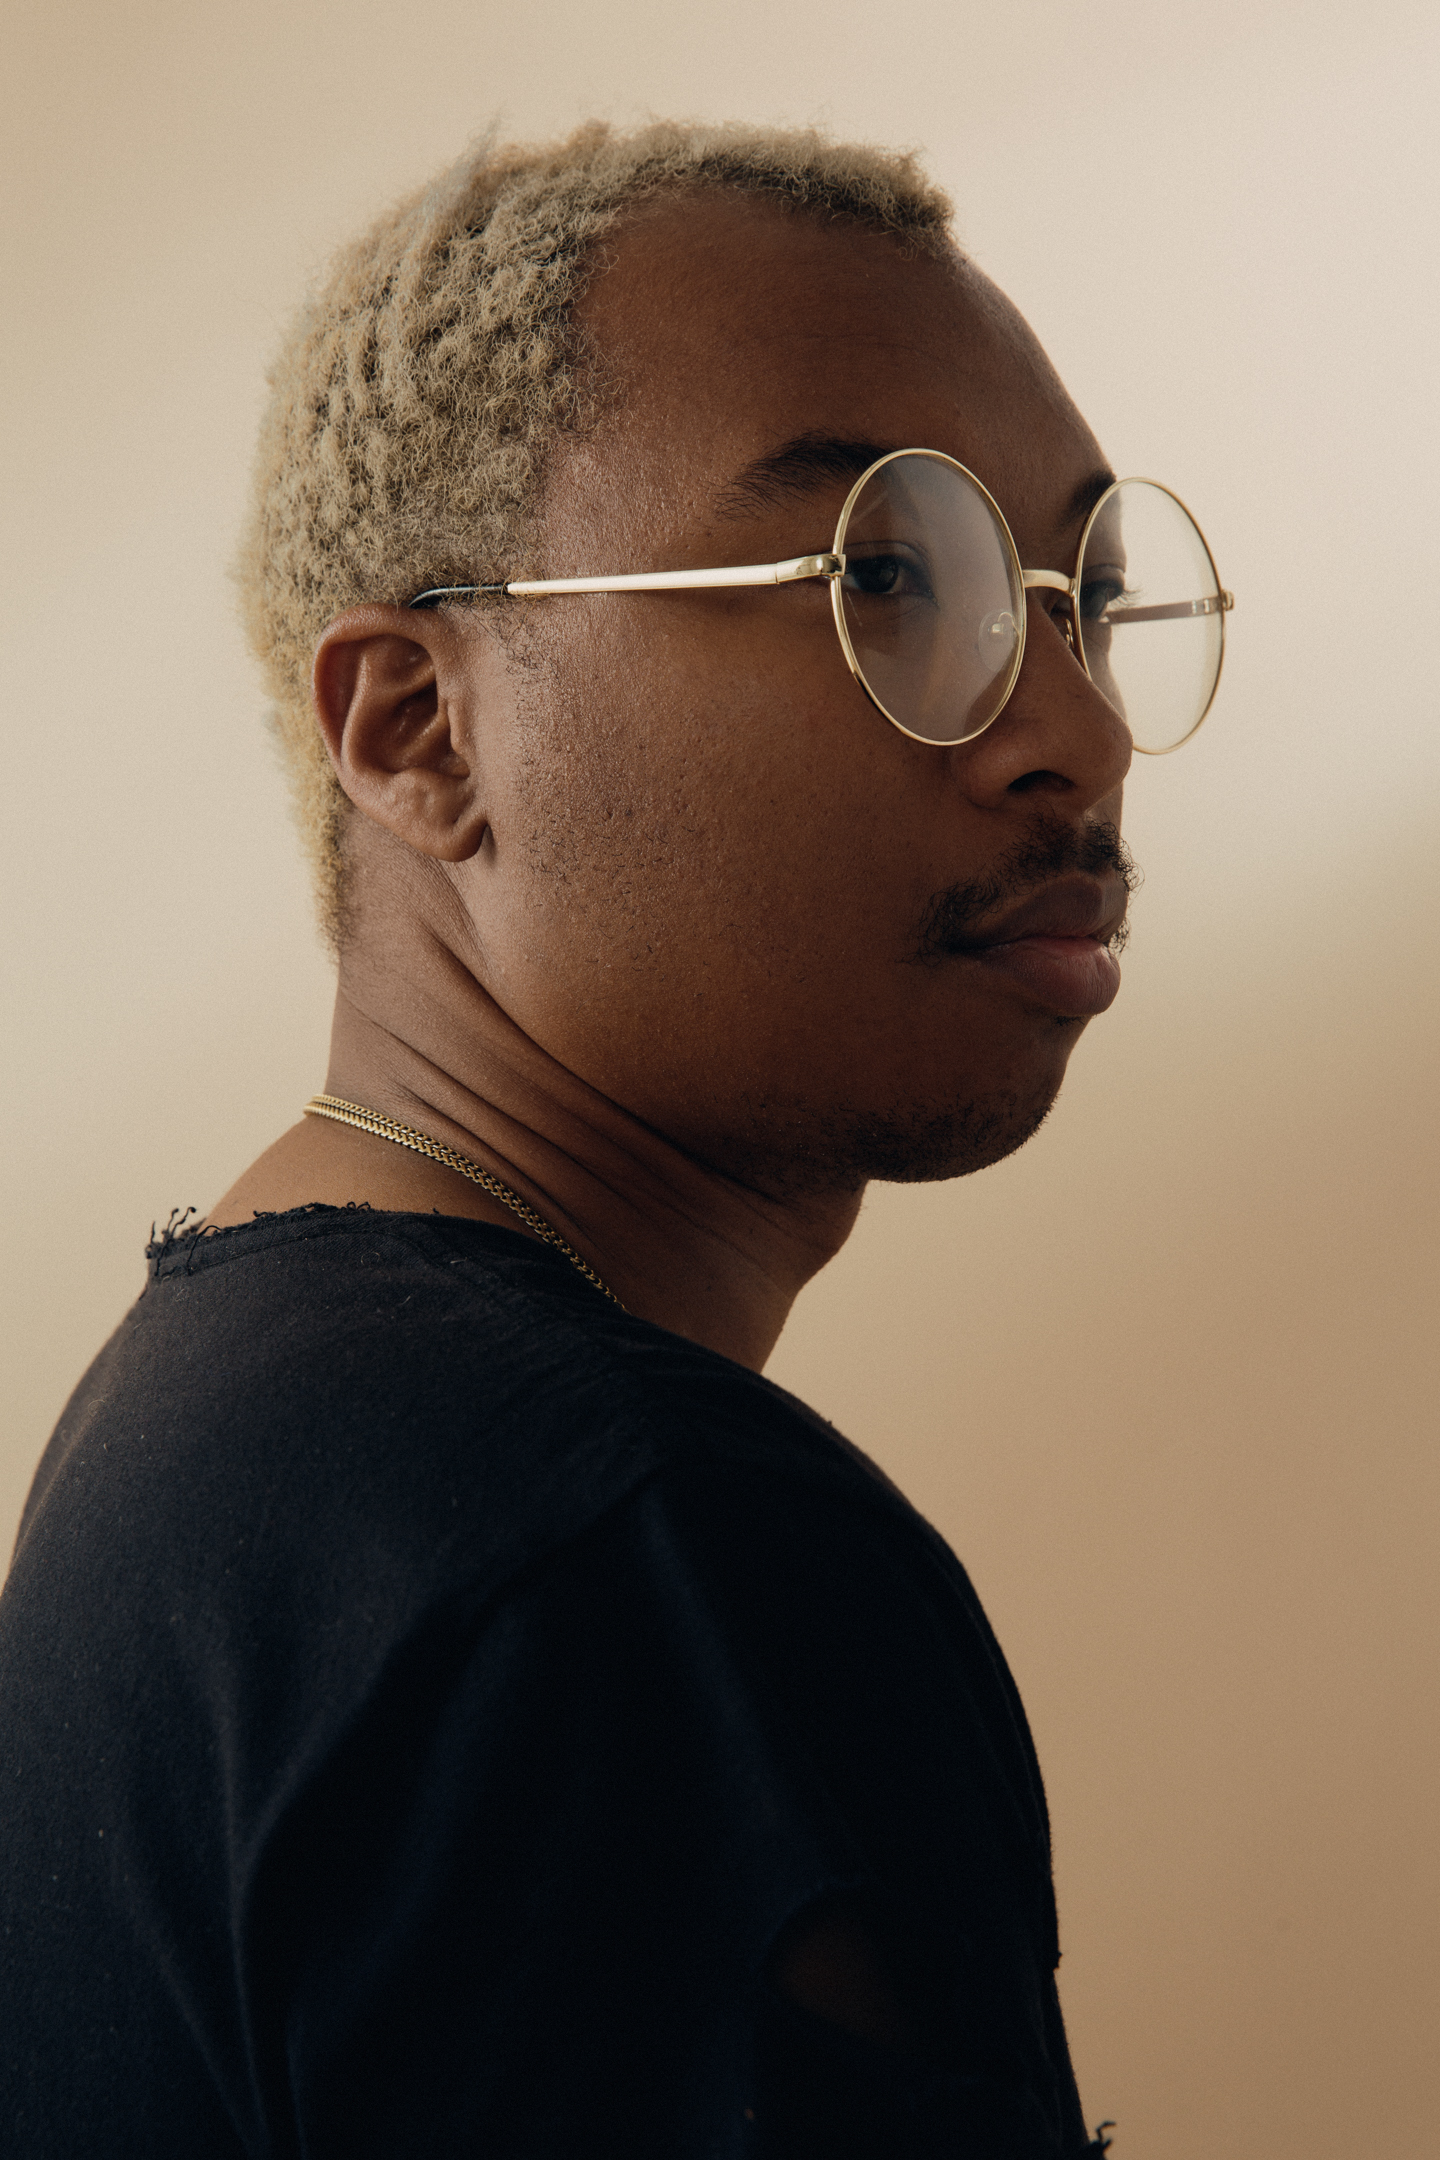
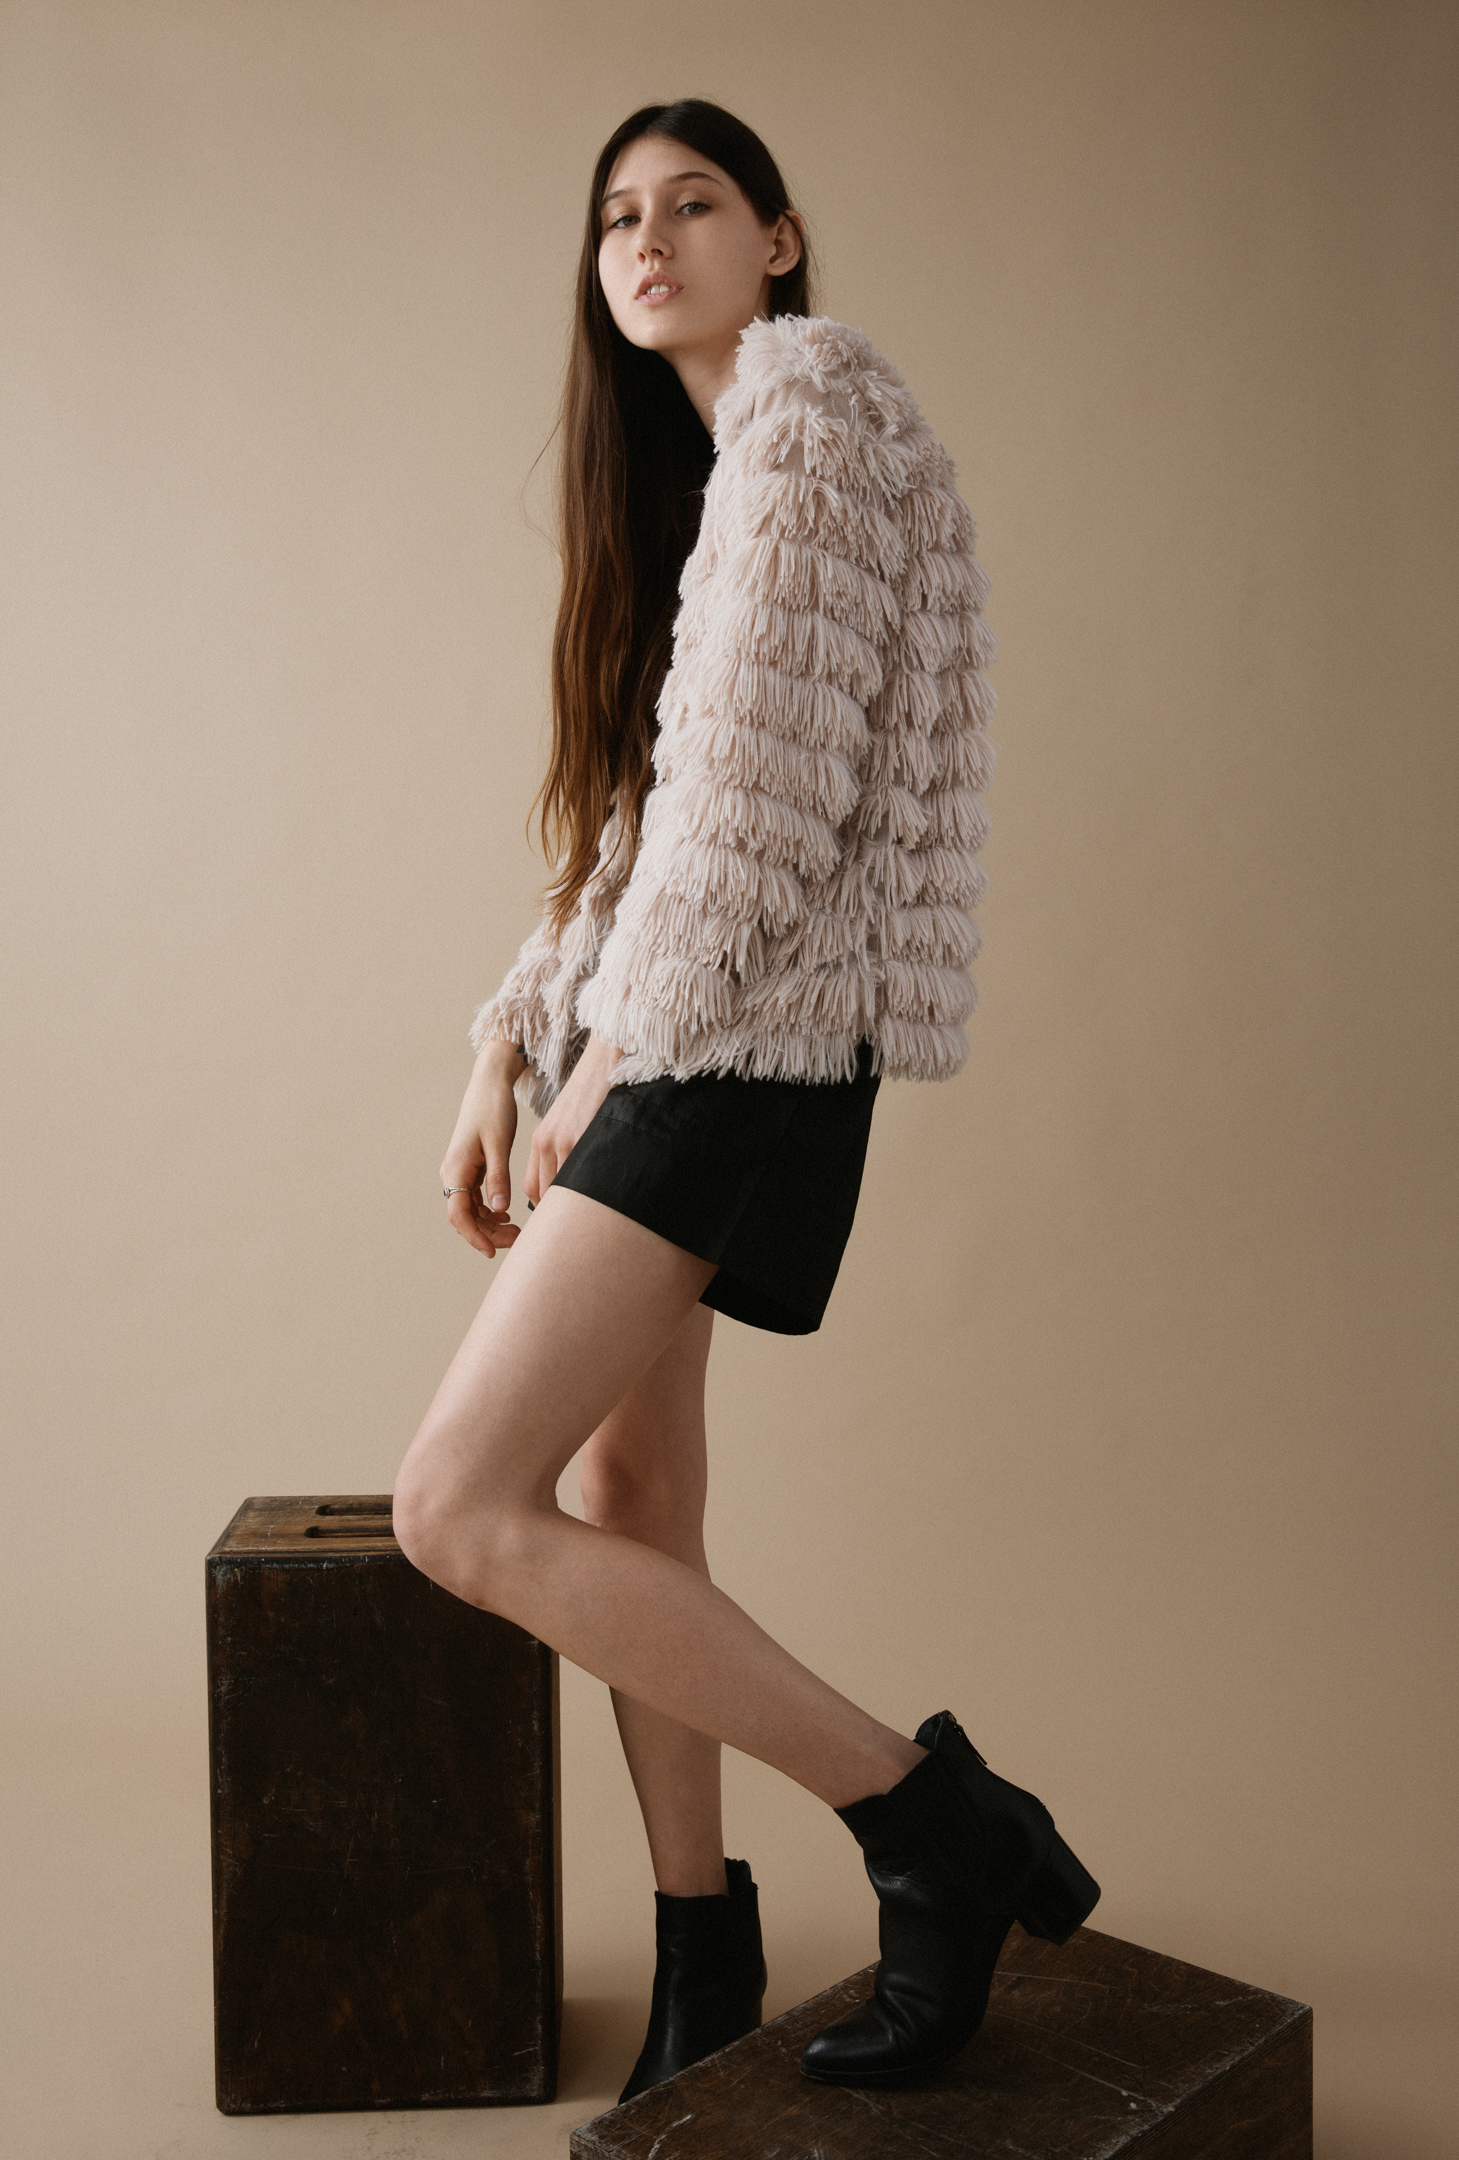
Some Of My Favorites


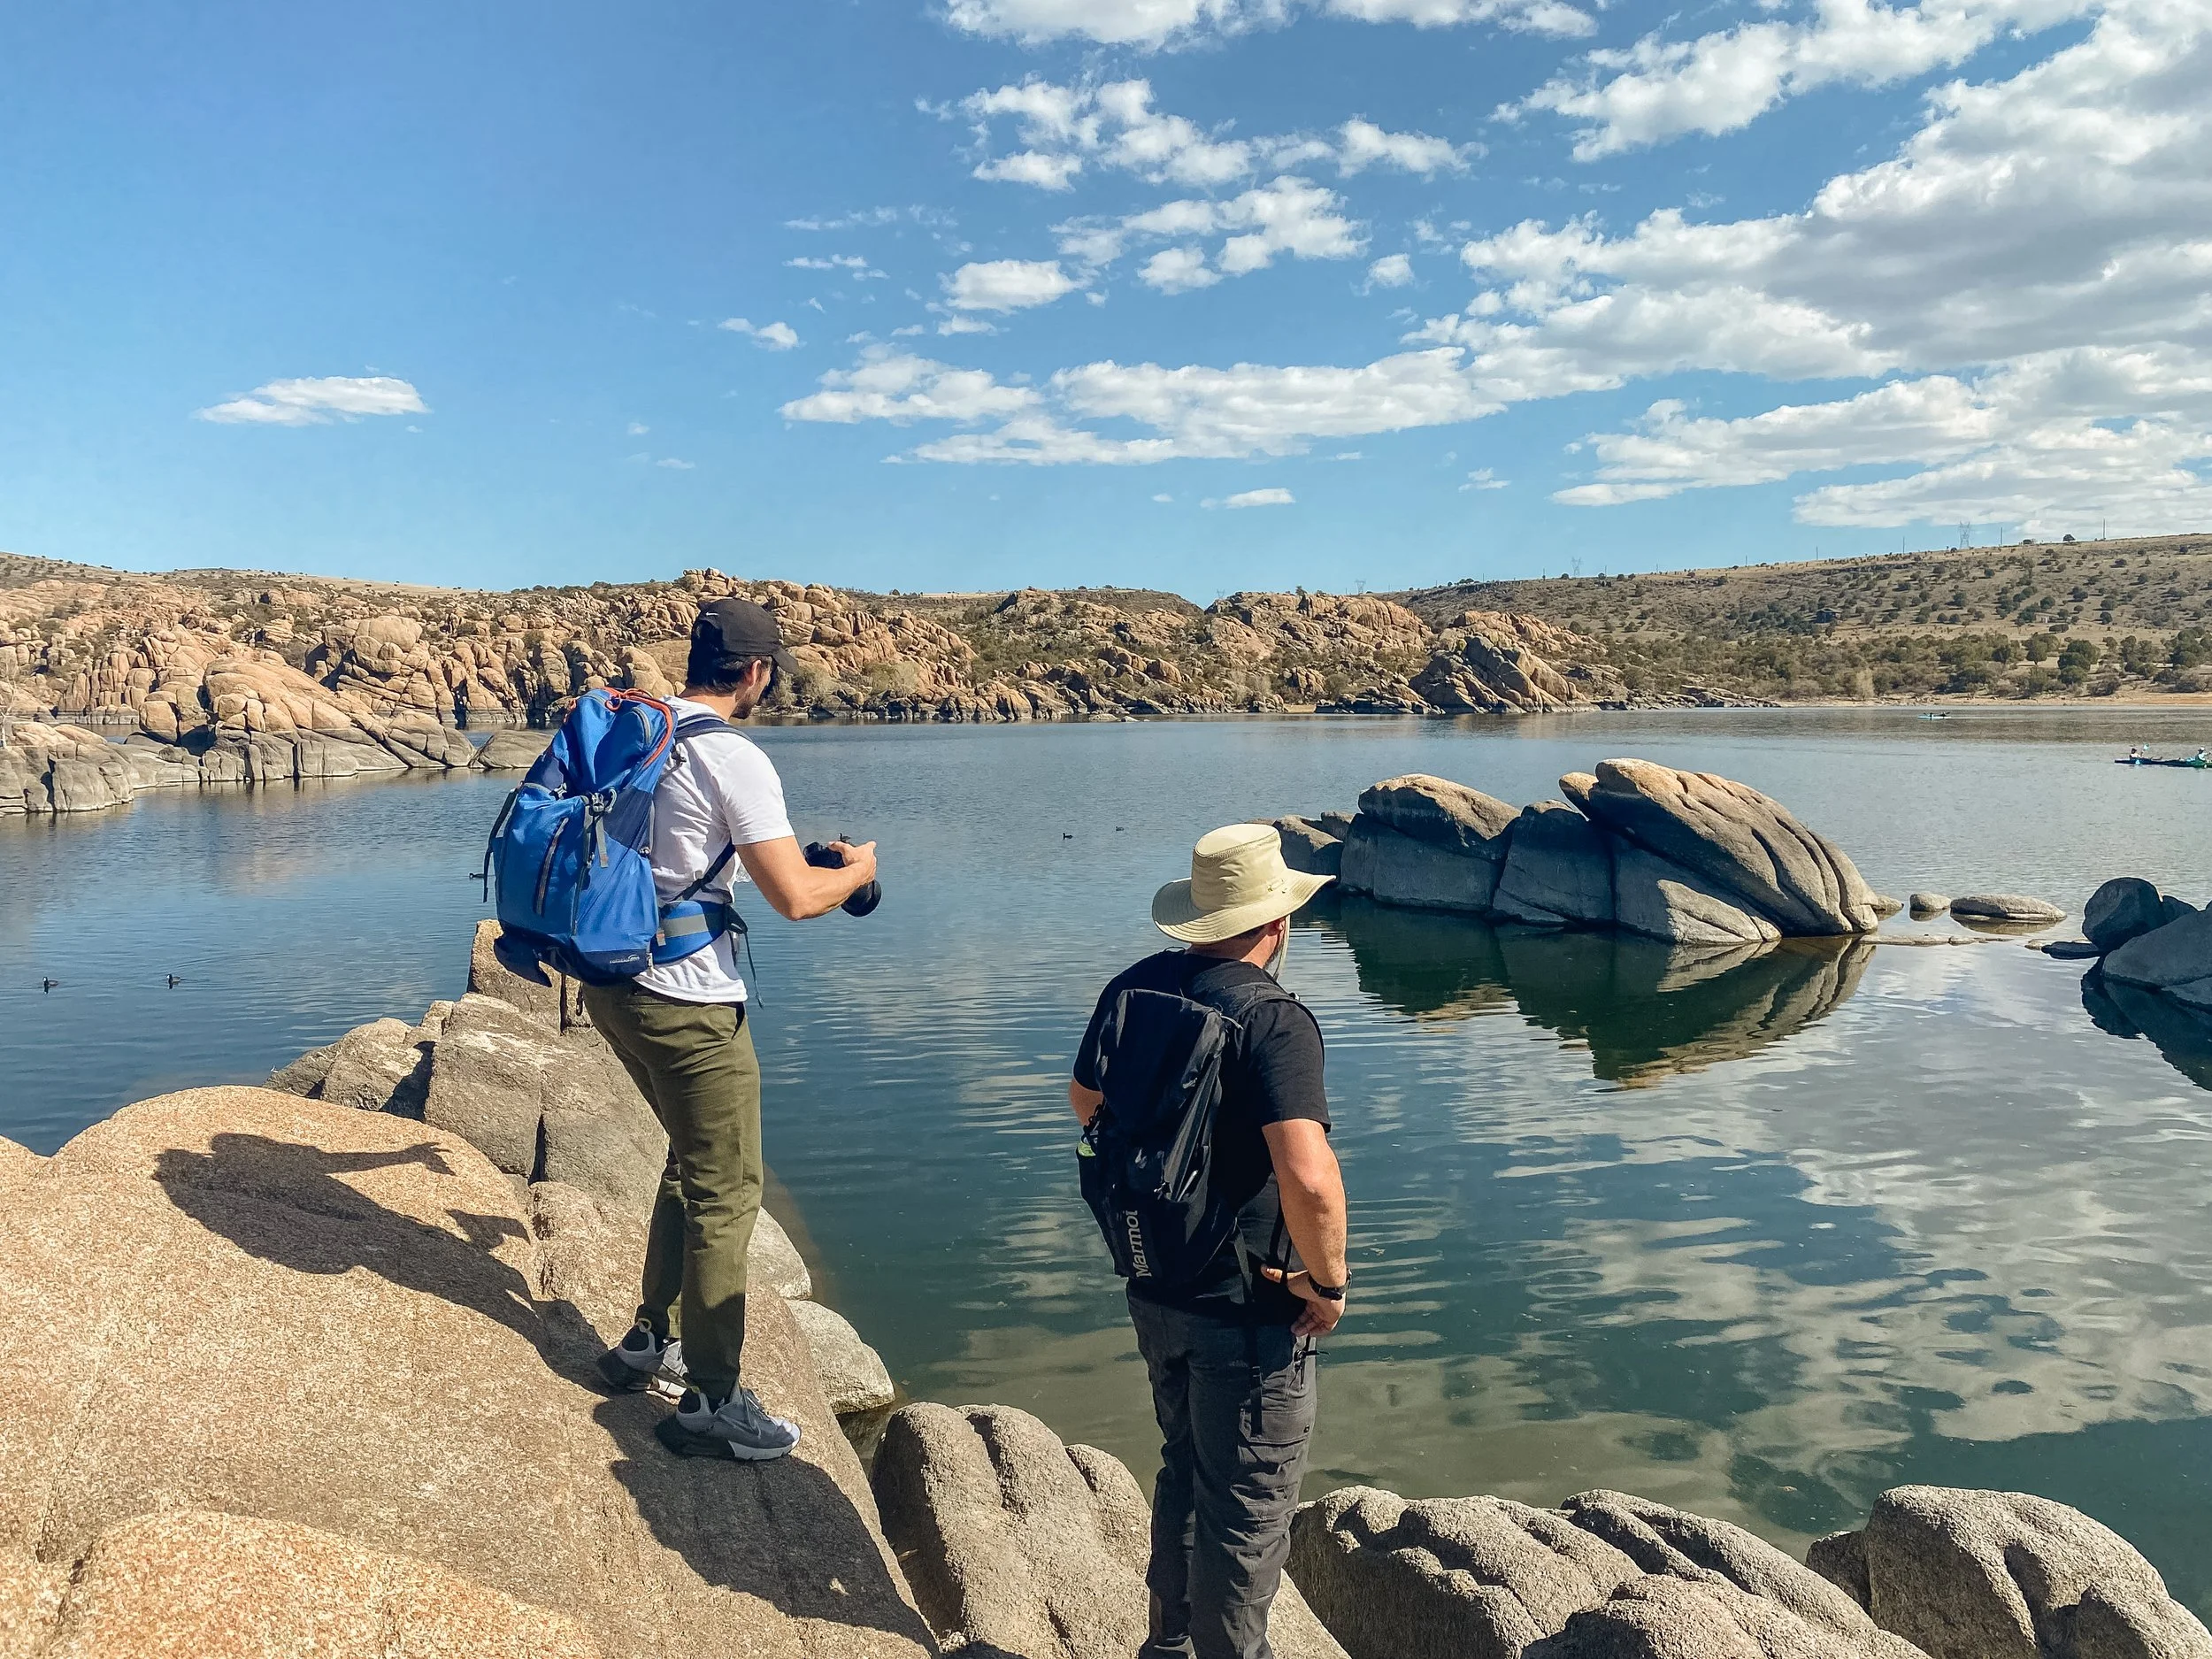
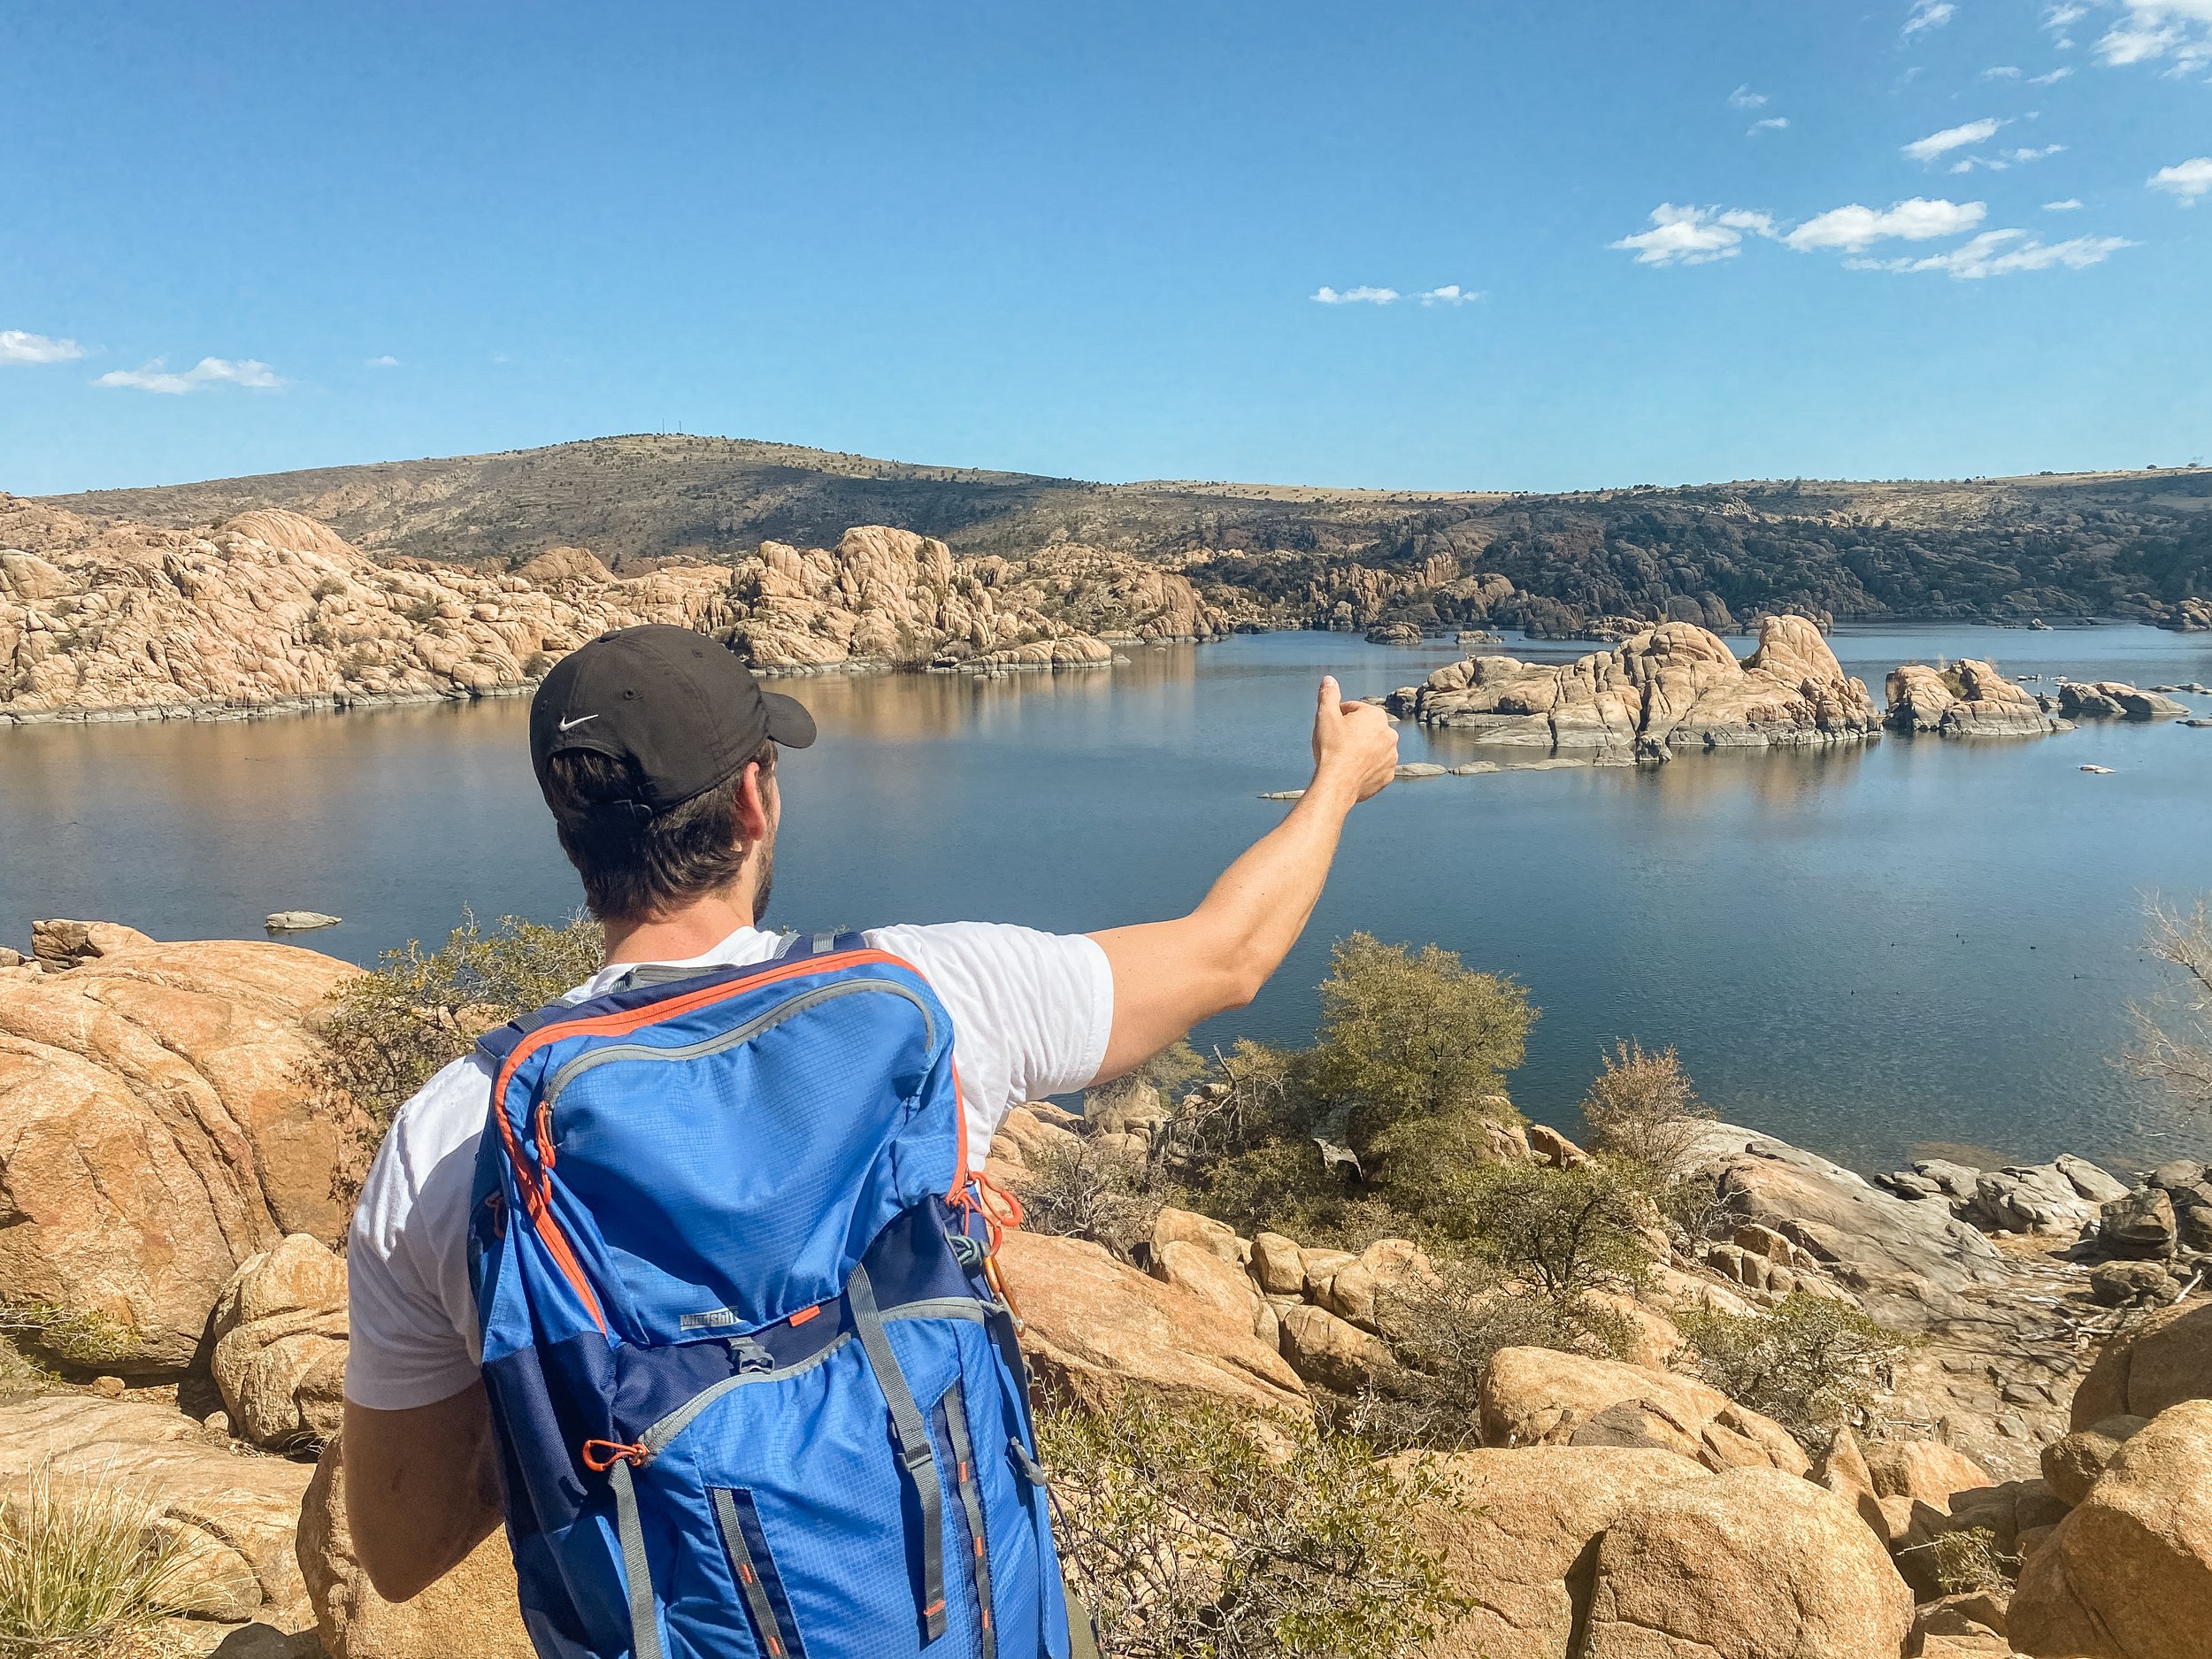
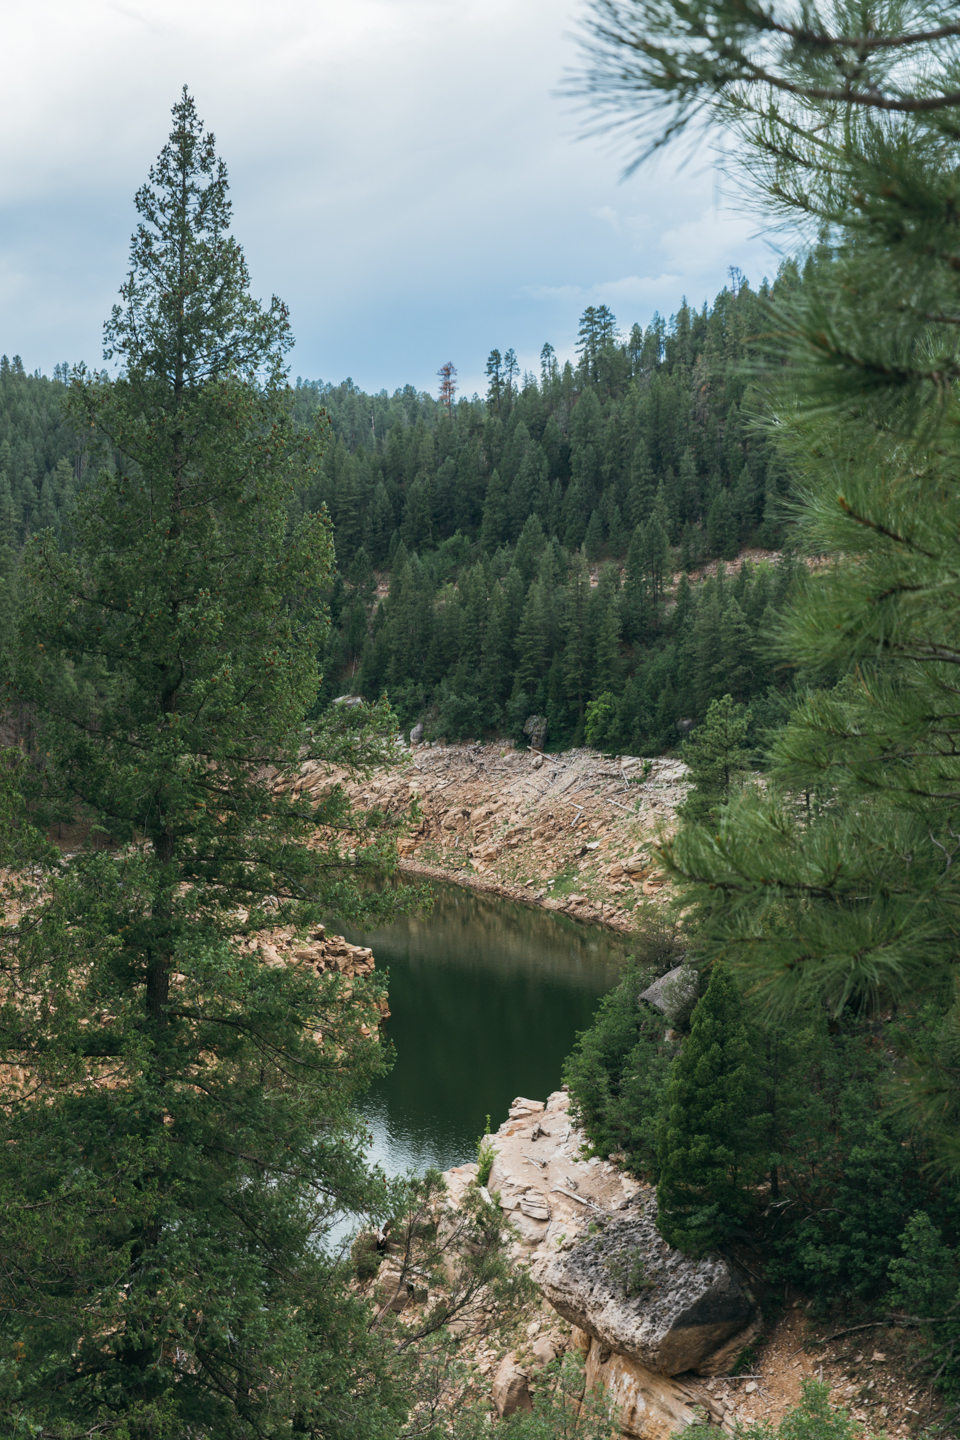
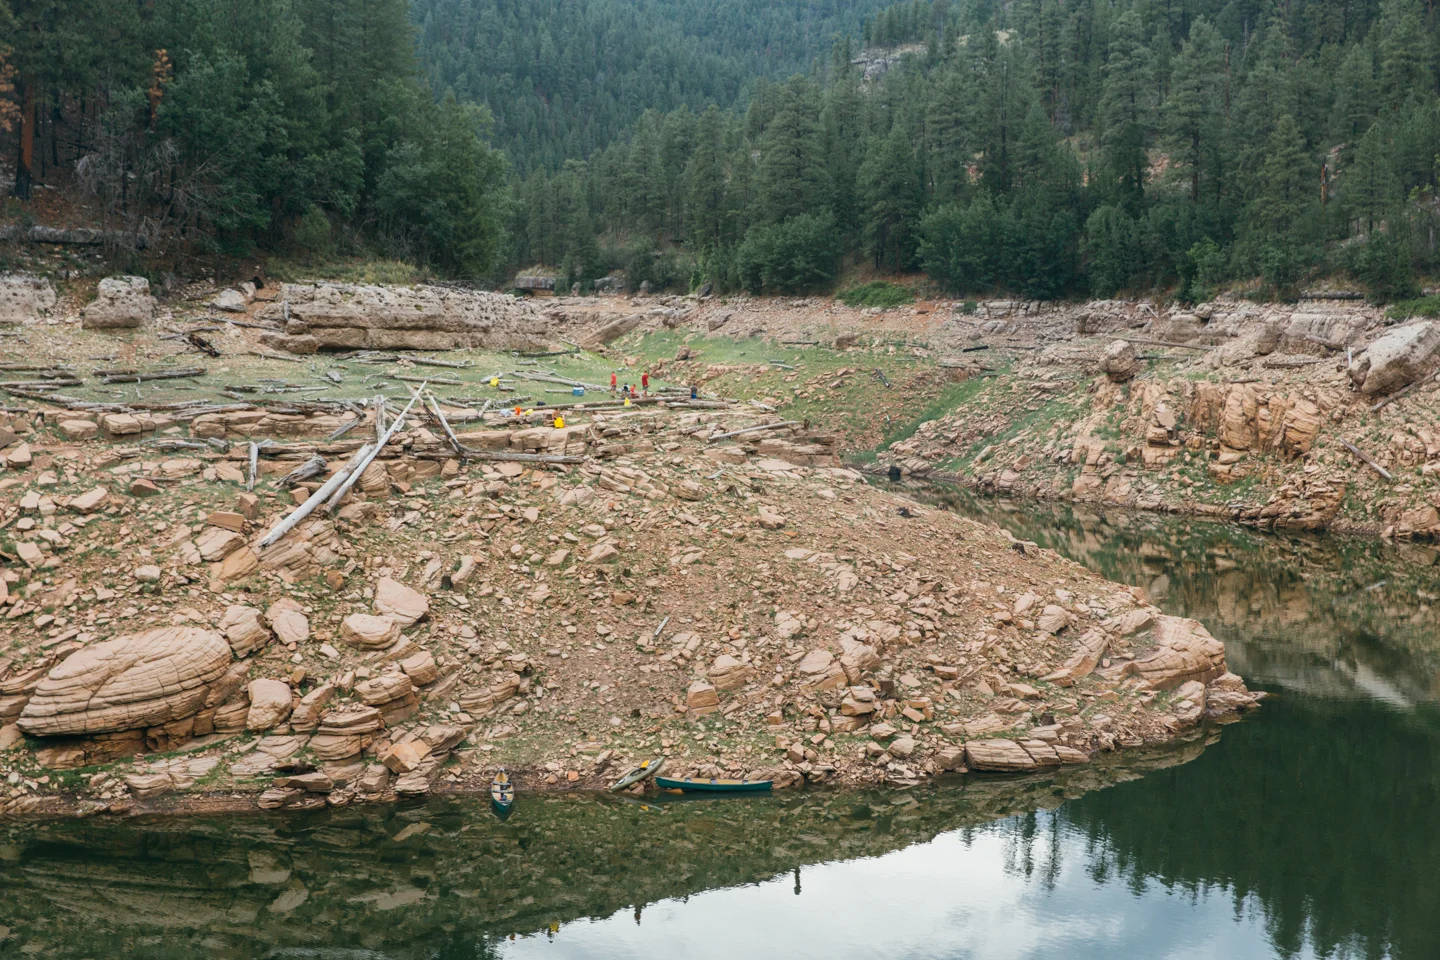
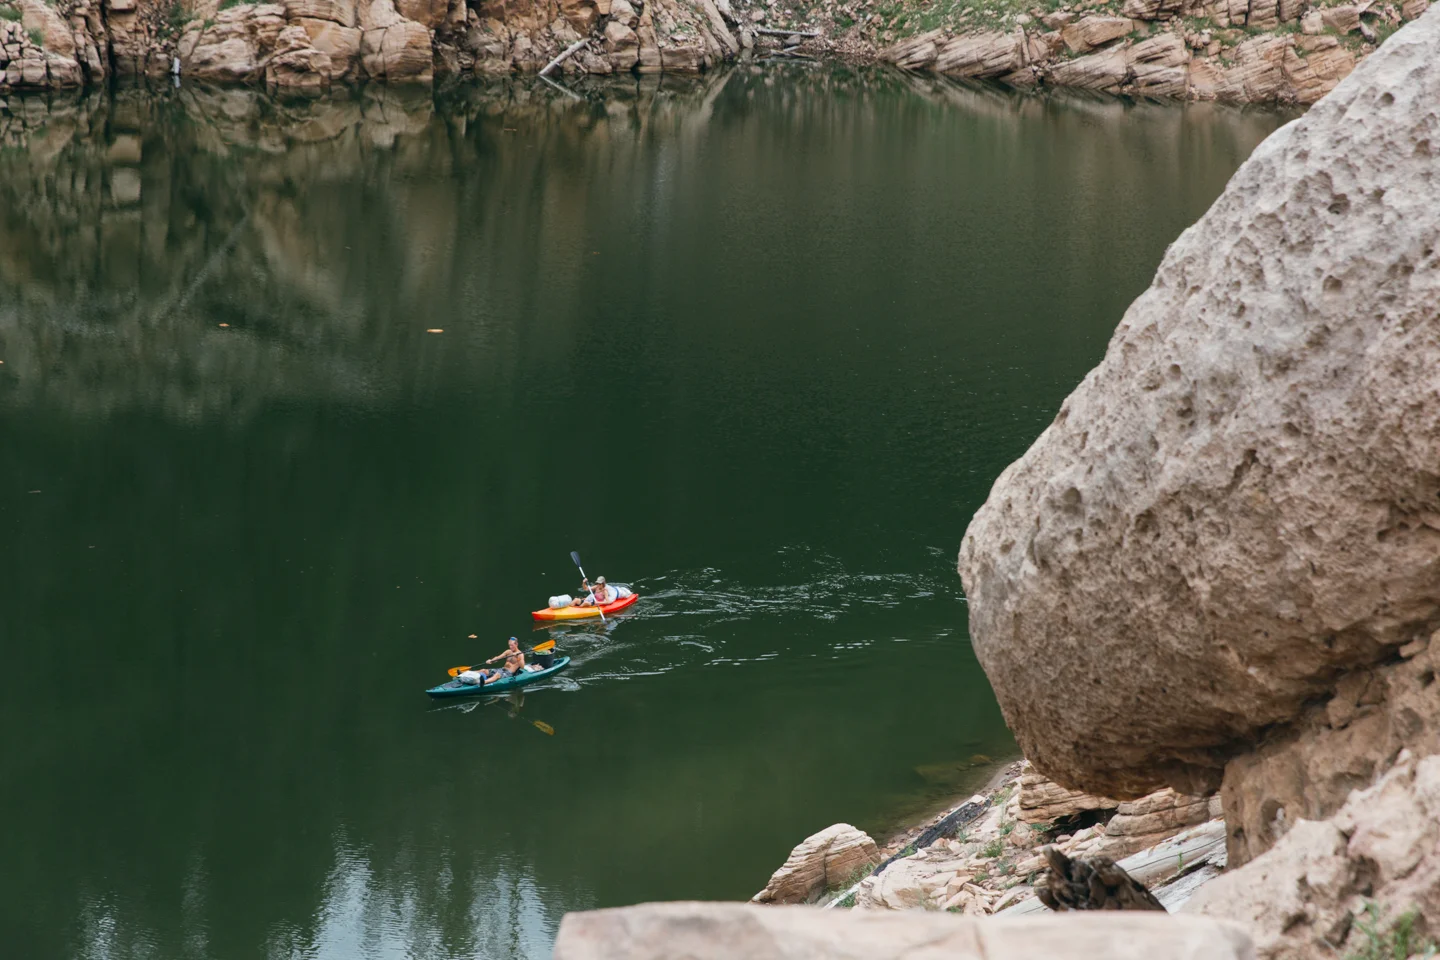
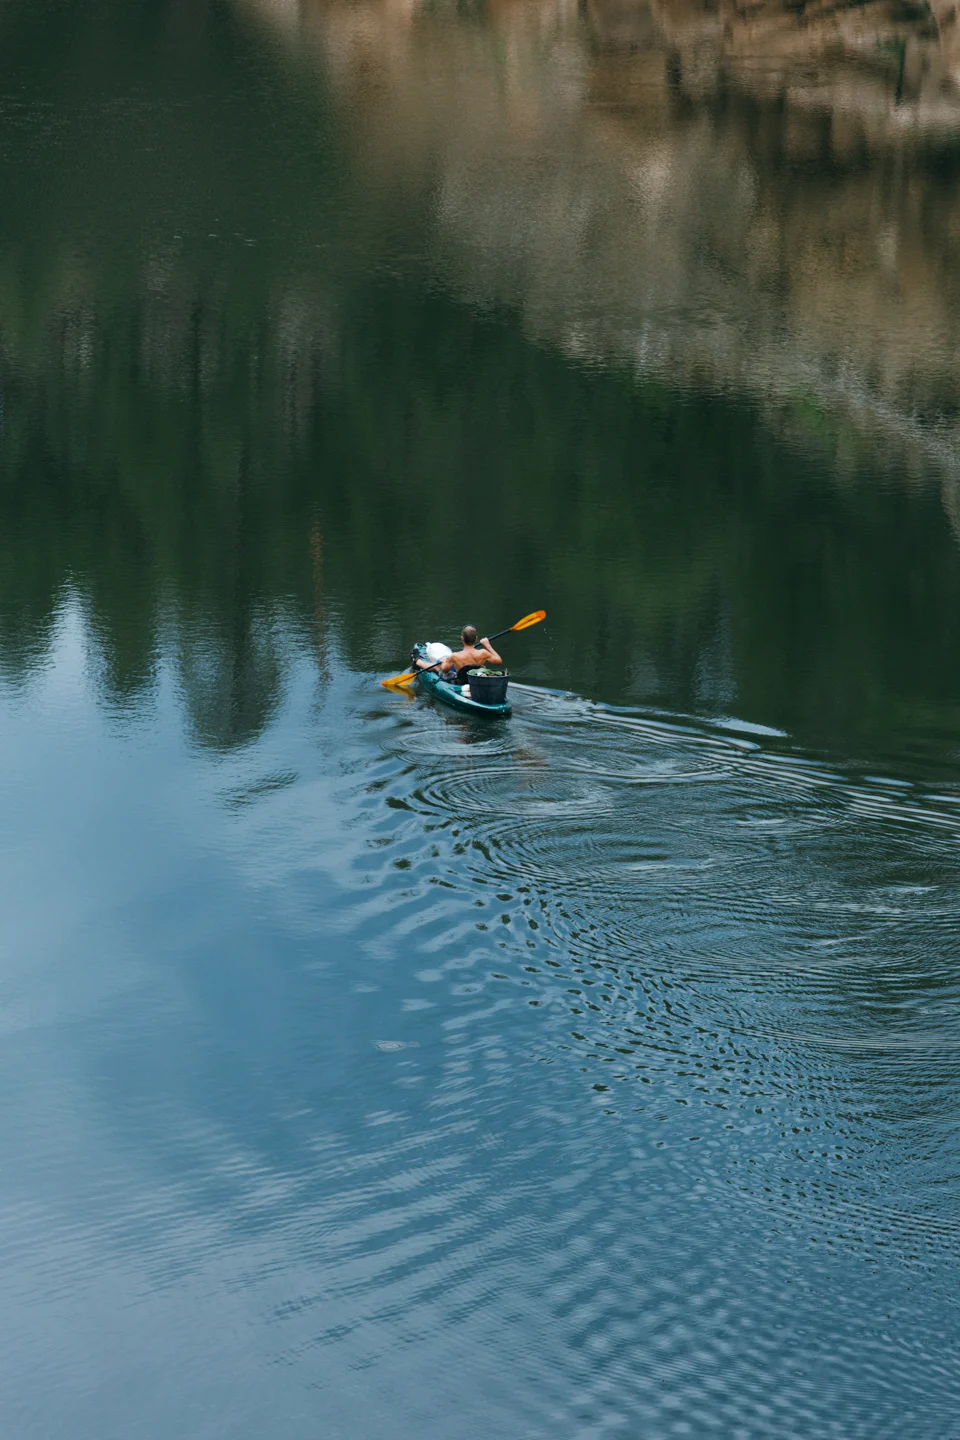
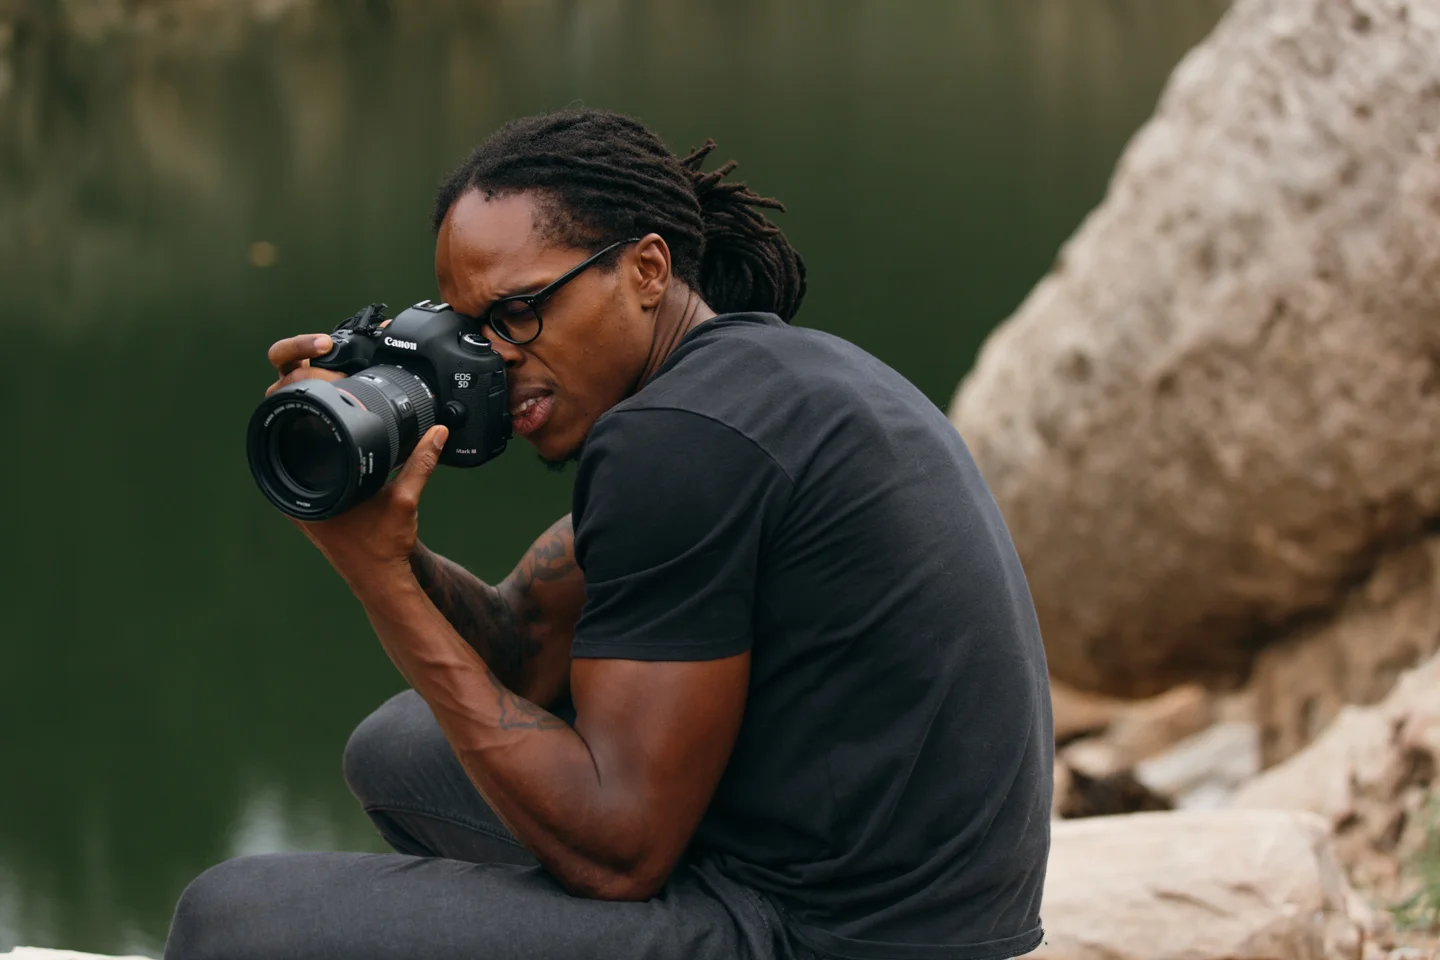
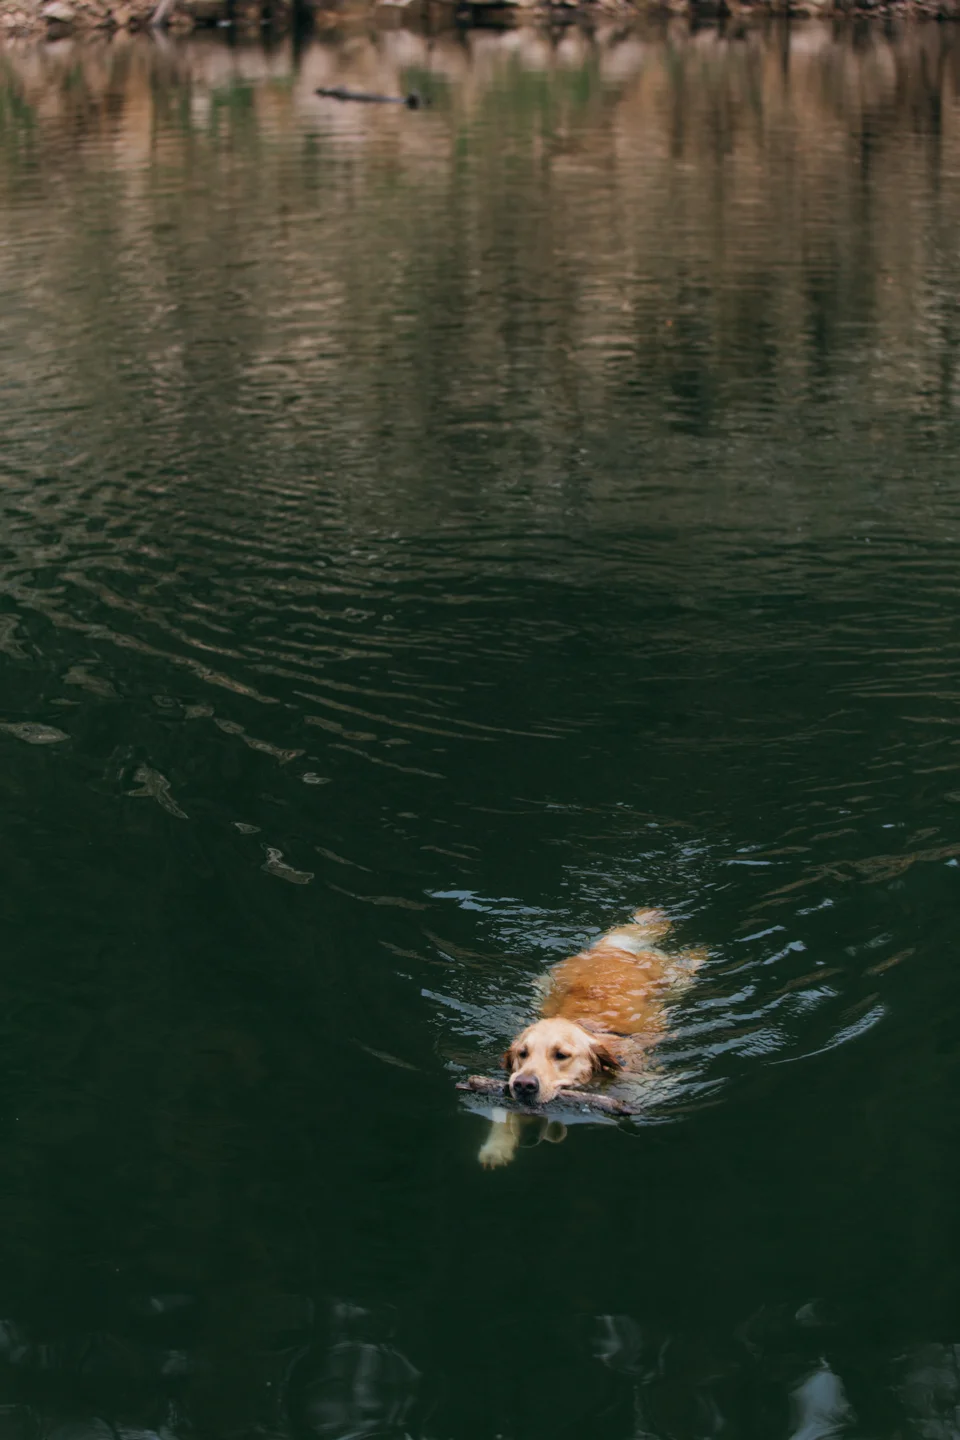
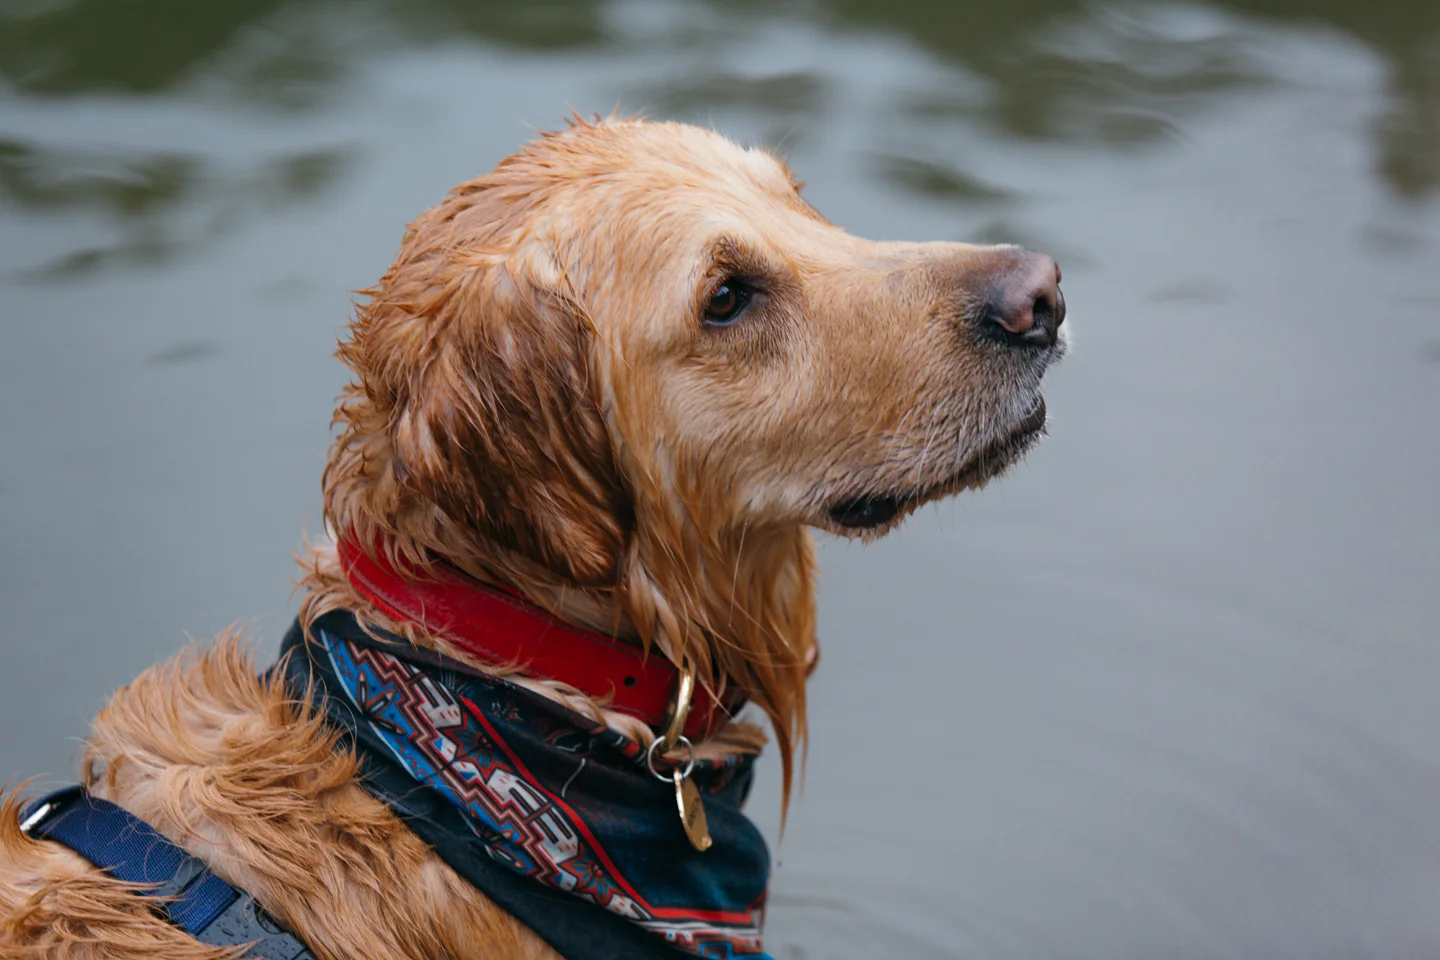
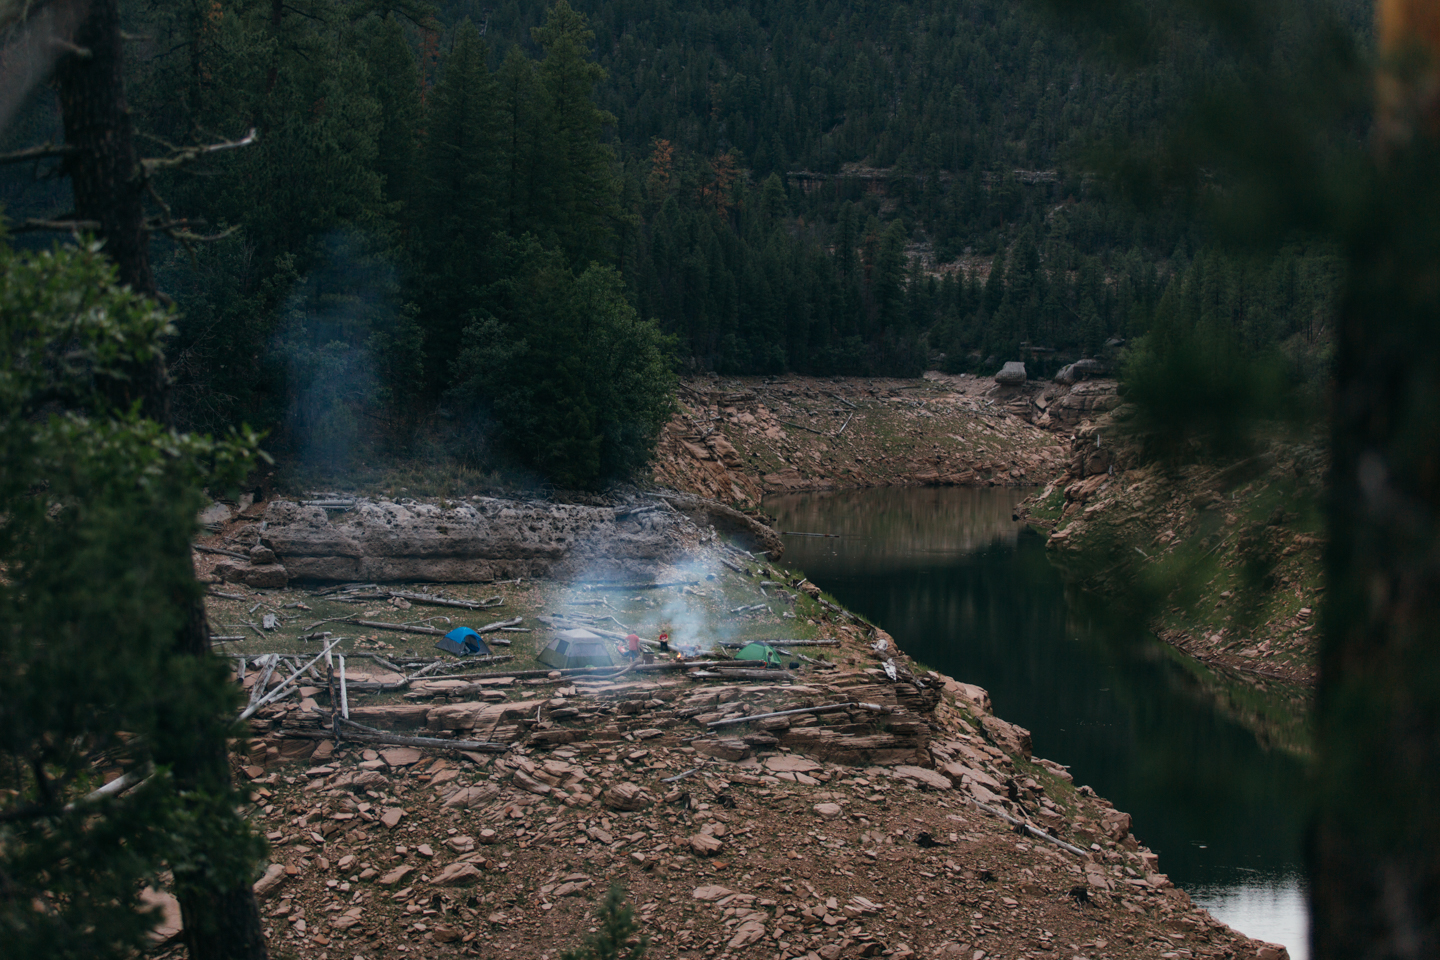
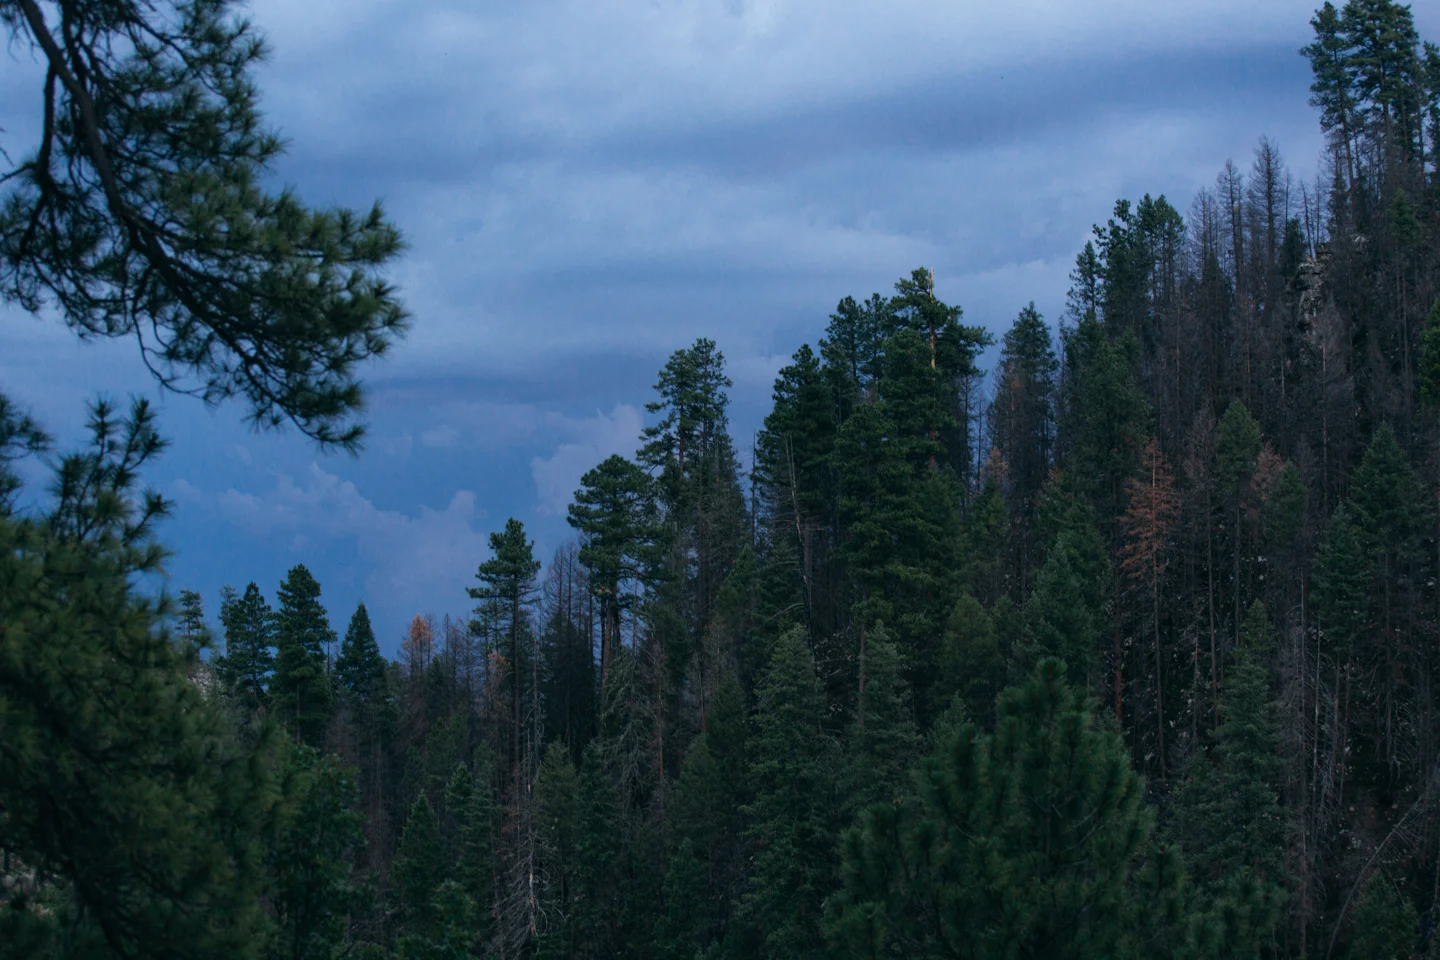
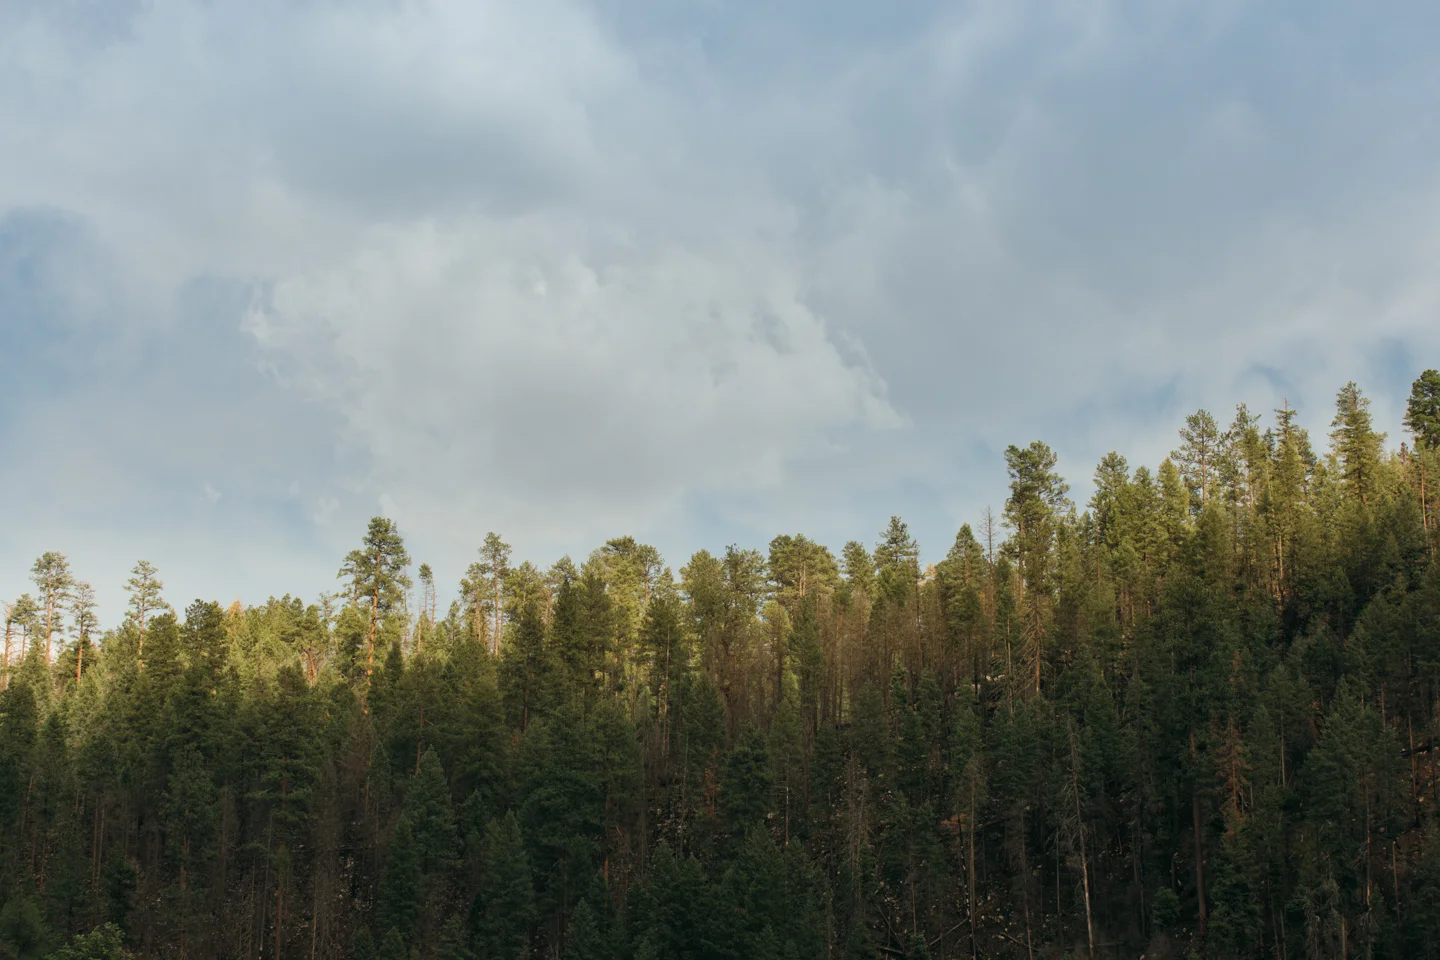
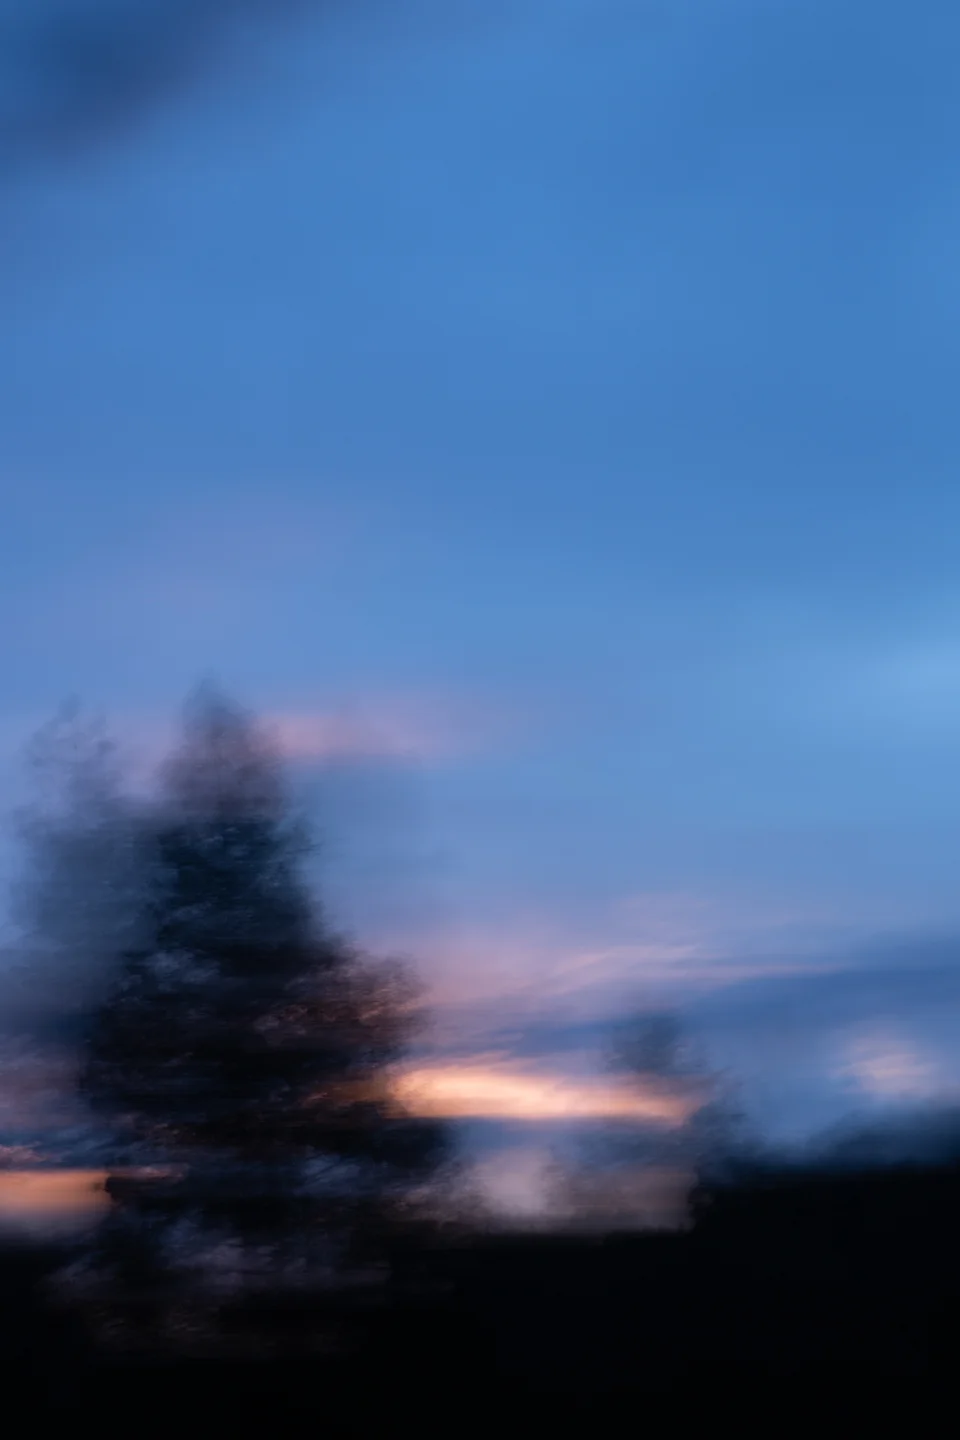
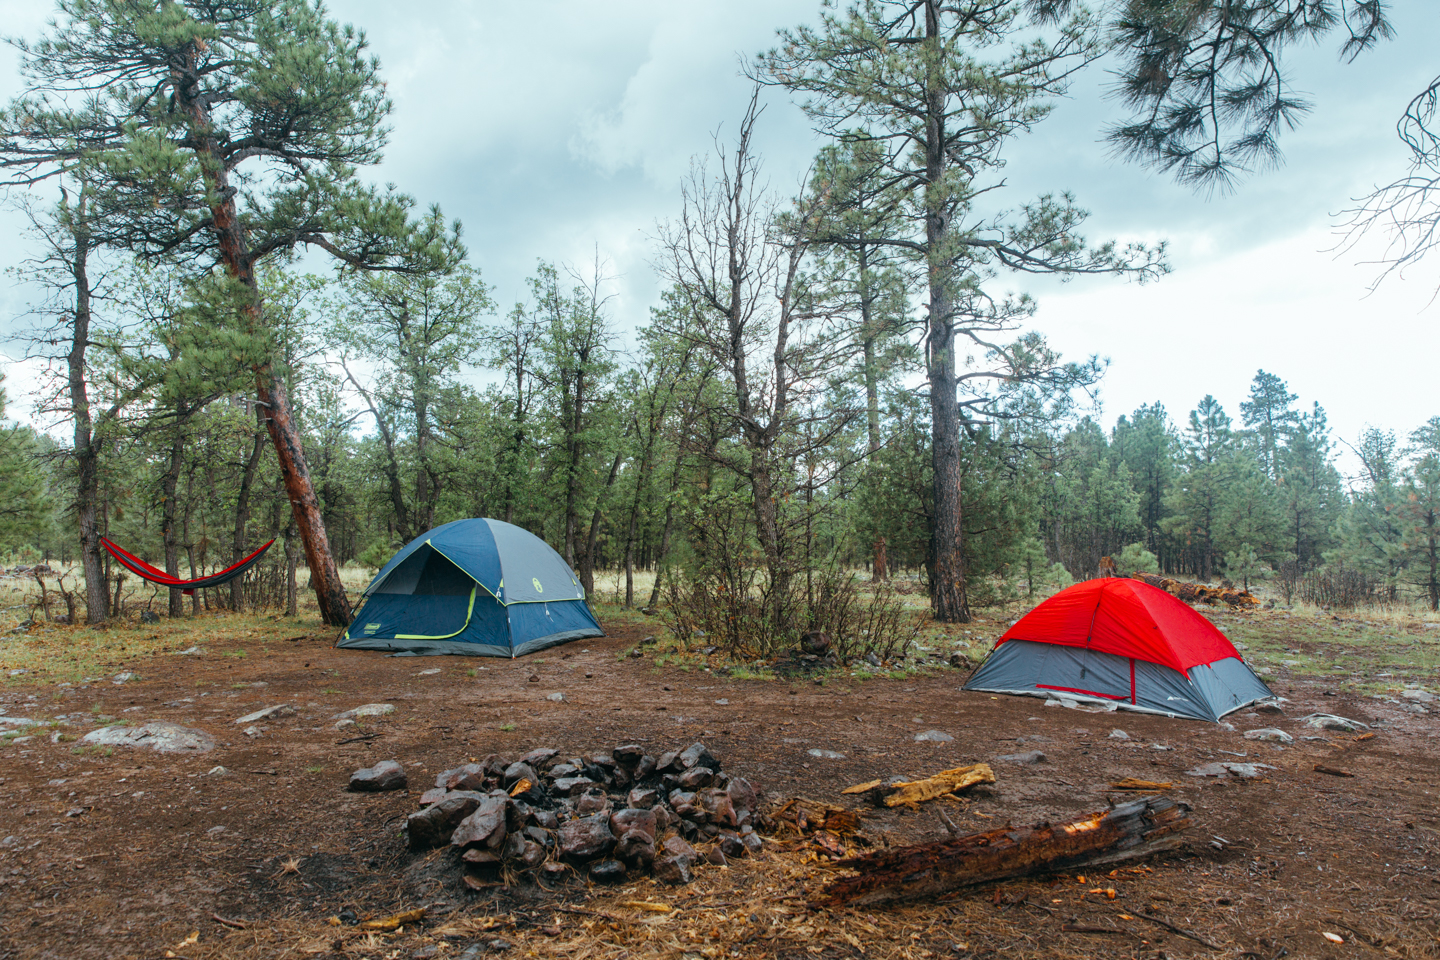
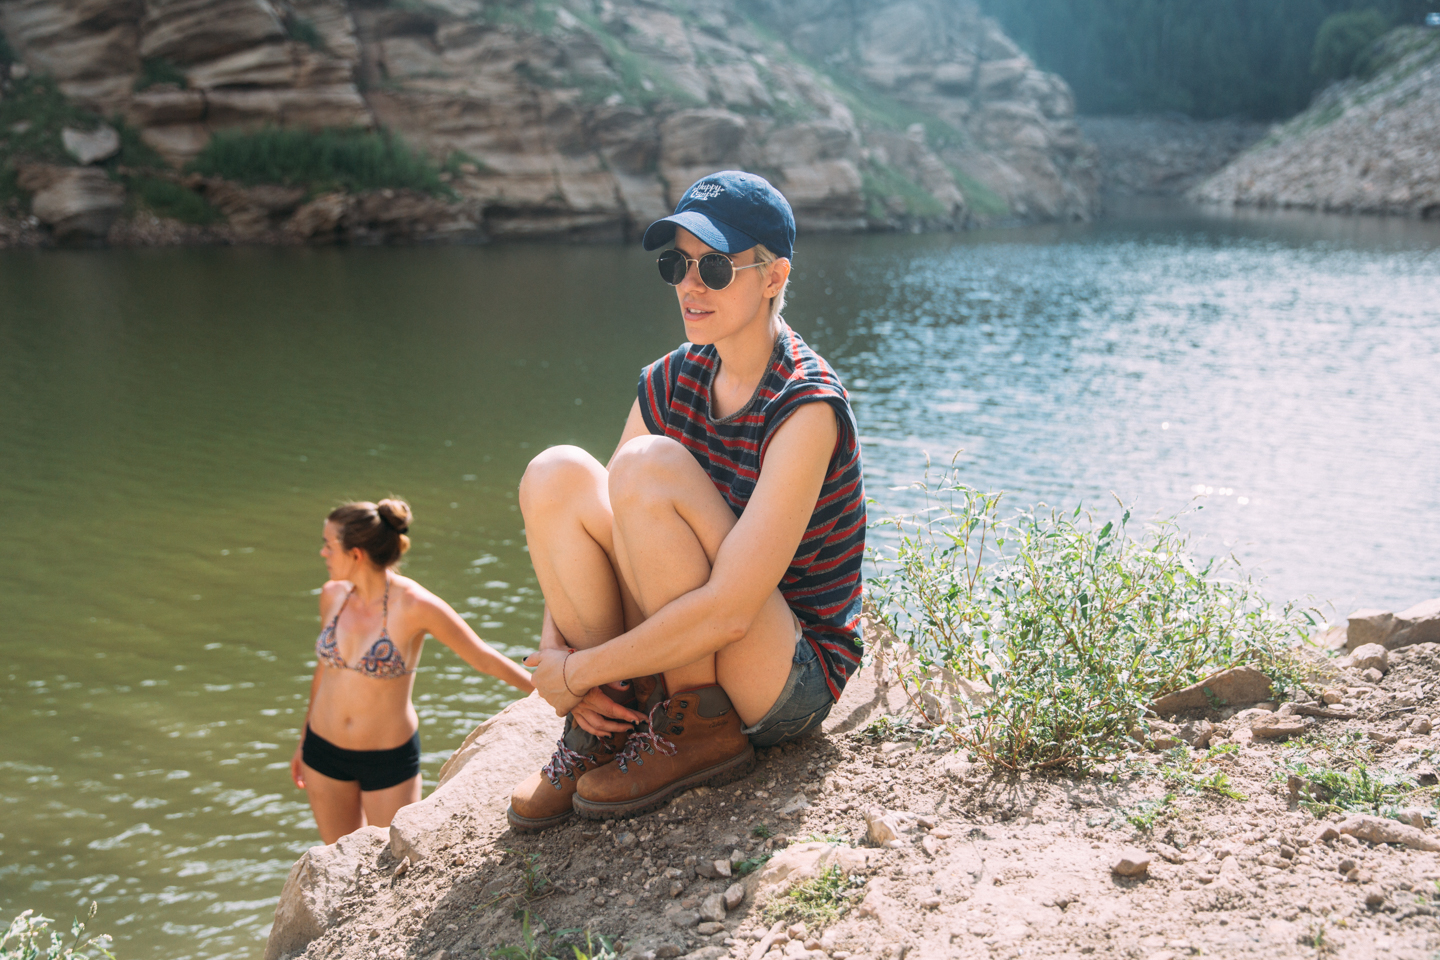
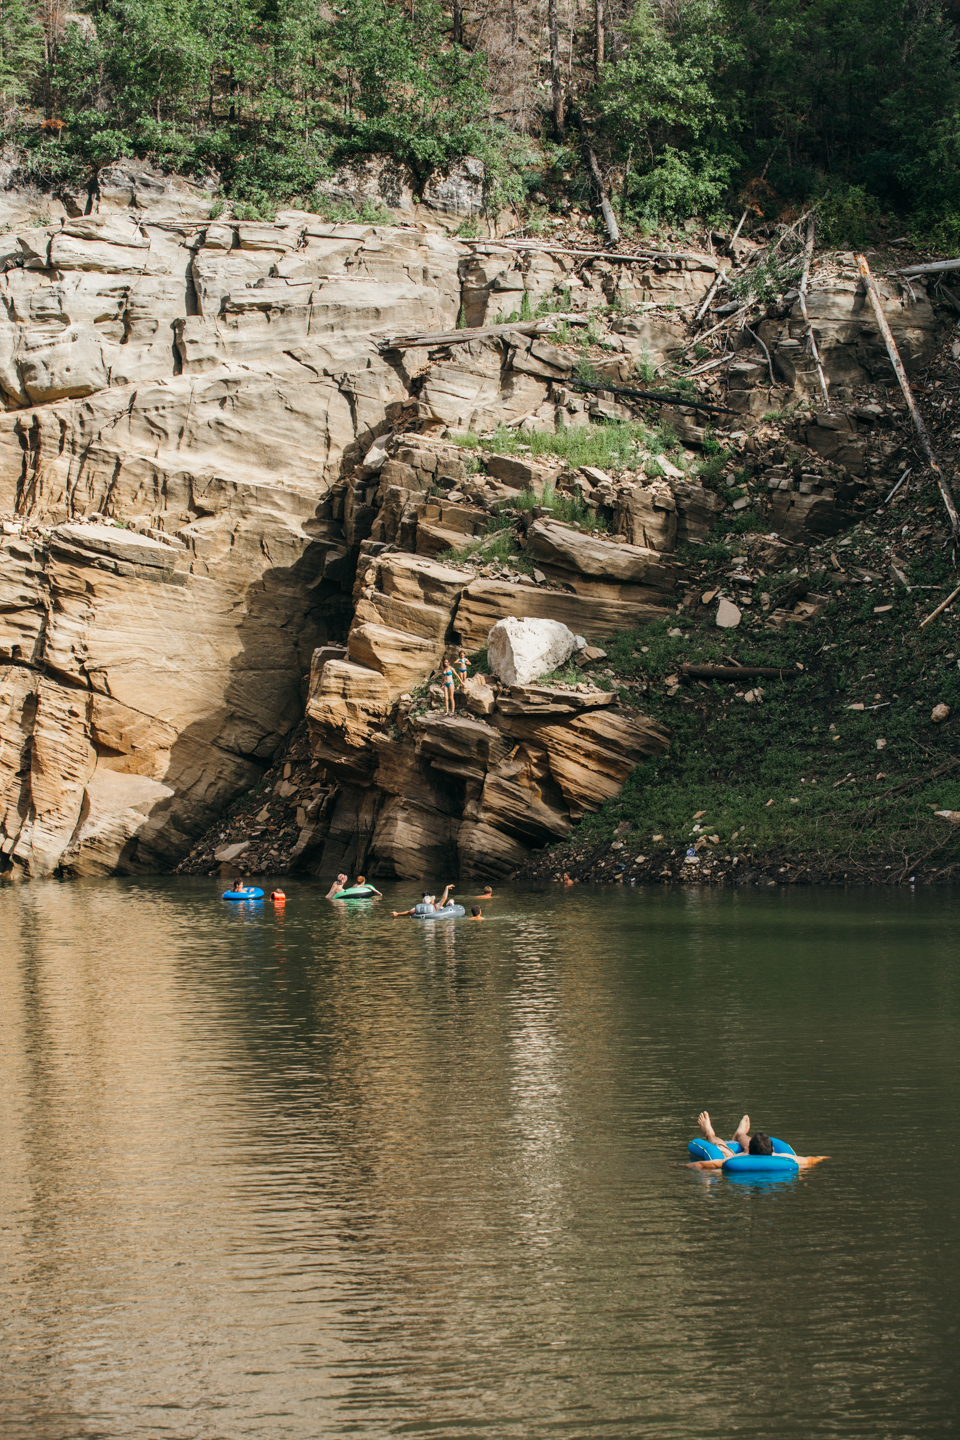
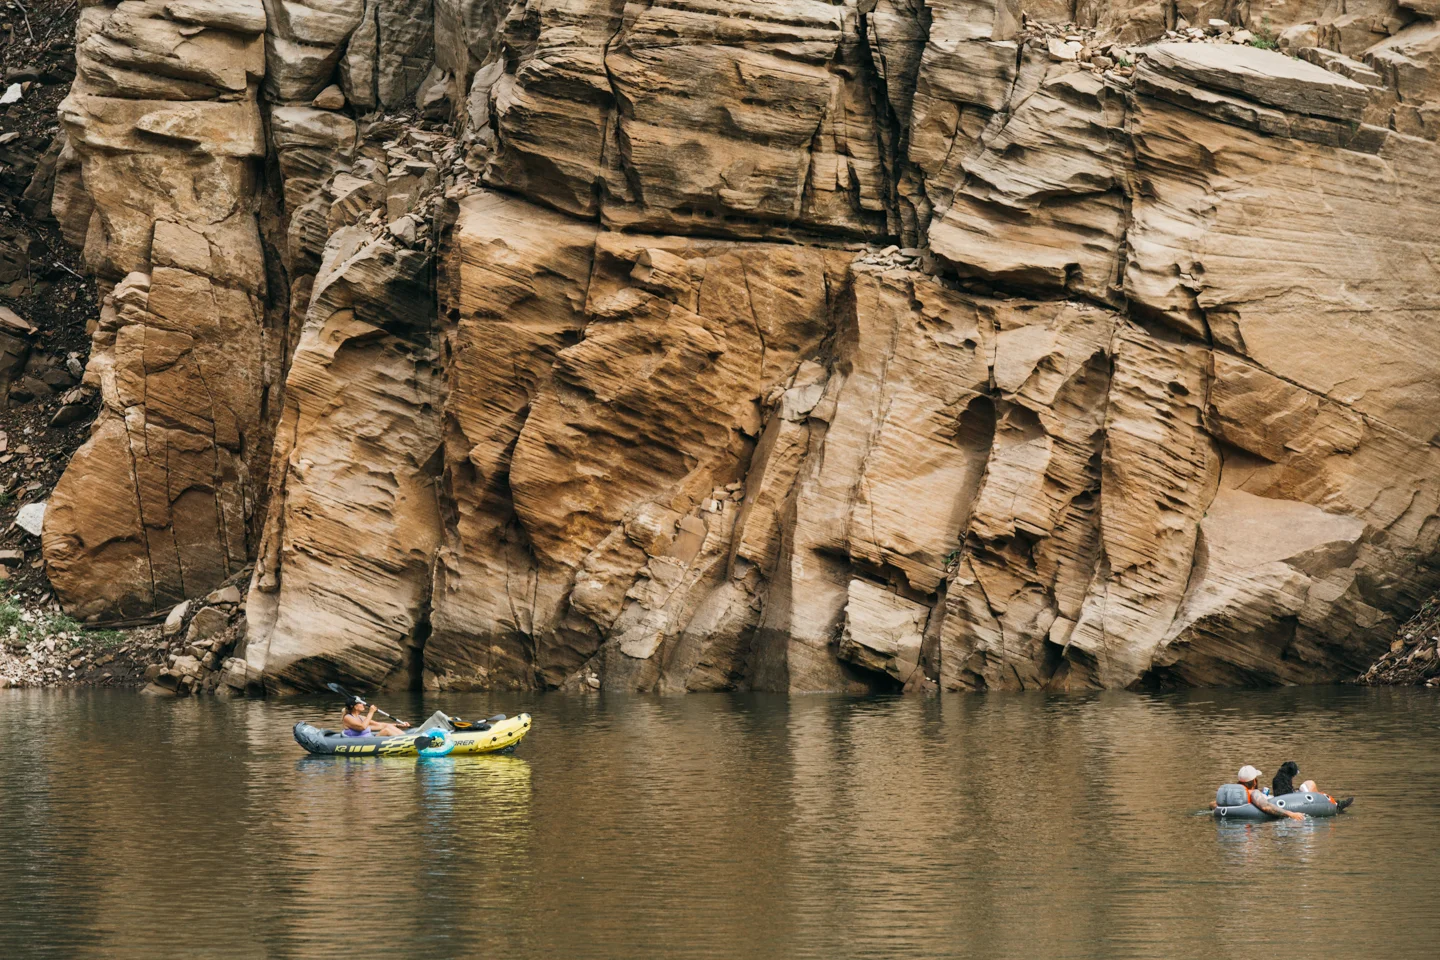
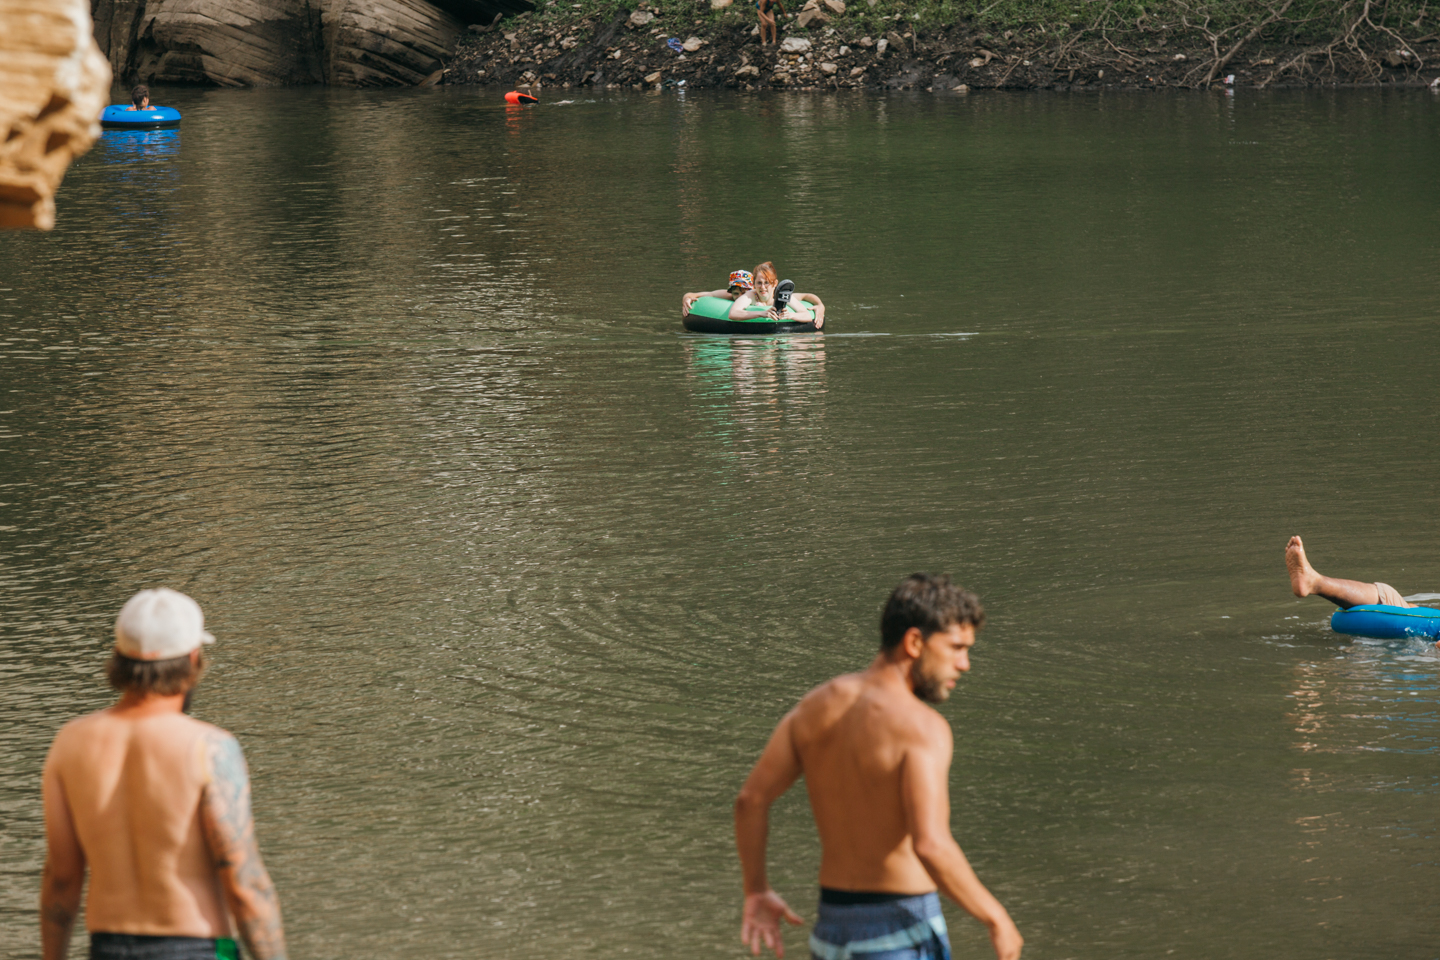
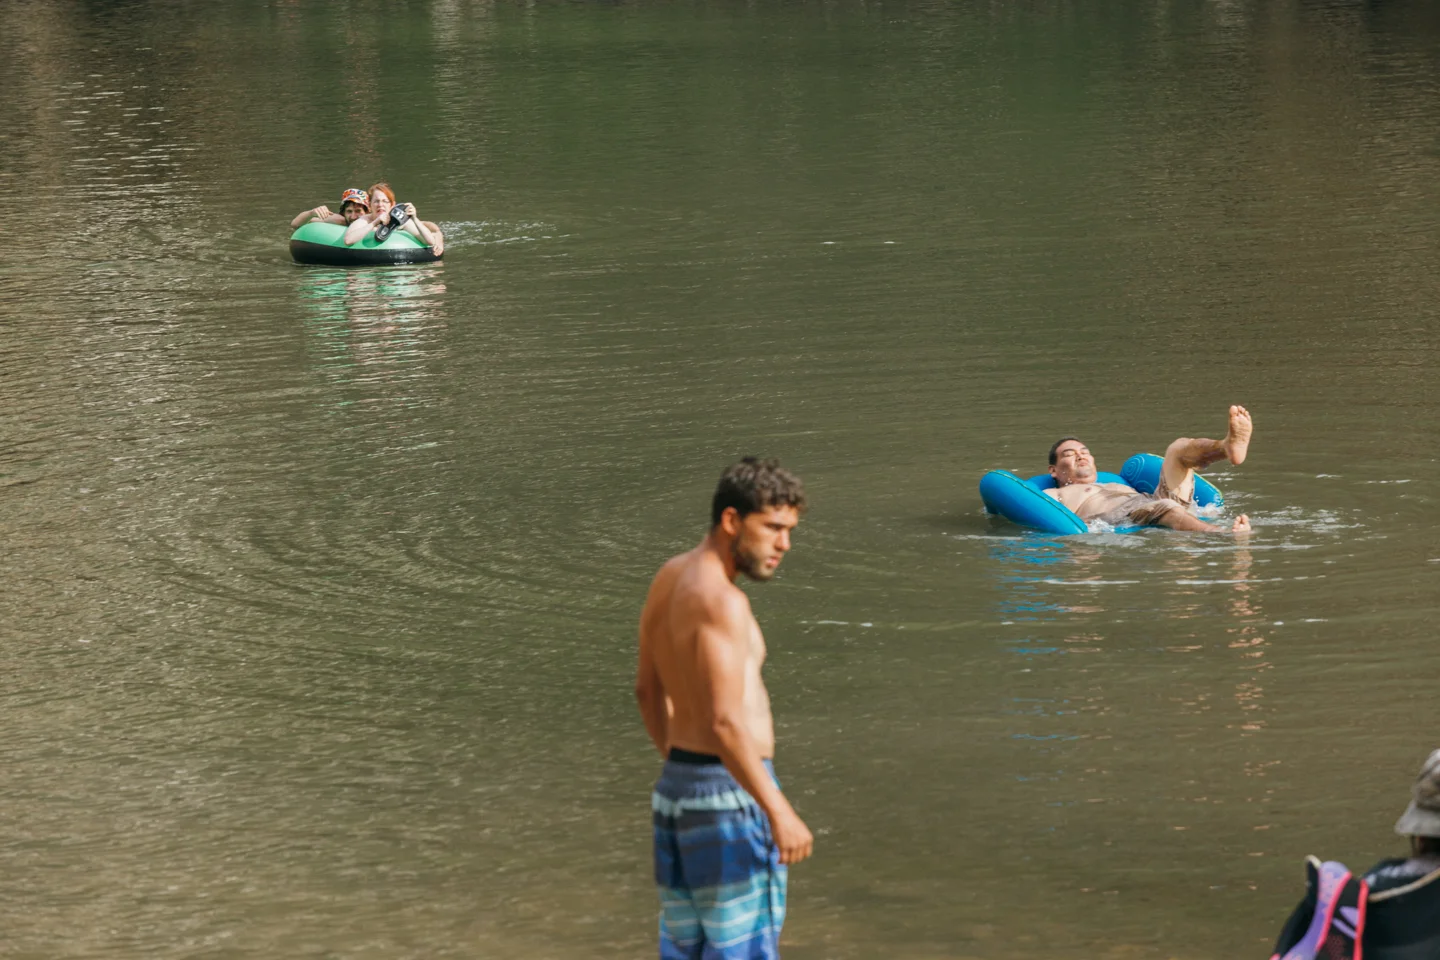
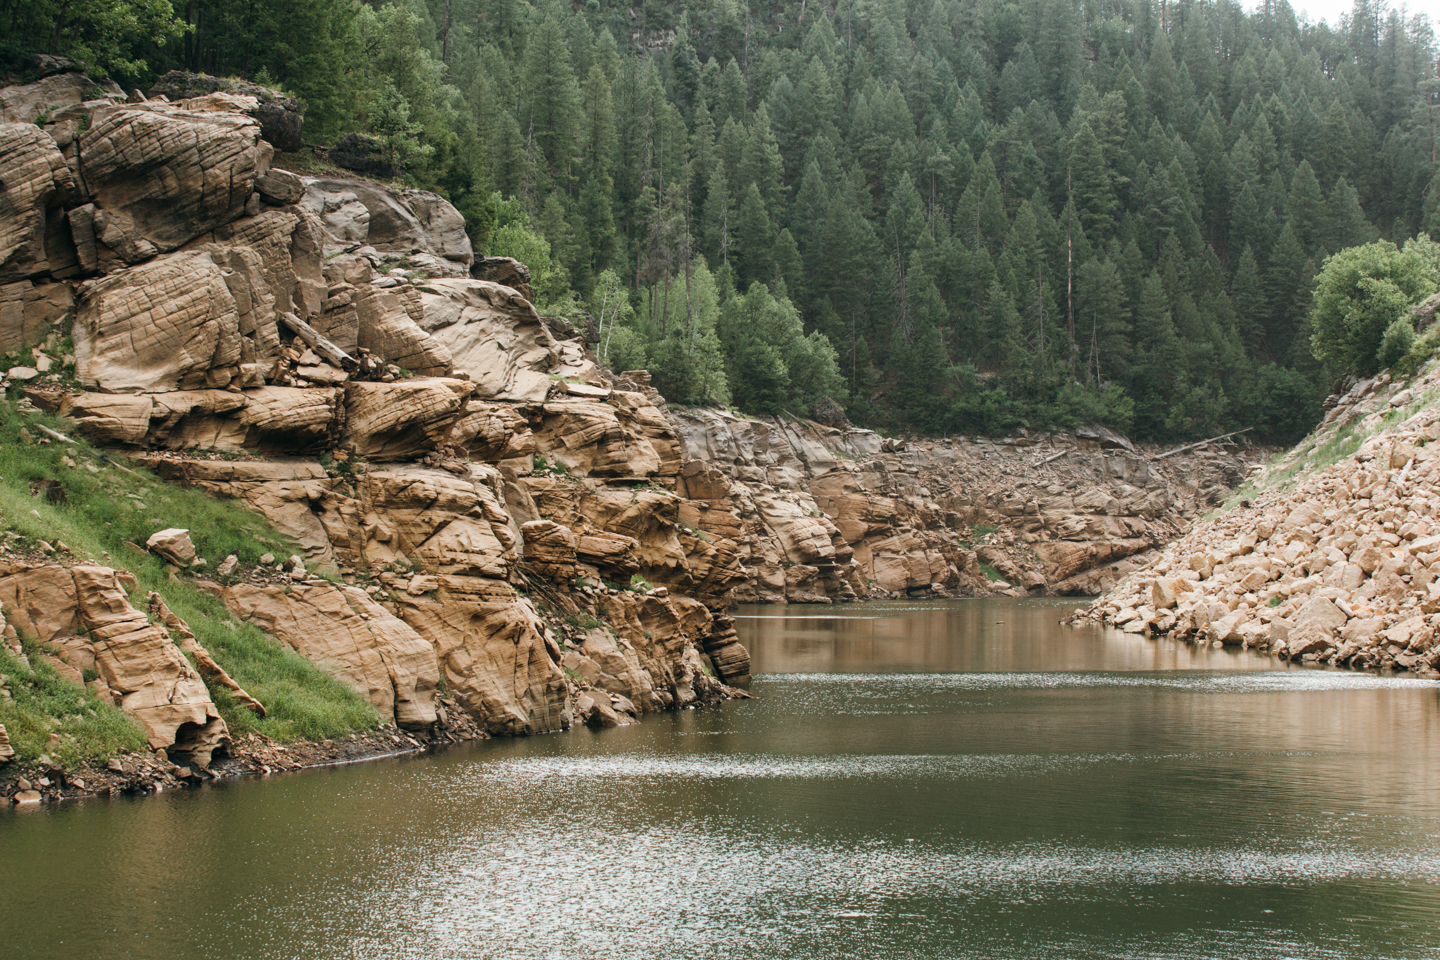
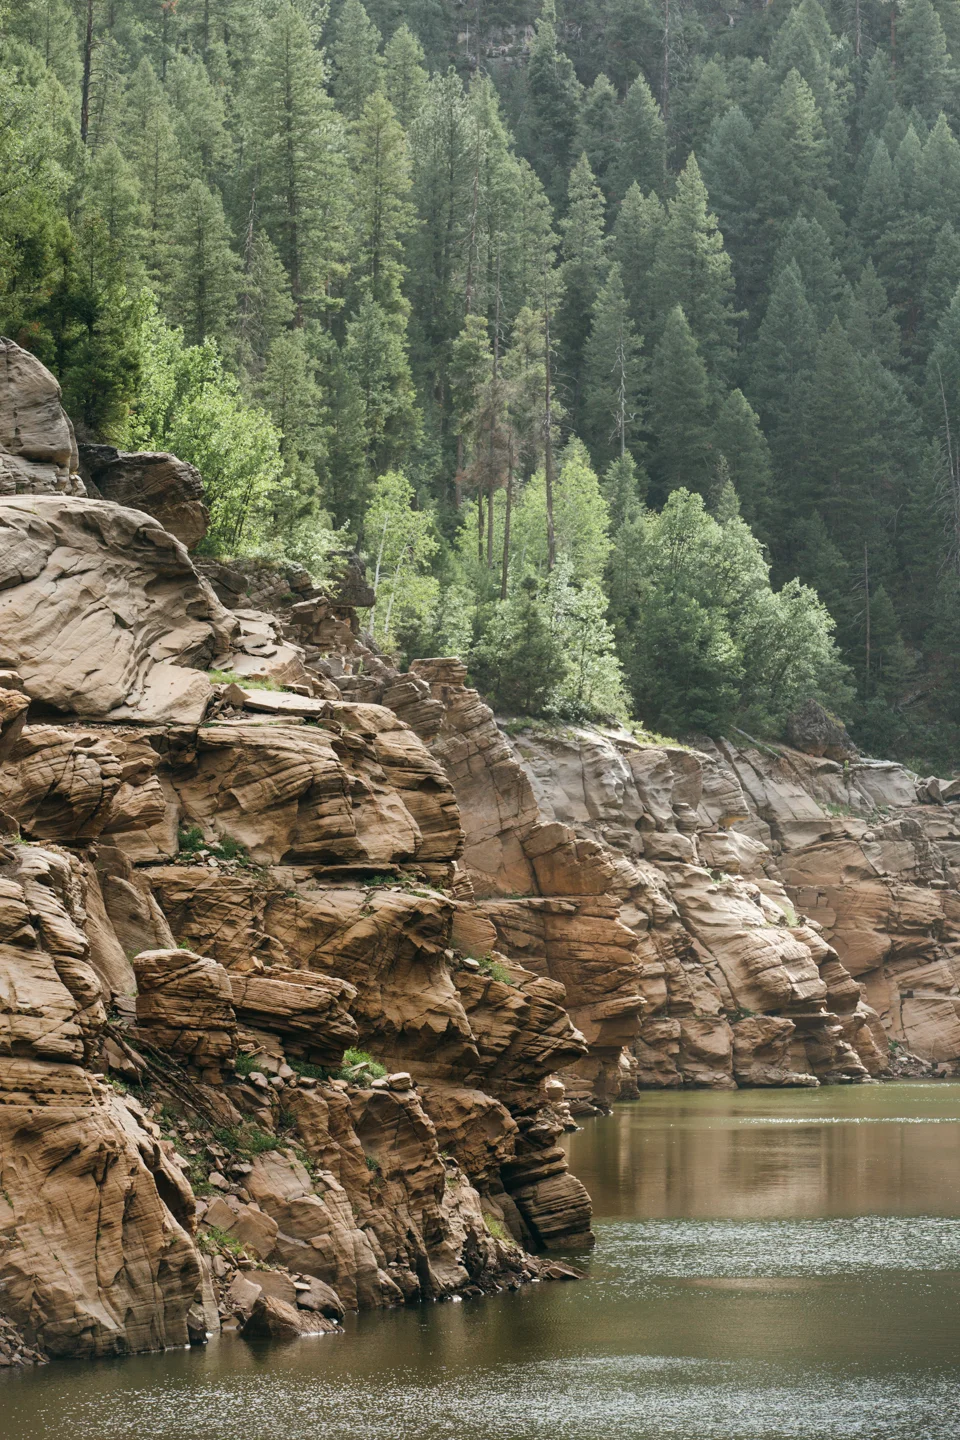
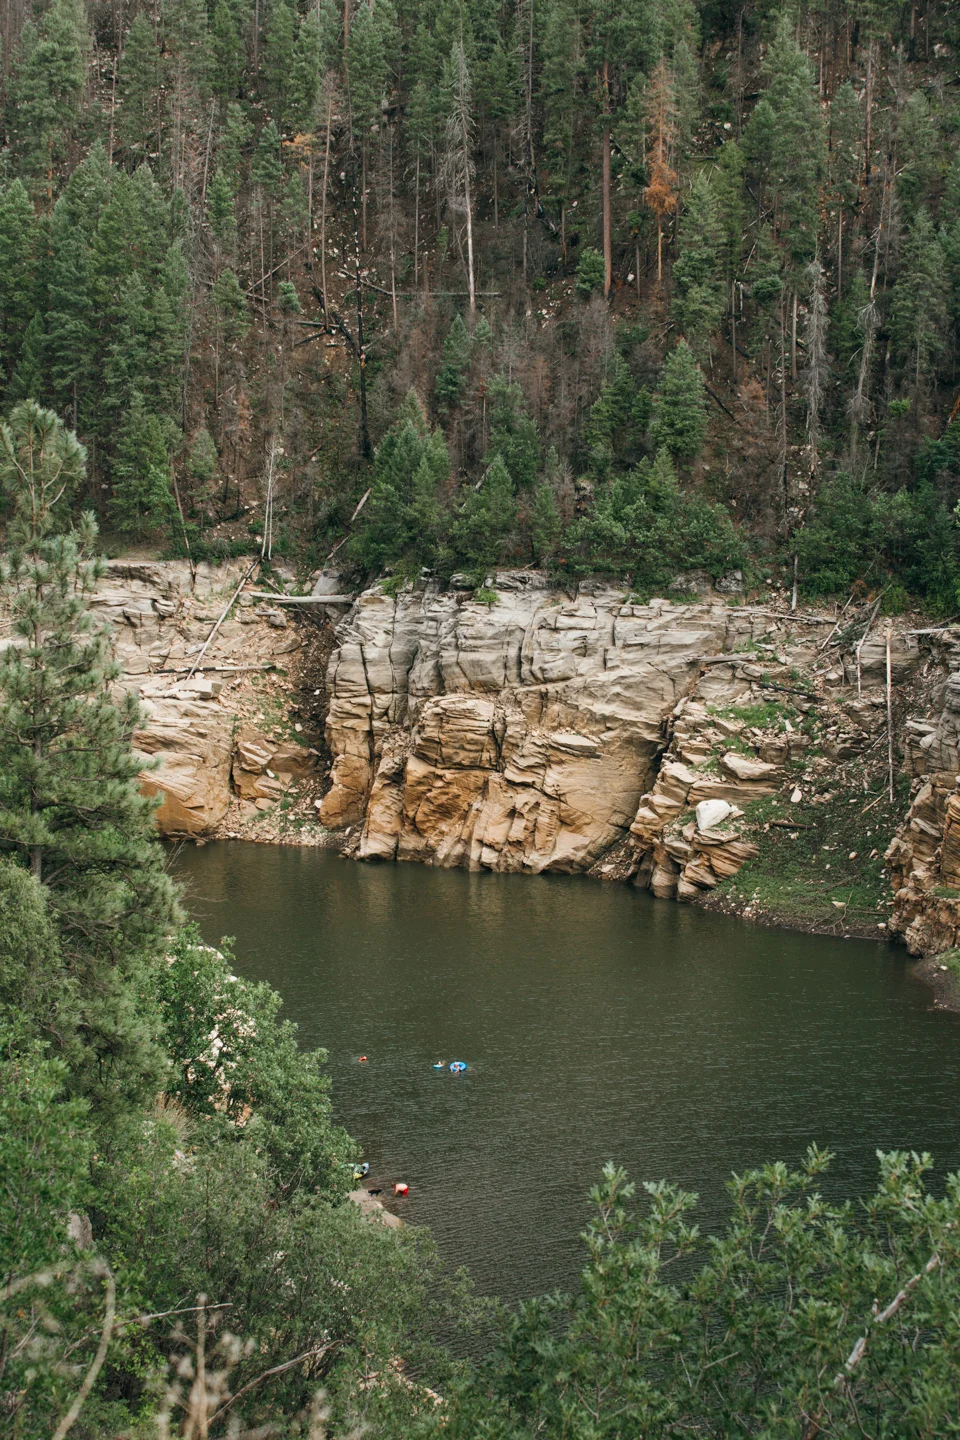
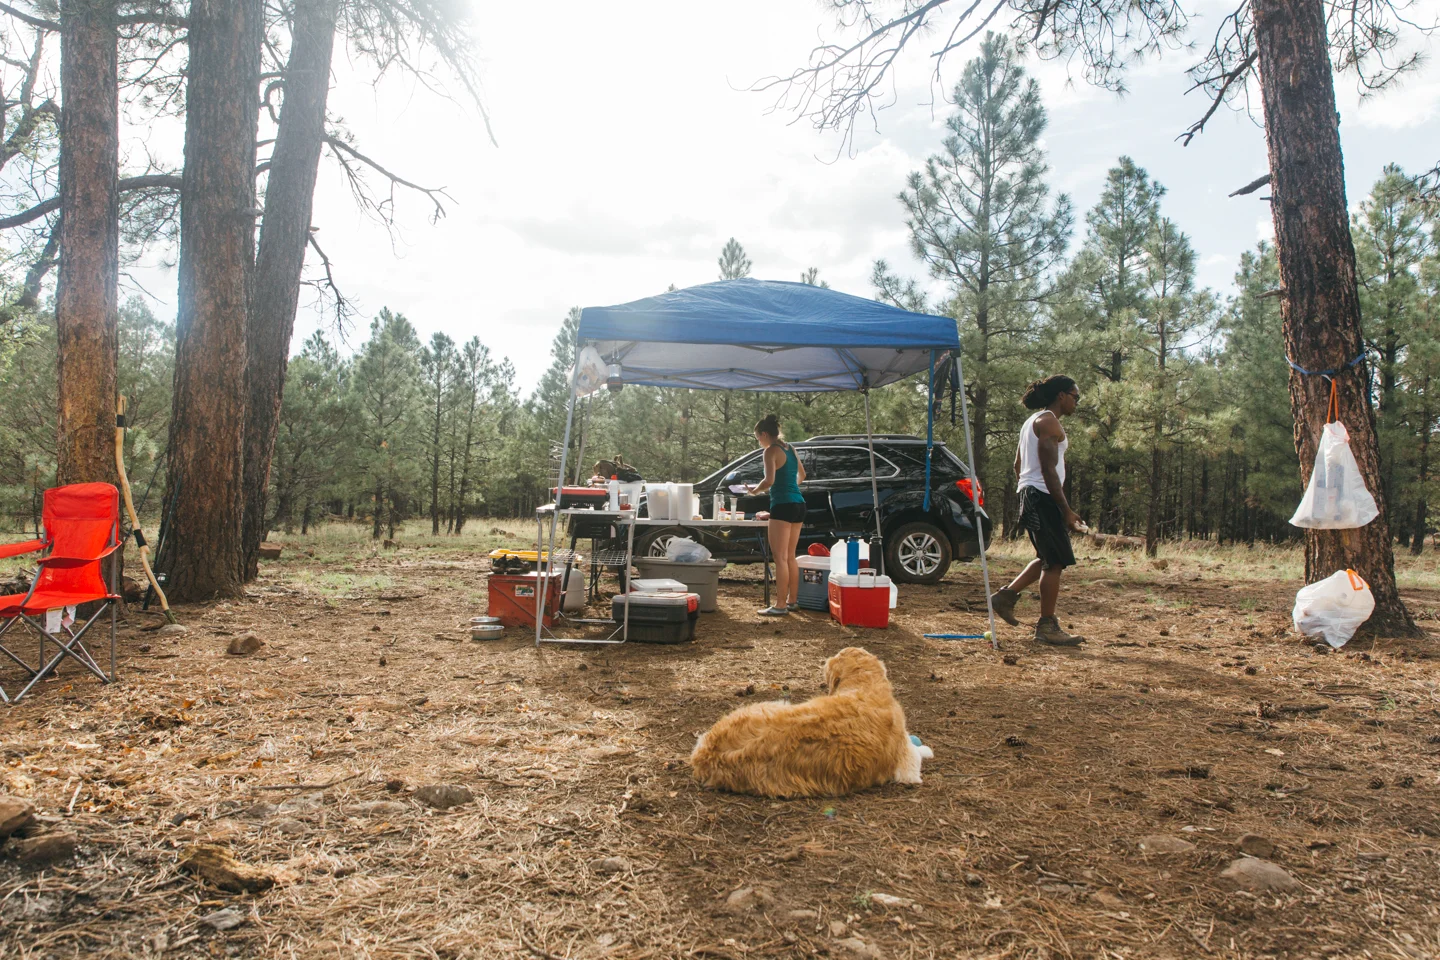
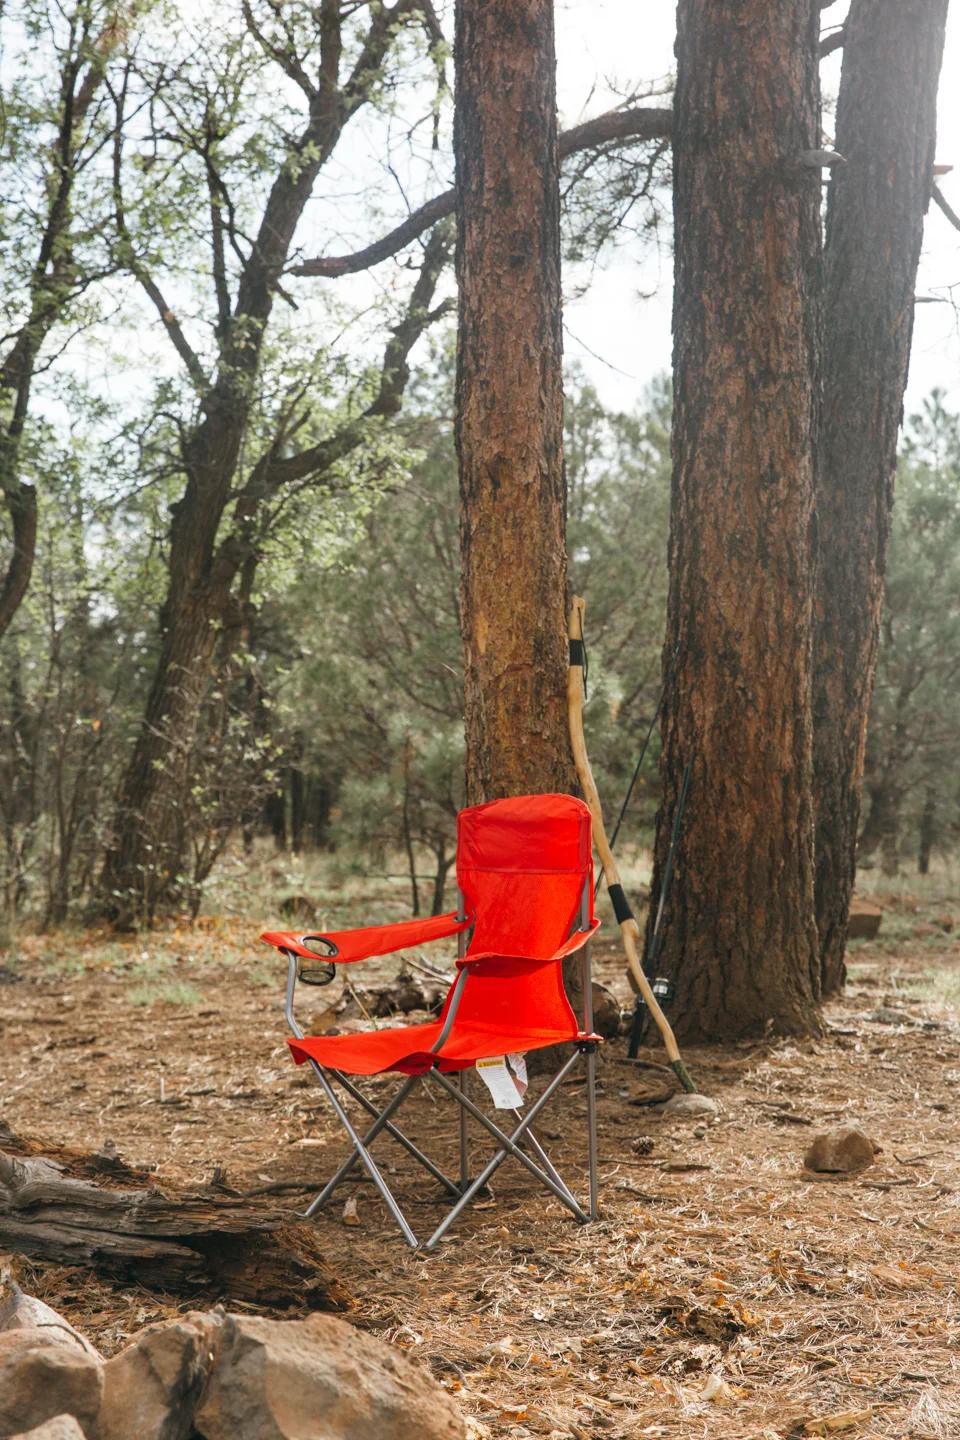
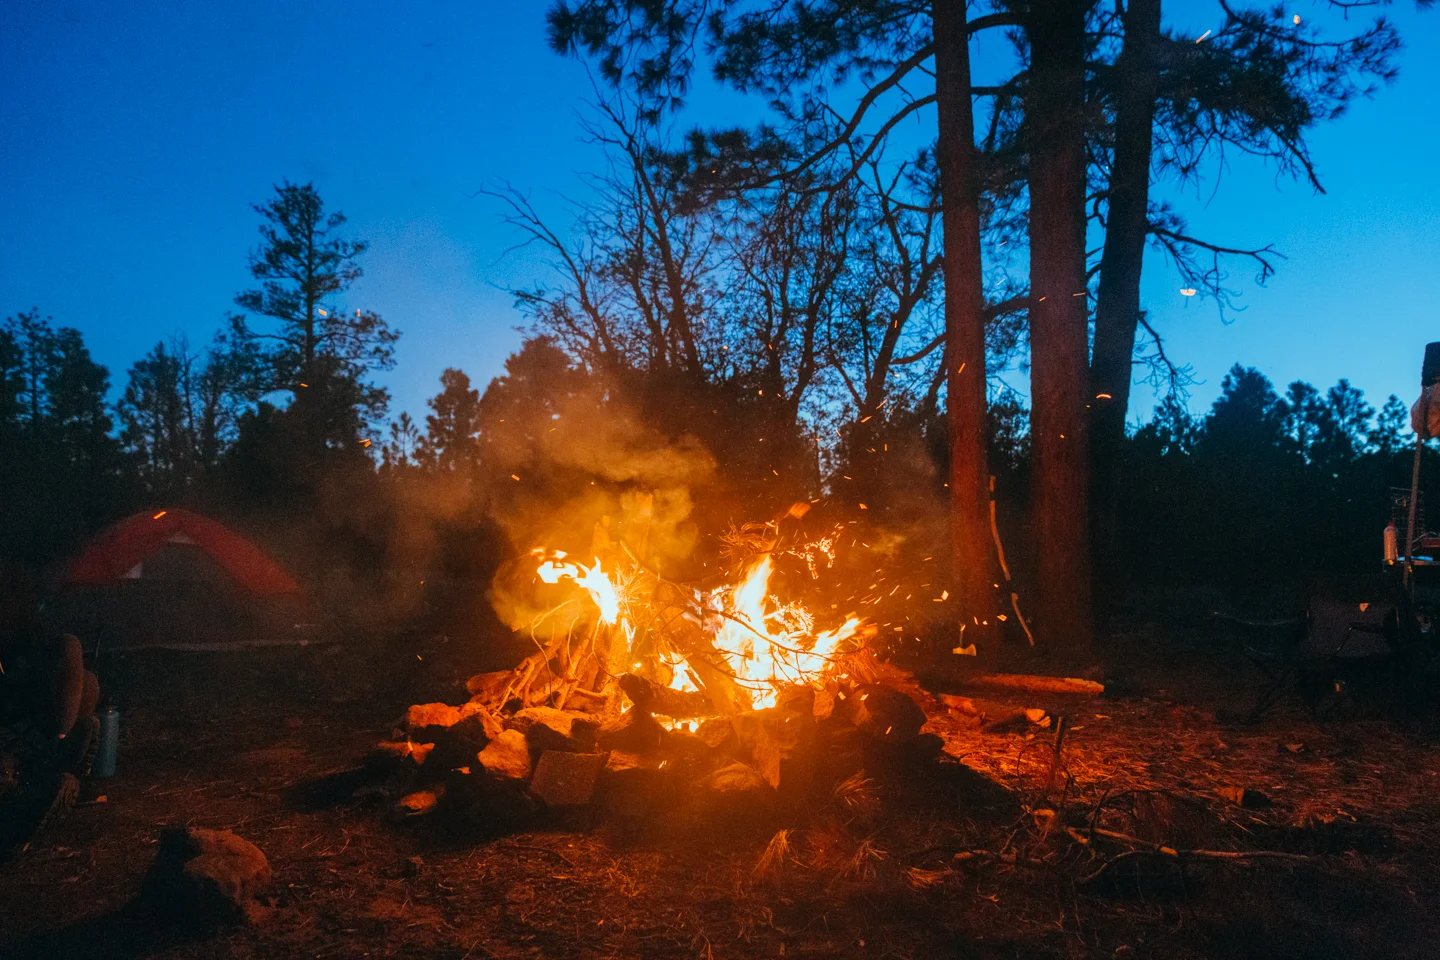
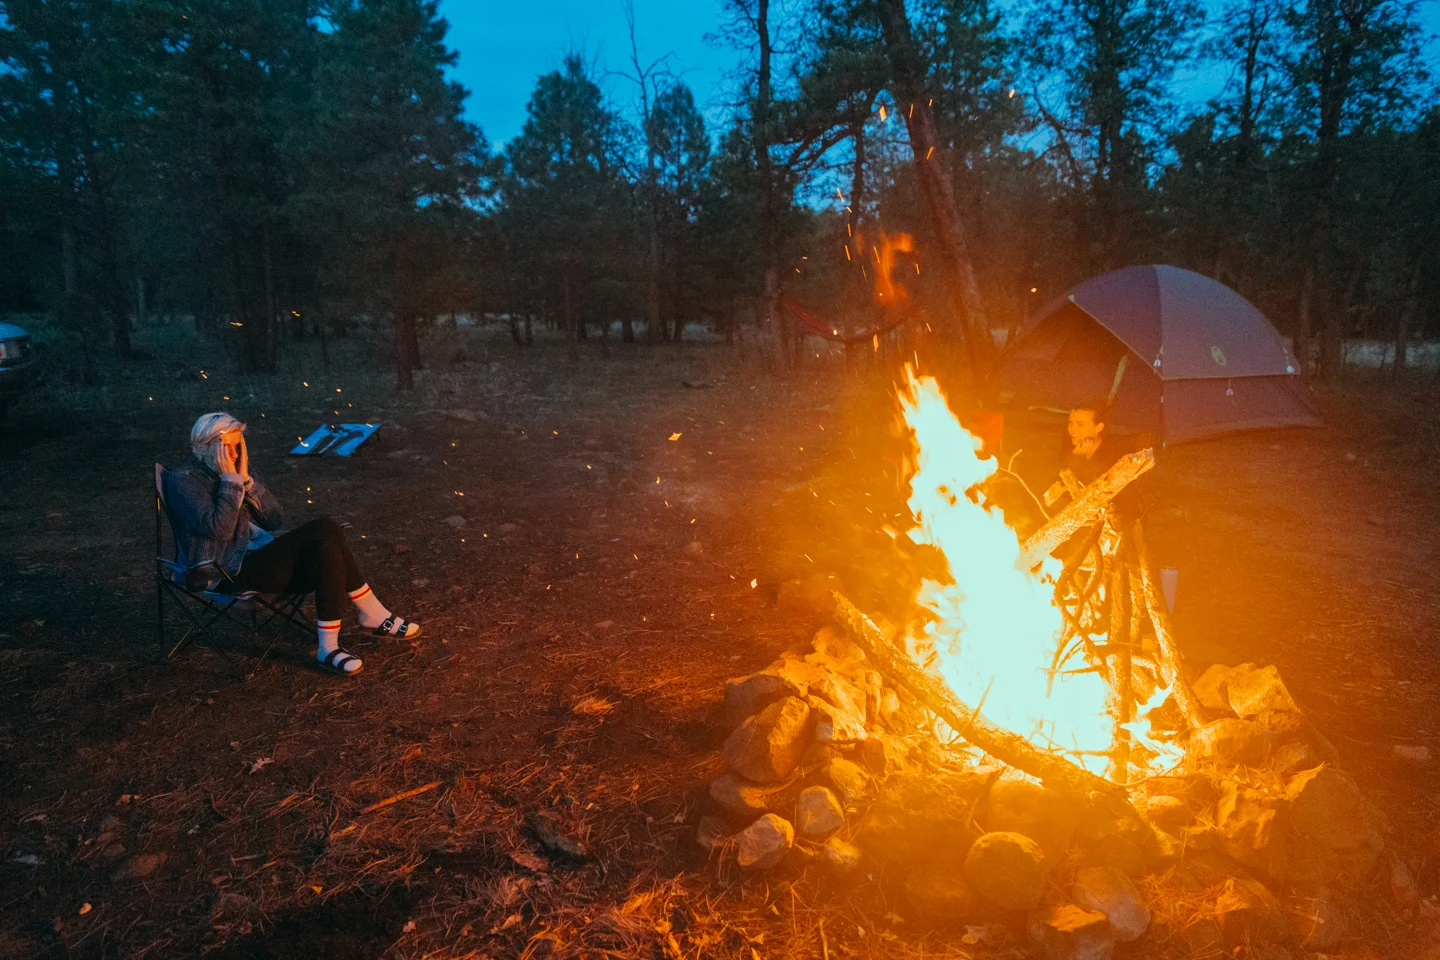
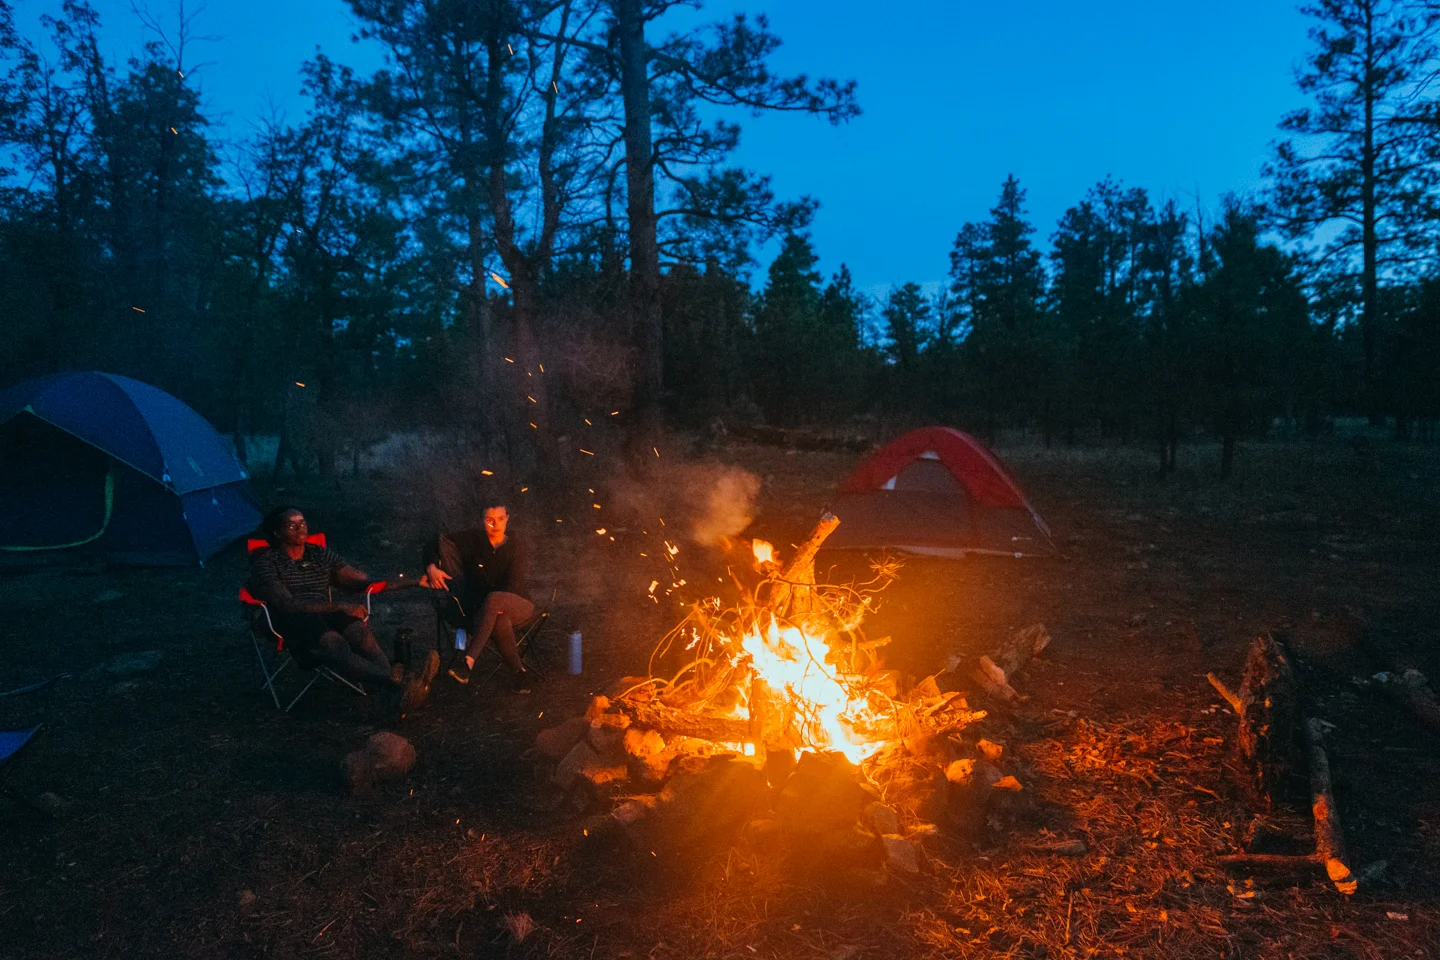
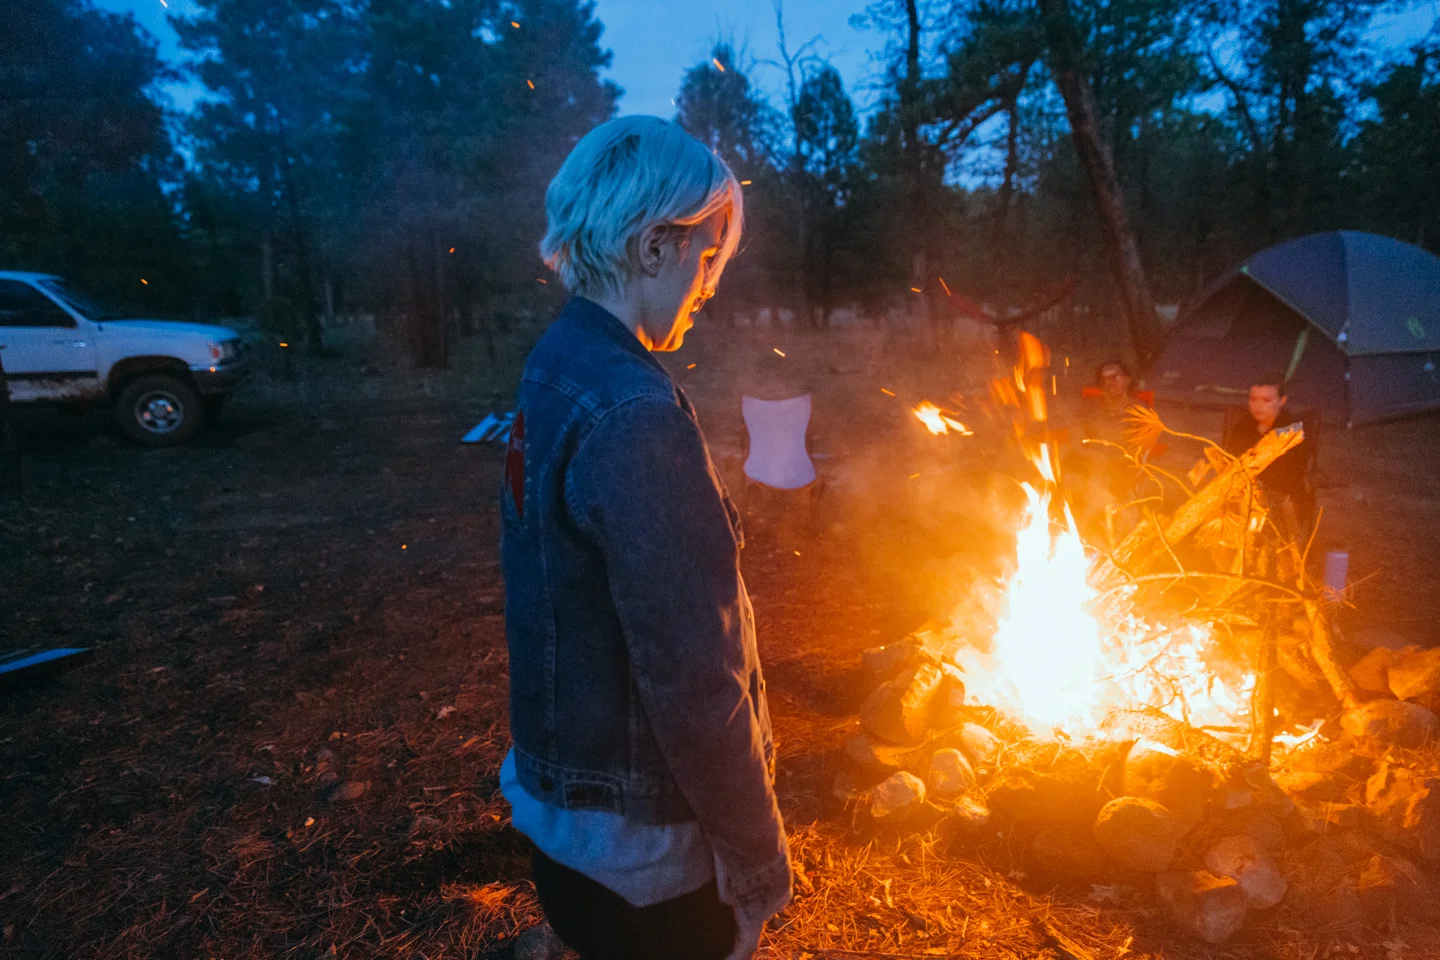
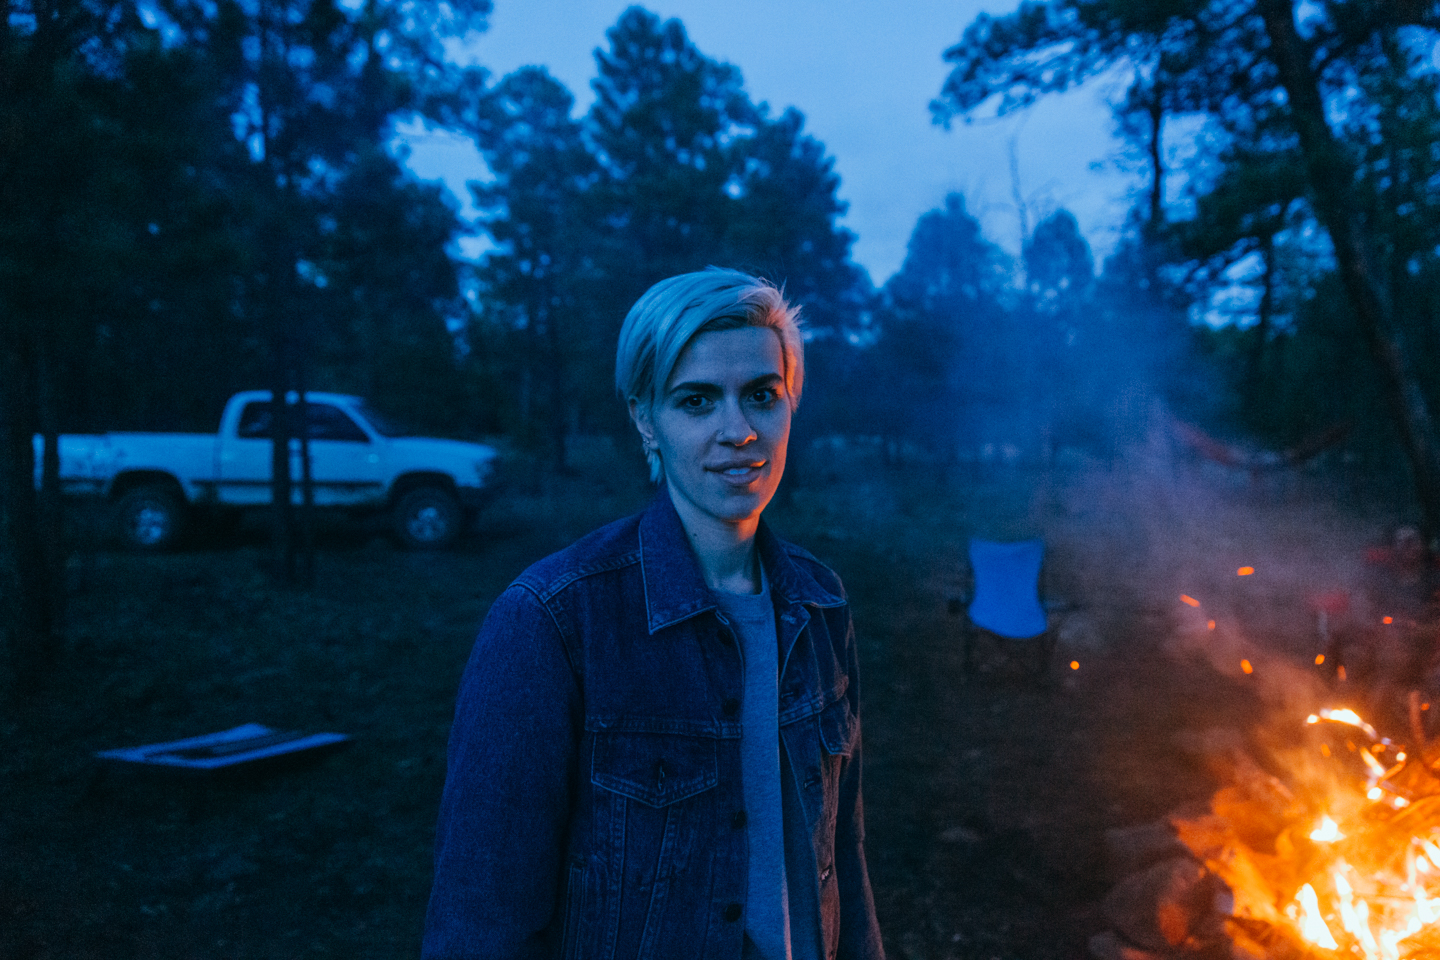
Blue Ridge Reservoir
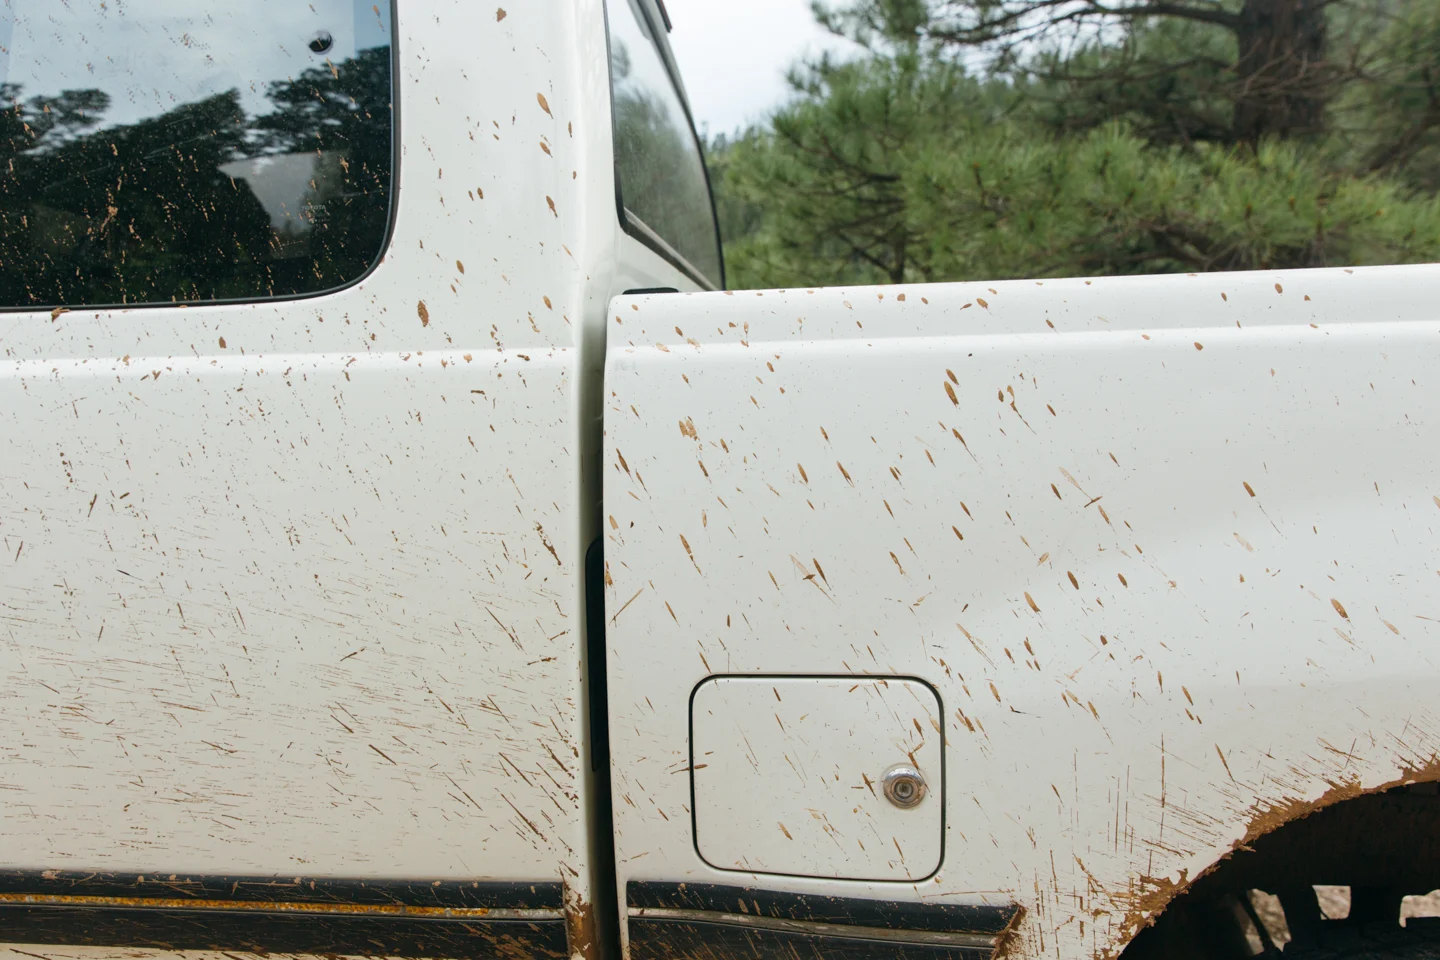
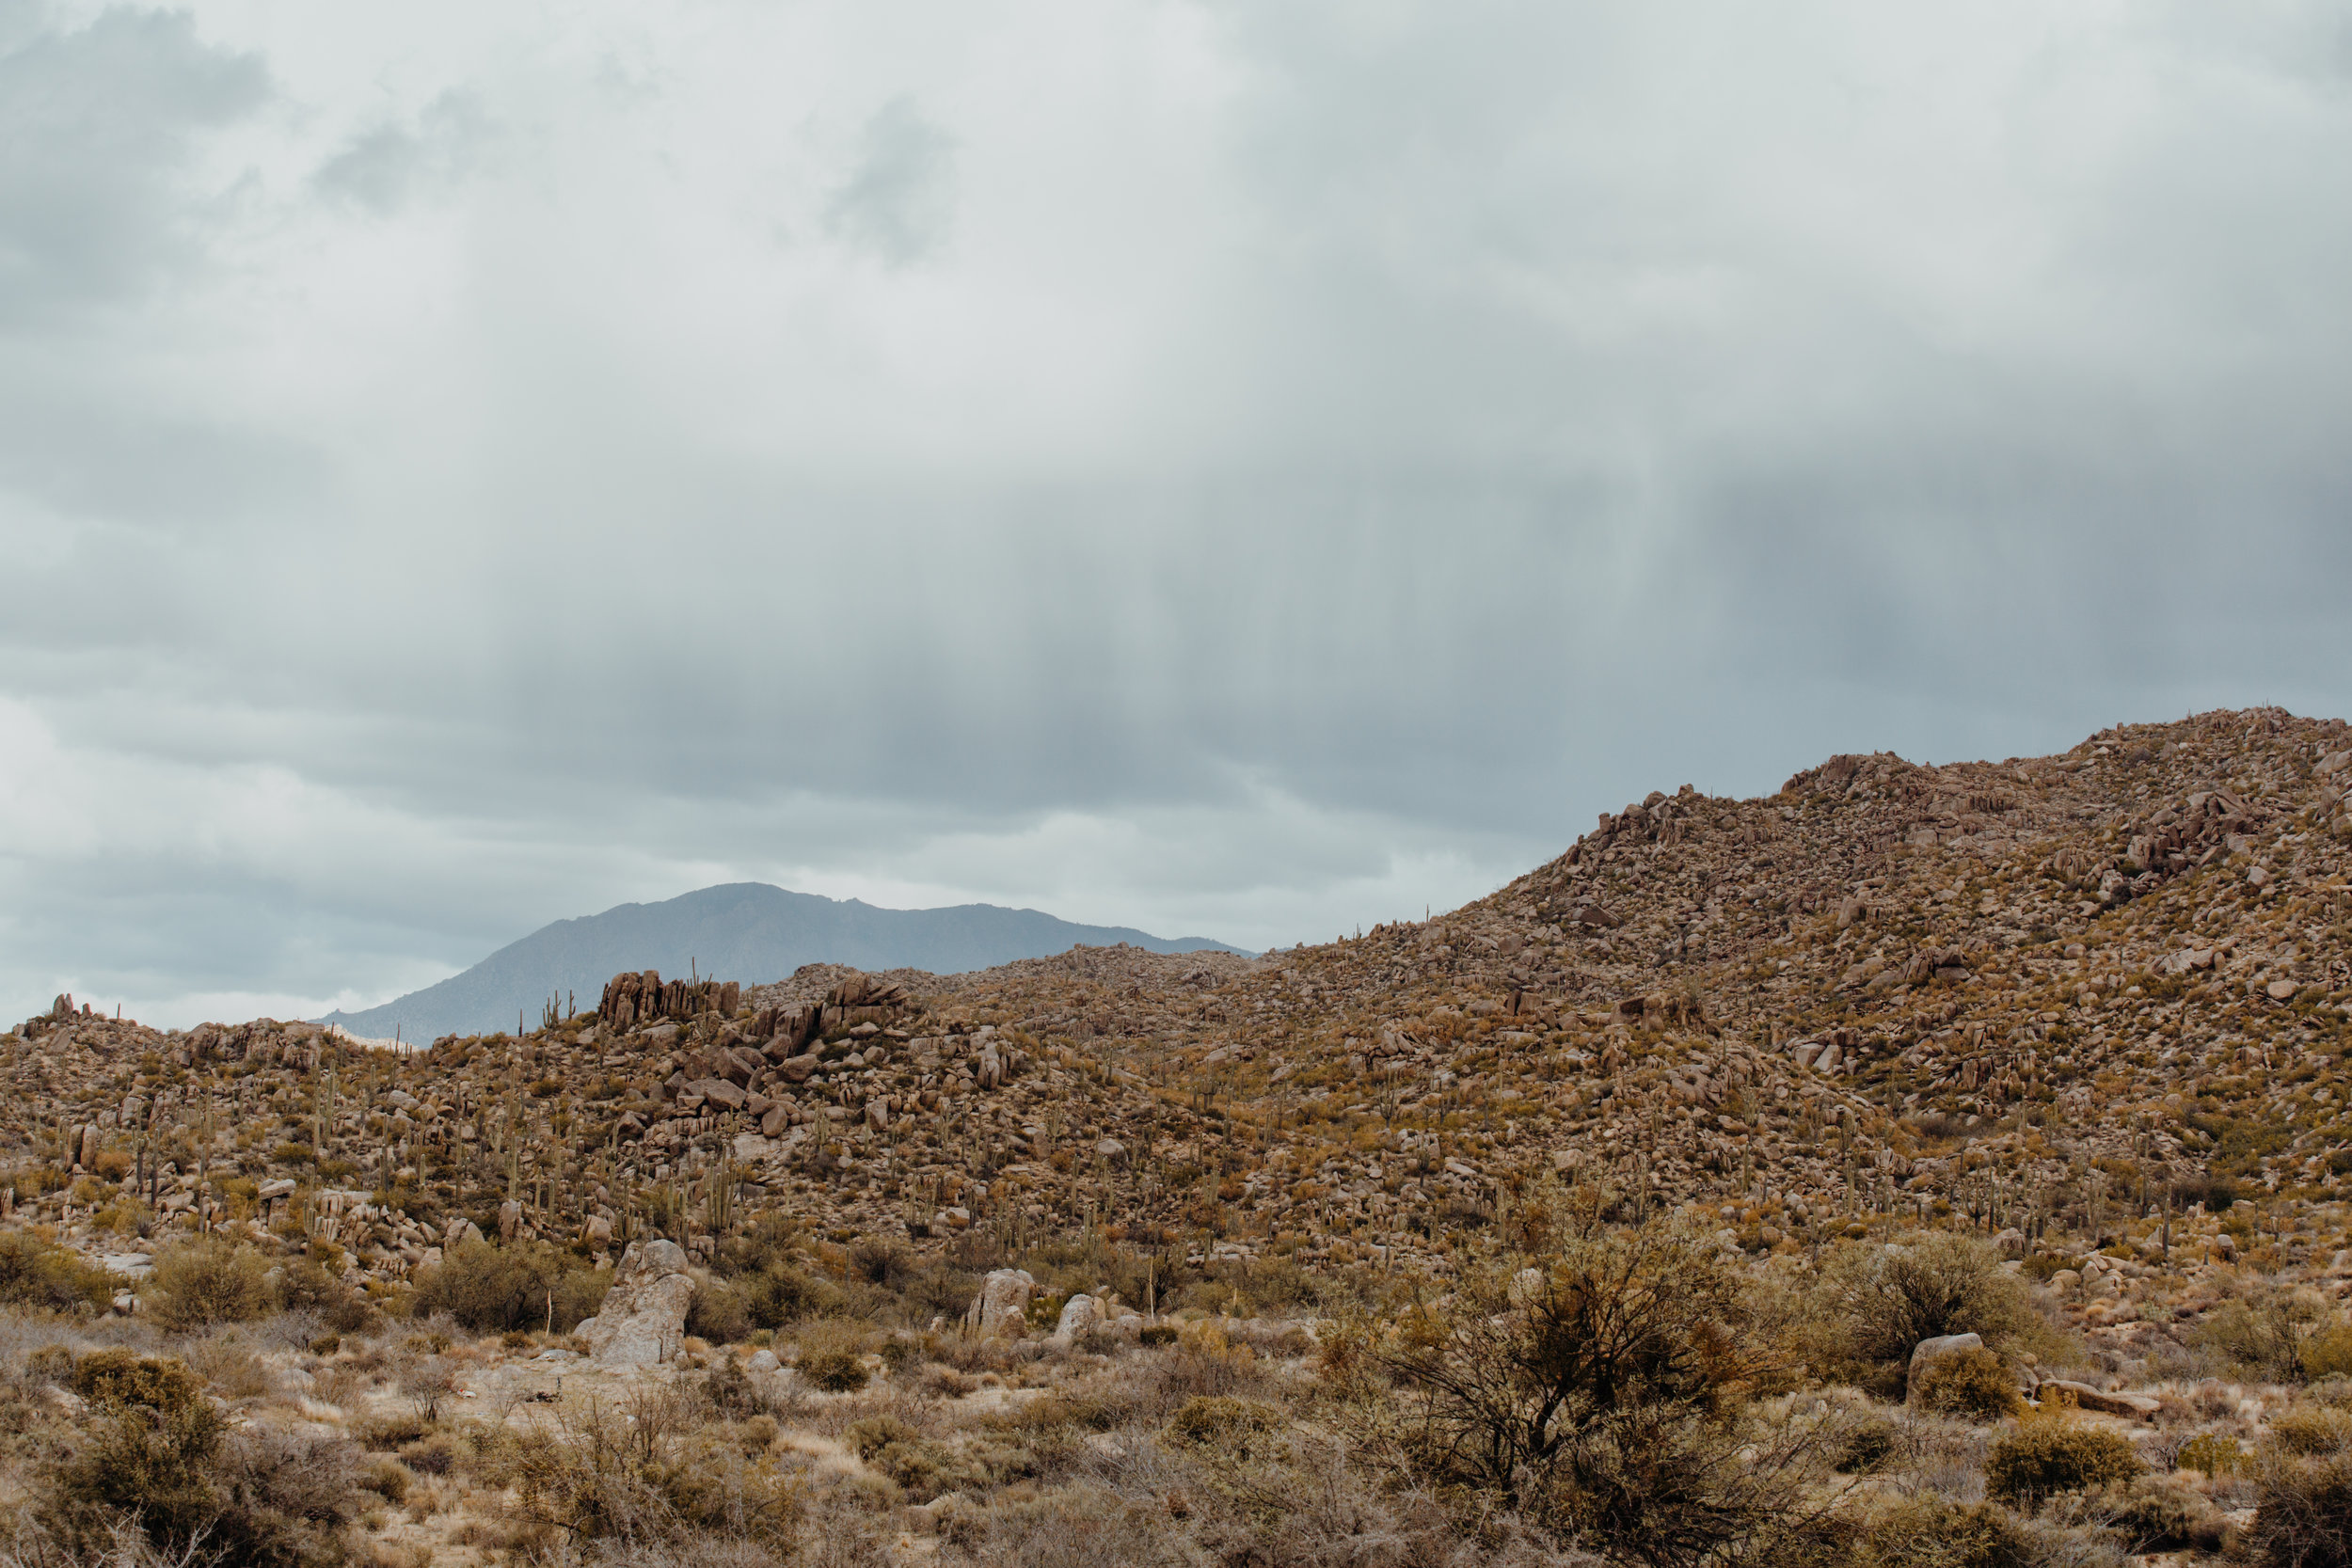
Arizona, commonly perceived to be a state full of cacti, is commonly overlooked for having diverse landscapes. From sand dunes, the Grand Canyon, lush forrest lakes, the petrified forrest, and much more, it seems like its hard to run out of landmarks to explore.
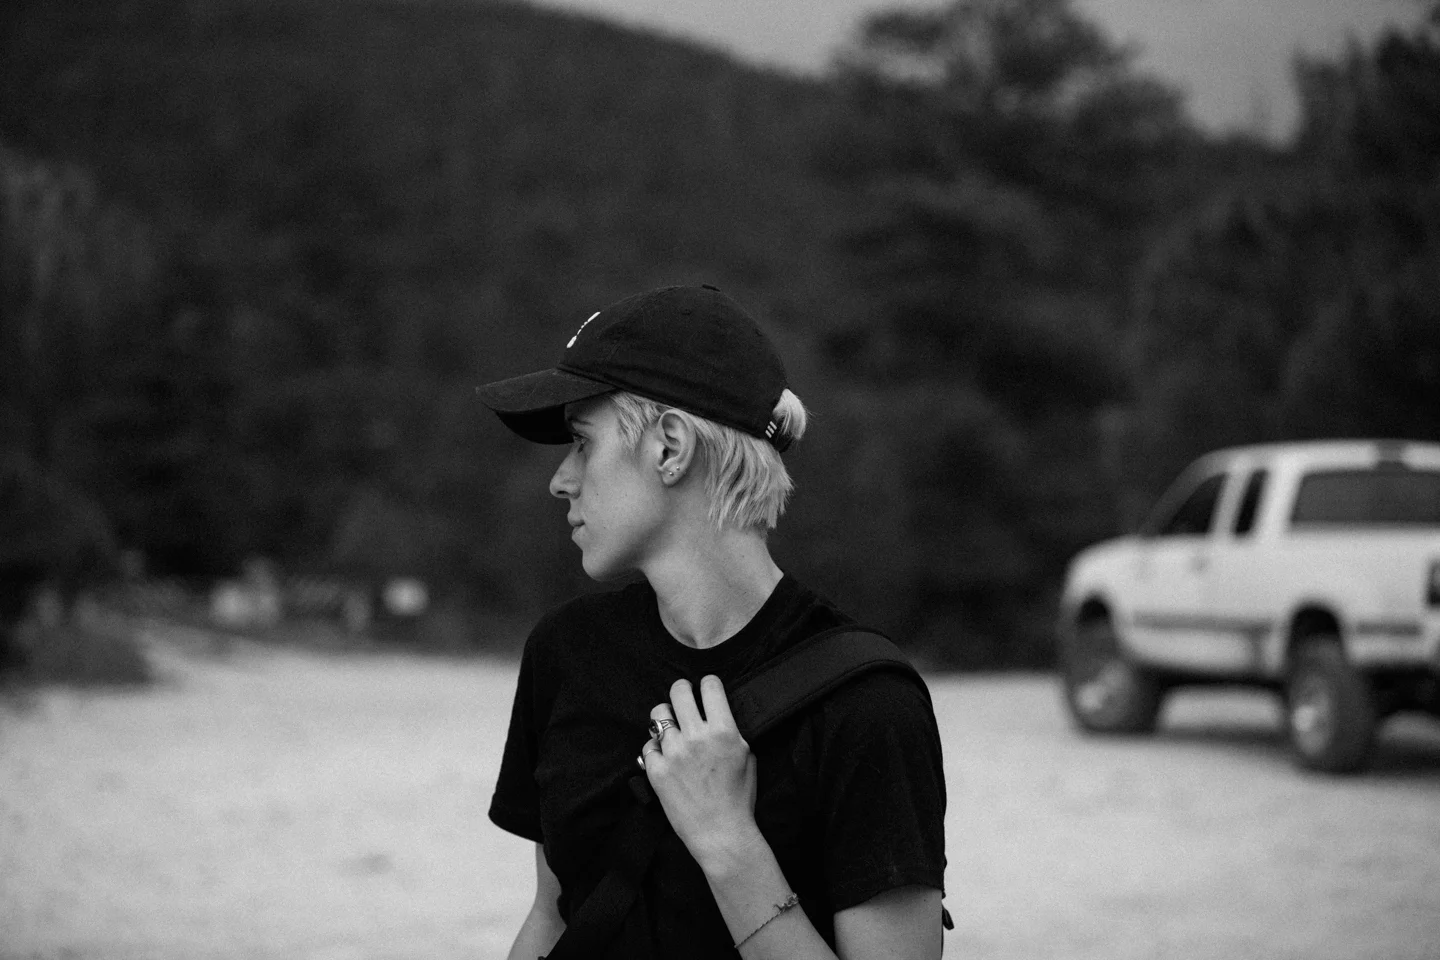
I was born and raised in this great state and find myself needing to see every square mile Arizona has to offer. I will keep the writing short and let the images tell the story. This is a summary of a weekend camping with loved one and friends at Blue Ridge Reservoir.
Camping as a kid meant no chores on the weekends, being dirty and eating smores until I was sick. I had little understanding of the connection we should have with nature. I just knew making campfires, fishing, and hiking was fun because it was different from my normal weekend routine.
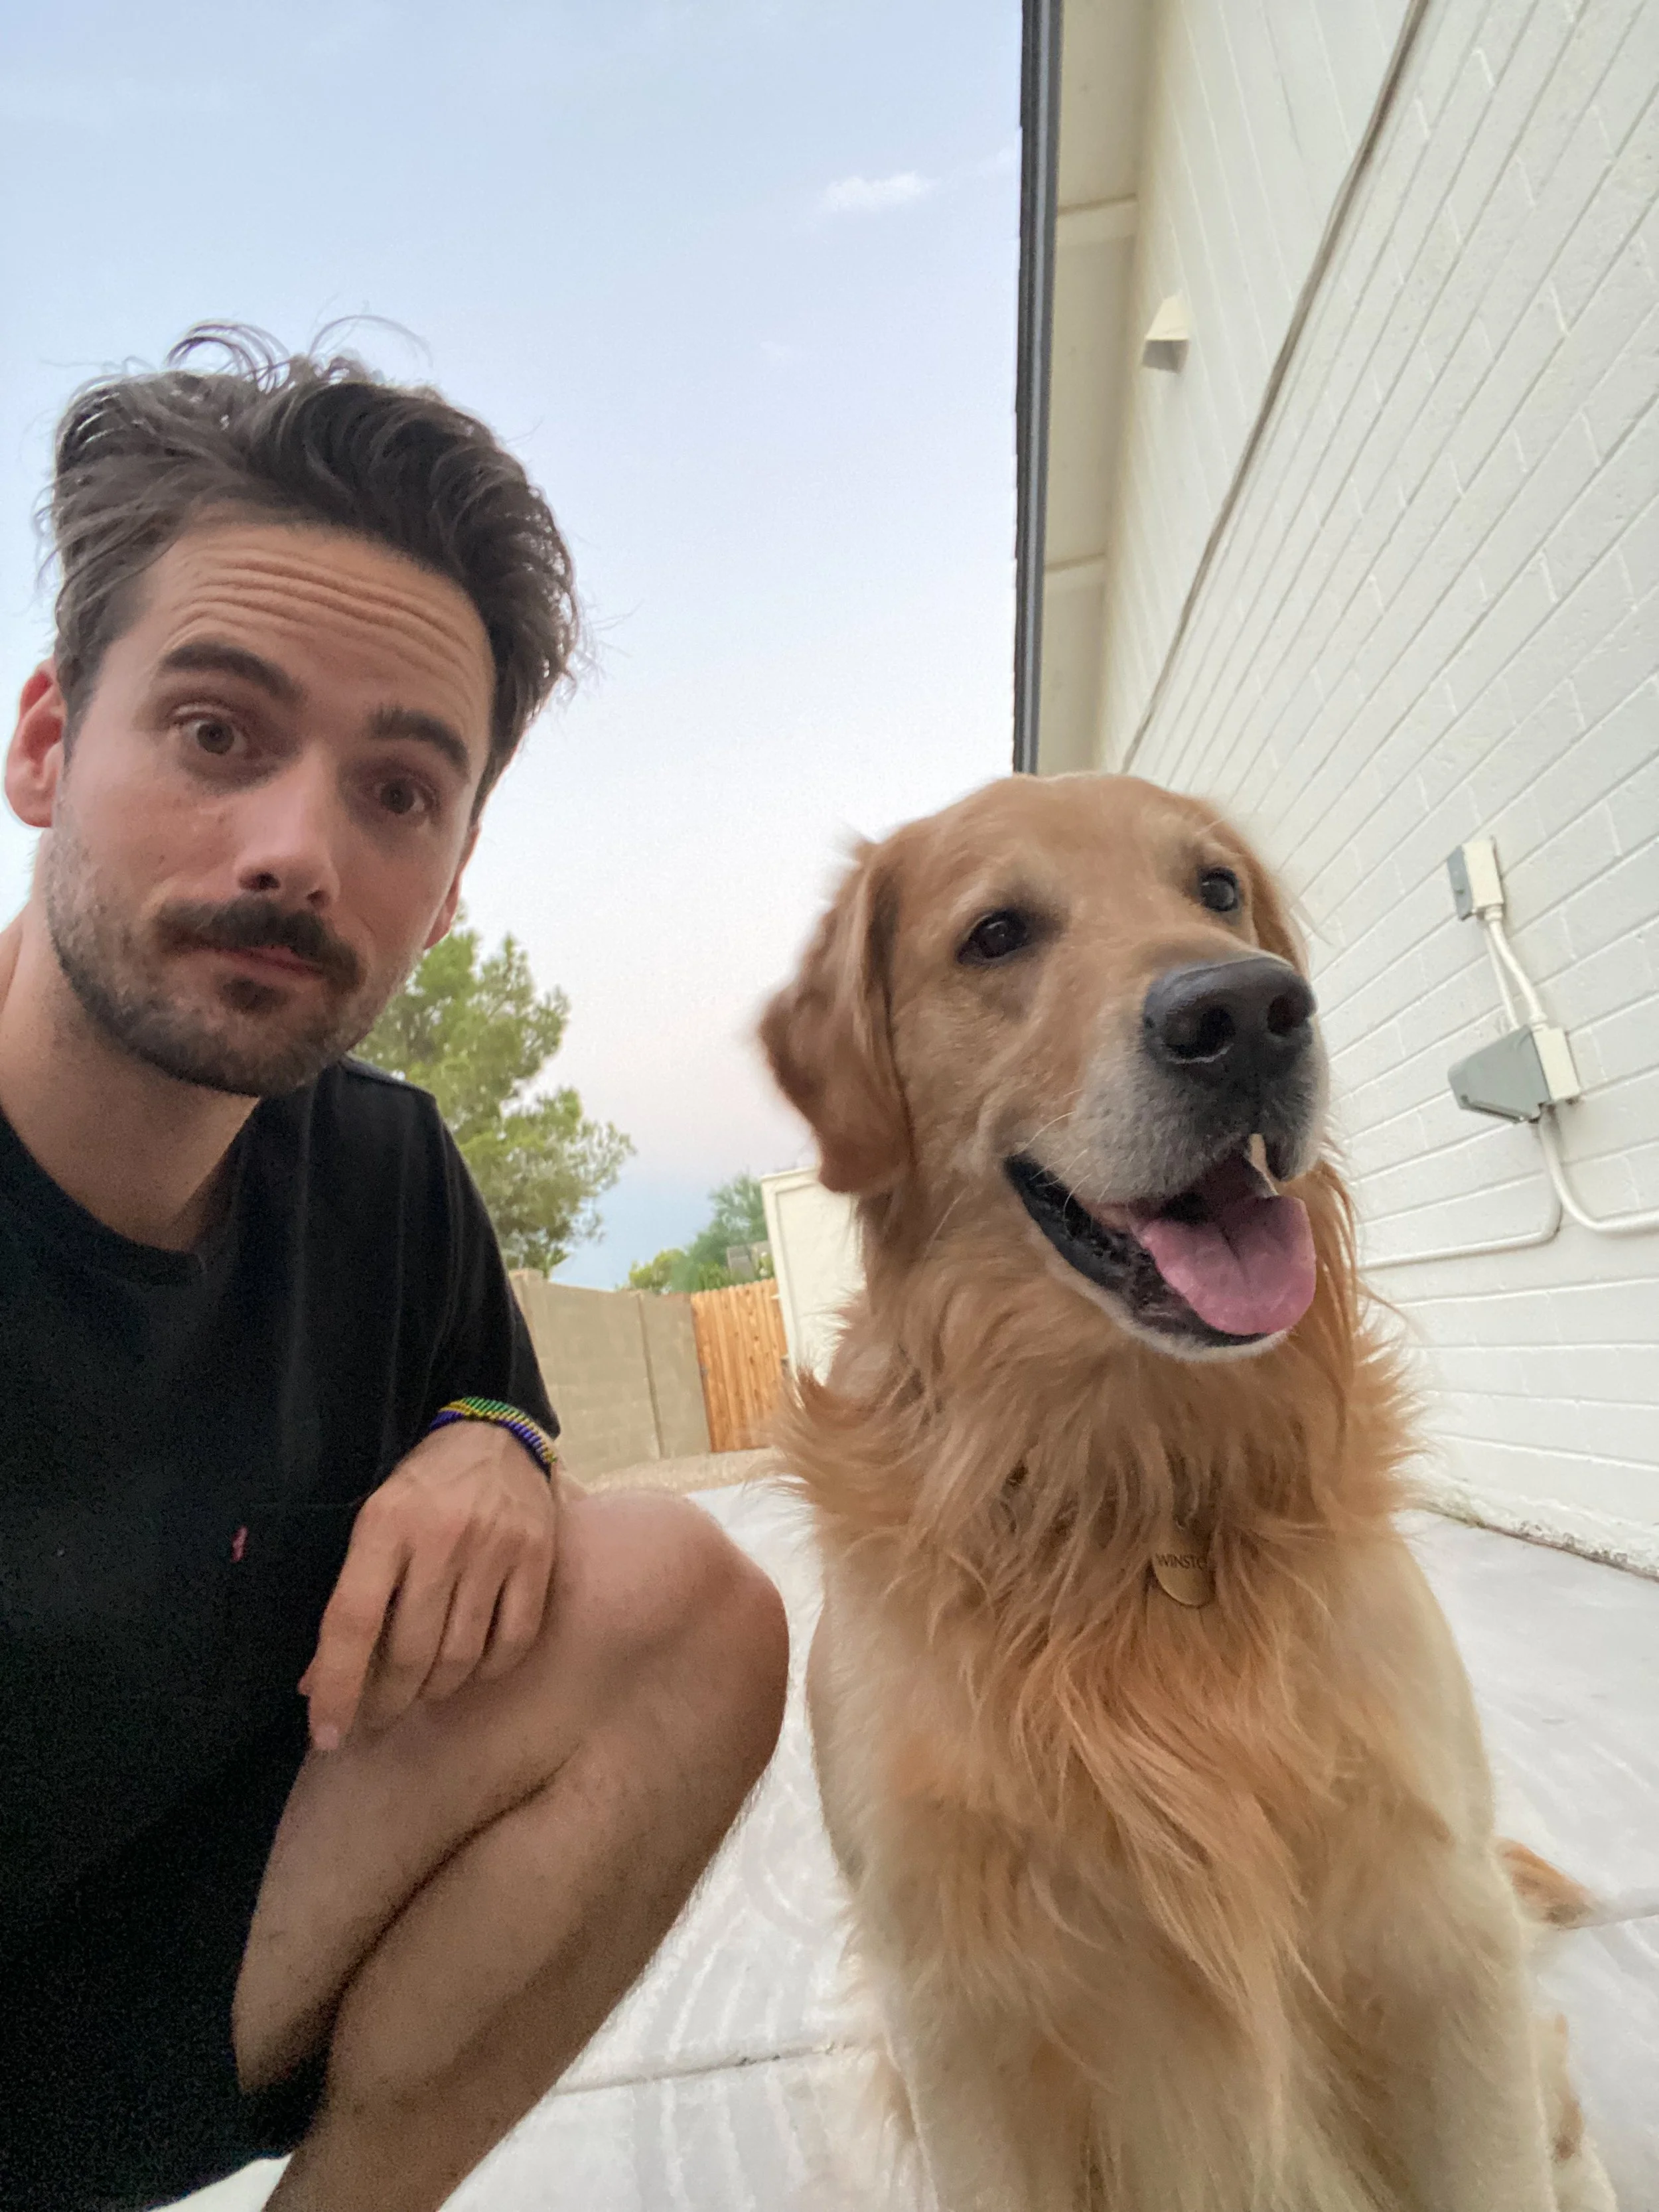
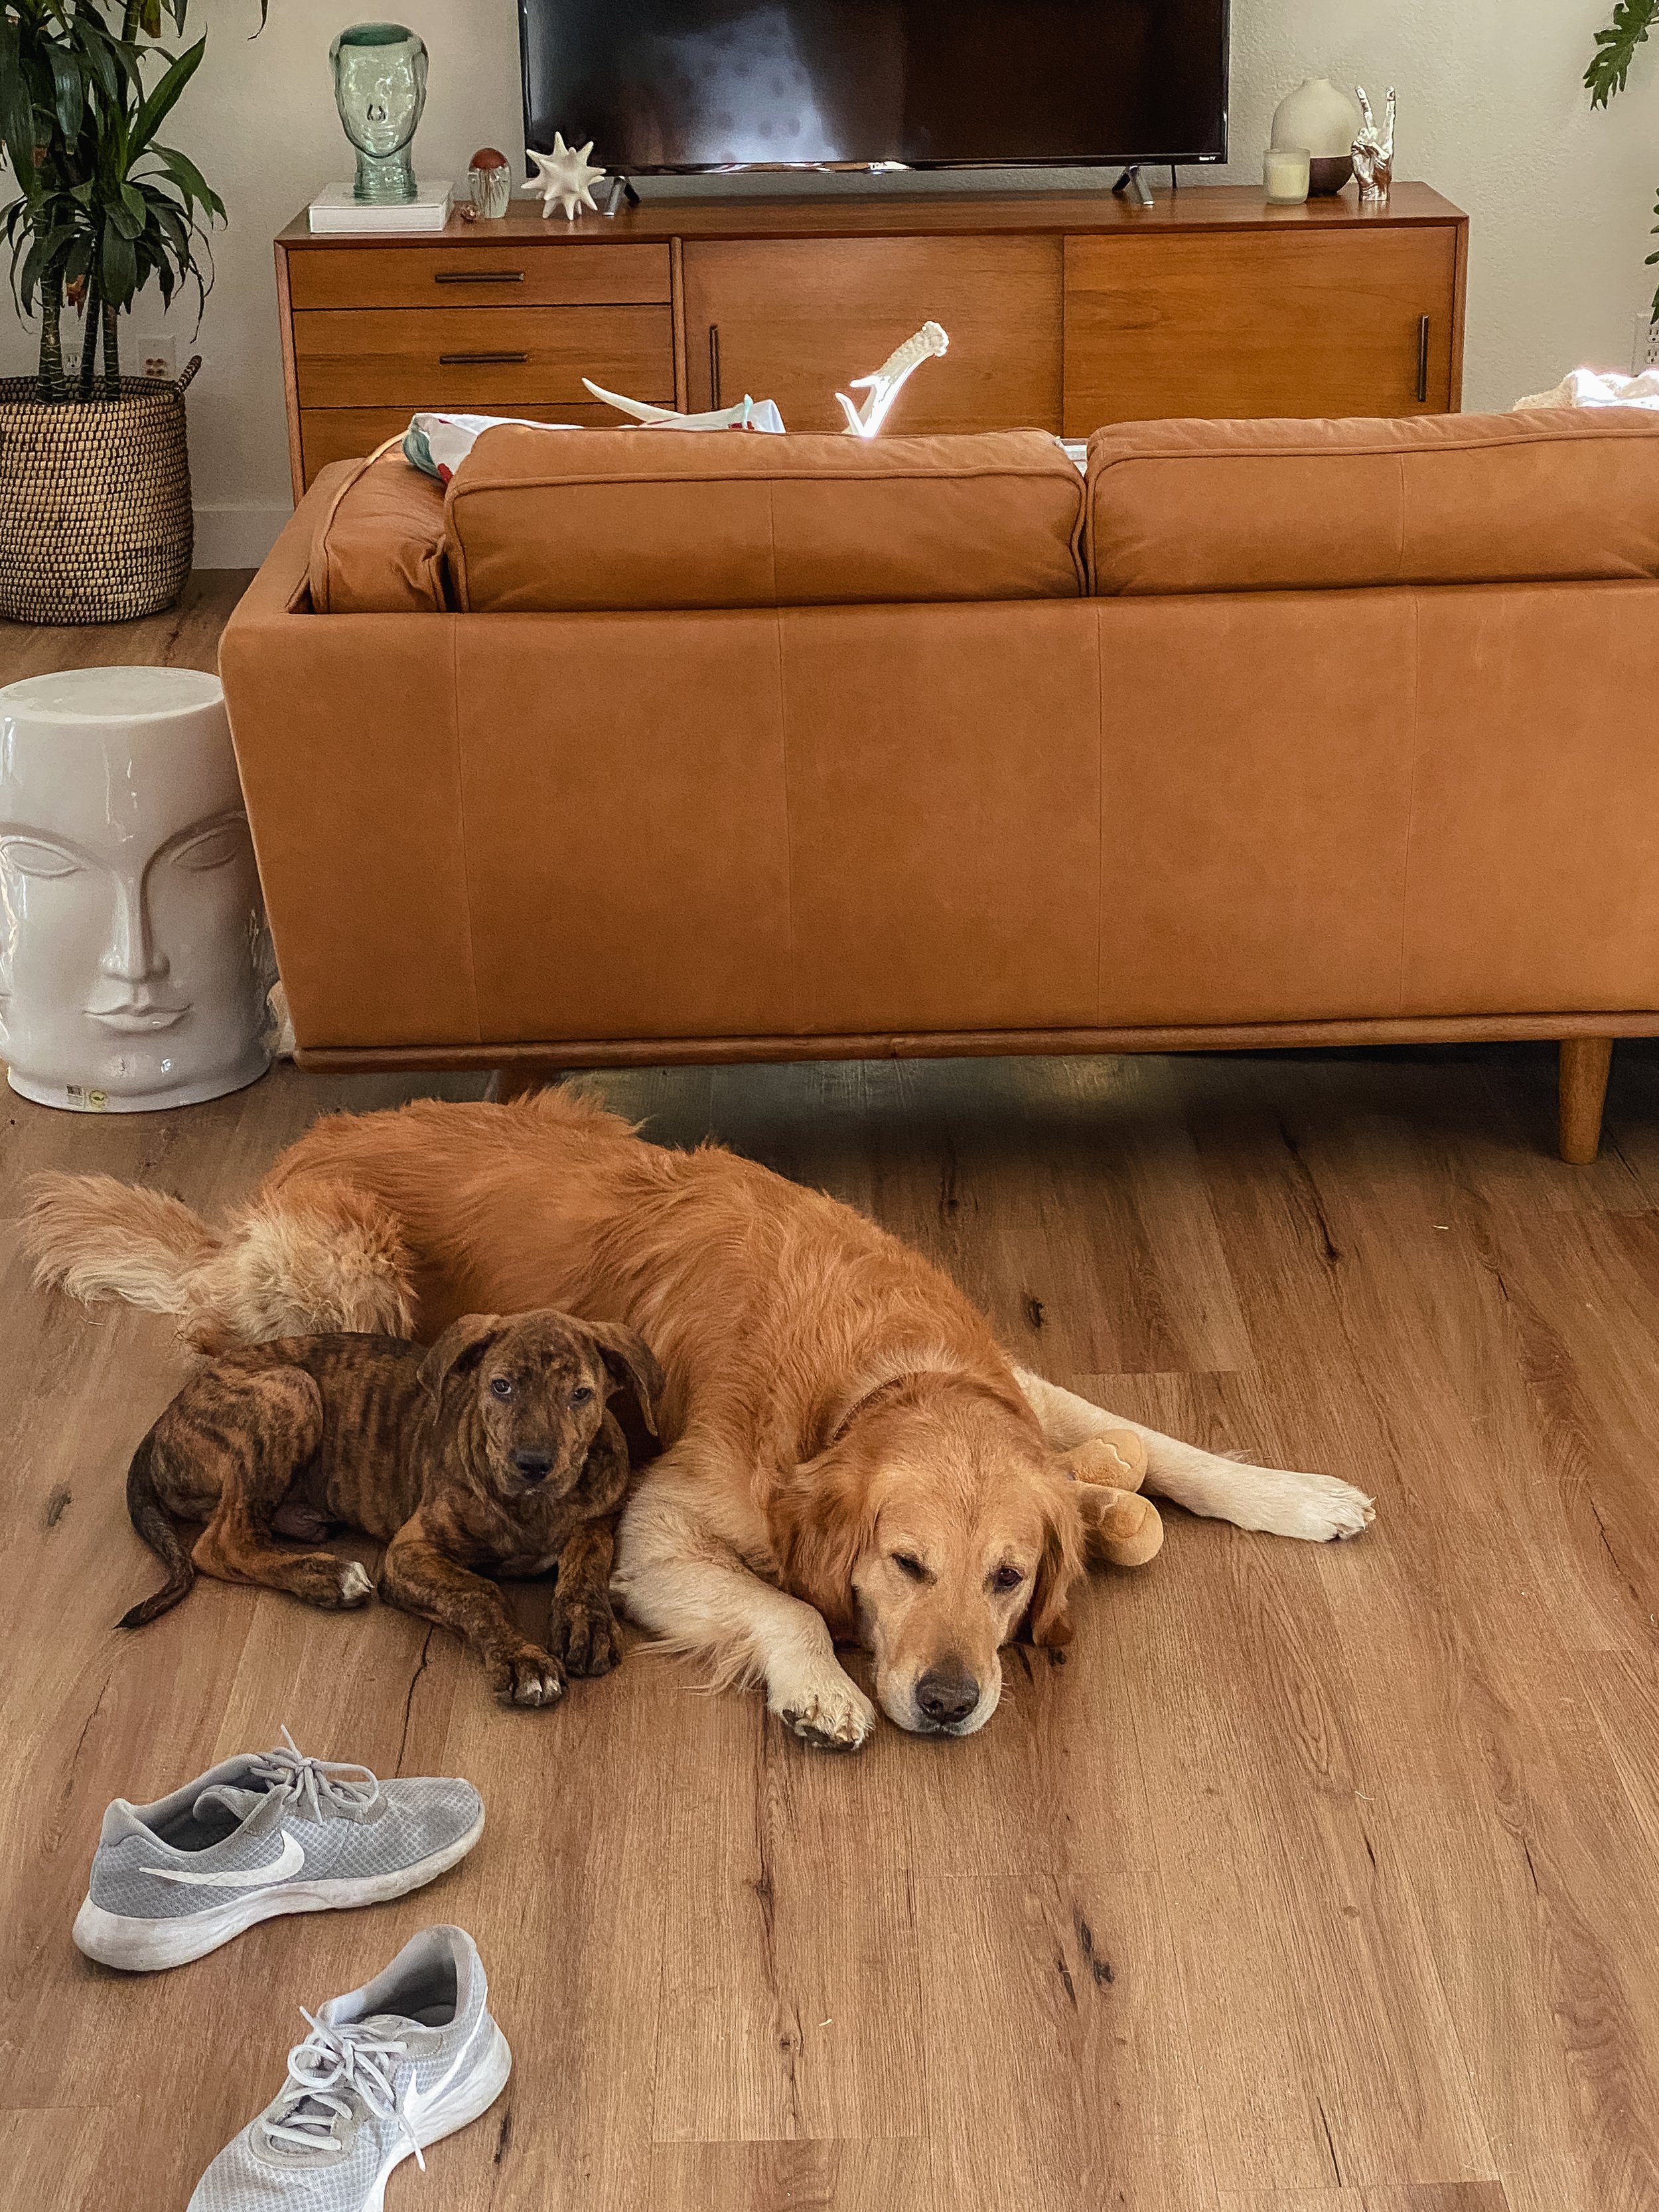
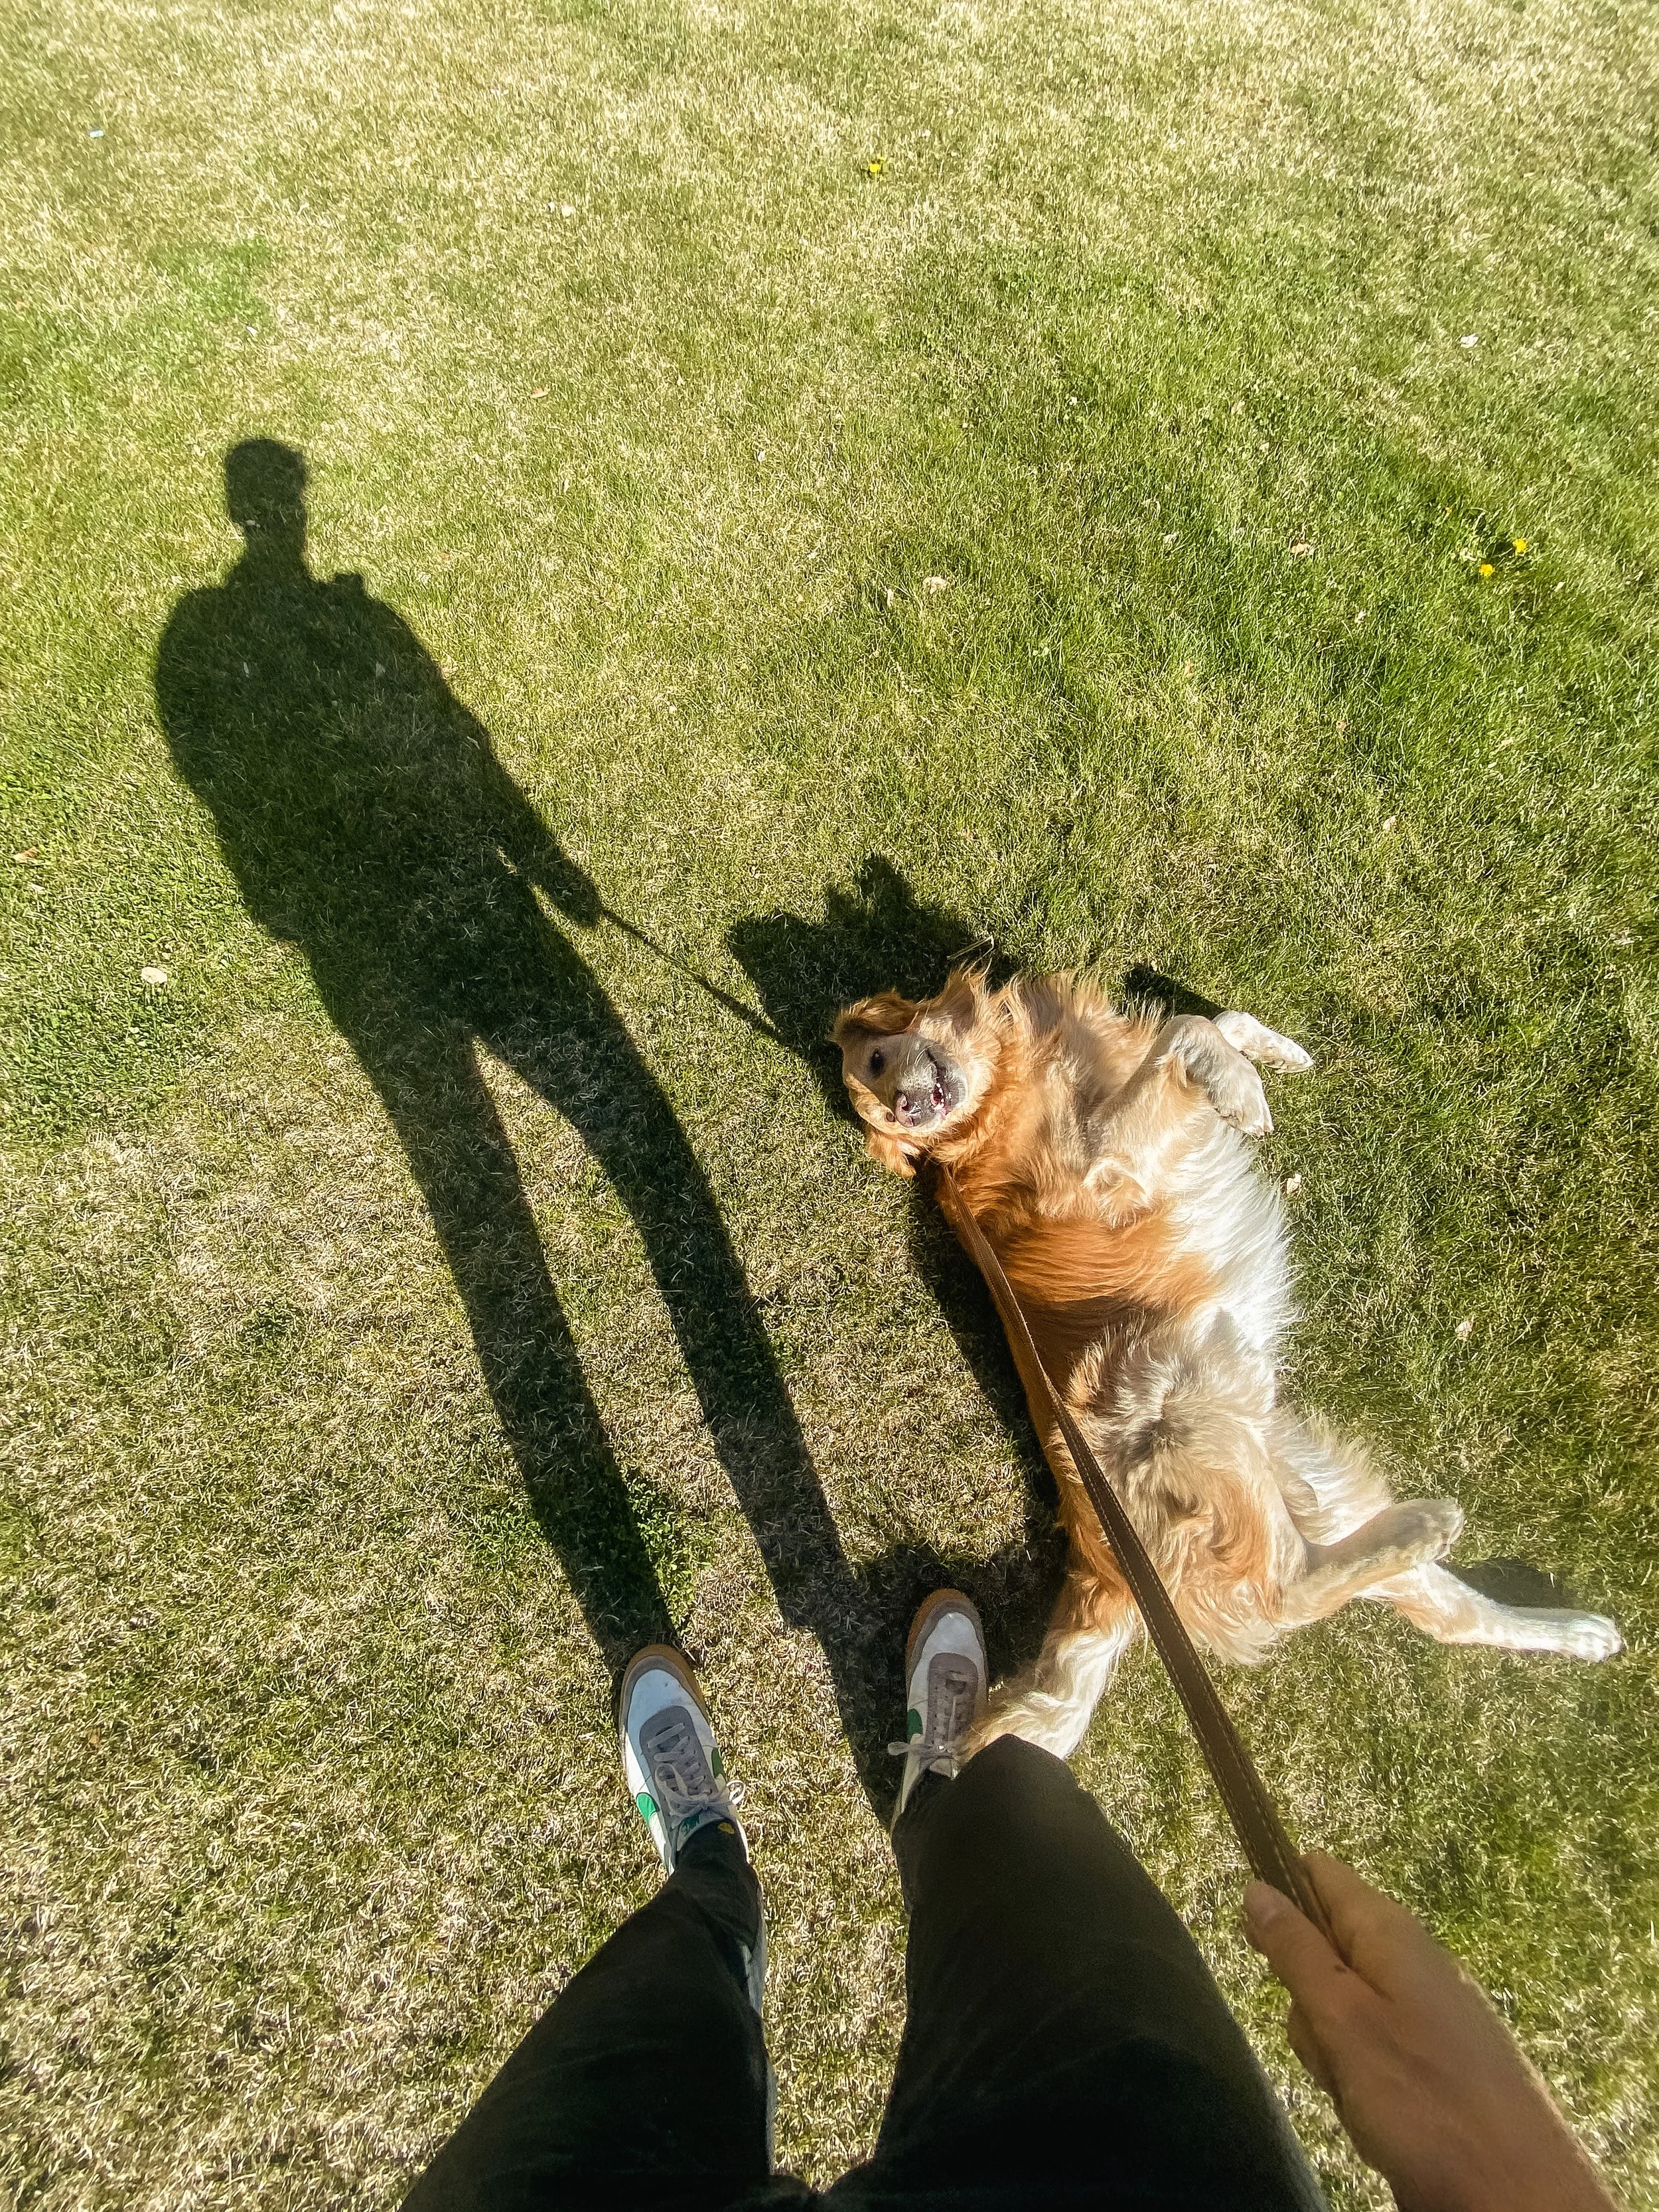
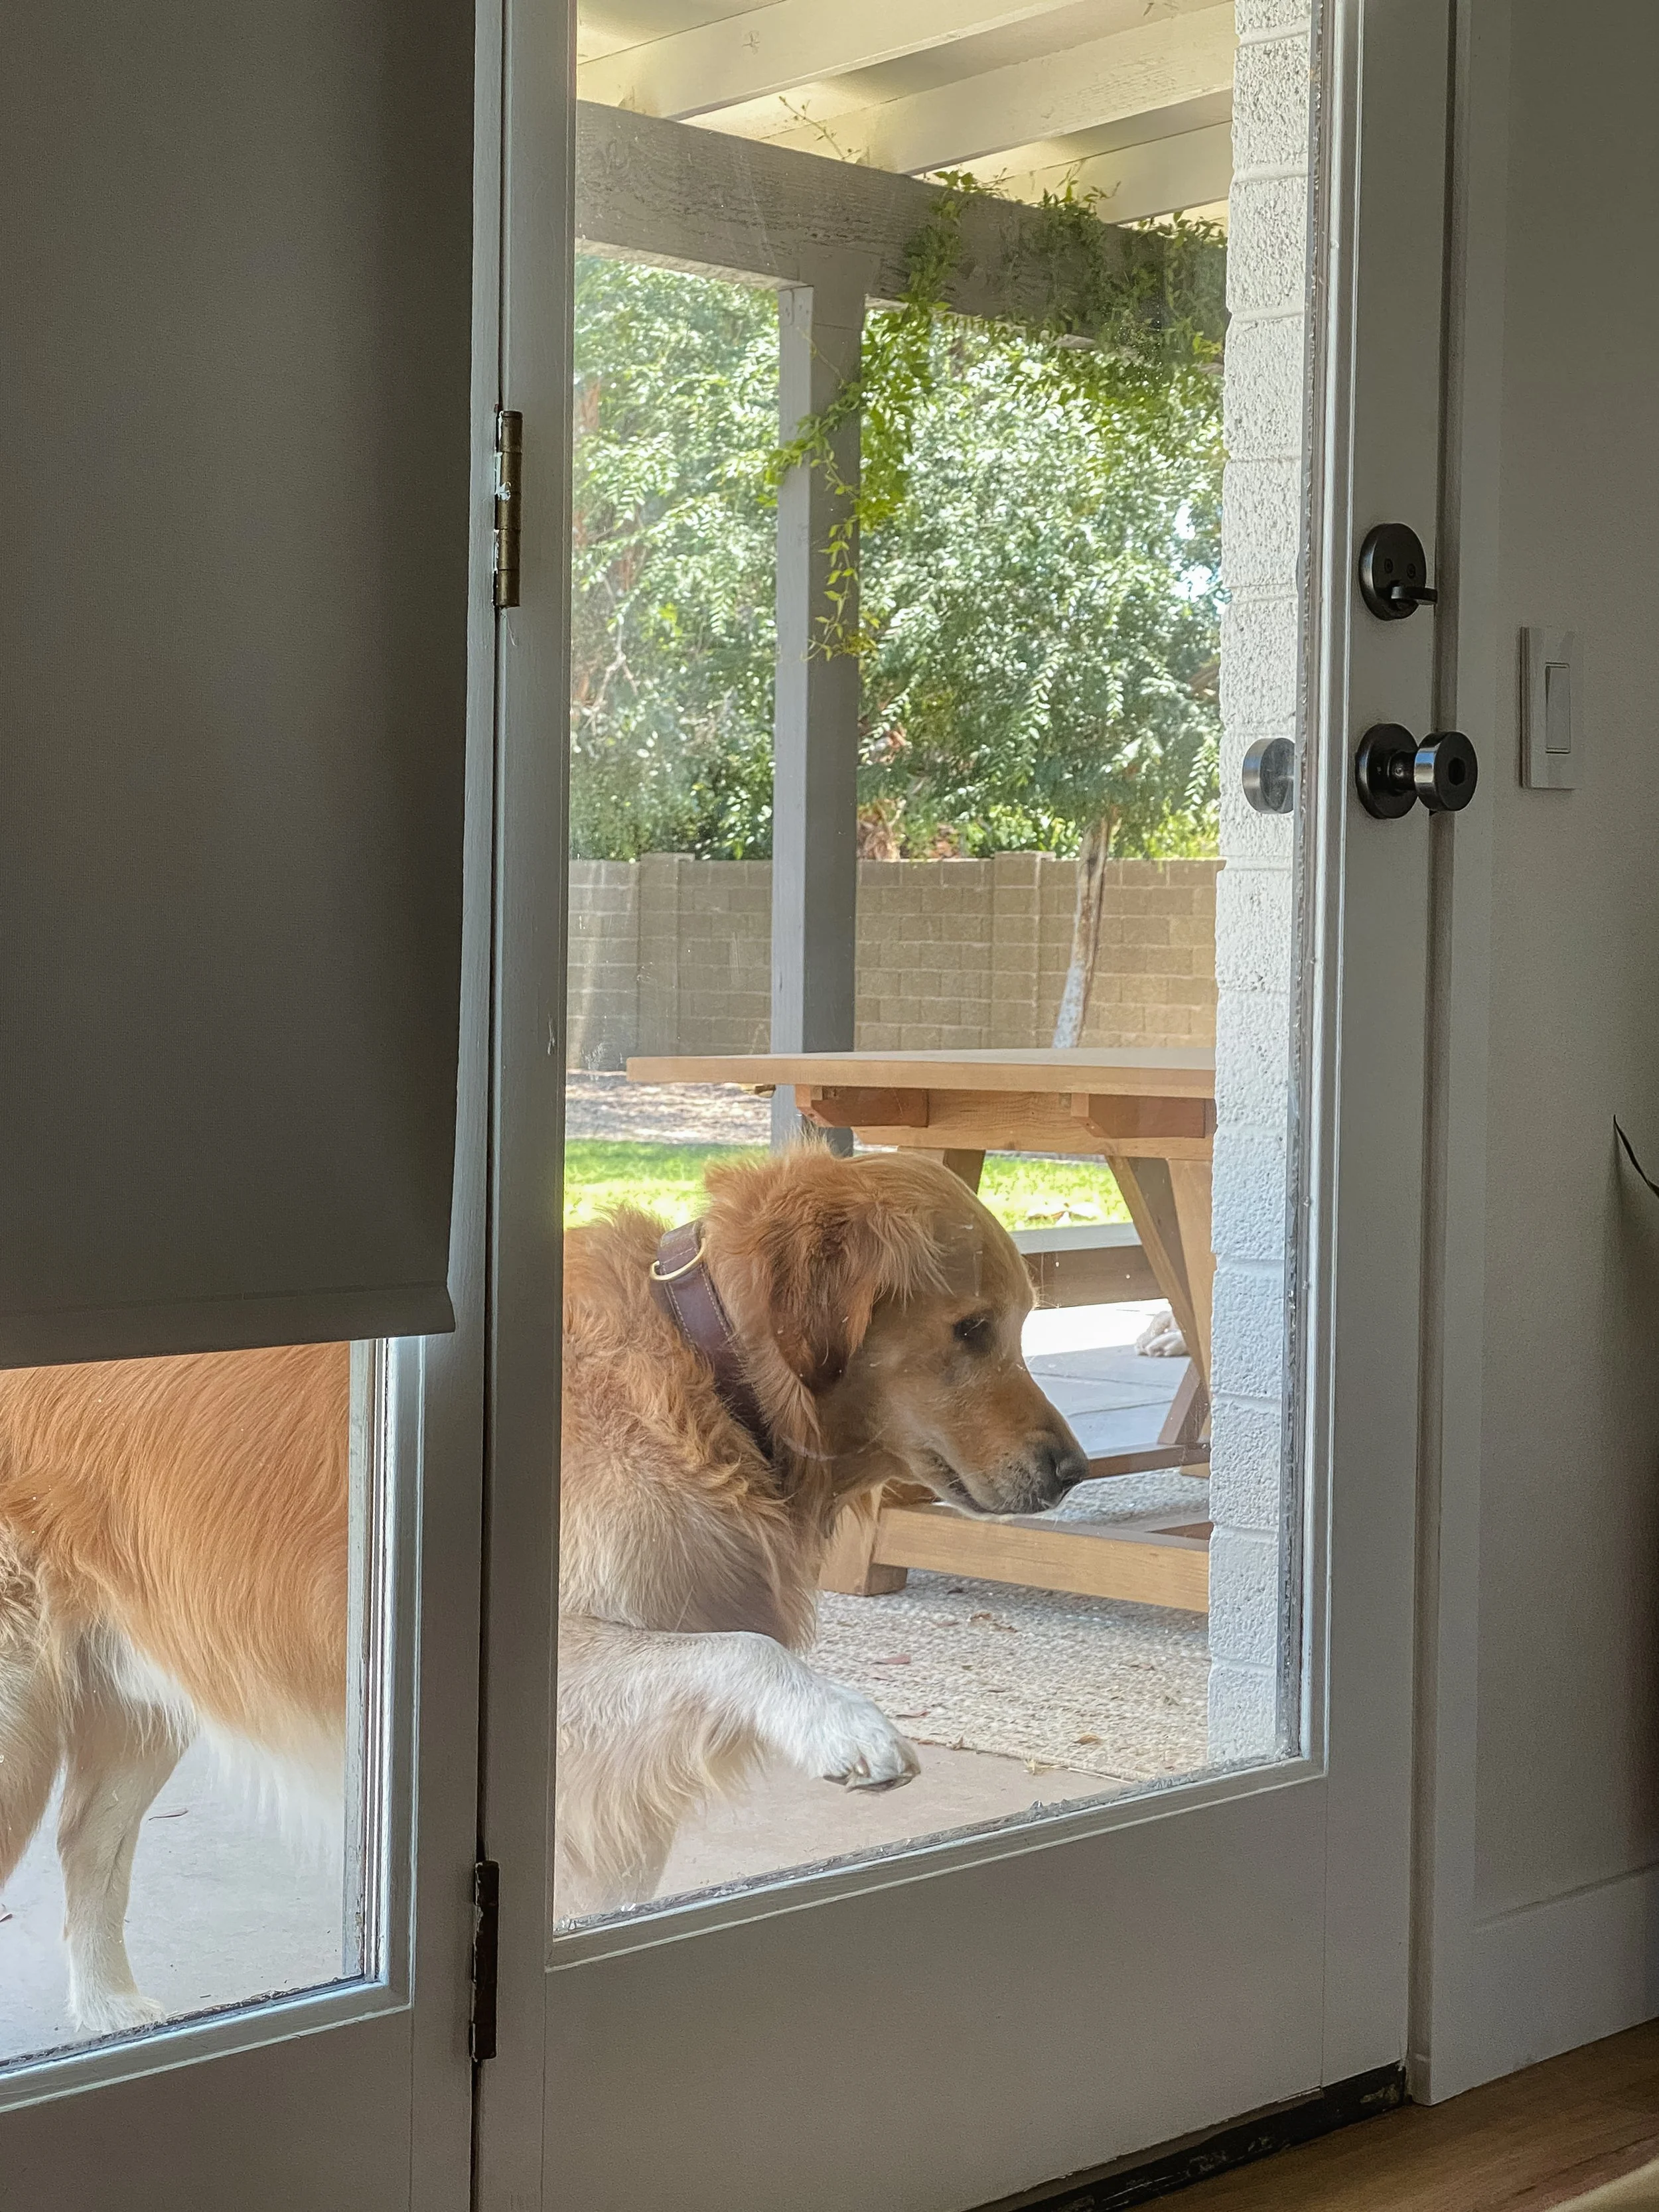
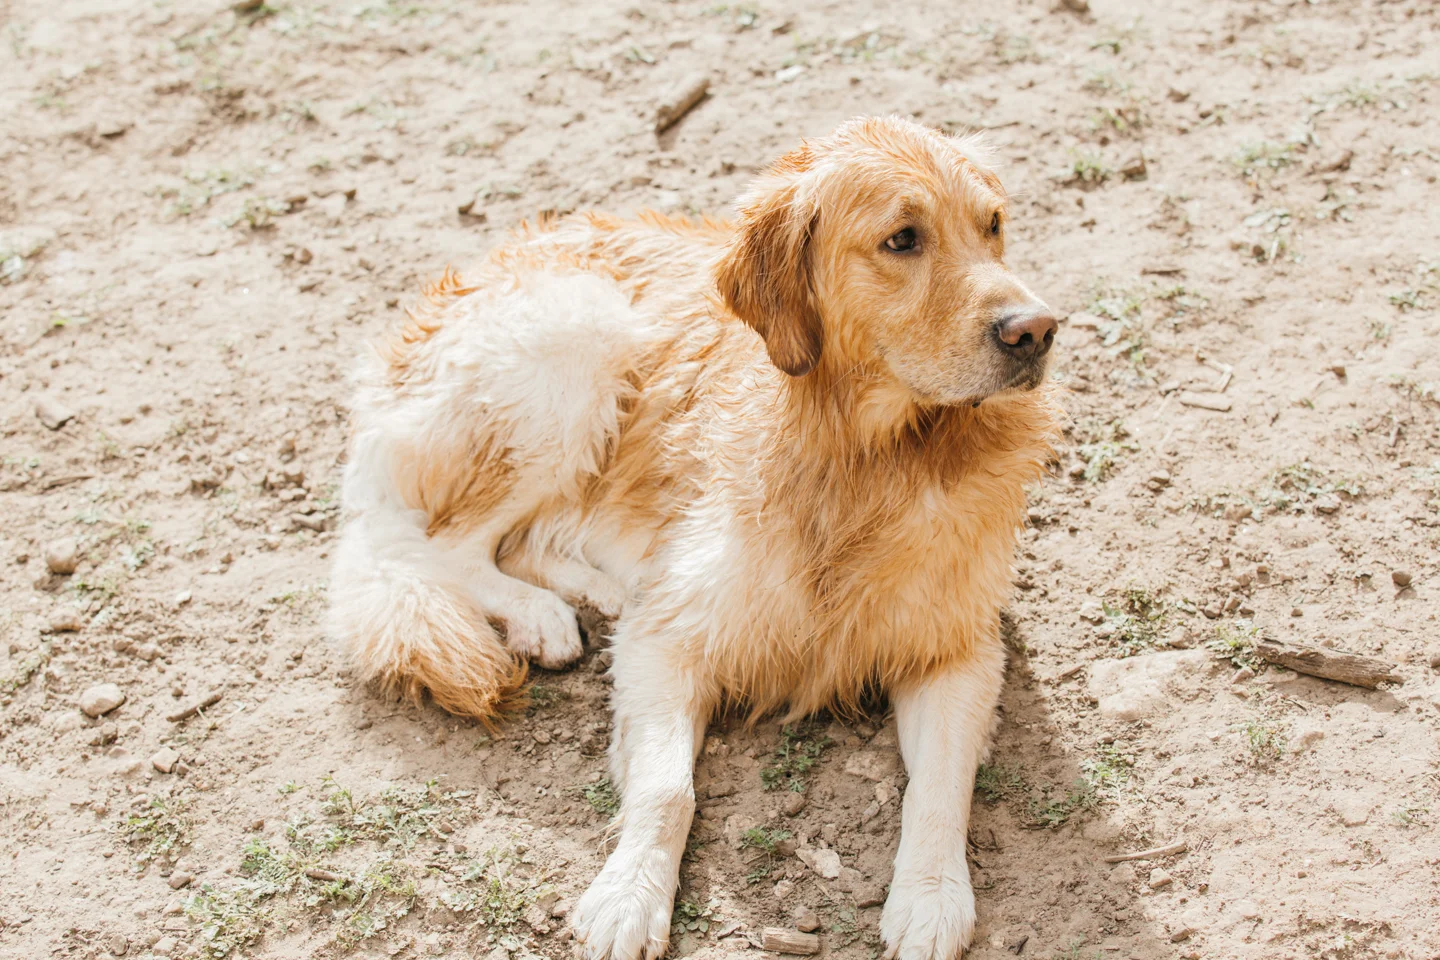
As a kid it’s hard to perceive what will create important family memories. Family just always seems to be around, and it’s hard to really appreciate that. As I grew older I lost my connection with camping, family, and a connection to what’s important in my life. It wasn’t until I got my dog Winston that made desire what I have been missing. I wanted a relationship tethered to nature, I wanted to be around friends and family, and I wanted to be free from our societal construction that seems to always want to keep us preoccupied with arbitrary matters.
As an adult now I immerse myself in the present. I try to make each decision a calculated and important one. I want to better my bonds with friends, family, and nature. I finally get why my dad, and uncle would takes us camping constantly. It wasn’t about roasting mallows over the fire( which I still do to the point i’m sick) It was to bring us closer to each other and closer to meaning in life. Thank you dad, thank you uncle Jim.


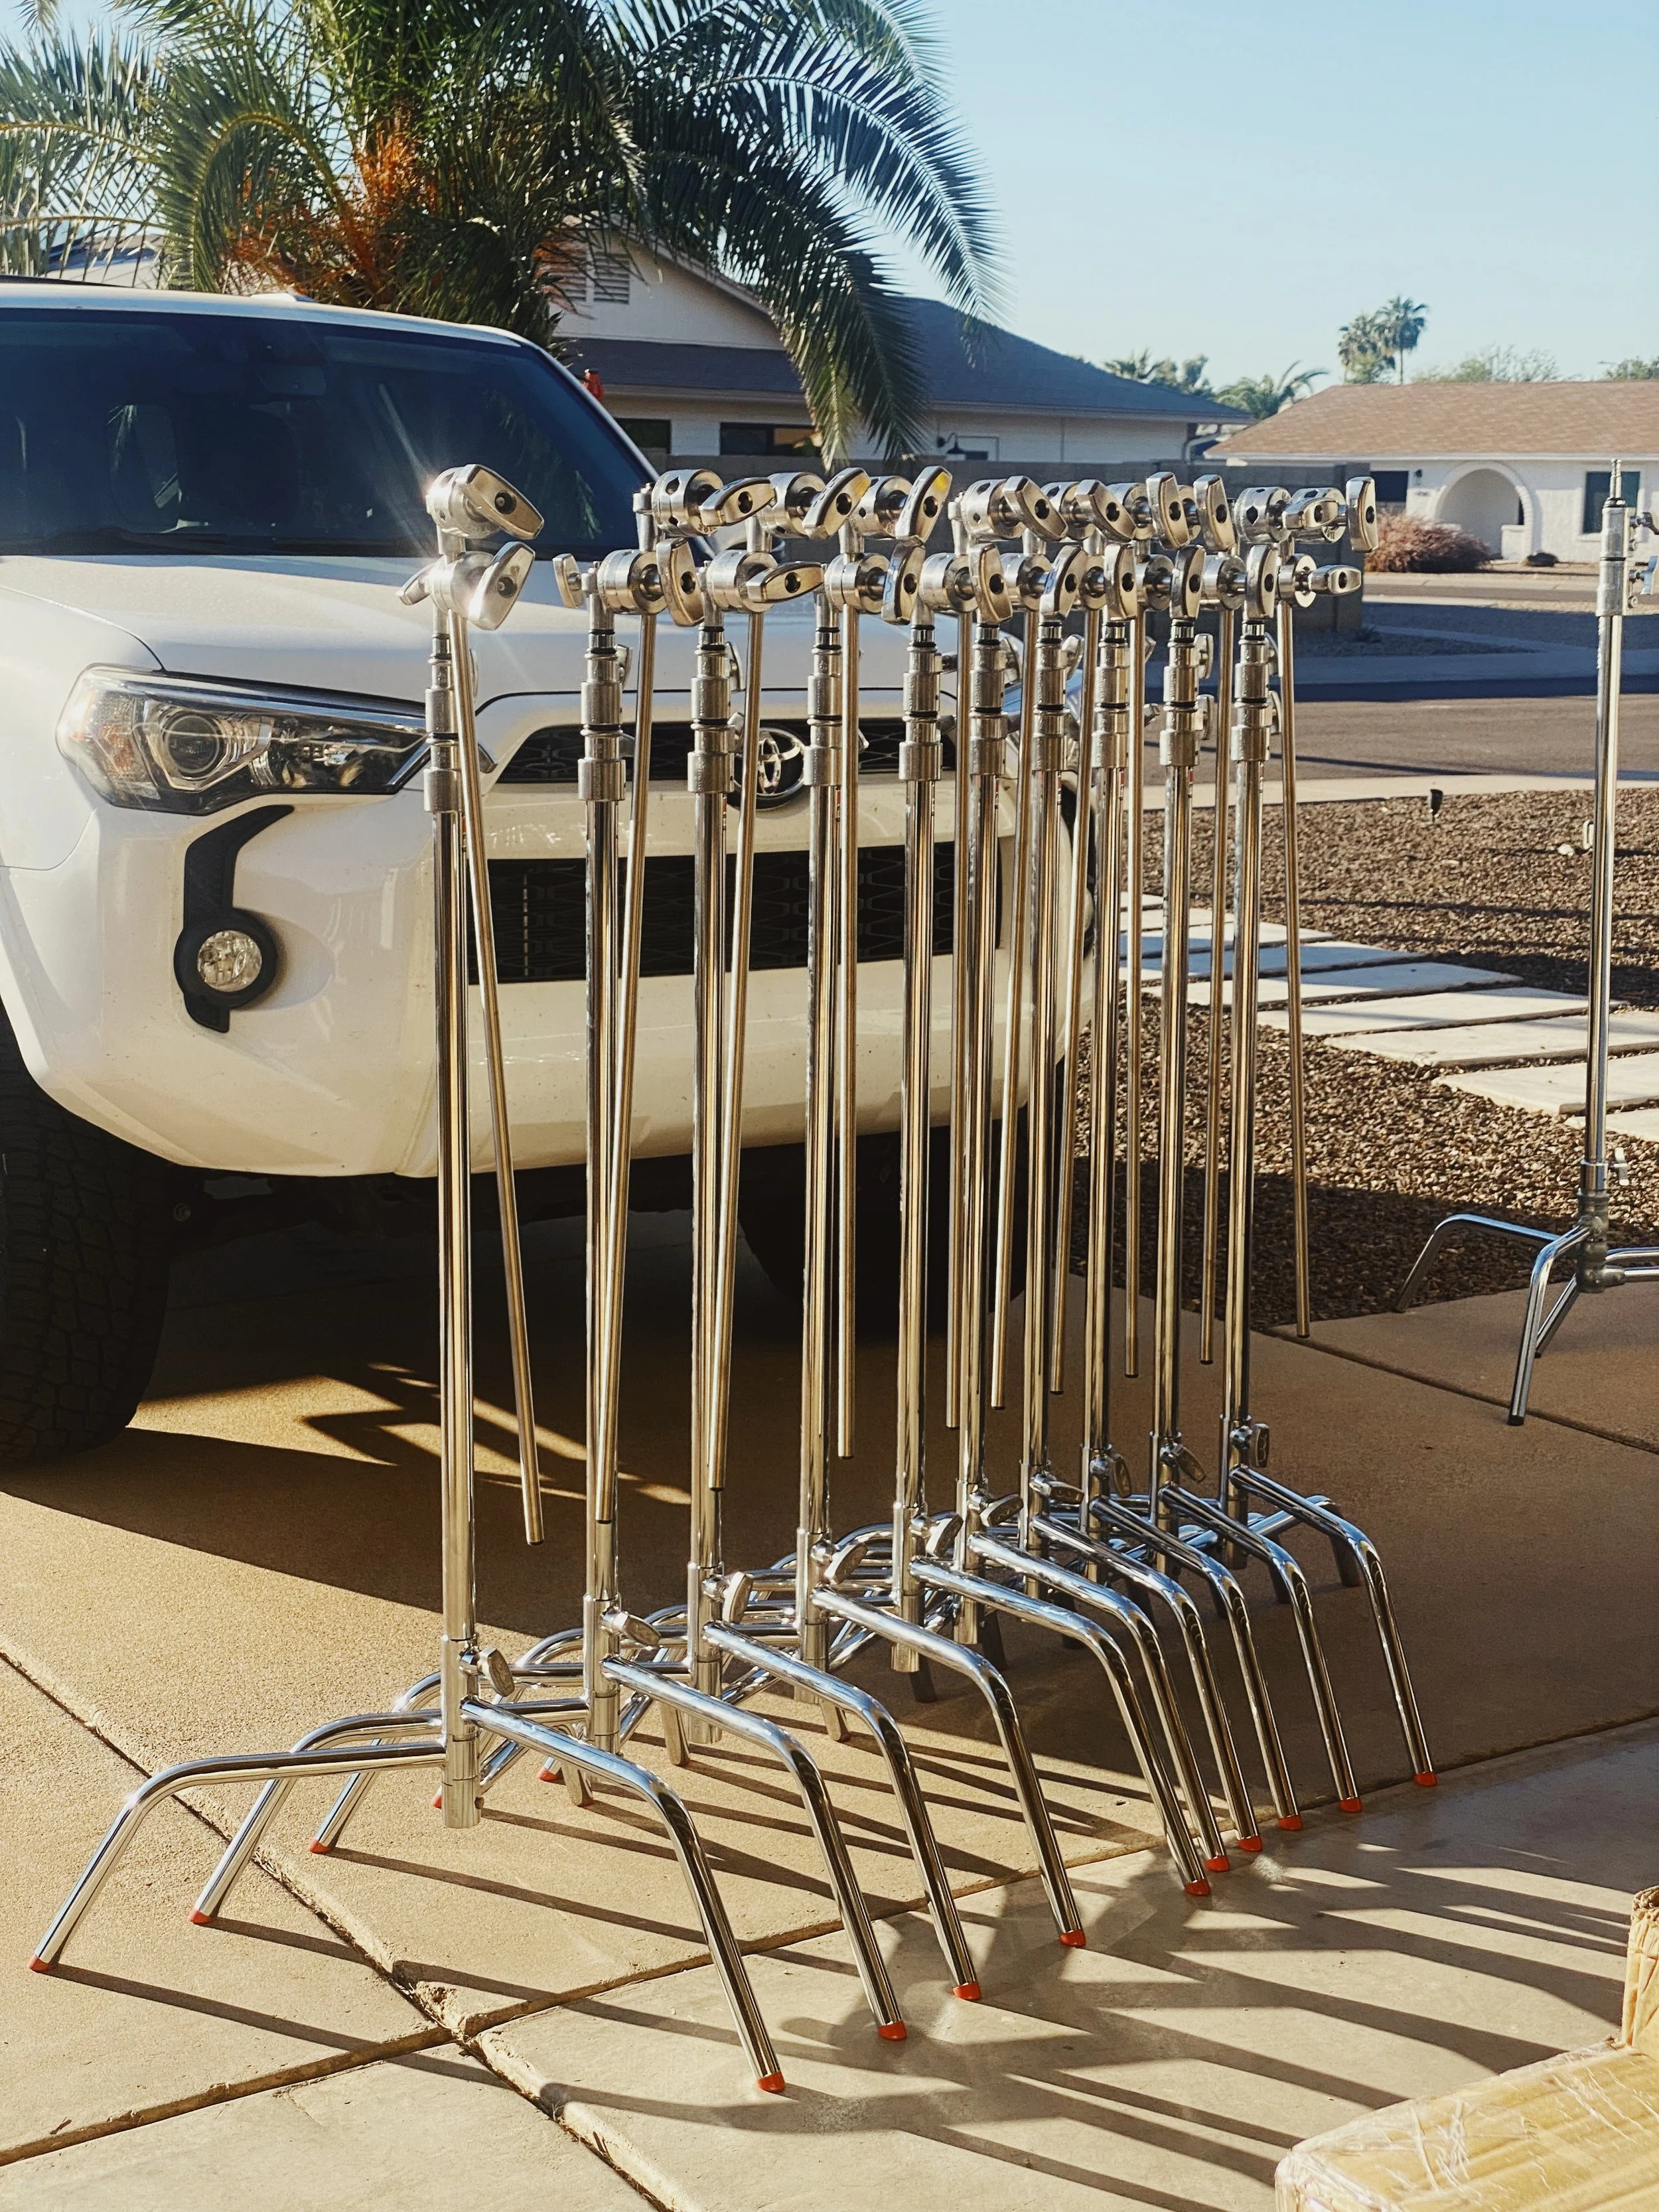
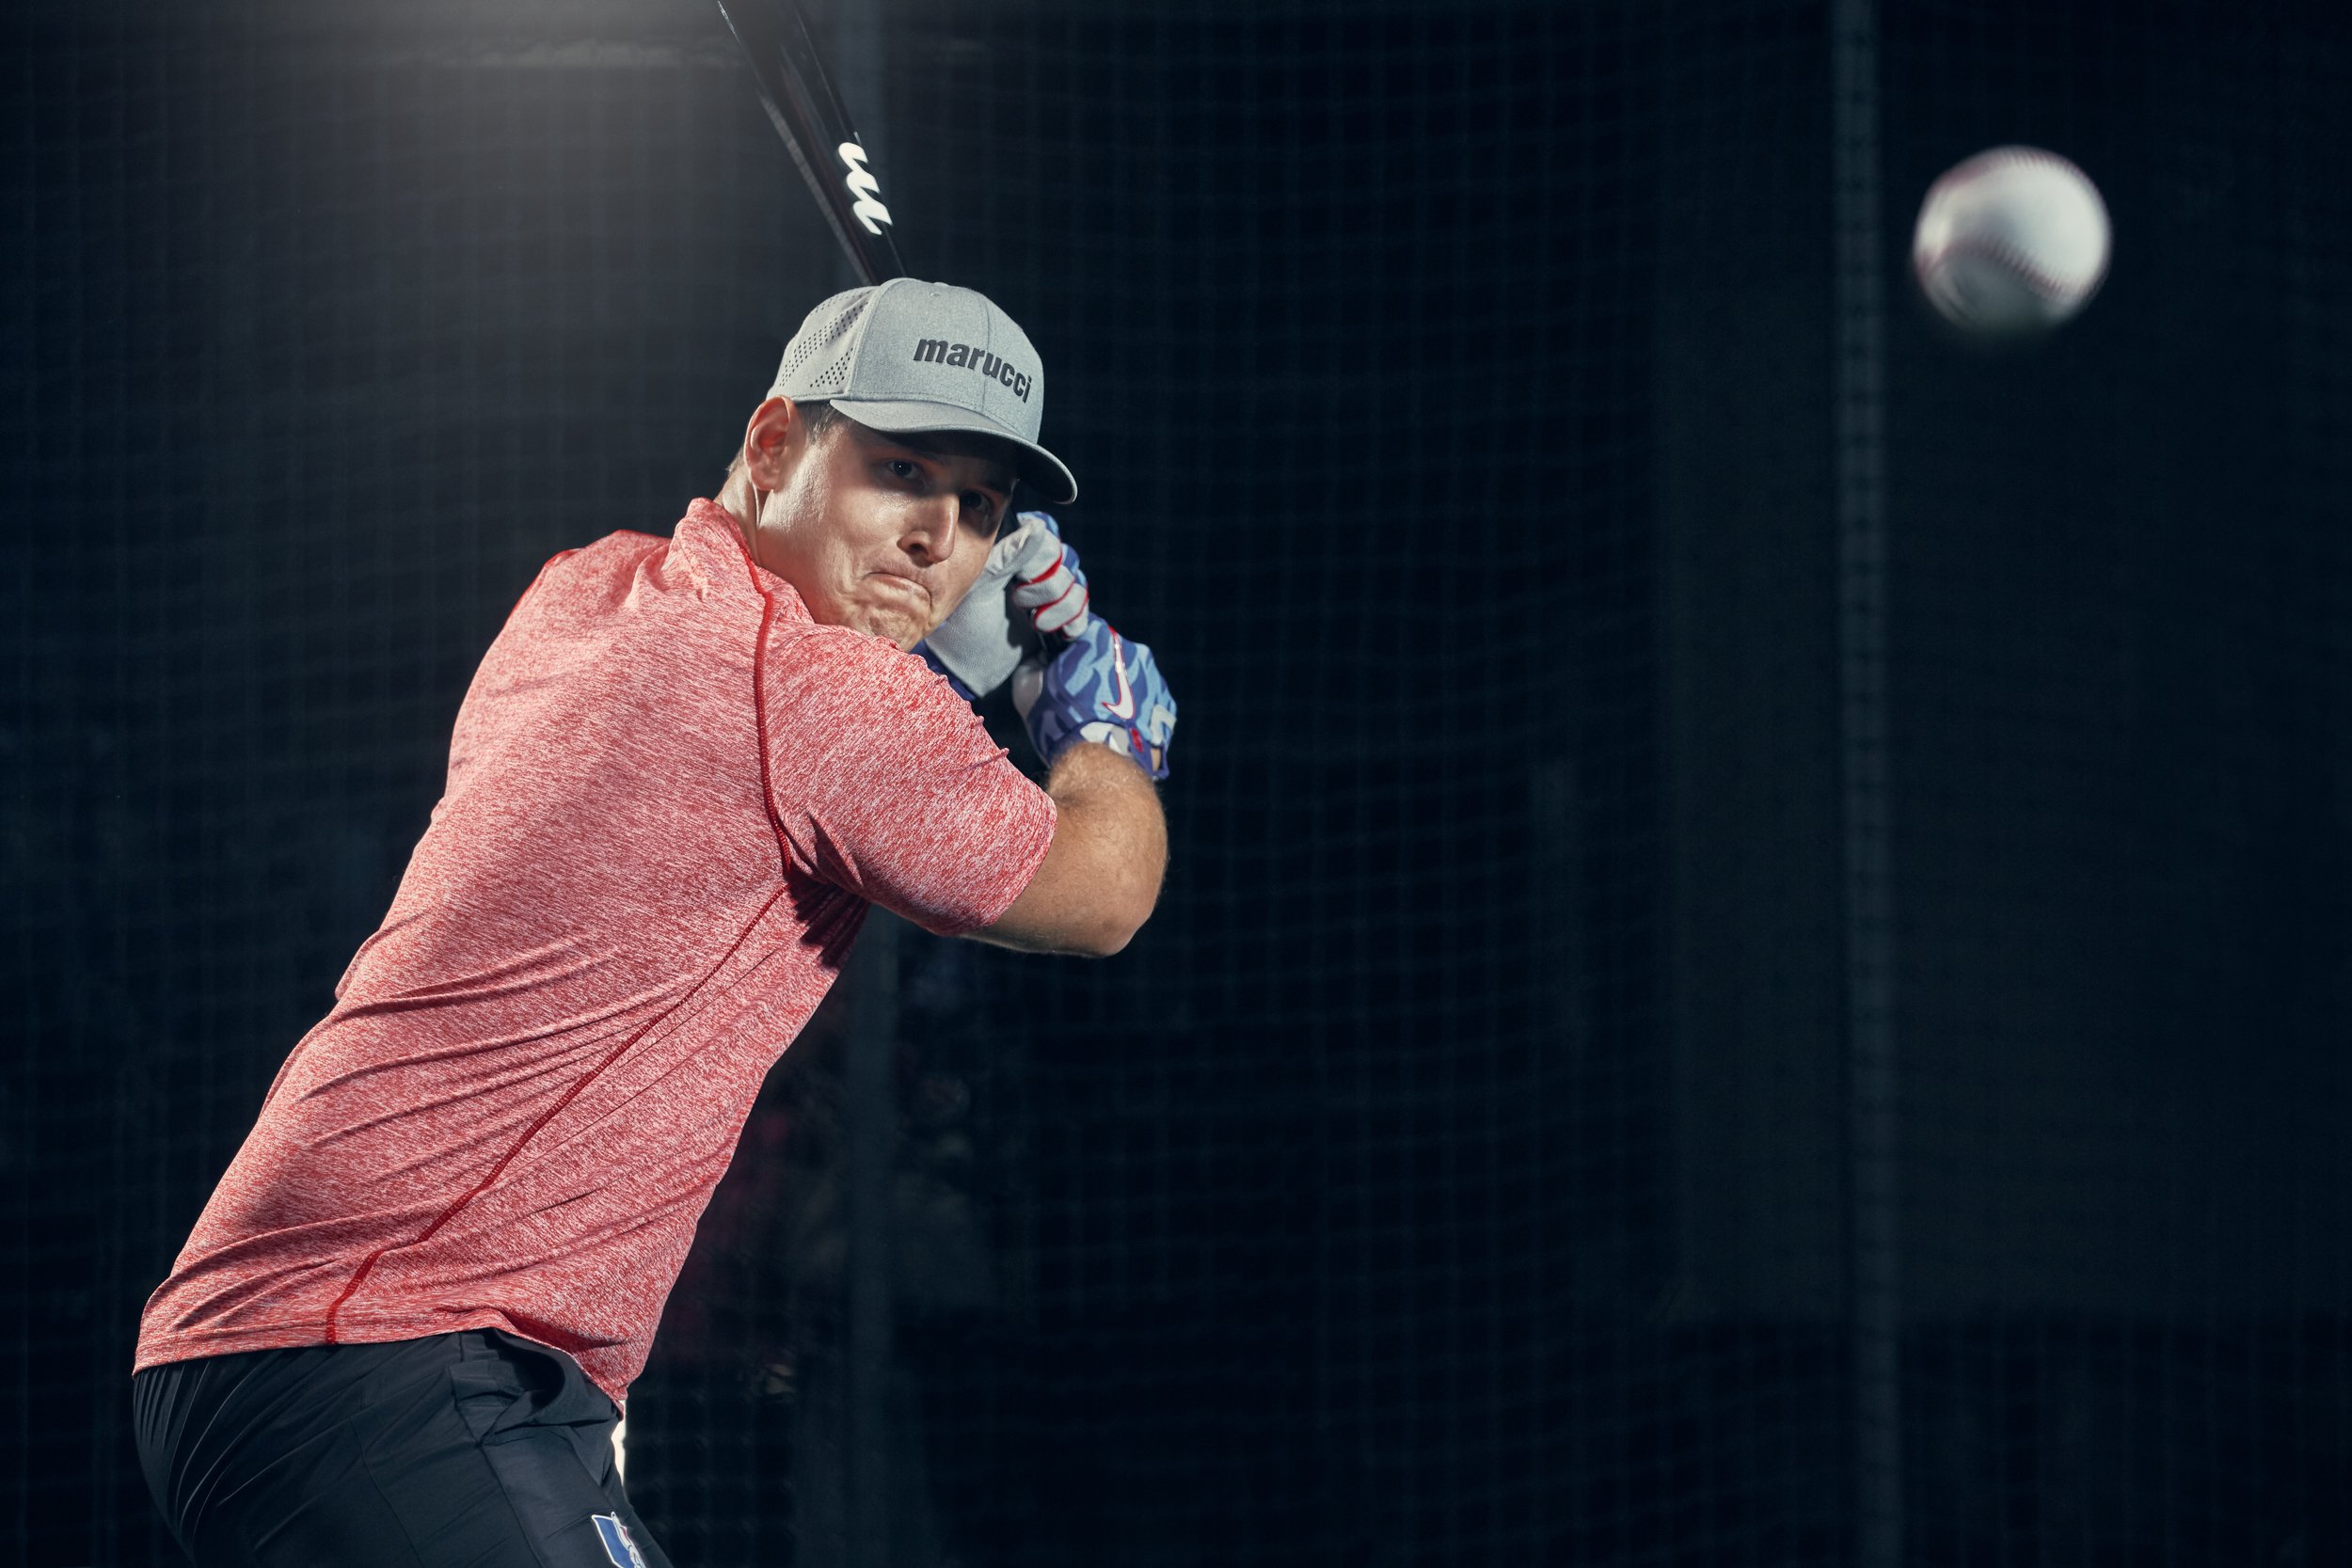
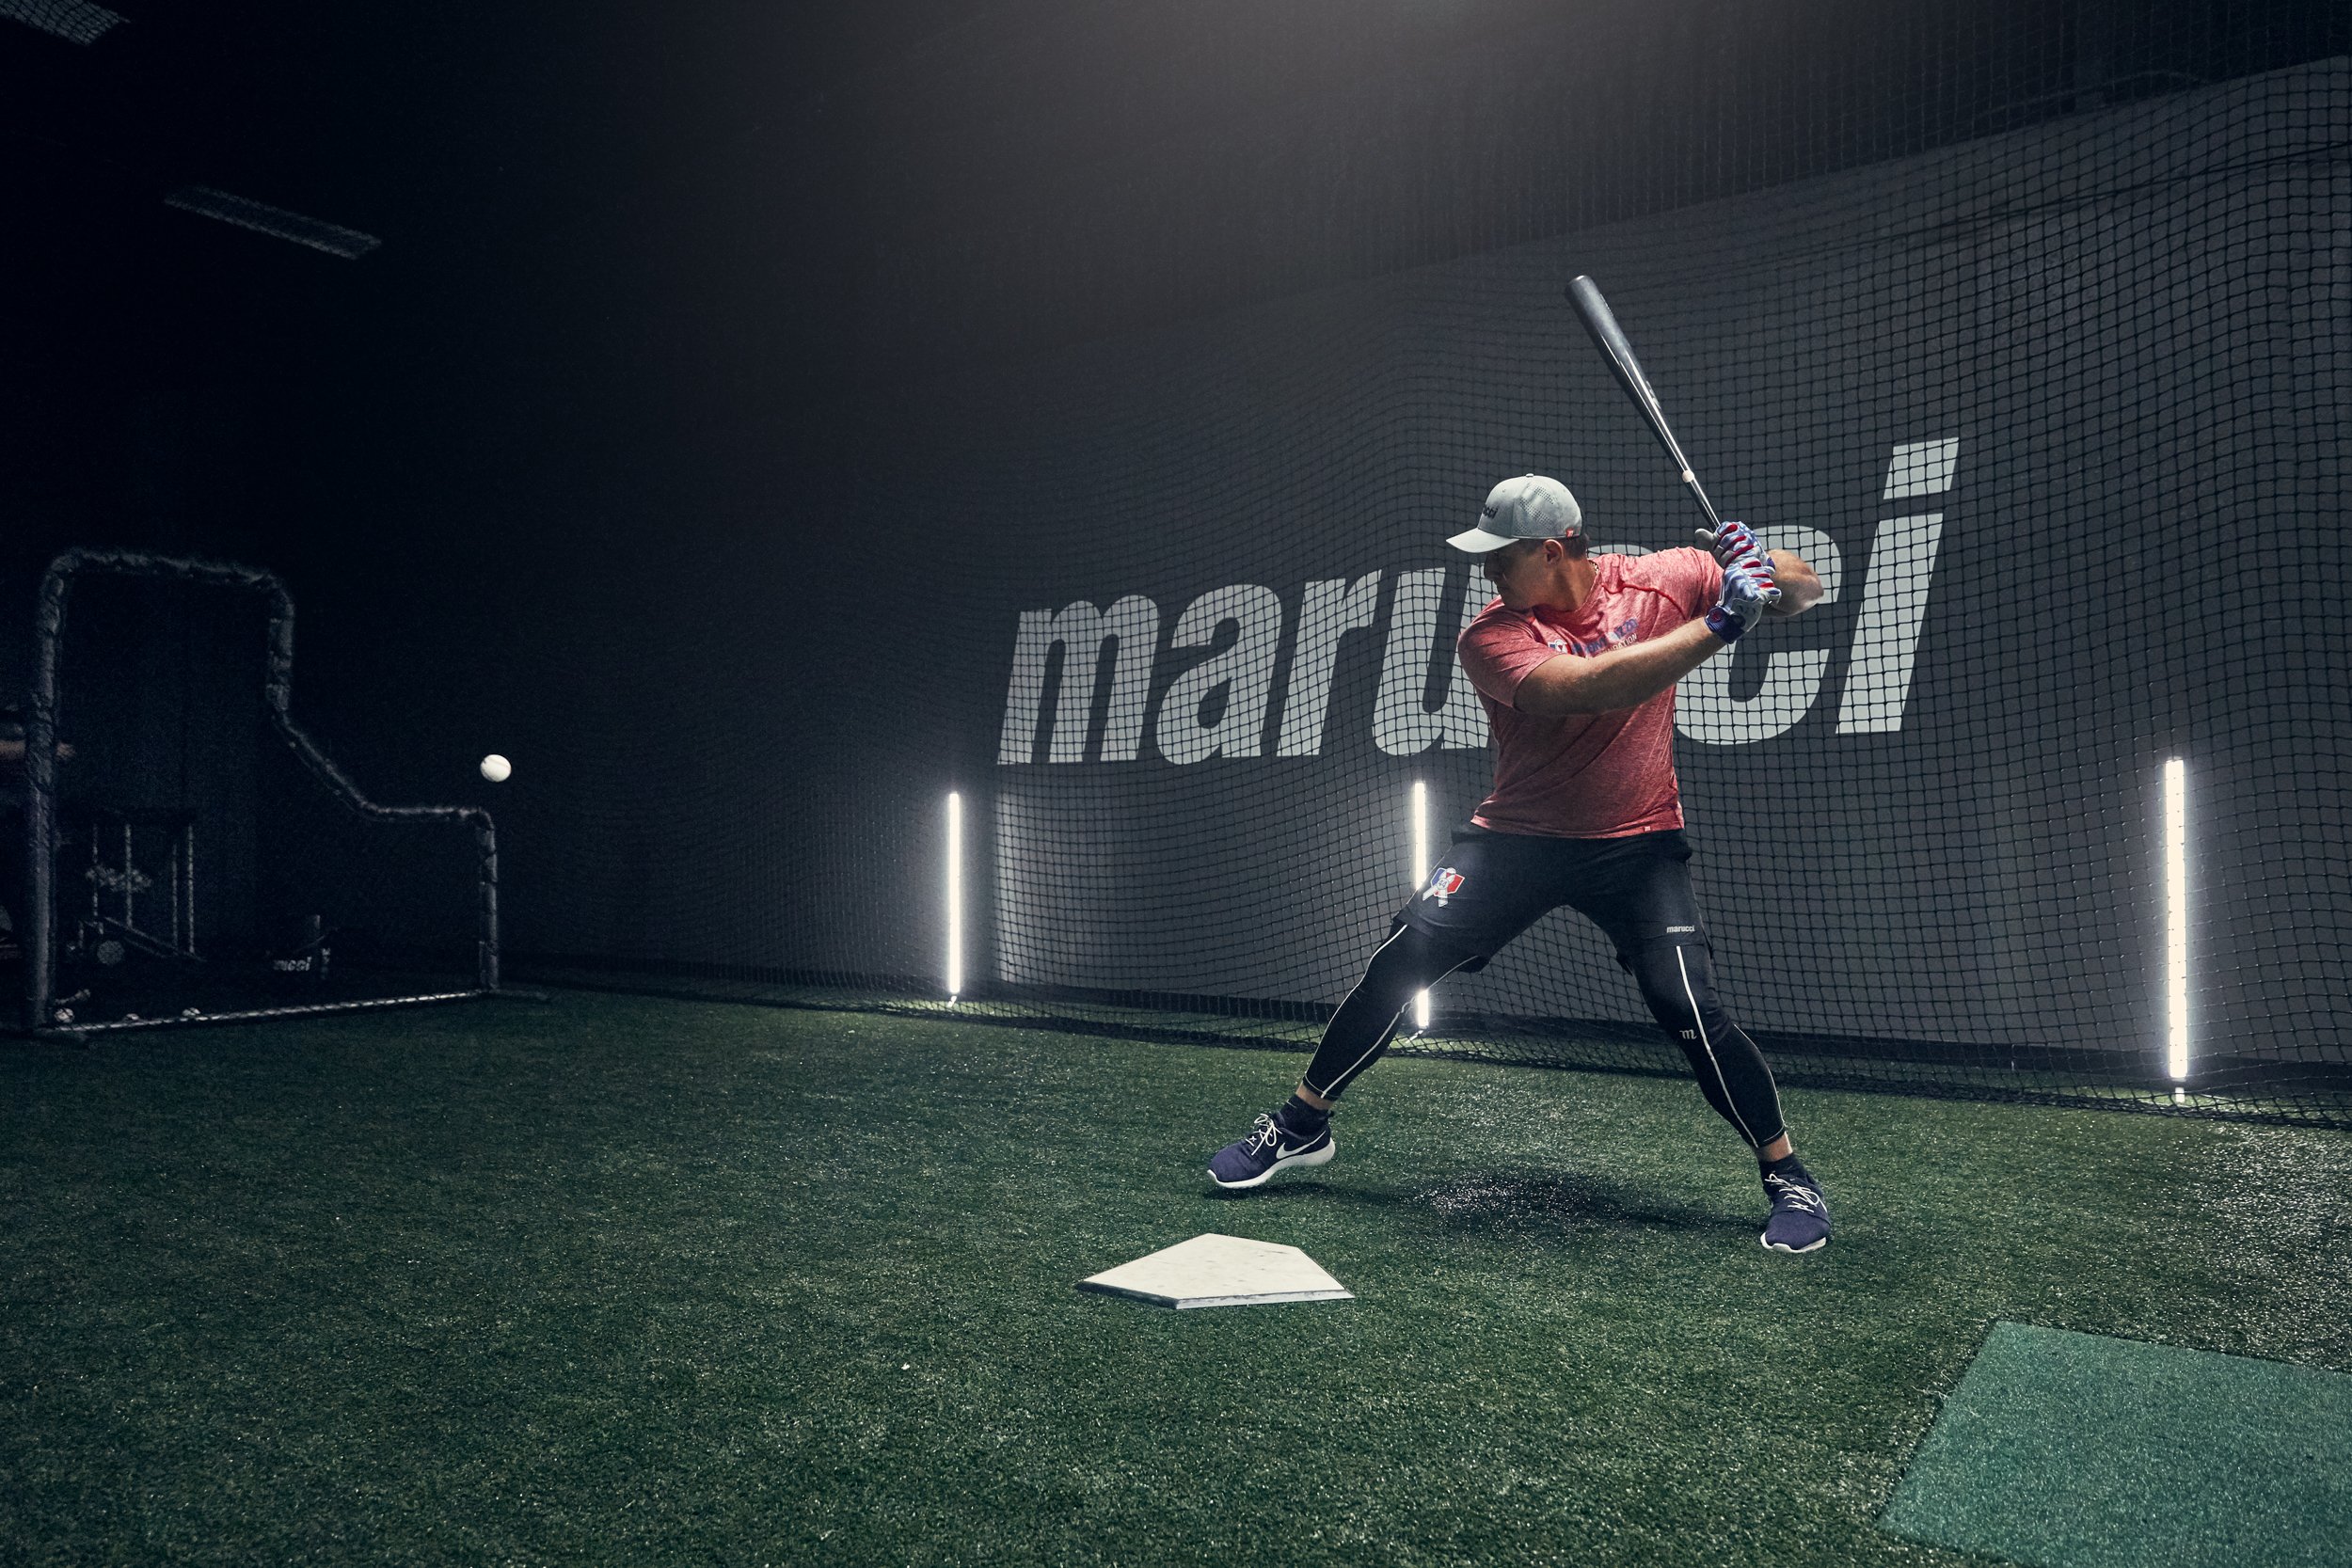
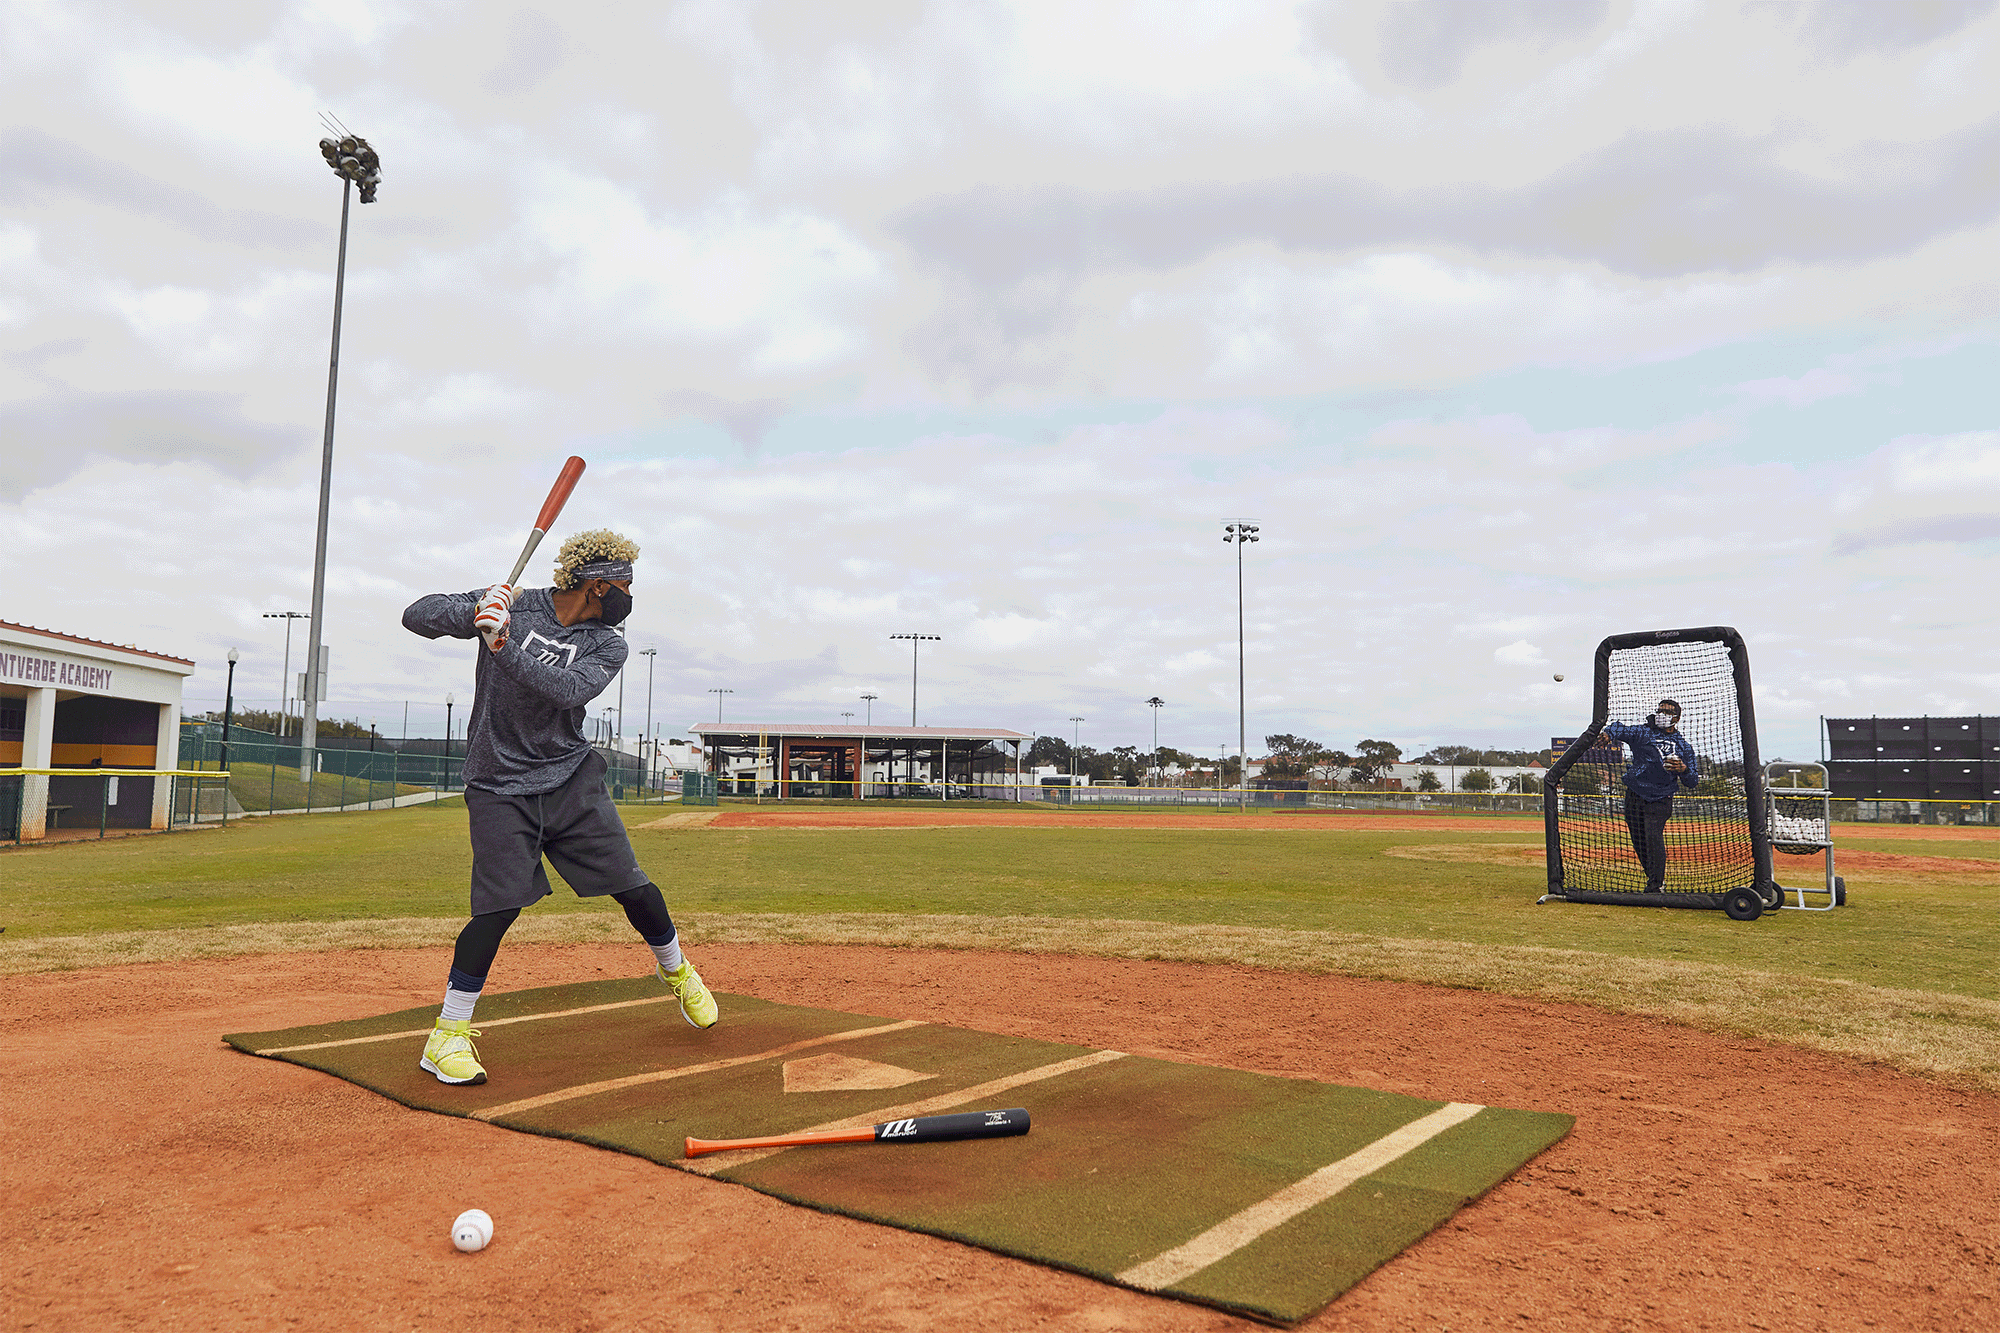
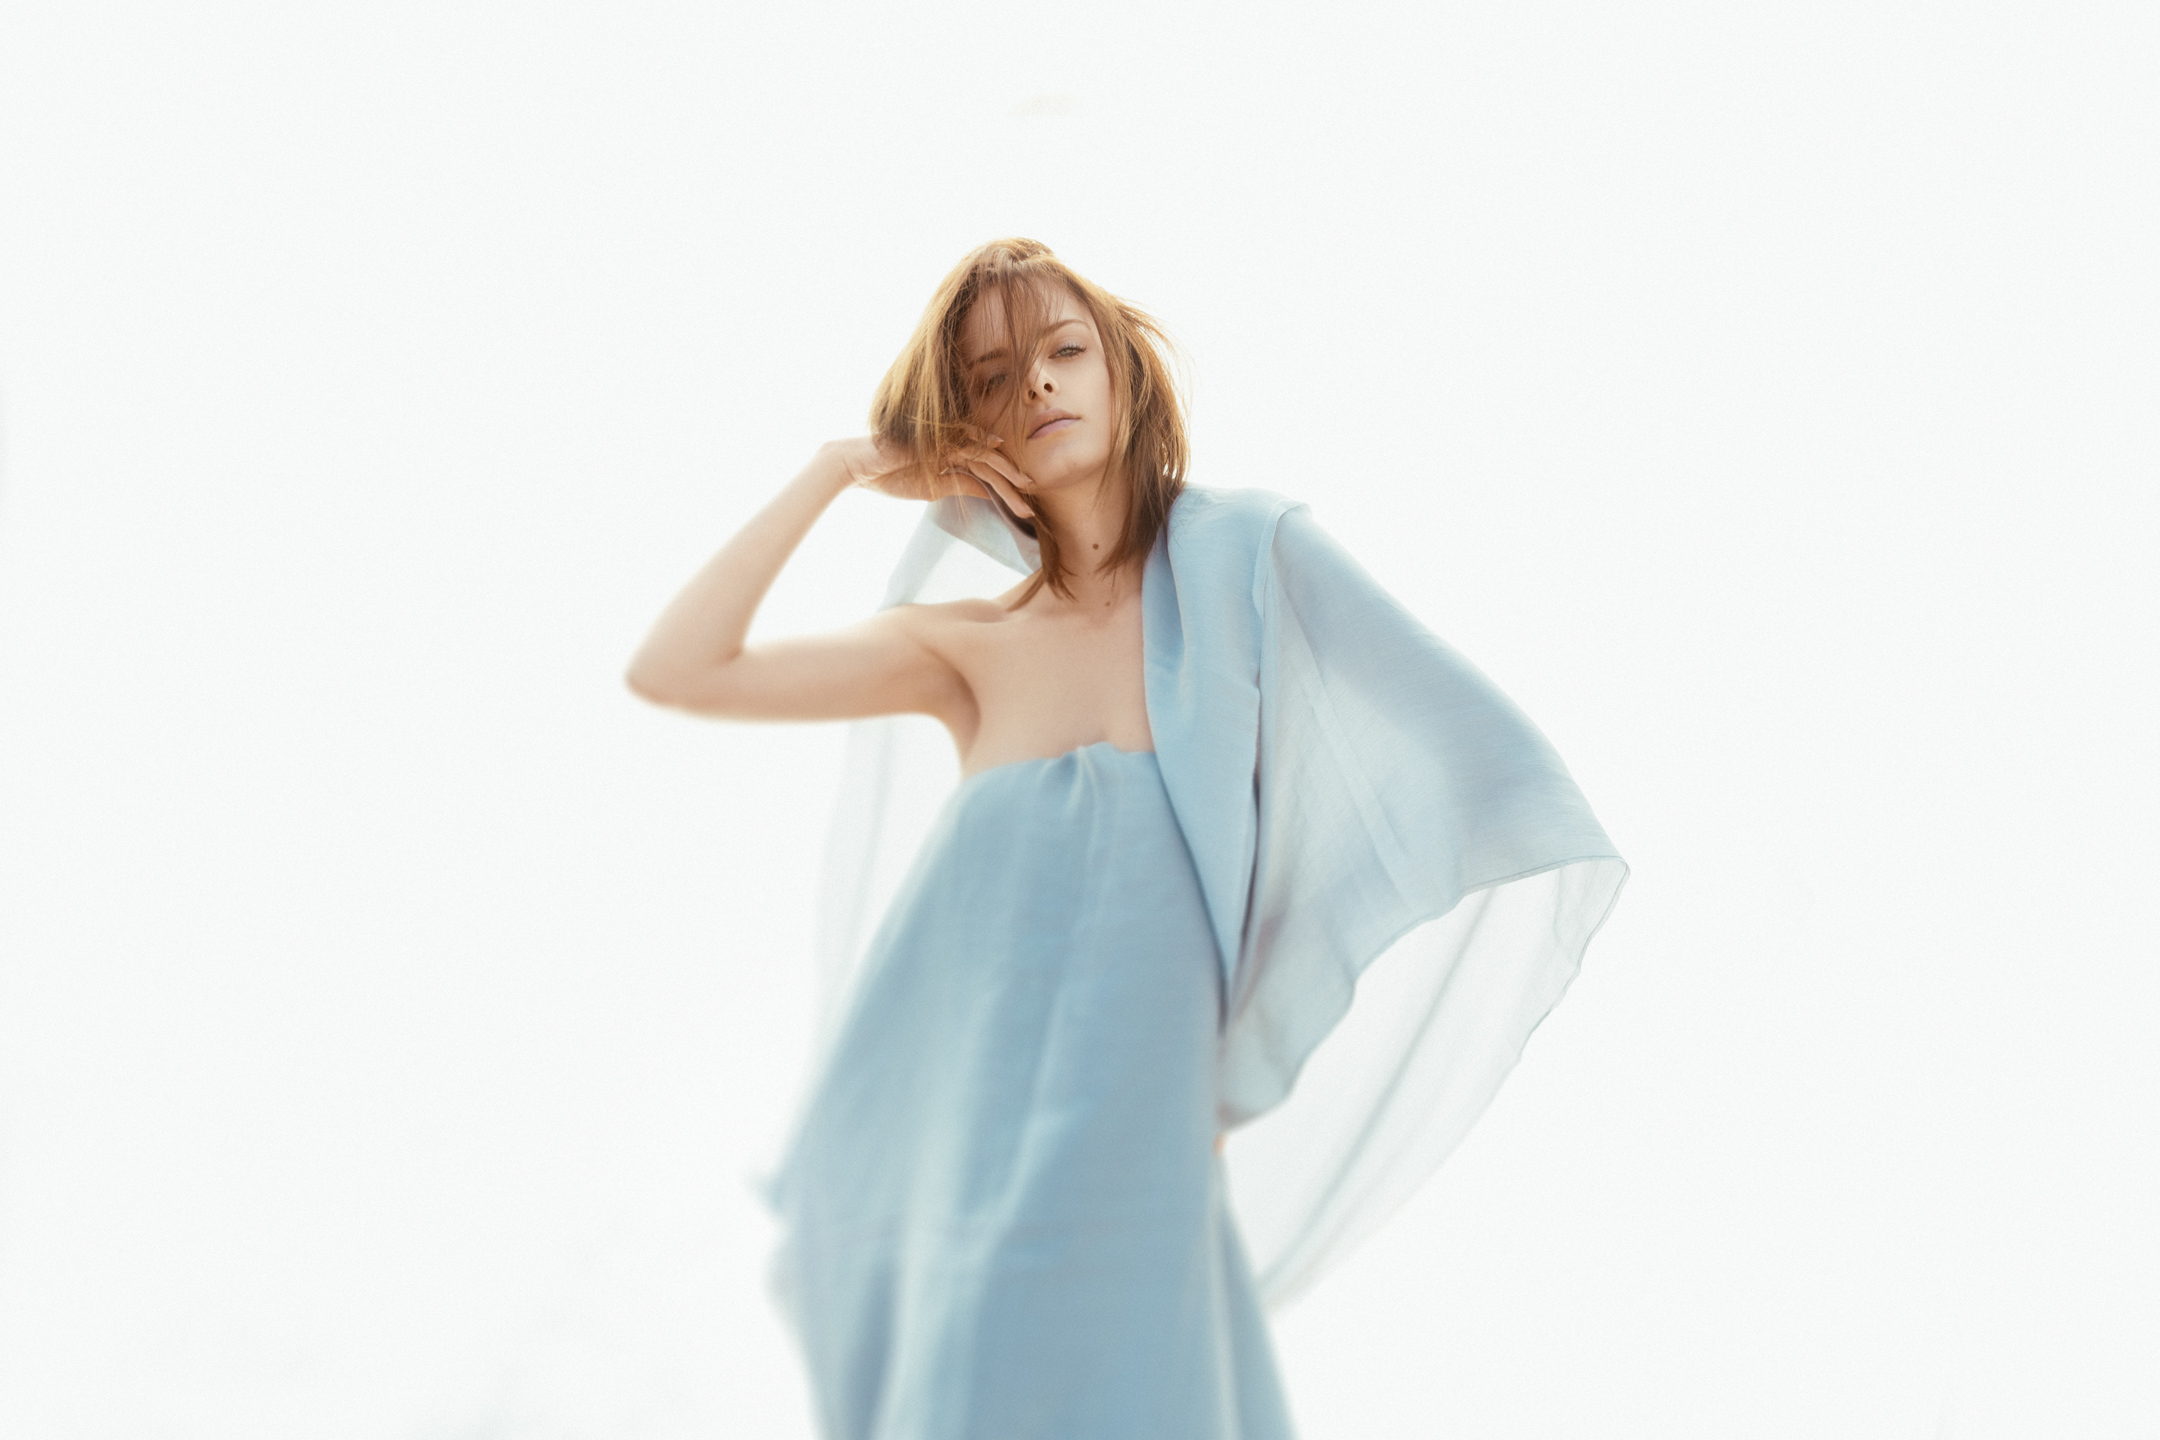
Choose your modifier wisely.

A visual guide to picking out the right modifier.
Read MoreDust Trail

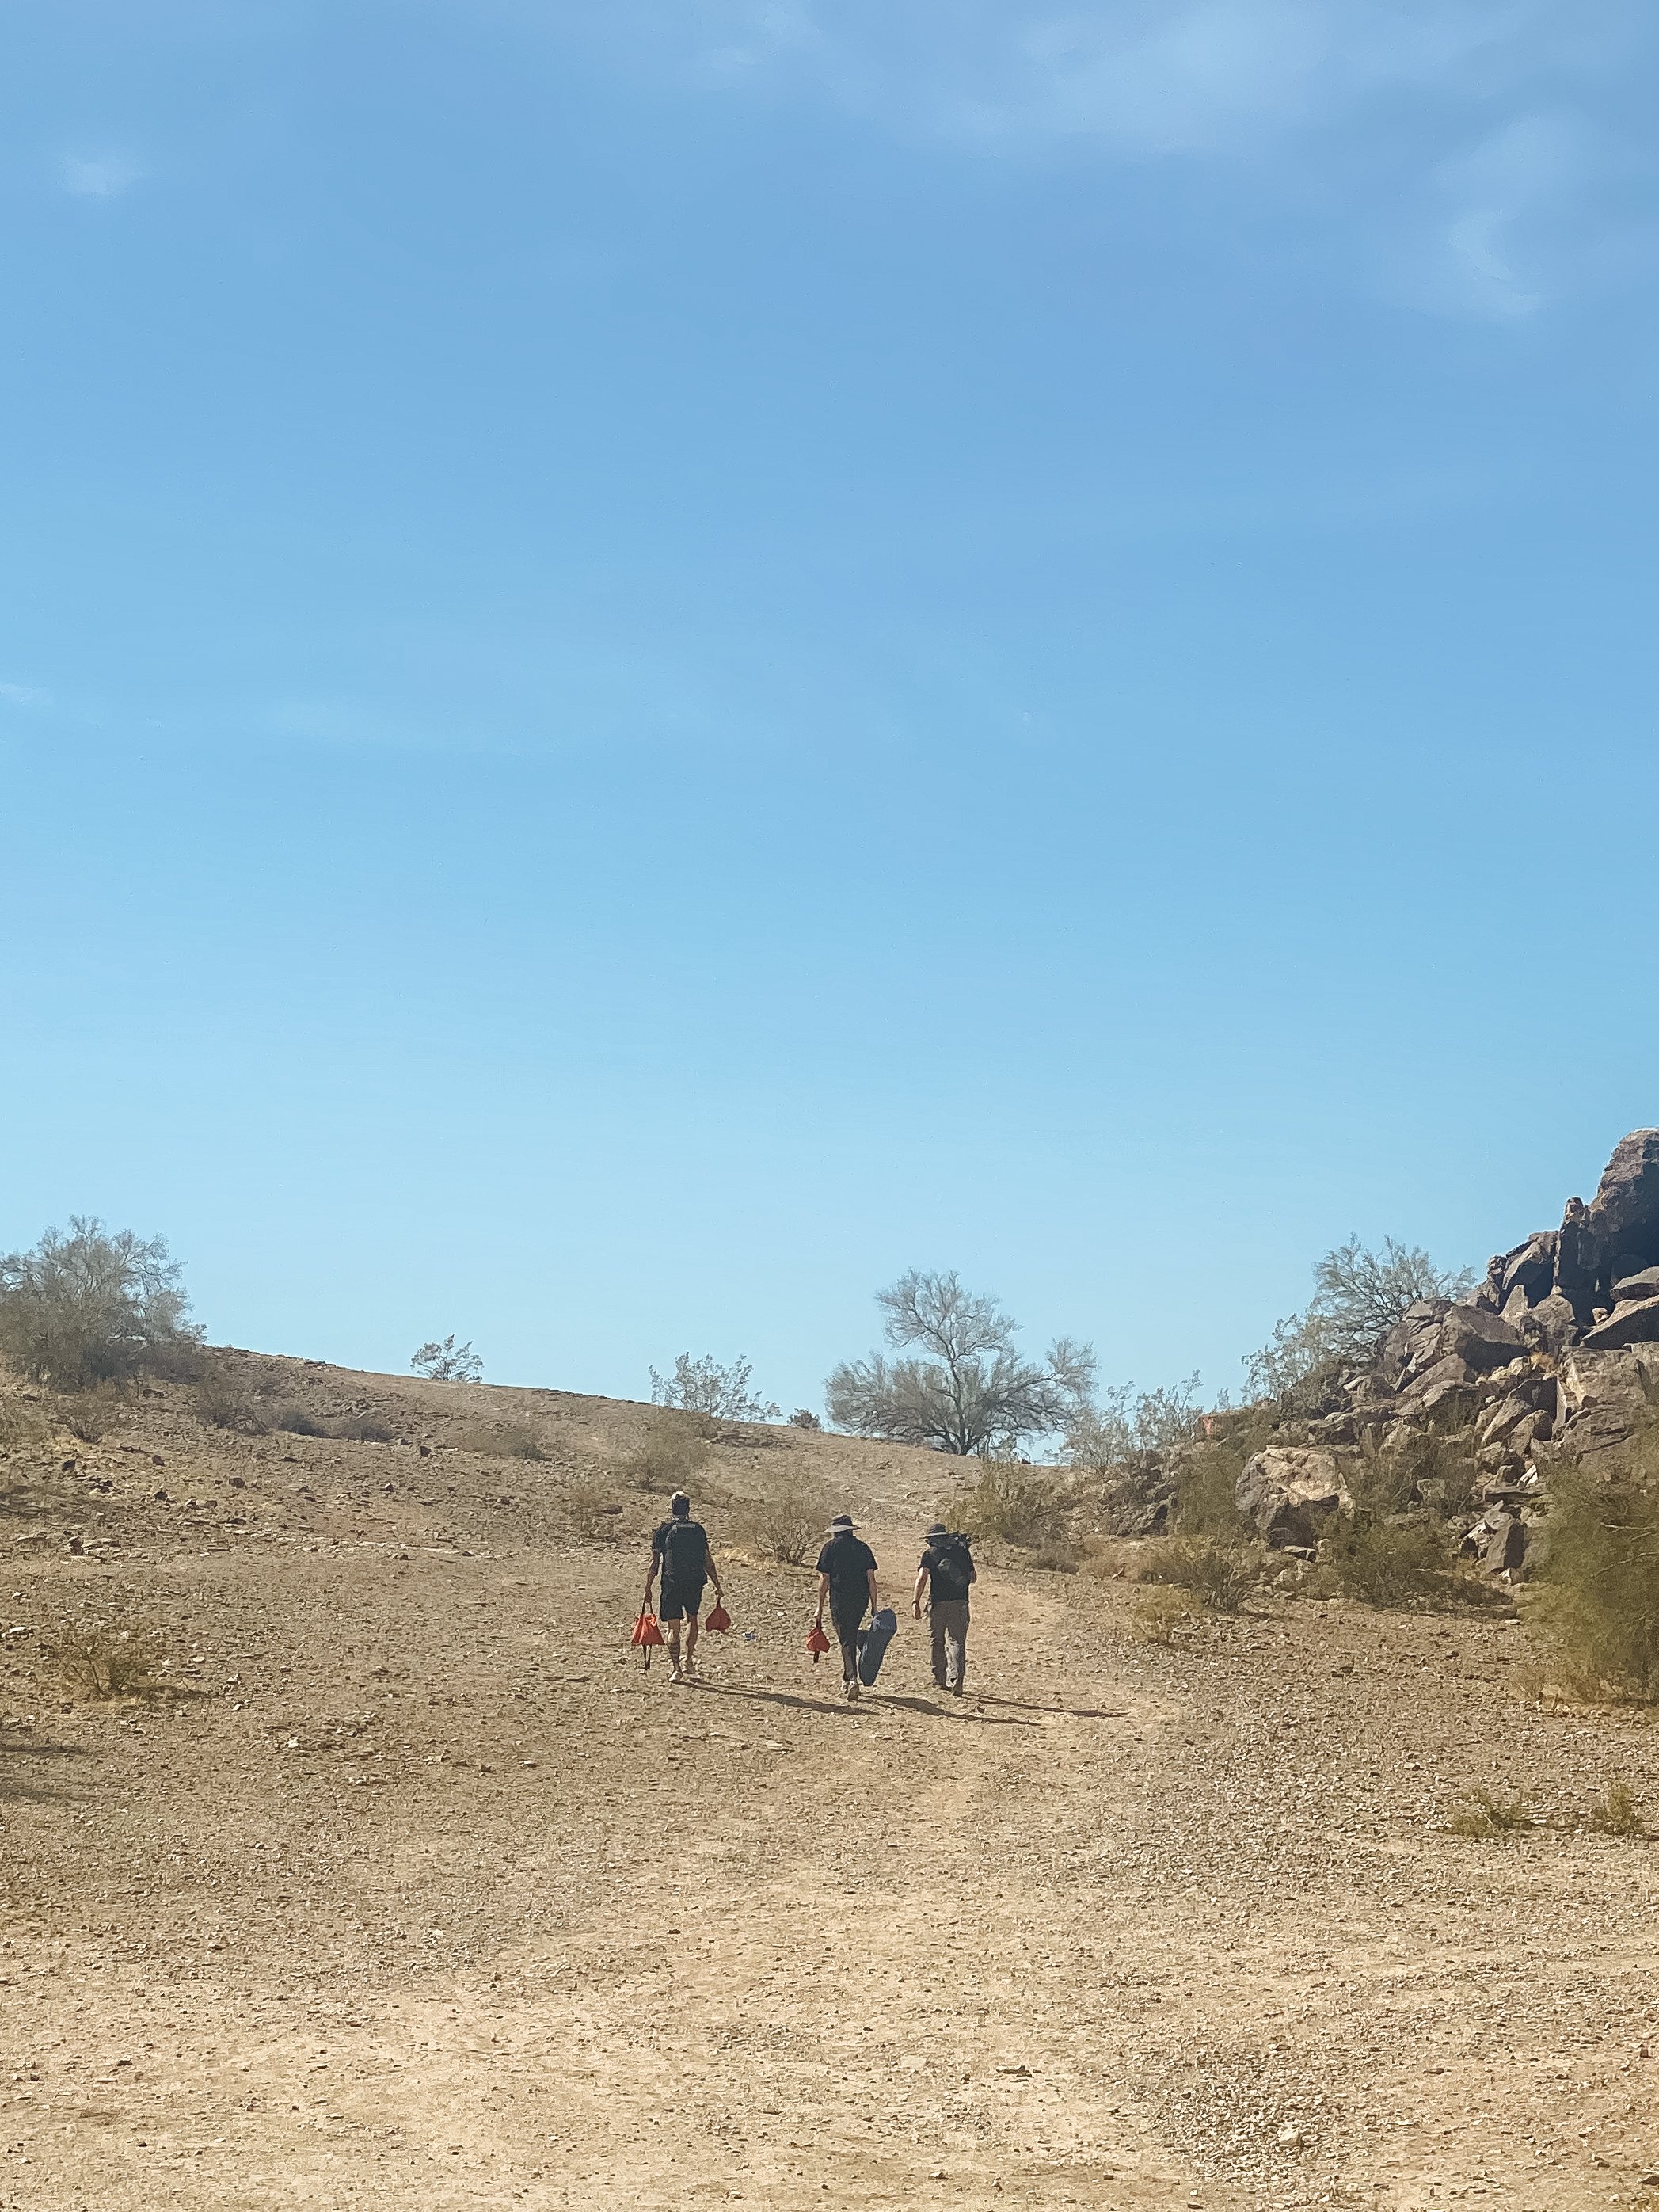
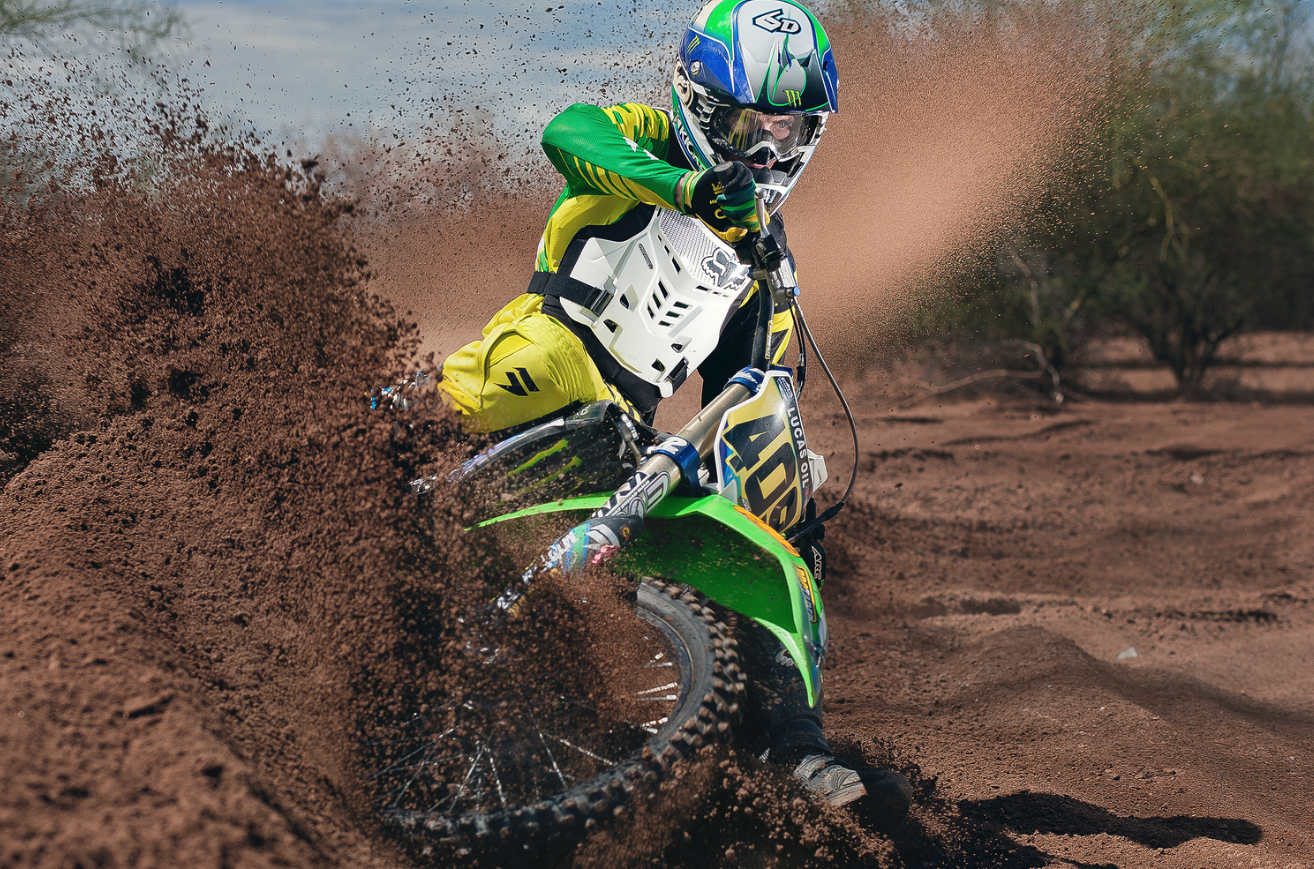
A summary of 10 guys camping out in the middle of nowhere, ripping the desert floor of speeds over 100mph, and the dust that follows.
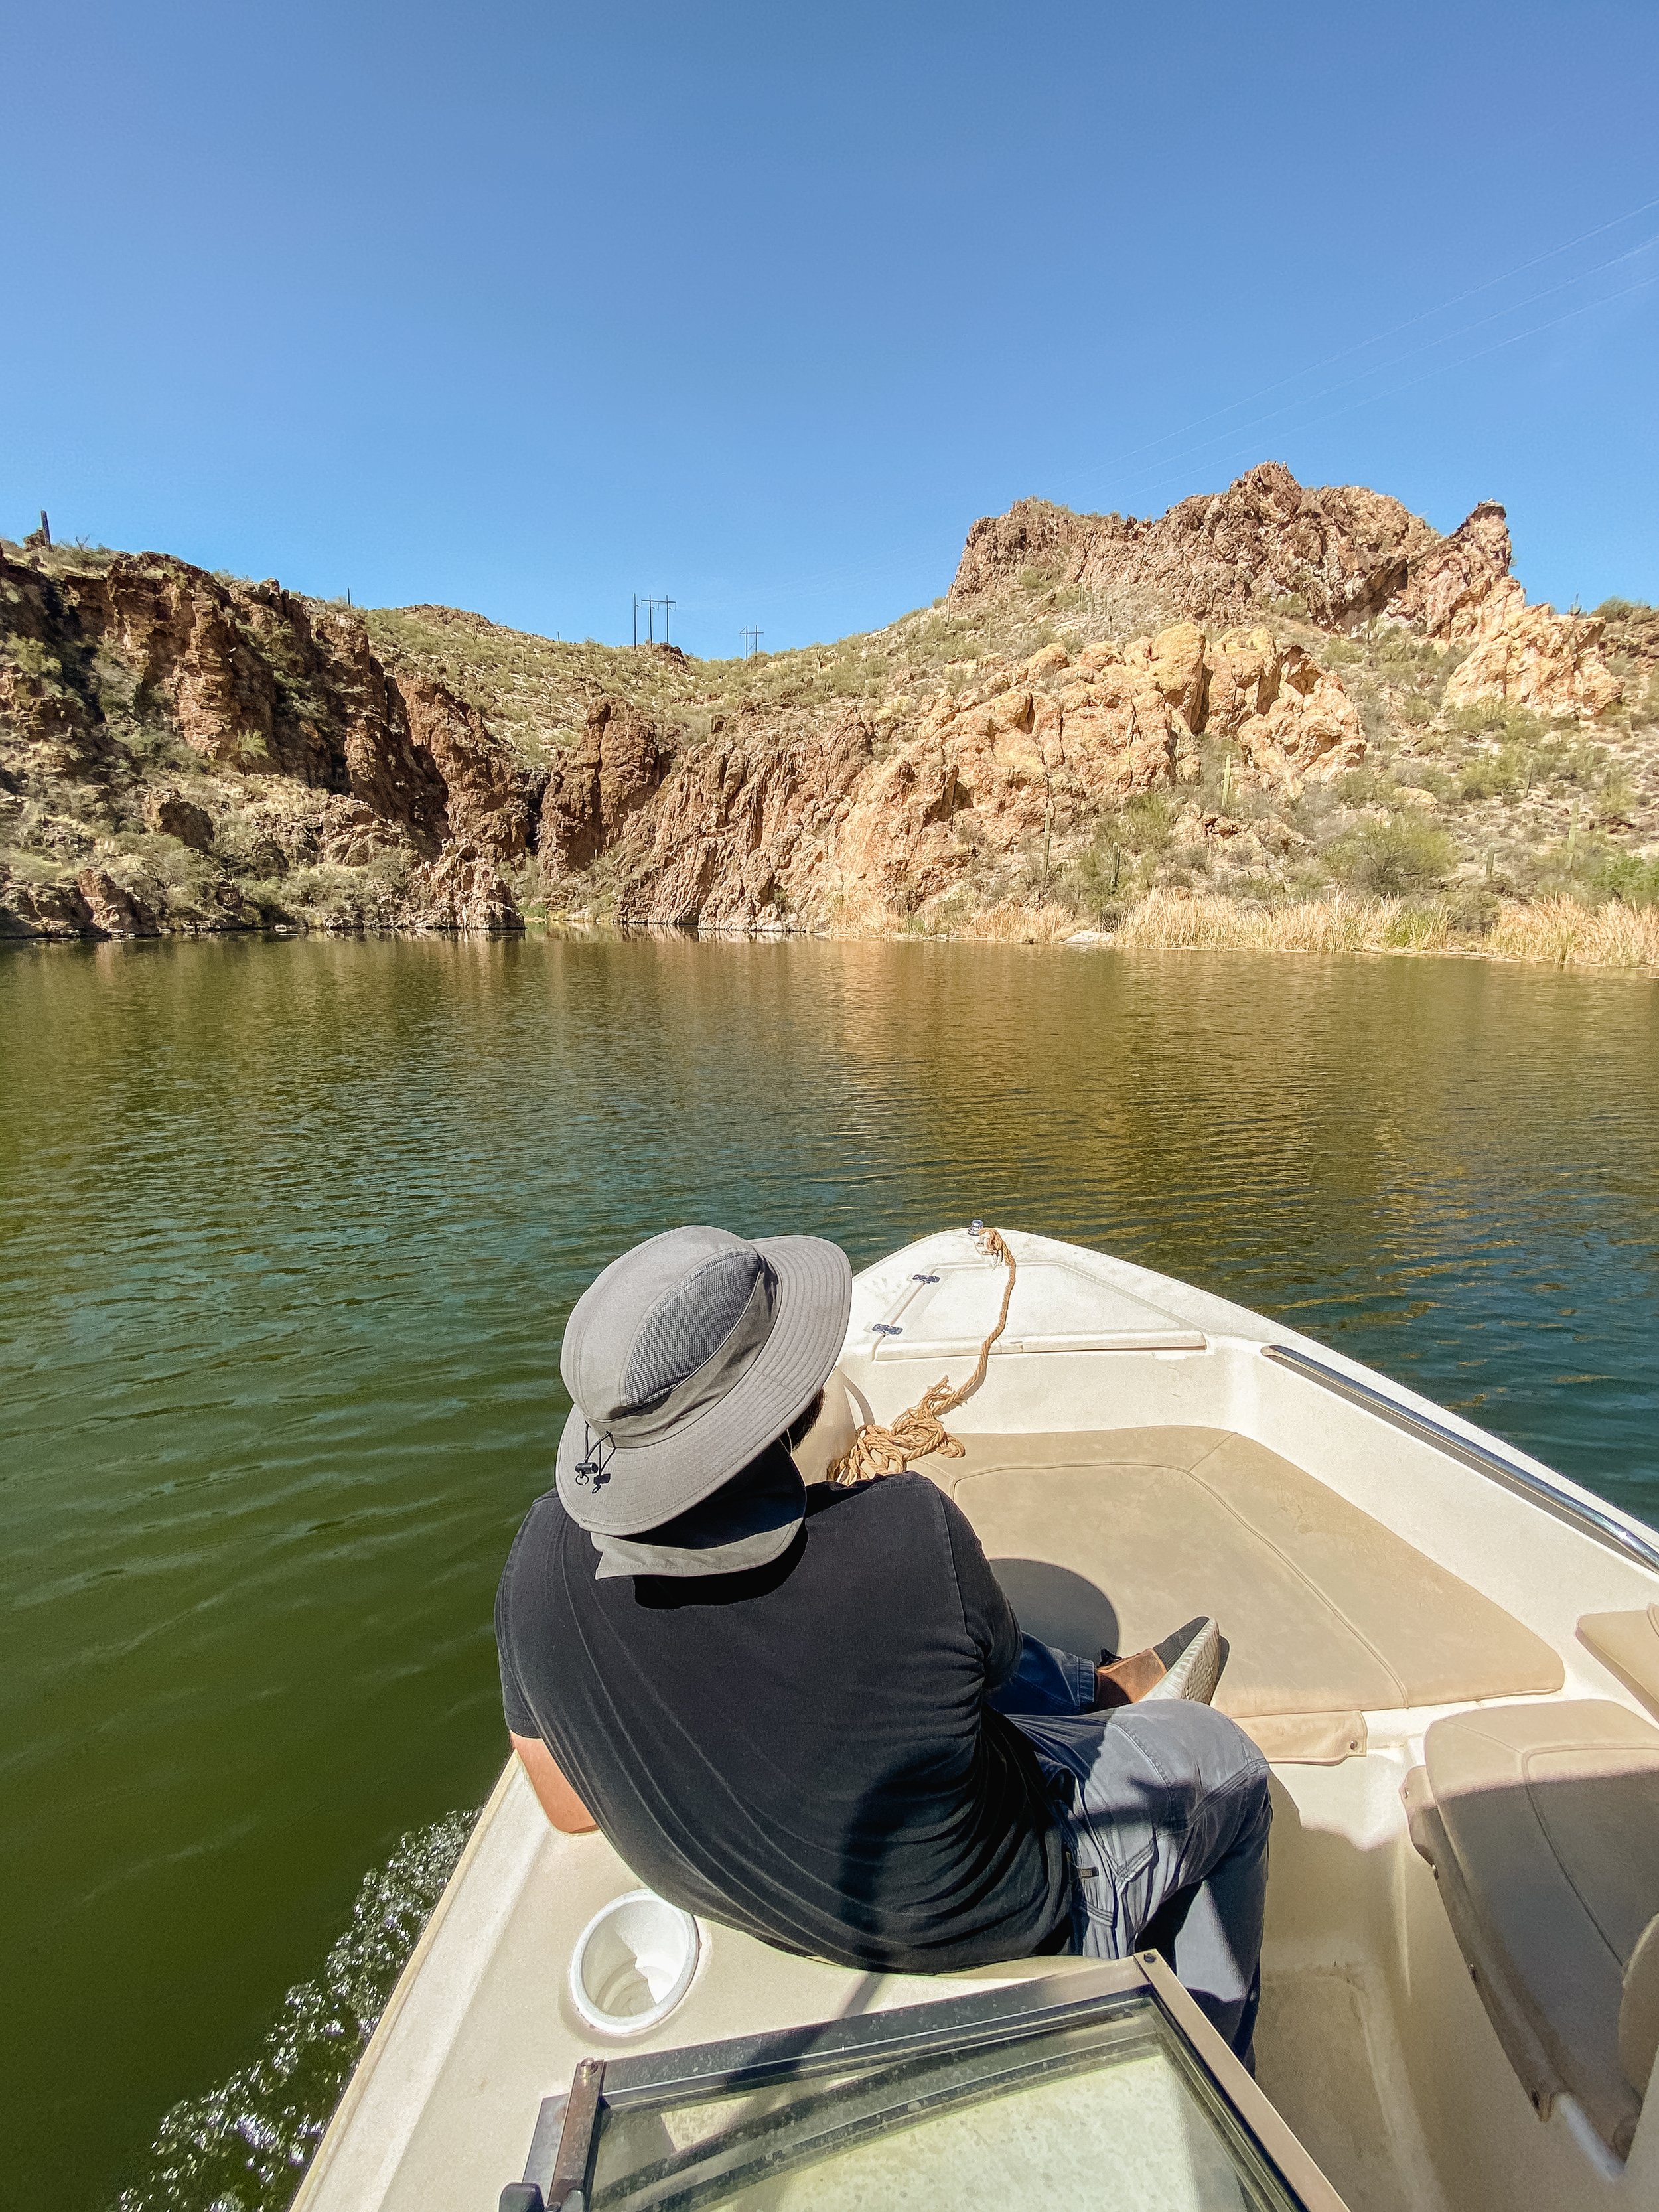
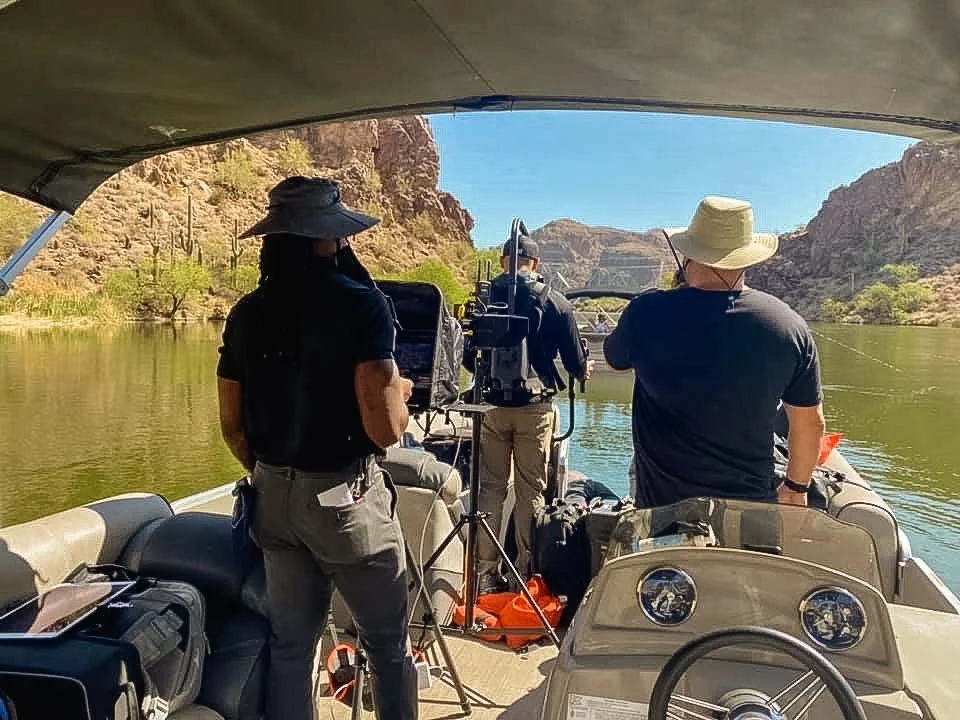
Read MoreRoosevelt lake for Presidents Day
On February 19th, Presidents Day 2018 Maria, Winston, Austin, and I drove up to the top of Four Peaks Mountain in Arizona. We started on the west side of the mountain and drove 27 miles on a dirt road to the top, putting a beating on my 20 year old truck, and taking about 3 hours. This is an awesome trail that really shows the diversity of Arizona. Starting at the bottom is the dry desert filled with cacti, as you ascend it transitions into high desert with trees and large bushes, and eventually as you reach the summit there are pine trees strangely hanging out at the top.
As we descended (the much easier and shorter 10 mile trail) to the bottom on the east side towards Roosevelt lake, a storm broke out over the lake. We hung around Roosevelt Lake for a little bit, shooting the bridge and dam, and eventually made our way back to Phoenix through the superstitions.


Dying of Thirst
This portrait series reflects on
wanting to do good but not being able to because of your circumstances.
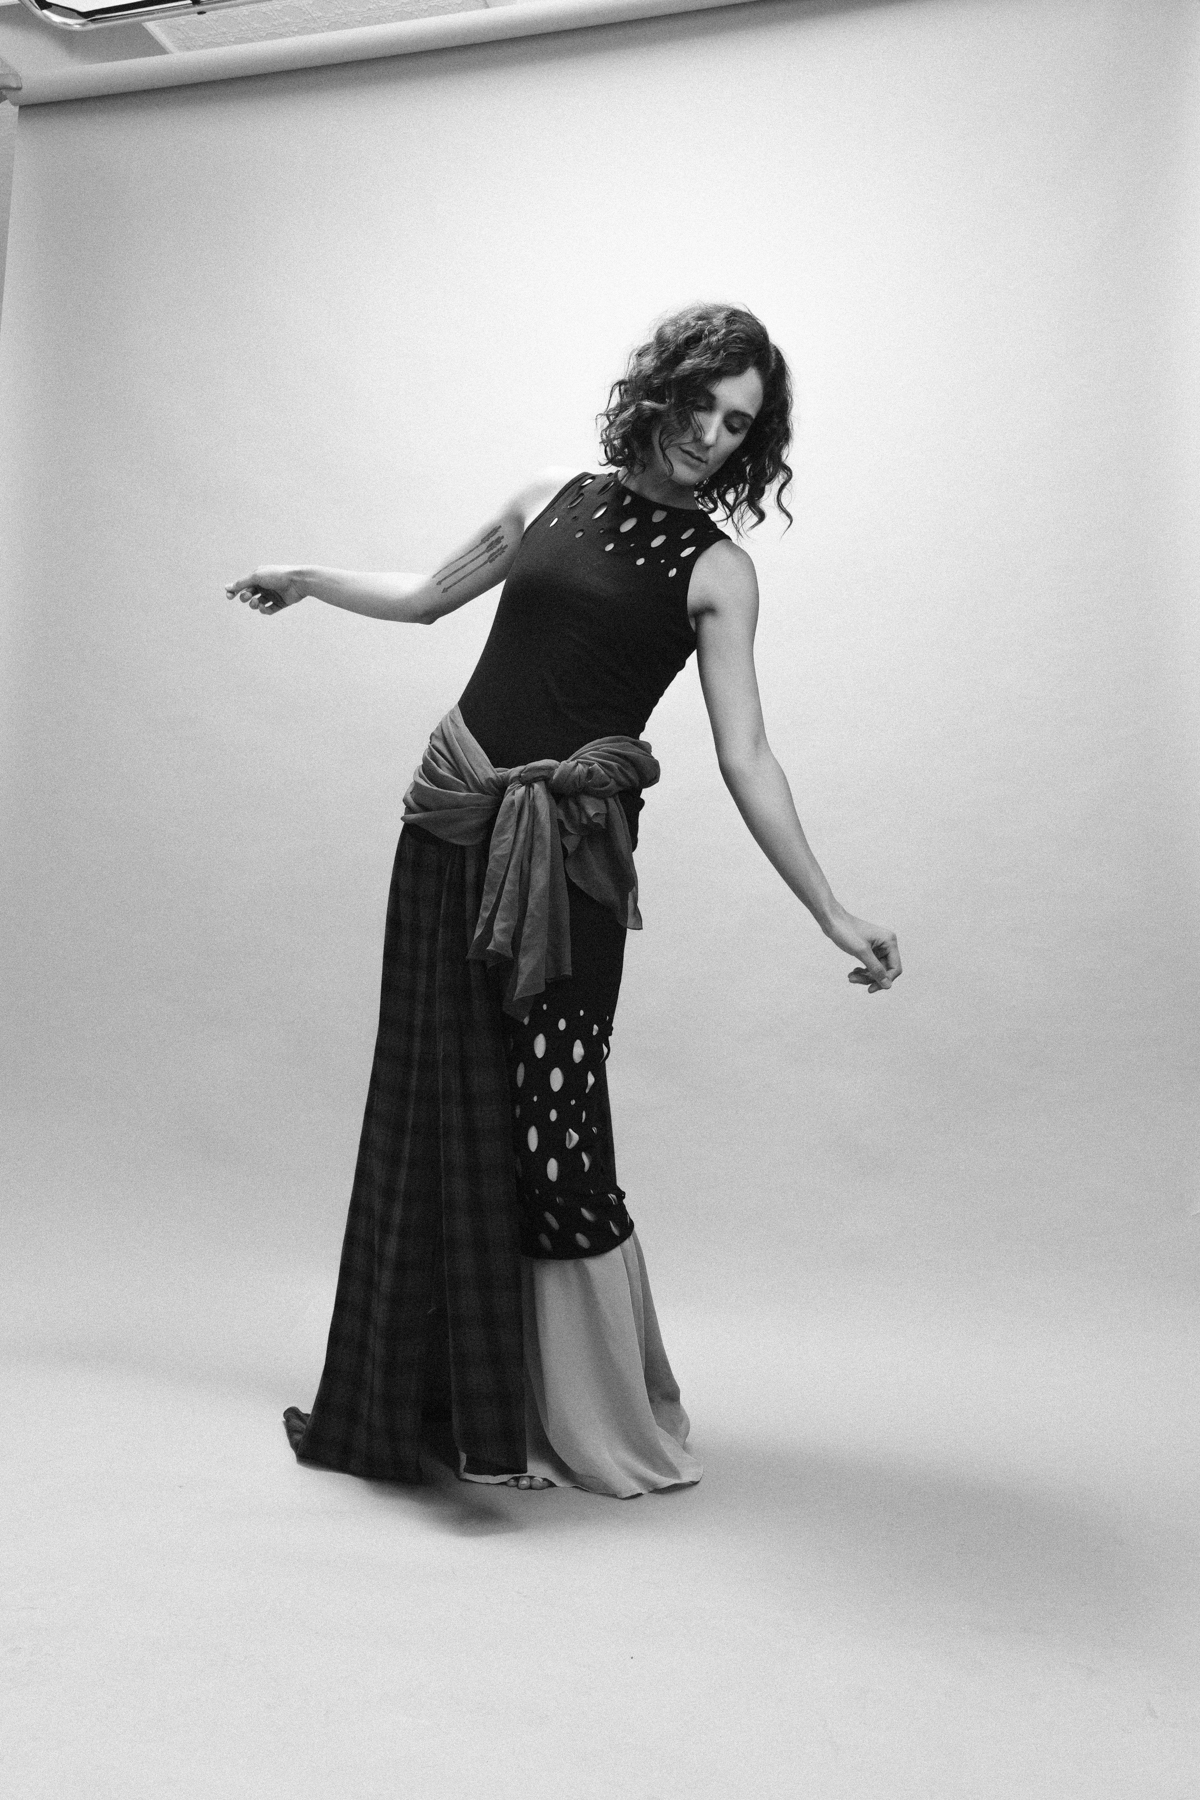
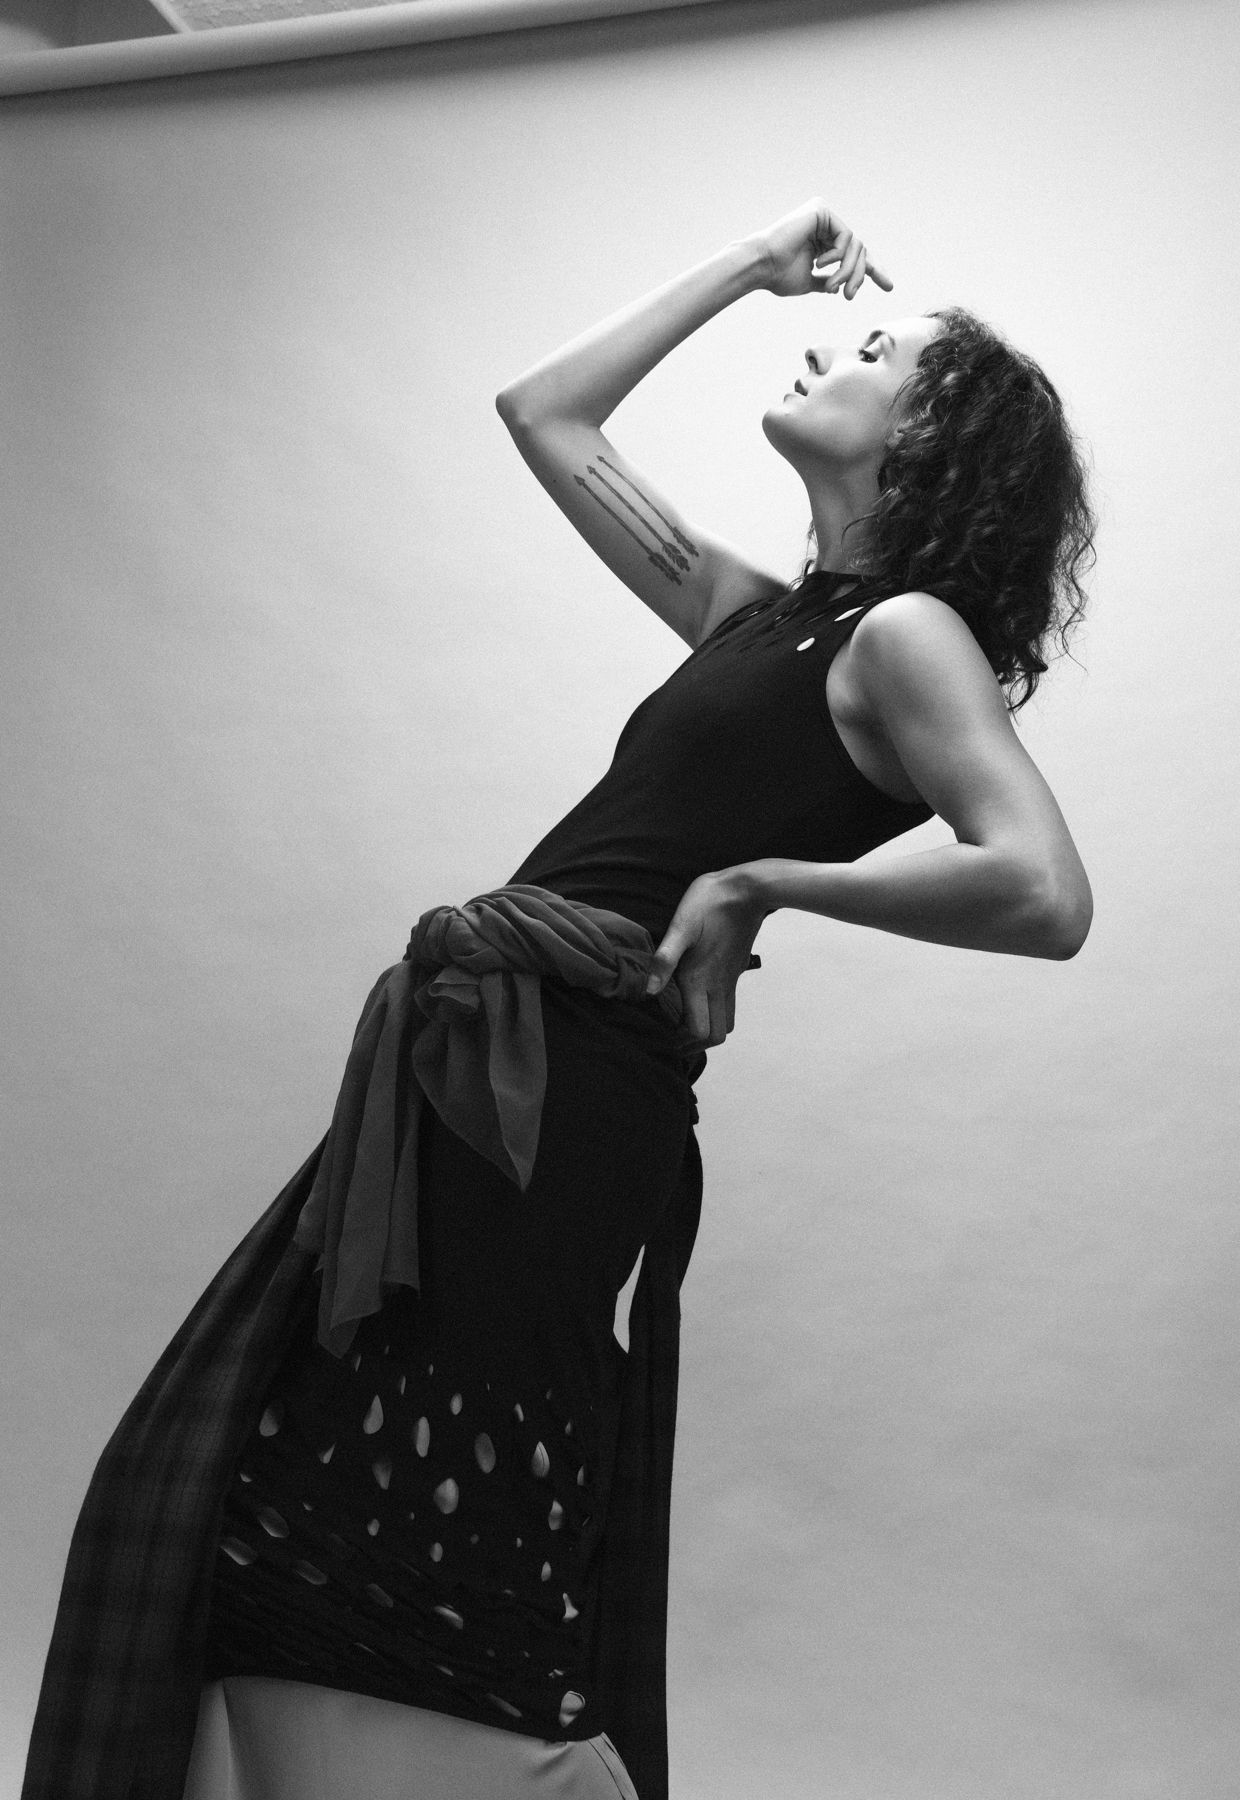
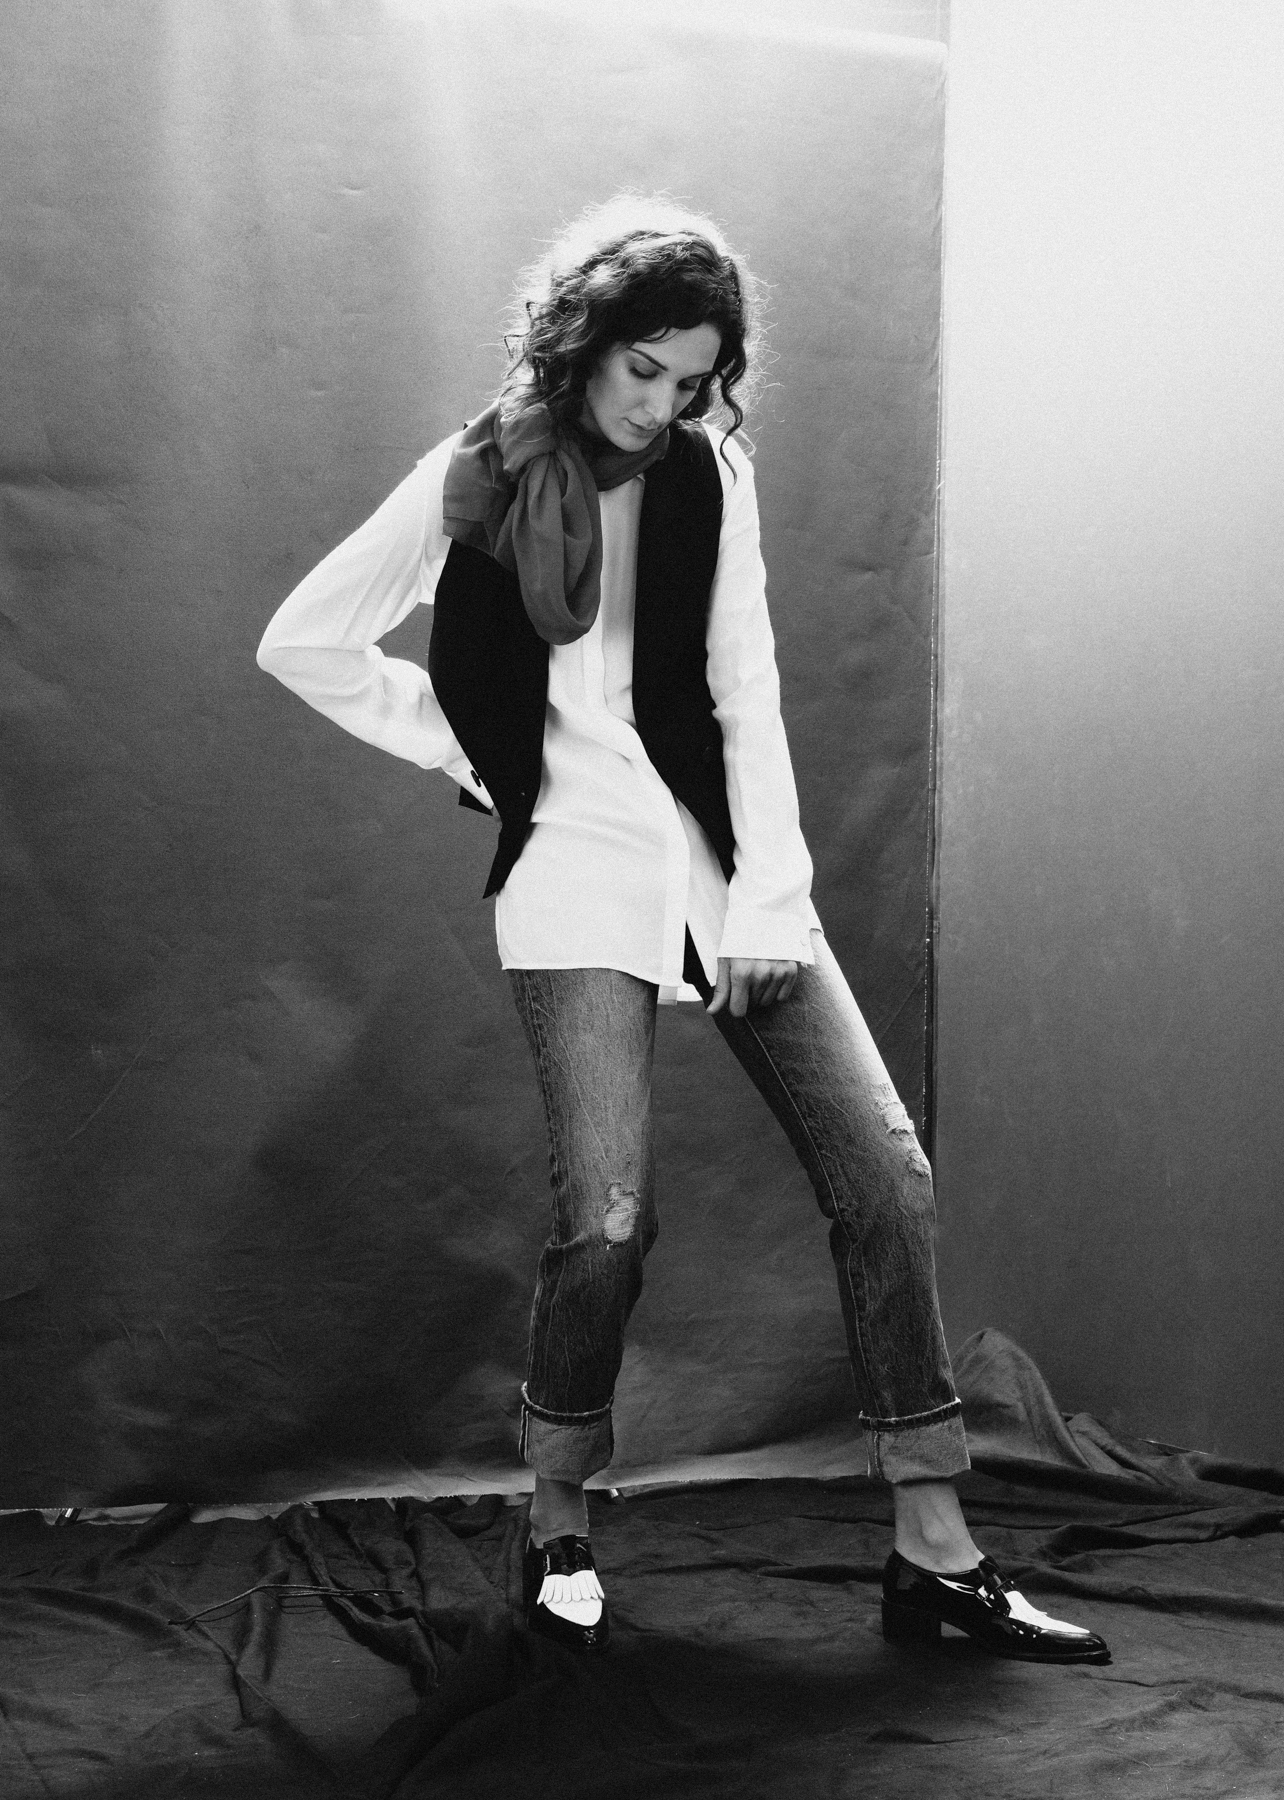
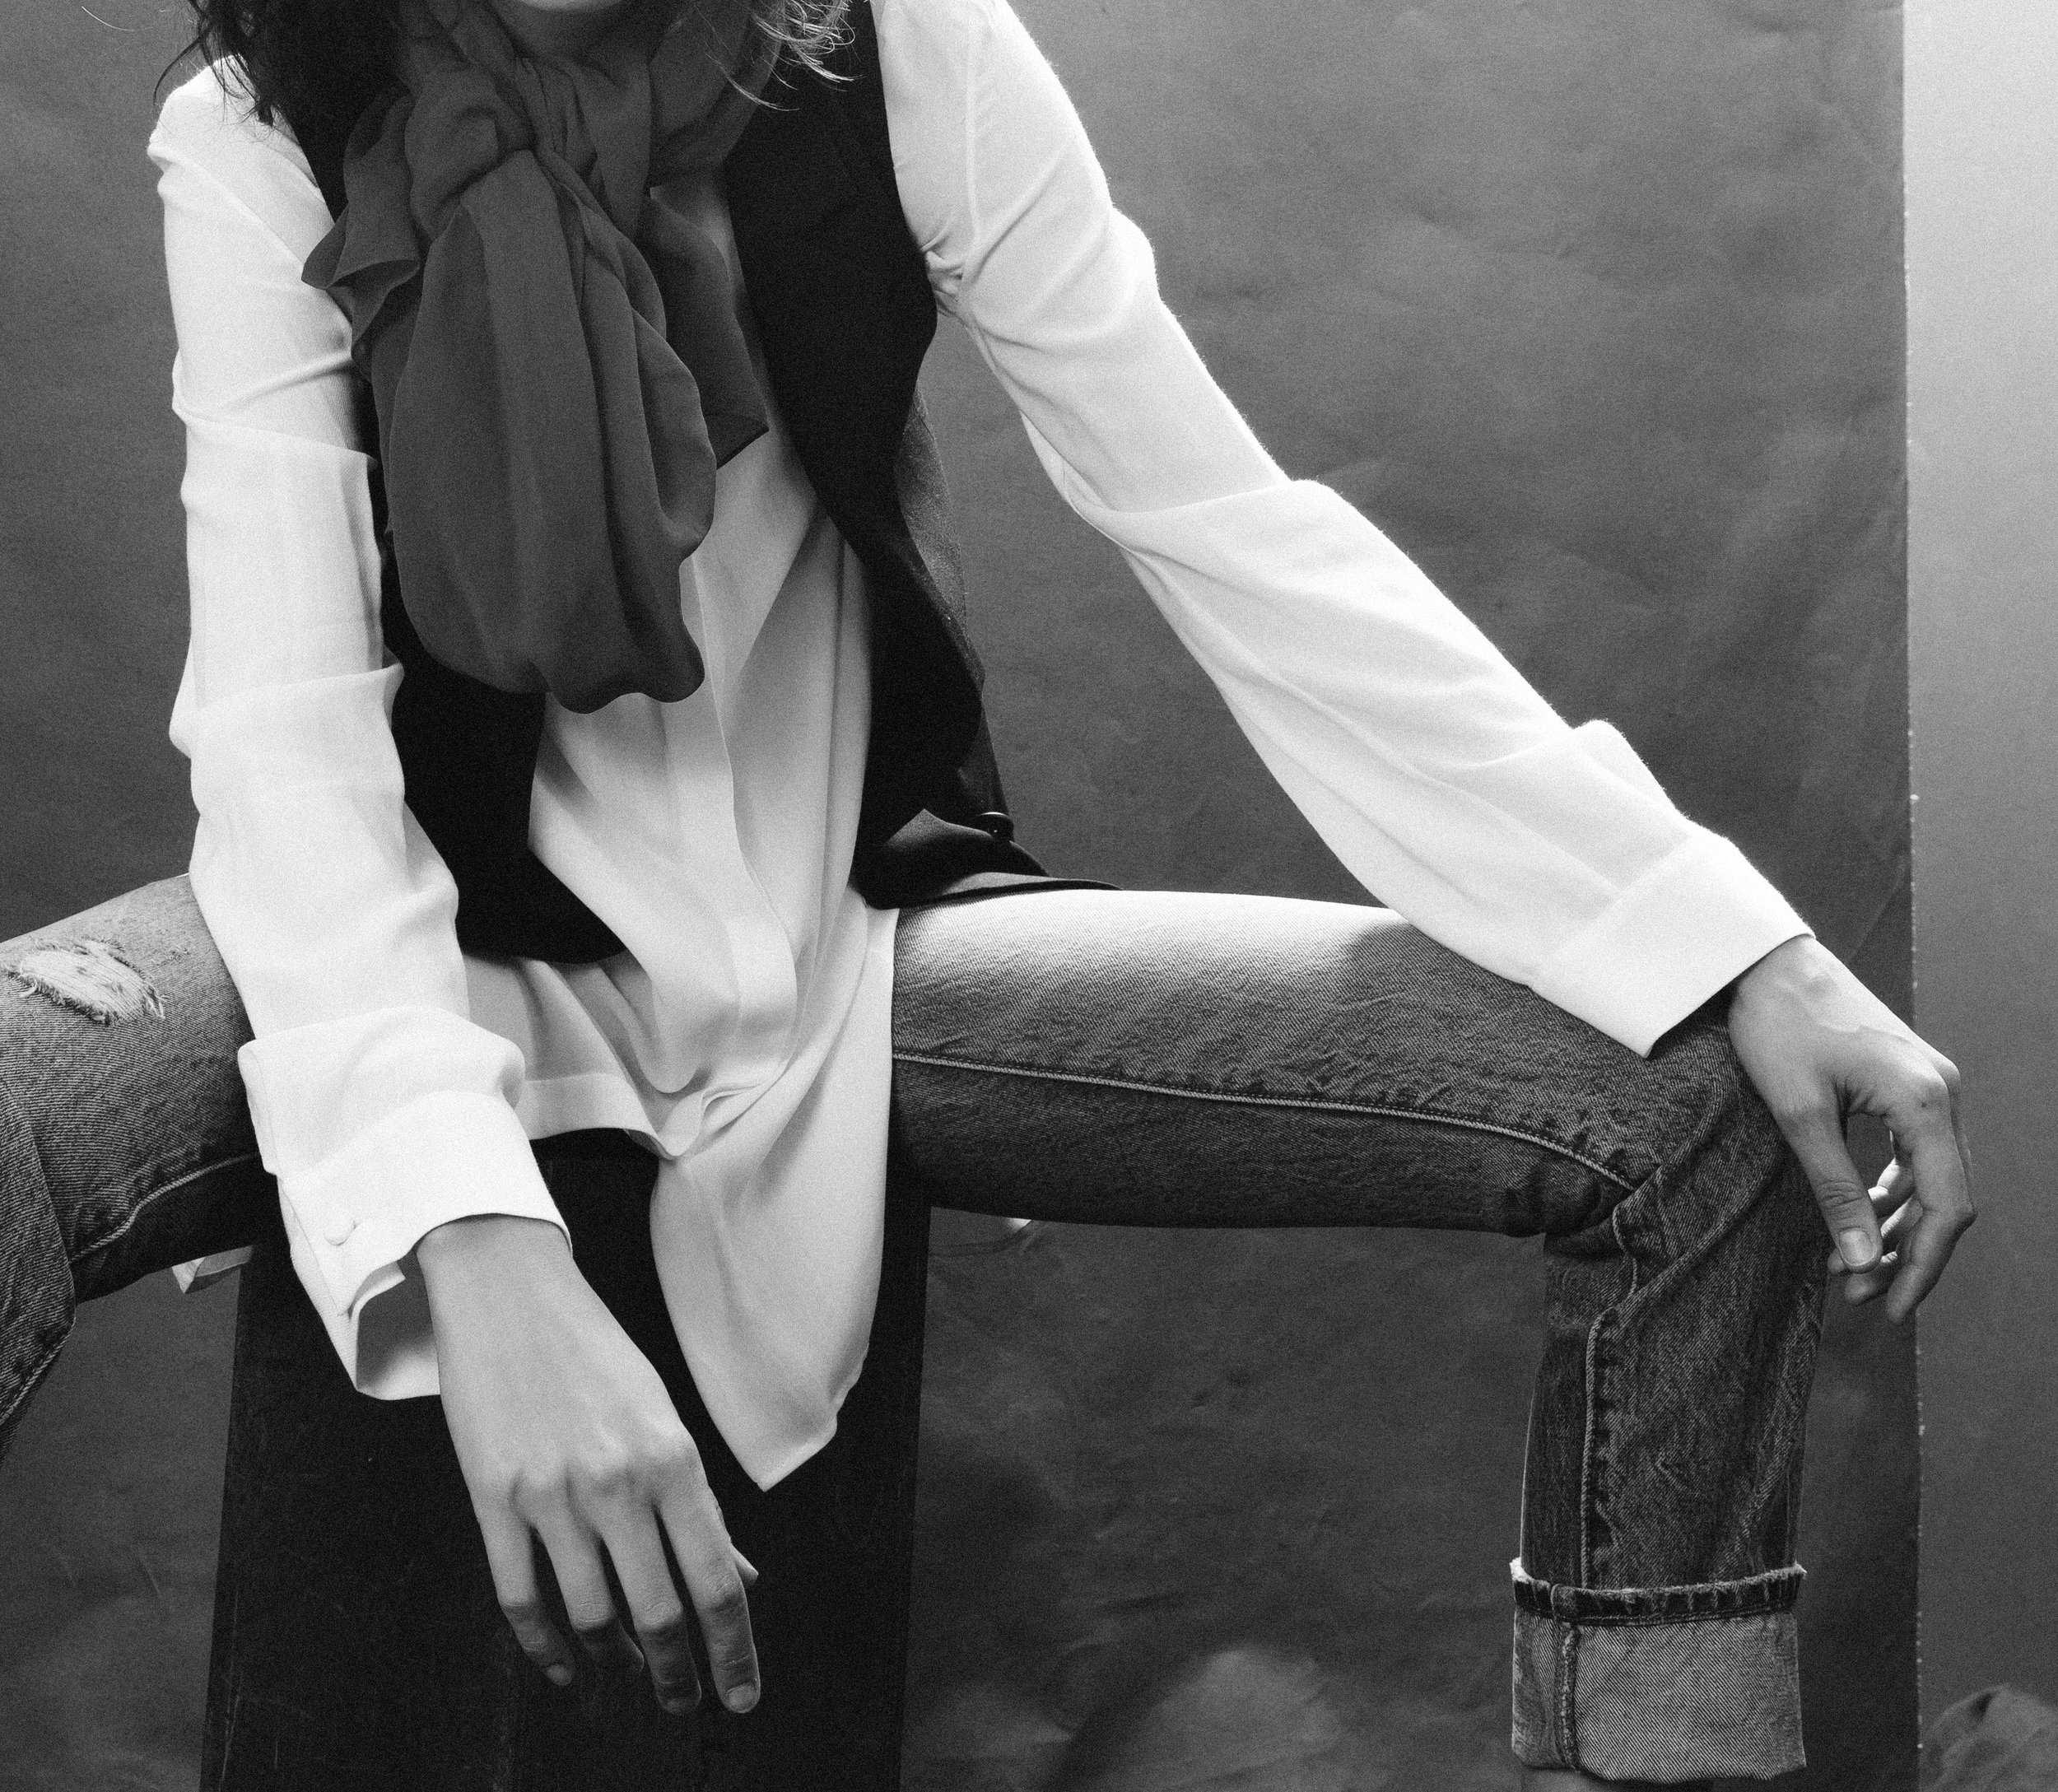
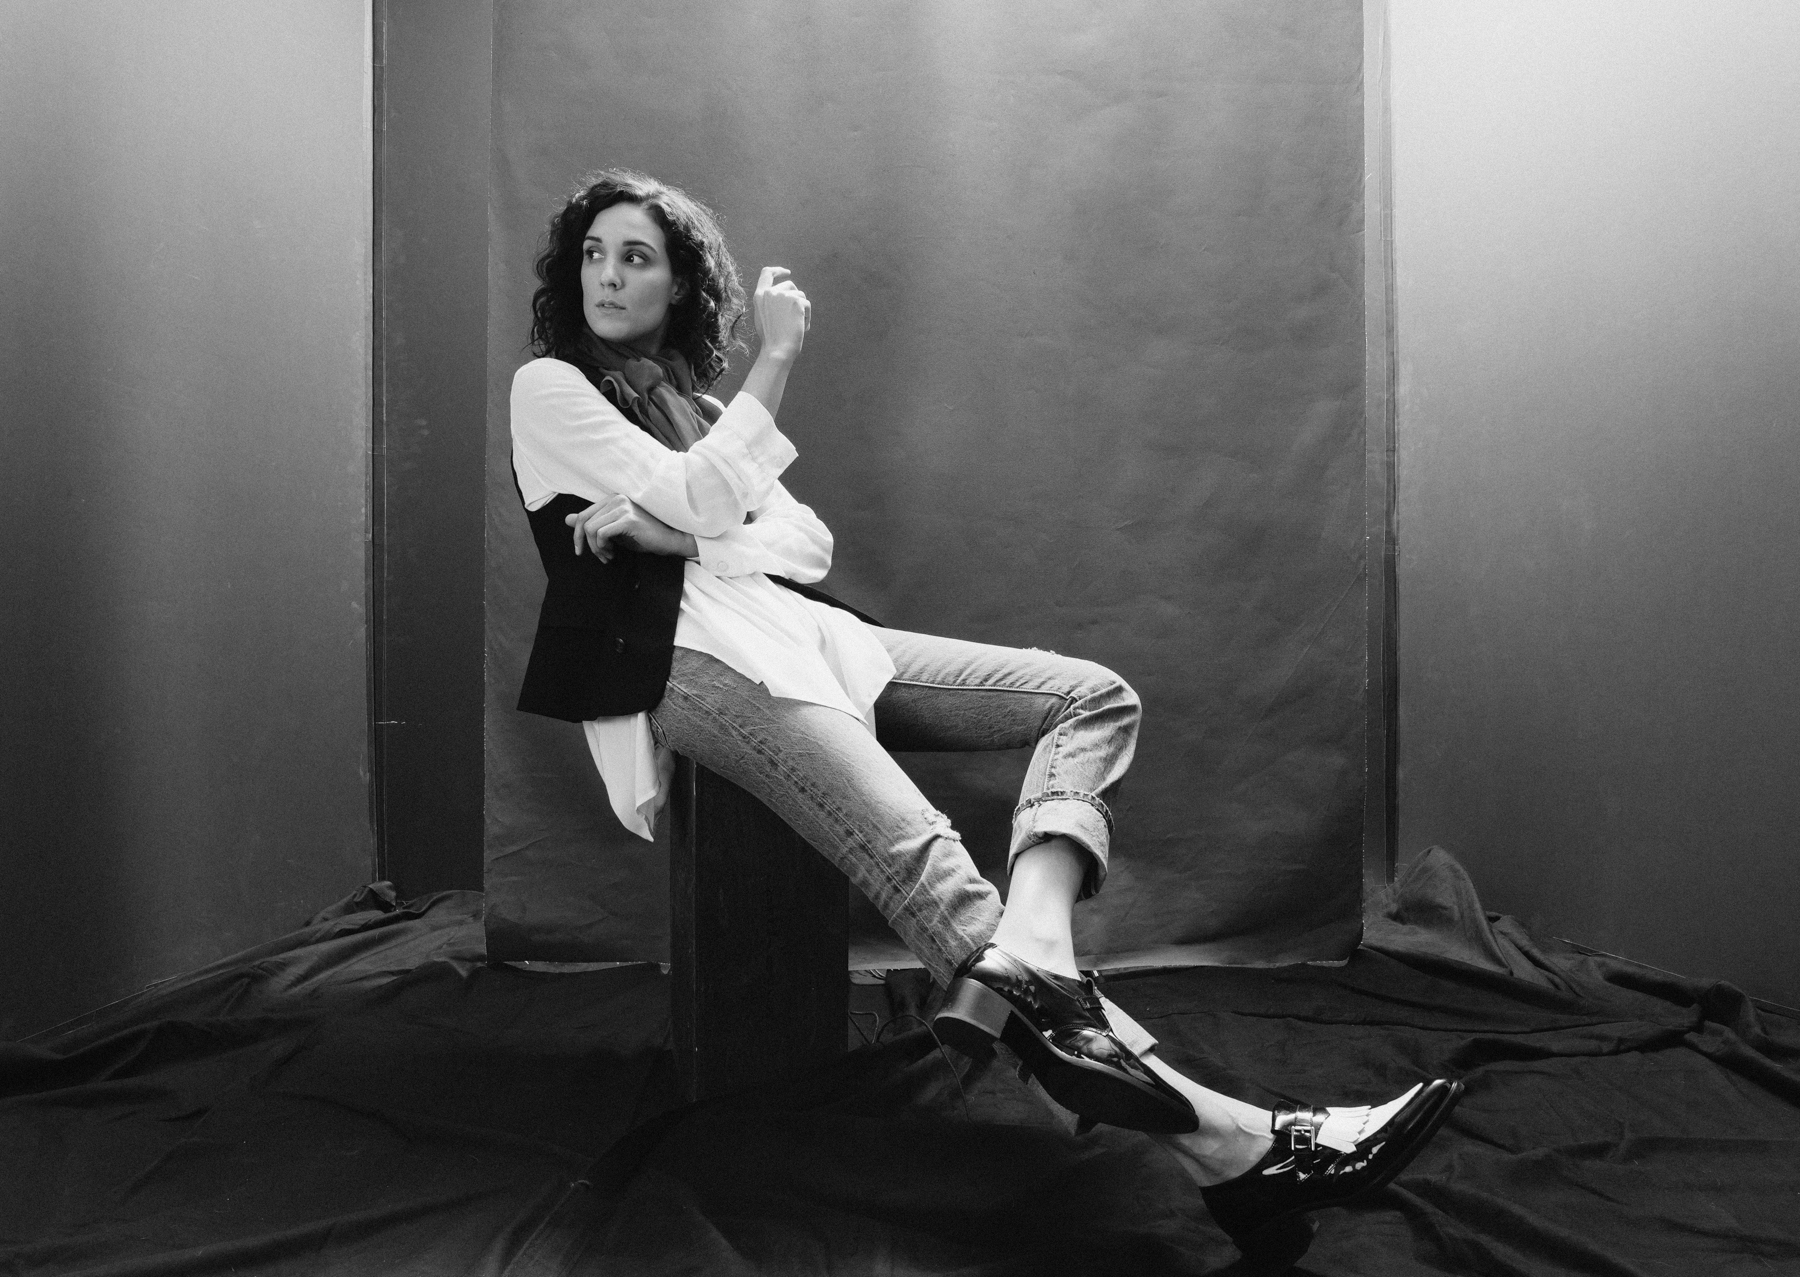
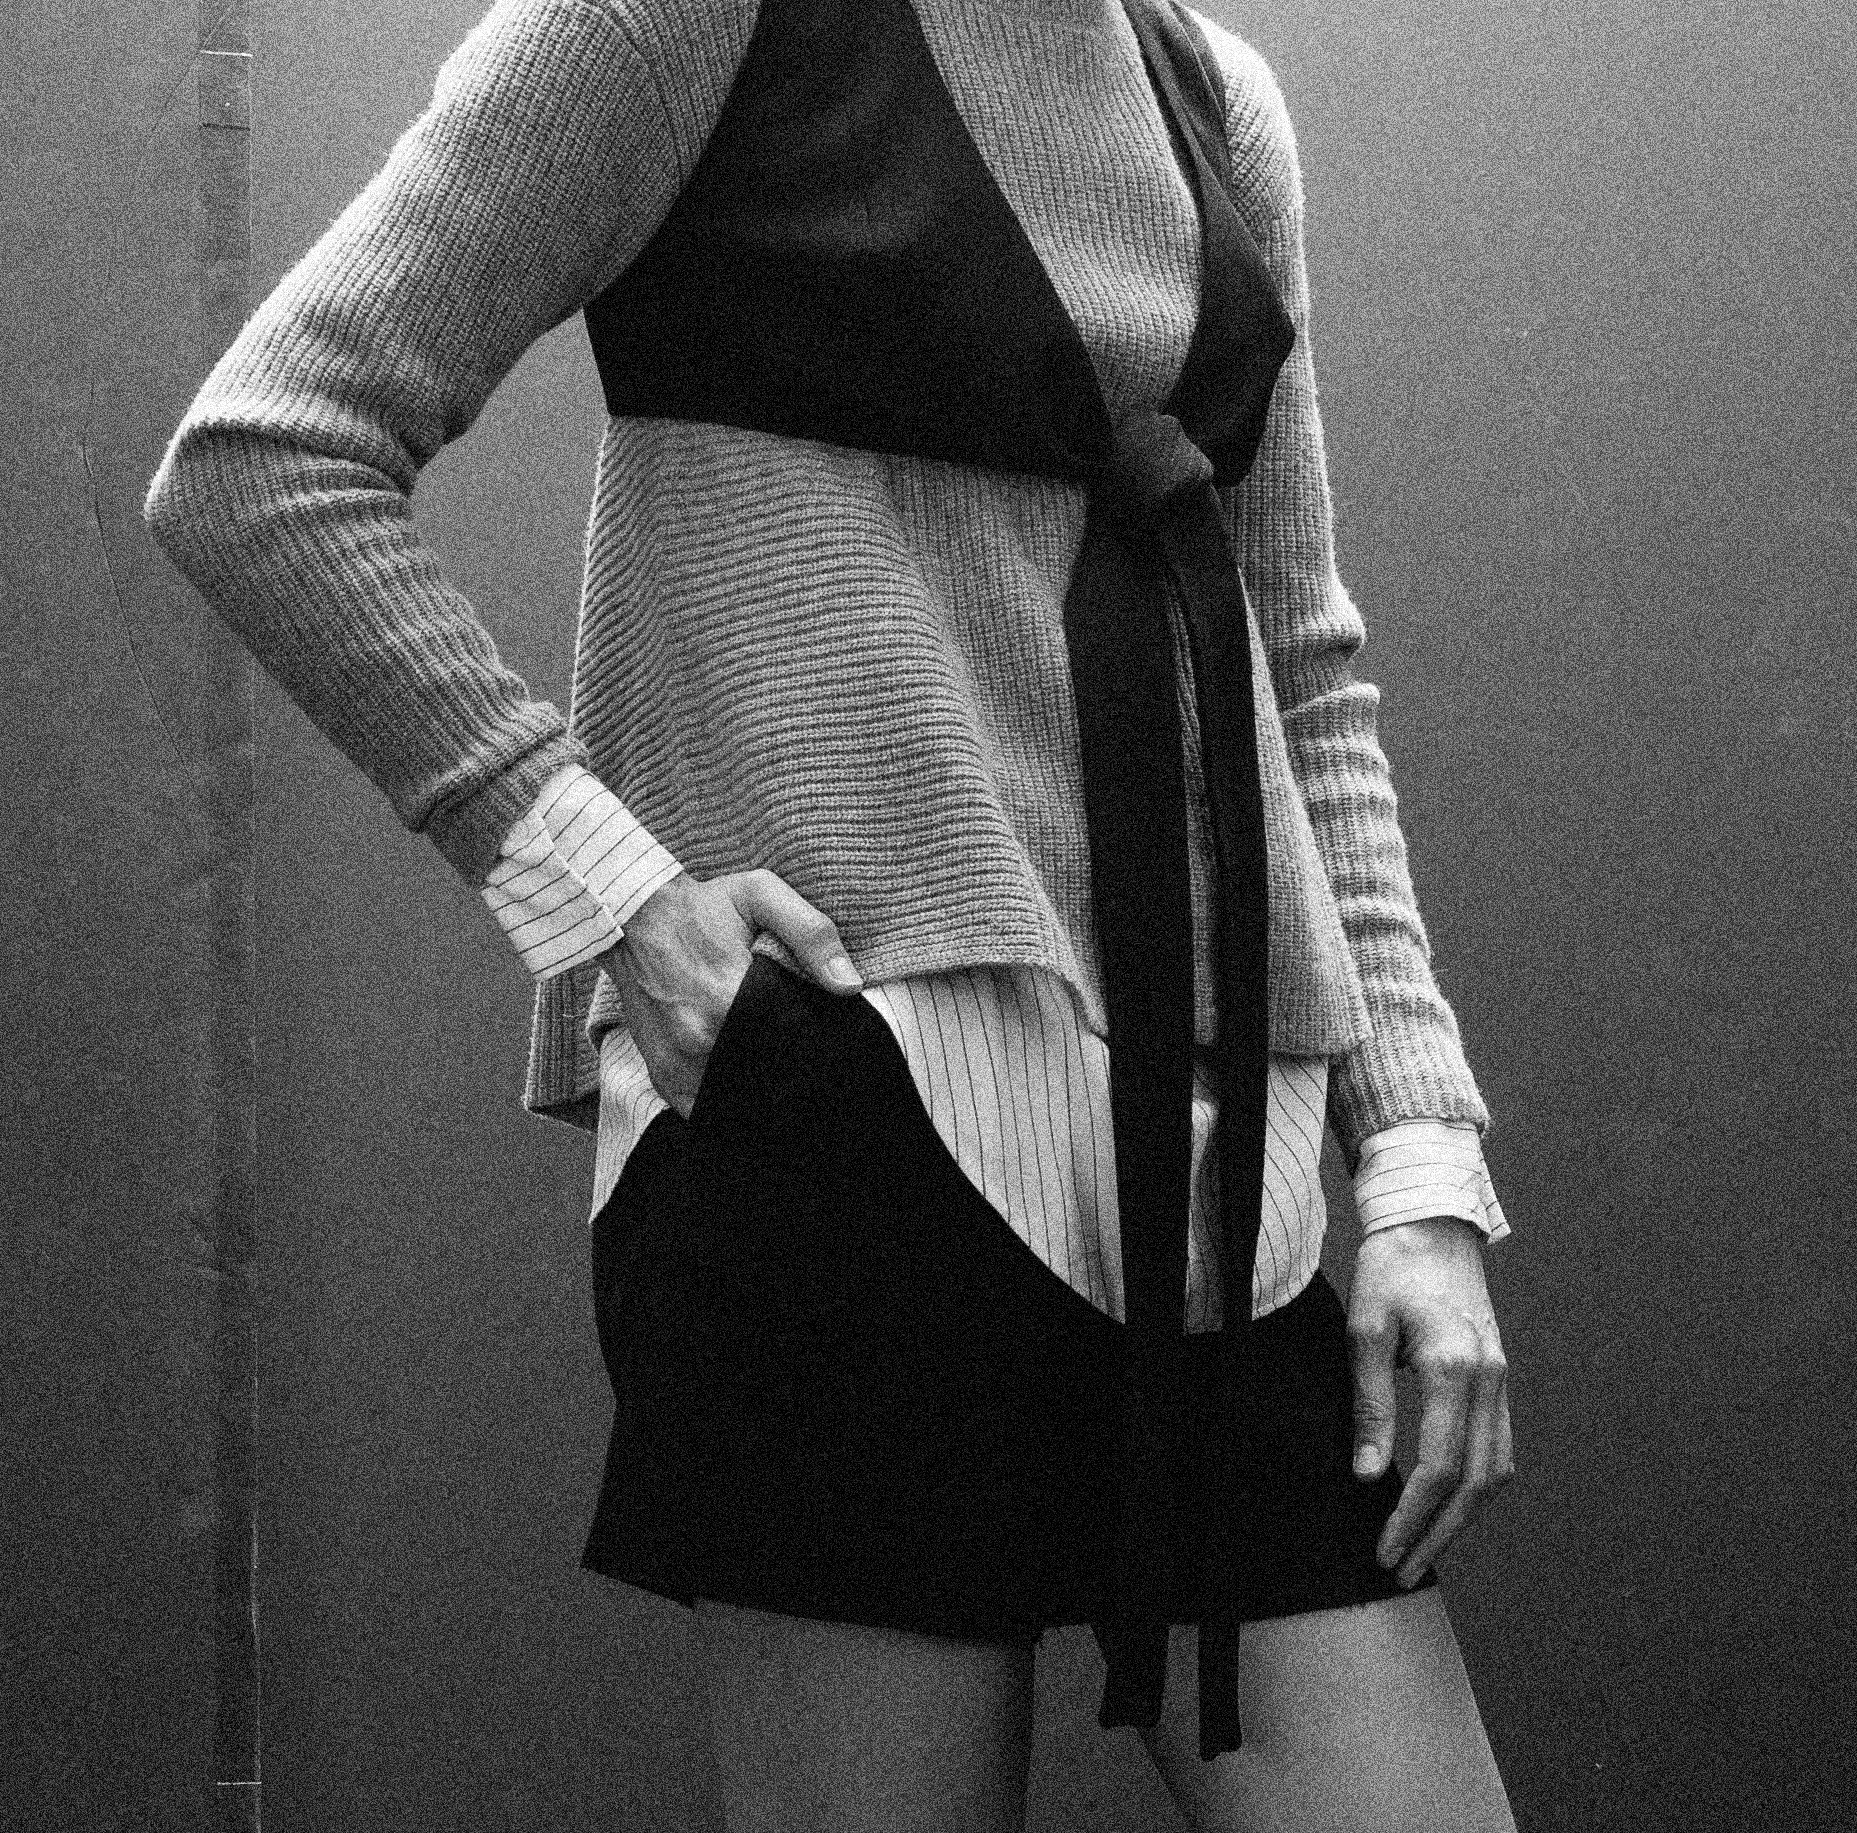
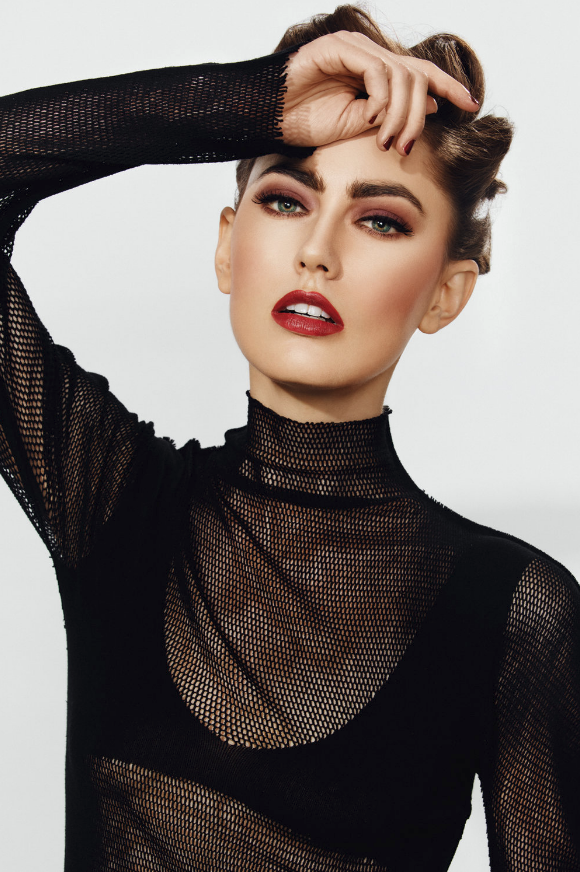
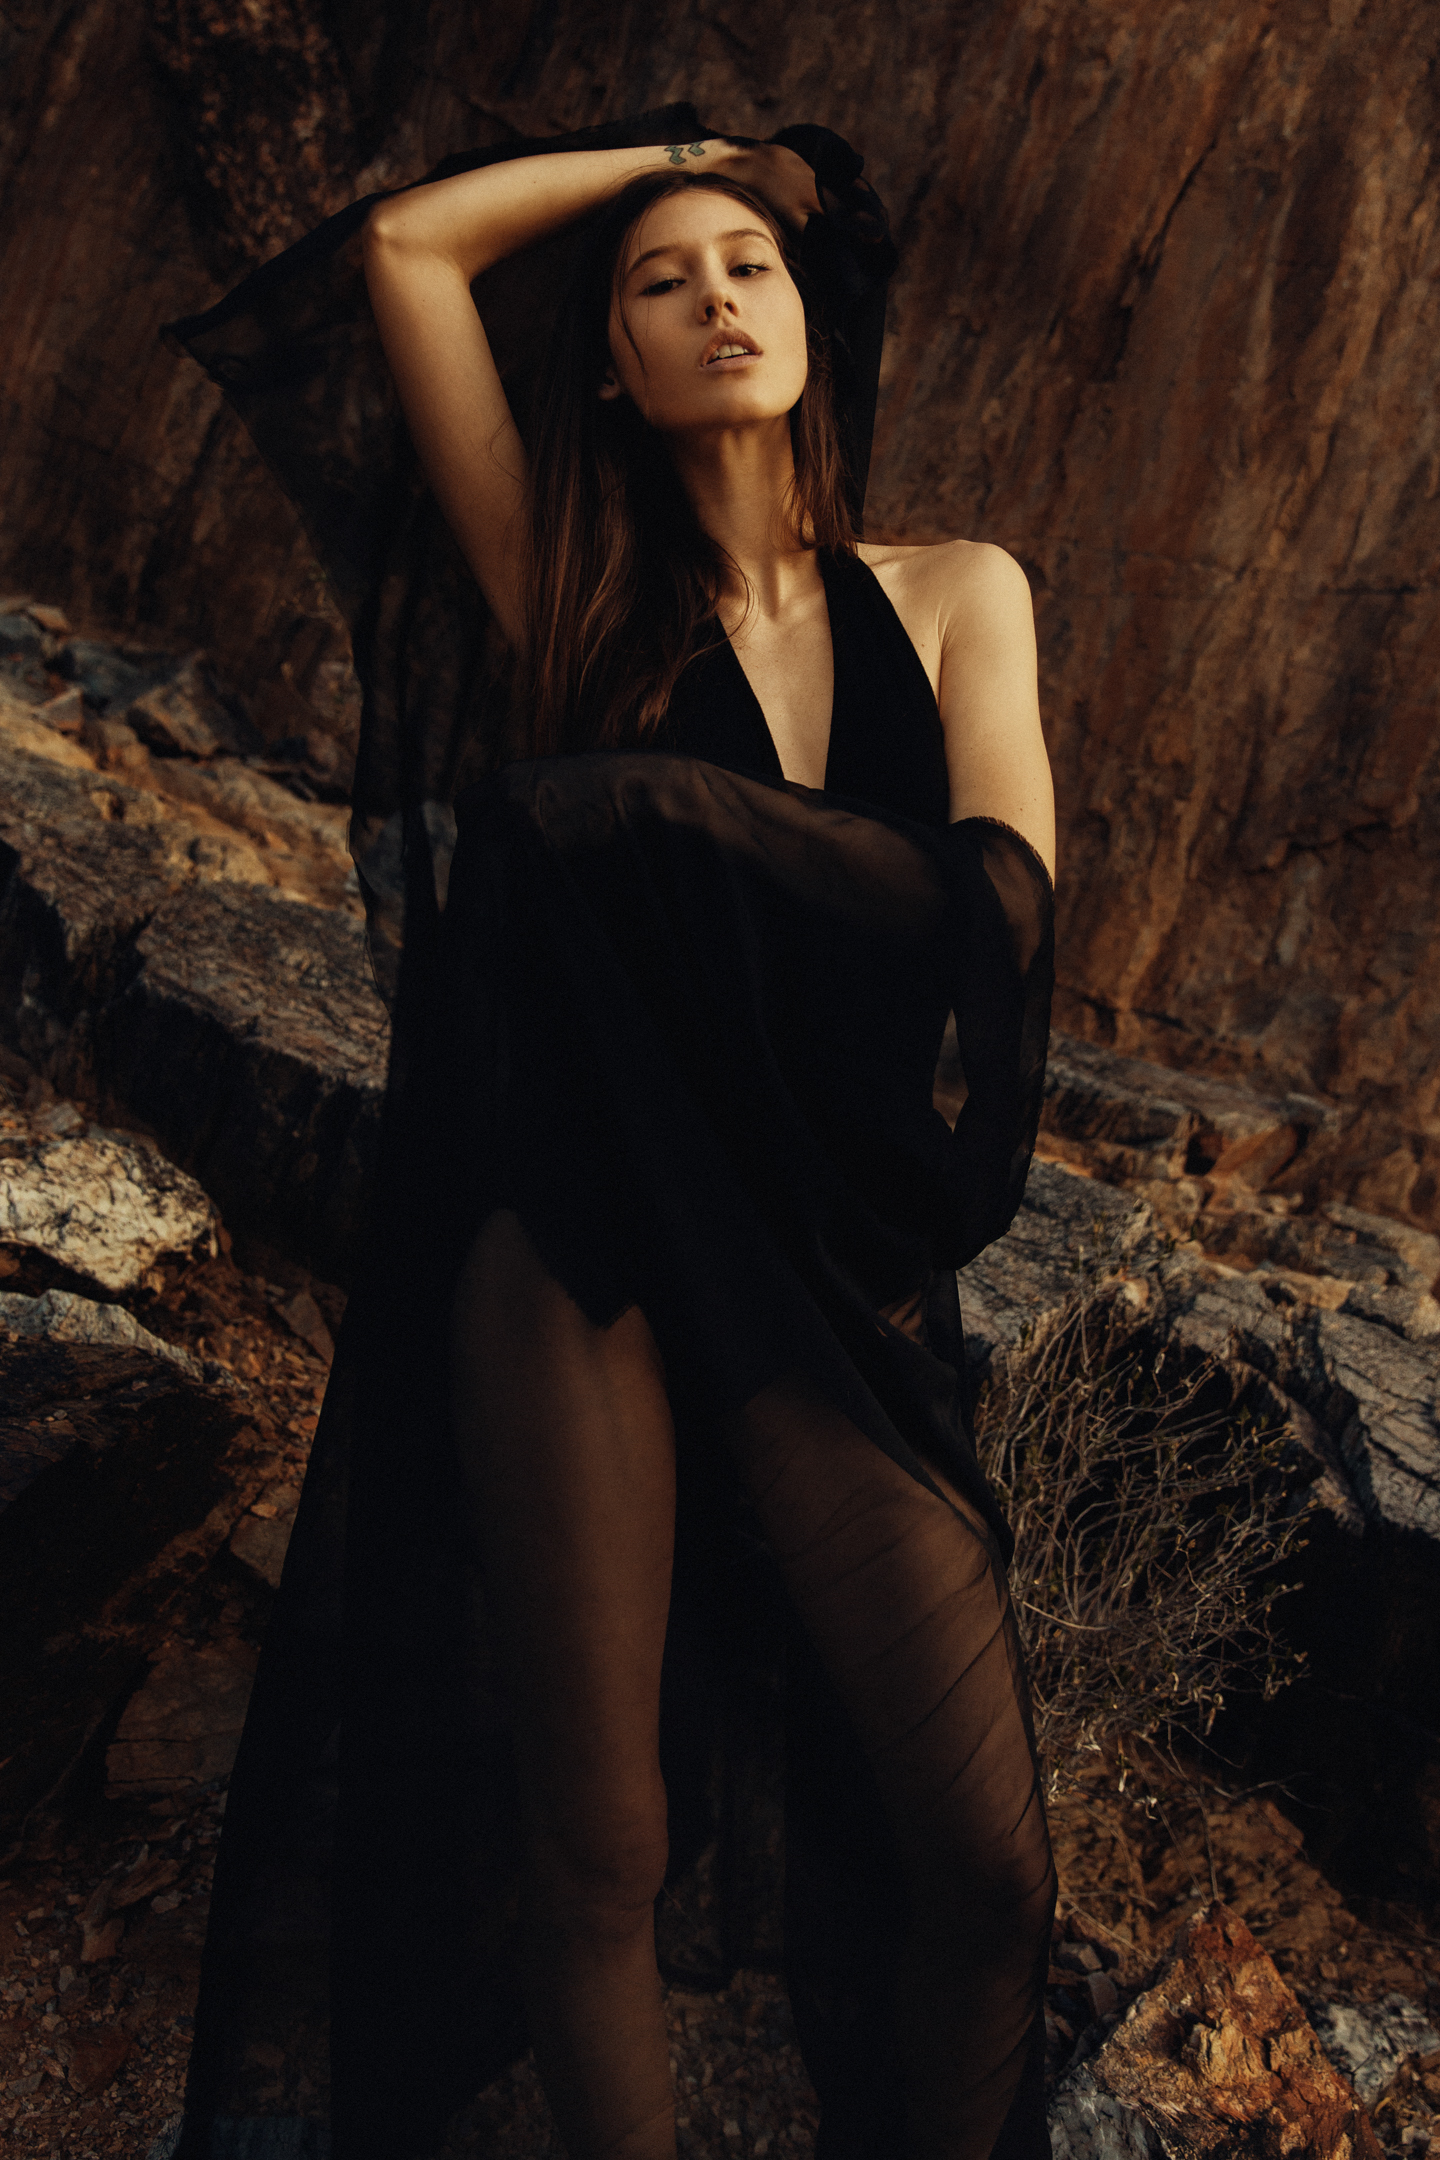
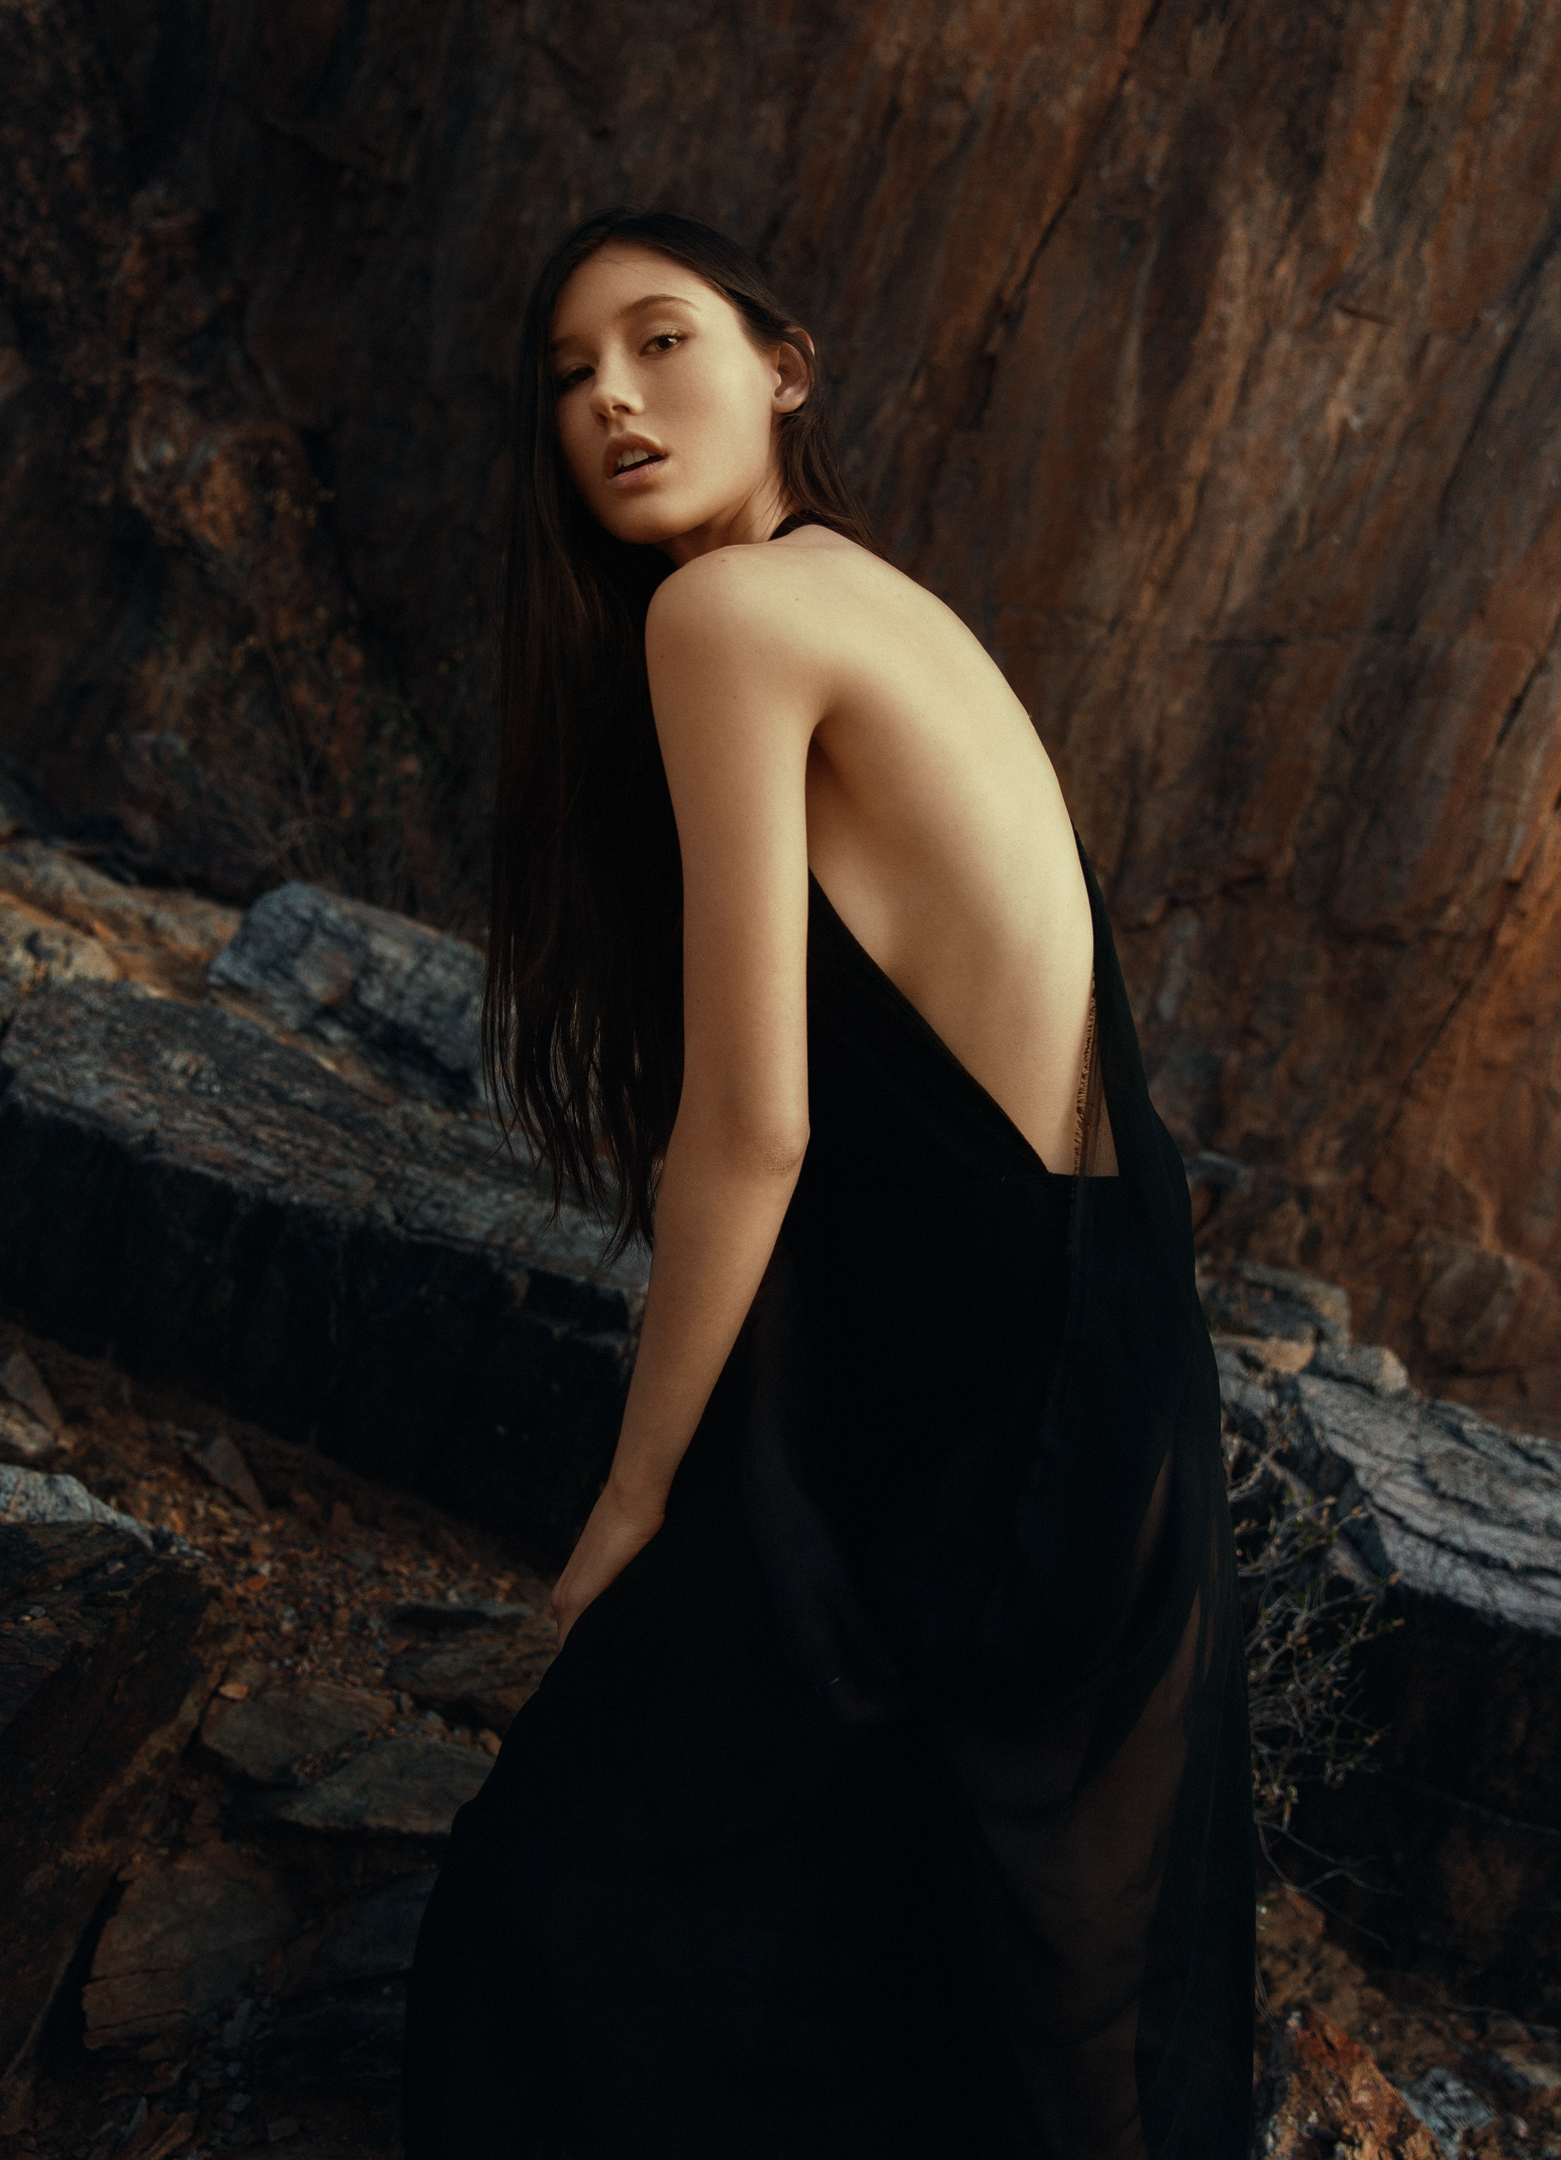
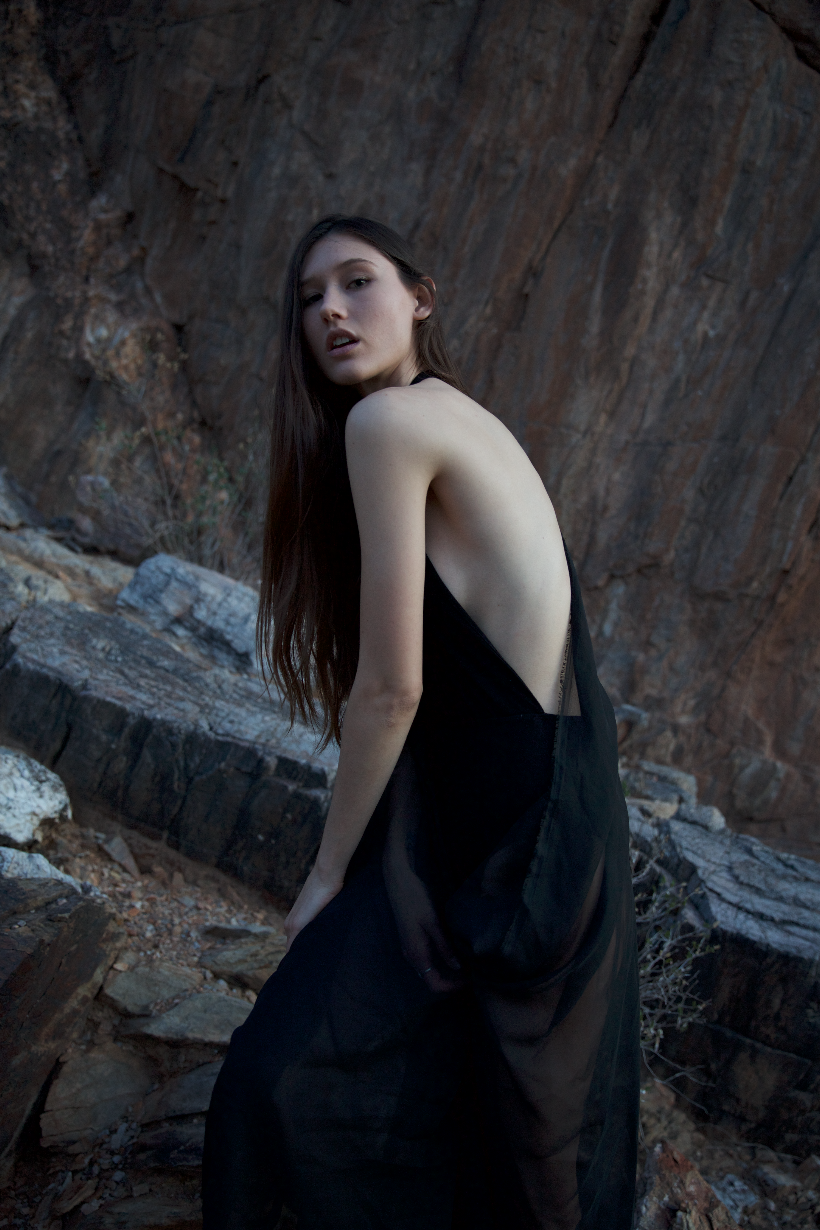
Body Language
This series is meant to explore body language and the connections that are constructed from them.
I wanted to keep this series as raw as possible, so all photos are not retouched. Just a B&W conversion, and some contrast was done for editing.
I could not have done this without the talented team of Sara Fassil as the model, and Maria Micsunescu as the stylist and CD.

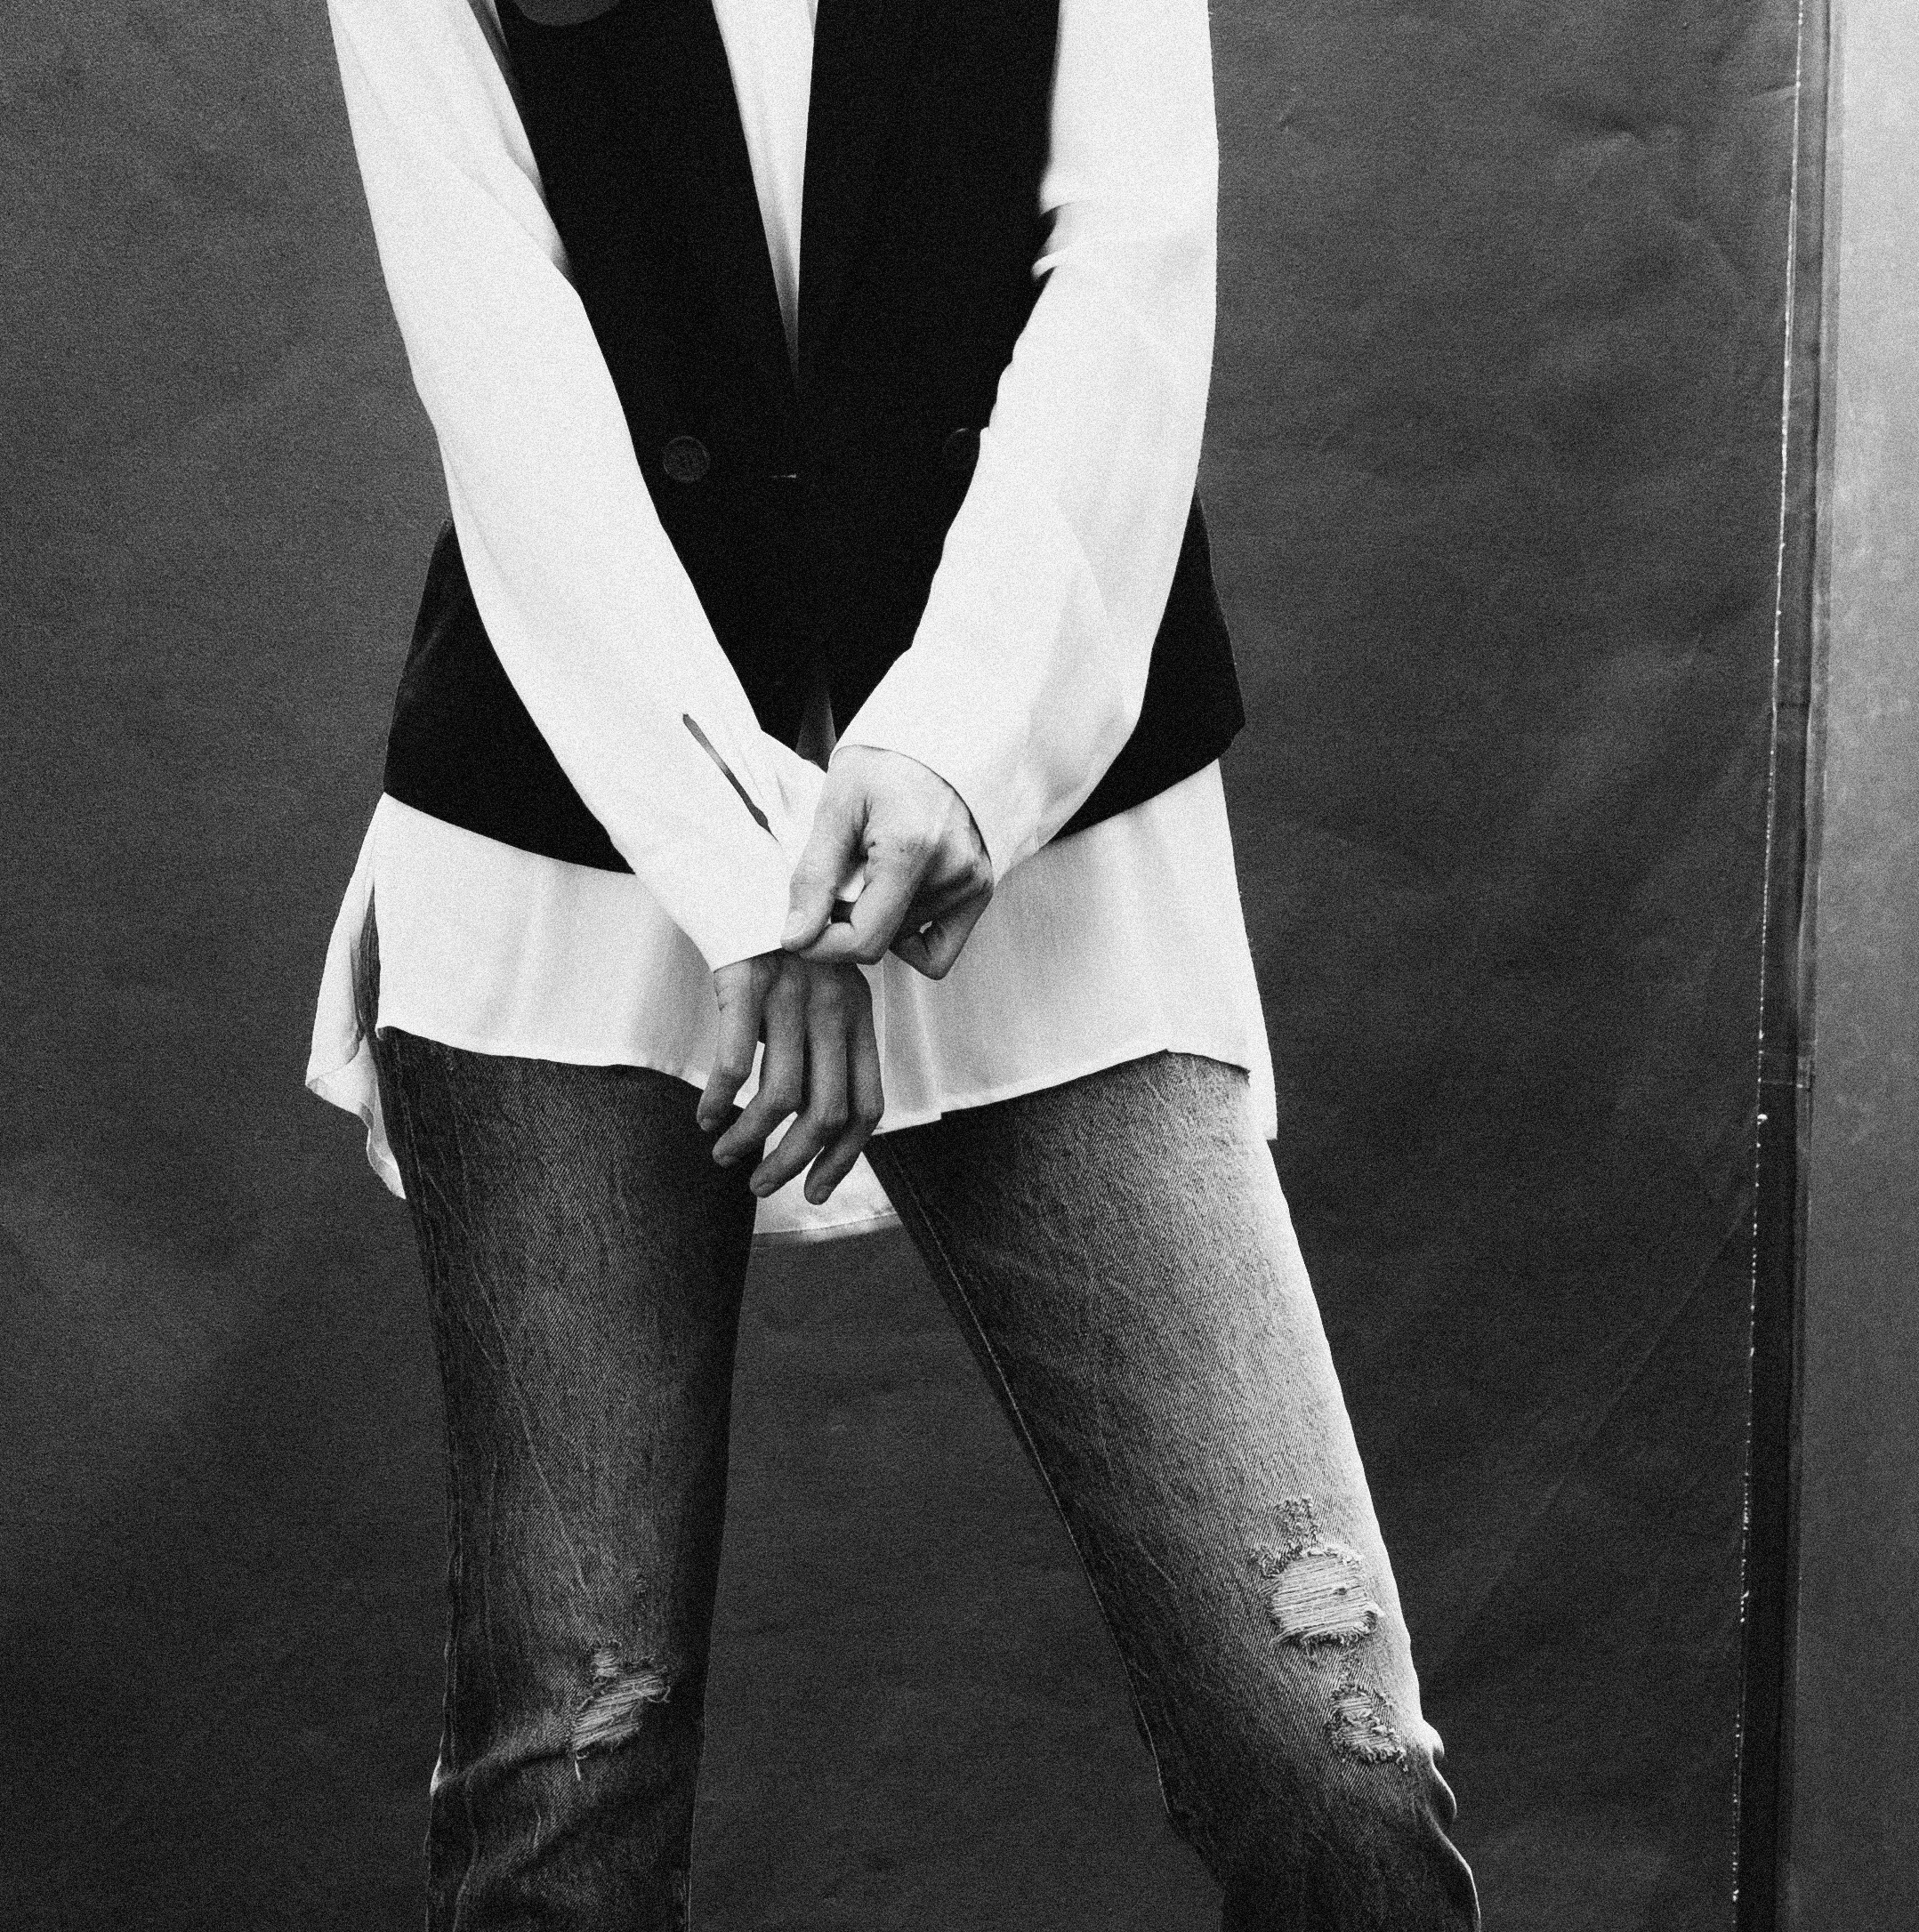
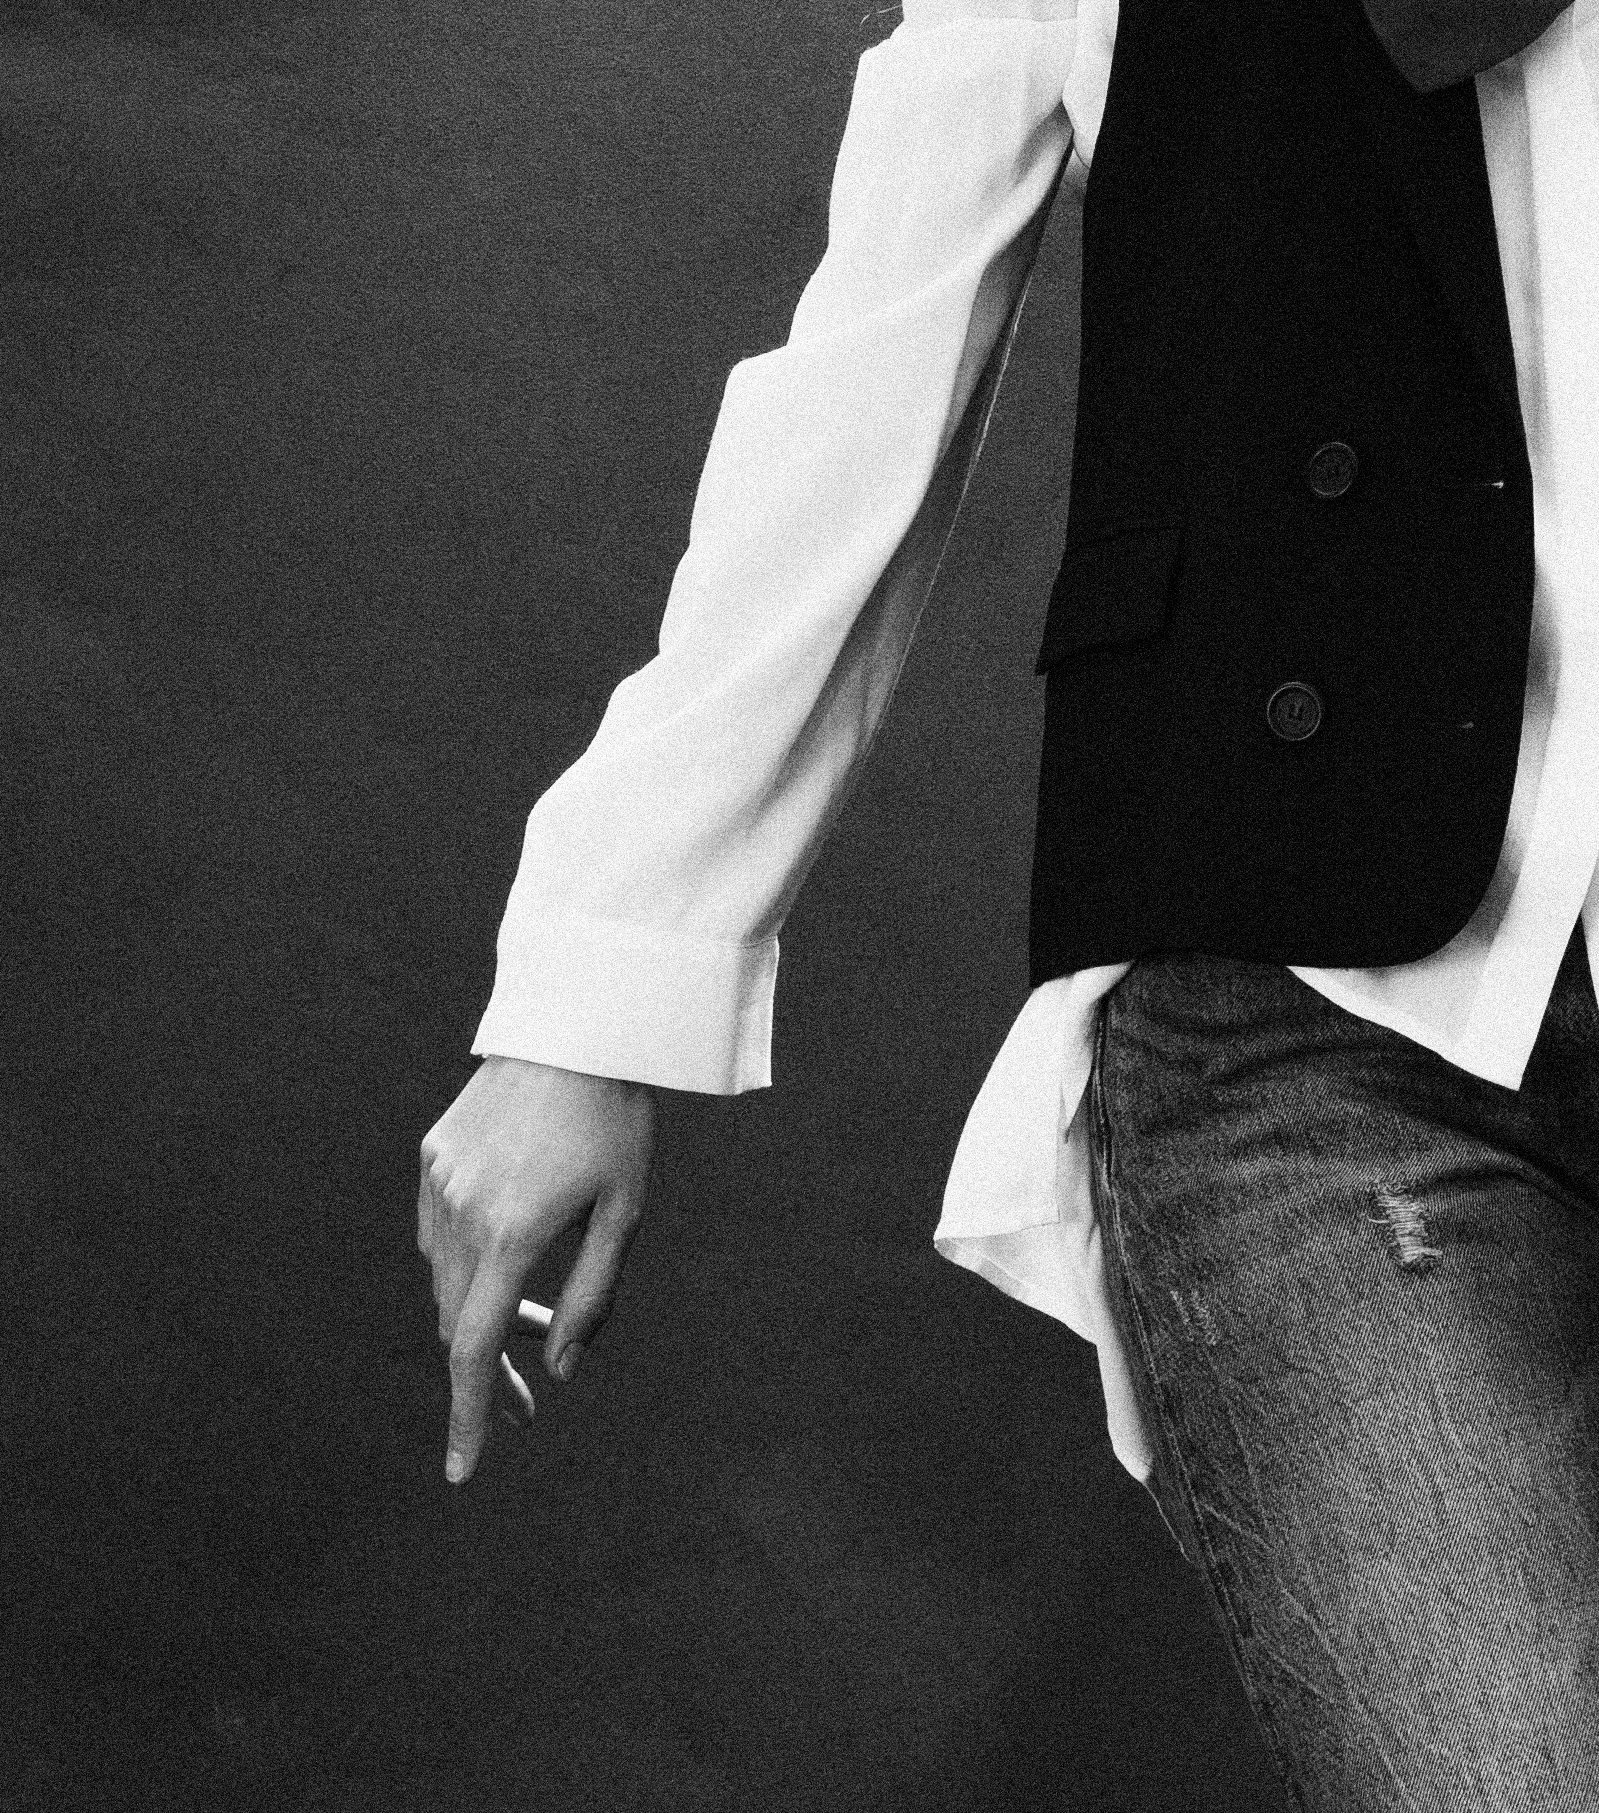


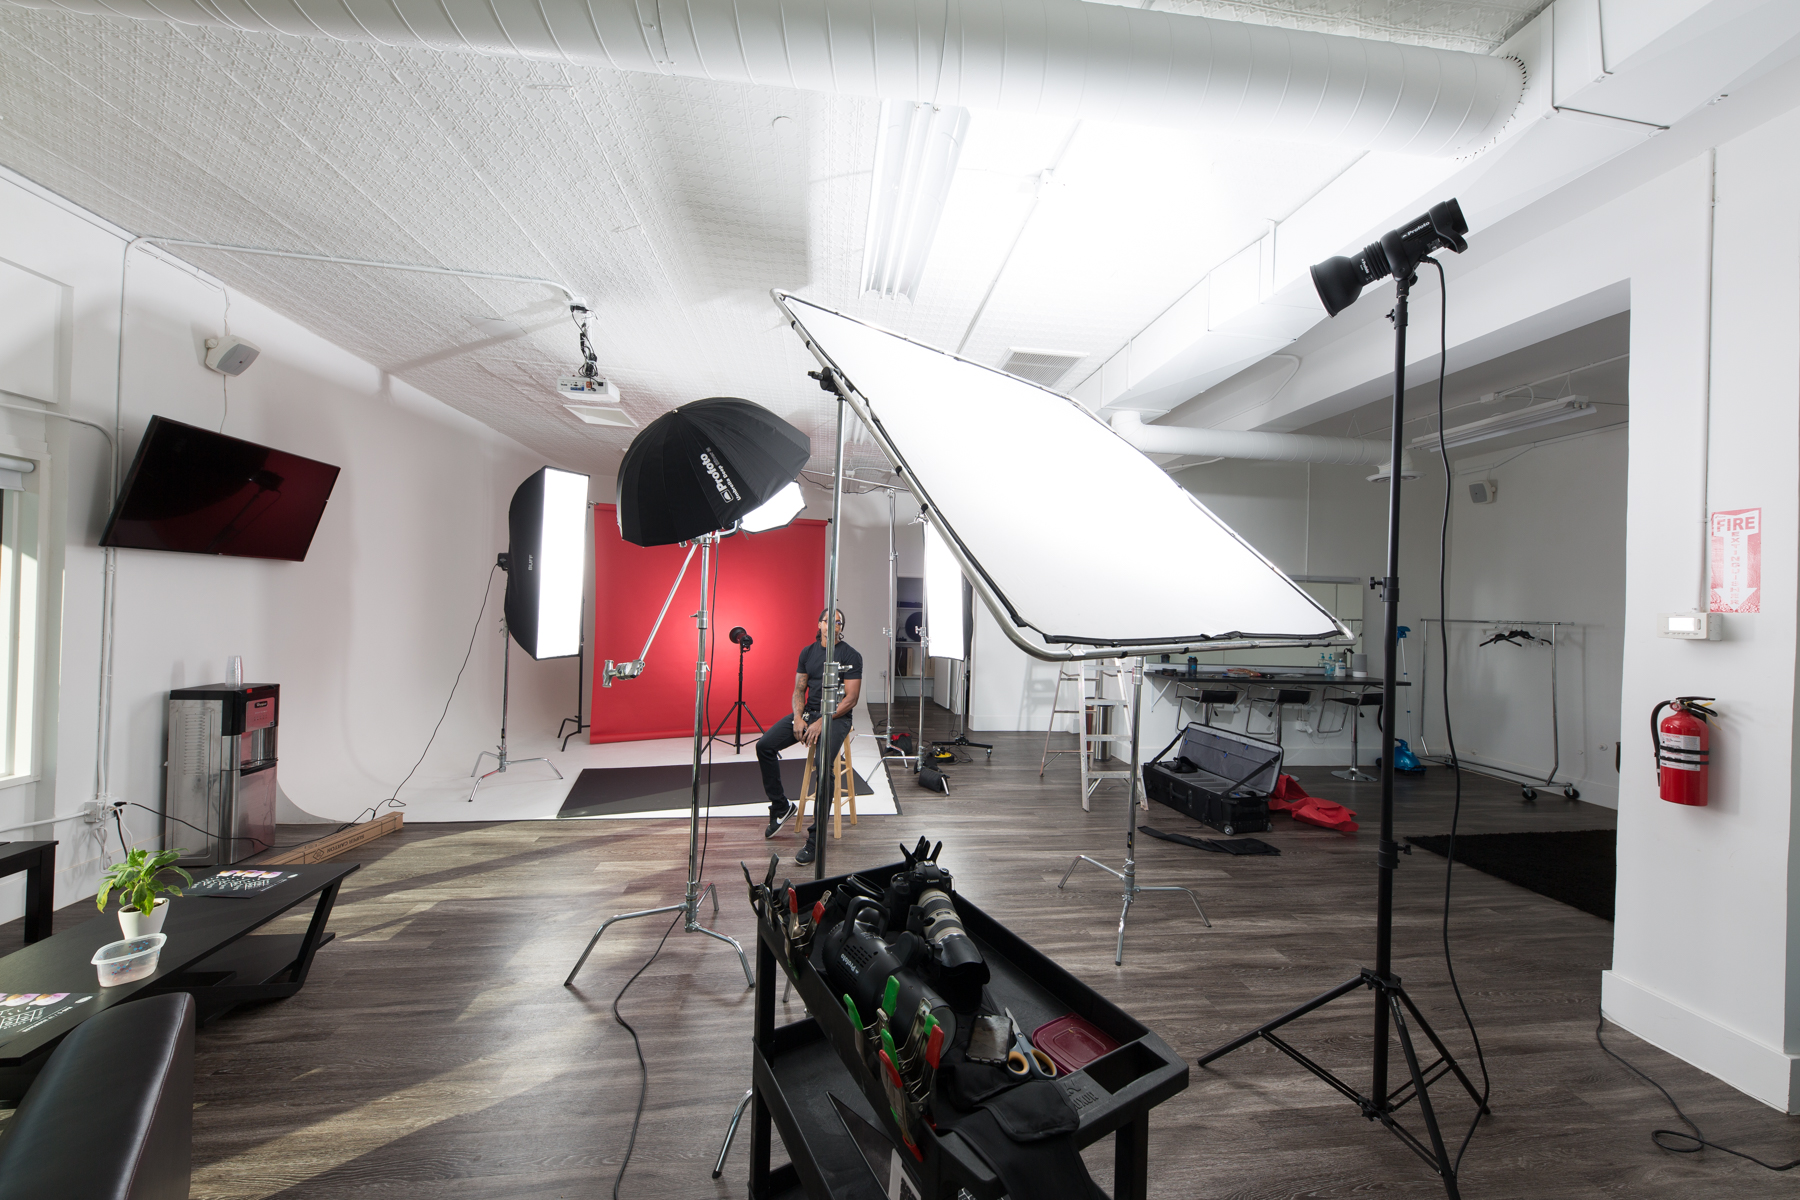
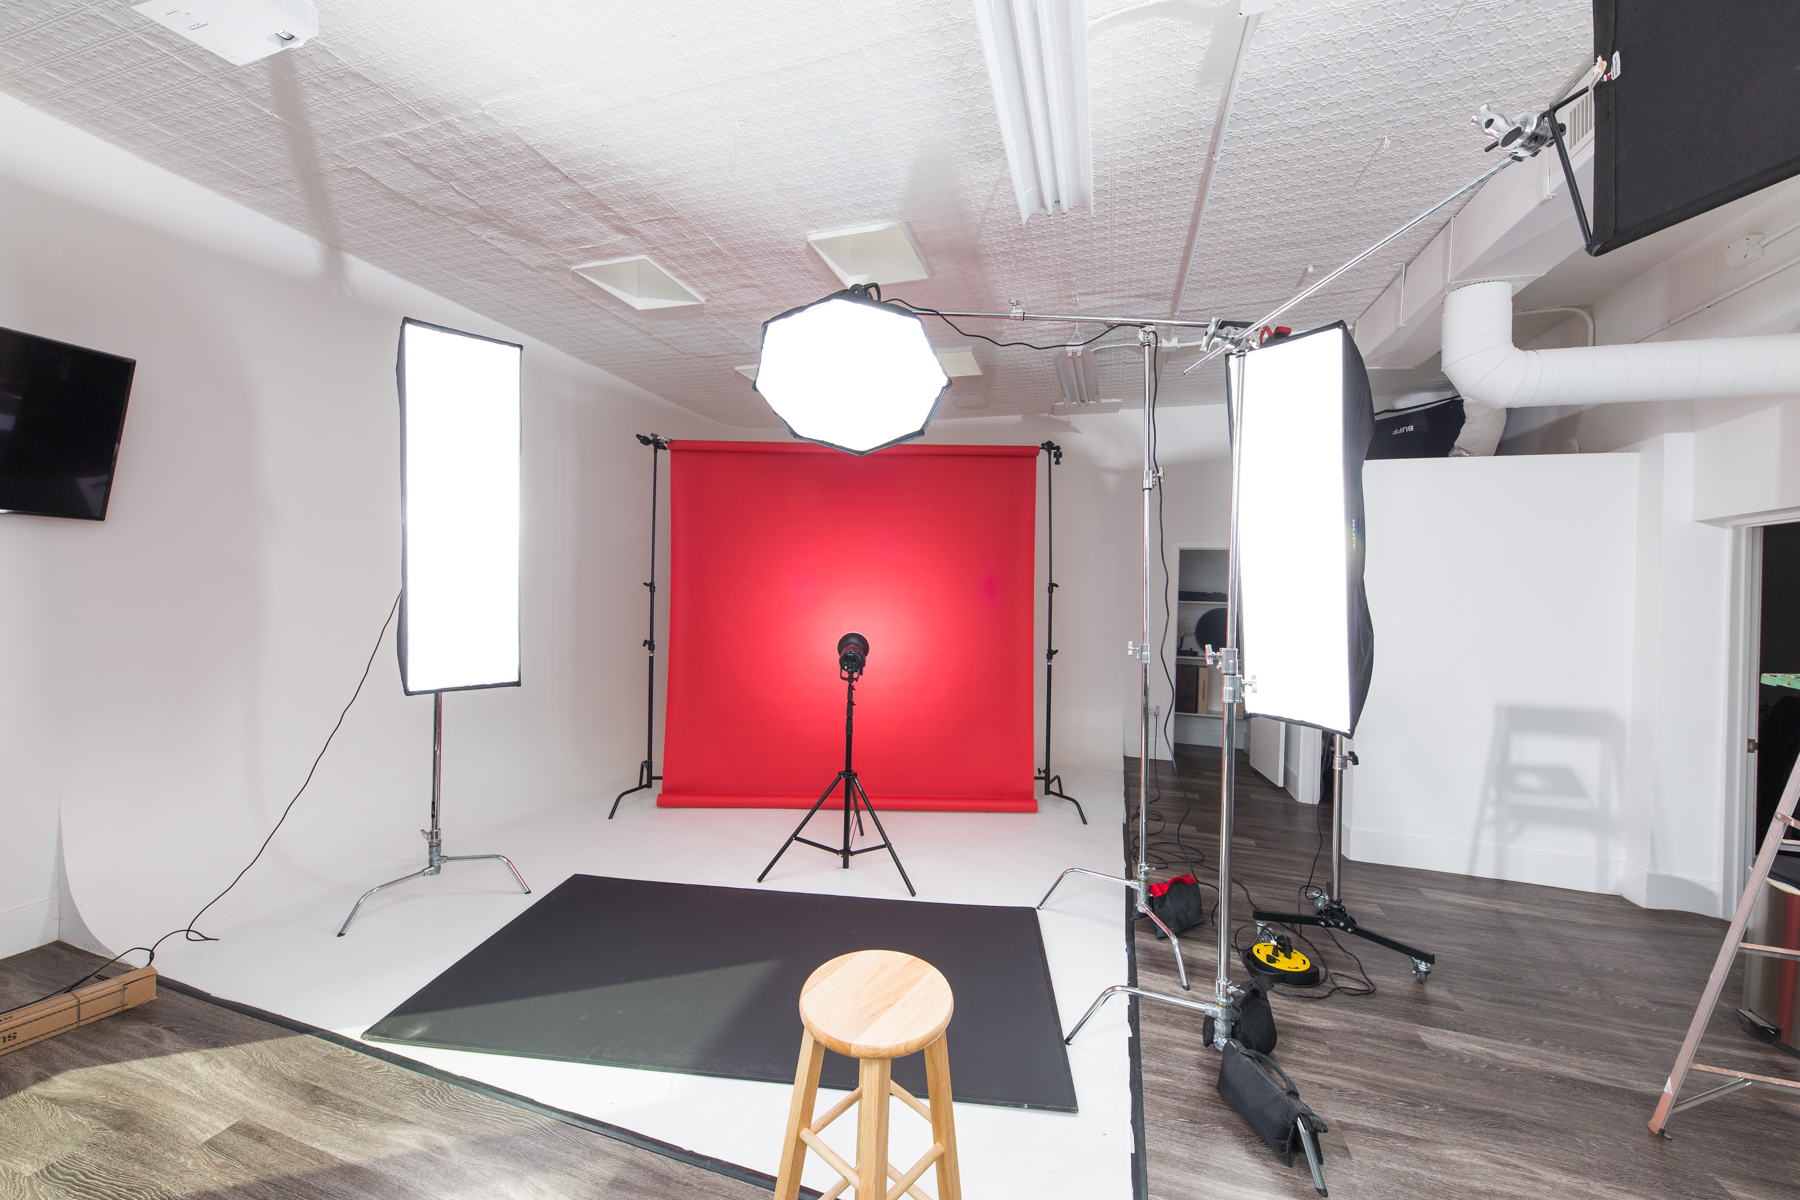
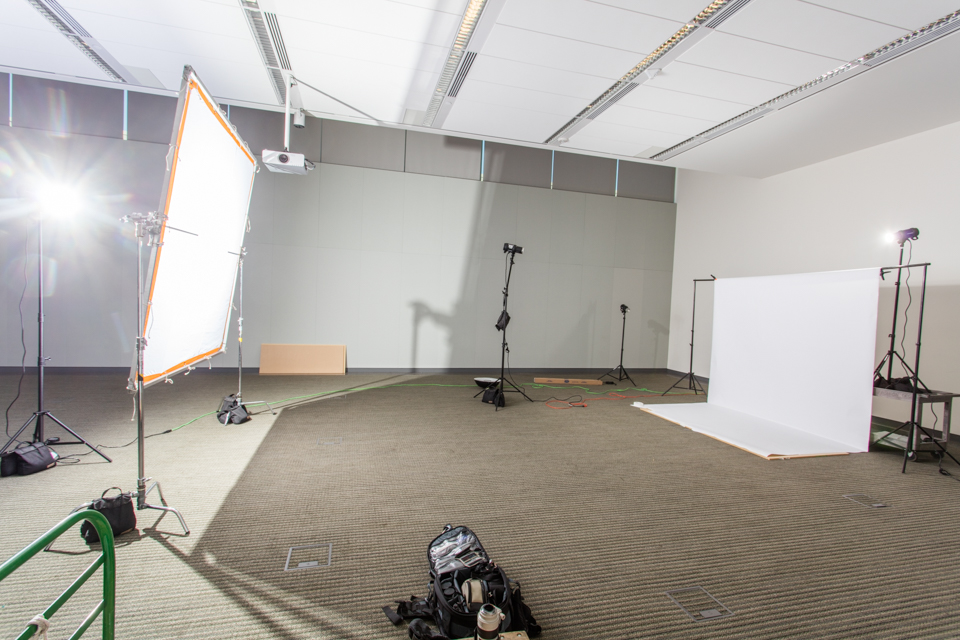
BTS
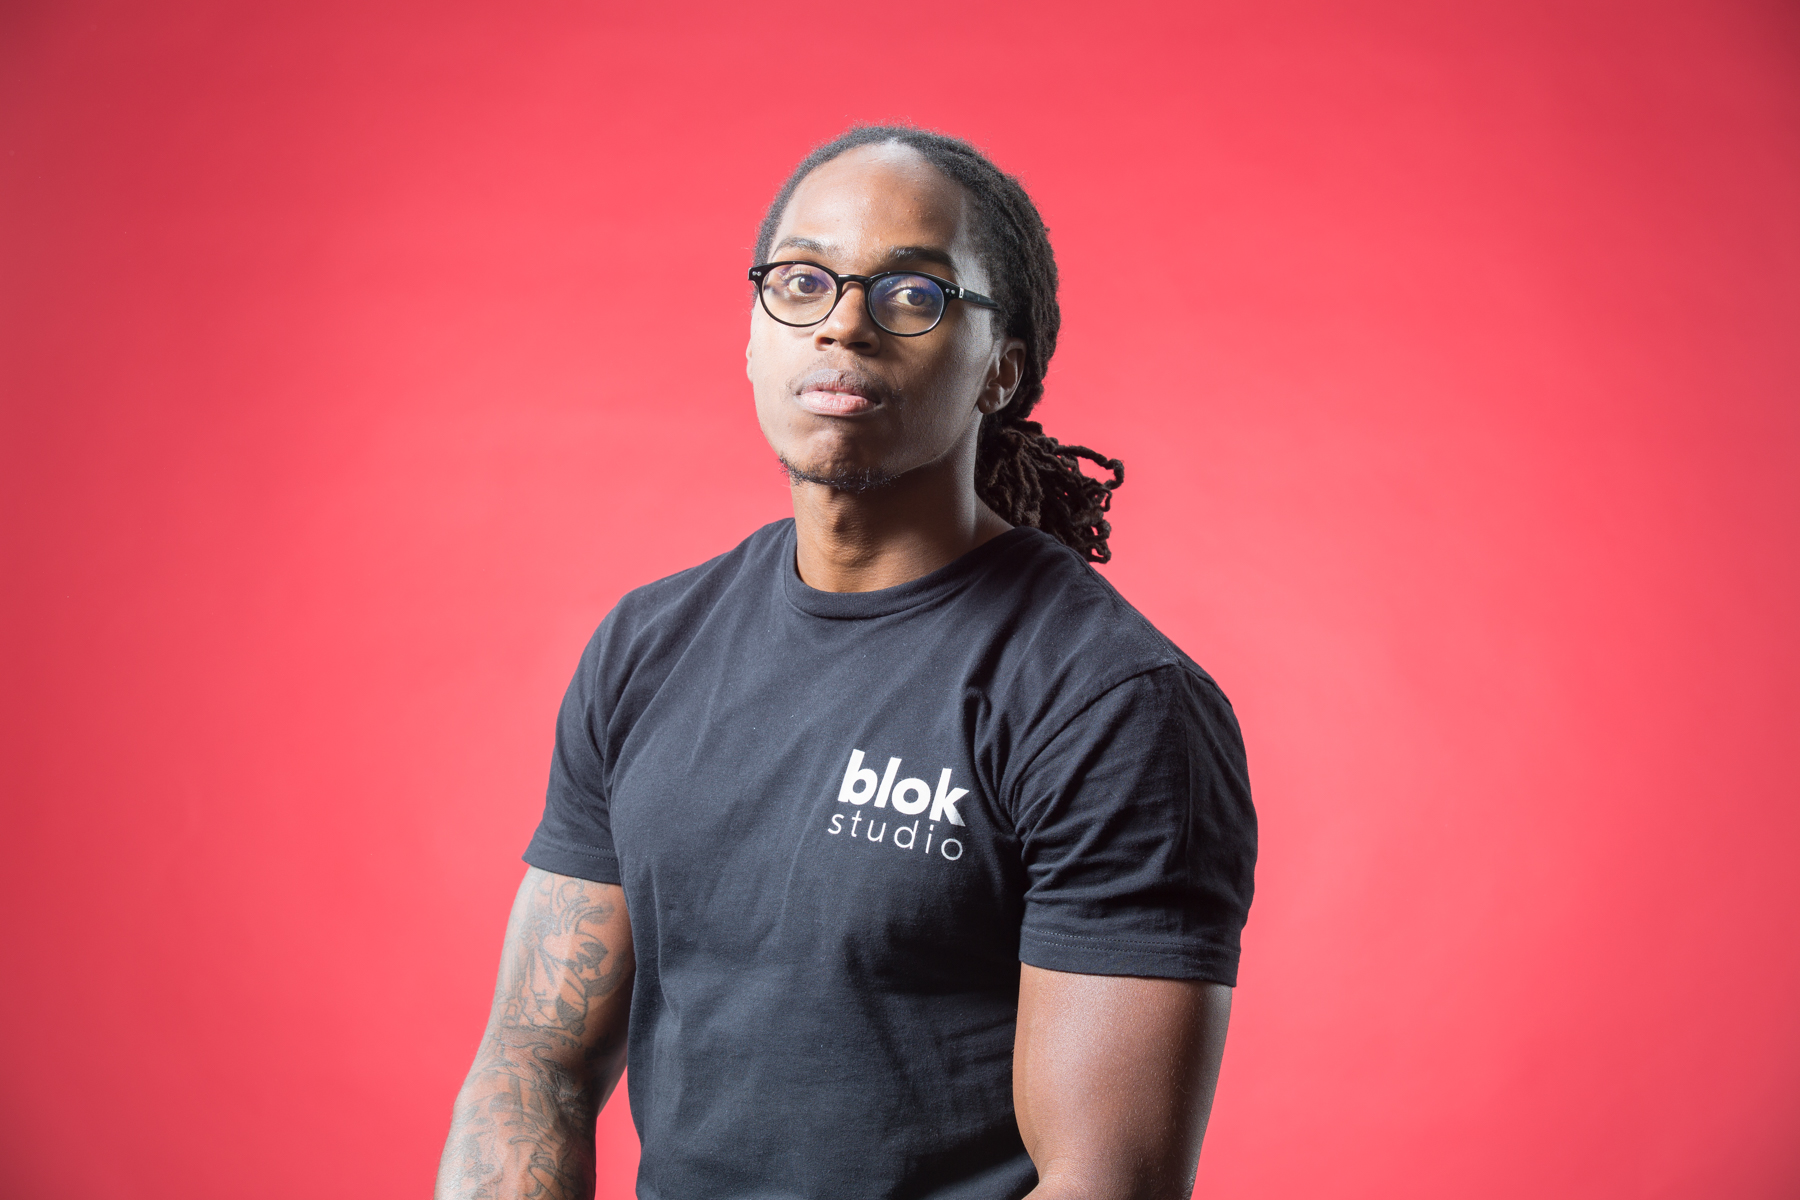
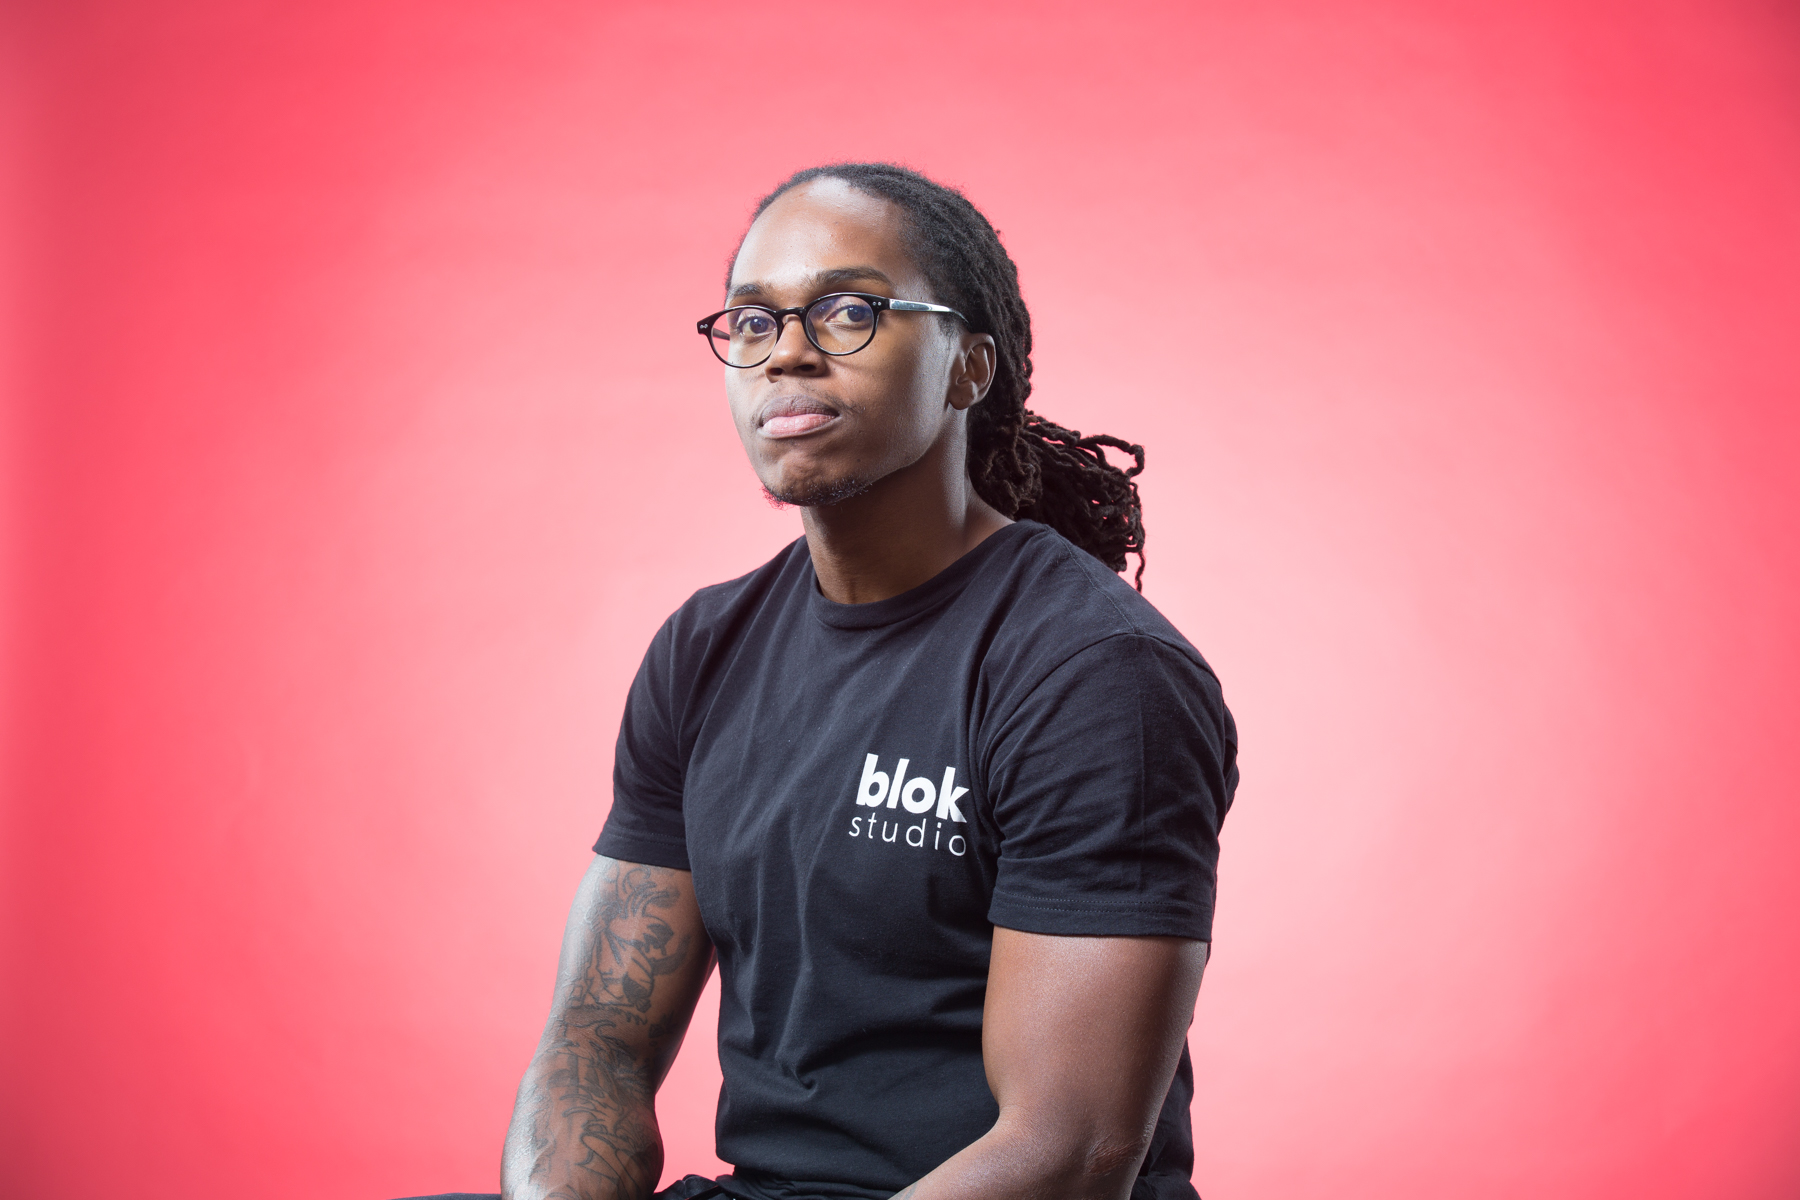
I won't go too much into lighting on the shoot since this wasn't the focus.
This was a 4 light setup. Key light was an overhead D2. The rest of the lights were used for fill.


Learn how to be a director.
This week I want to talk about the importance of being a director on set.
Being a director is a topic that is commonly overlooked by a lot of growing photographers. Lighting, gear, subjects, etc. mean nothing without direction. It’s the heart of the shoot, the coach of a sports team. Unless you are a documentary photographer I recommend learning what role you really have as a photographer. It is not your job to capture what is there, you are hired to create, and this means getting involved and having a voice. Even when completing visions for agencies or companies, it is your responsibility to take their vision and turn it into reality. Take the narrative and translate it to your subject, and to your team.
The Narrative
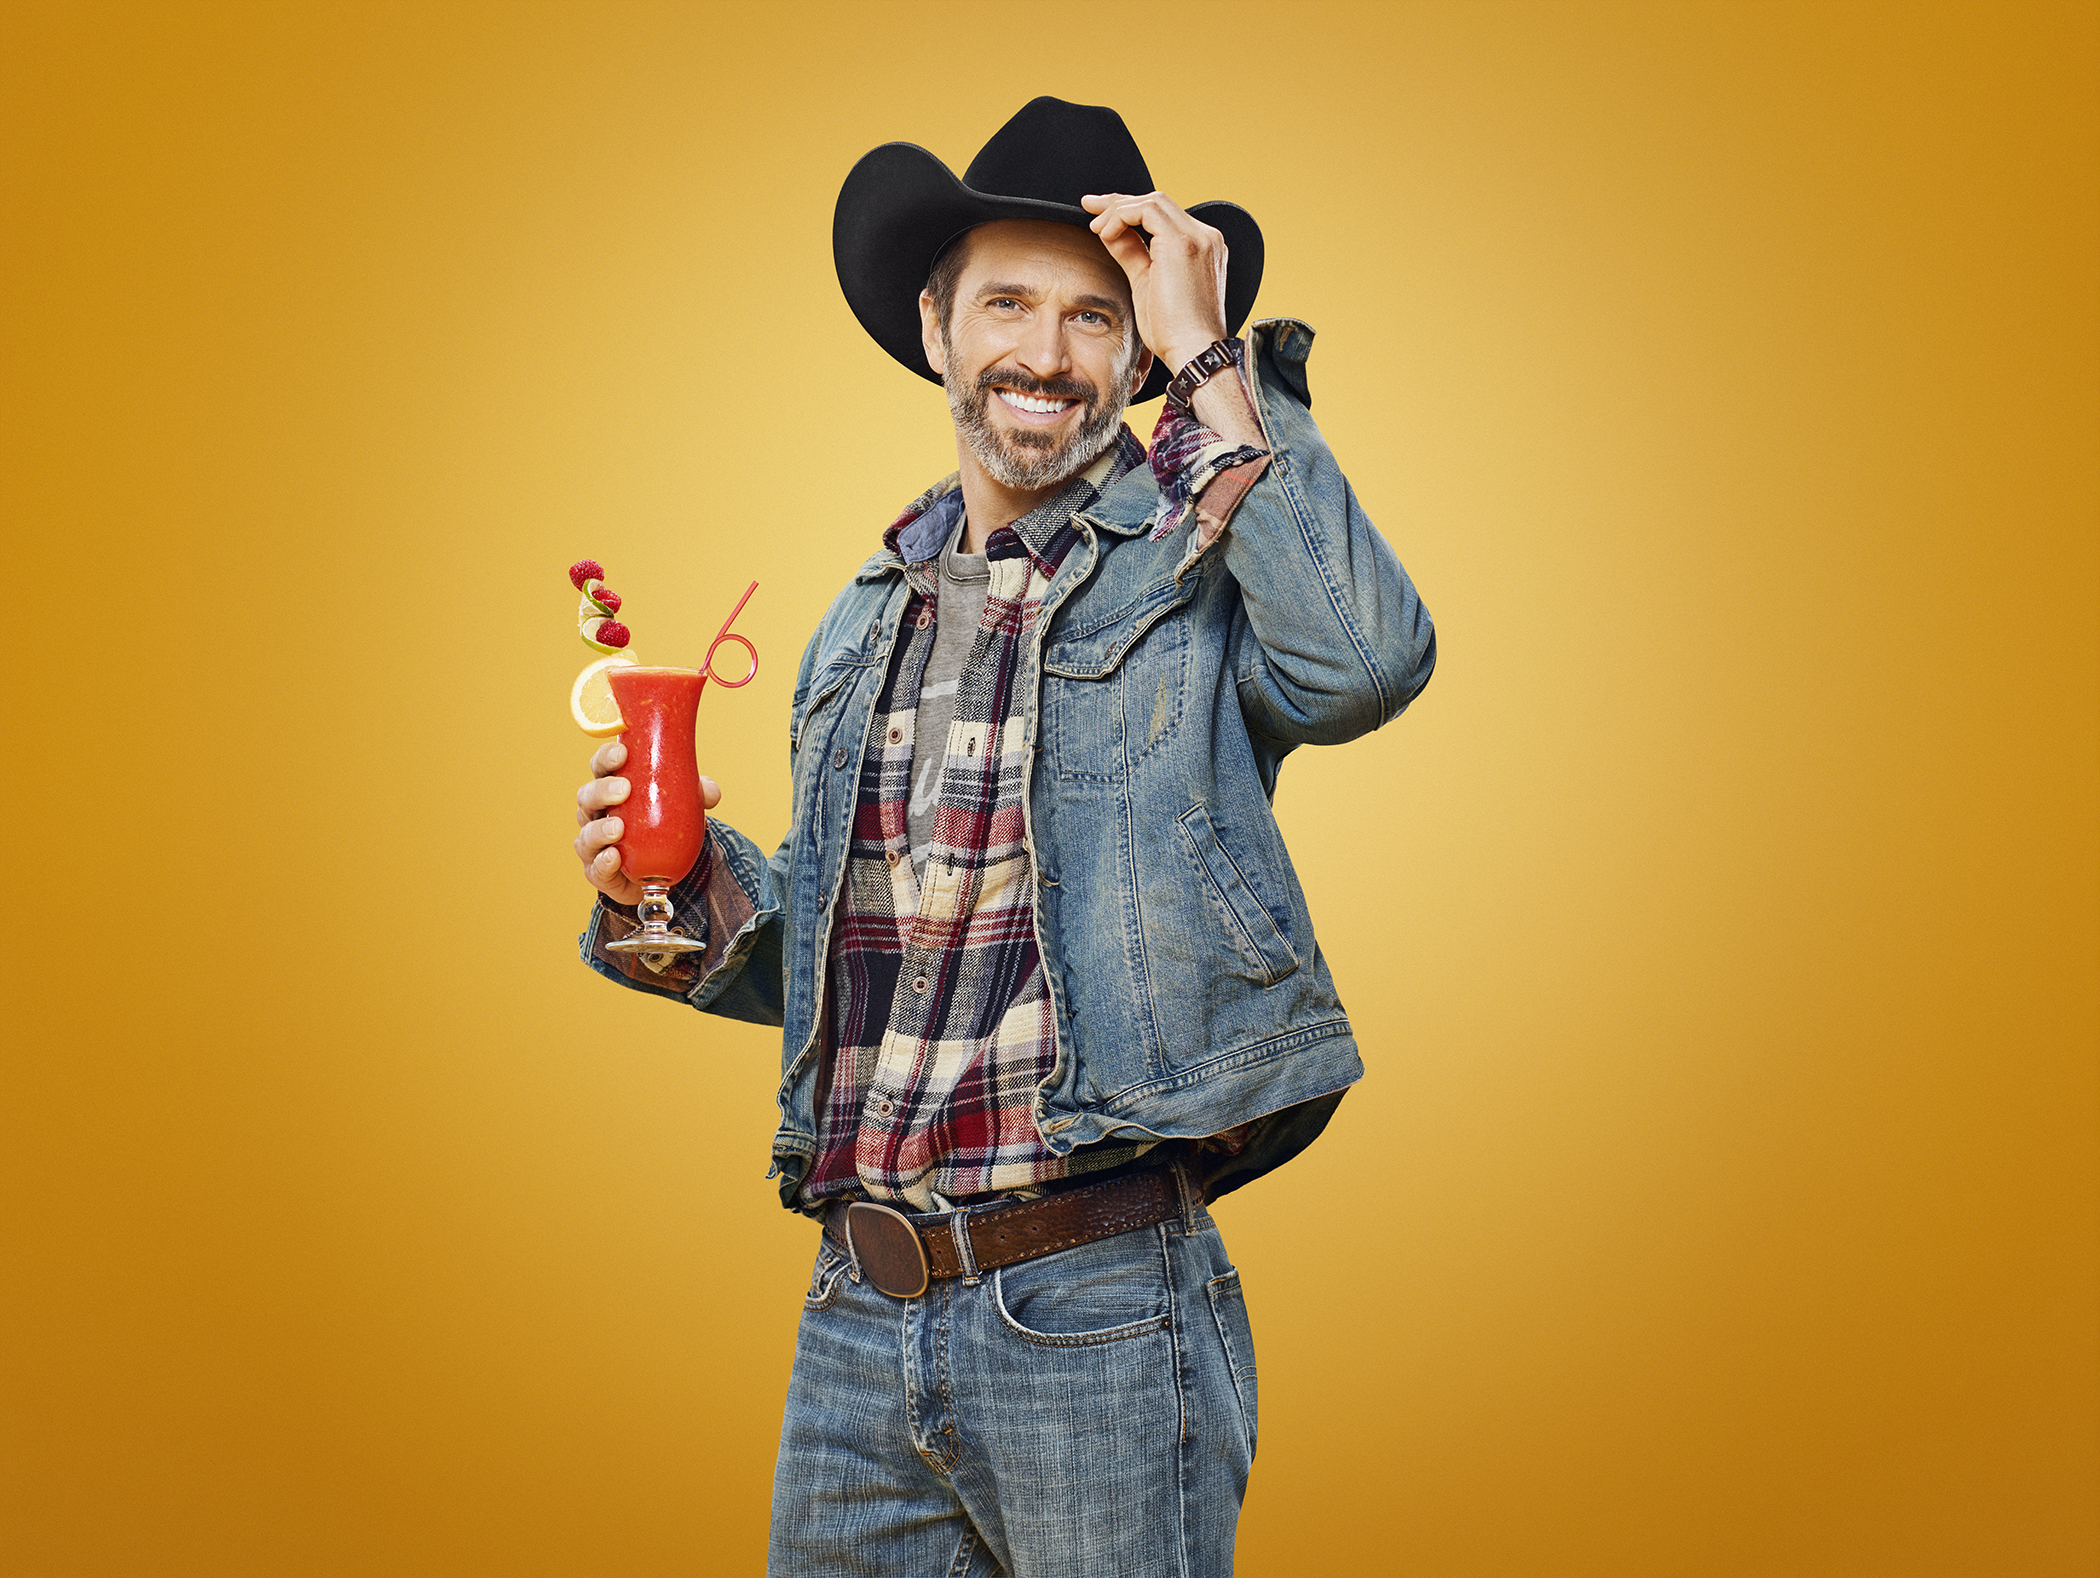
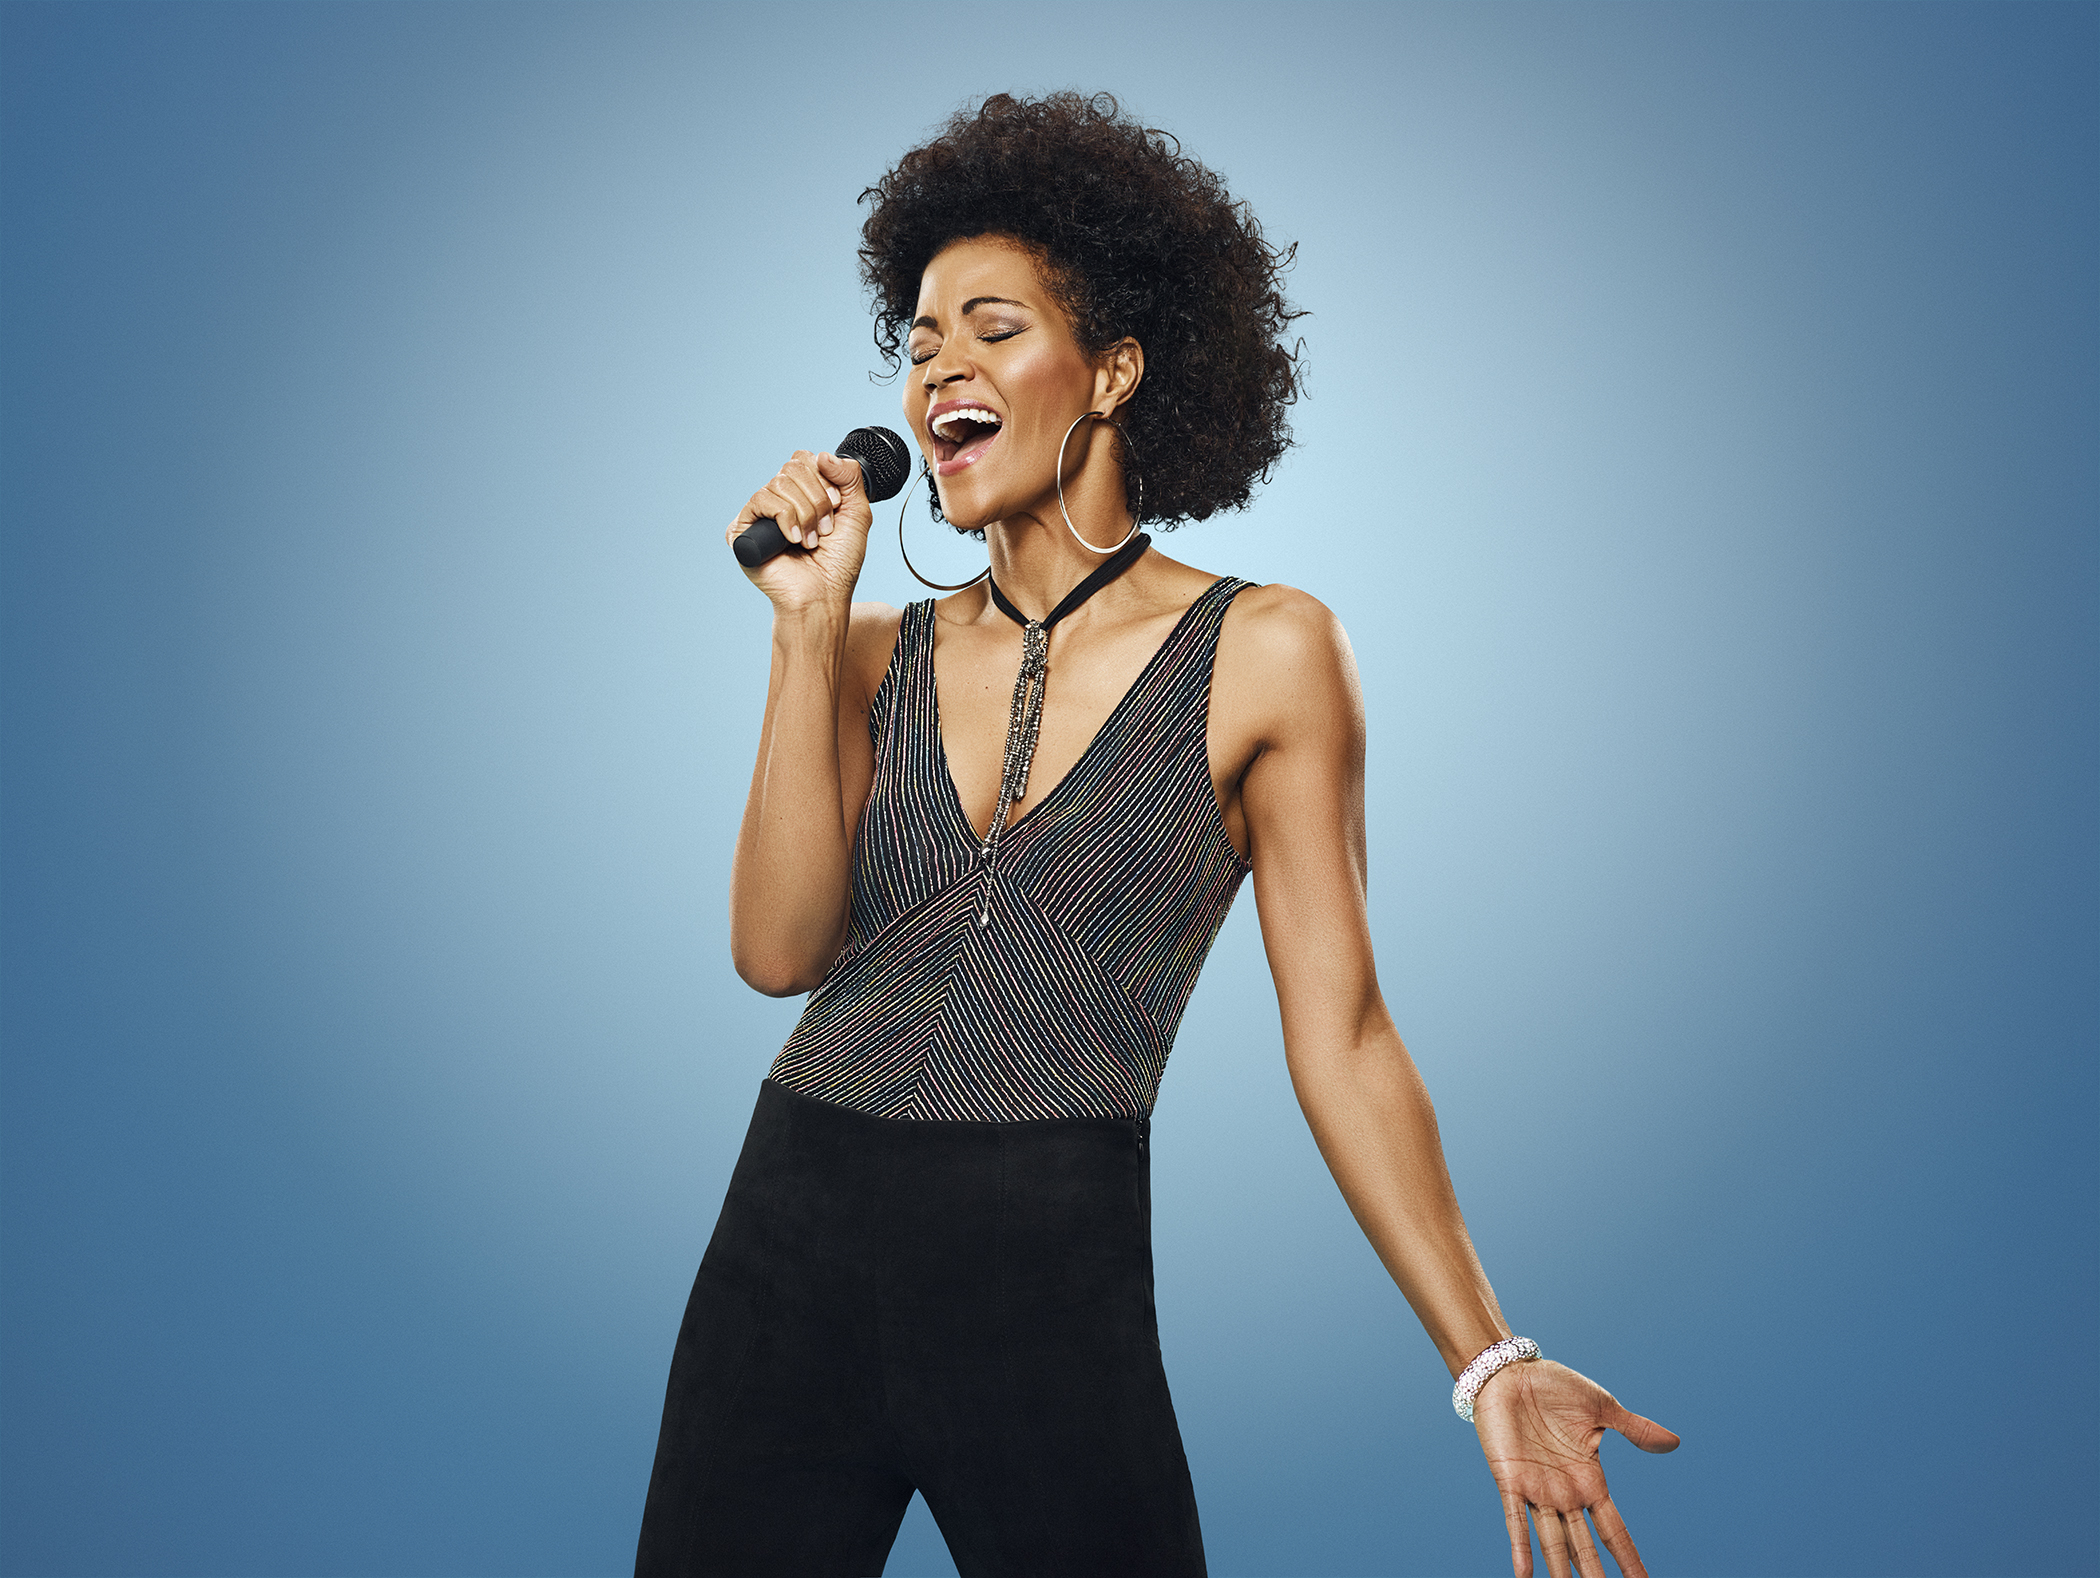
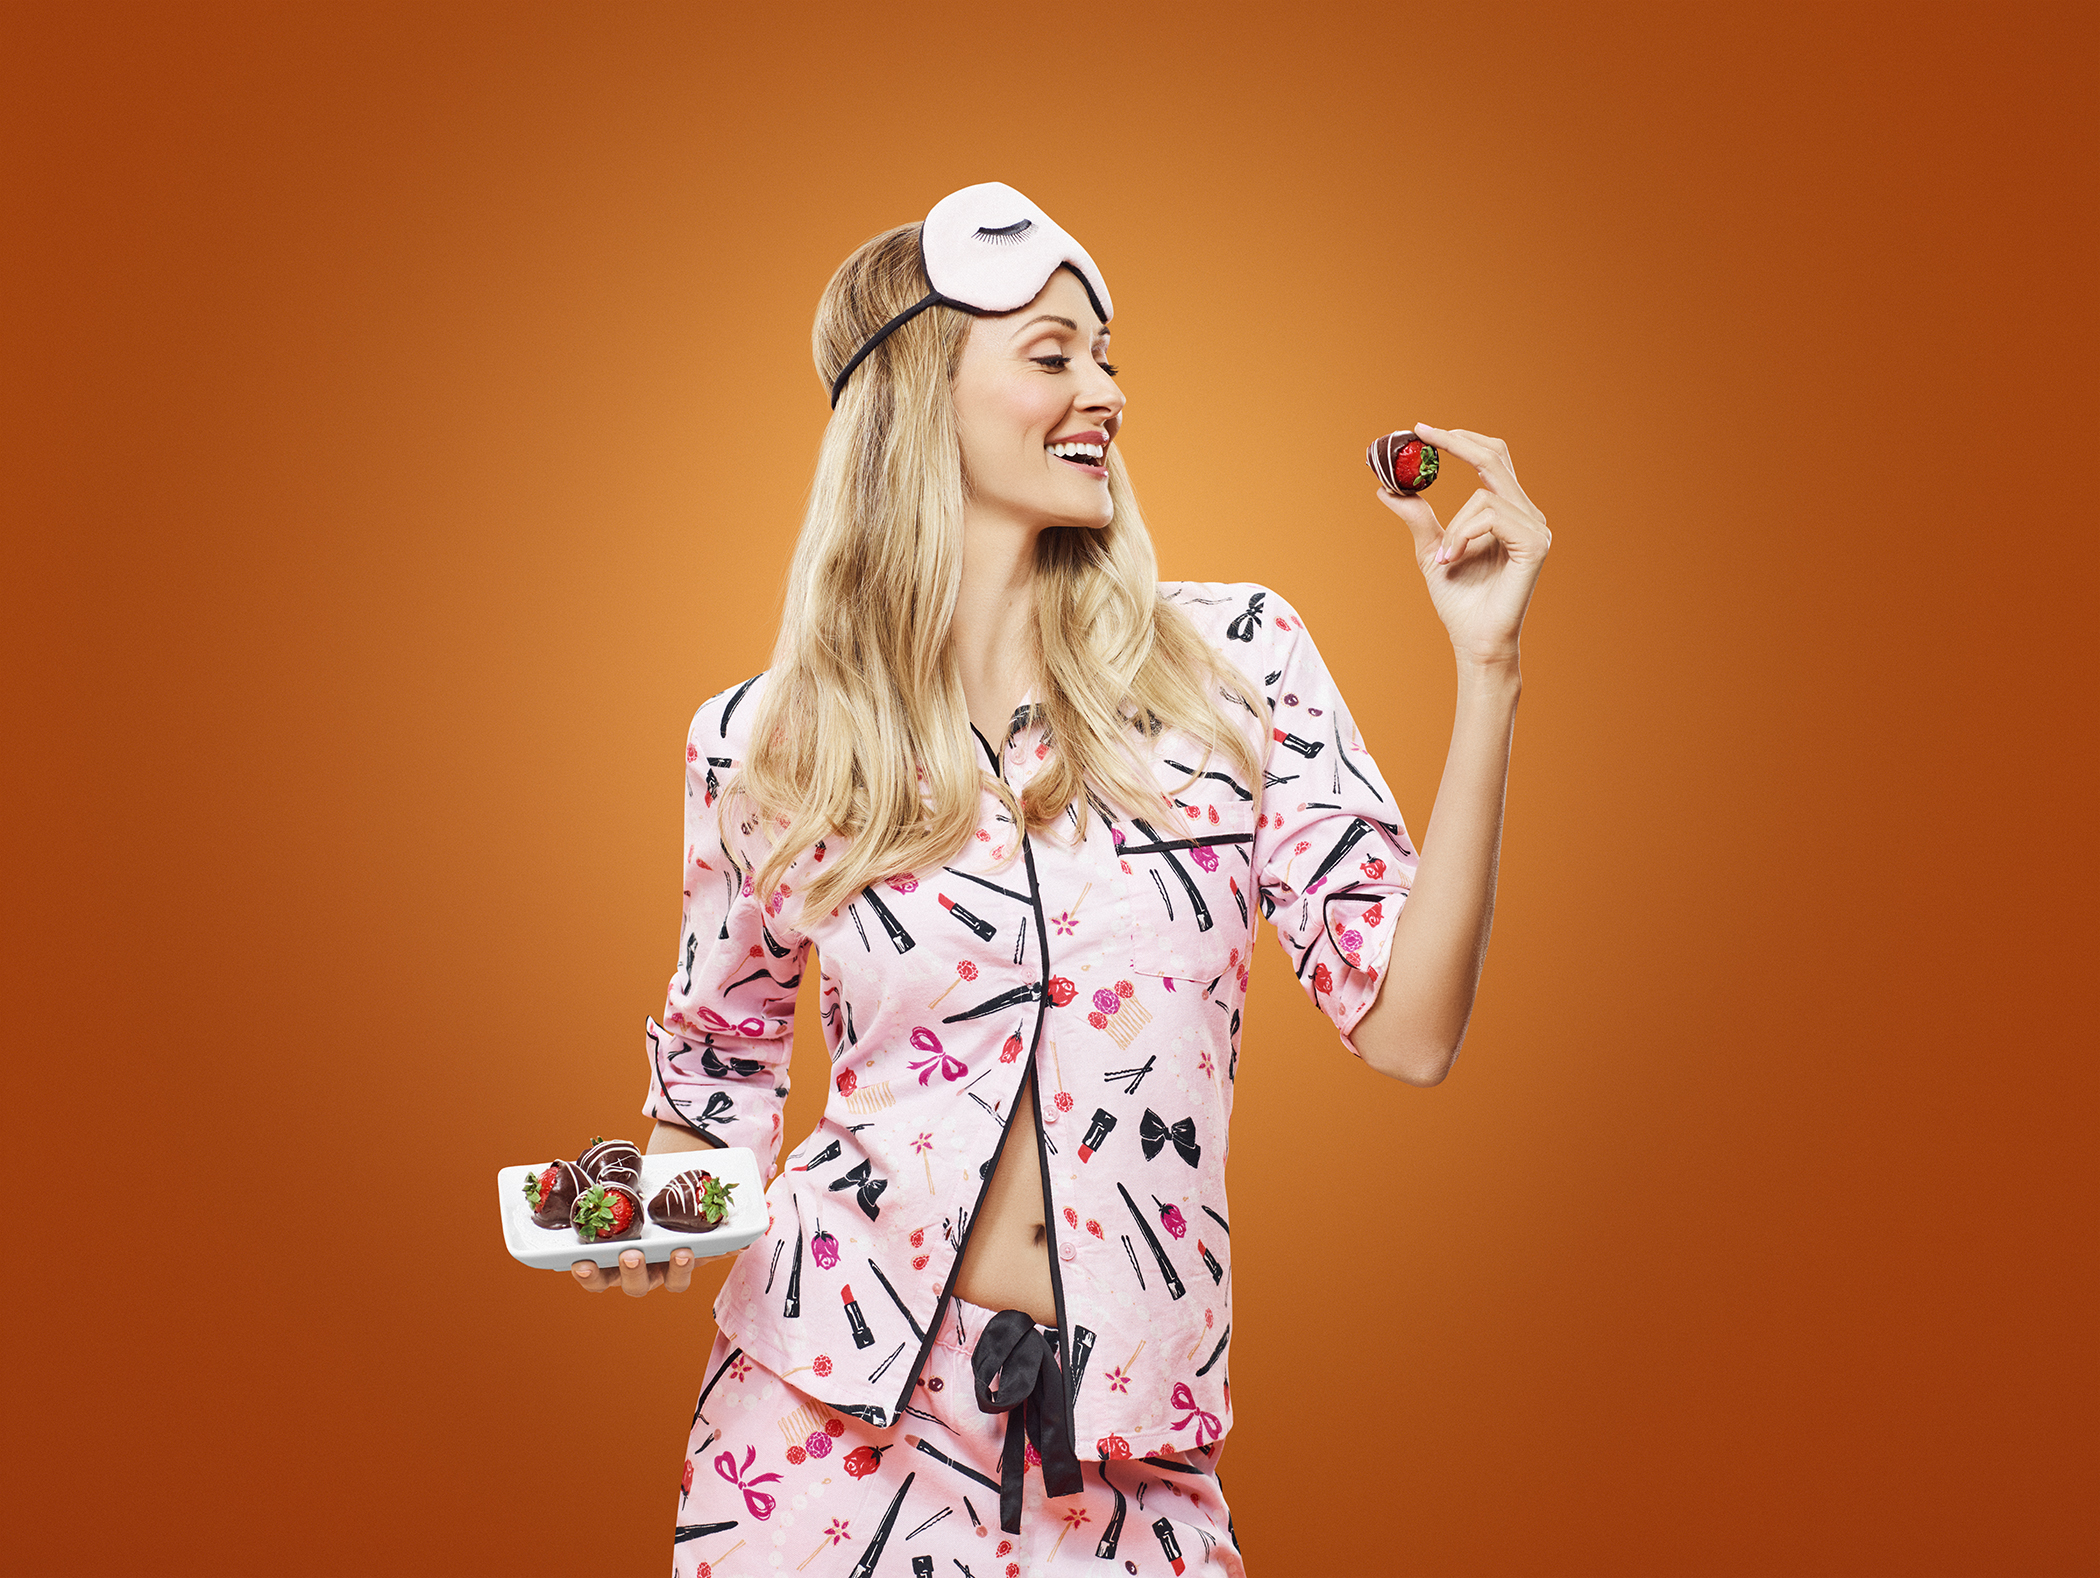
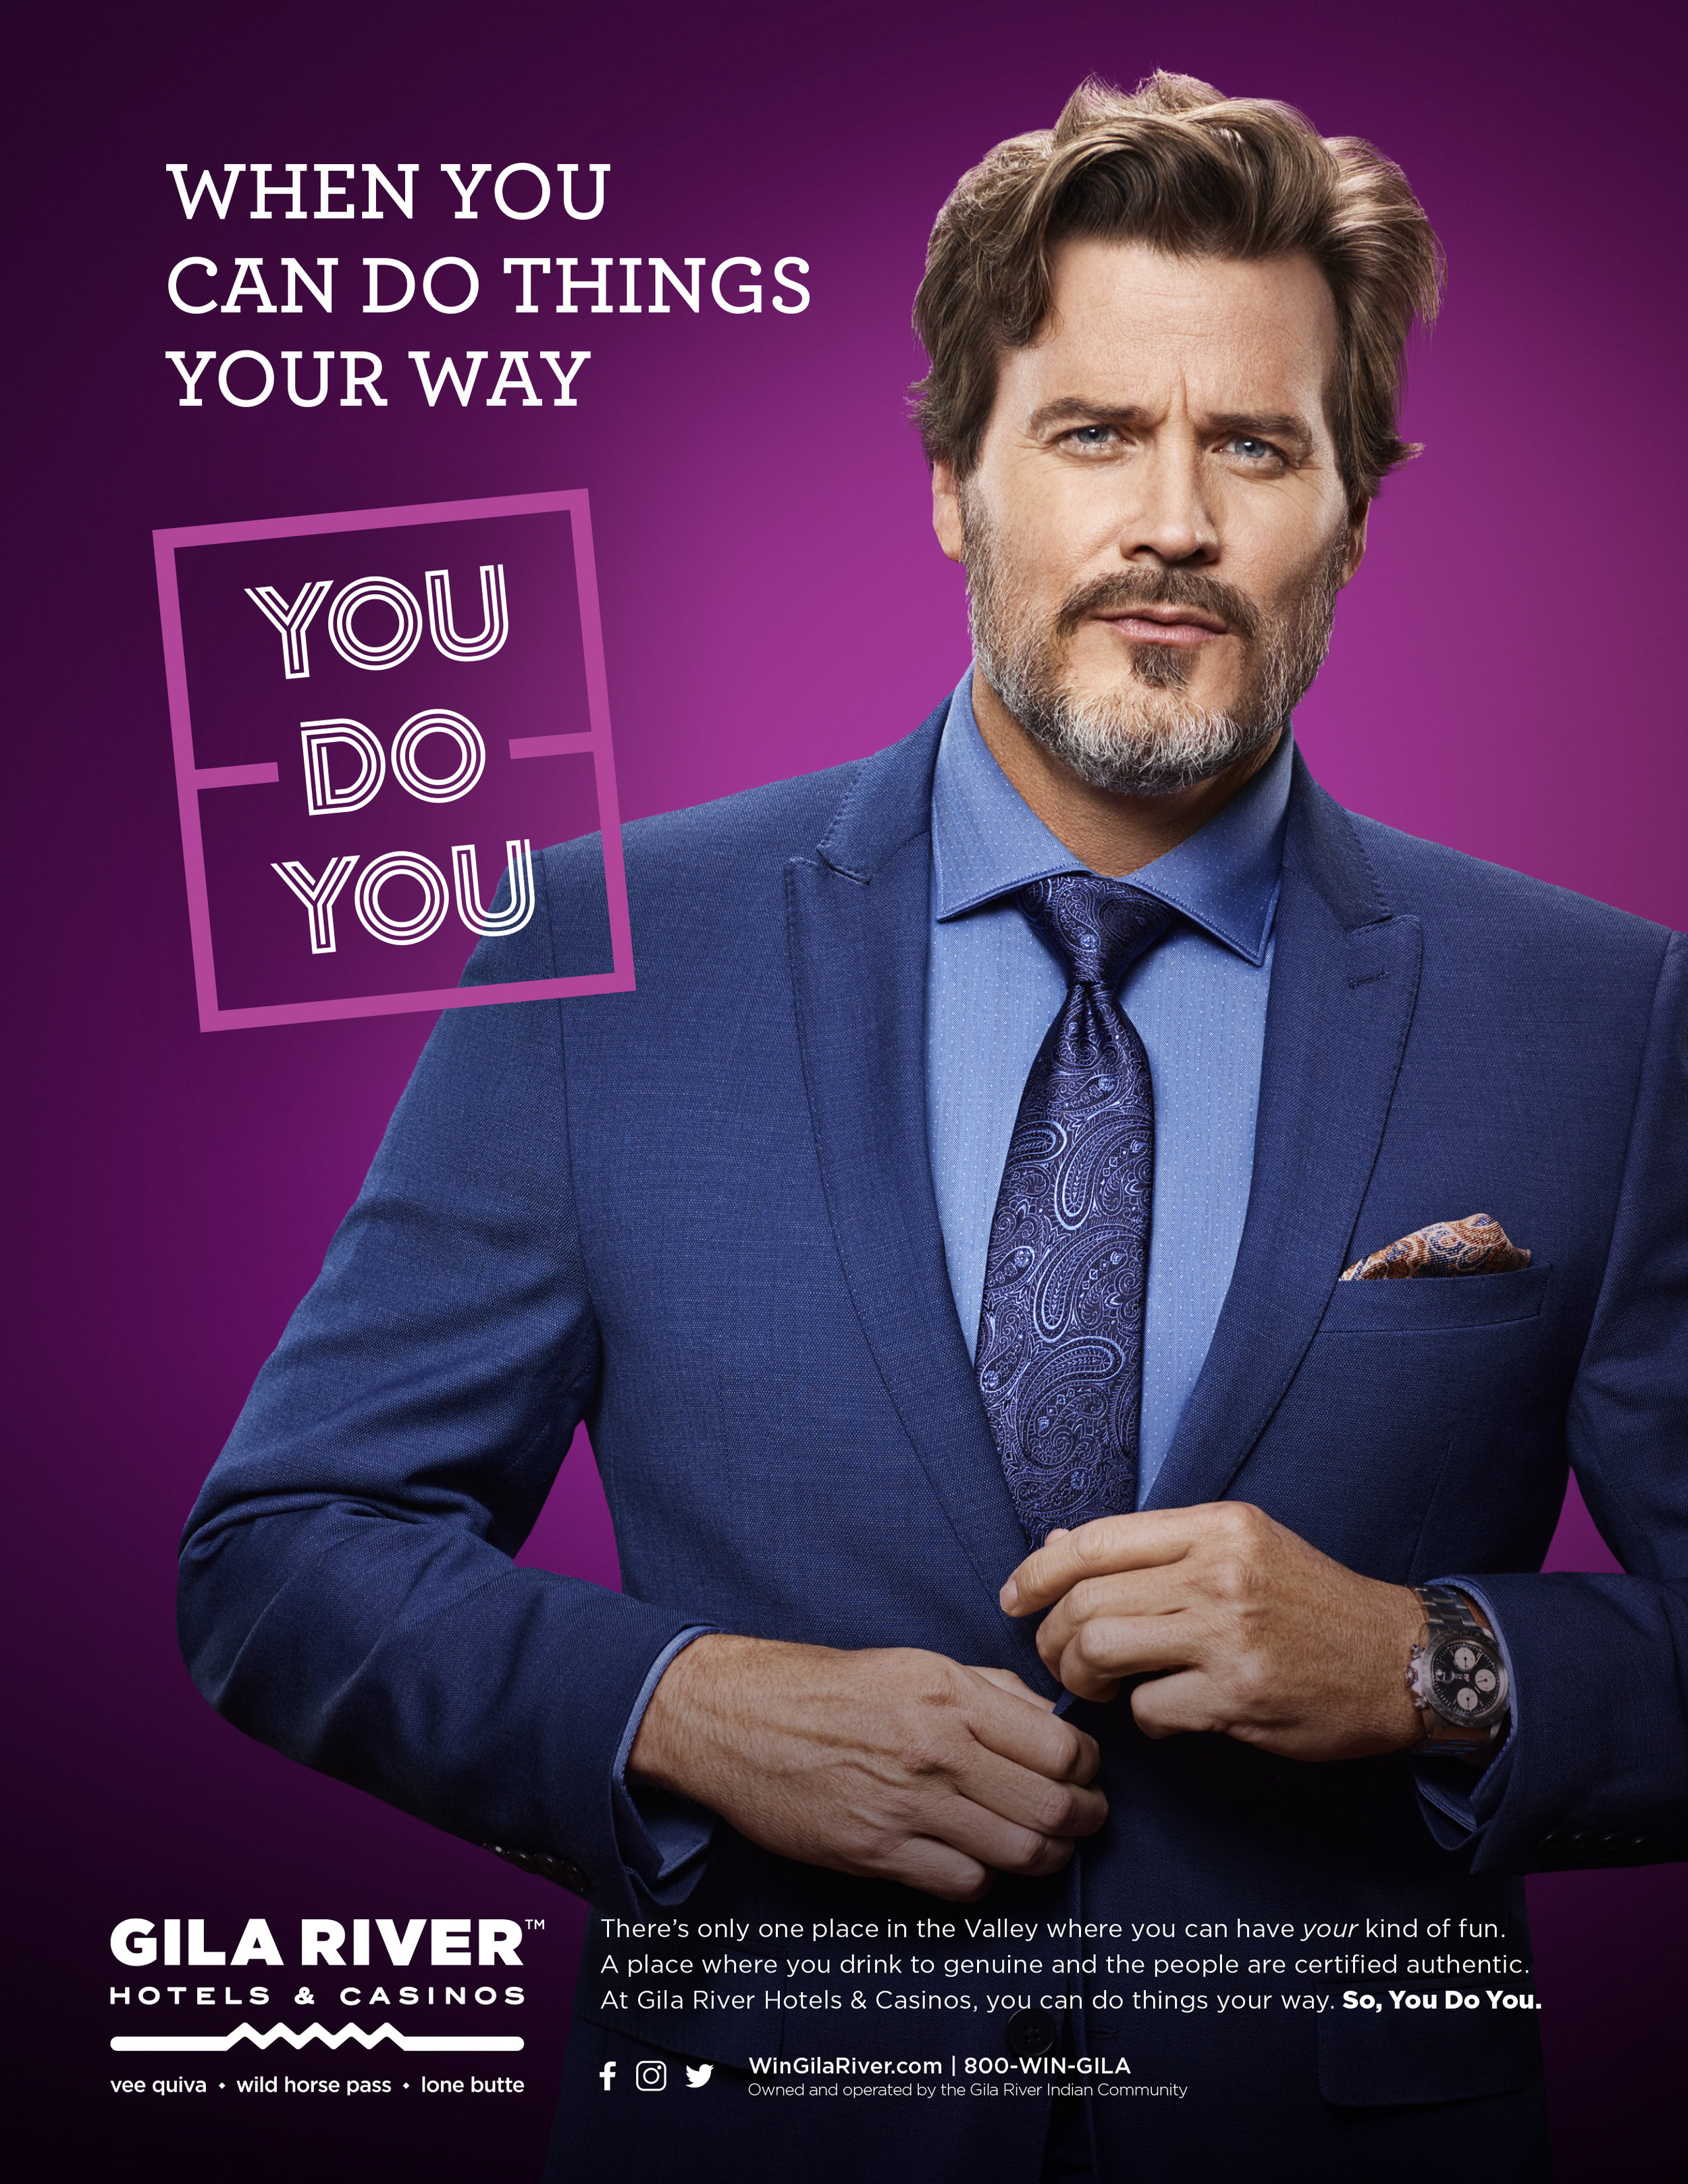
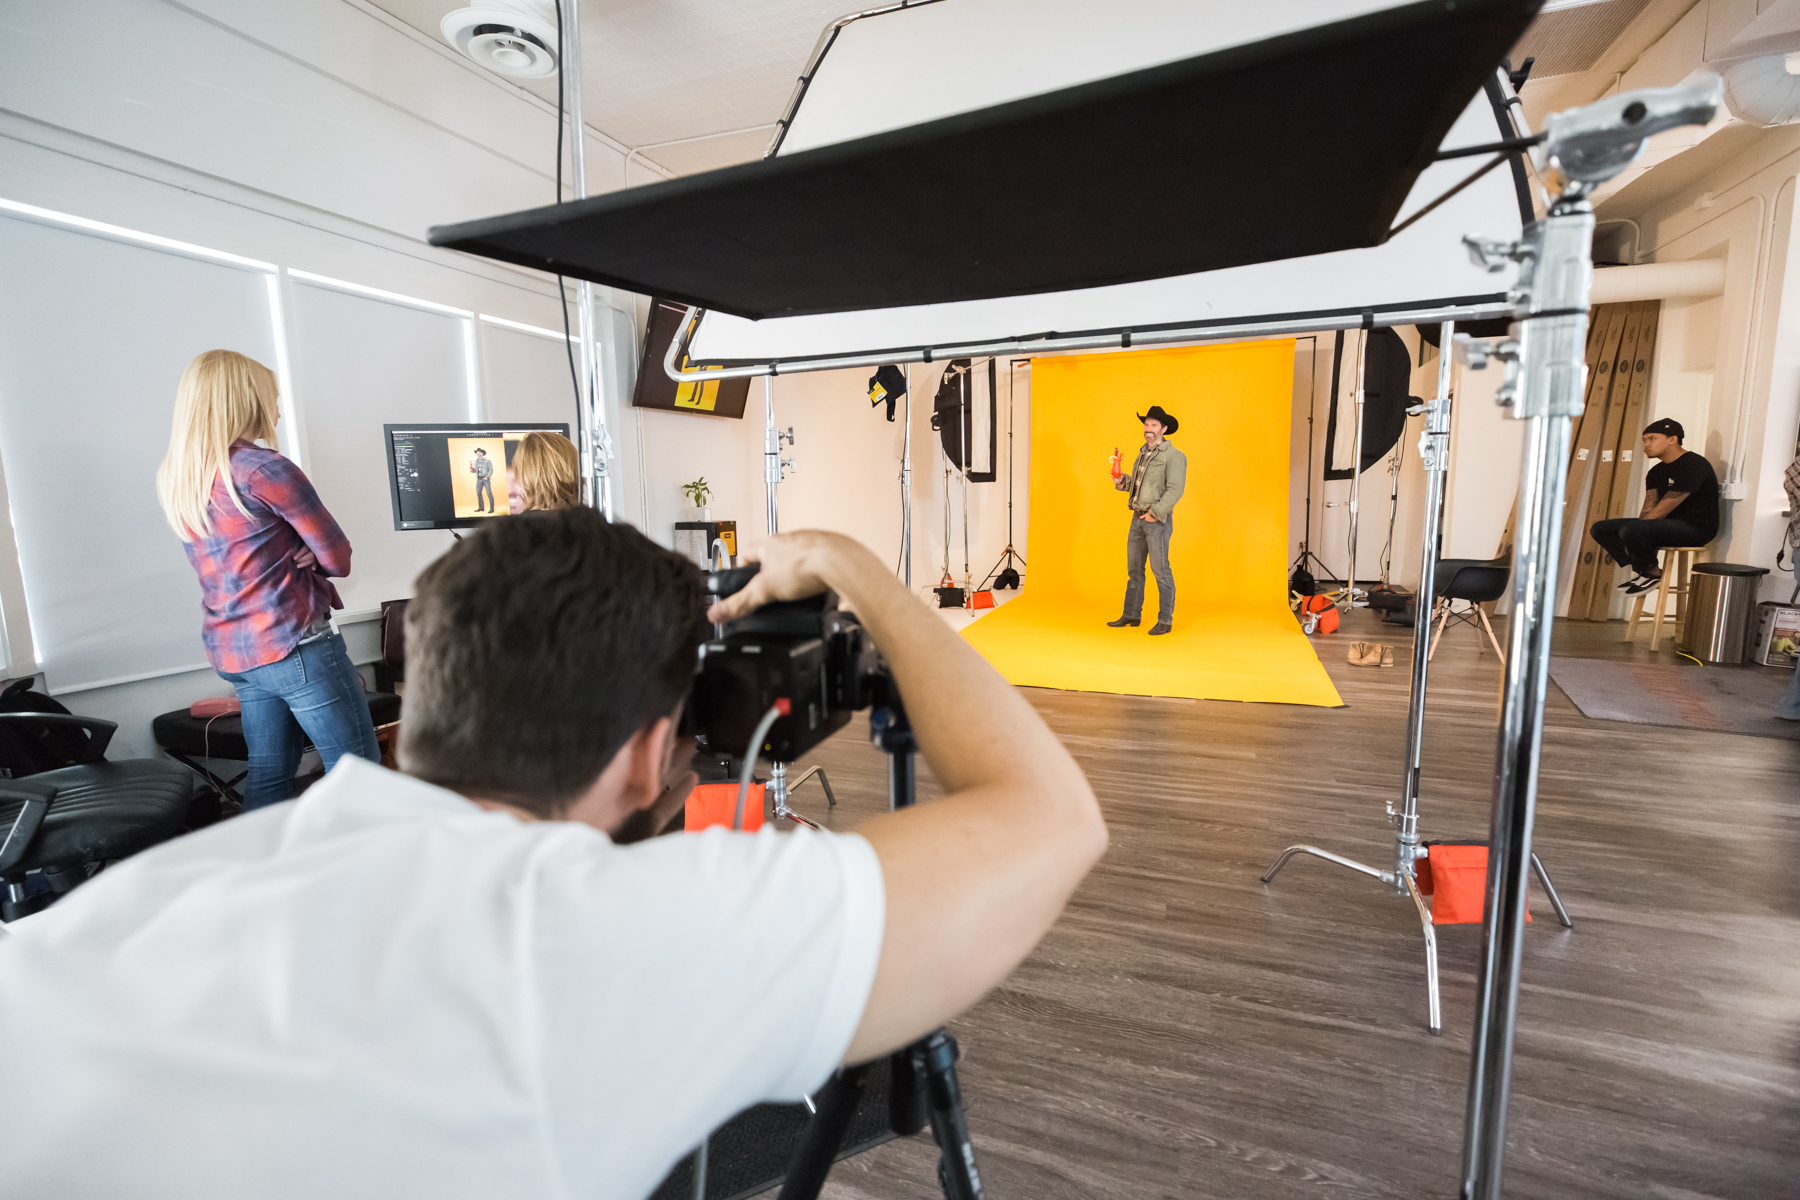
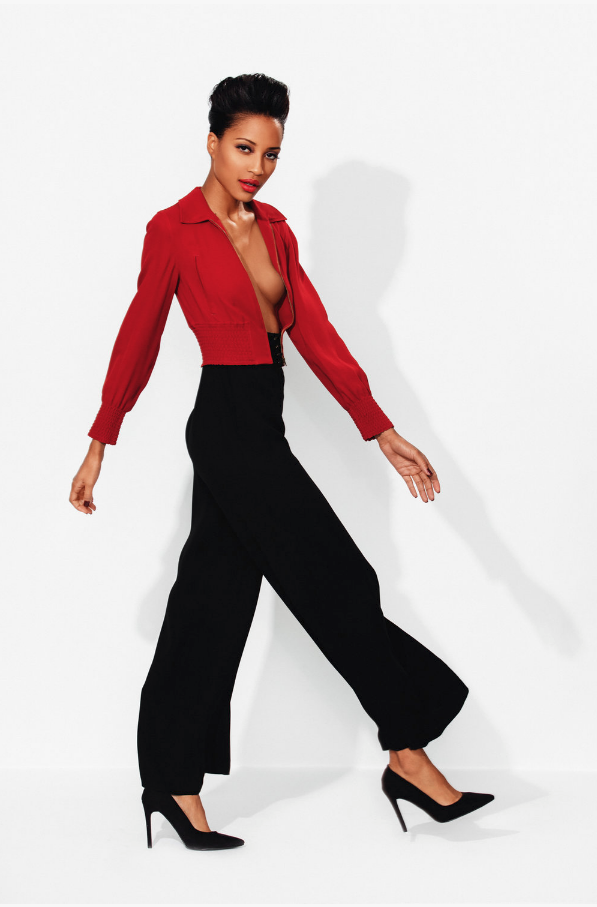
Recently I was asked to shoot 6 commercial portraits for Gila River Casino. After meeting with the creative team they stressed how important direction for each of these characters would be. This new ad campaign would not only be stills but a TV commercial as well. They reiterated to me the importance of bringing life to the characters in a still image. I needed to take the characters TV personality and summarize it in a single image. The narrative of the ad was "you do you". So no matter your age, personality, or perception people have about you, just be yourself. EX: The elderly woman who was a fashion diva, the cowboy who orders cocktails, etc.
It was time to take this challenge head on. I asked the CD to give me a character briefing. I wanted to get to know each character so I could properly direct them. After studying each character I was ready to start pre lighting. I had several Ideas in my head, but ultimately I wanted these characters to jump out at the viewer. I was conscious though not to have the lighting take away from the character. The lighting needed to help sell the character's narrative. It was now time to pre light.
Pre Lighting
Here is the pre lighting run through I did with Matt. We ran through some different light ratios and positions till we got a result we liked.

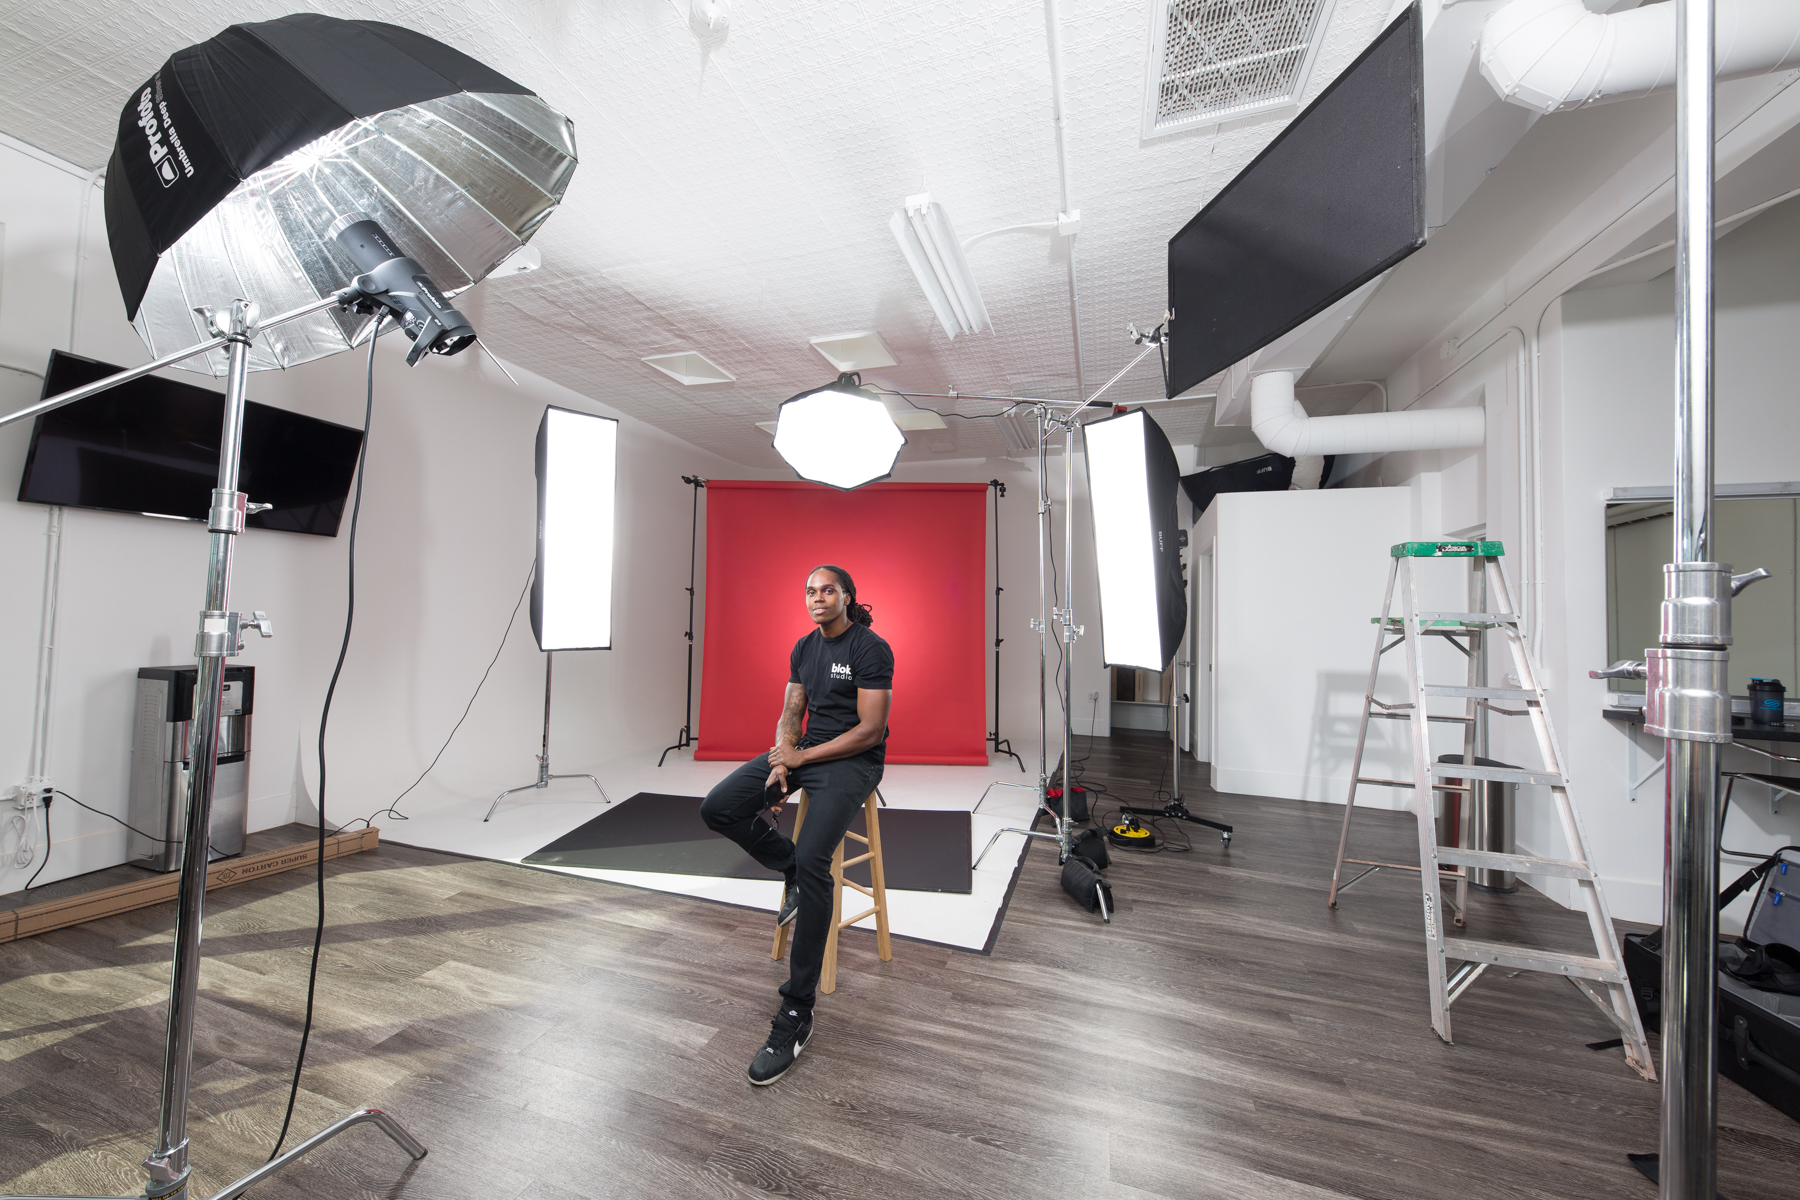

After a few discussions with the CD we made some changes to the lighting. For the key we switched the Profoto silver umbrella for a white Profoto beauty dish, we also centered the light overhead. This reduced the shadows on the subjects face.
Profoto equipment was used for the lighting equipment. We were now ready to shoot.
Directing
This is the most crucial aspect of what we do as photographers. This shoot was all about direction. I had to take the characters narrative that was written by the ad agency and translate that to the model. Since the models had already done the TV filming they know their character and the narrative, but it is now my job to help direct them into poses that summarize their narrative into a single shot.
It is imperative for me to introduce myself to each model and brief them on what we will be doing together. I find this to be very important, it helps establish and build trust with the model. I want to have a connection with each model so we can comfortably reach our goal. I want them to know I am a person and not just a camera. By doing this I can usually get them to open up more on camera. Nothing more awkward than a guy with a camera not saying anything to you, or just shouting at directions at you. Be a human to them, establish a connection!
After I introduce myself I will go over the narrative with them. I like to pose and mimic what I want from them. I will get goofy, awkward, energetic, etc.. I want to show them so there is nothing lost in translation. This also helps them connect to me and helps me show them where to start from. I will tell them to take it from there and let them run with it. I want to make sure I guide them but not micro manage the posing, this can be a delicate balance.


Connection.
I make sure I keep a connection with the model throughout the duration of the shoot. I make sure to provide them with confidence and give them positive reinforcement. Tethering and having a digital tech is also a crucial aspect for my process. I have a digital tech running the computer which I am tethered to. This is where I have the creative team analyzing the images that are coming in. They can make comments on what they like and don't like. They then will recite that info to me. From there we can start narrowing down on specific poses and expressions we like to get the exact shot we need.
Environment
I pride myself on establishing connections and building relationships with people. I have to build a good relationship with the creative director so I know what he wants. I then
must have a good relationship with my crew so we can work seamlessly on the shoot. And I have to know how to connect with my subject. I have to articulate everything to them in a clear way. My job is to keep everyone happy. I strive to make the shoot a fun and enjoyable experience for everyone.
Thank you to Matt, Maria, Stephen, Daniel, Jordan, OH, Blok, Slik, Savage, Profoto, Tether Tools, Think Tank, and Phase.
Final Images
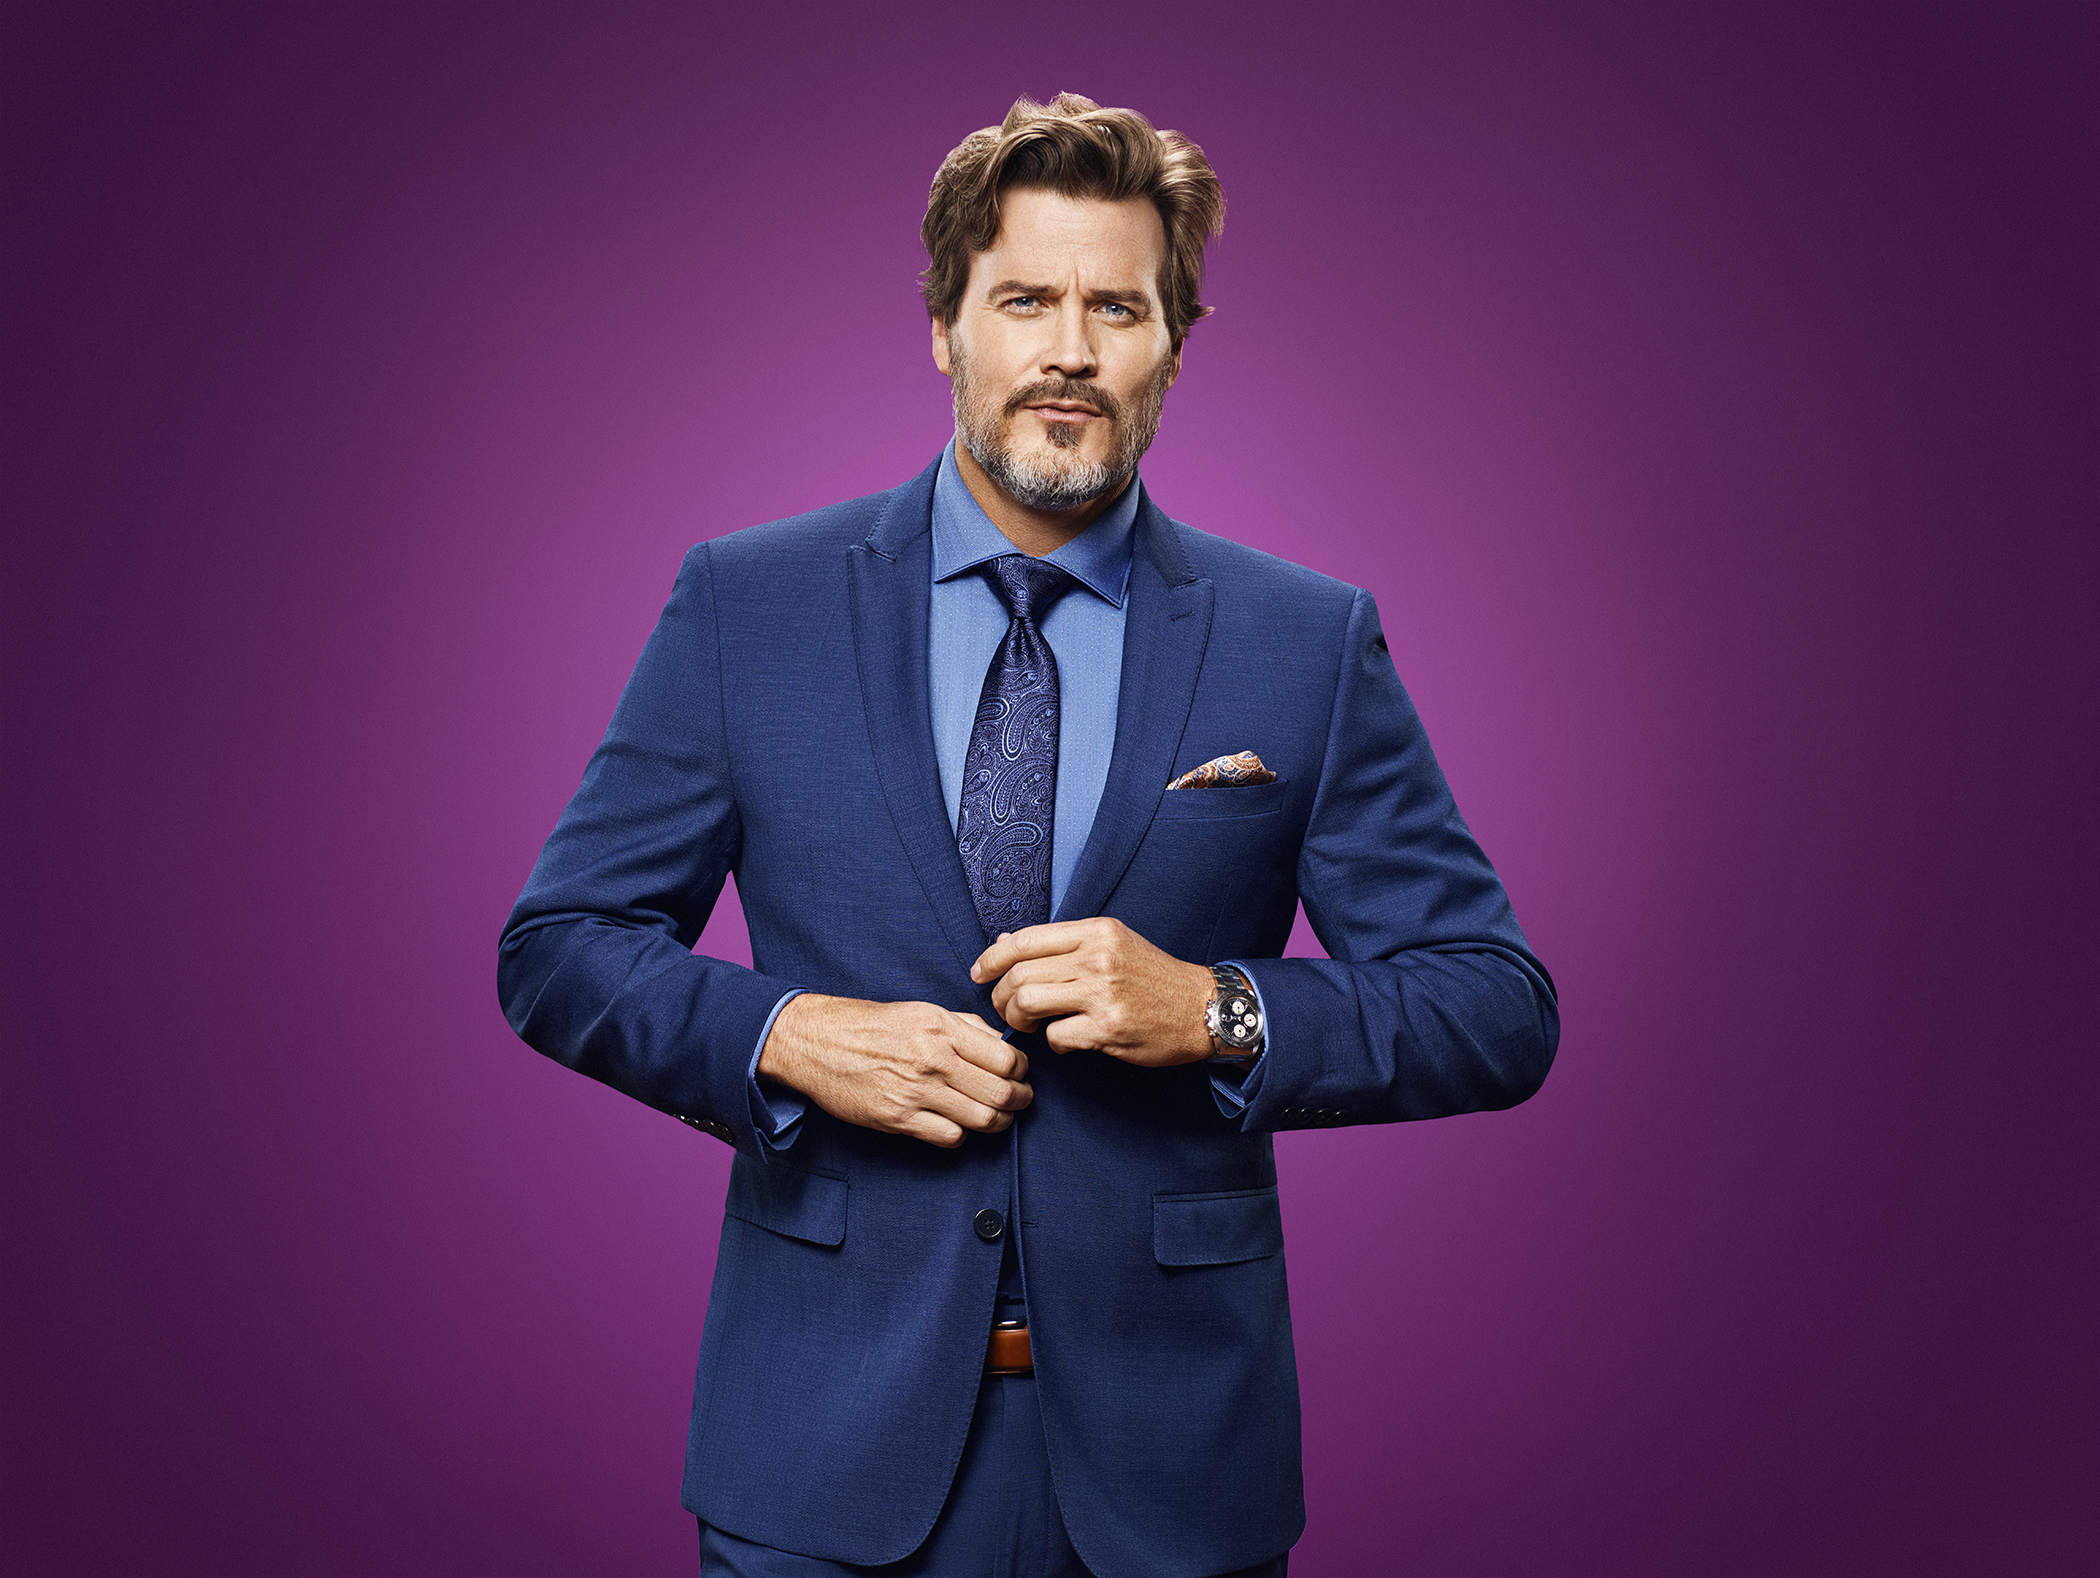


Final Ads

Gear
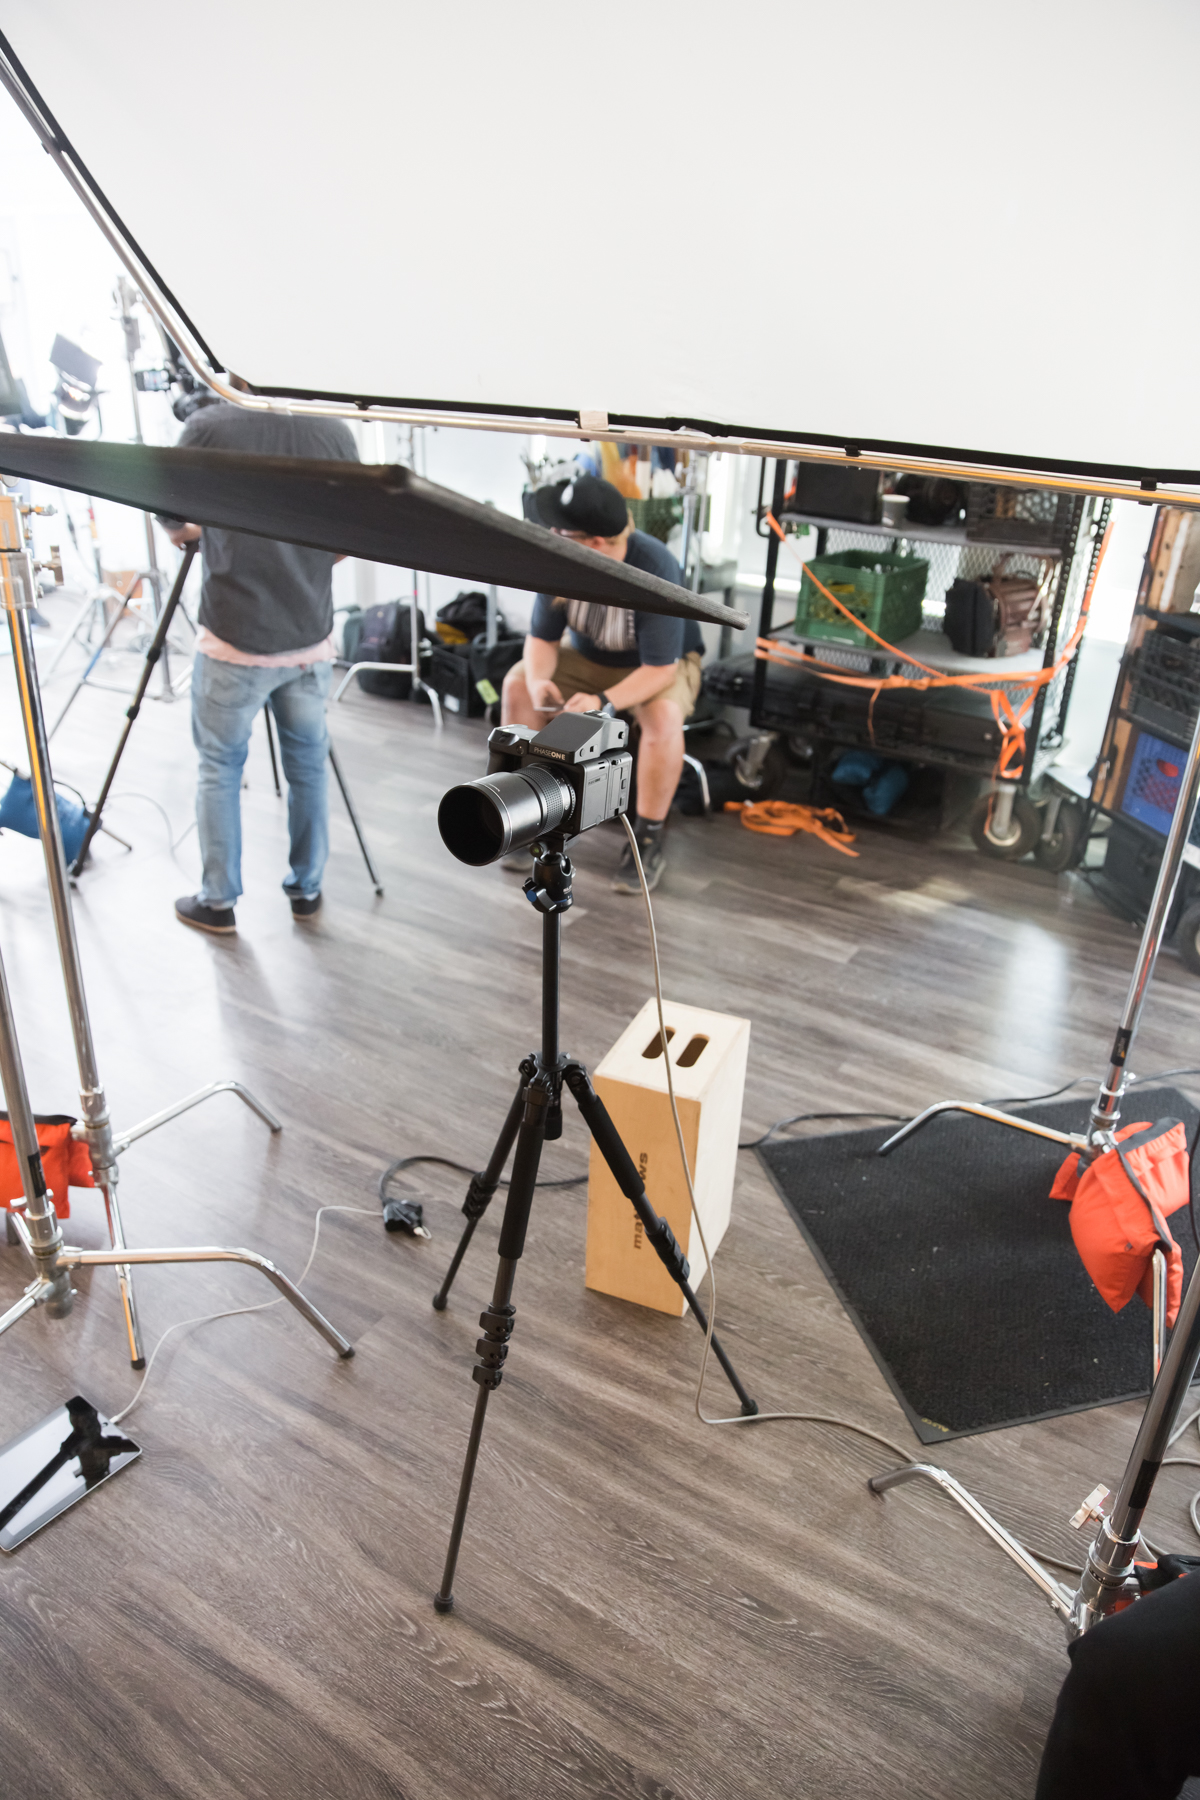
I shot this on a PhaseOne XF body with IQ 180 back, and a Schneider lens. I decided to go with the Phase system to get the most out of my images.
Shooting on the Phase system can be cumbersome so I relied on my Slik 724CFL with PBH-525-DS head. Shooting on the ball head and keeping the head slightly loose with the fine tune adjustment helped me move with the subjects.
All the lights were Profoto D1’ s and D2’s and Profoto modifiers. I rely on Profoto for several reasons; I can have lighting fast recycle times with the D2's, adjust the power from the air remote, and ease of use with modifiers. Since the shoot was over the course of 2 separate days I pre lit everything in the studio and marked light positions and power.
On shoots like this it is imperative to tether. Tethering helps with things like accurately checking the images, and keeping the creative director in the loop during the shoot so we can make adjustments. This is also why having a digital tech makes a world of difference. I recommend Tether Tools.
Thanks to my friends at Savage I was able to get all the background colors I need. The backgrounds are all real.
I use Impact for all my grip equipment, light stands, sandbags, etc.. They make sturdy and affordable C-stand and carrying cases that come with me on every shoot.
Think Tank was used to store and transport all my gear. They make the best gear bags in the industry, hands down.
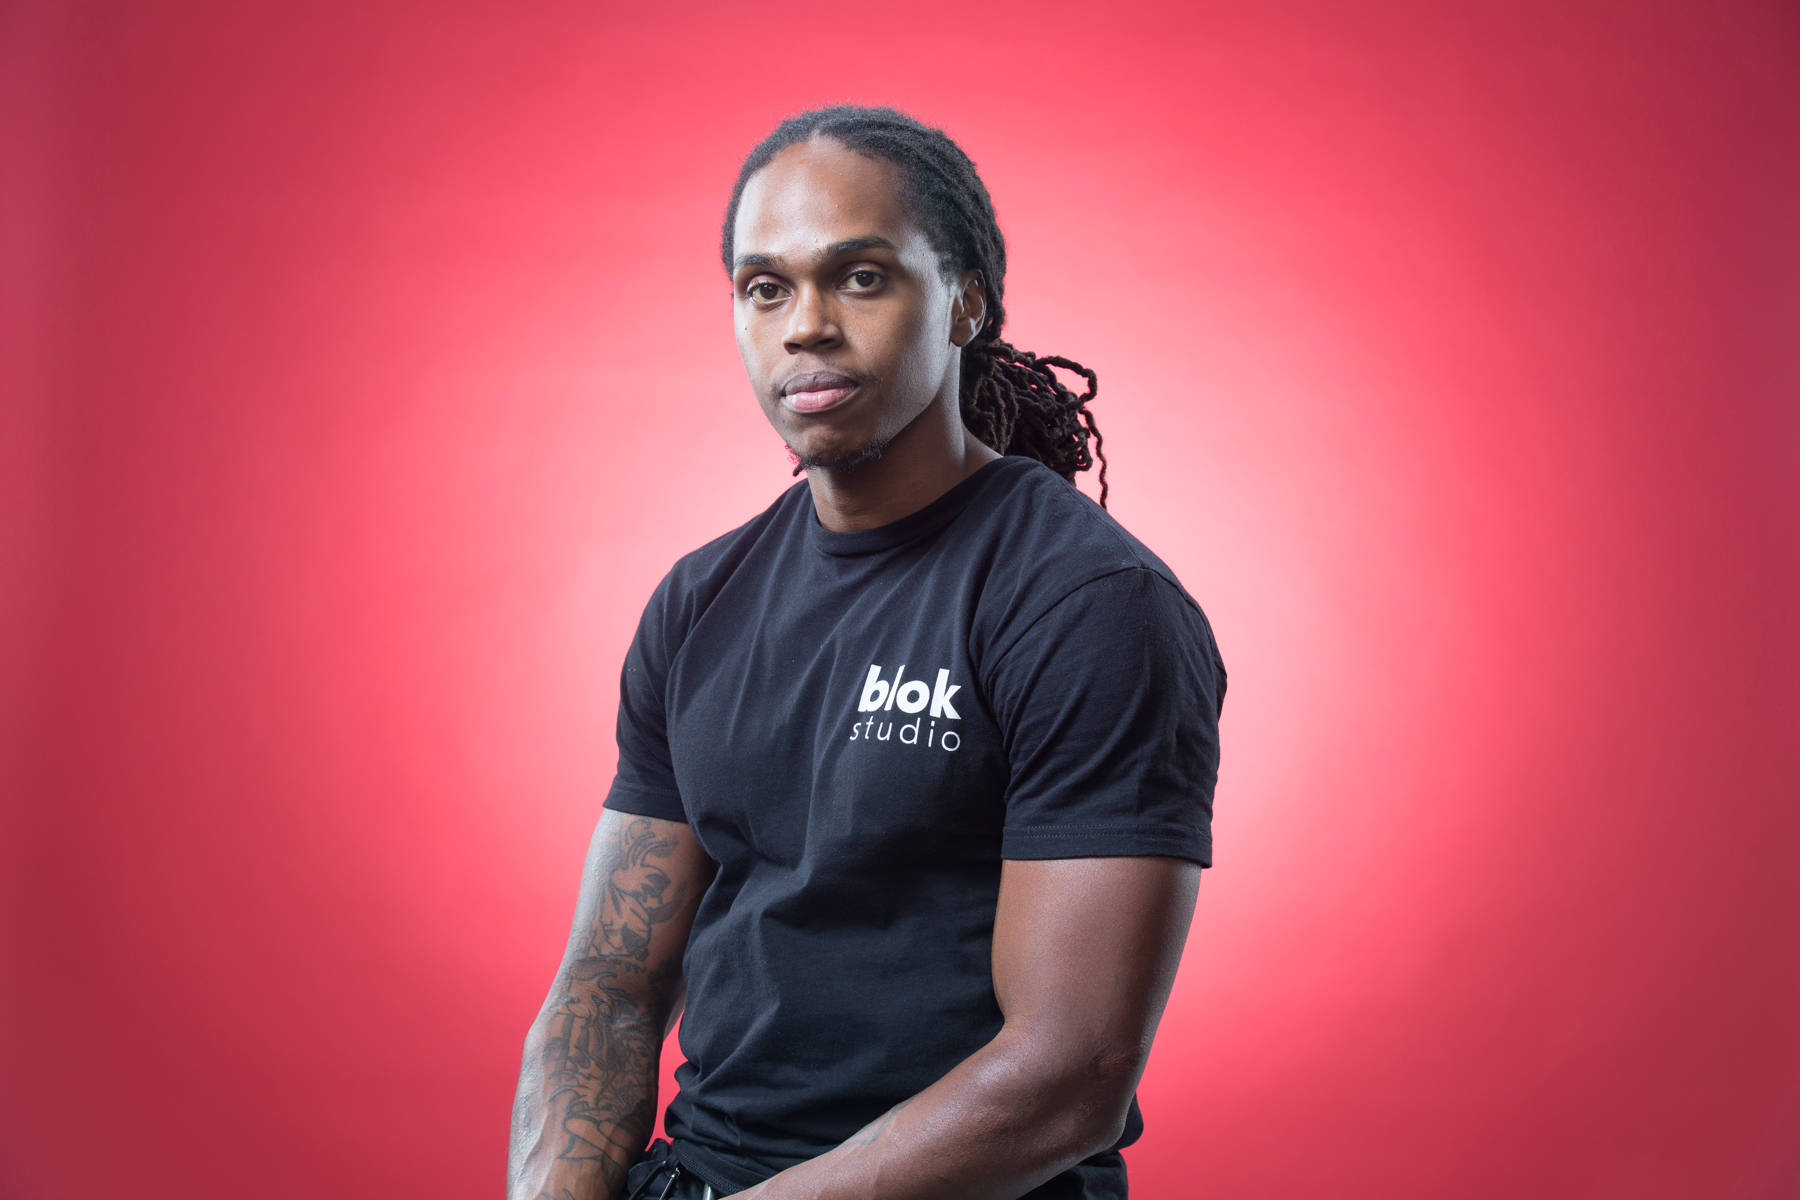
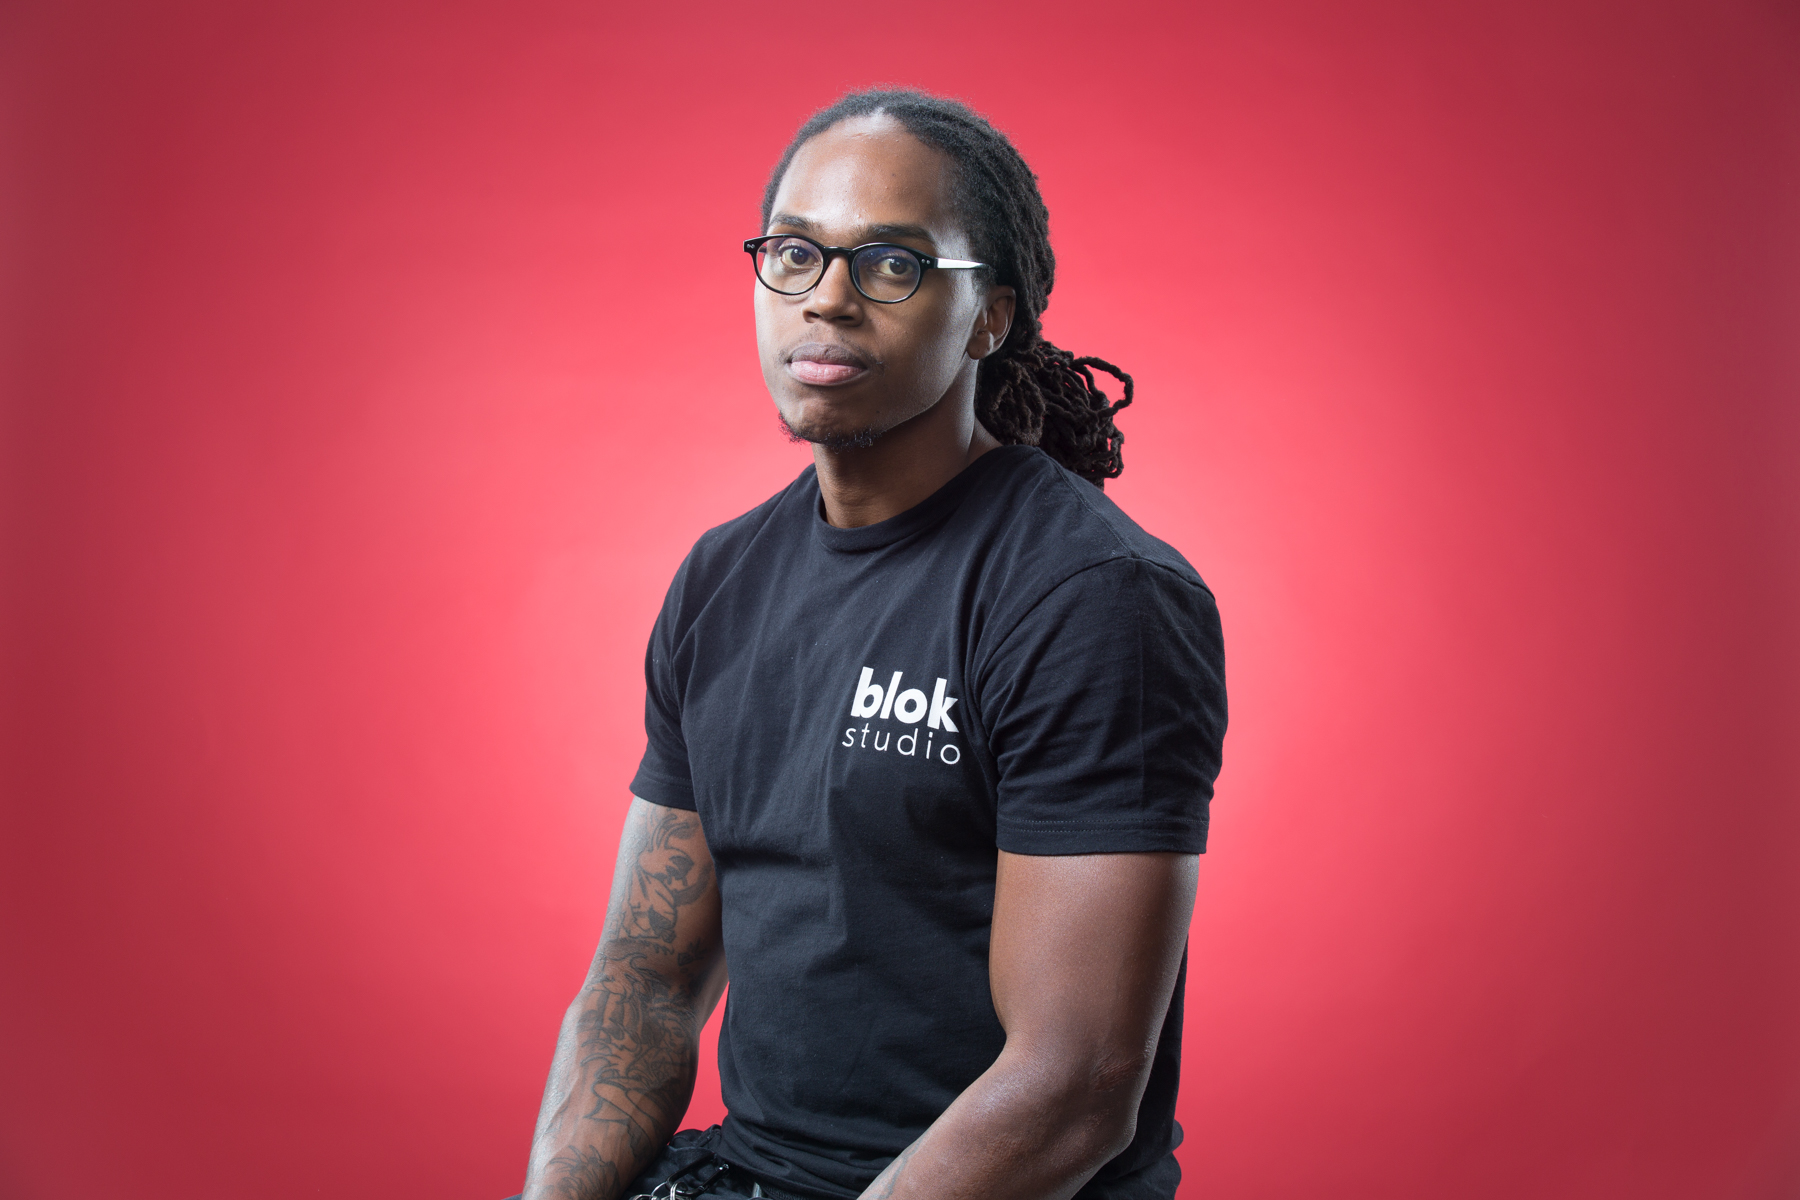
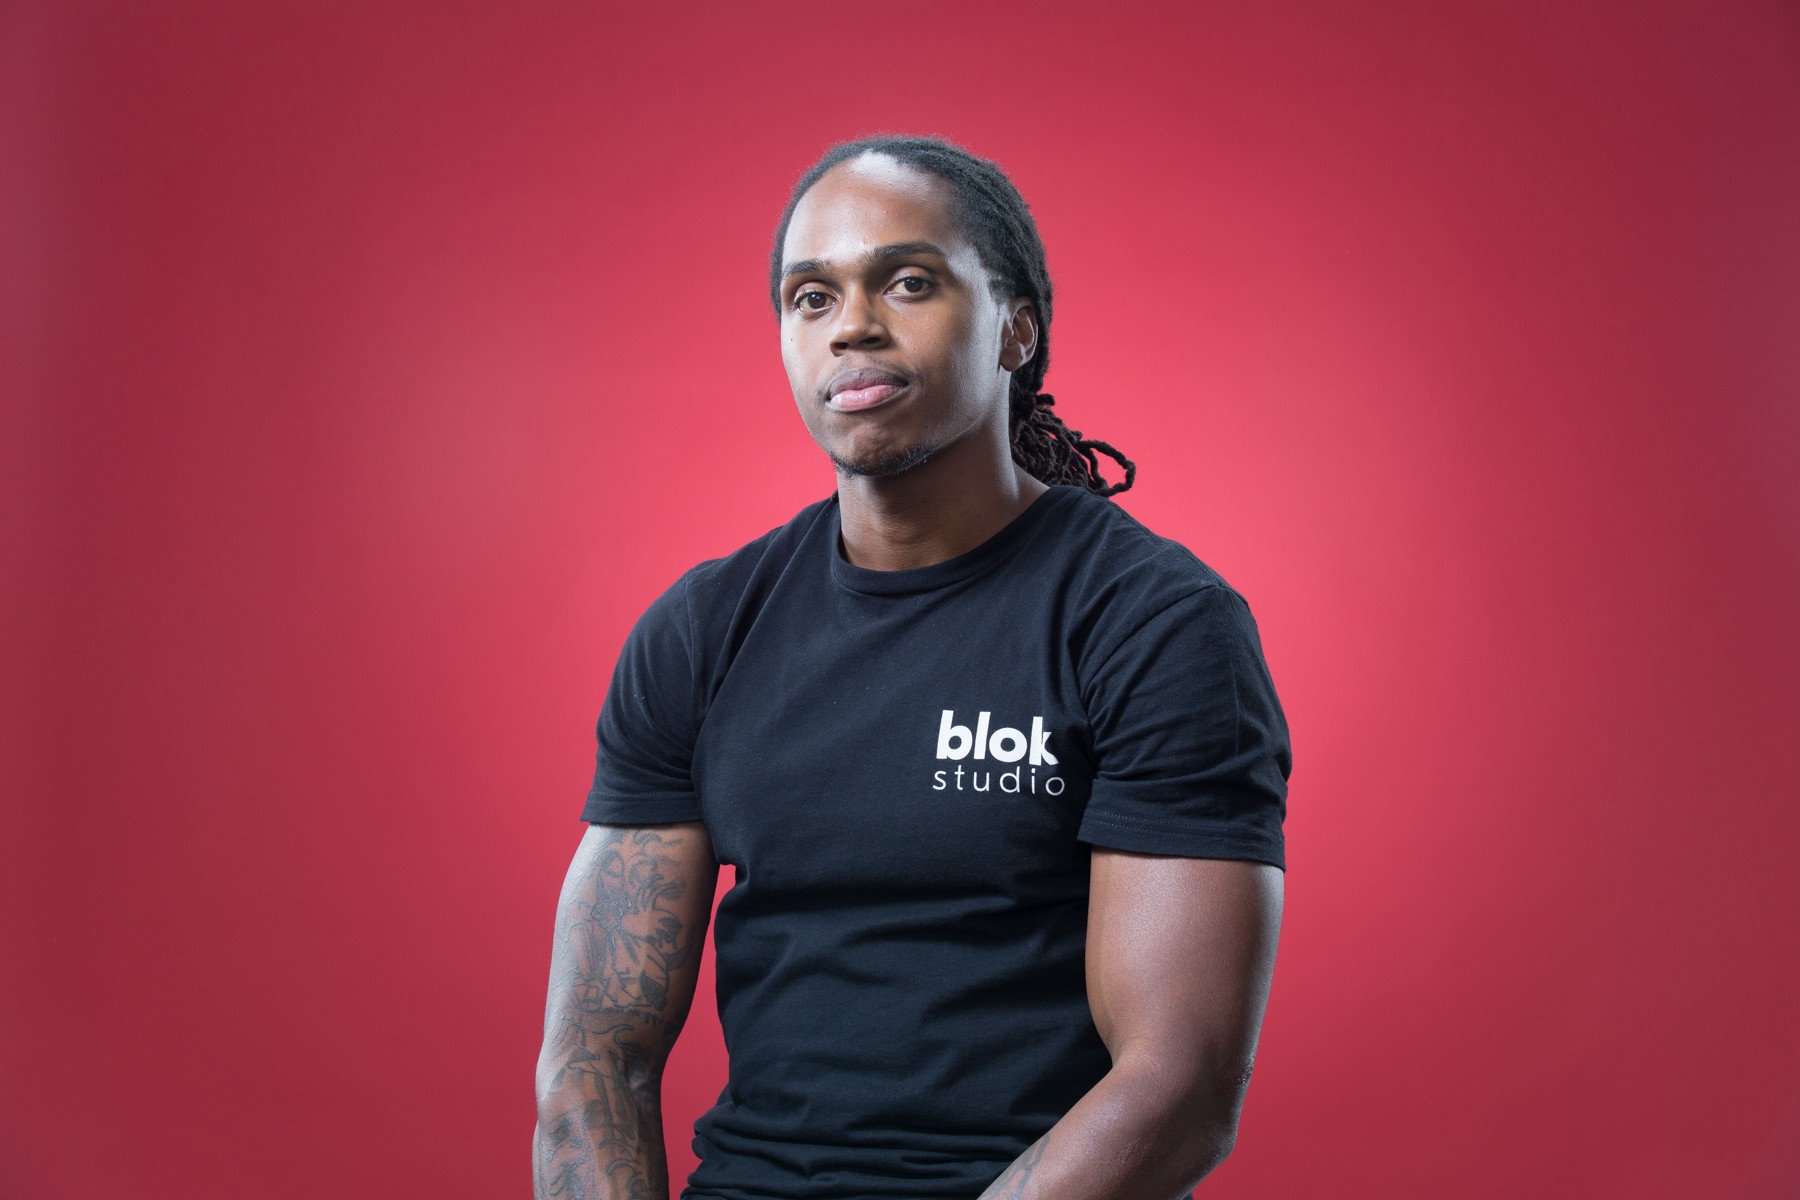
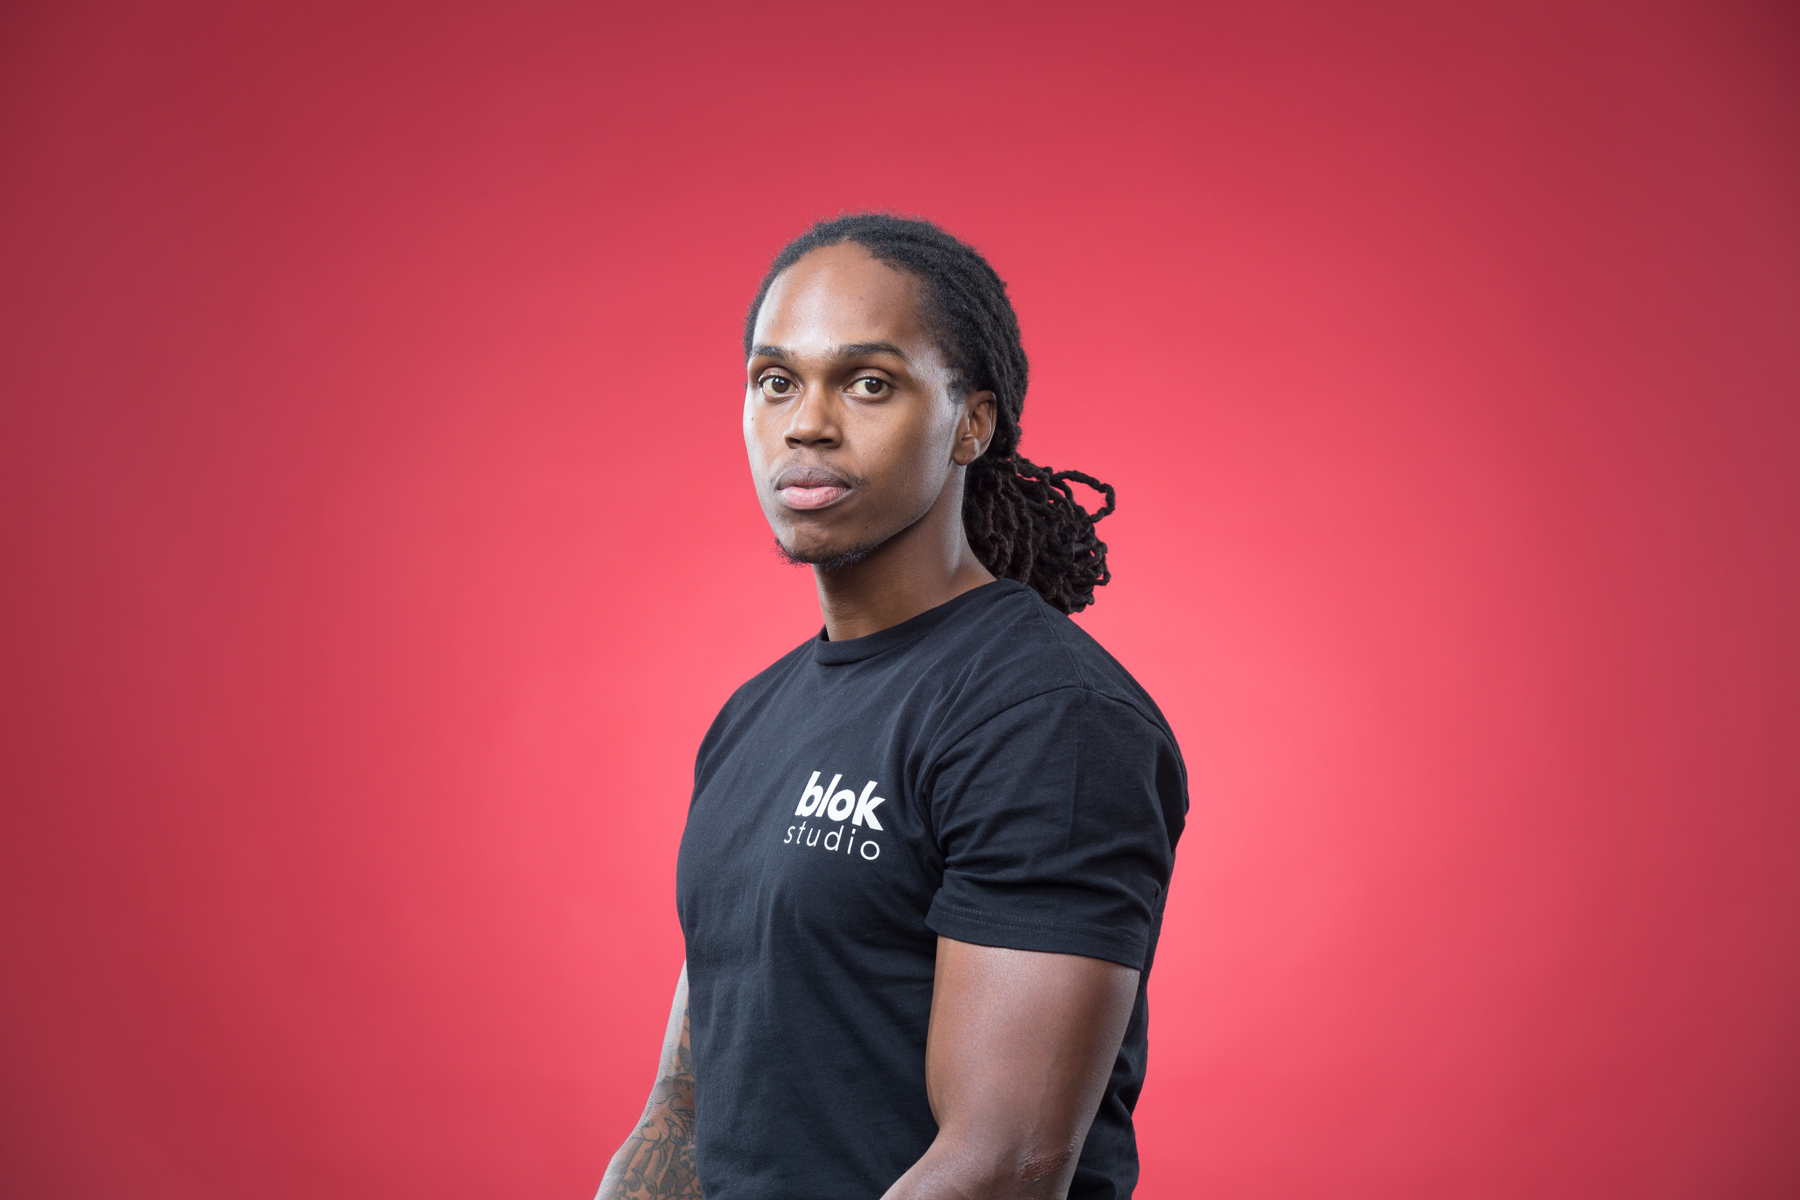
I could not have done this shoot without my whole team and Blok Studio.
BTS


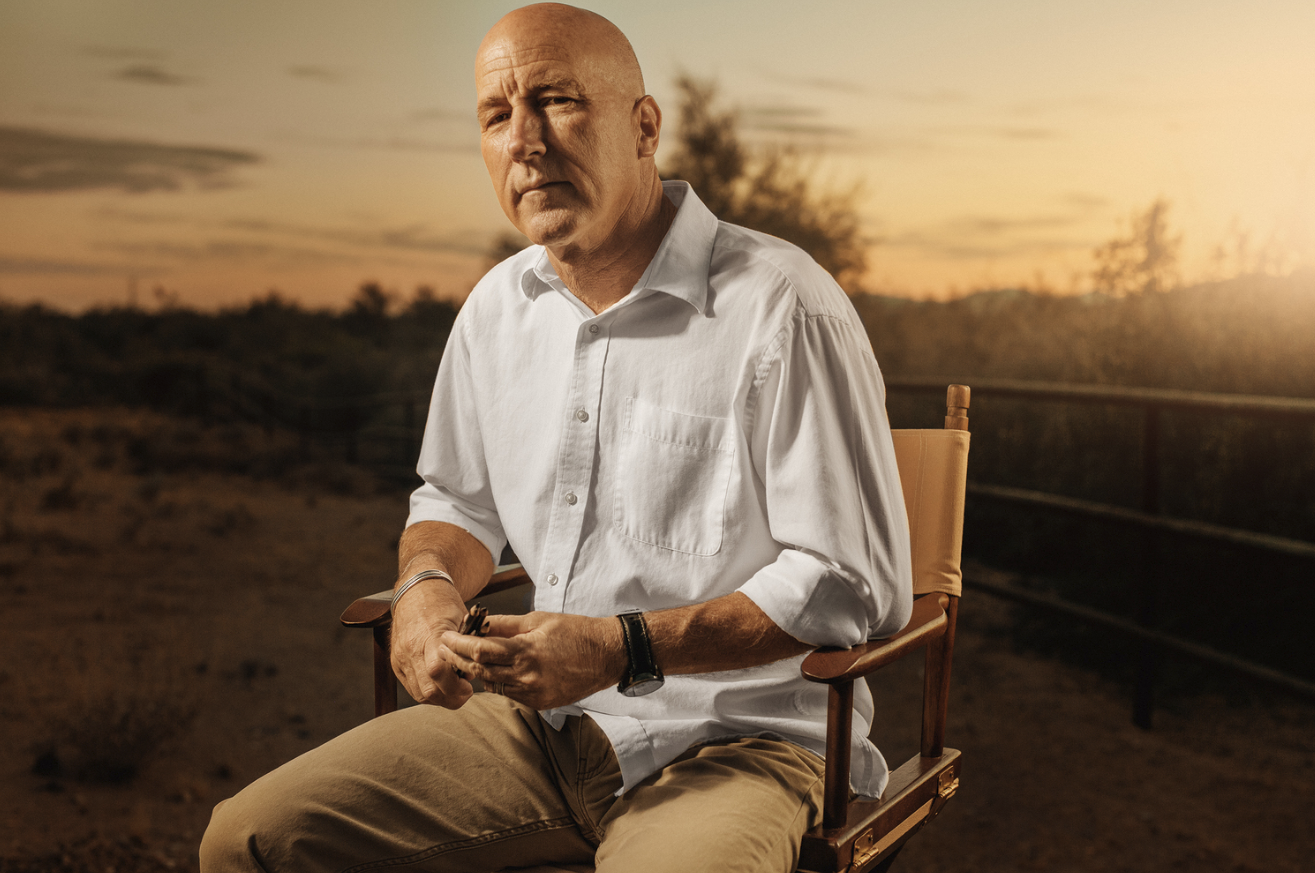
Tom Hatten, Owner
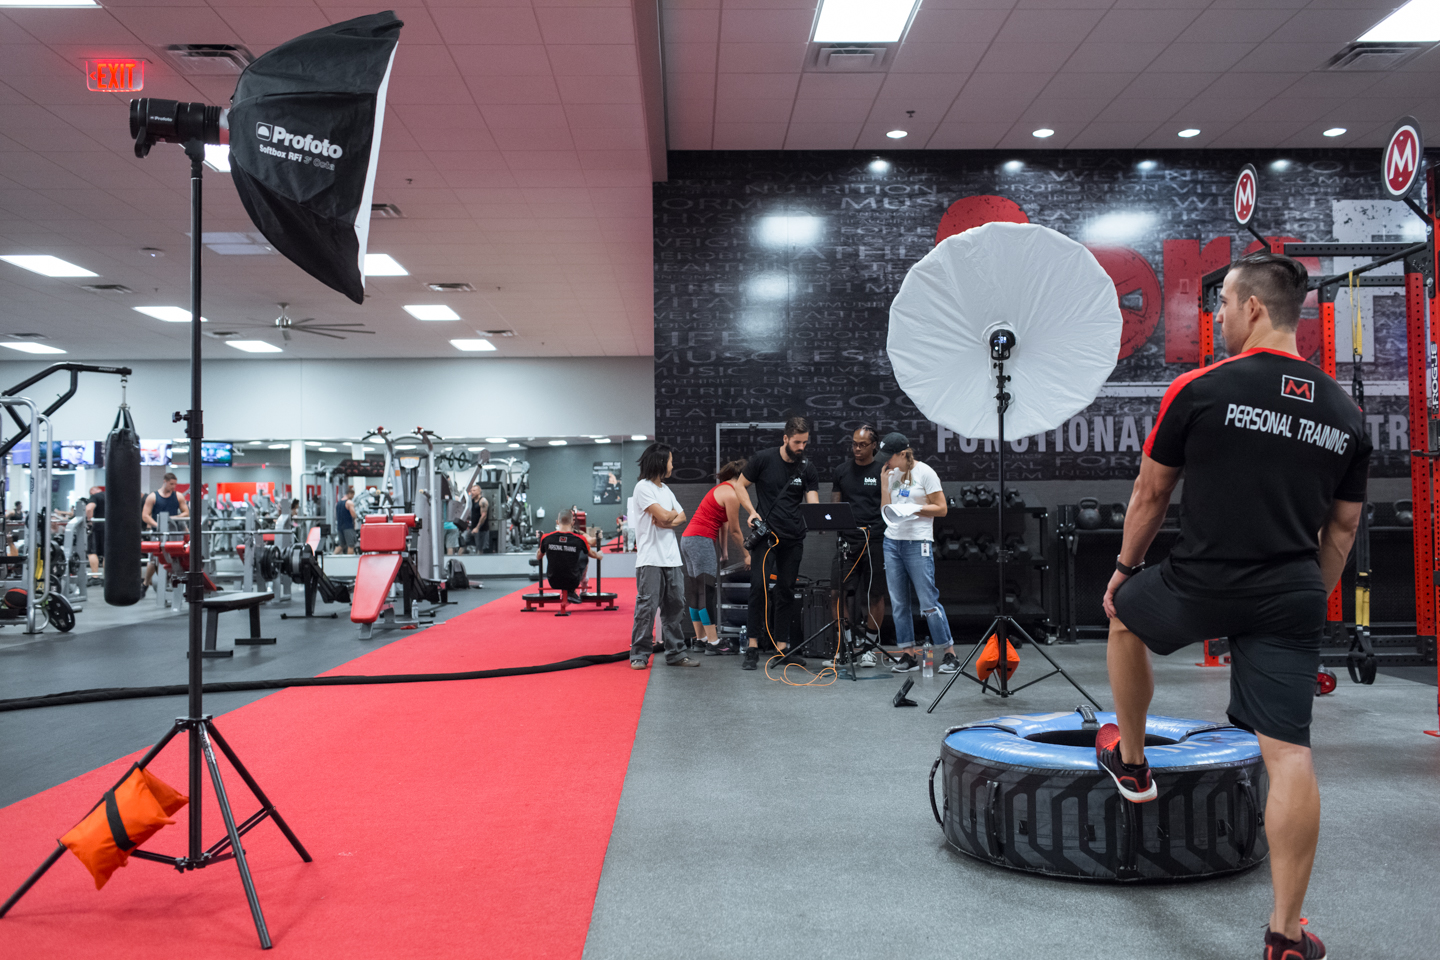
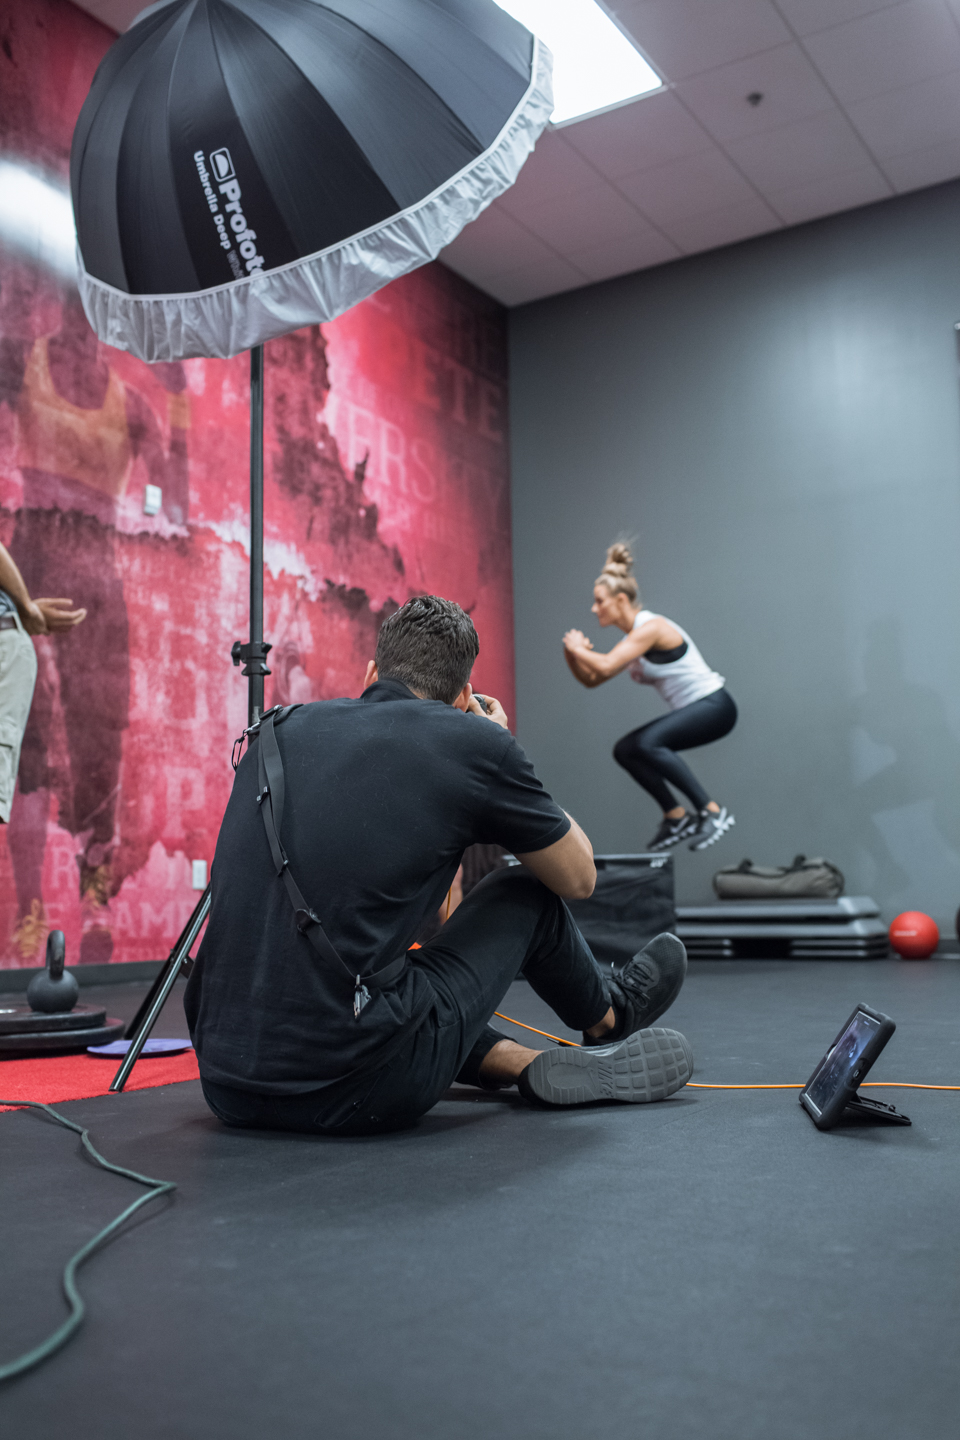
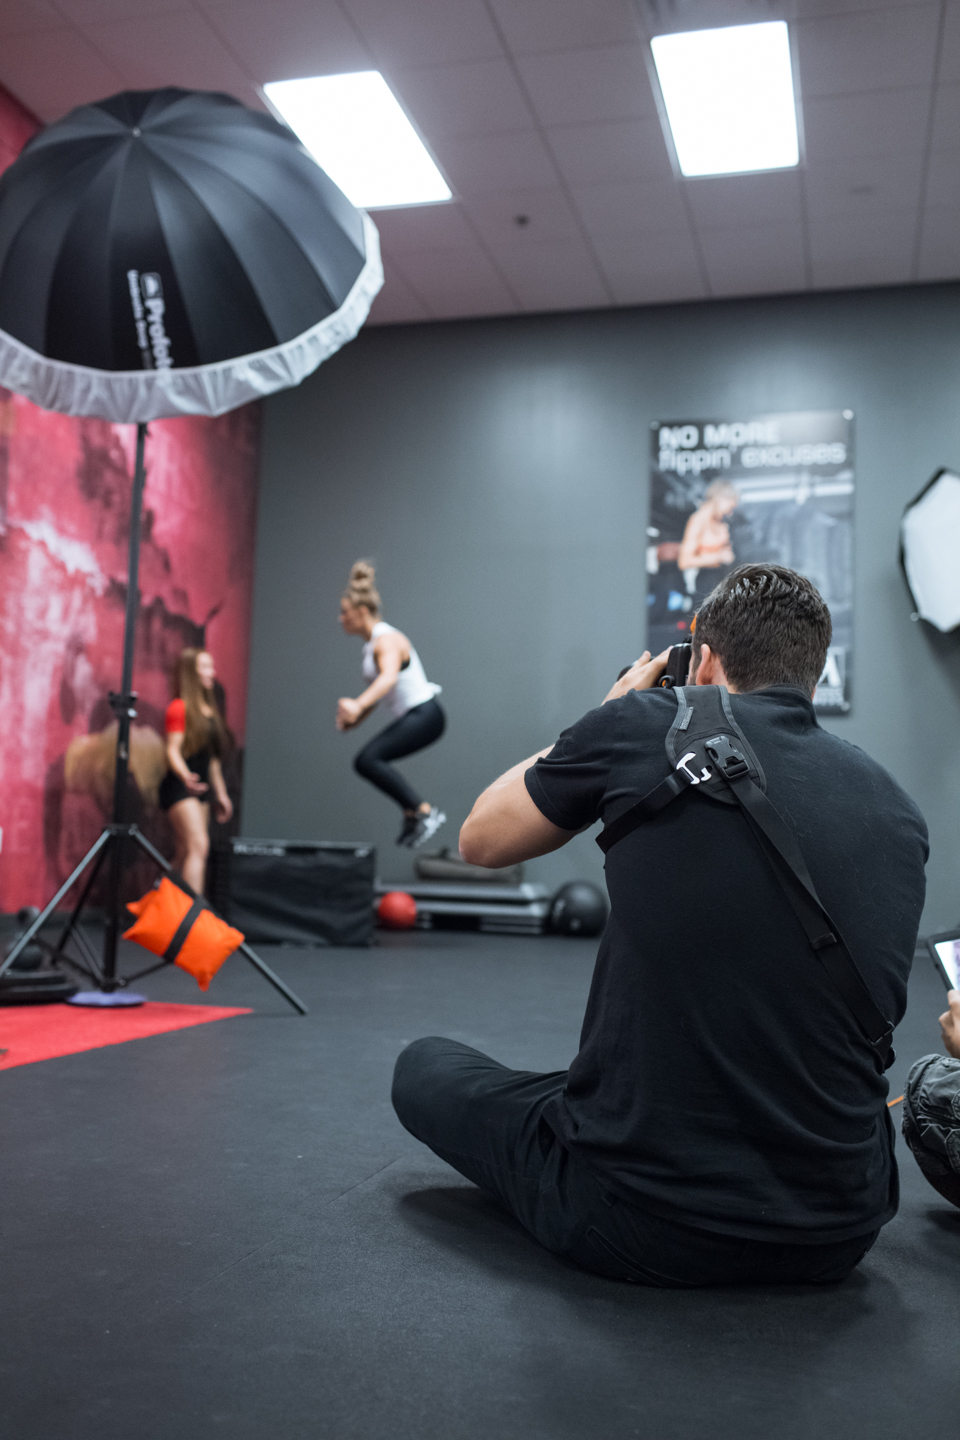
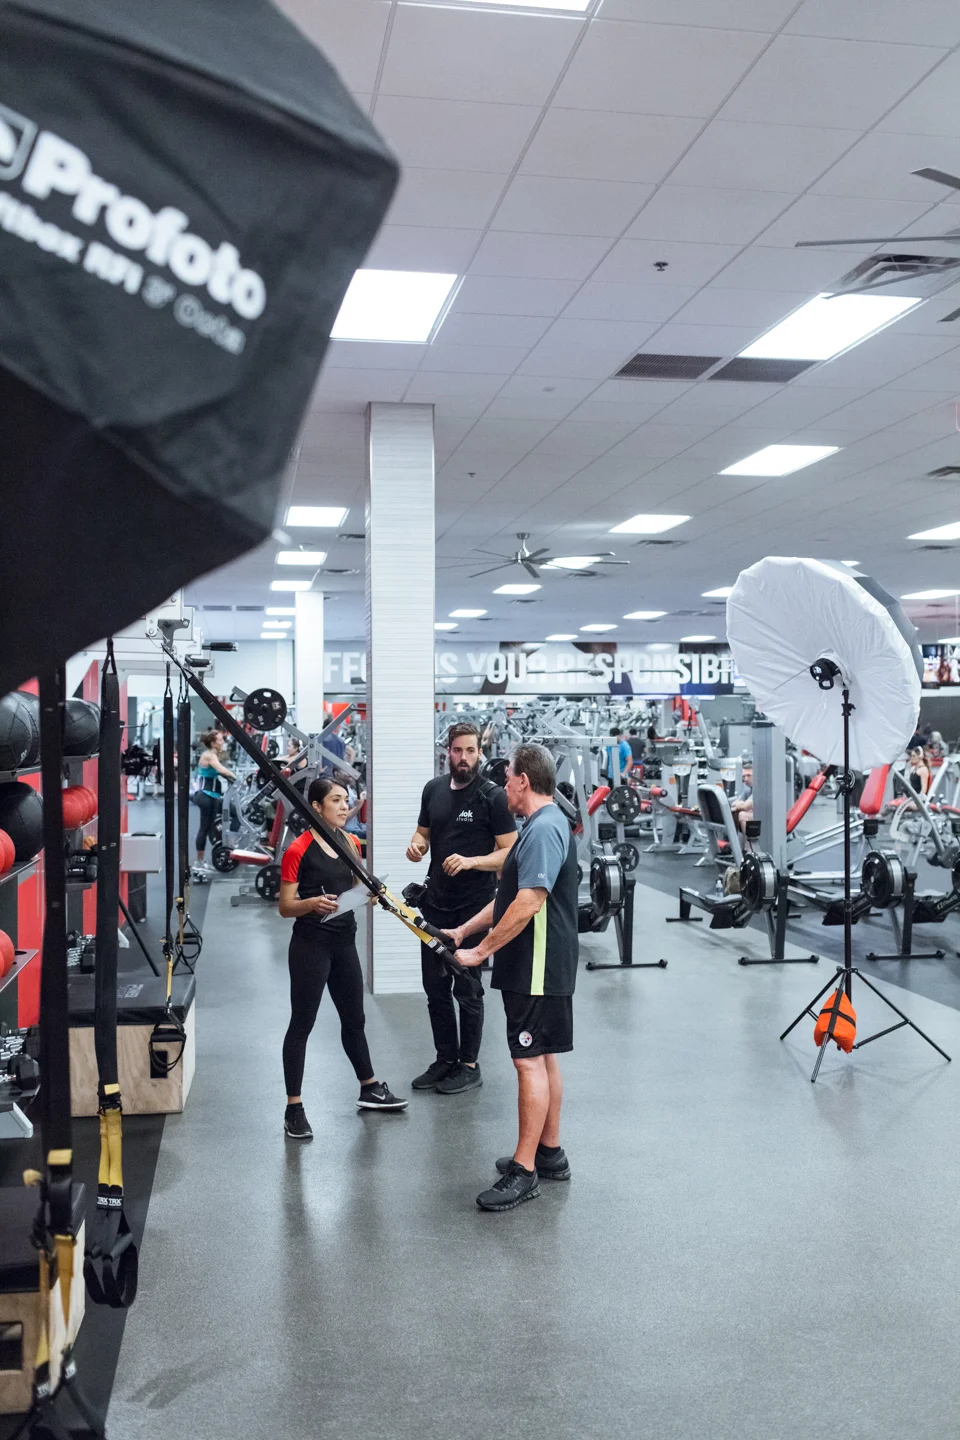
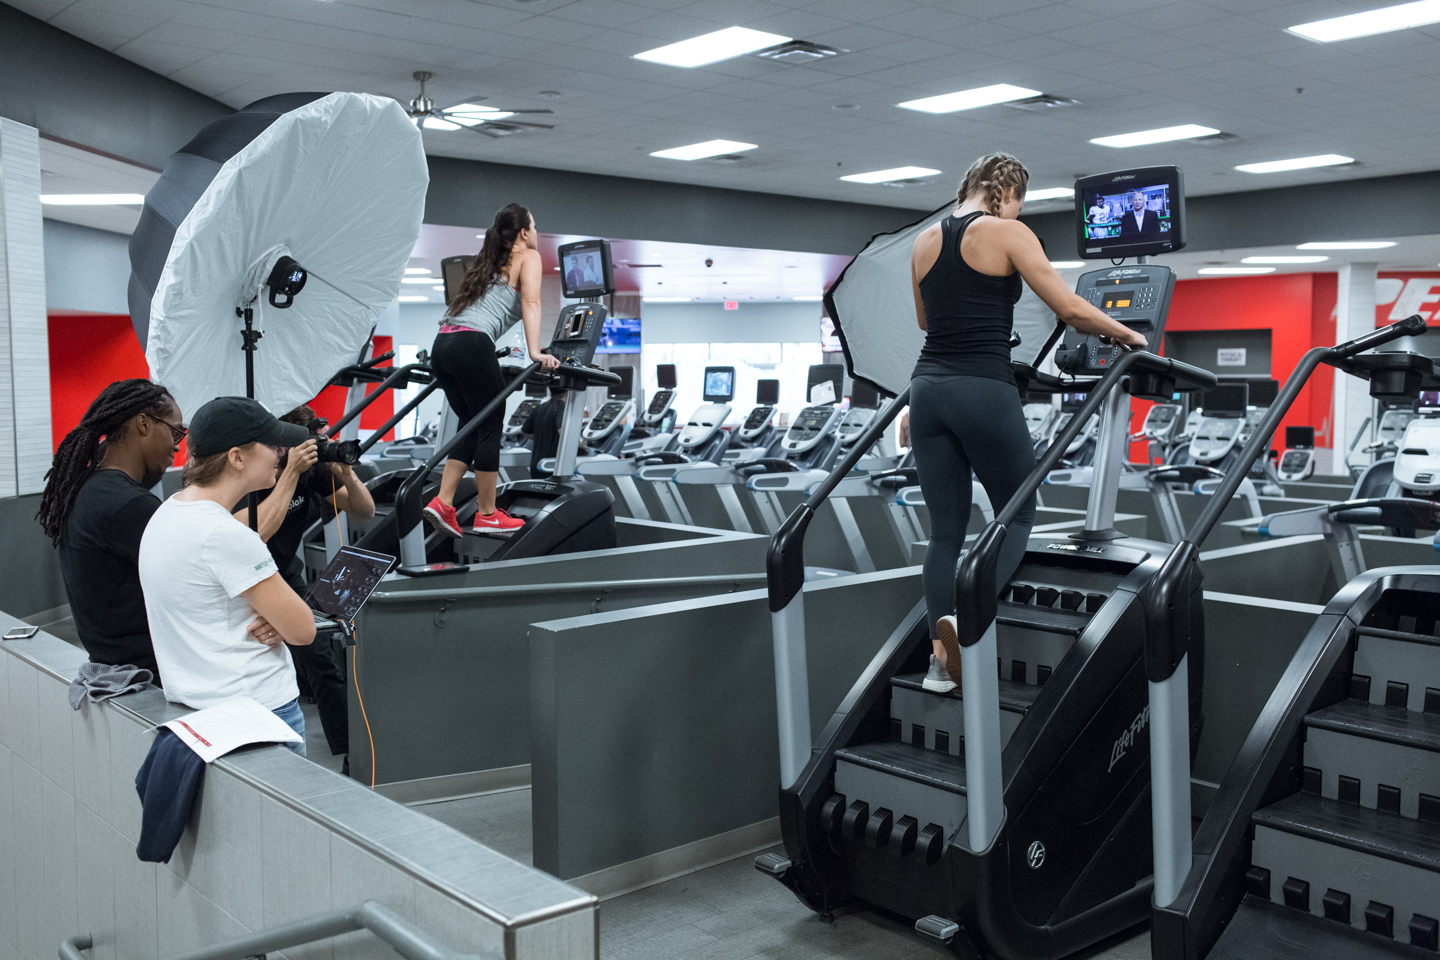
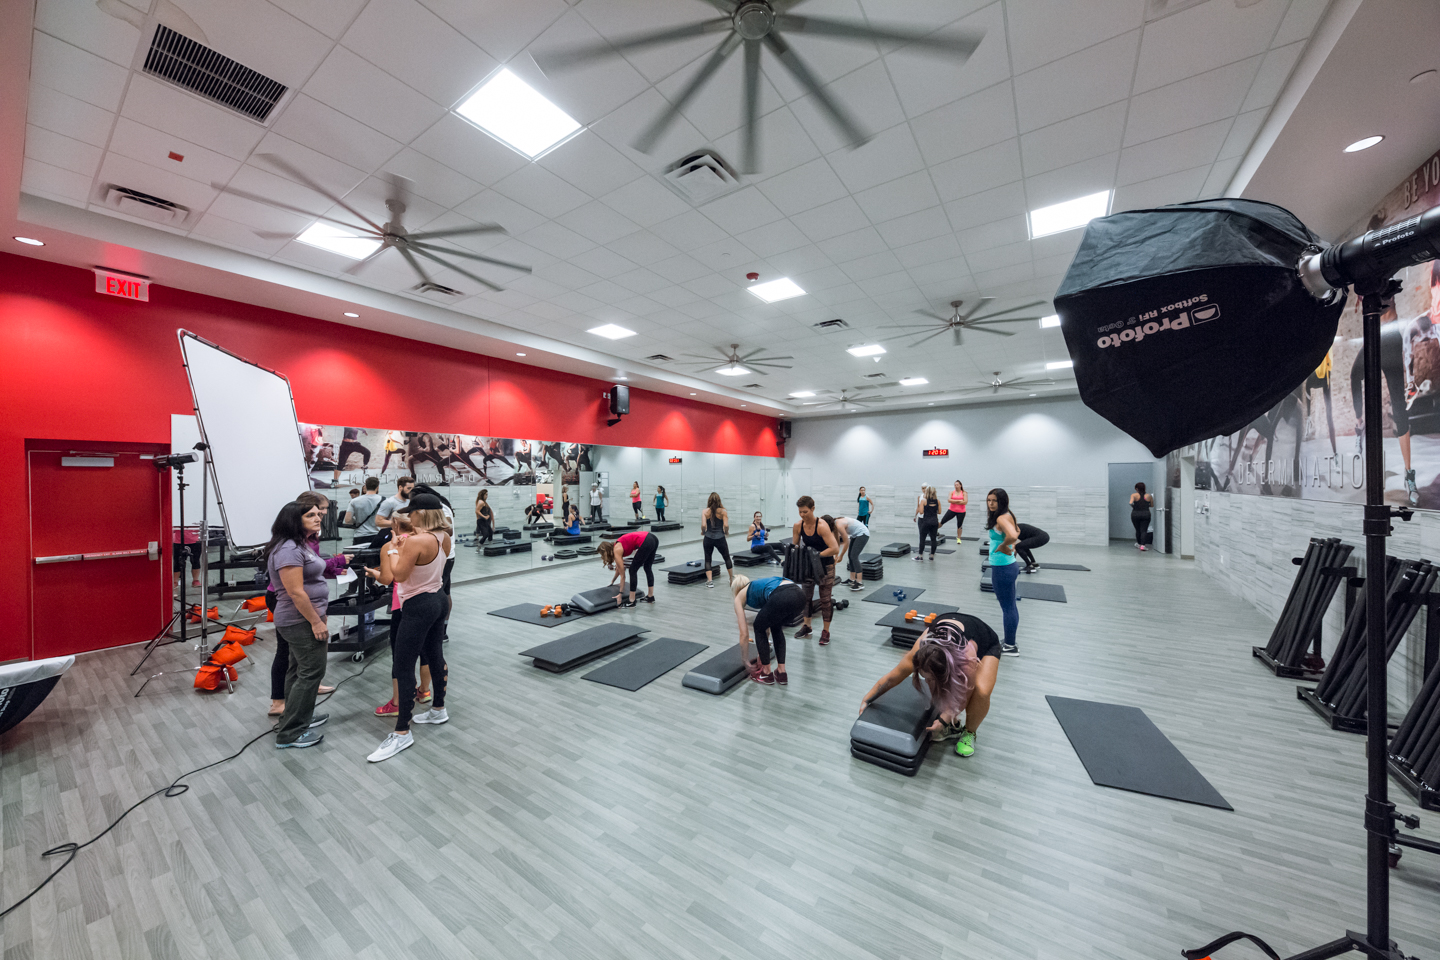
Mountainside Fitness Campaign
The Objective
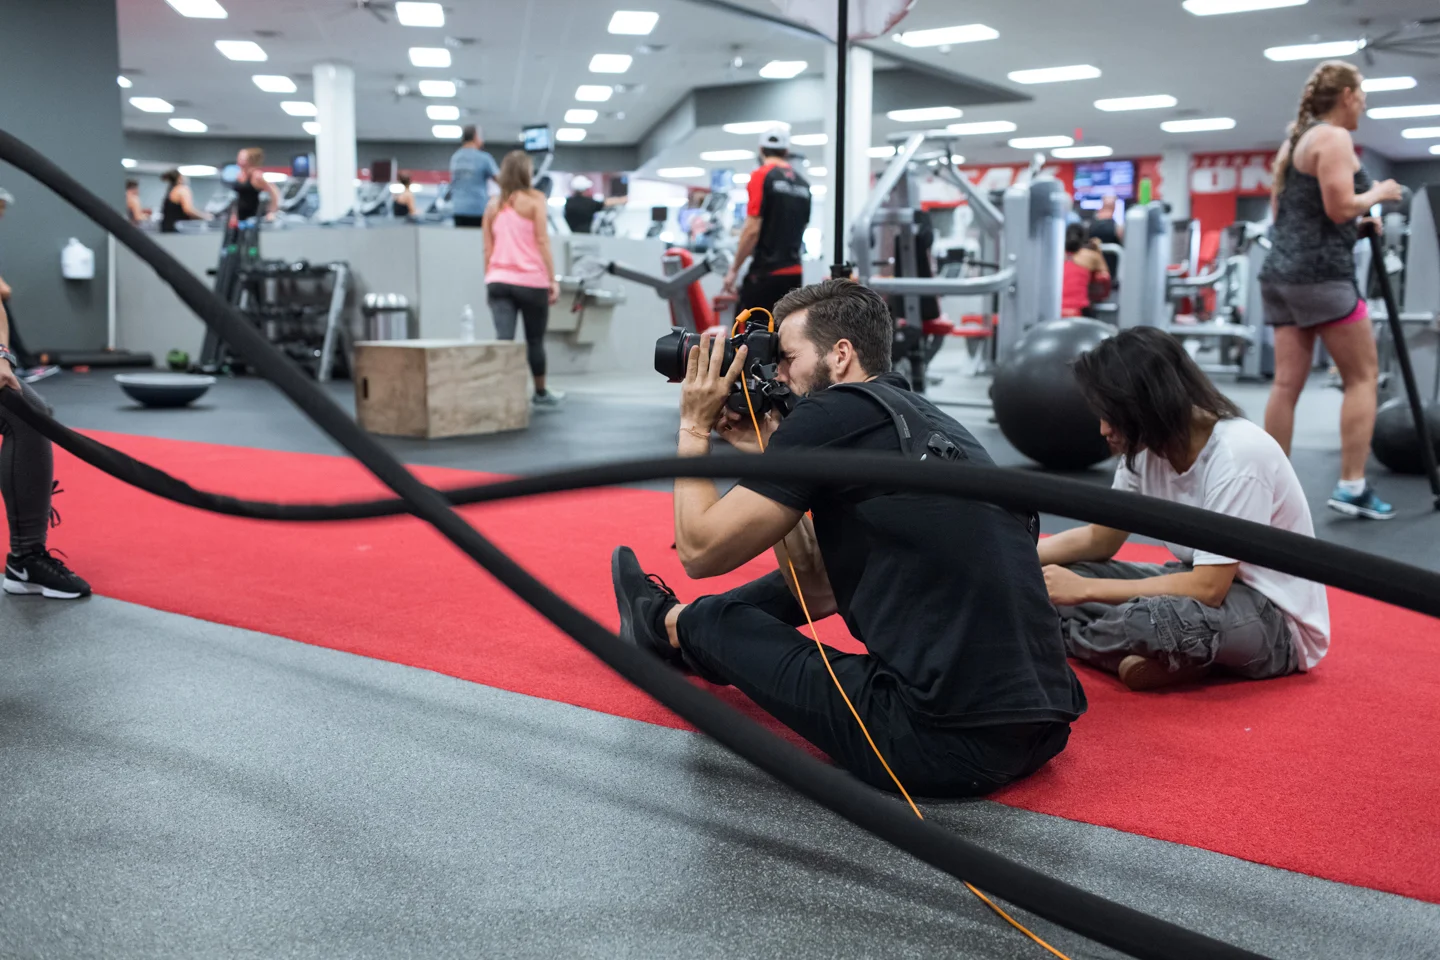
I was recently approached by Mountainside Fitness to shoot their new campaign. There demand was 26 looks, 150 images and a 7 day turnaround. They wanted the subjects to feel very relatable, so we used everyday people and Mountainside trainers. We chose not to go the typical overly lit gym style of photos. The feel of the shoot was to be very natural and what you would expect to see walking into any Mountainside location.
The Approach
The shoot was to take course over 2 days. This was necessary due to the high demand of content that we needed to produce. Having a strict itinerary was crucial to the success of a shoot like this. Day one was about the trainers, while day 2 was about the services. We had to capture about 75 images per day, and about 13 different looks. The gym was open to members so we had to take up as little of space as possible, this also meant timing the shots so we didn't have distractions in the background.
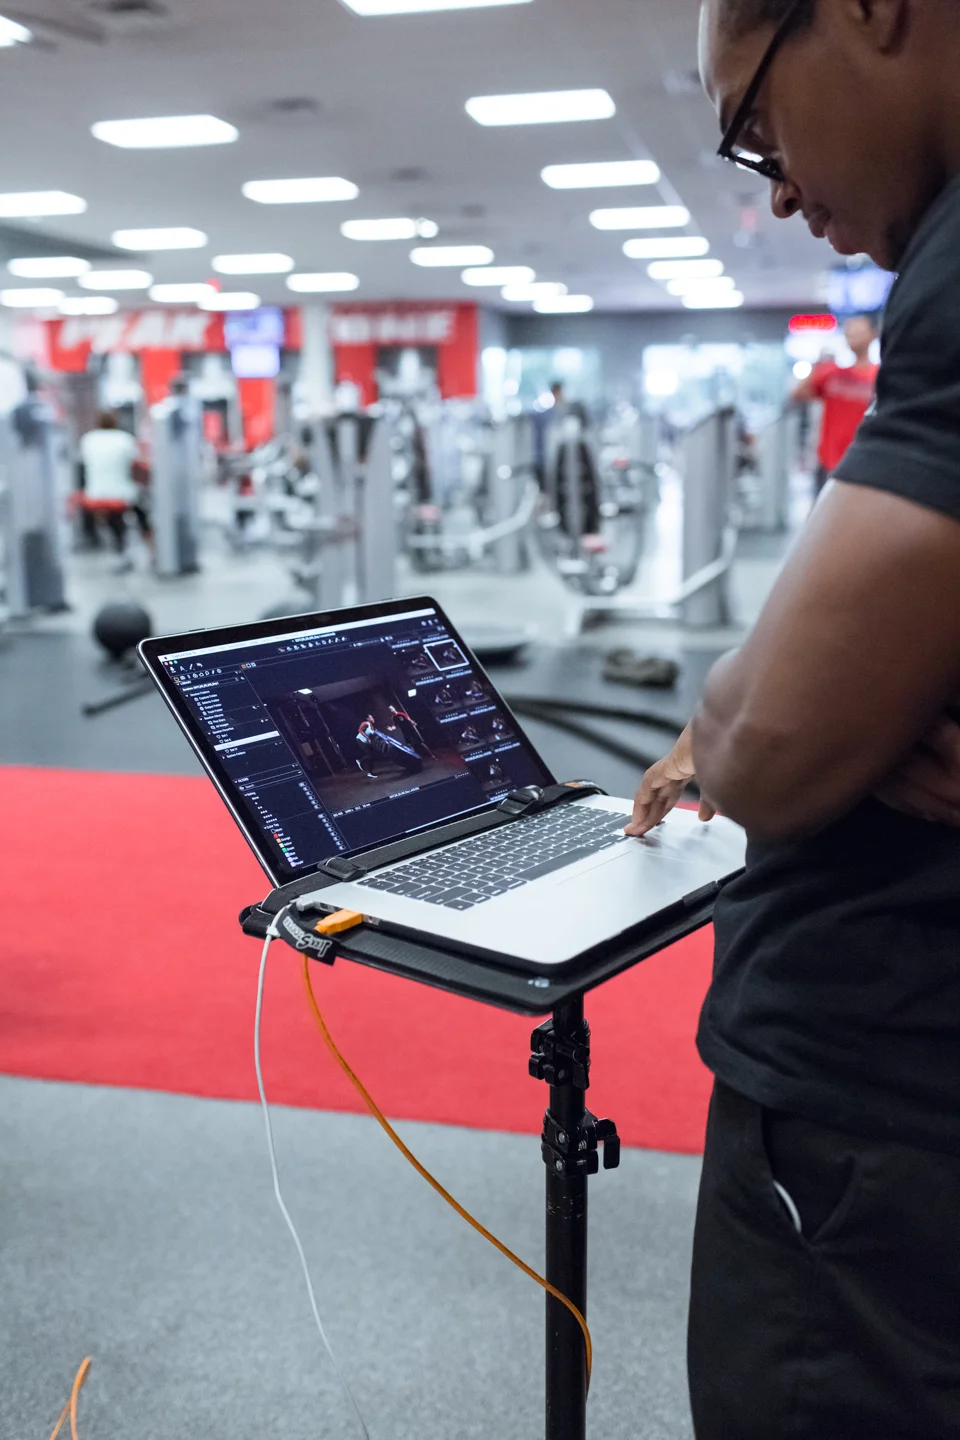
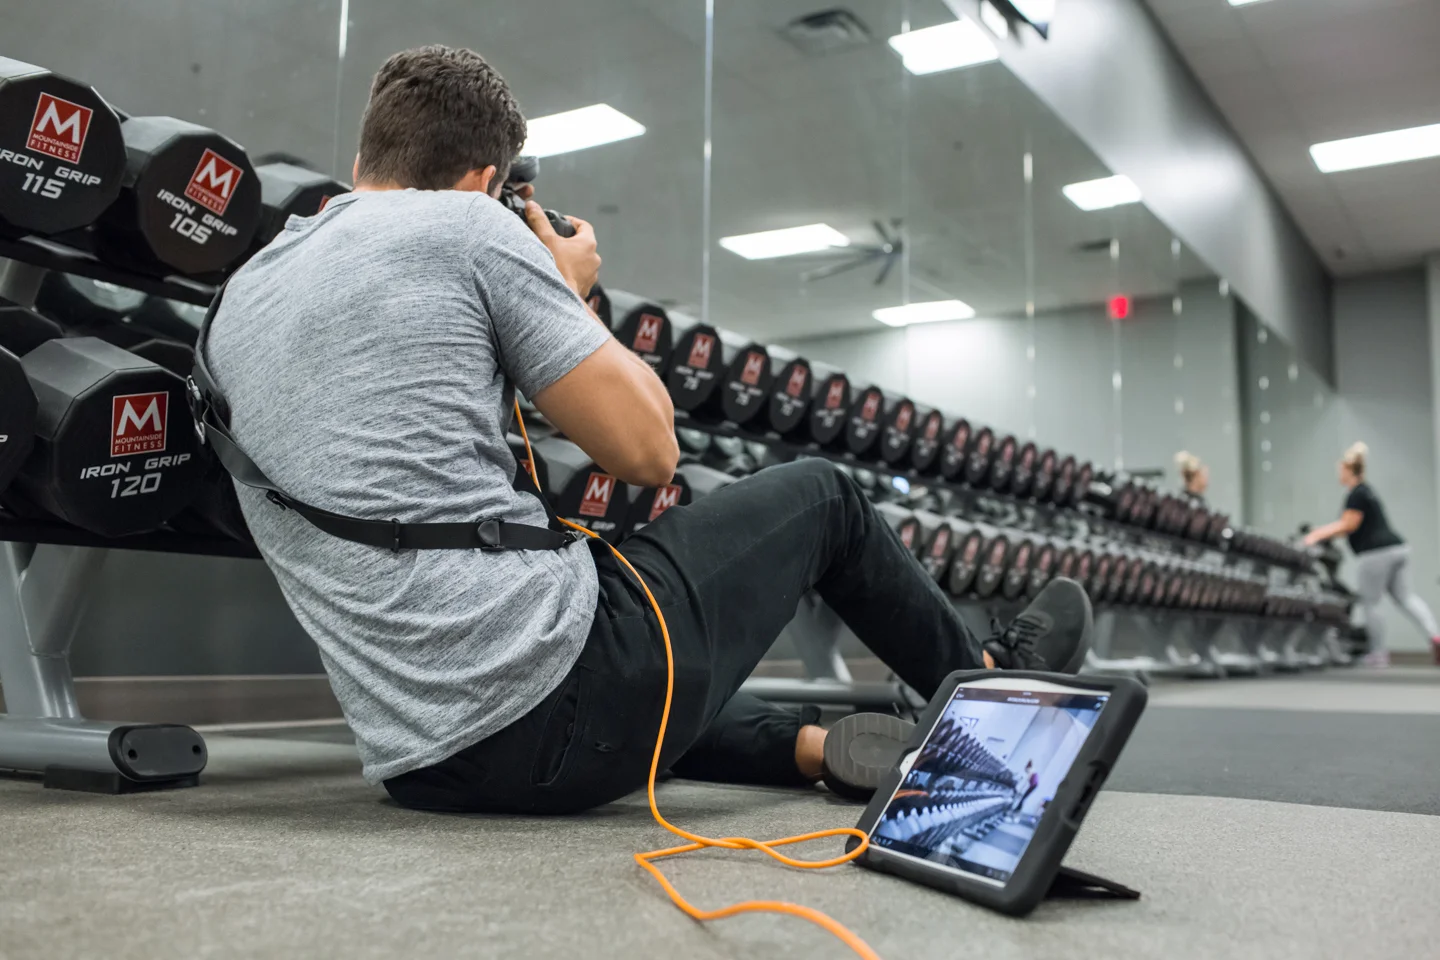
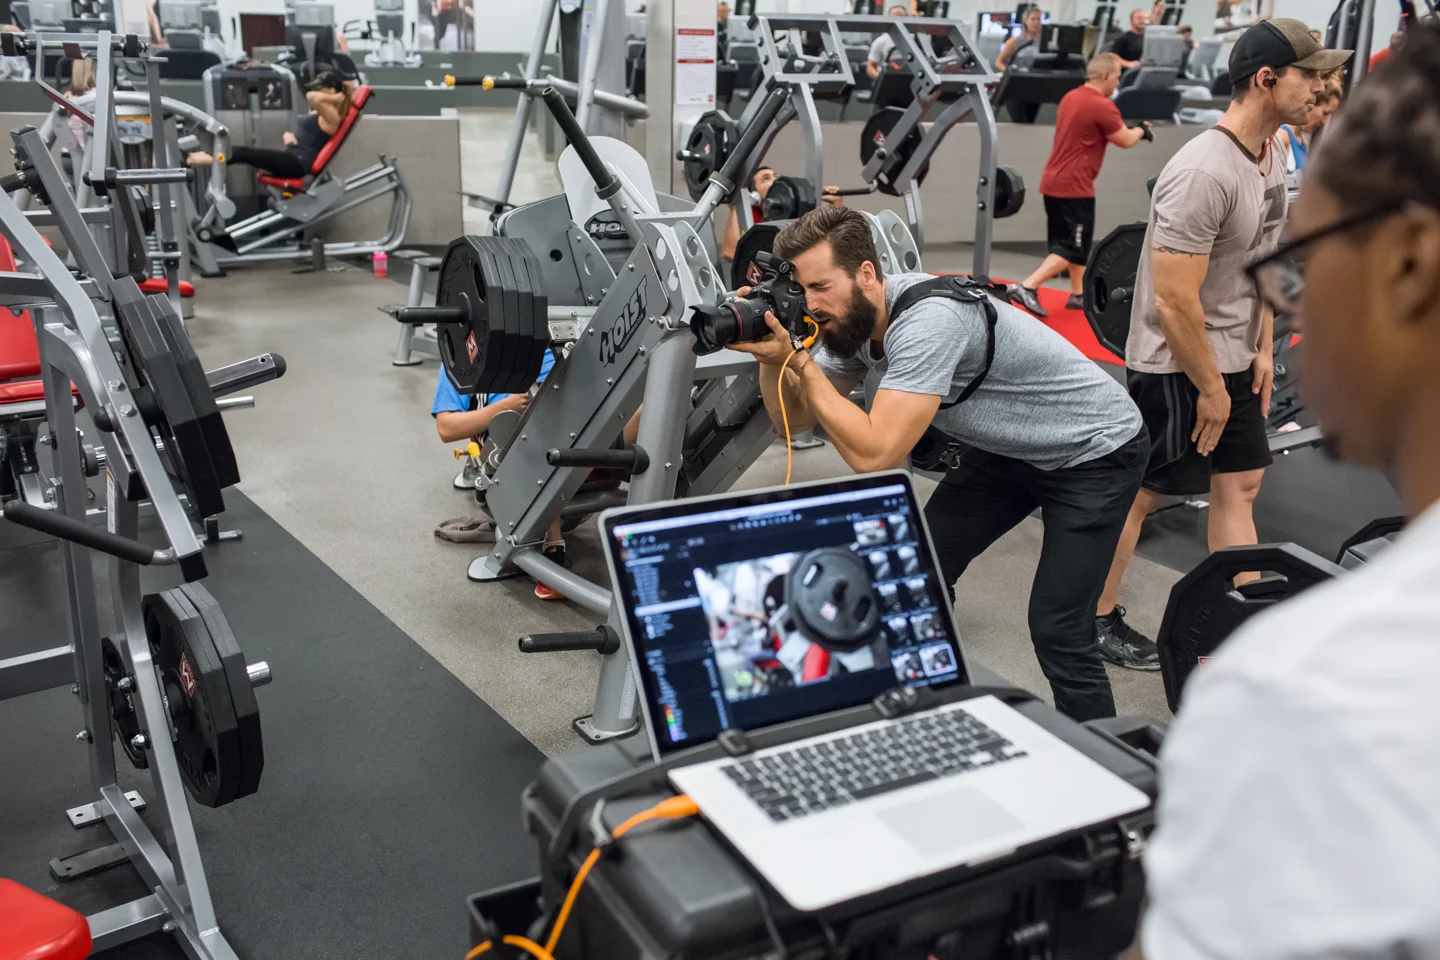
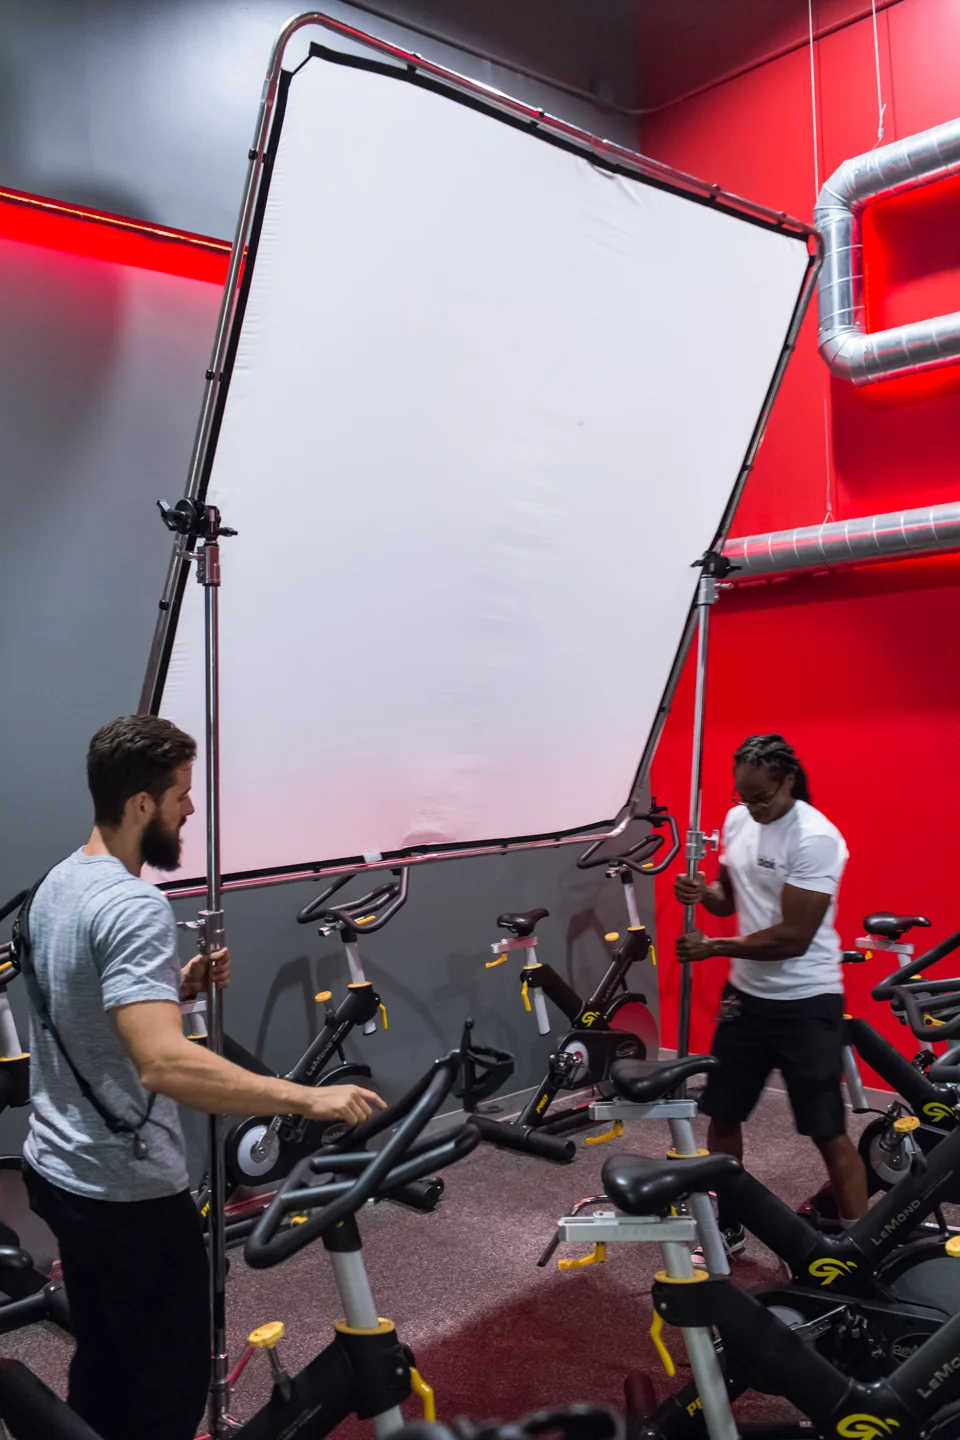
A lot of preplanning went into this shoot. I needed to make sure my team, gear, and direction was clear so we could all operate efficiently. My team was briefed of the shot list and itinerary so they knew what to expect. I also introduced myself and briefed each subject that stepped in front of my camera to ensure we were all on the same page. On average we only had about 30 minutes to set up lighting, get the shots we needed, and tear down to move onto the next look. I needed equipment that was portable and very quick to set up and move around. I couldn't run extension cords across the whole gym trying to find outlets or run the risk of members tripping on cords. For lighting I trusted the Profoto B1X's. Between the HSS, 9 stops of power, and them being cordless, they were the perfect light for the job. I used 2 lights for every shot, 1 key and 1 fill. I opted not to have a third light for a rim for any of the shots to avoid the typical gym look, although in hindsight I wish I had a third light to bounce off the ceiling to create more ambient light. I kept my tethering station small due to the space limitations. I tethered to my 15" Macbook which my digital tech ran. The Creative Director and my digital tech would view the images from the monitor while I viewed the images from my Ipad. This allowed us all to view the images at once and evaluate what changes needed to be made.
The Tools
Lighting - Profoto
Large Deep White Umbrella W/ Diffuser
Tethering - Tether tools
Camera Strap - BlackRapid
Gear Bags - Think Tank
Savage
Lastolite
Grip Equipment - Impact
Rock n roller cart
Camera Gear


The Team
Digital tech - Matt
Having a digital tech is crucial for commercial shoots. I rely on him to check focus, highlights and relay info to me and the art director.
1st Assistant- Travis
I rely on my 1st assistant to set up lights and be my go to person.
2nd Assistant- Khoa
Having a 2nd assistant can be a huge benefit for larger shoots to help everyone else with their jobs.
The Results
Each scene is paired with a BTS


Lessons Learned
CTO gels -
I wish I would have used CTO gels to better balance the strobes with the available light. I also could have then made the background a cooler temperature instead of having to do that in post.
A 3rd light -
I should have brought a 3rd B1X to bounce off the ceiling to create a little more fill light for the scene.
Silver umbrella -
For the outside shots of the owner Tom I wish I brought a silver umbrella. Shooting outside in Arizona means battling a very powerful sun. The white umbrella was not as bright as I needed it to be.I had my B1X at full power and it was about 1 stop under what I needed it to be, a silver umbrella would have solved this.
Feel free to ask any questions you may have.
Whats In My Bag?
Whats in my bag?
As of right now I shoot a lot of fashion, commercial, and portraiture, but I periodically will get into action sports, fitness, landscapes, and weddings. I enjoy any excuse to have a camera in my hand. I have a hard time shooting just one type of subject, which is why my portfolio is all over the place. Because of the variety of genres I shoot I need to have gear that will be accommodating to my diverse portfolio. I try to keep a rather minimal amount of gear and I usually don’t keep gear for very long, but for now this is what’s in my bag.
I have a Canon 5D mk iii, This camera is a workhorse, I need a body that can keep up with the diverse amount of work I do, and the mk iii never lets me down.
For lenses I have:
The Canon 24-70mm f2.8 vii which I use for most my work. There is a reason this is one of Canon’s most popular lenses.
The Canon 70-200mm f2.8, I use this for sports and anytime I need a longer focal length. I think these lenses are almost indestructible, the weather sealing on these are amazing, They have gone through rain and storms and still work flawlessly.
My favorite lens, not only in focal length but also in sharpness, is the Sigma 50mm f/1.4 Art. This was the only lens that I felt brought the best resolution out of the 5Ds when I owned it.
The Sigma 12-24mm f4 Art, this thing really is a piece of art. Having a zero distortion from 12-24mm is truly beautiful. This lens is awesome for landscapes and tight spaces.
And last the Sigma 20mm f1.4 Art, the best for night and low light conditions.
For my strobed work I have two Canon 600EX-RT’s and two Yongnuo YN-600 EX-RT’s. I like these because they’re very small and portable and with the four of them I have enough power for any work that I do.
To trigger them I use a Canon ST-E3-RT. For modifiers I have a 5 in 1 43inch reflector (which I use a lot!), four Wescott 43-inch Apollo orbs with the grids, and an 81-inch PLM umbrella.
I also have to often rent gear for shoots. My go to lights are Profoto B1’s, with a variety or Profoto modifiers. These lights are truly some of the best in the industry.
But I am a firm believer that gear doesn’t make great images, having vision does.
Gear Pictured
This is a breakdown of all the gear I own and use.
Canon 5d mk iii.
This is my workhorse, although I will be jumping to the mk iv in the future. My first DSLR was Canon so I have just continued to buy into the brand. The Canon vs Nikon debate for most cases is rather arbitrary.
Minolta x-370 35mm. This is my father's camera and the camera I learned on.
Instax mini 8. Love this thing for memories.
Case of film
Vello Battery grip. I actually mainly use these to prevent the bottom of the camera from getting all scratched up, makes it much easier for resale.
Memory Cards: (4) PNY Technologies 128gb
Lenses:
Canon- 24-70mm f2.8 v ii, 70-200mm f2.8.
Sigma- 12-24mm f4 Art, 20mm f1.4 Art, 50mm f1.4 Art
Macro tube: Fotodiox Pro 31mm. Great for wedding ring shots without investing into a macro lens.
Filters: Bower 8 stop Variable ND, Tiffen circular polarizer. Love these for landscapes.
Tripod: Slik Pro 340DX. This has been my go to tripod for several years now. Its very durable, small enough to travel with and also extends tall enough for a lot of commercial use.
Camera Strap: BlackRapid sport breath. My favorite strap on the market. From commercial work, weddings to hiking in Iceland this thing is awesome.
Bags:
Think Tank airport security V3.0. The amount of gear this bag holds is sort of ridiculous, almost everything pictured fits in this bag.
Mindshift rotation 180 horizon 34L. This is by far one of the coolest camera outdoor backpacks I have used. Being able to access gear without taking the pack off is a game changer.
Lighting:
I love speedlites. They are cheap, and portable. But when I need more power I rent the Profoto B1’s.
(2) Canon 600ex-rt speedlites. Love the HSS these offer.
(2) Yongnuo 600ex-rt speedlites. They definitely are not as durable as the Canon’s but being a fraction of the price for the same system is definitely worth it.
Canon ST-E3-RT transmitter. I think one of the best things you can do if you use strobes is to use a system where you can control your strobes power on your commander.
Lighting accessories:
MagMod magsphere, MagMod gels and grids. This company changed my workflow. I love how fast and simply it is to add gels and grids.
(2) Impact Turtlebase C-stands (not pictured) various Impact stands. These things are durable and super quick to set up with the quick release system. Invest in heavy duty light stands. I promise it is always worth it.
Lastolite 6x6 scrim. This is my absolutely favorite modifier. I use this on almost every shoot, whether it's studio or on location.
Westscott- (4) 43 inch apollo orb, apollo orb grid. These have been the best speedlite octoboxes I have found.
Impact 4 speedlite holder. Definitely need this when shooting outside and need to combine the speedlites for more power.
Savage paper- various rolls. The various colors and sizes Savage offers make them an industry standard for portraits.
Hand painted canvas. Love this for portraits.
Cinegel speedlite gels. Best 3 dollars I have ever spent.
Accessories:
PearlStone (now Vello) Shutterboss ii intervalometer. Great for star trails and long exposures.
Rayovac headlamp.
Bag of Duracell rechargeable batteries.
Bag of lens cloths.
(2)Led flashlights.
(2) Multitools.
Pocket knife.
Allen wrench.
Sierra Nevada chapstick.
(2) Impact clamps
JBL Charge 3 speaker. This little speaker is pretty loud and portable, I always have it on my shoots.
Not Pictured
Neewer 43 inch 5 in 1 reflector
81 inch PLM umbrella
If you enjoyed checking out whats in my bag make sure to go over to ShotKit to see what's in the bag of some of the worlds best photographers.
Also thanks to Chris Lambeth for taking these shots.
Guide to Using Strobes Outside
This is a small briefing on using strobes outside. If you have specific questions please email me.
Find your background.
Look where the sun is coming from and find a background that will help tell your story.
For me the background is most important, it's the reason we are outside. I generally try to find as much shade as I can. I don't like using the sun If I don’t have to, it usually does not match the look I am going for. But if you have to shoot in the sun try to have the side of your subject that you are shooting in complete shade. If there is no provided shade, have your subject in between you and the sun and shoot on the same side as their shadow. This puts you into the fully shaded side of the subject that you're shooting.
Tip- Watch for light that wraps around and hits things like the nose. It's ok for the sun to act as a rim light on your subjects face but you generally don’t want any little sun spots from being sloppy with light.
All images below a strobe was used to fill in the shadow side of the subject while the sun rim lighted them.

Ignore the strobe.
Remember to ignore the strobe at first. Focus on the ambient light. After you have your background picked out and you're shooting into the shaded side of your subject, you will want to expose for your background, not your subject. Unless you have a ND filter, or high speed sync your aperture will control your background exposure the most. Your ISO and shutter speed will play a bigger role in balancing out your exposure when you're shooting in the evening or in darker situations, but not on bright sunny days.
Exposure your subject.
After you have your camera settings set from exposing for the ambient light you can grab your strobe. Now use your strobe to properly expose your subject. You will have to adjust the power of your strobe, not your camera settings if you want to adjust the exposure on your subject and don’t want the exposure of the background to change.
Light placement is hugely related to the look and story I am going for, but for a lot of set ups I try to place my light 45 degrees away from where I am shooting to give the subject a little shape. Remember since you're shooting on the subjects shaded side, or are in shade your subject will be flat. The point of the strobe is to give them dimension. Create shape with the shadows. If your shadows are too dark then your strobe is probably too powerful. If the light is to straight on then the subject tends to look a little flat. I also try to place the strobe on the side the sun seems to be more prevalent on, this way it seems more natural to have the artificial light in your scene. Matching the sun's light direction can make a huge difference in the look of your image.
In all the images below a light was placed between 45 to 90 degrees away from the camera. All images a single strobe was used in complete shade.


Light Modifiers
A smaller harsher light modifier will allow for more light to travel to your subject. This can be helpful if you need the most amount of power you can get out of your strobe. The larger the light modifier the softer the light will be but the less power you will have reaching your subject.
The closer the modifier is to your subject the more power you will get as well, but if you are shooting full body the closer the modifier will result in a less even spread of light.
I try to match my modifiers with the type of ambient light. If it’s a cloudy day with soft light, I will be more likely to use a softer modifier. If it’s a harsh sunny day I will be more willing to use harder modifiers, although generally I am not a fan of using any small harsh modifiers.
A perk of smaller modifiers is they are much less likely to catch wind and hurl your light into the ground.
2 lights were used in all images below, 1 as a key, and the other as a rim to replicate the sun.

Tips
Aim the light to the subject's head or chest. This will give the most natural look and will give the right amount of light fall off around the subjects feet(if shooting full body). If the light is aimed too far down there will be a lot of light spill on the ground and will look like sloppy lighting. You can also shoot from a lower point of view so you don’t see the light spill on the ground as much.
Try to balance the artificial and ambient light. You want the strobe to look as natural as possible. A lot of people tend to use the strobe to prominently, it should be blend seamlessly into your scene.
When you backlight your subject, your background will usually be backlit too. Sometimes this is not a great look, the background becomes darker, less rich in color, and has no shape. There is a way to shoot where the background is in direct sunlight but your subject isn't. Create your own shade. You can use your light modifier to create shade for you subject. You will need a bigger modifier to do this, or multiple lights, or a scrim. This can create some great looks.
The only times I use 2 or more lights is if I need more power, need a 2nd light as a fill, or using a 2nd light to recreate the sun.
Lens choice is much more dramatic when shooting outdoors vs in the studio.
I tend shoot between 24-70mm. But the wider you shoot the more you have to be conscious of your background, light stand, and light fall off.
Buy sandbags, lots of them, heavy ones too! Spend the extra 50 dollars for several sandbags to save your strobe that costs thousands.
Heavy duty light stands are recommended as well.
For this image I had the model directly facing the sun. I then used a 6x6' Lastolite scrim to diffuse the sunlight. The light on her was pretty flat then and she was much darker then the background so I used 2 Canon 600EX-RT speedlites in a 43 inch Westcott Apollo Orb to bring her to a proper exposure.
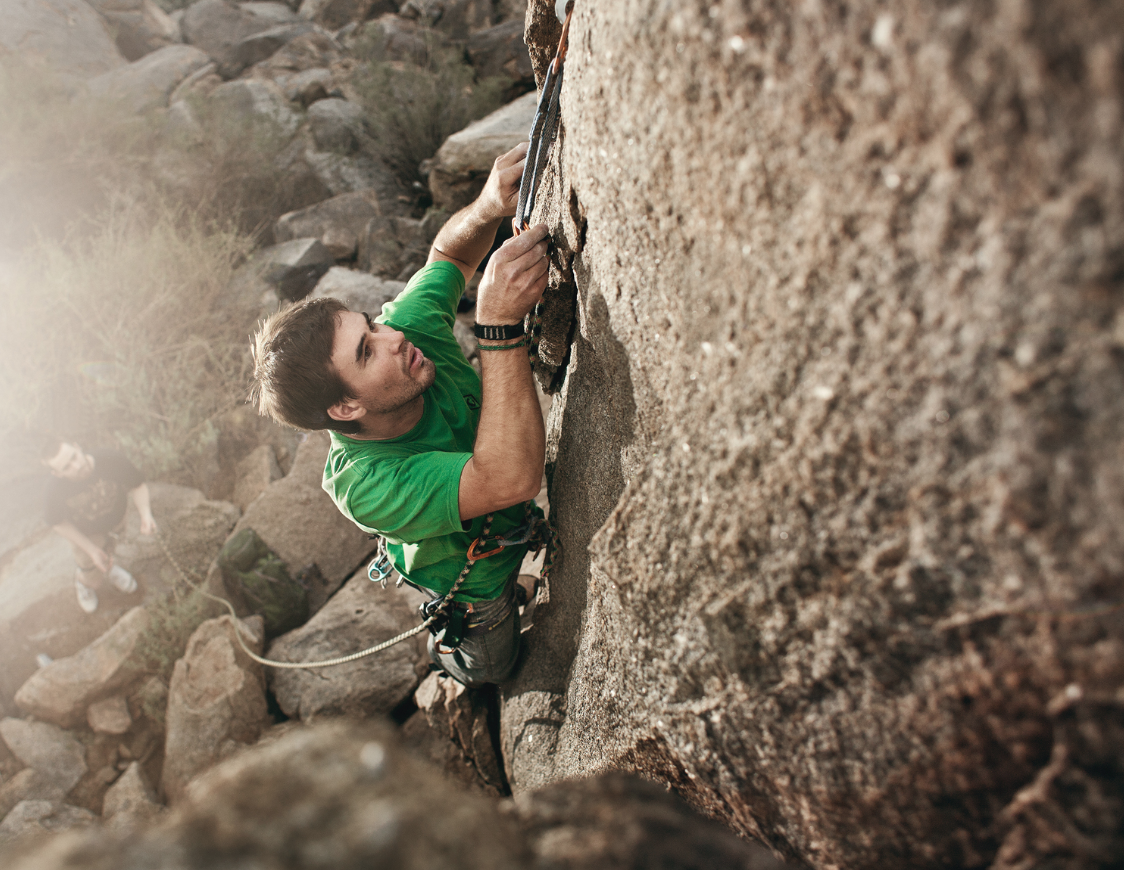
For this shot I wanted to recreate the sun. The climber was in complete shade and was a little flat for my taste. I used a Canon 600EX-RT speedlite with no modifier directky behind him as a rim light.
Gear Used in all photos.
- Canon 5D Mk iii
- Canon 5Ds
- Canon 5D
- Canon 6D
- Canon 580EX with Pocket wizards
- Canon 600EX-RT with St-E3-RT
- Westcott 43'' Apollo Orb octobox
- Canon 24-70mm f2.8 v ii
- Canon 70-200mm f2.8
- Canon 85mm f1.8
- Canon 35mm f1.4
- Sigma Art 50mm f1.4
- ND filter
The Most Under Rated Light Modifier
This week I wanted to talk about a piece of gear that completely changed the way I shoot. This is by far one of the most versatile pieces of equipment I've ever owned. It has transformed the way I approach studio and location shooting, and the best part is that its under 400 dollars.
The Scrim.
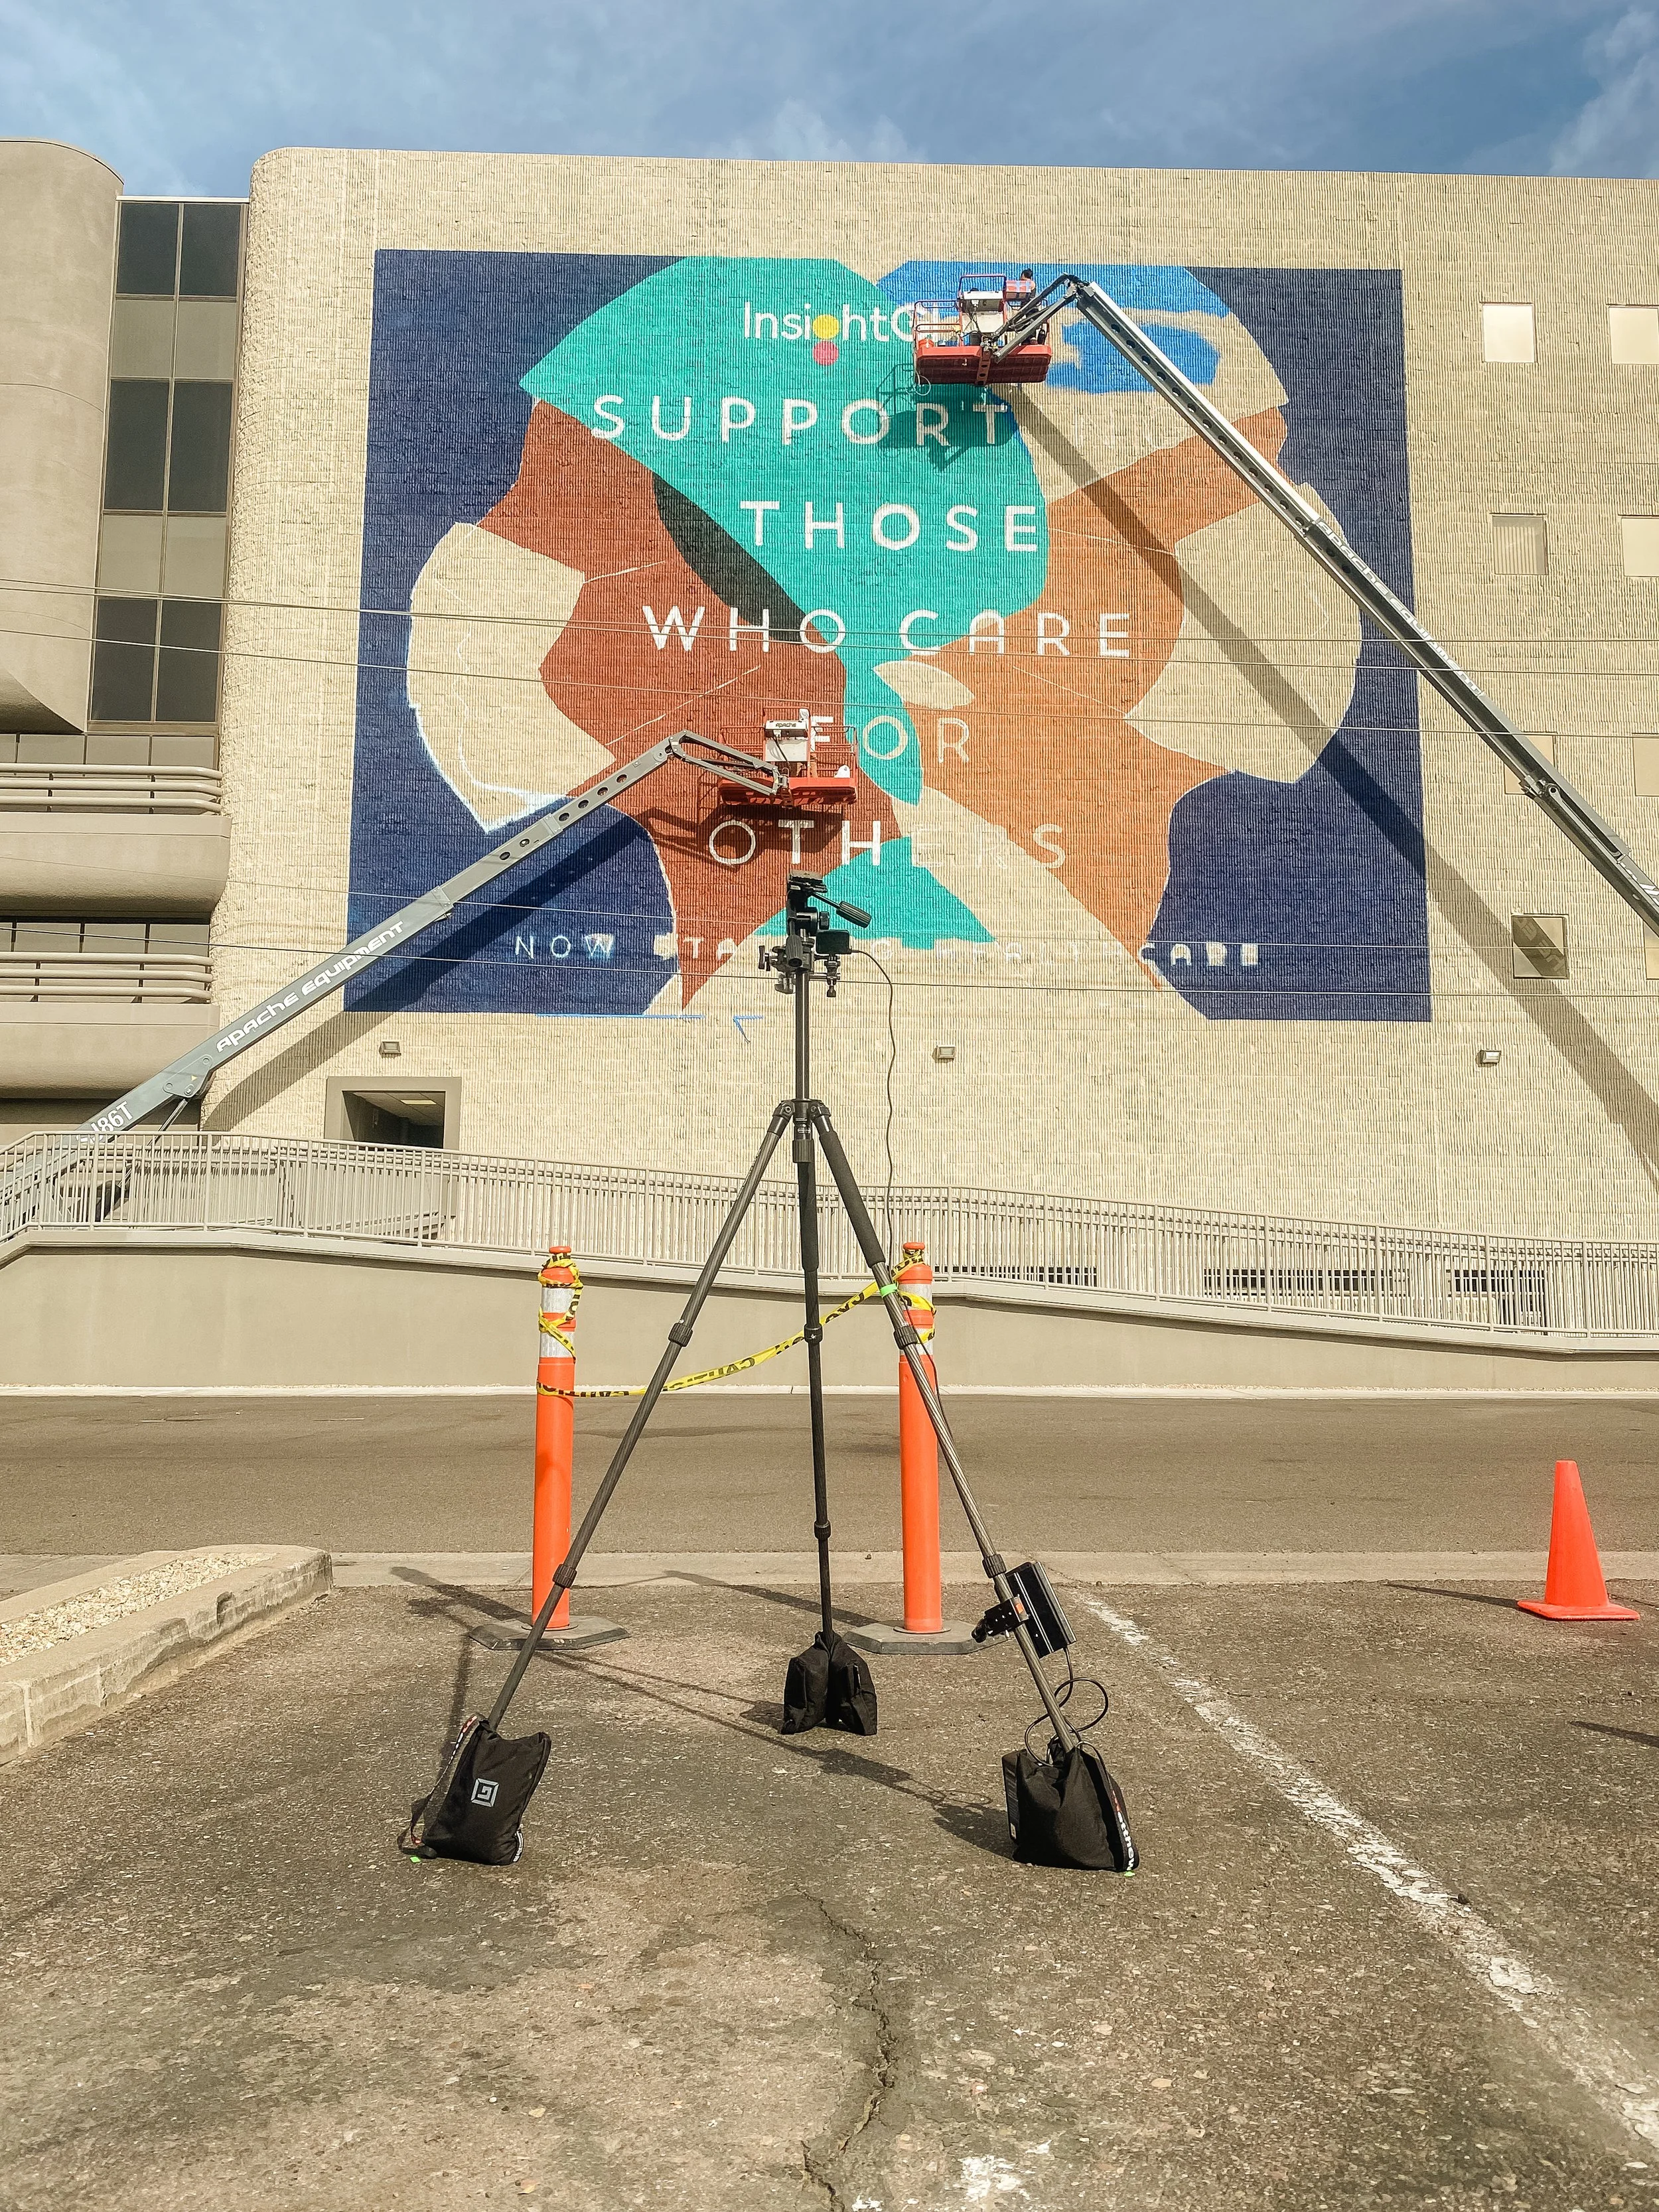
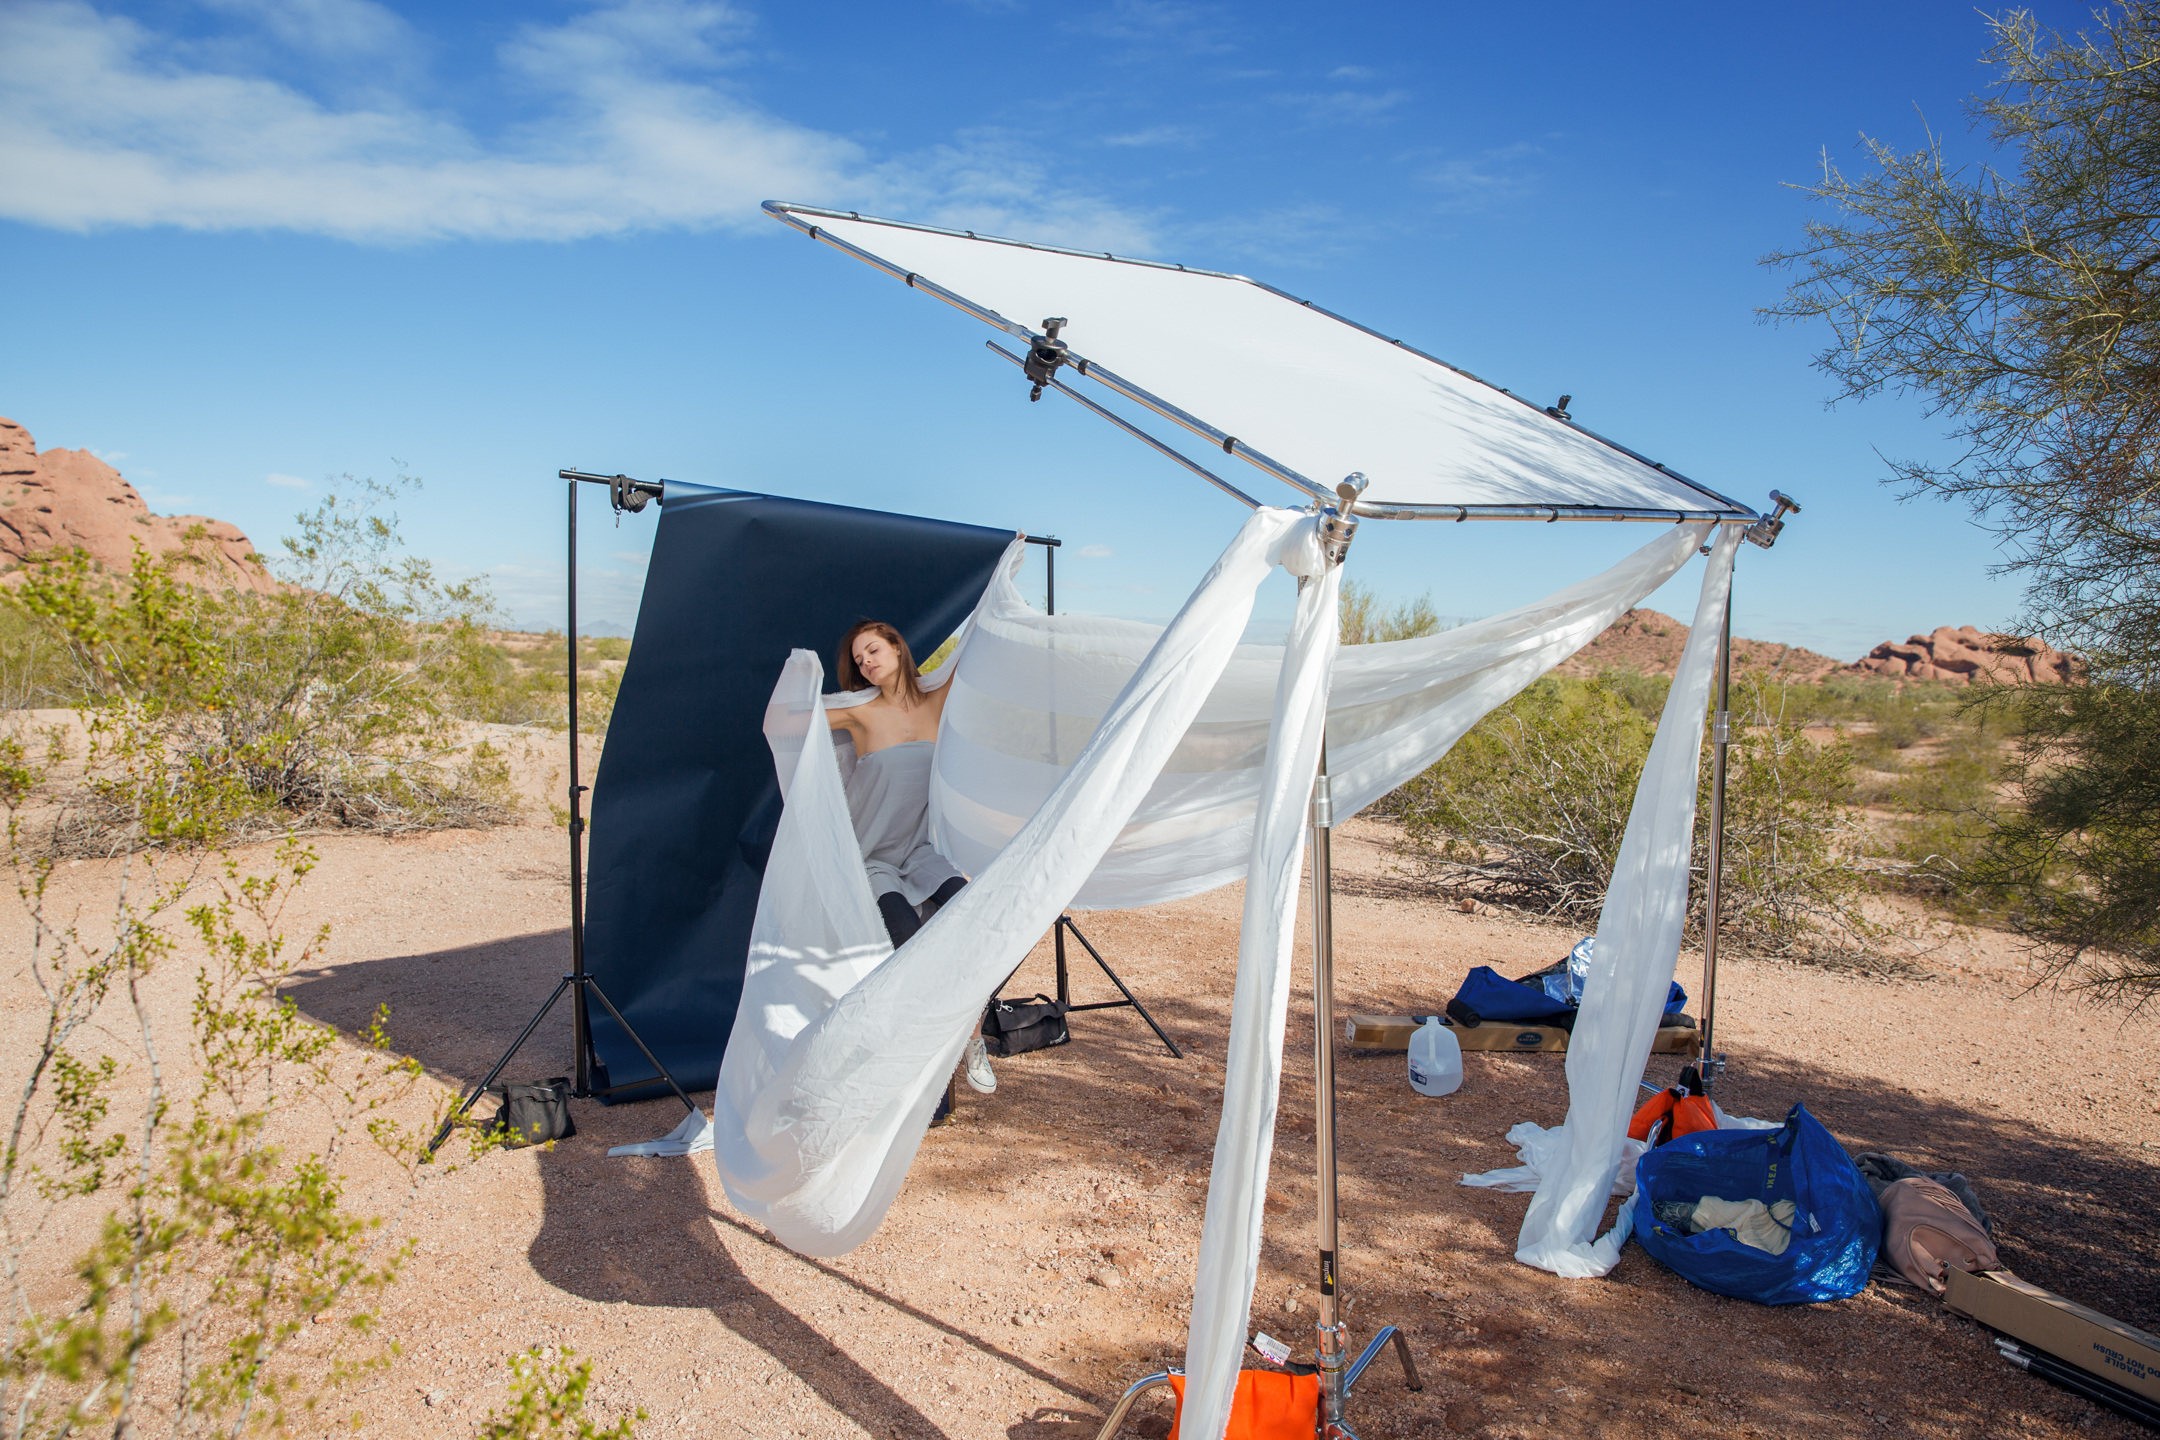
Living in Phoenix where clouds are rare, I needed a solution to the harsh sun, other than over powering it with strobes while shooting on location.So after hanging with Clay Cook and saw he was such an advocate of using a scrim I decided to give it a try. Last Year I purchased a Lastolite 6x6 foot scrim from B&H, mainly with the hopes of using it to diffuse the harsh Phoenix sunlight, but found myself using it on almost every shoot, whether it was studio or on location.
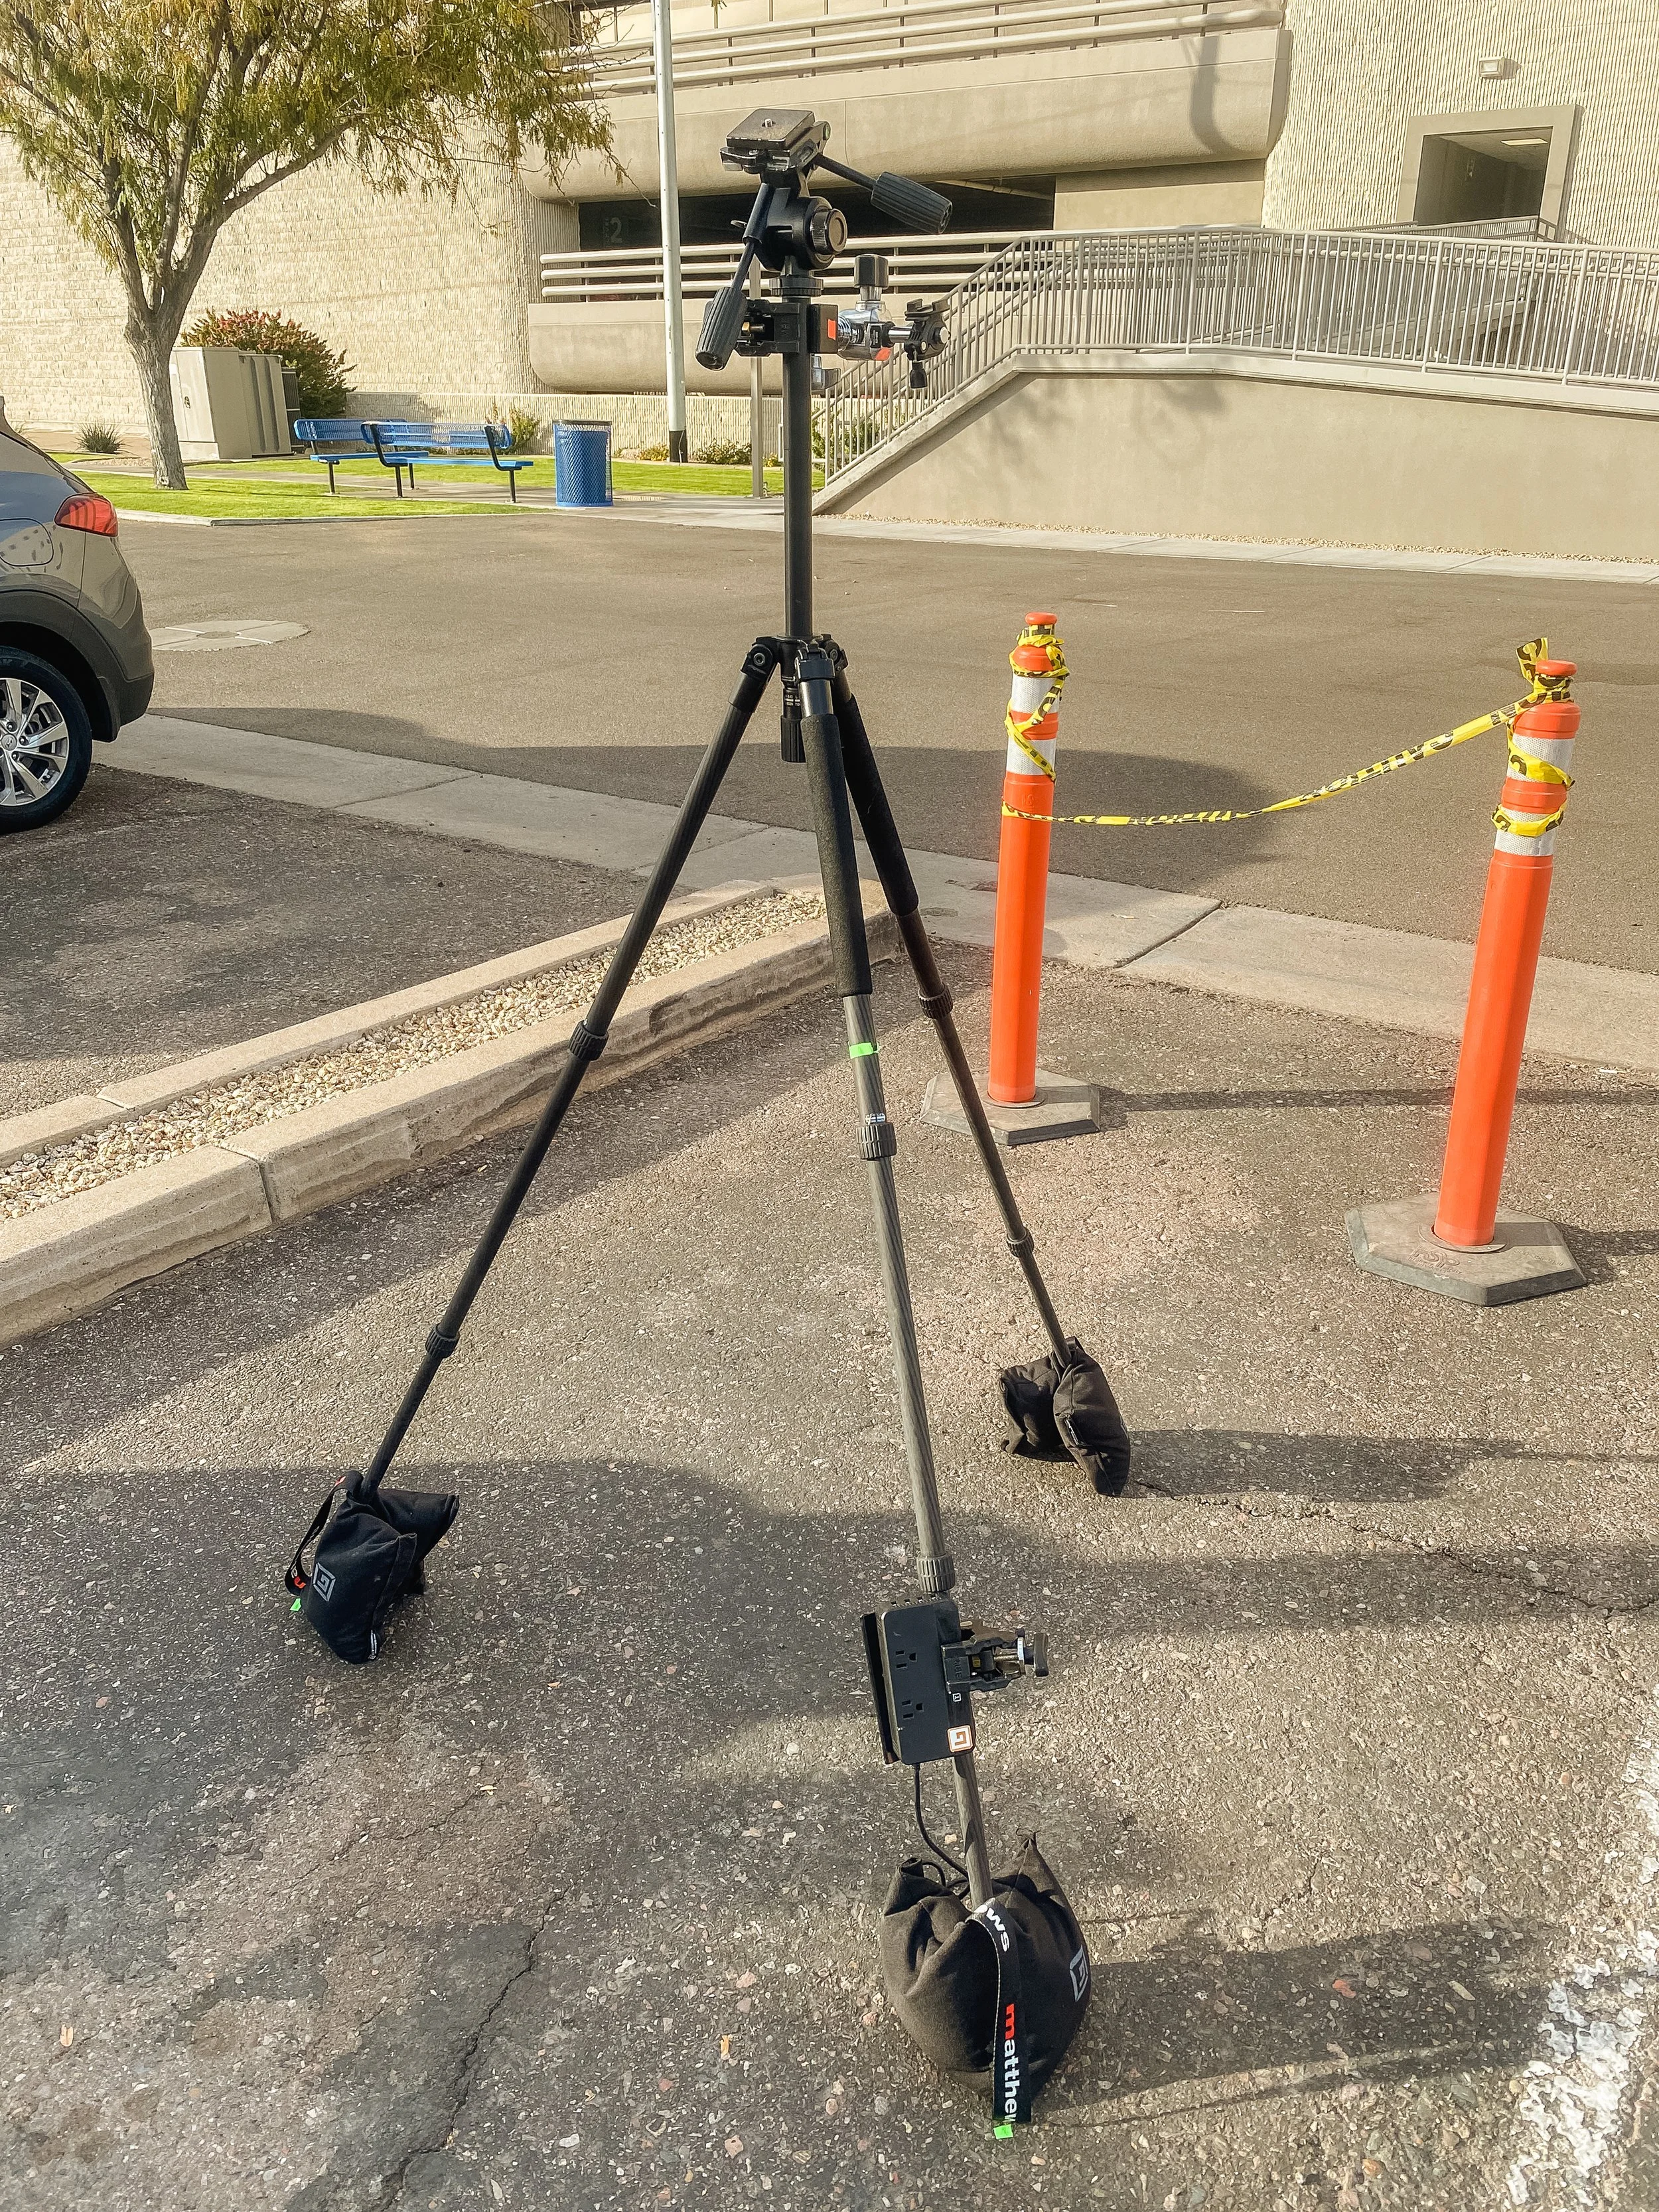
Here is a list of grip equipment that I used that is needed to hold the scrim. These are all necesscary to use the scrim. There is probably cheaper grip gear out there, but I found these to be great, sturdy, and reliable.
(2) Lastolite Grip heads
(2) Impact turtle based C-Stand Kit
(2) Impact 15lbs Sandbags
On location.
One thing I love about the Lastolite scrim is that it comes with a diffusion sheet and a silver reflector so you have a lot of options on how to control light while shooting outside. I found that I can use the scrim 3 different ways while shooting outside. Using it to back light the subject, using it to diffuse the subject, or using the reflector on the subject.
Backlit sunlight.
I always loved the really clean white background soft lit Calvin Klein ads, but it was a bitch to replicate in the studio without proper gear, and I never quite got the right look on location. After I got the scrim I decided to use it as the background. With the sun back lighting the subject, the light beautifully passes through the diffusion sheet and gives the subject nice even lighting.
All shots below were shot only using natural light and the scrim.

Diffussed sunlight.
This is the most common way to use the scrim on location. With the scrim between your subject and the sun you can place the scrim in a variety of ways to change how the light shapes your subject. You can have more flat beauty light by shooting straight on with the sun, or create more depth by shooting at a 45 or 90 degree angle away from the sun.
All shots below were shot only using natural light and the scrim.


Reflector.
I love that the Lastolite come with a silver reflector. You can bounce some serious light with a 6x6 foot reflector. All shots below were shot only using natural light and the scrim.

Using the scrim in the studio.
After watching Clay talk about how important fill light is the way I thought about lighting completely changed. The scrim is a great way to add or modify fill light for studio work.
Studio Backlit.
For these I used the scrim directly behind the subjects as the background. I had a Paul C. Buff Einstein directly behind the scrim to illuminate the scrim and create the nice soft wrap around of light.
Studio mix harsh and soft.
For most my studio work involving the fill I will use it one of two ways. I will have the scrim directly behind from where I am shooting or directly above where I am shooting. This will give the most even fill light. Generally you don't want the fill light to create shape, thats the key lights job. Because the scrim is so large my body standing in front of the light does not block much light from hitting the subject. I will use small 5 inch dish or medium sized softbox behind the scrim. This prevents light from spilling, and will help direct more light to the scrim. Because the lighting from the scrim provides such soft even light, you can mix in lights with harsh modifiers or no modifiers at all. The soft light from the scrim will blend the harsh and soft light together beautifully.
All Images below were lit with a Paul C. Buff Einstein with a 5 inch dish behind the 6x6' directly behind the camera for a fill. The key was a flagged Paul C. Buff Einstein with a 5 inch dish on camera right. And the background light was a flagged Paul C. Buff Einstein with a 5 inch dish on camera left.

Studio 2 soft.
As I mentioned using the scrim as a light source creates super soft light. So I decided to use 2 of them to recreate natural light. Key light was a Paul C. Buff Einstein with a 5 inch dish shooting in a 6x6' scrim on camera left. Fill light was a Paul C. Buff Einstein with a 5 inch dish shooting in a 6x6' scrim directly behind me. There was also a white V-flat on camera right.
Using the Scrim as a fill.
Using such a large modifier means your light will be very flat. I love this since it then allows me to use my Key light in more effective ways. Using the scrim you can create beautiful high key images, or super dramatic short lit images with gradual transitions and detail everywhere.
All images below and different light set ups but the one common factor they have is that I used a Paul C. Buff Einstein with a 5 inch dish shooting in a 6x6' scrim directly behind me for fill light.


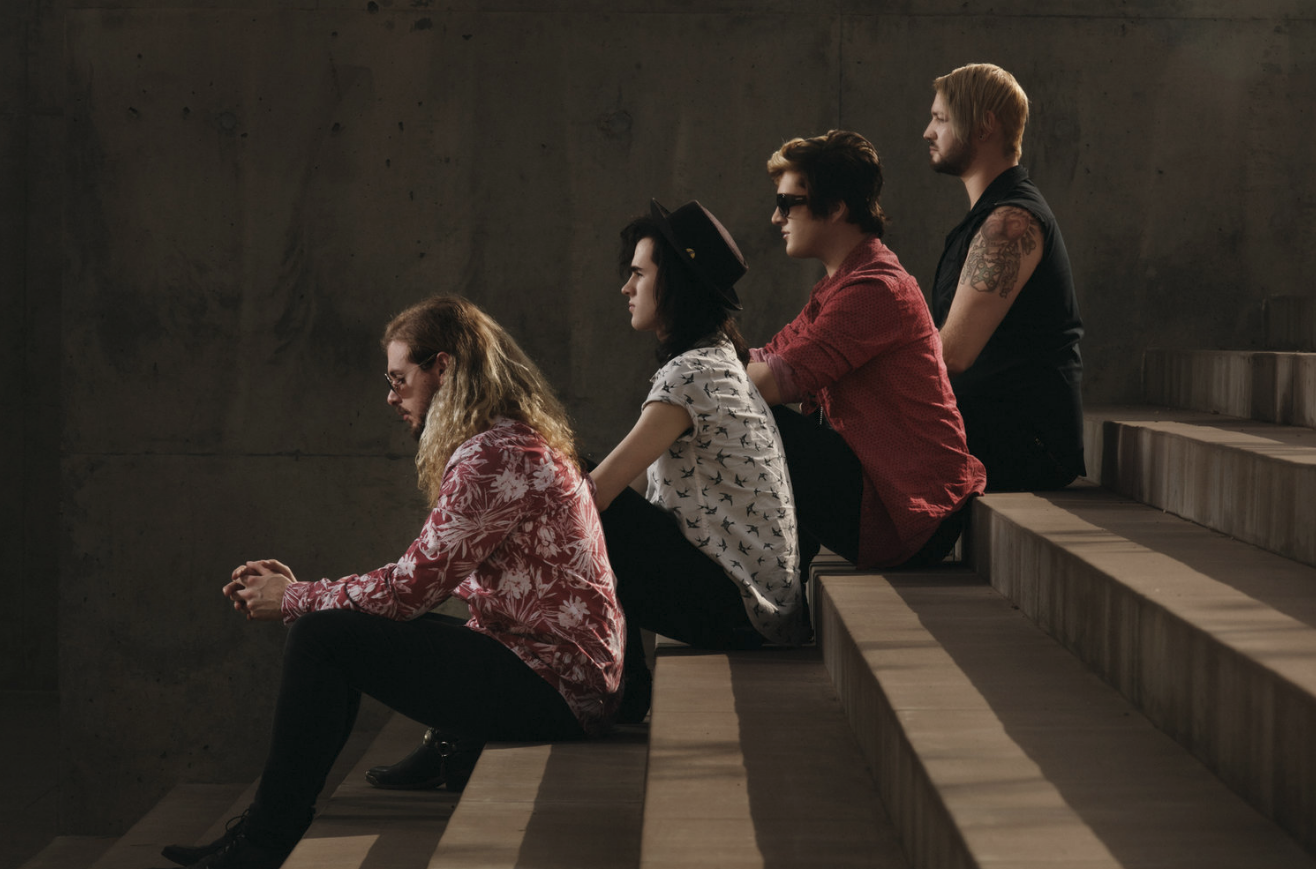
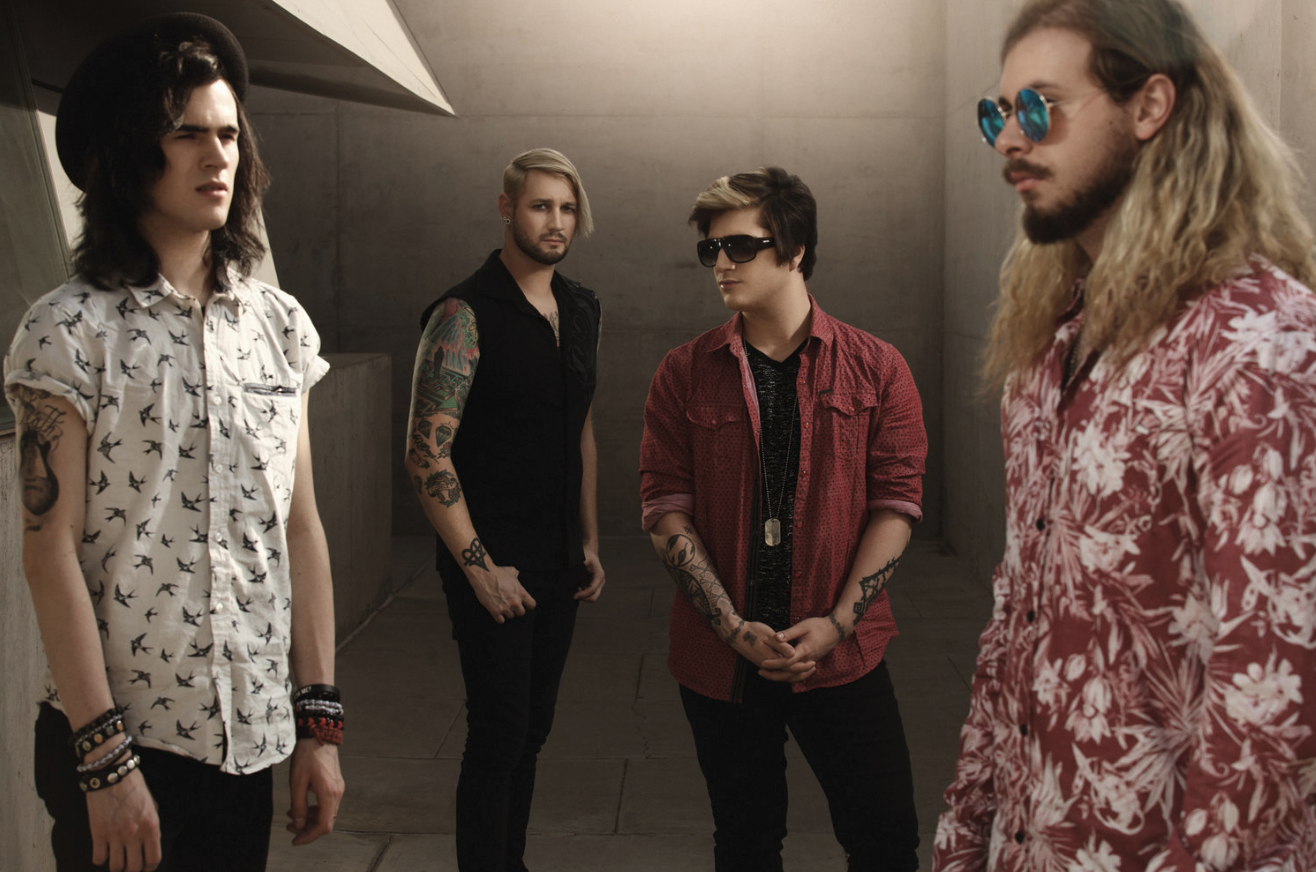
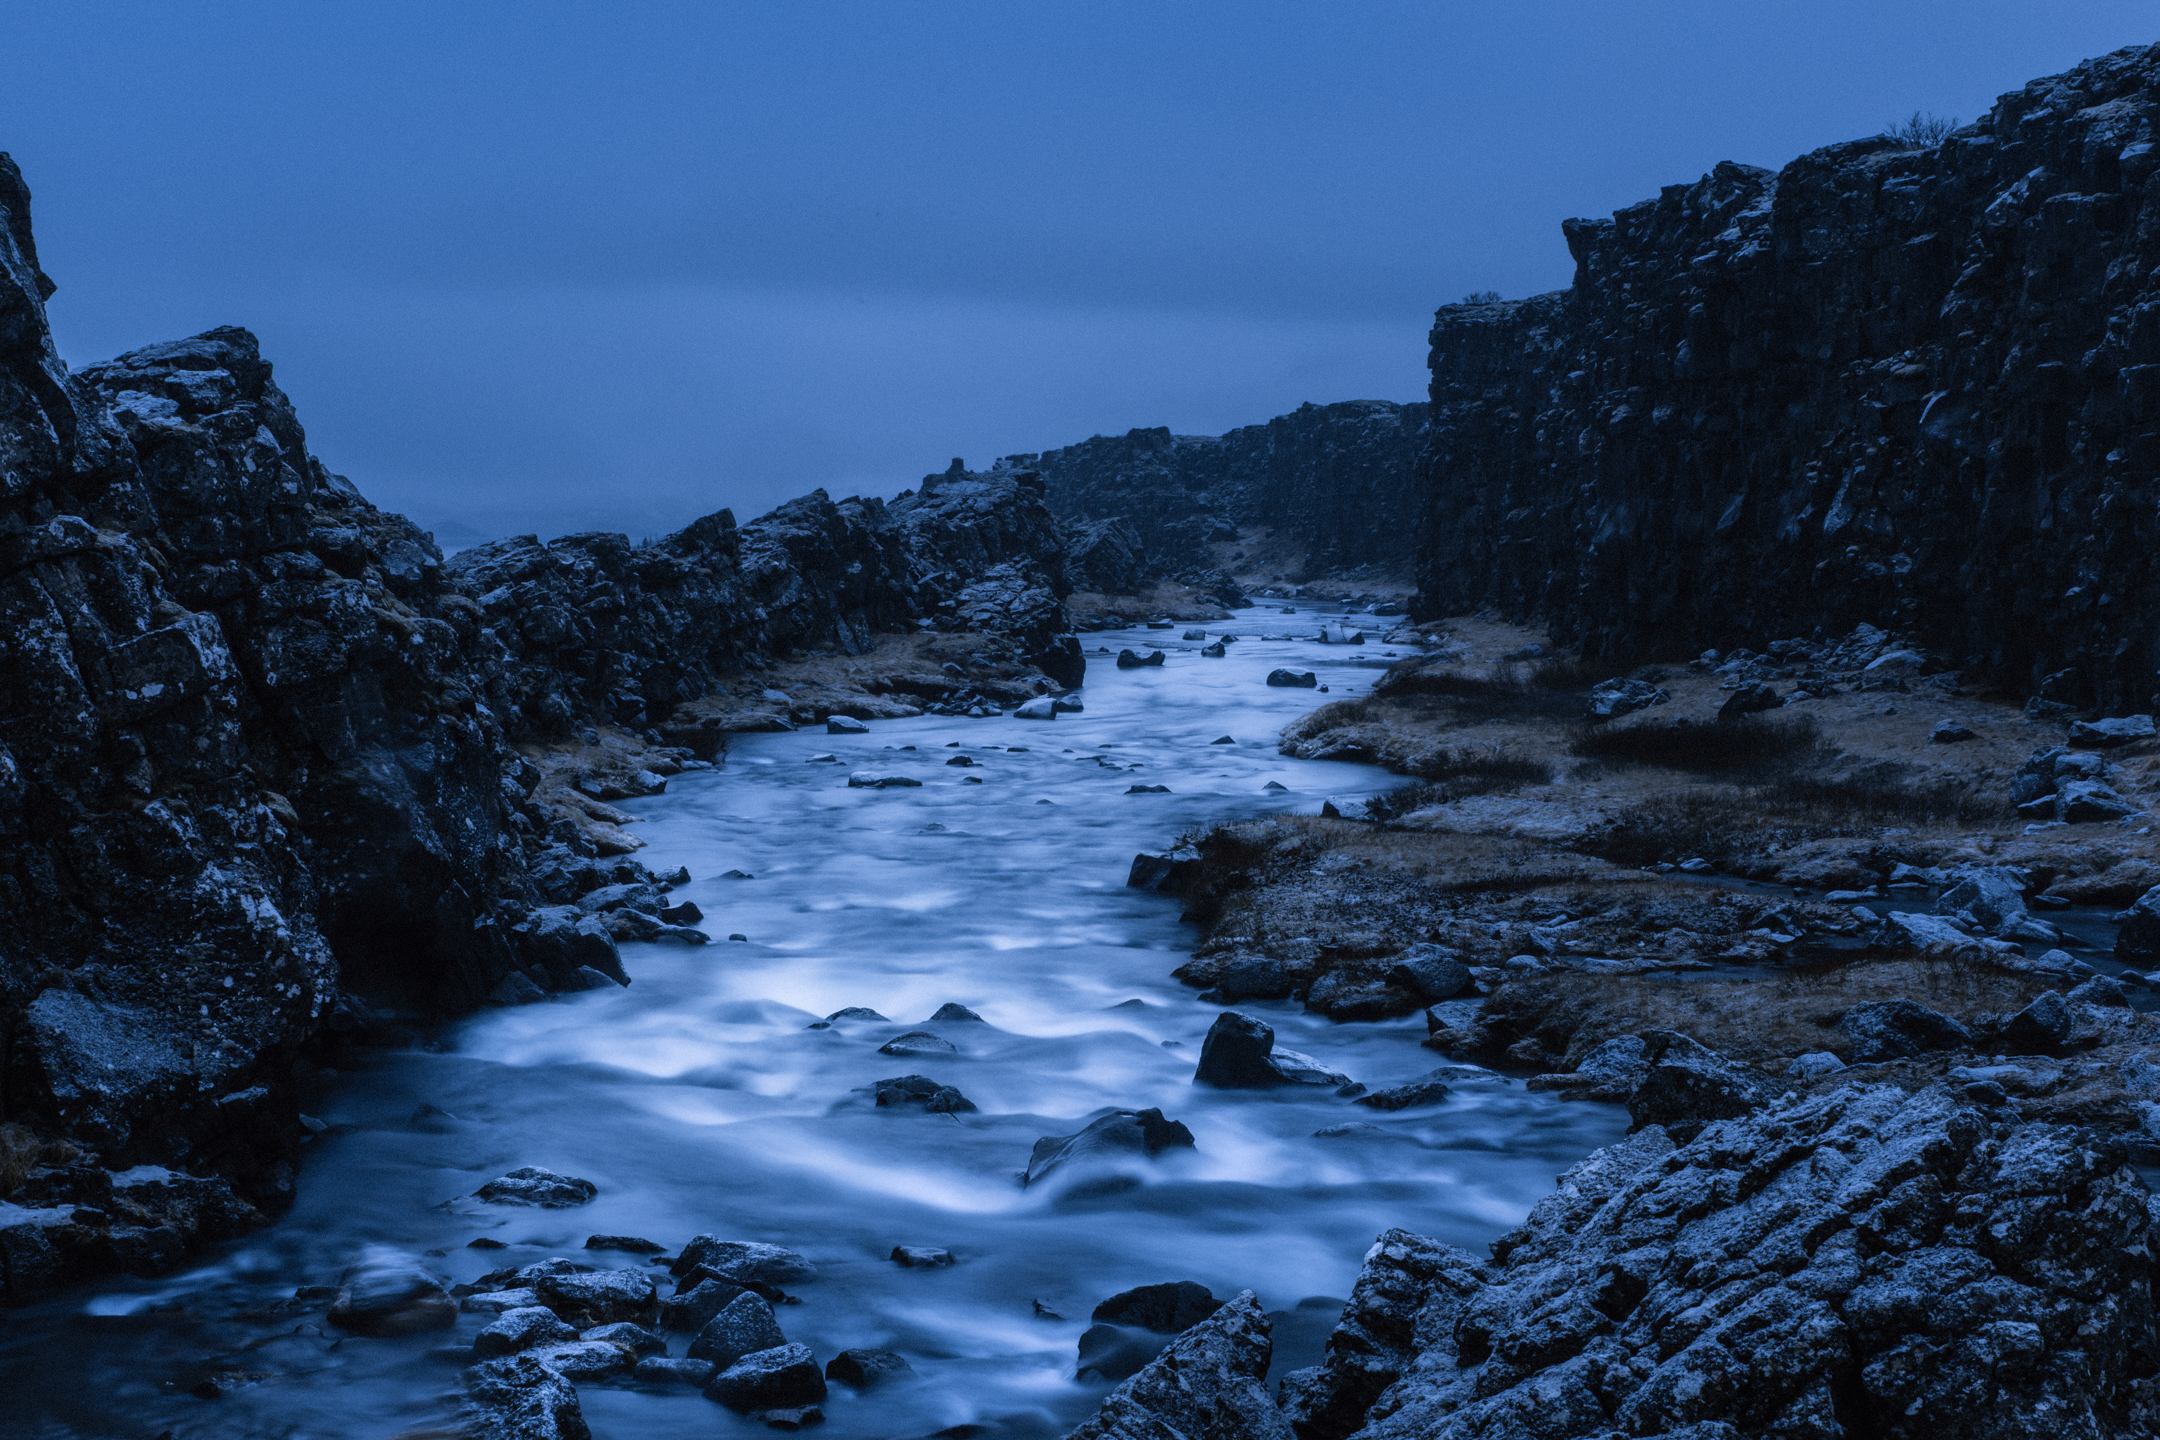
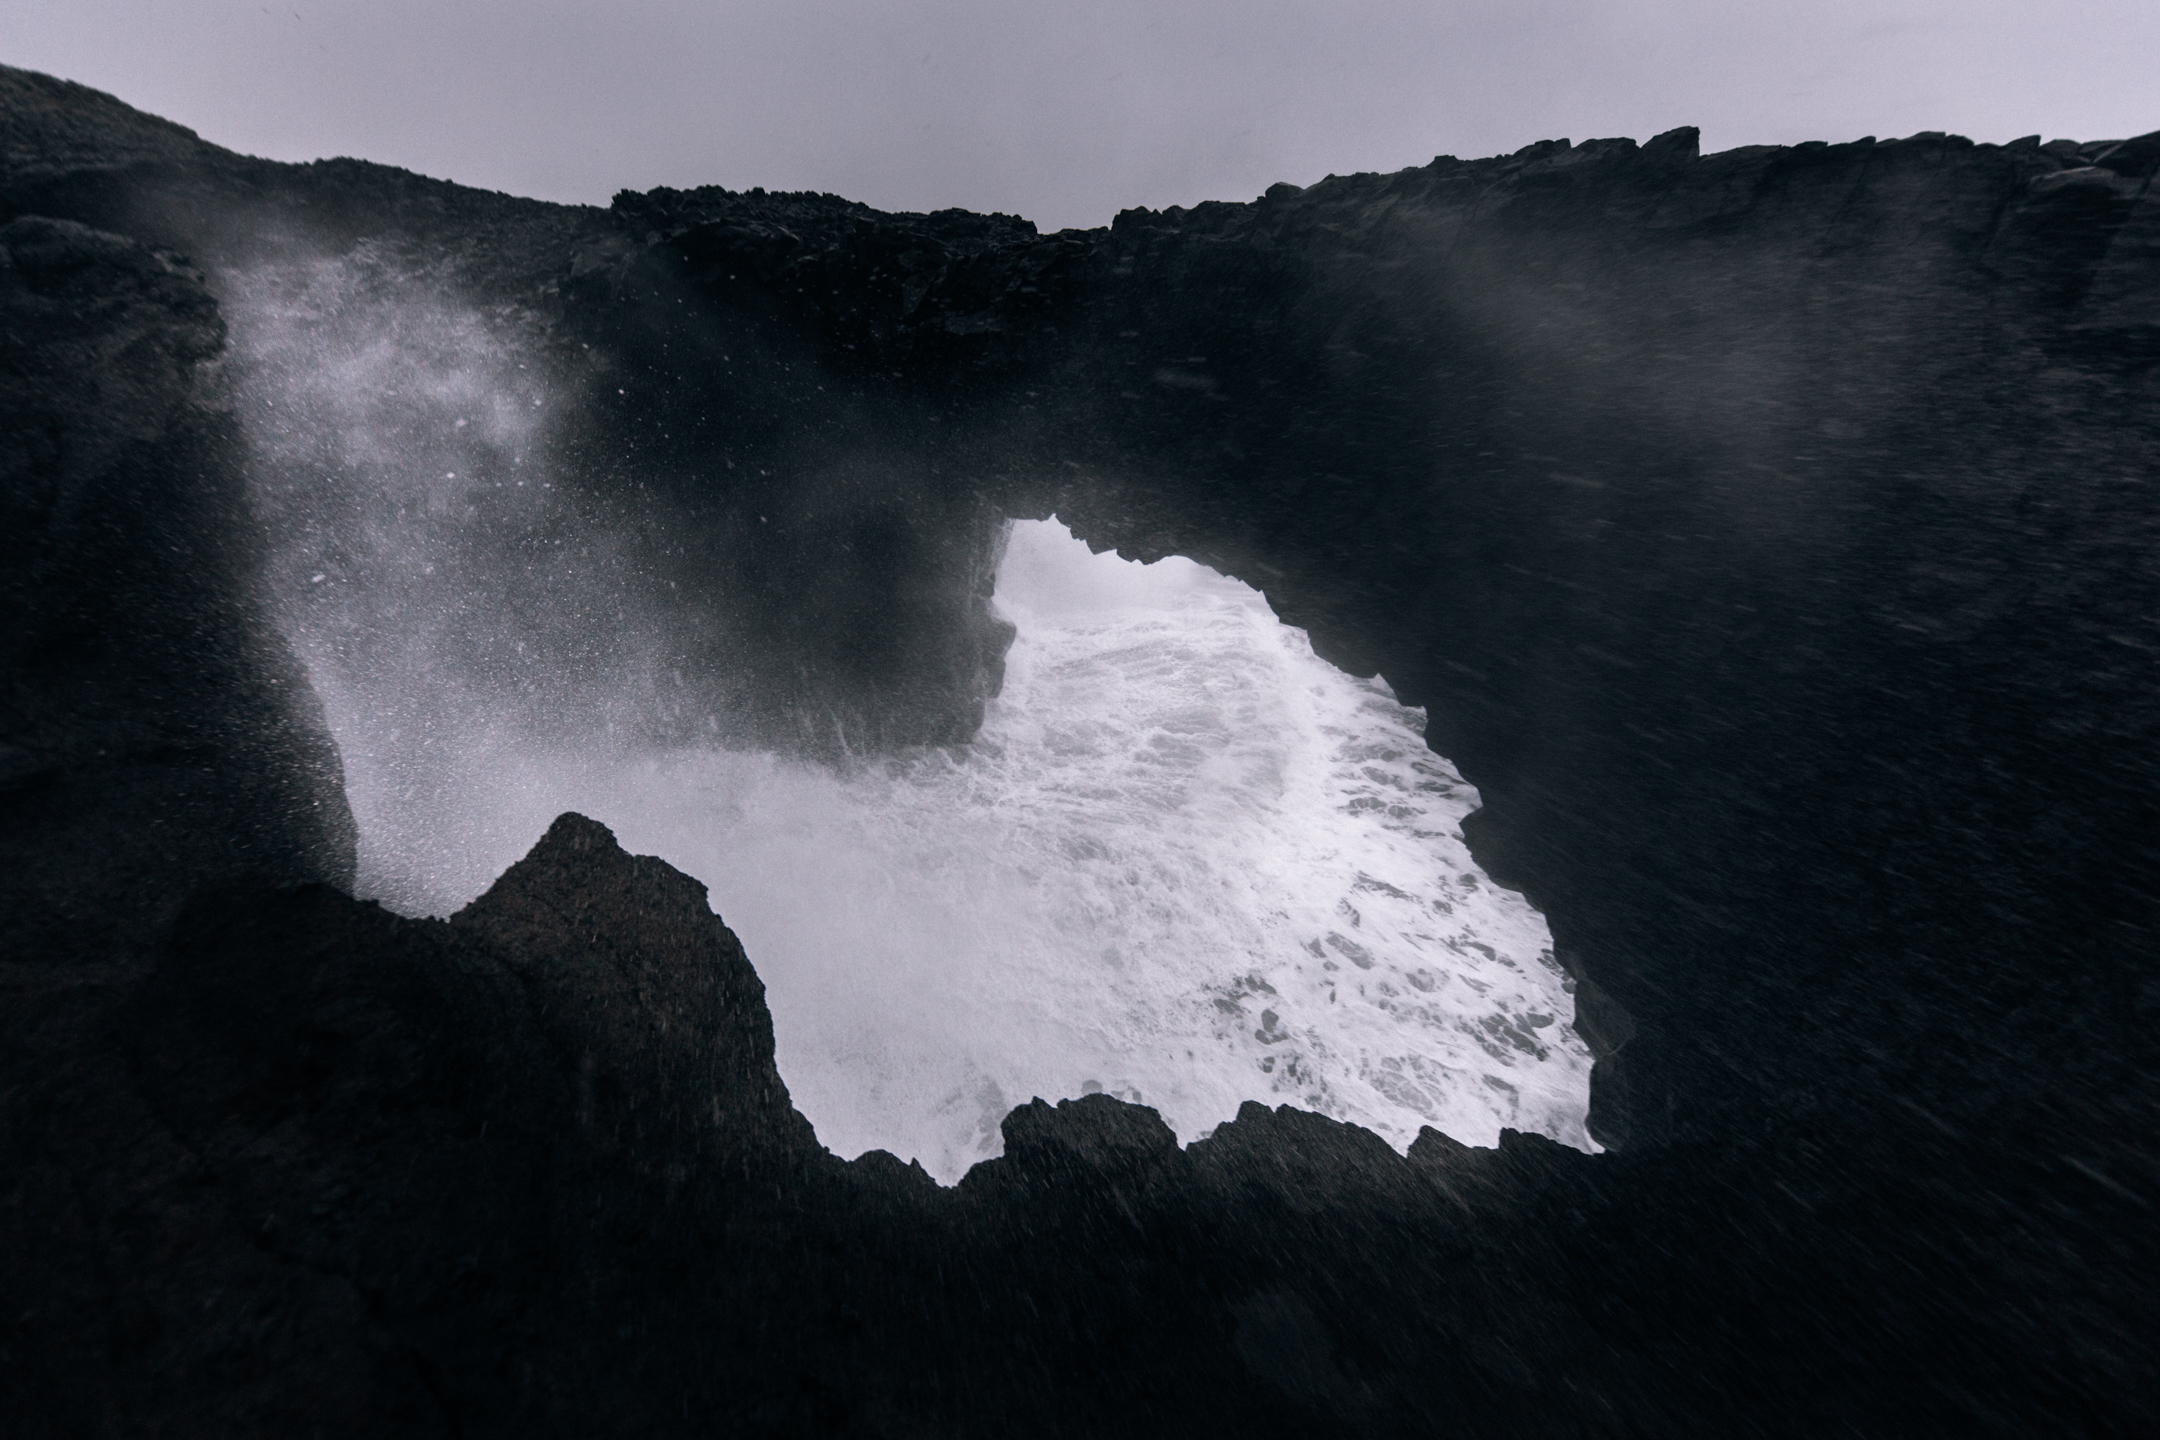
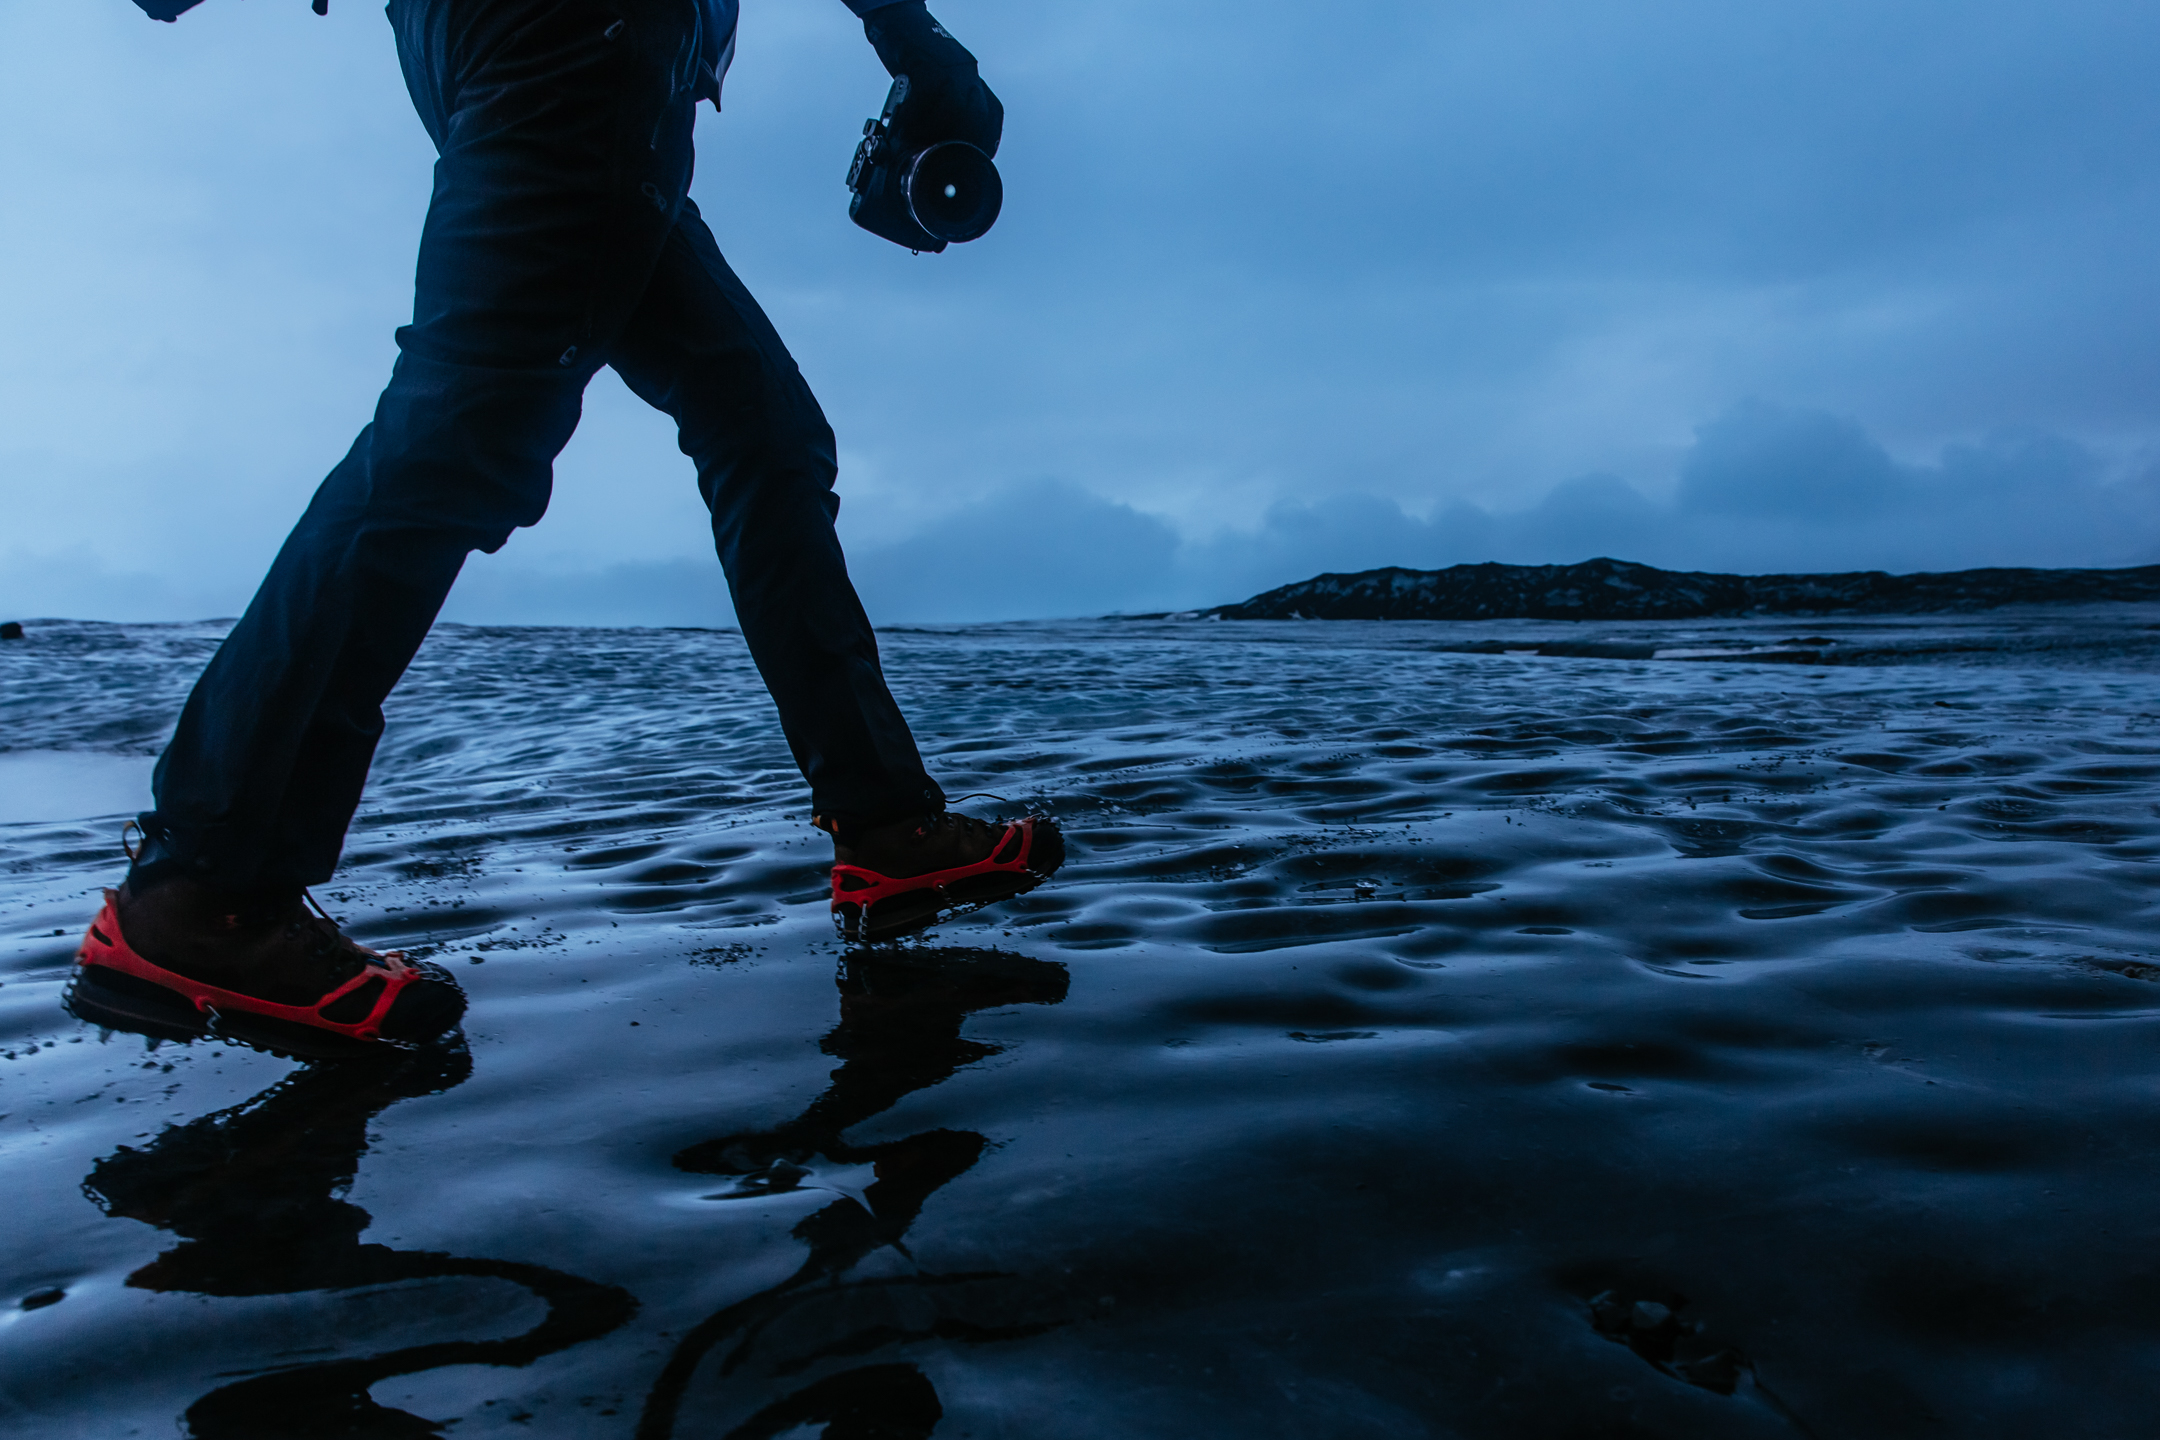
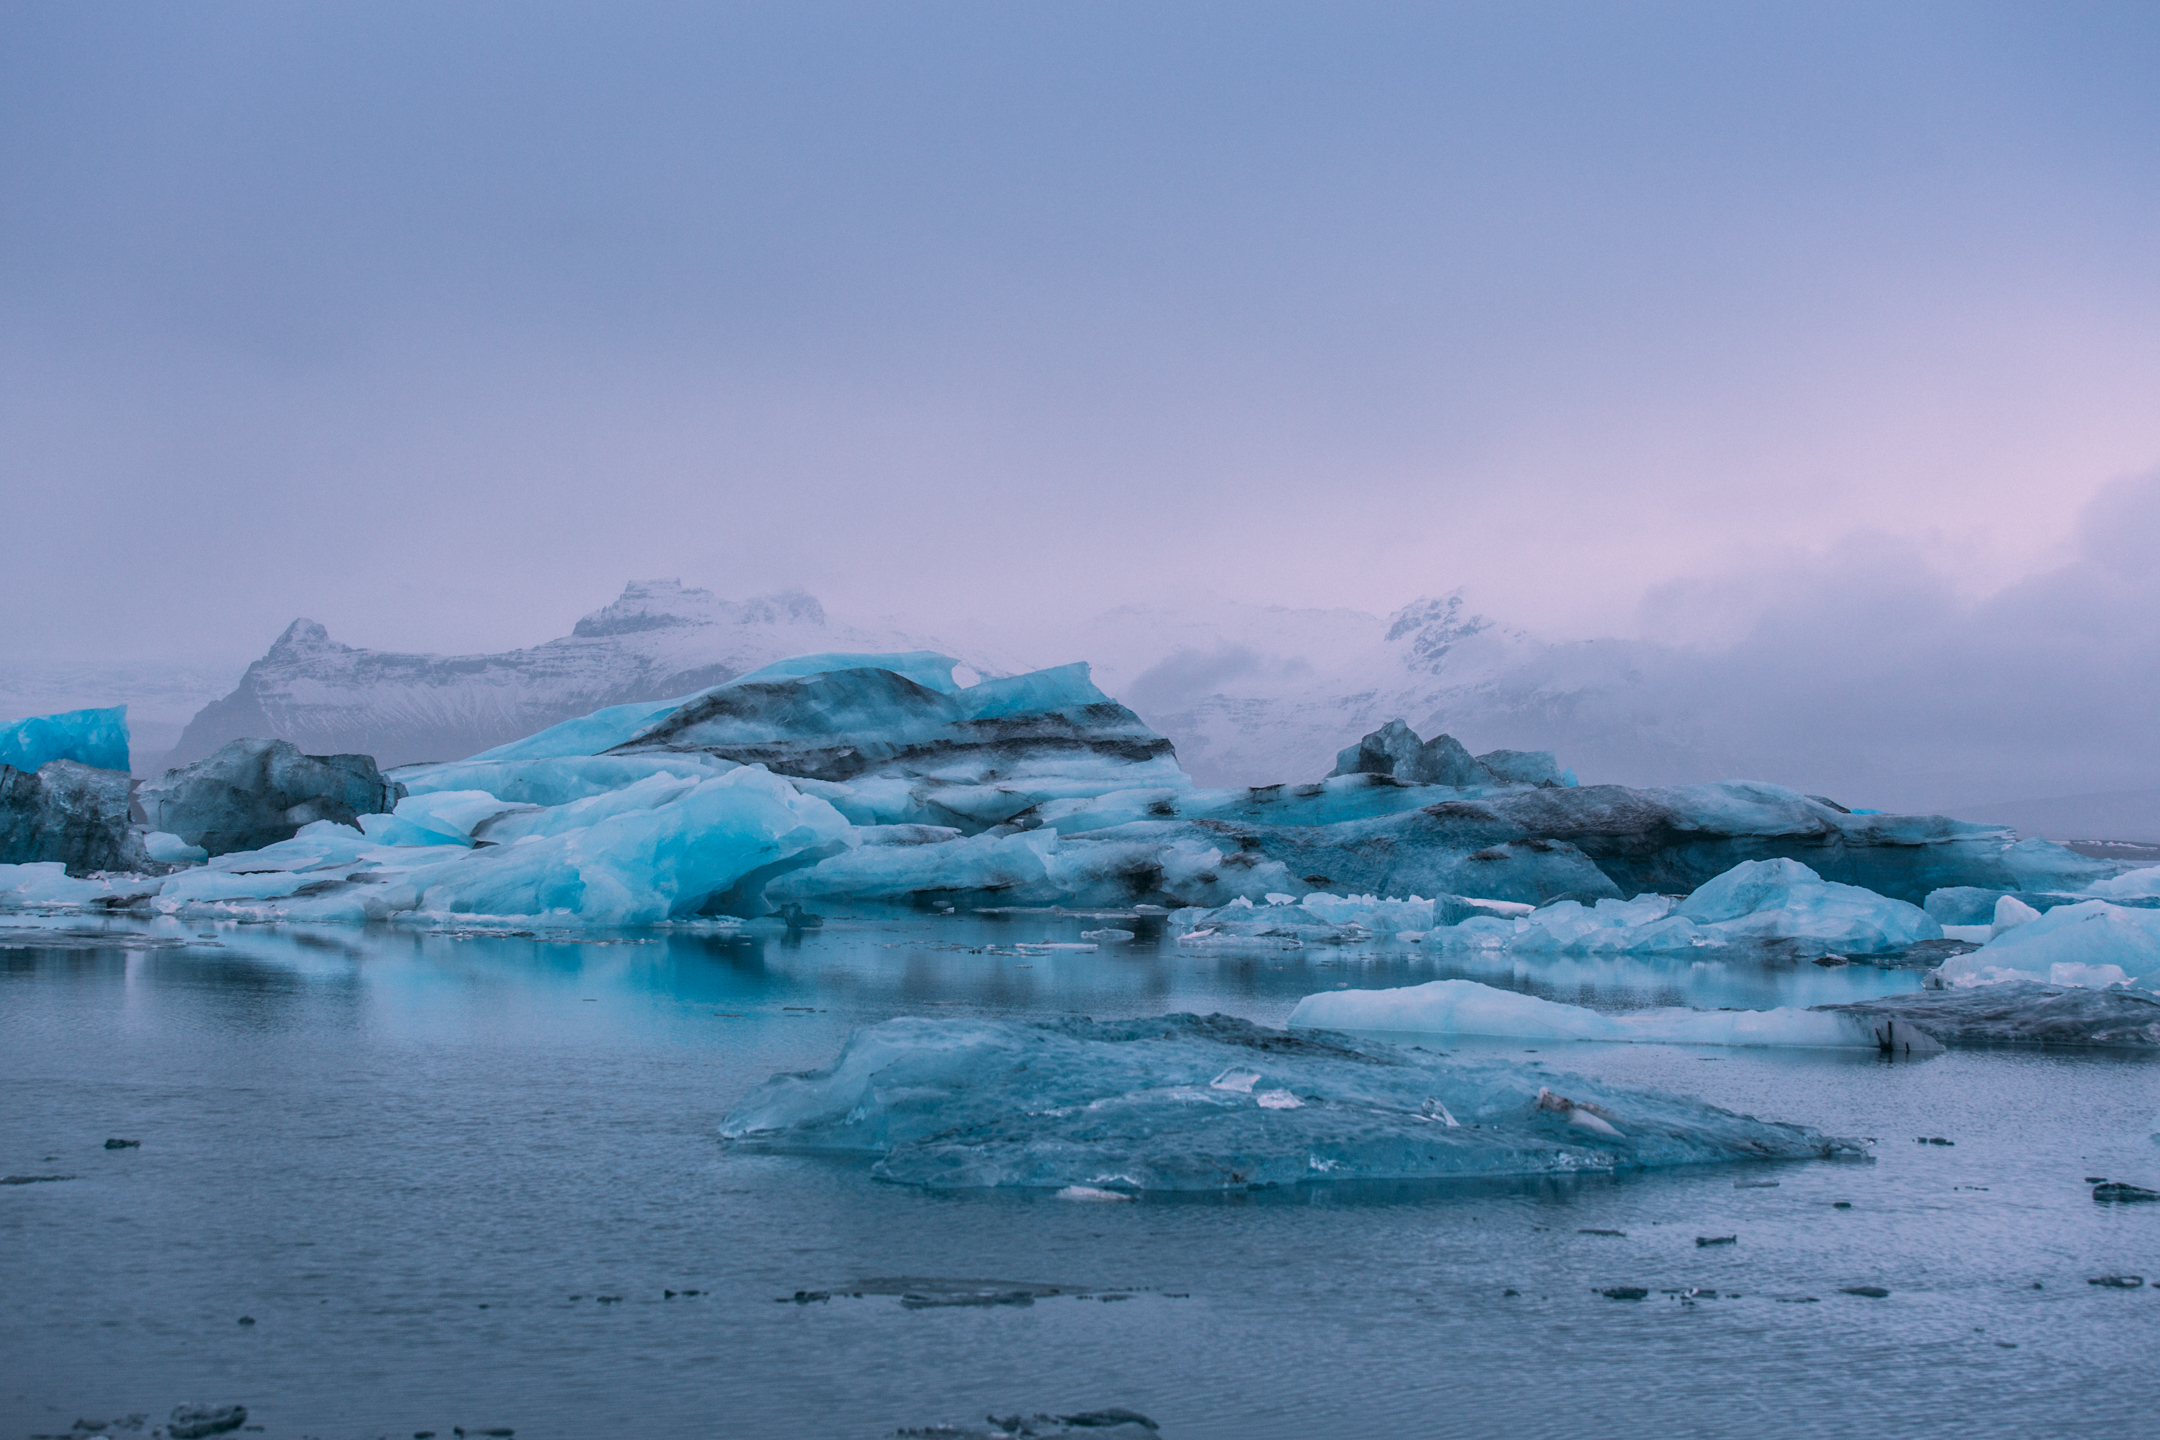
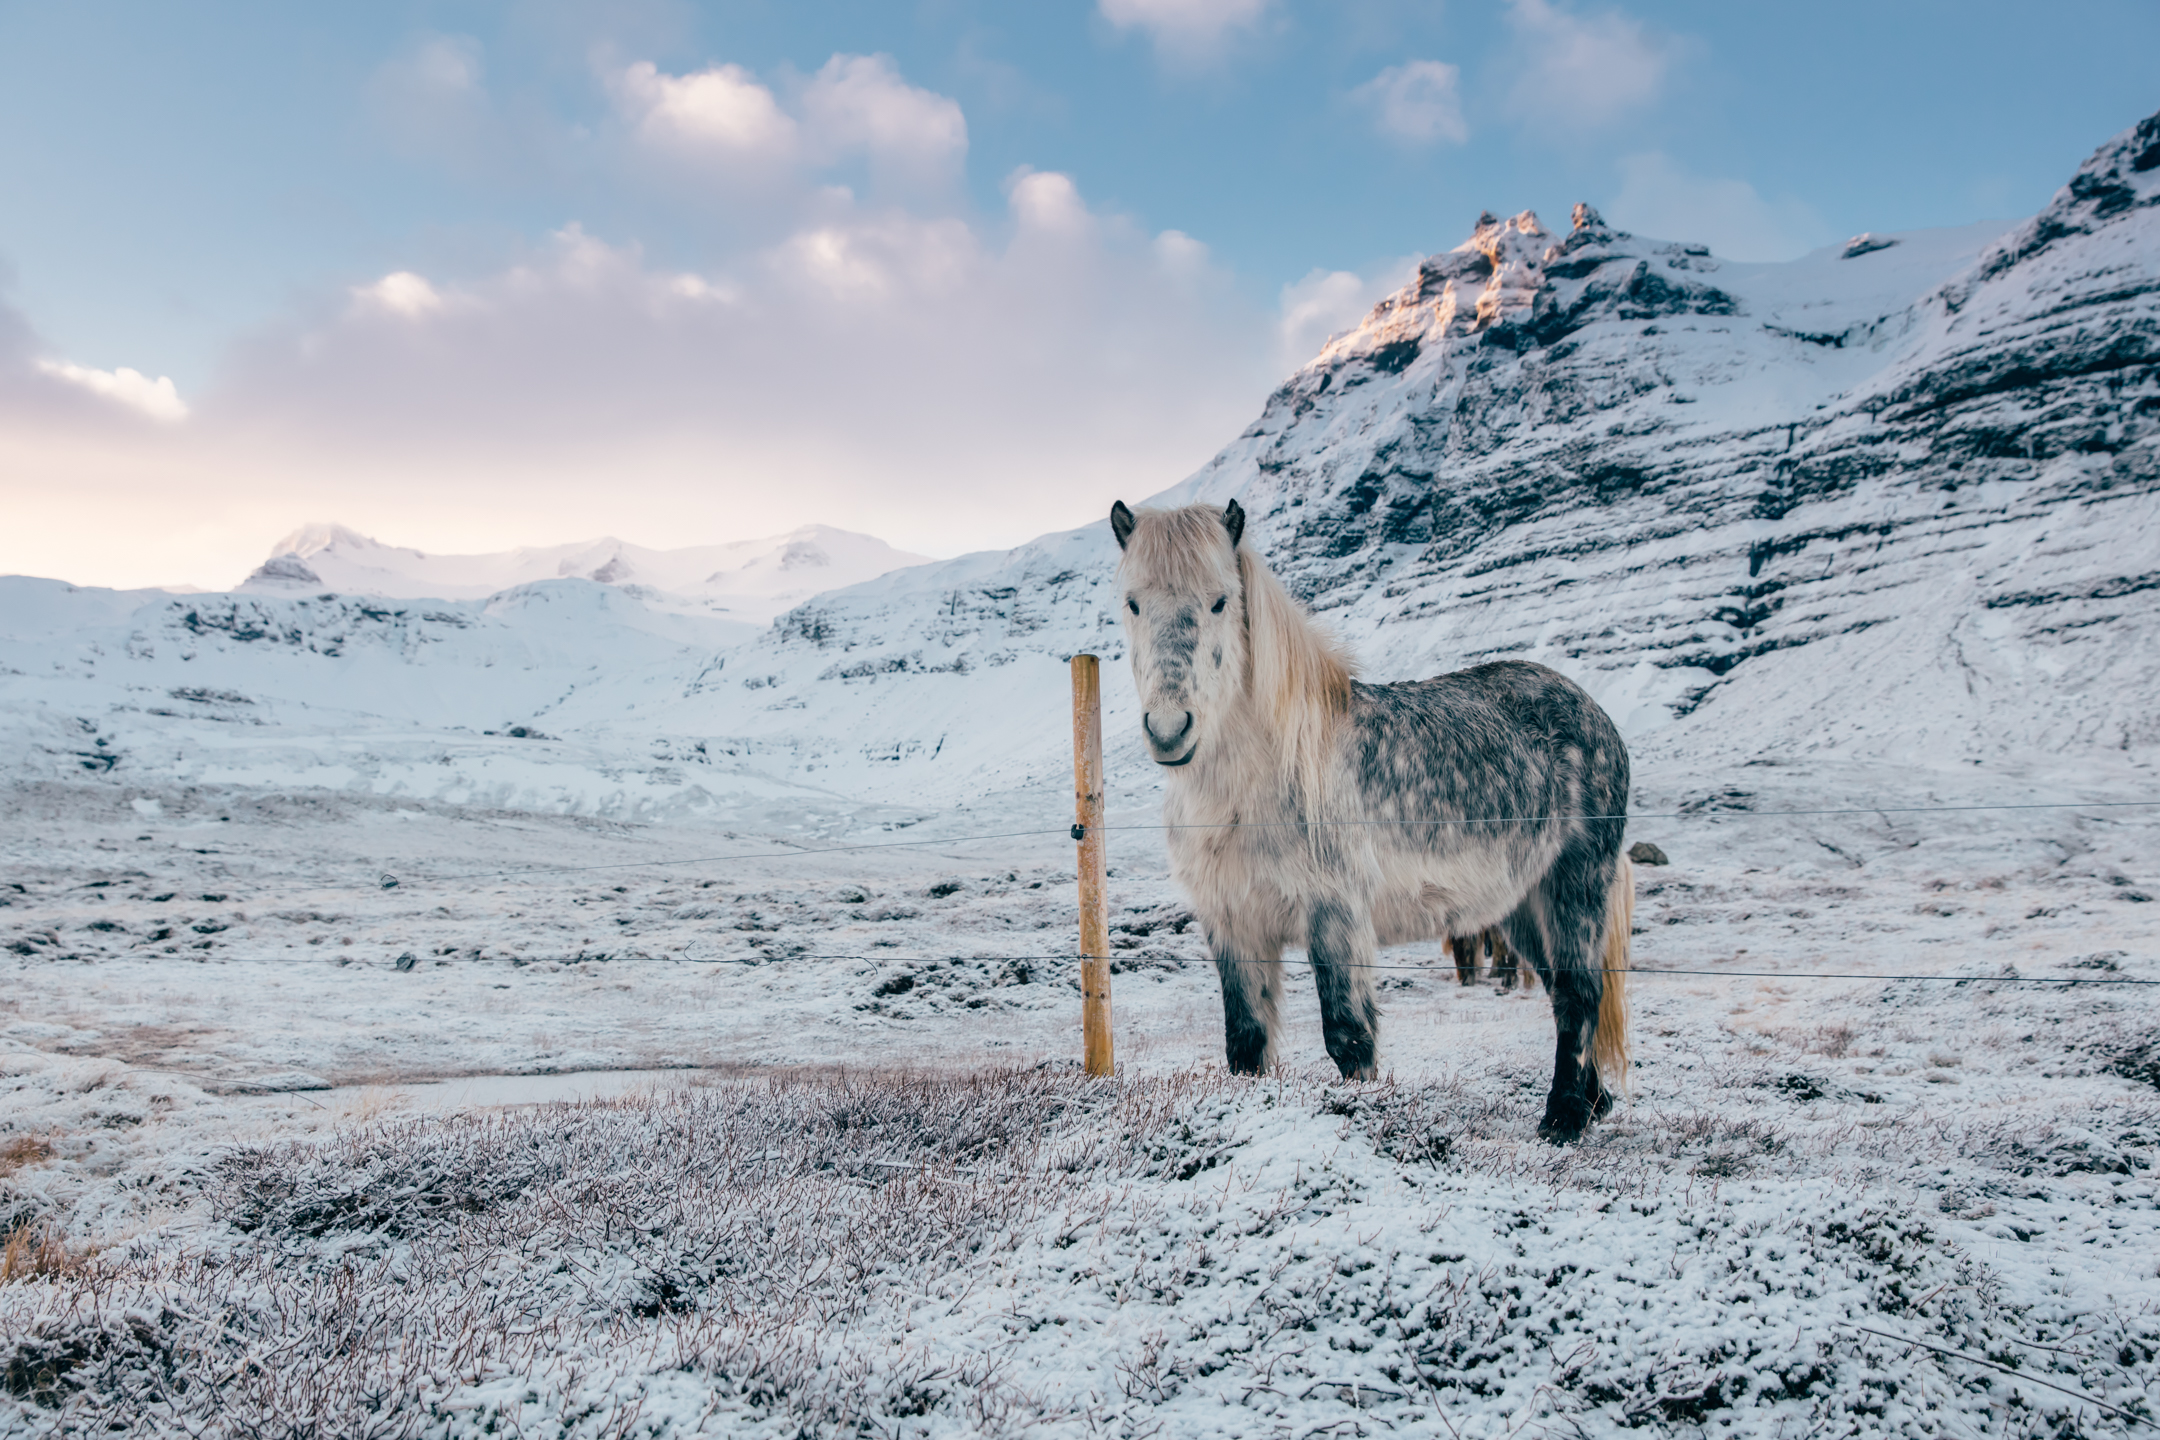
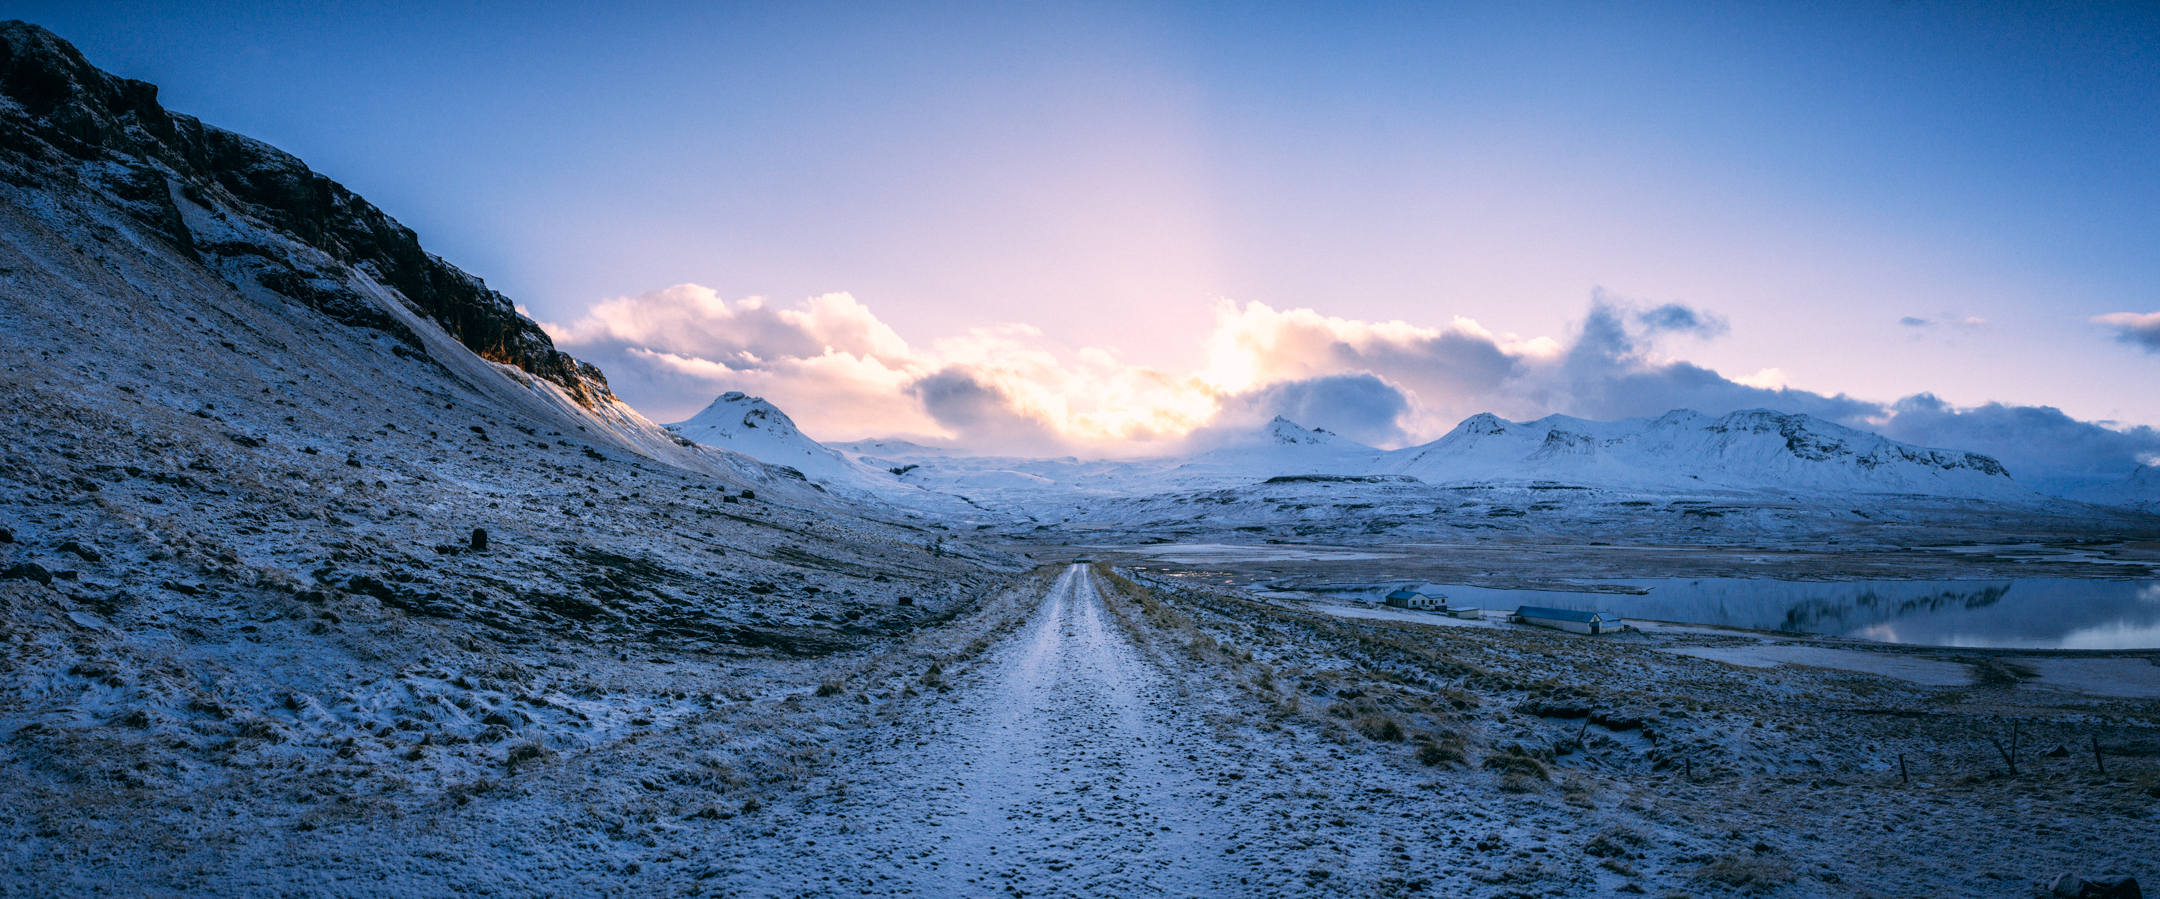
Iceland 2017
Trip summary
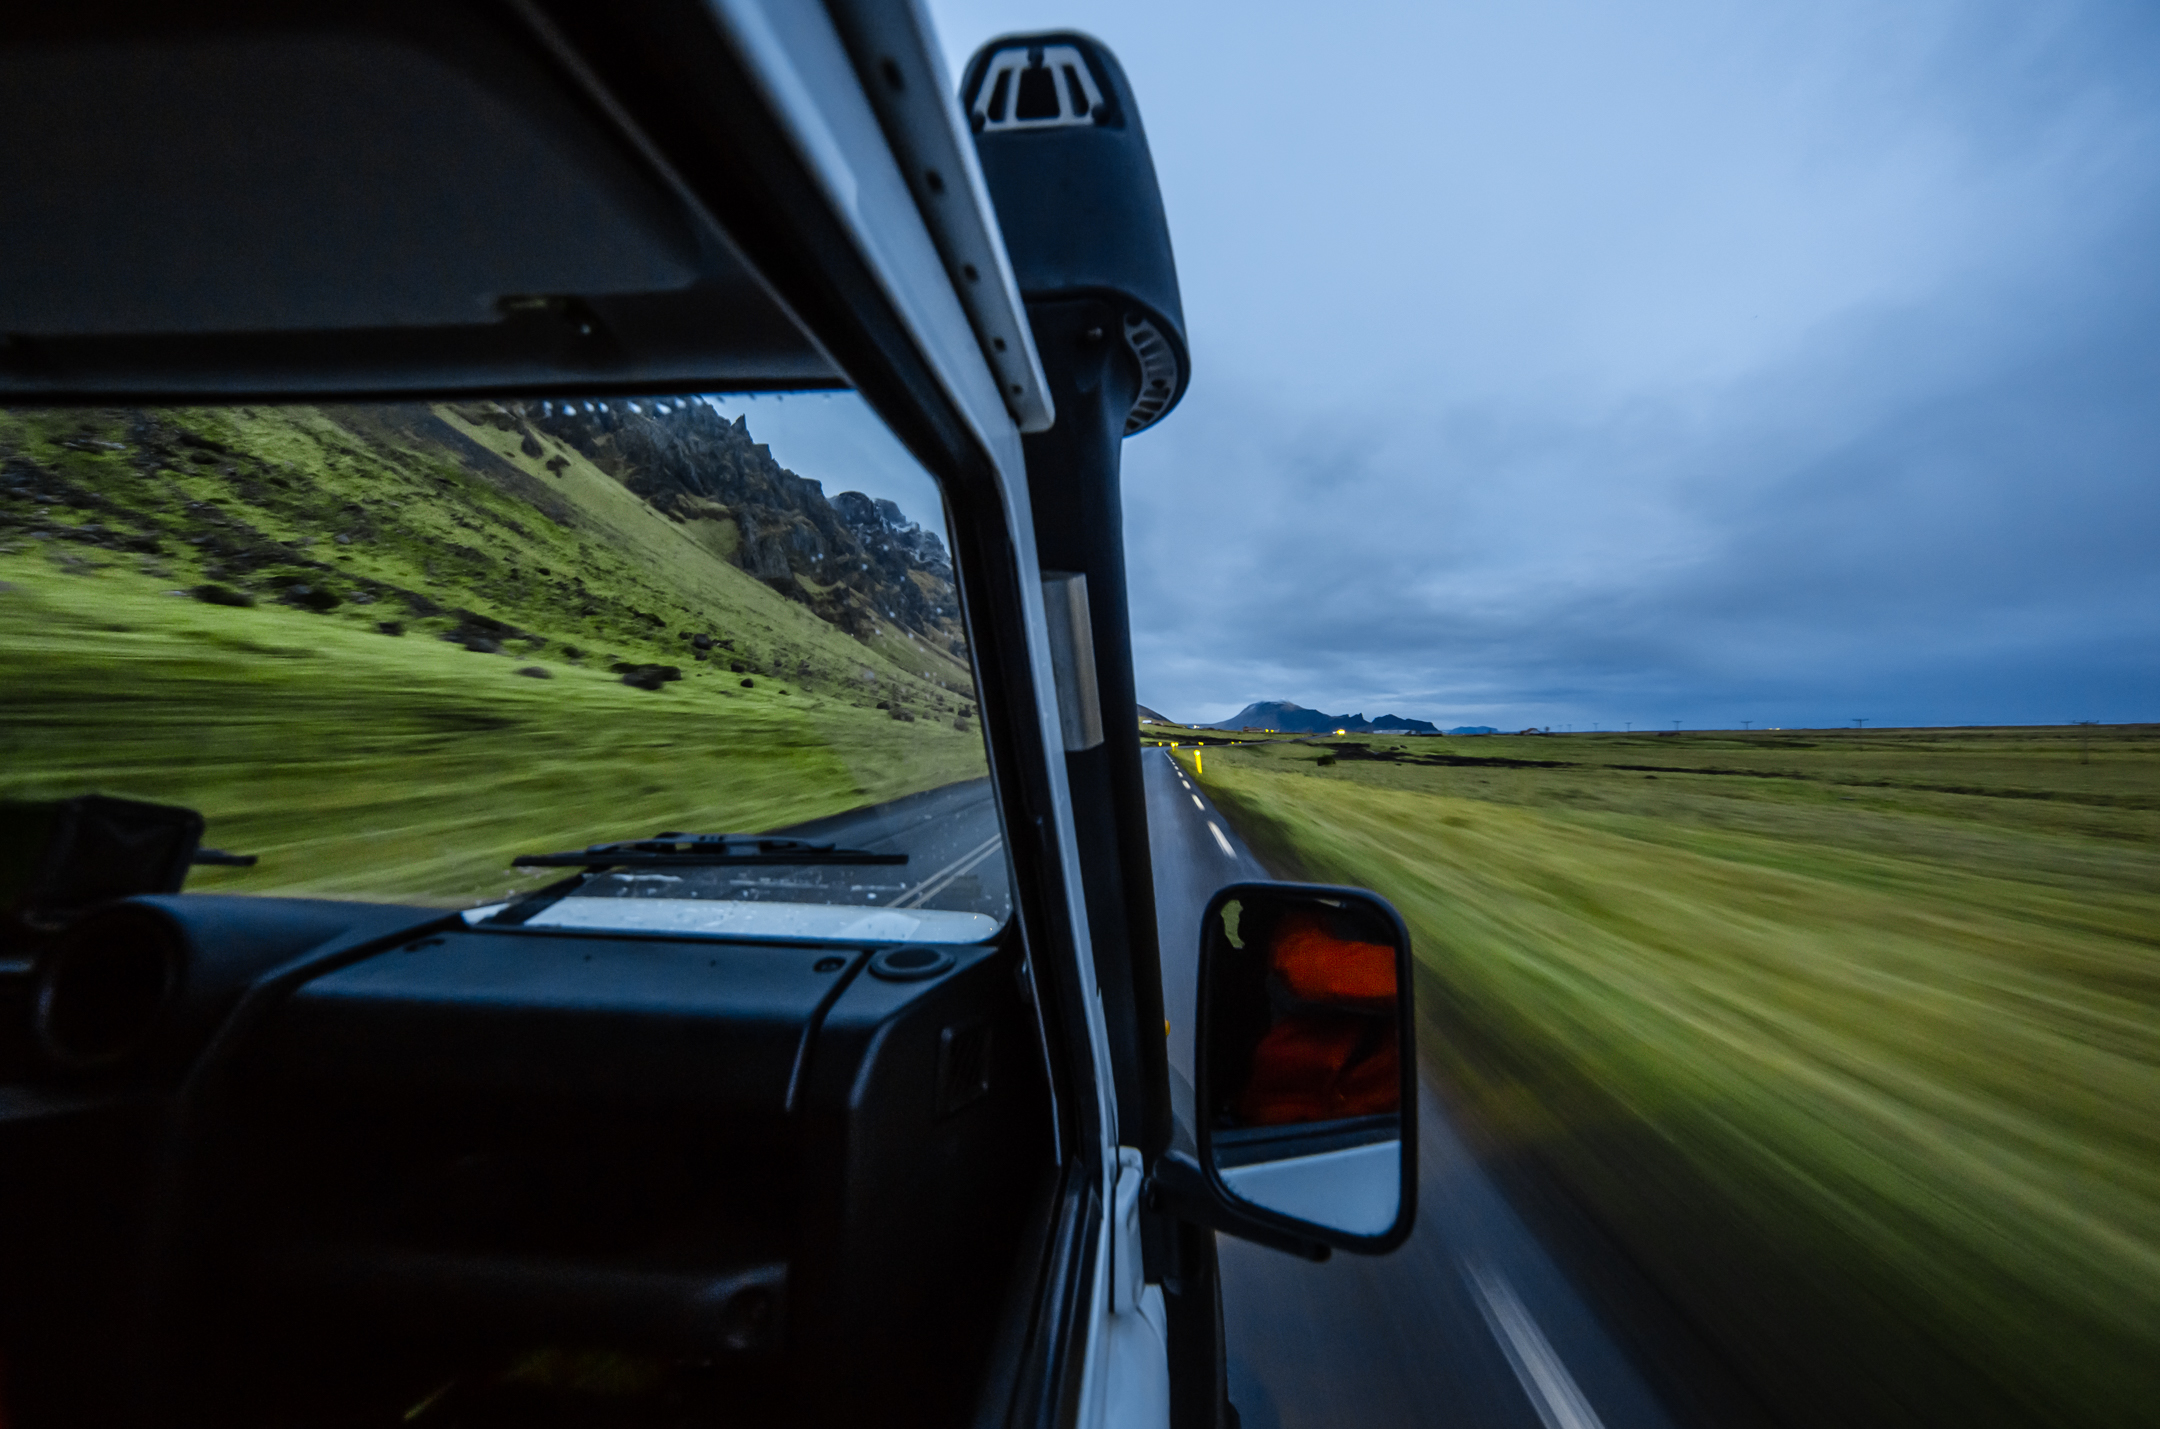
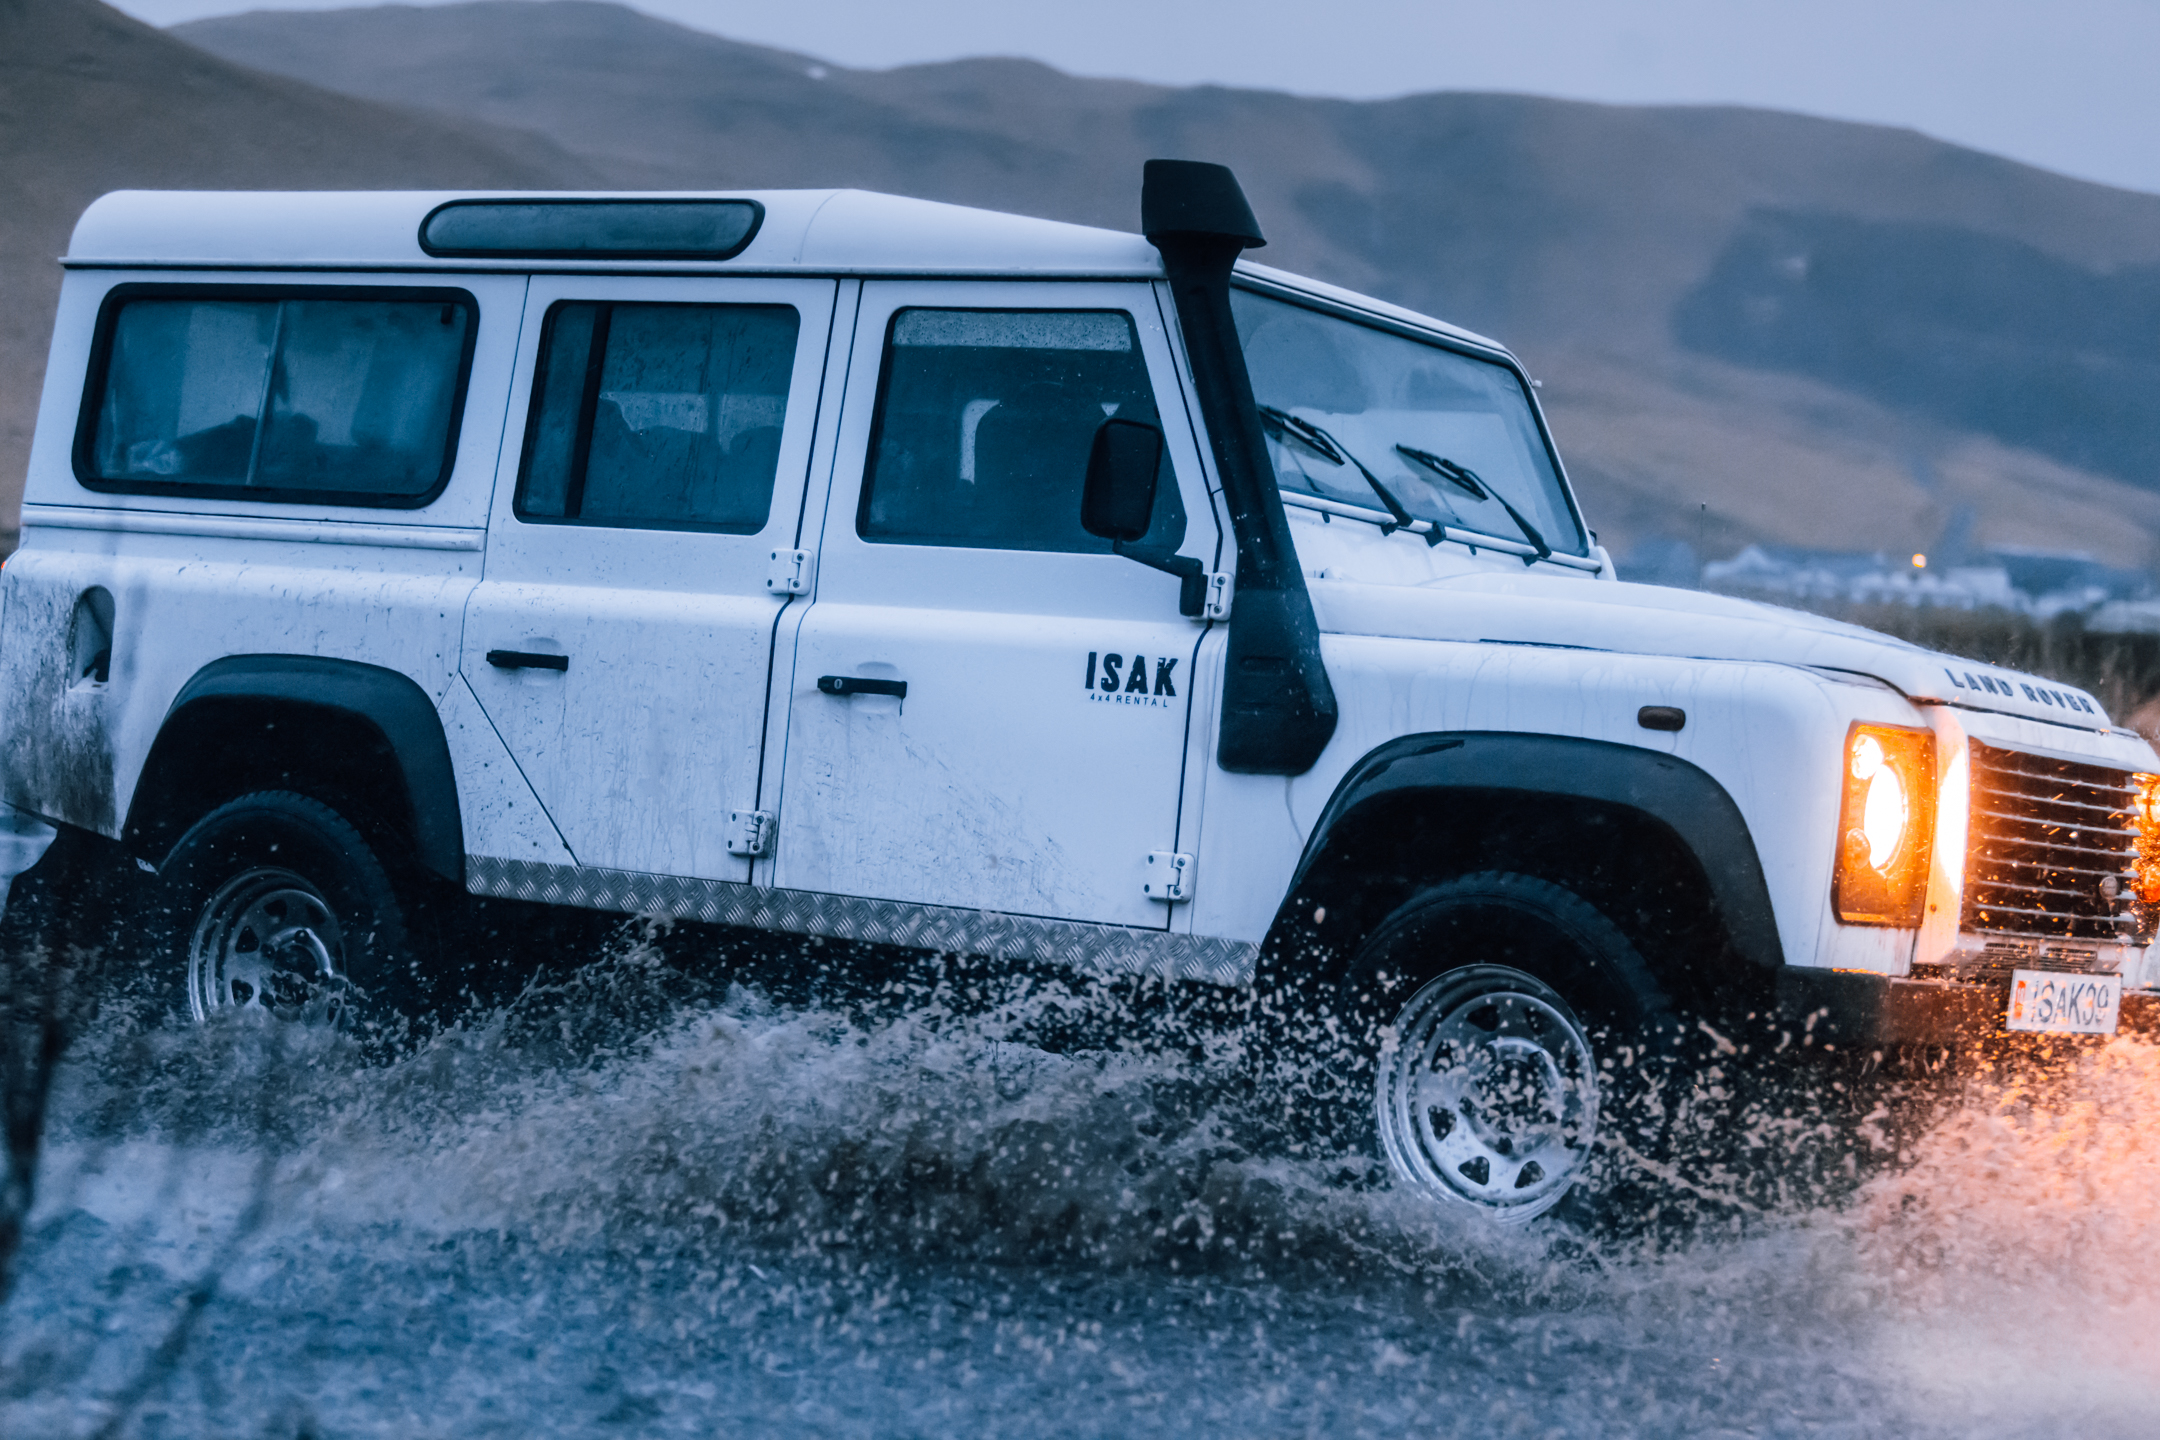
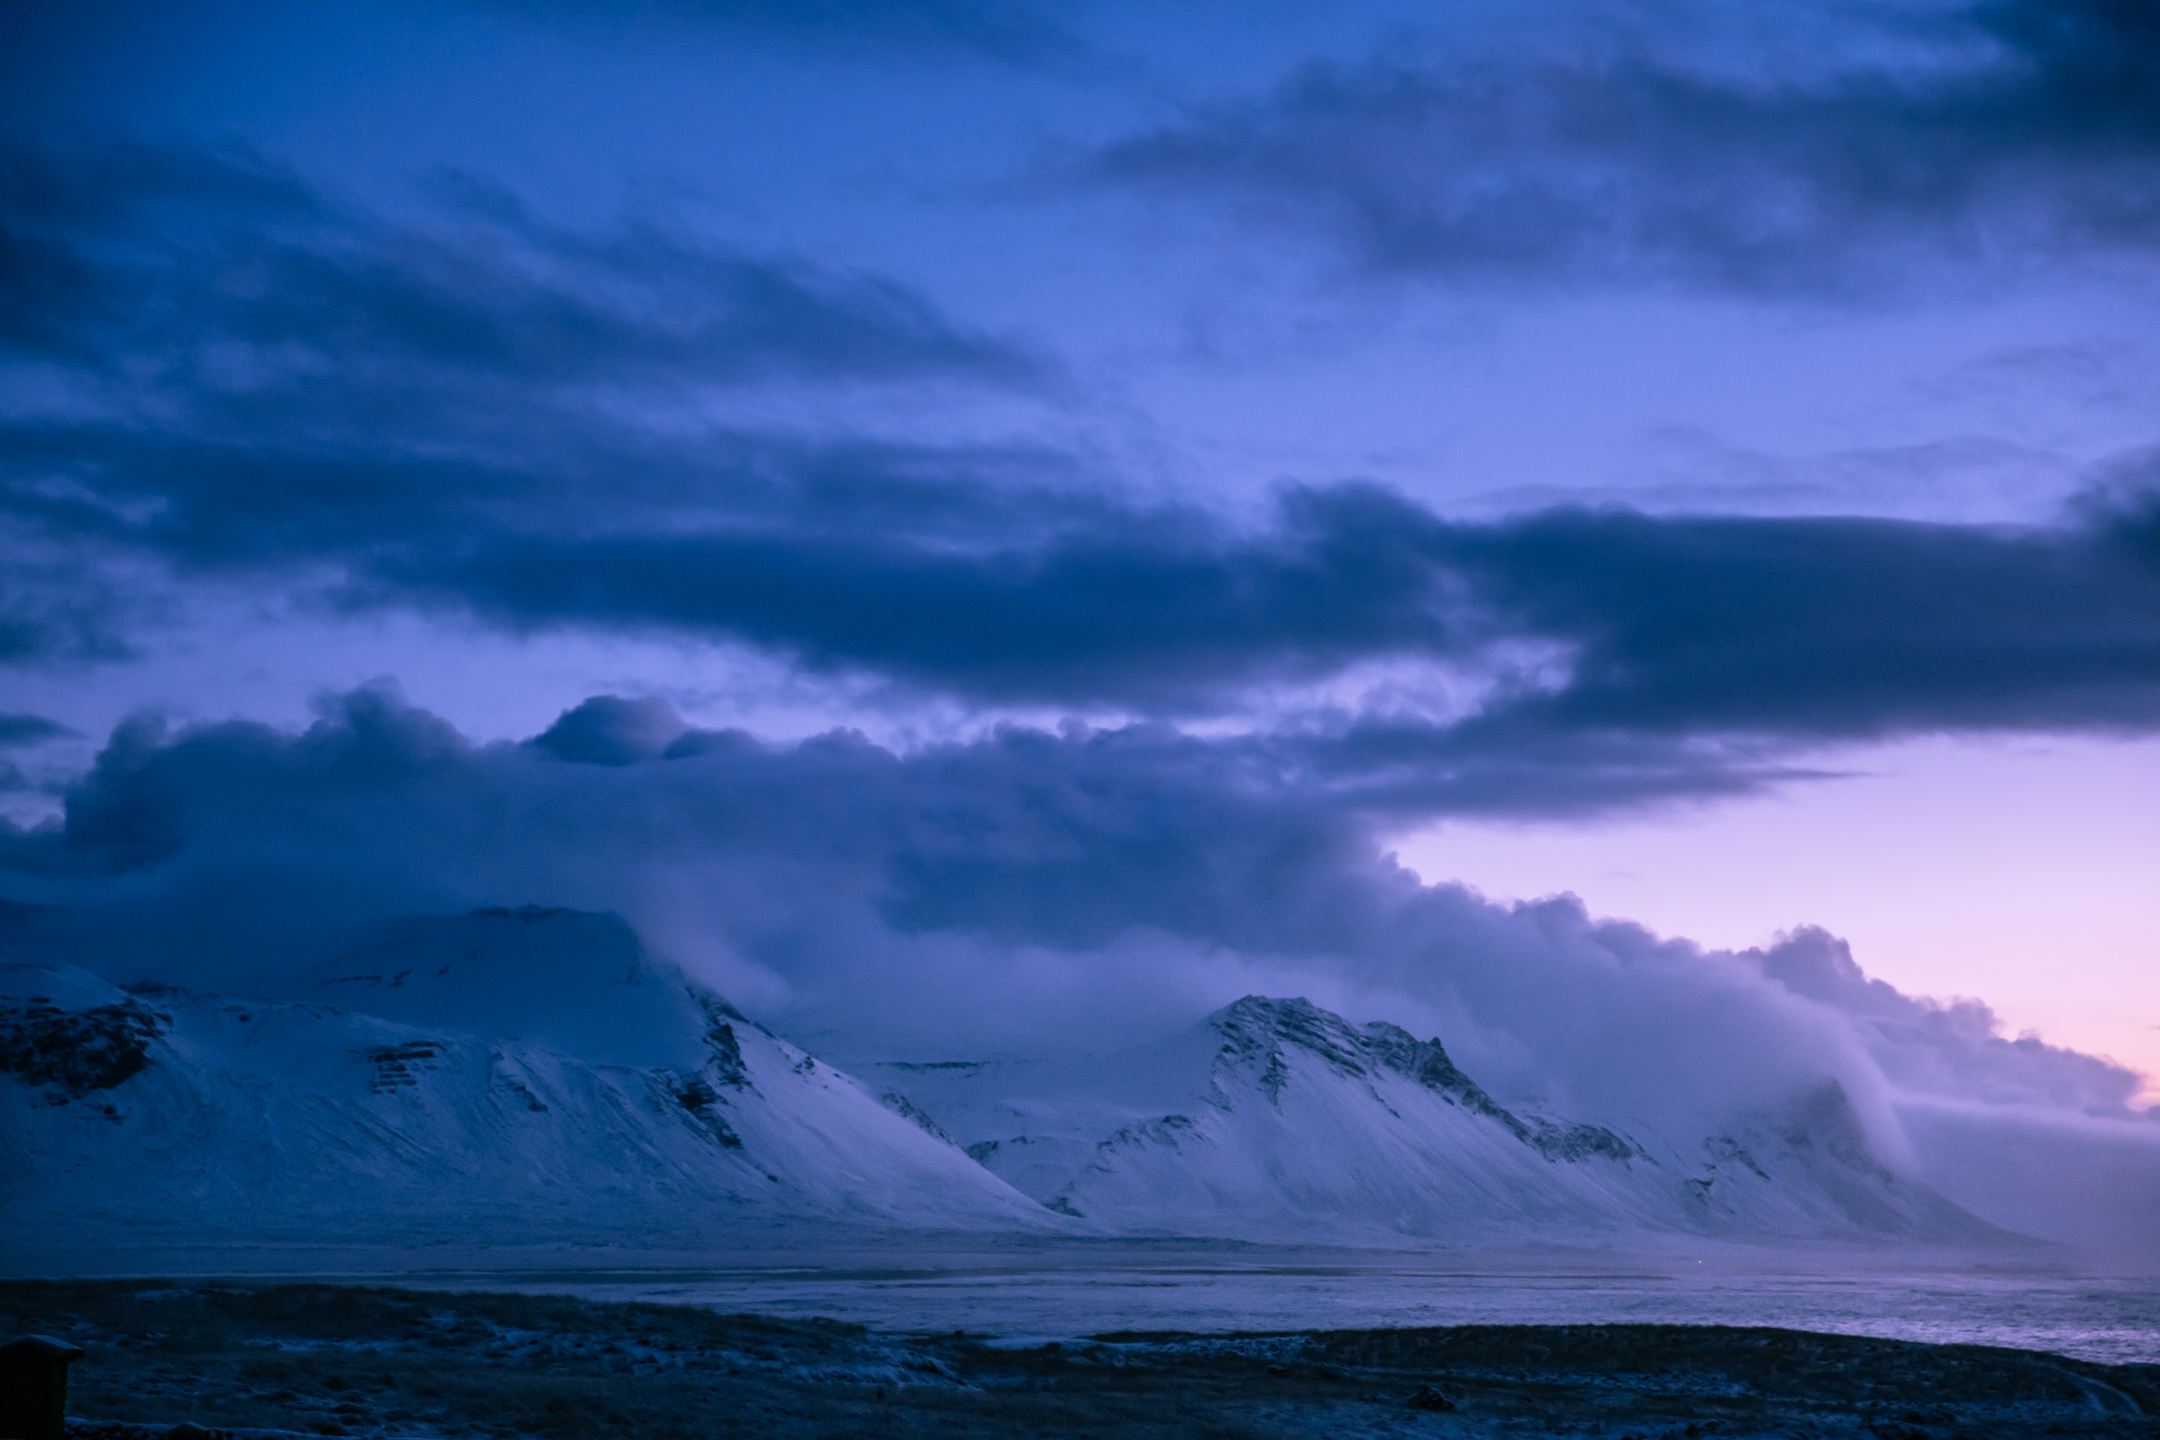
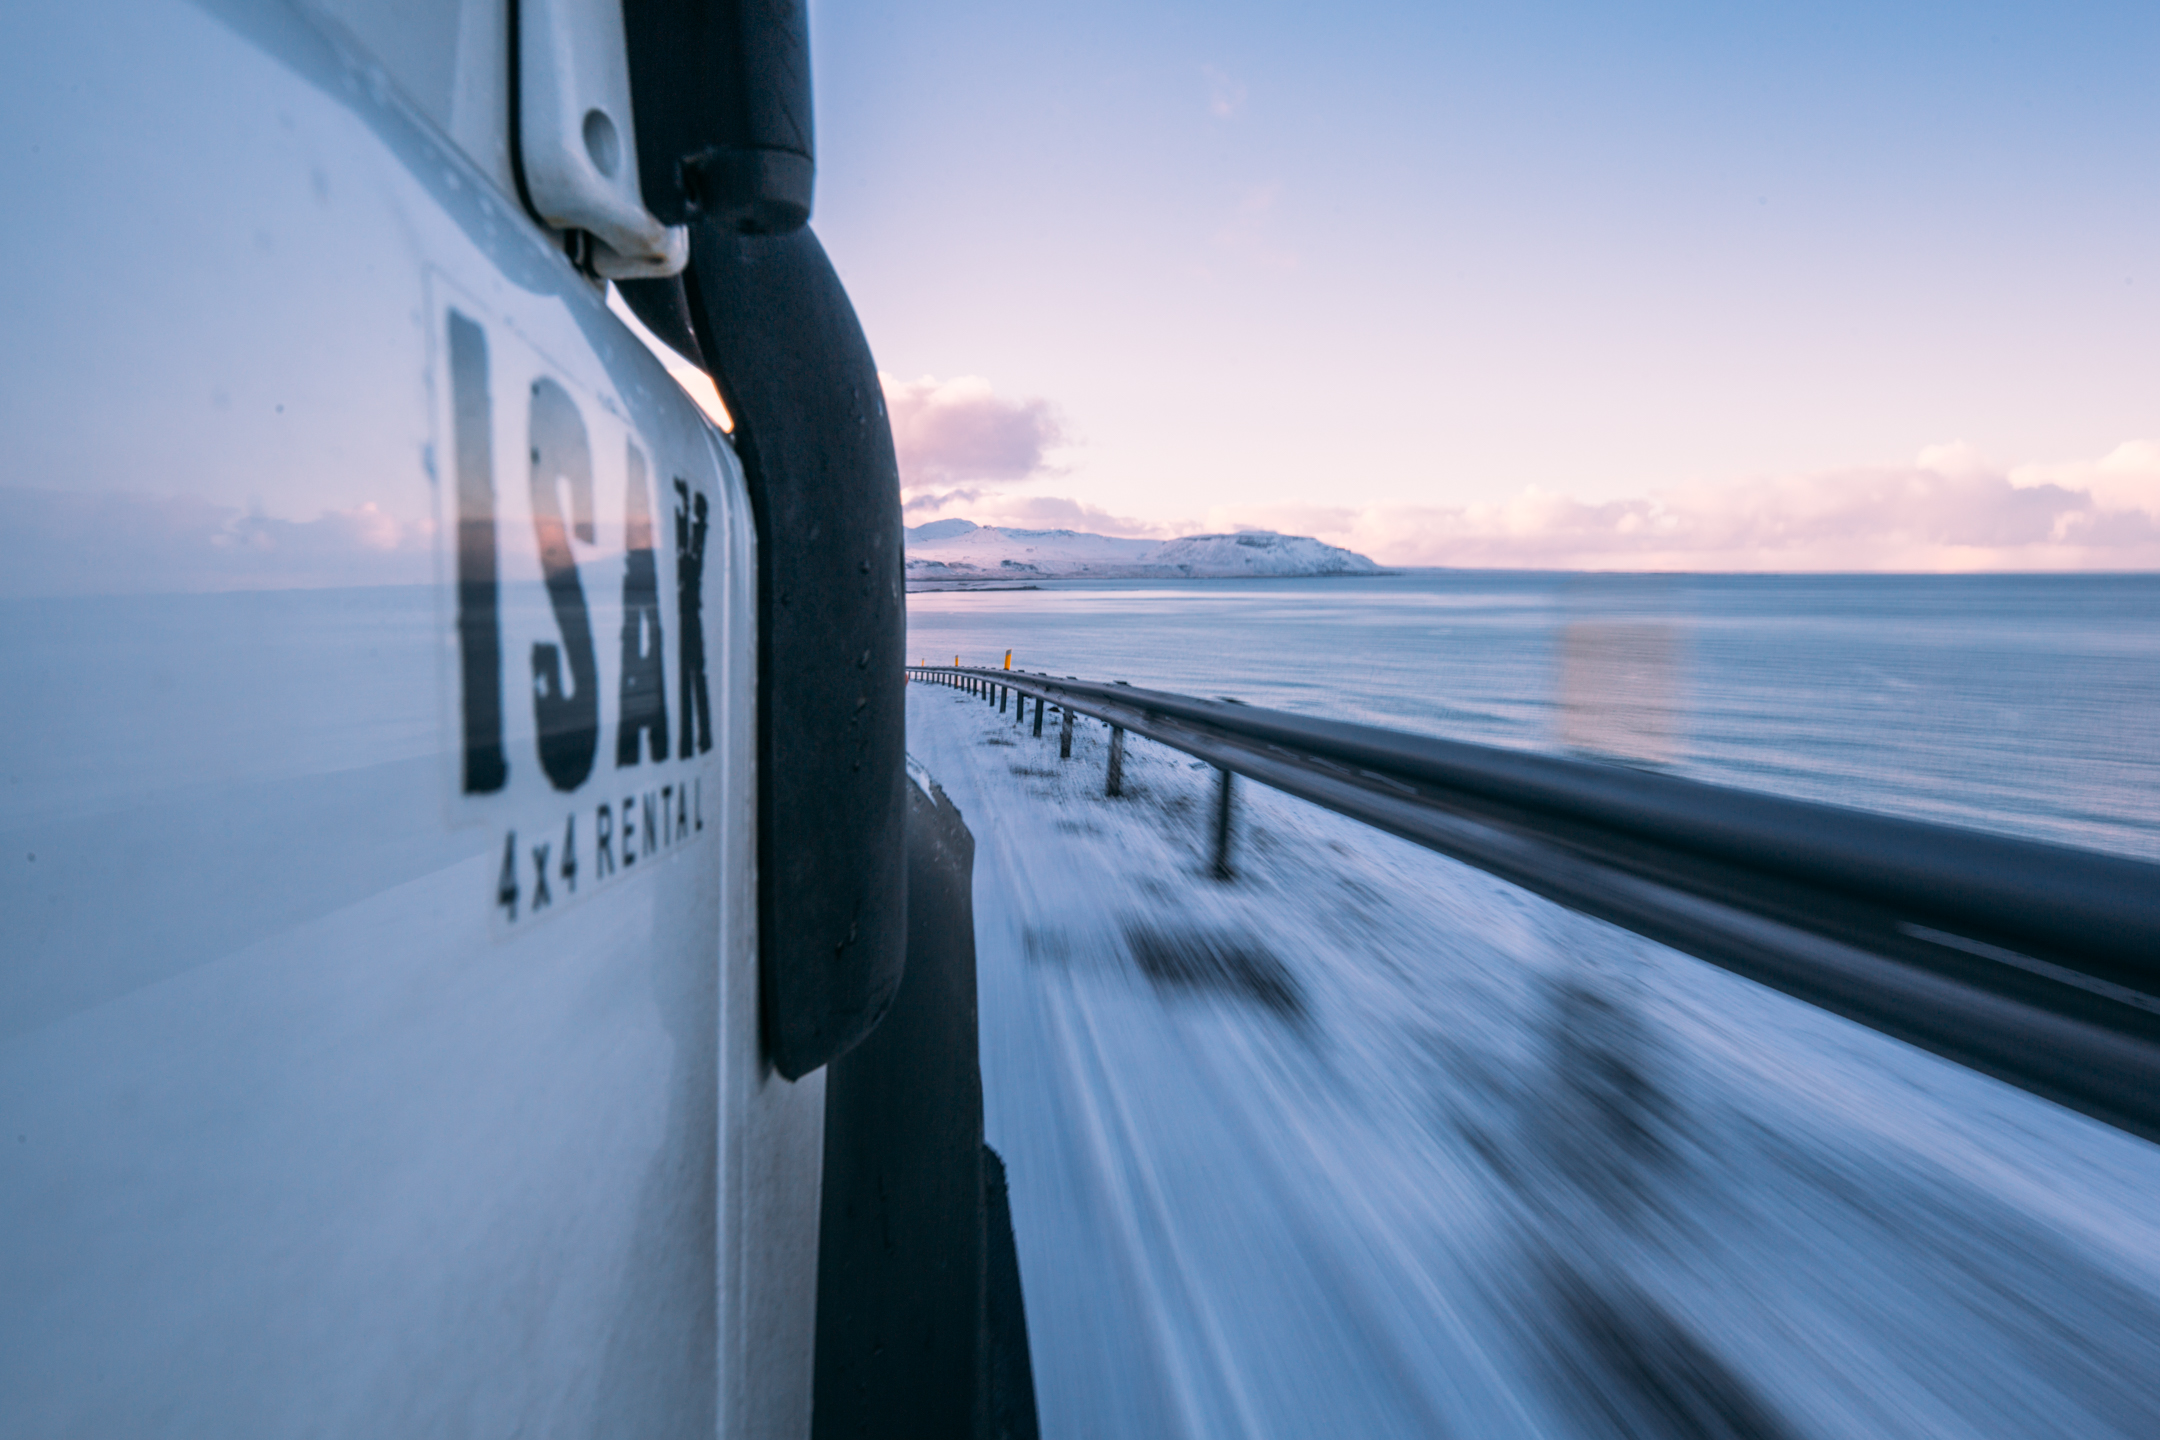
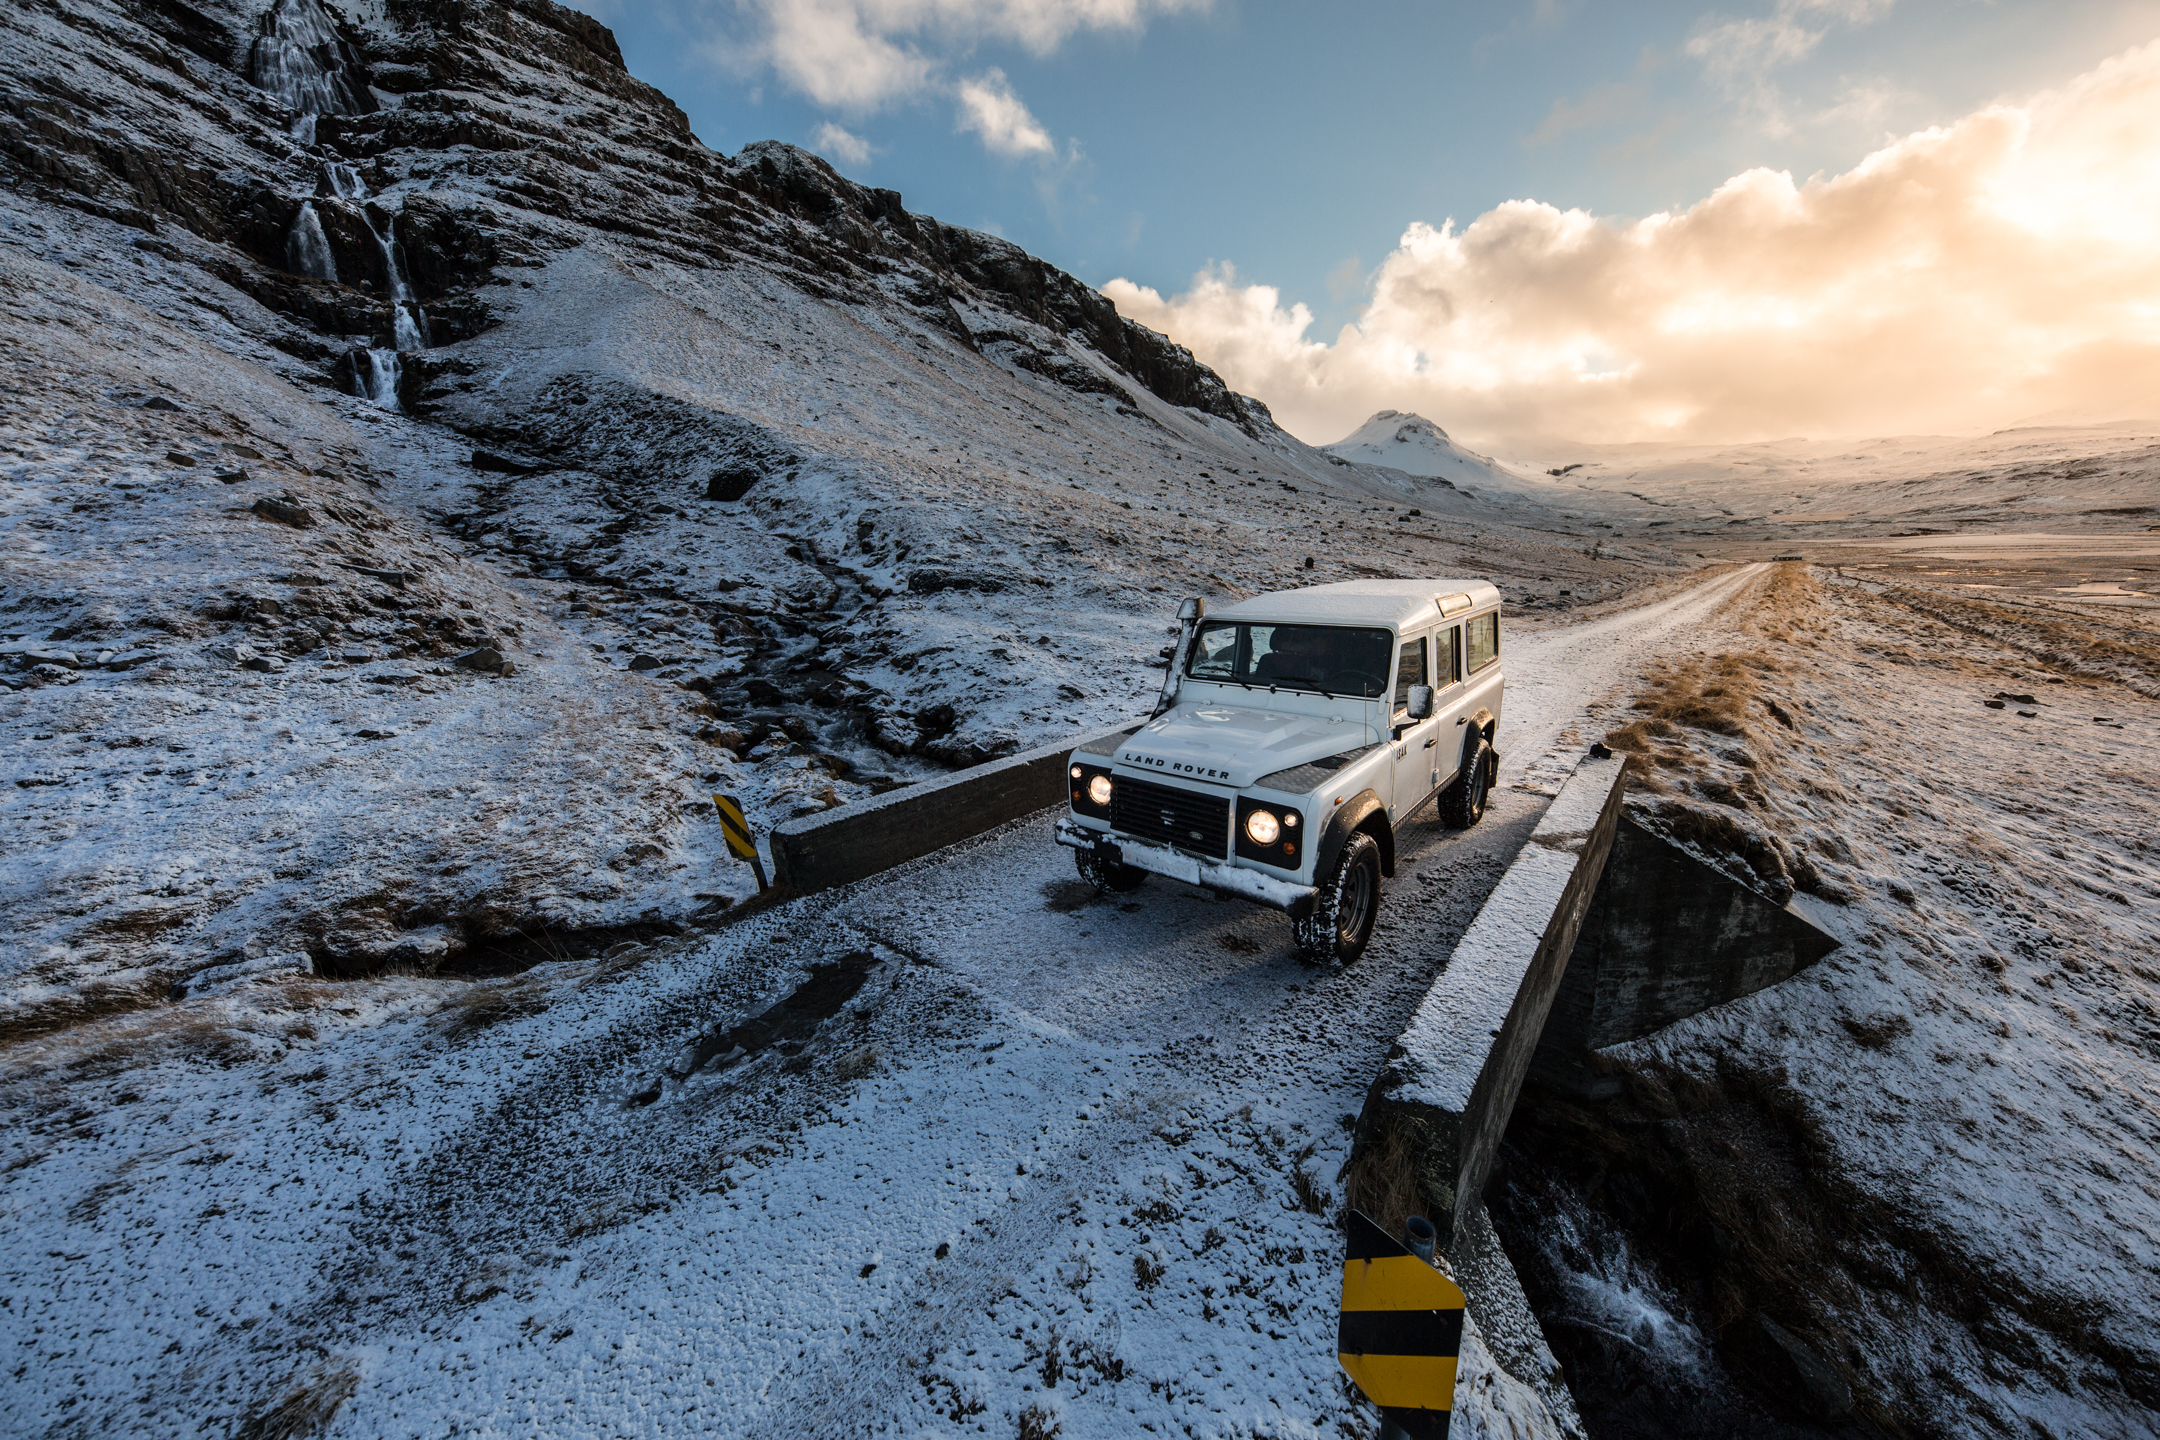
After finding some really inexpensive airlines tickets through WOW Airlines, the 3 of us, Lear Miller, Brian Dunham, and myself decided to travel to Iceland for 6 days. Being my first trip to Iceland I didn't know what all to expect, I had no idea what landscapes should take priority. Luckily going with a friend who's been before made it easier. The first half of the trip we spent driving along the southern coast making our way to Vik, and eventually reaching our furthest eastern point Jokulsarlon. This half of the trip we were pestered by quite a bit of bad weather, we didn't even see sunlight to our 3rd day. We went through a lot of microfibers and plastic bags trying to keep our gear dry, and thank god for Canon's weather sealing, seriously thank you Canon. We then back tracked and made our way past Reykjavik and on to Grundarfjordur. Thanks to Lear we had a very Icelandic Land Rover to cruise in all week from Isak rentals. We stayed in some last minute hostels and vrbo's to keep the expenses down.
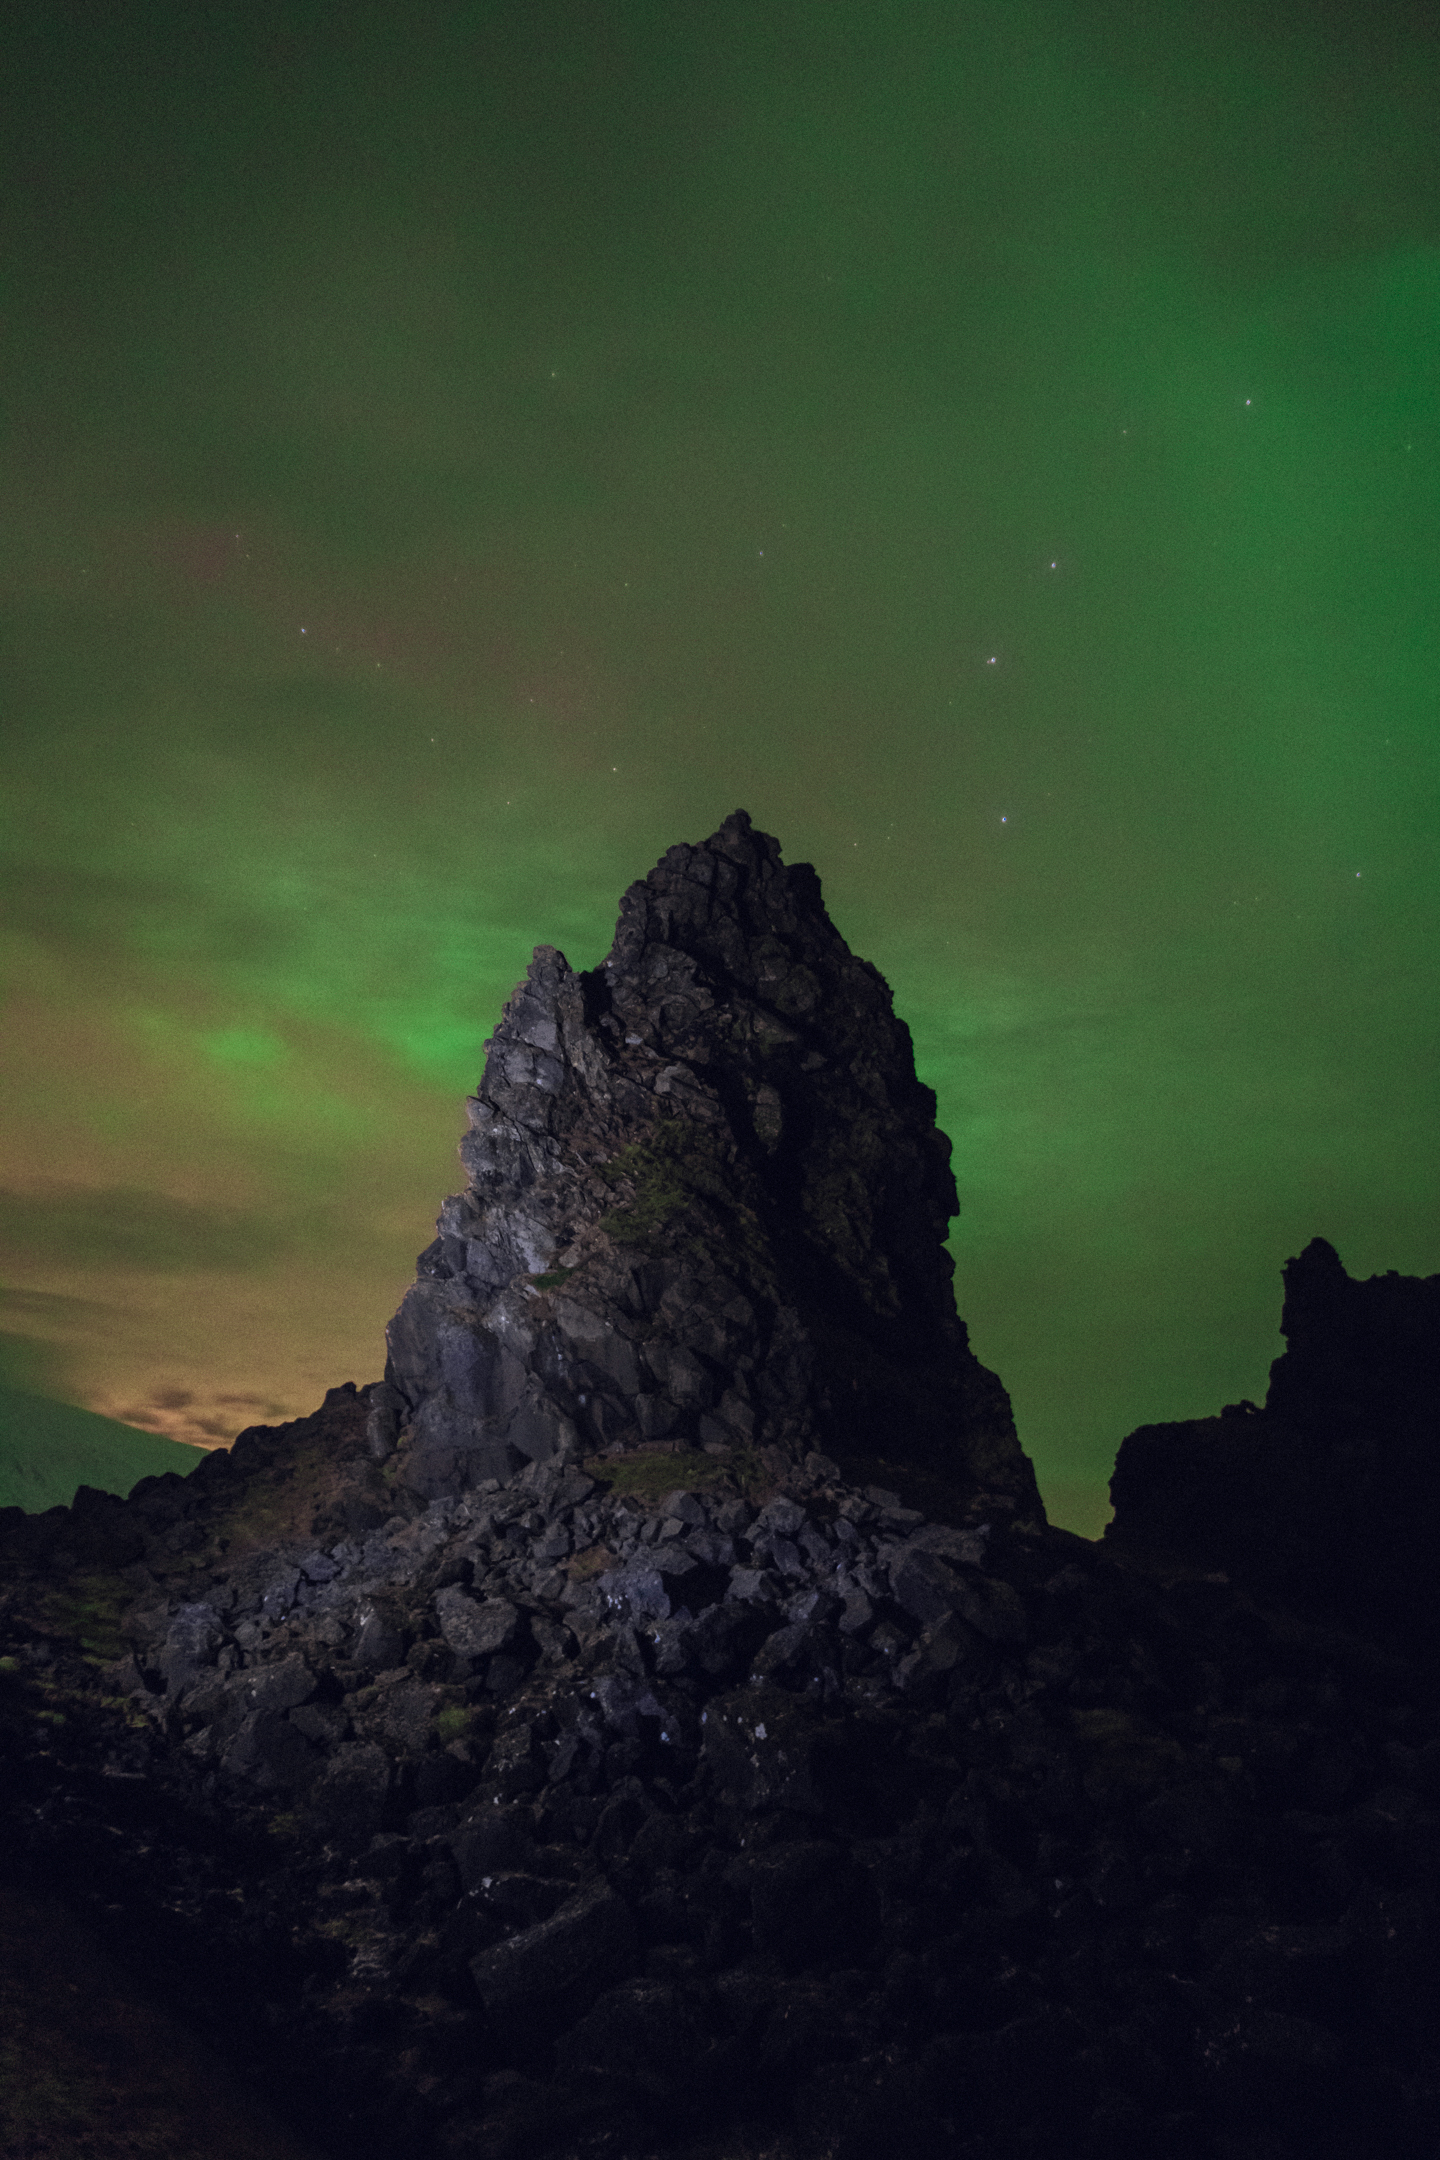
Only having 6 days on the very photogenic island means we spent a lot of time driving to make sure we could see as much as we possibly could. Most days we spent at least 5 hours in the car. On the plus side due to the short hours of winter we were able to get most the driving done in the dark, but this also meant not having much daylight to work with. By our last day we had still yet to see any northern lights, except for the epic show we got on the plane ride in. Luckily the photo gods were on our side and gave us a nice parting gift with some northern lights near Hellnar.
Since Iceland is blasted all over Instagram I felt like I had already seen it all. It was weird being so familiar with a place I have never been. In a way it desensitized some of my excitement, that along with my constant necessity to capture photos every waking second. I made it a point several times on the trip to hike up to a ridge line or find non populated areas to be by myself. I would put down the camera and appreciate the landscape in front of me. On my adventures I find it very easy to live through my camera and not through my eyes. I think its easy to have a disconnect with nature because of technology. While capturing the memory or creating photographs from these places is fulfilling in its own way, I think the mind likes to be unencumbered by distractions for a few moments to enjoy why you're there in the first place.
Iceland is a beautiful country that has photogenic landscapes around every corner, but there are some problems that need to be addressed. Iceland now relies on tourism for about 31% of its economic earnings. Tourism is on the rise in Iceland, growing from around 400,000 in 2010, to 1.2 million in 2015, and a projected near 2 million in 2017. Although this is wonderful for their economy it's destroying a lot of the landscapes. I couldn't believe how much trash I would see in these beautiful locations. If we want to preserve the planet for future generations to enjoy the privileges we have now, we have to do our part and simply pick up after ourselves.
Suggestions
- Don't plan on the weather. The saying in Iceland is the weather changes every 10 minutes. This means if you're traveling in the winter, be ready for rain and snow storms. Also with a lot of cloud coverage and often having weak viewing of the northern lights, don't plan on them. But if you do find a clear night they can be easily over looked. On nights when the lights are weak they almost look like white clouds.
- Bring shit to keep your gear dry. Plastic camera bags, towels, etc.
- Don't leave your wet gear in your bag. Let it dry out. If you don't the lens will condensate and you'll have a nice foggy spot that doesn't go away till the lens temperature acclimates to the outside weather which takes about 20 mins.
- Try to have a plan. Although i'm not one to like super structured plans while exploring, Iceland has so much to see that you could easily drive past something worth stopping at and not even know it.
Locations visited
Oxararfoss
Seljalandsfoss
Skógarfoss
Dryholaey
Kirkjufjara beach
Jokulsarlon
Kirkjufellsfoss
Snaefellsjokull lighthouse
Grindavik lighthouse
Gear Used
Camera: Canon 5D mk iii
Lenses: SIGMA 12-24mm f4 art, 20mm f1.4 art, 50mm f1.4 art.
CANON 24-70mm f2.8 v ii, 70-200mm f2.8
Bag: Tamrac 7x
Tripod: Slik Pro 340DX
Misc: PNY 128gb memory cards. Black Rapid cross shot sling camera strap. Lots of microfibers. Headlamps for light painting.


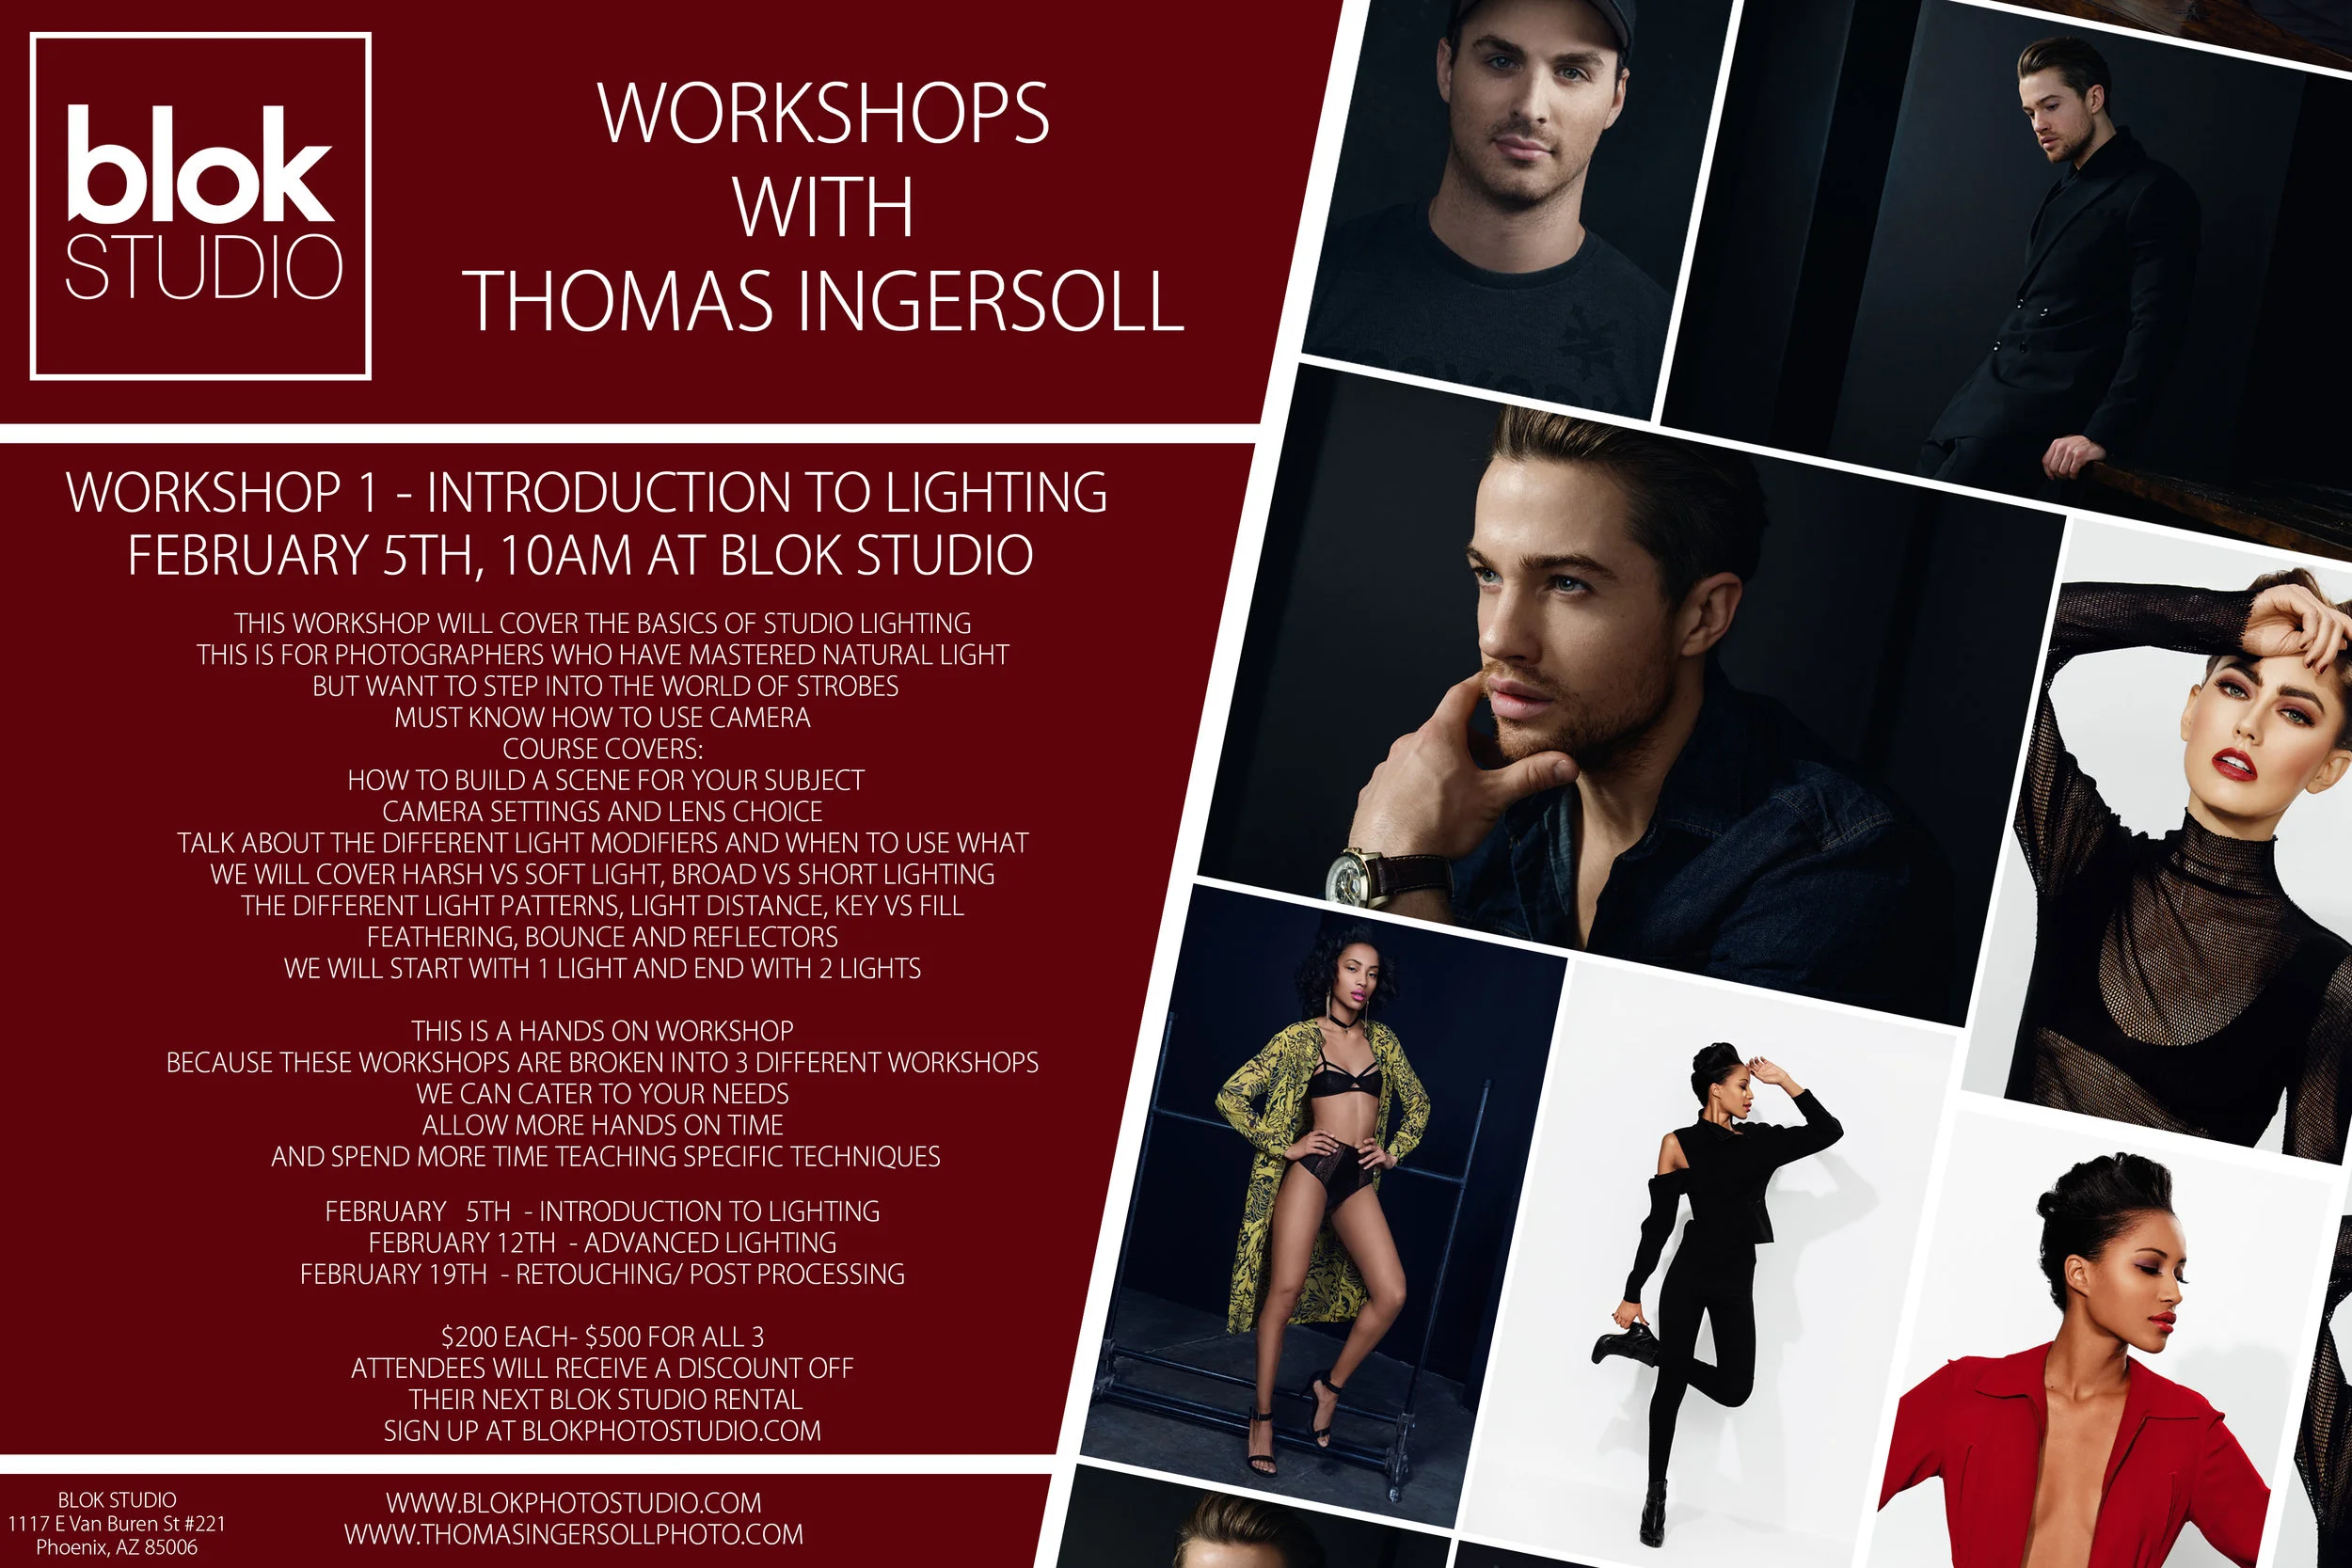
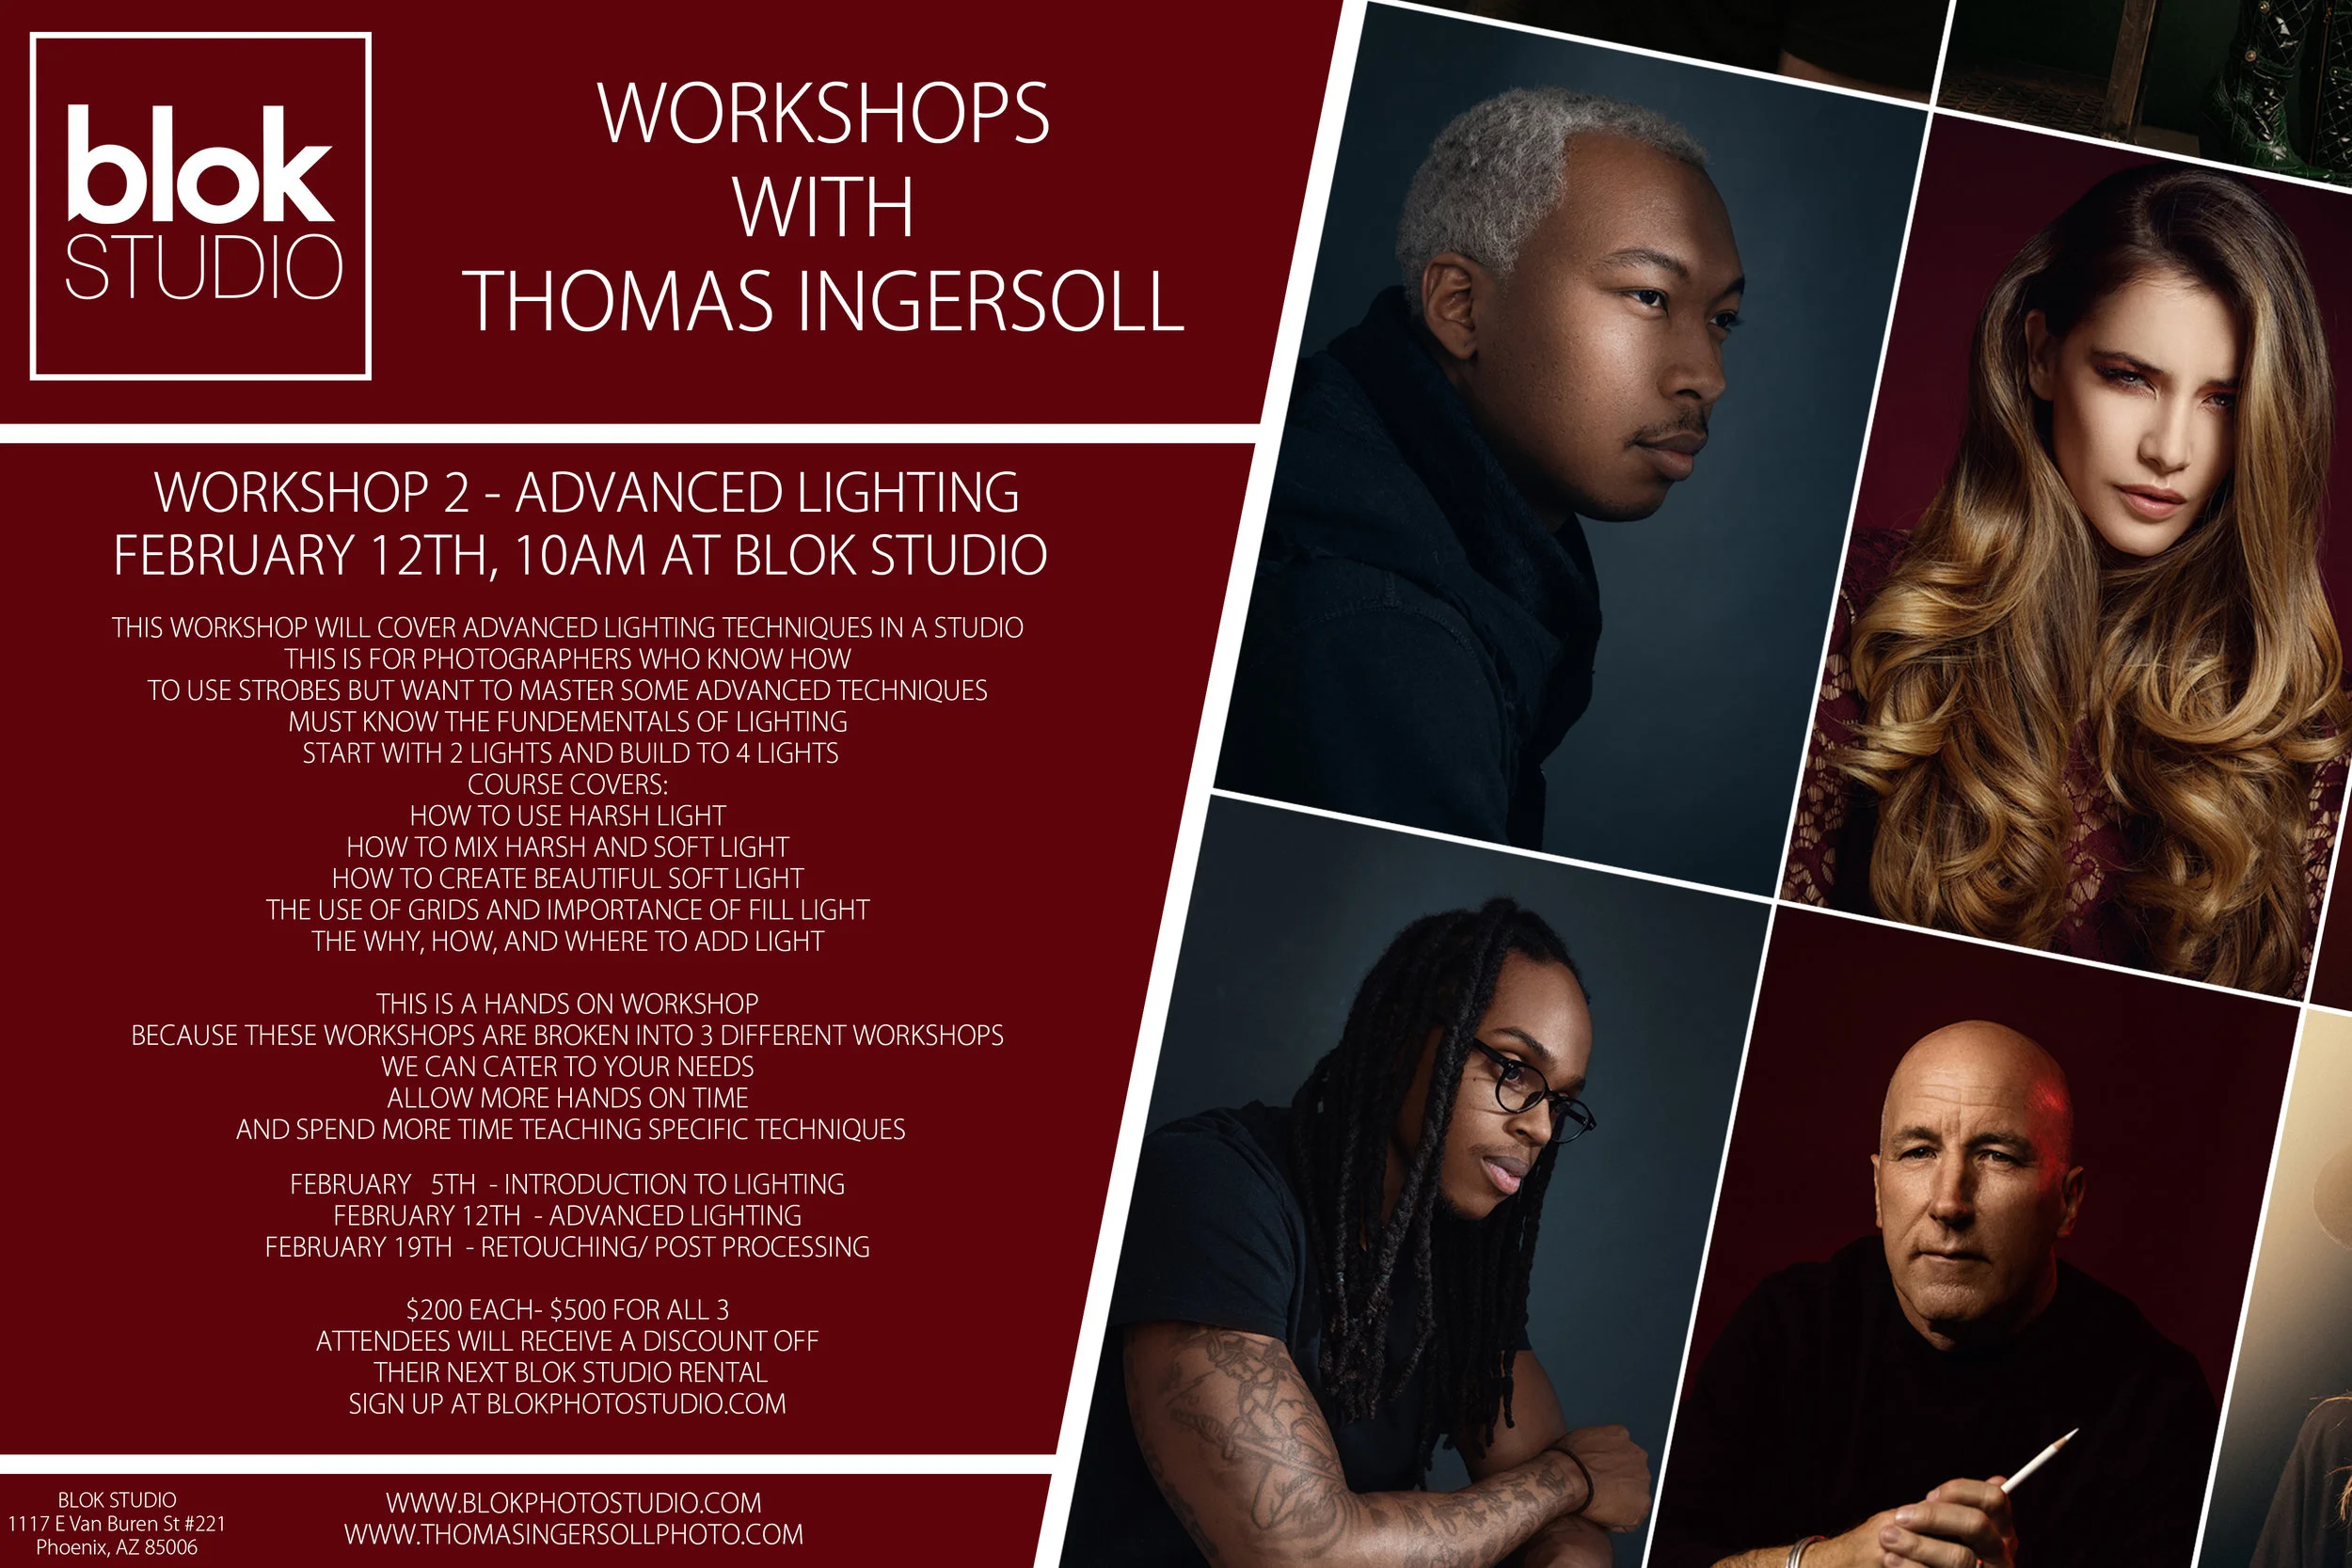
Workshop announcement
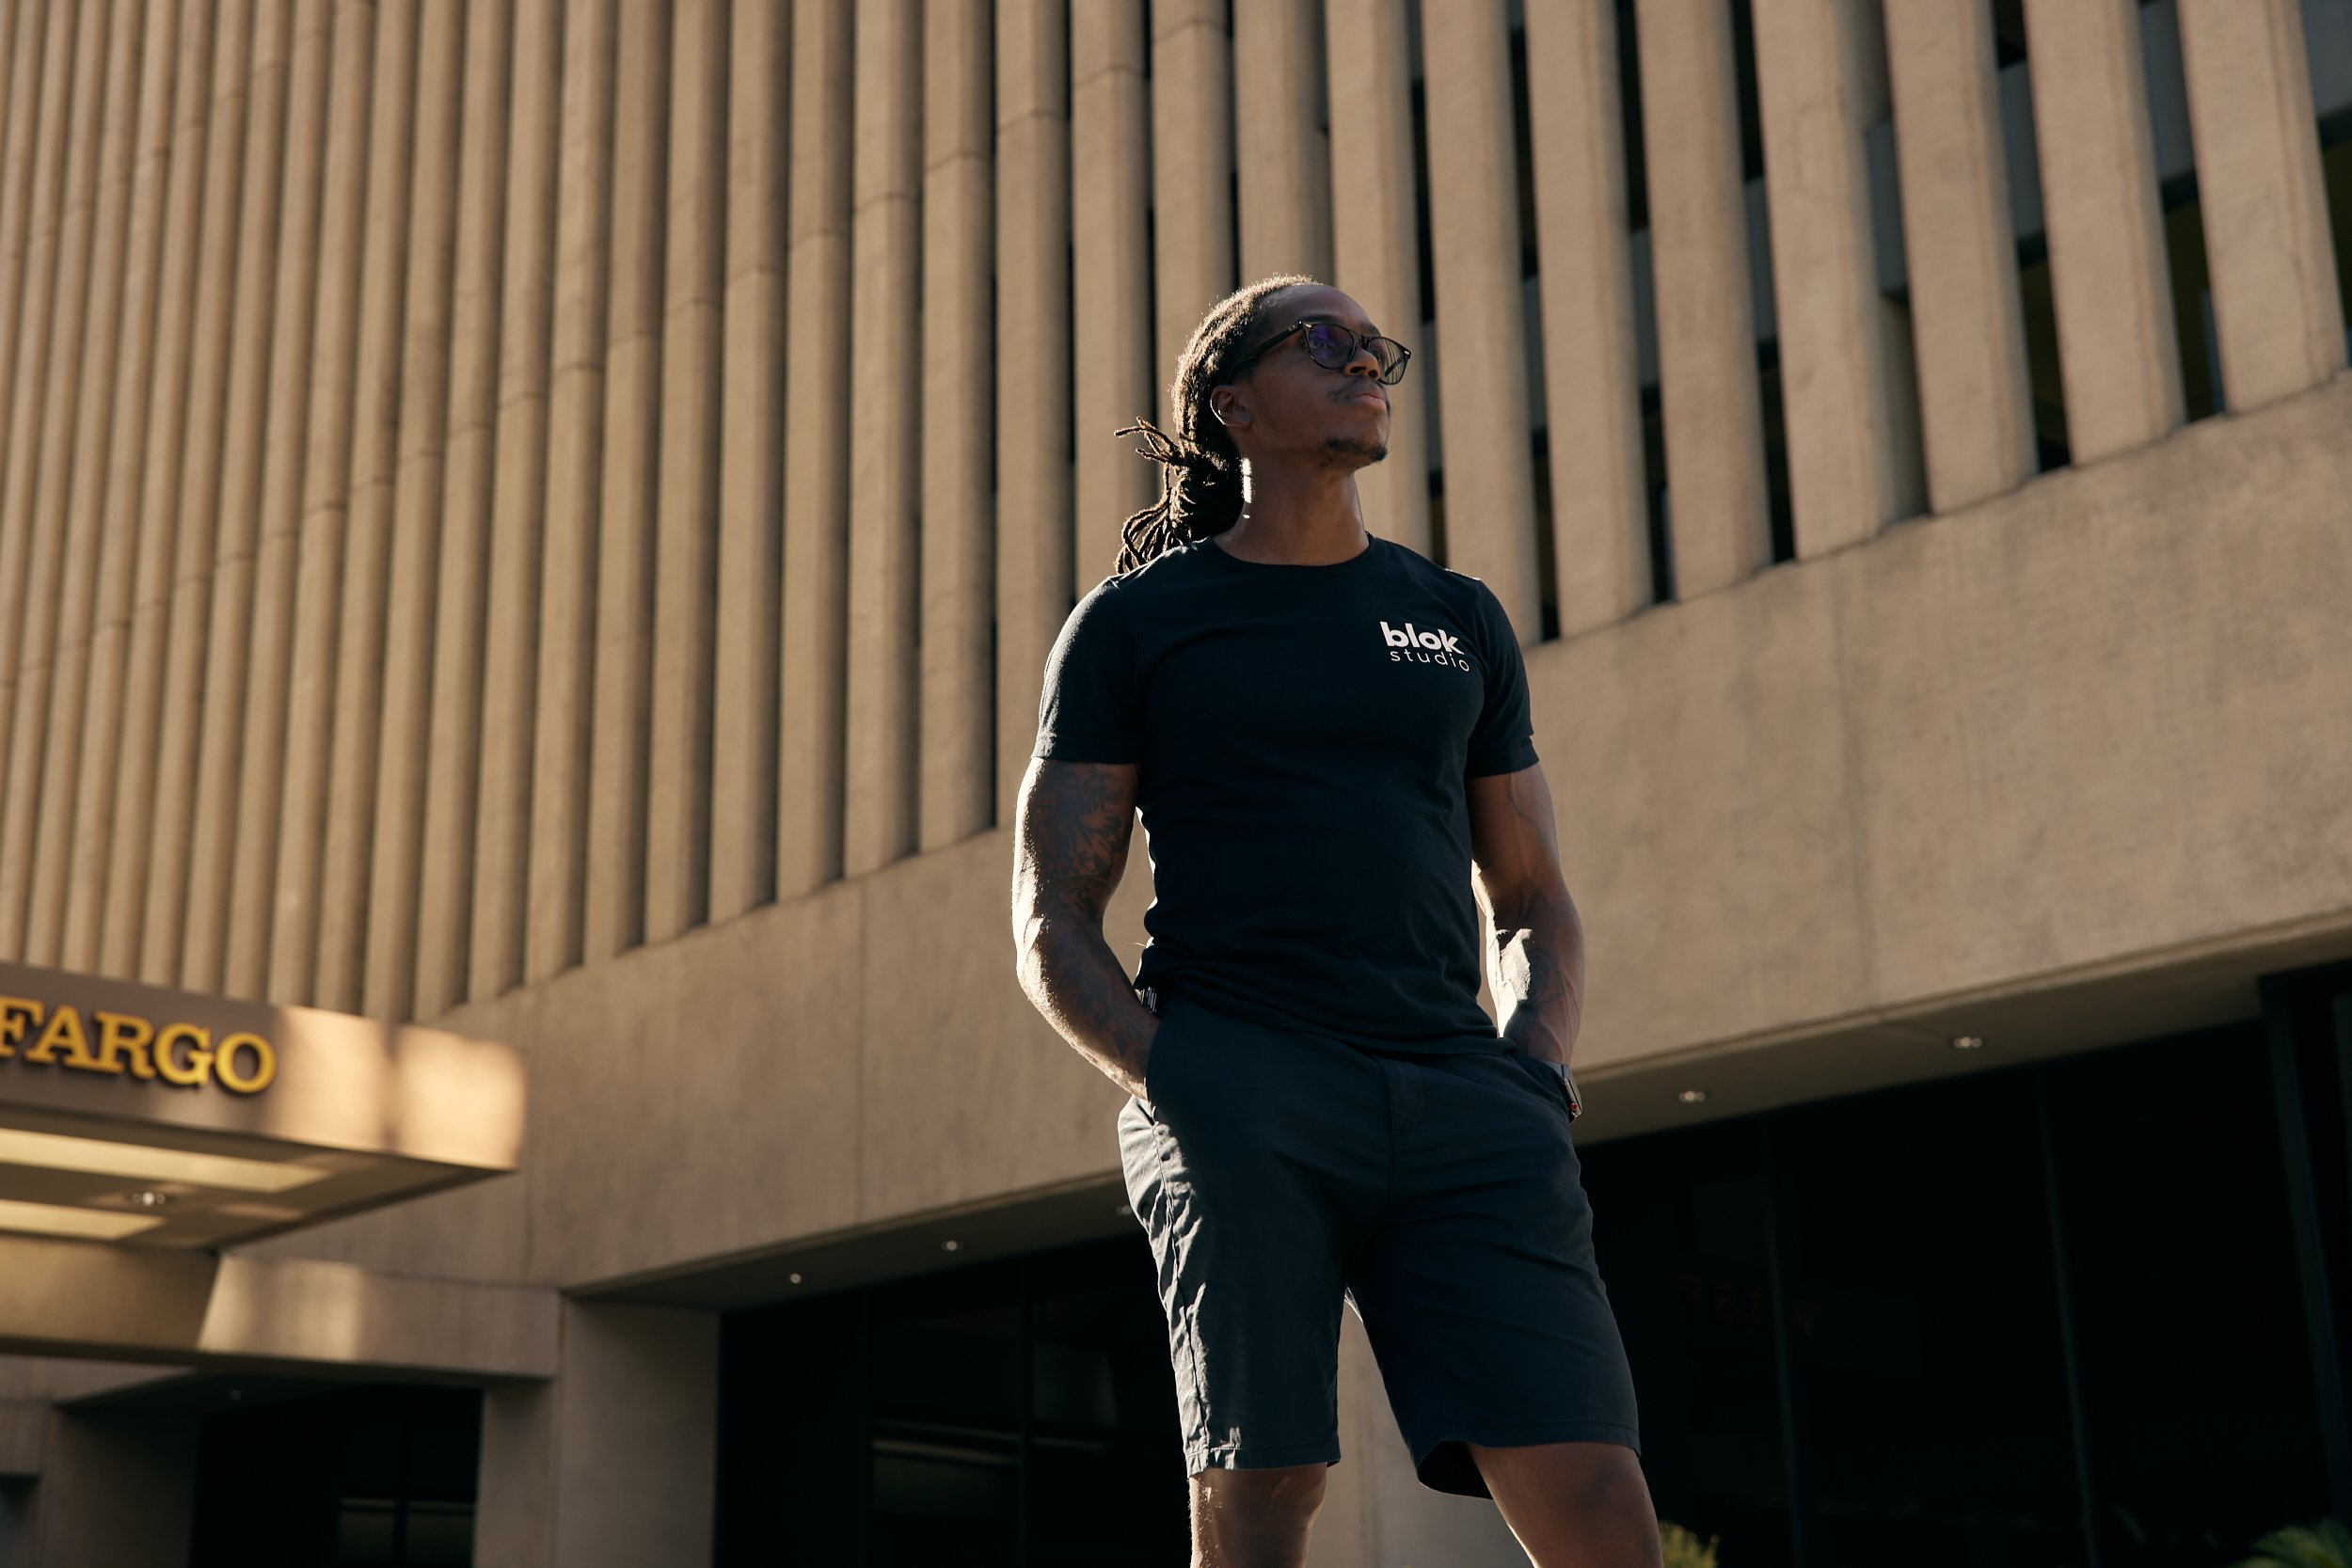
I'm happy to announce that I will be teaching a series of classes at Blok Studio in February. The 3 seperarate classes will intro to studio lighting, advanced studio lighting, and retouching/ post processing. Go to Blokphotostudio.com for more info and to sign up.

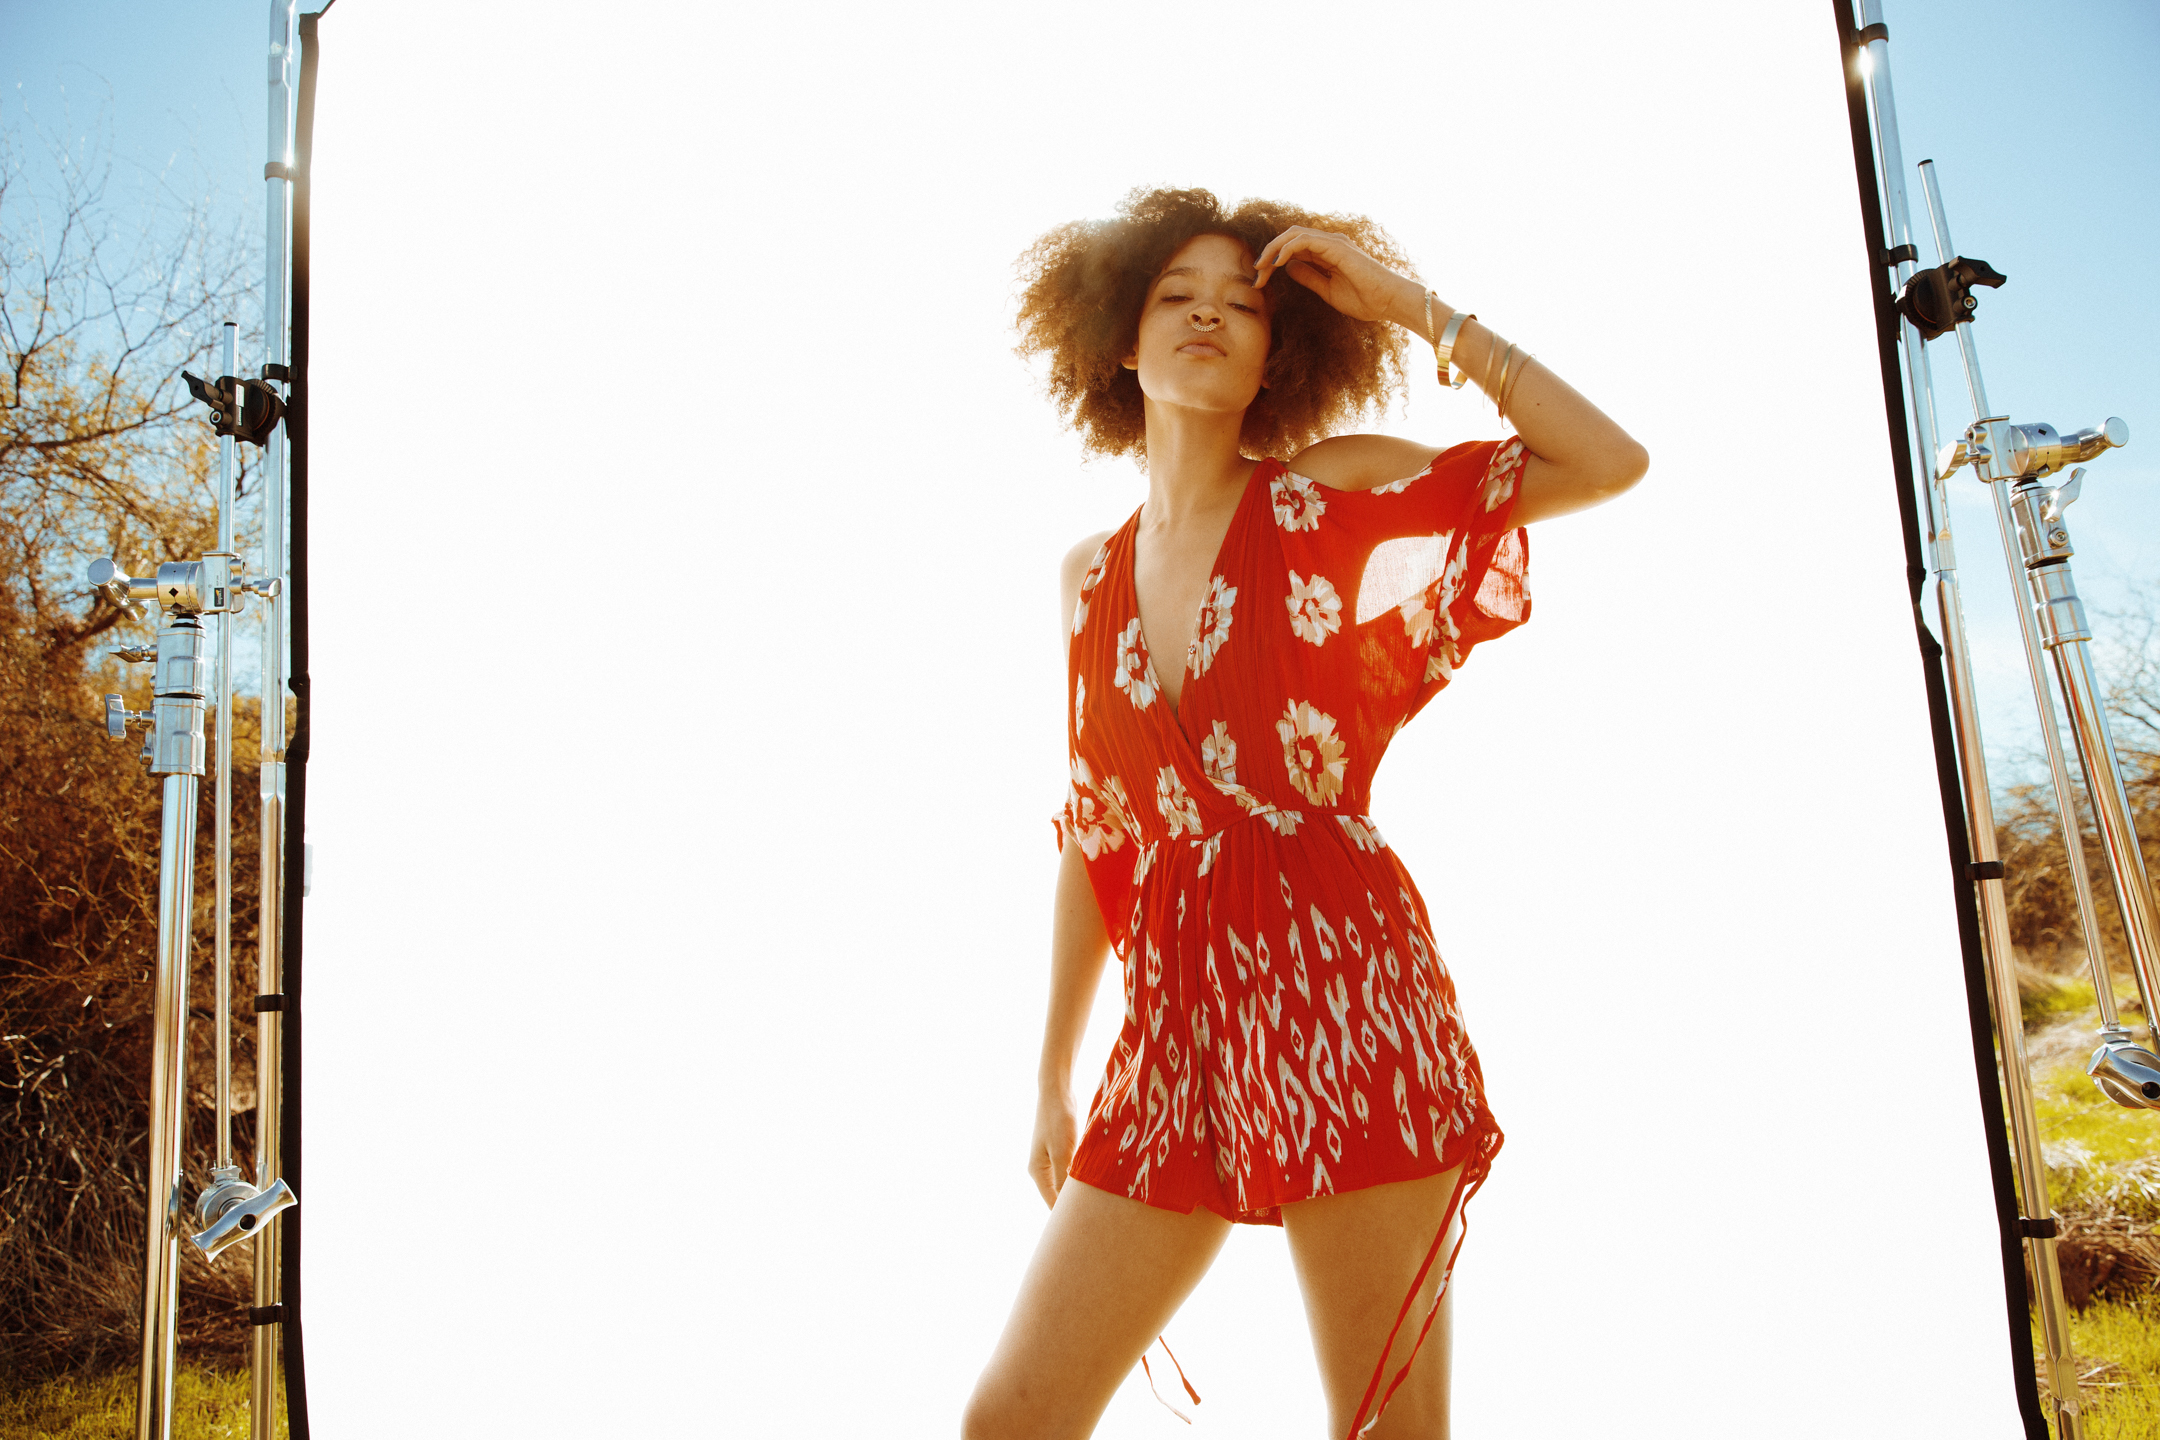
Shooting in direct sun with no modifiers.
I've decided to start a blog. This will mostly be an amalgam of information about techniques, behind the scenes, retouching, and personal work.
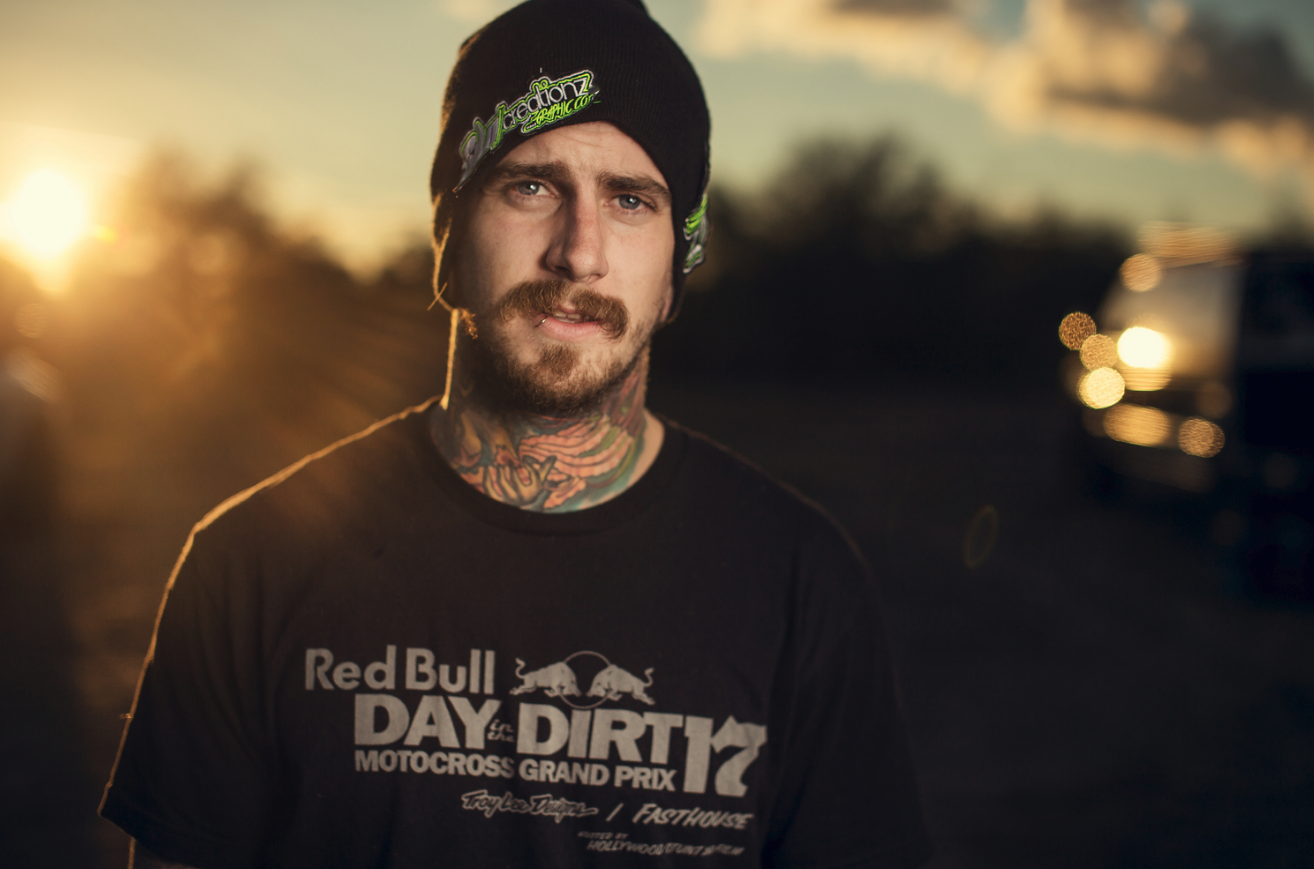
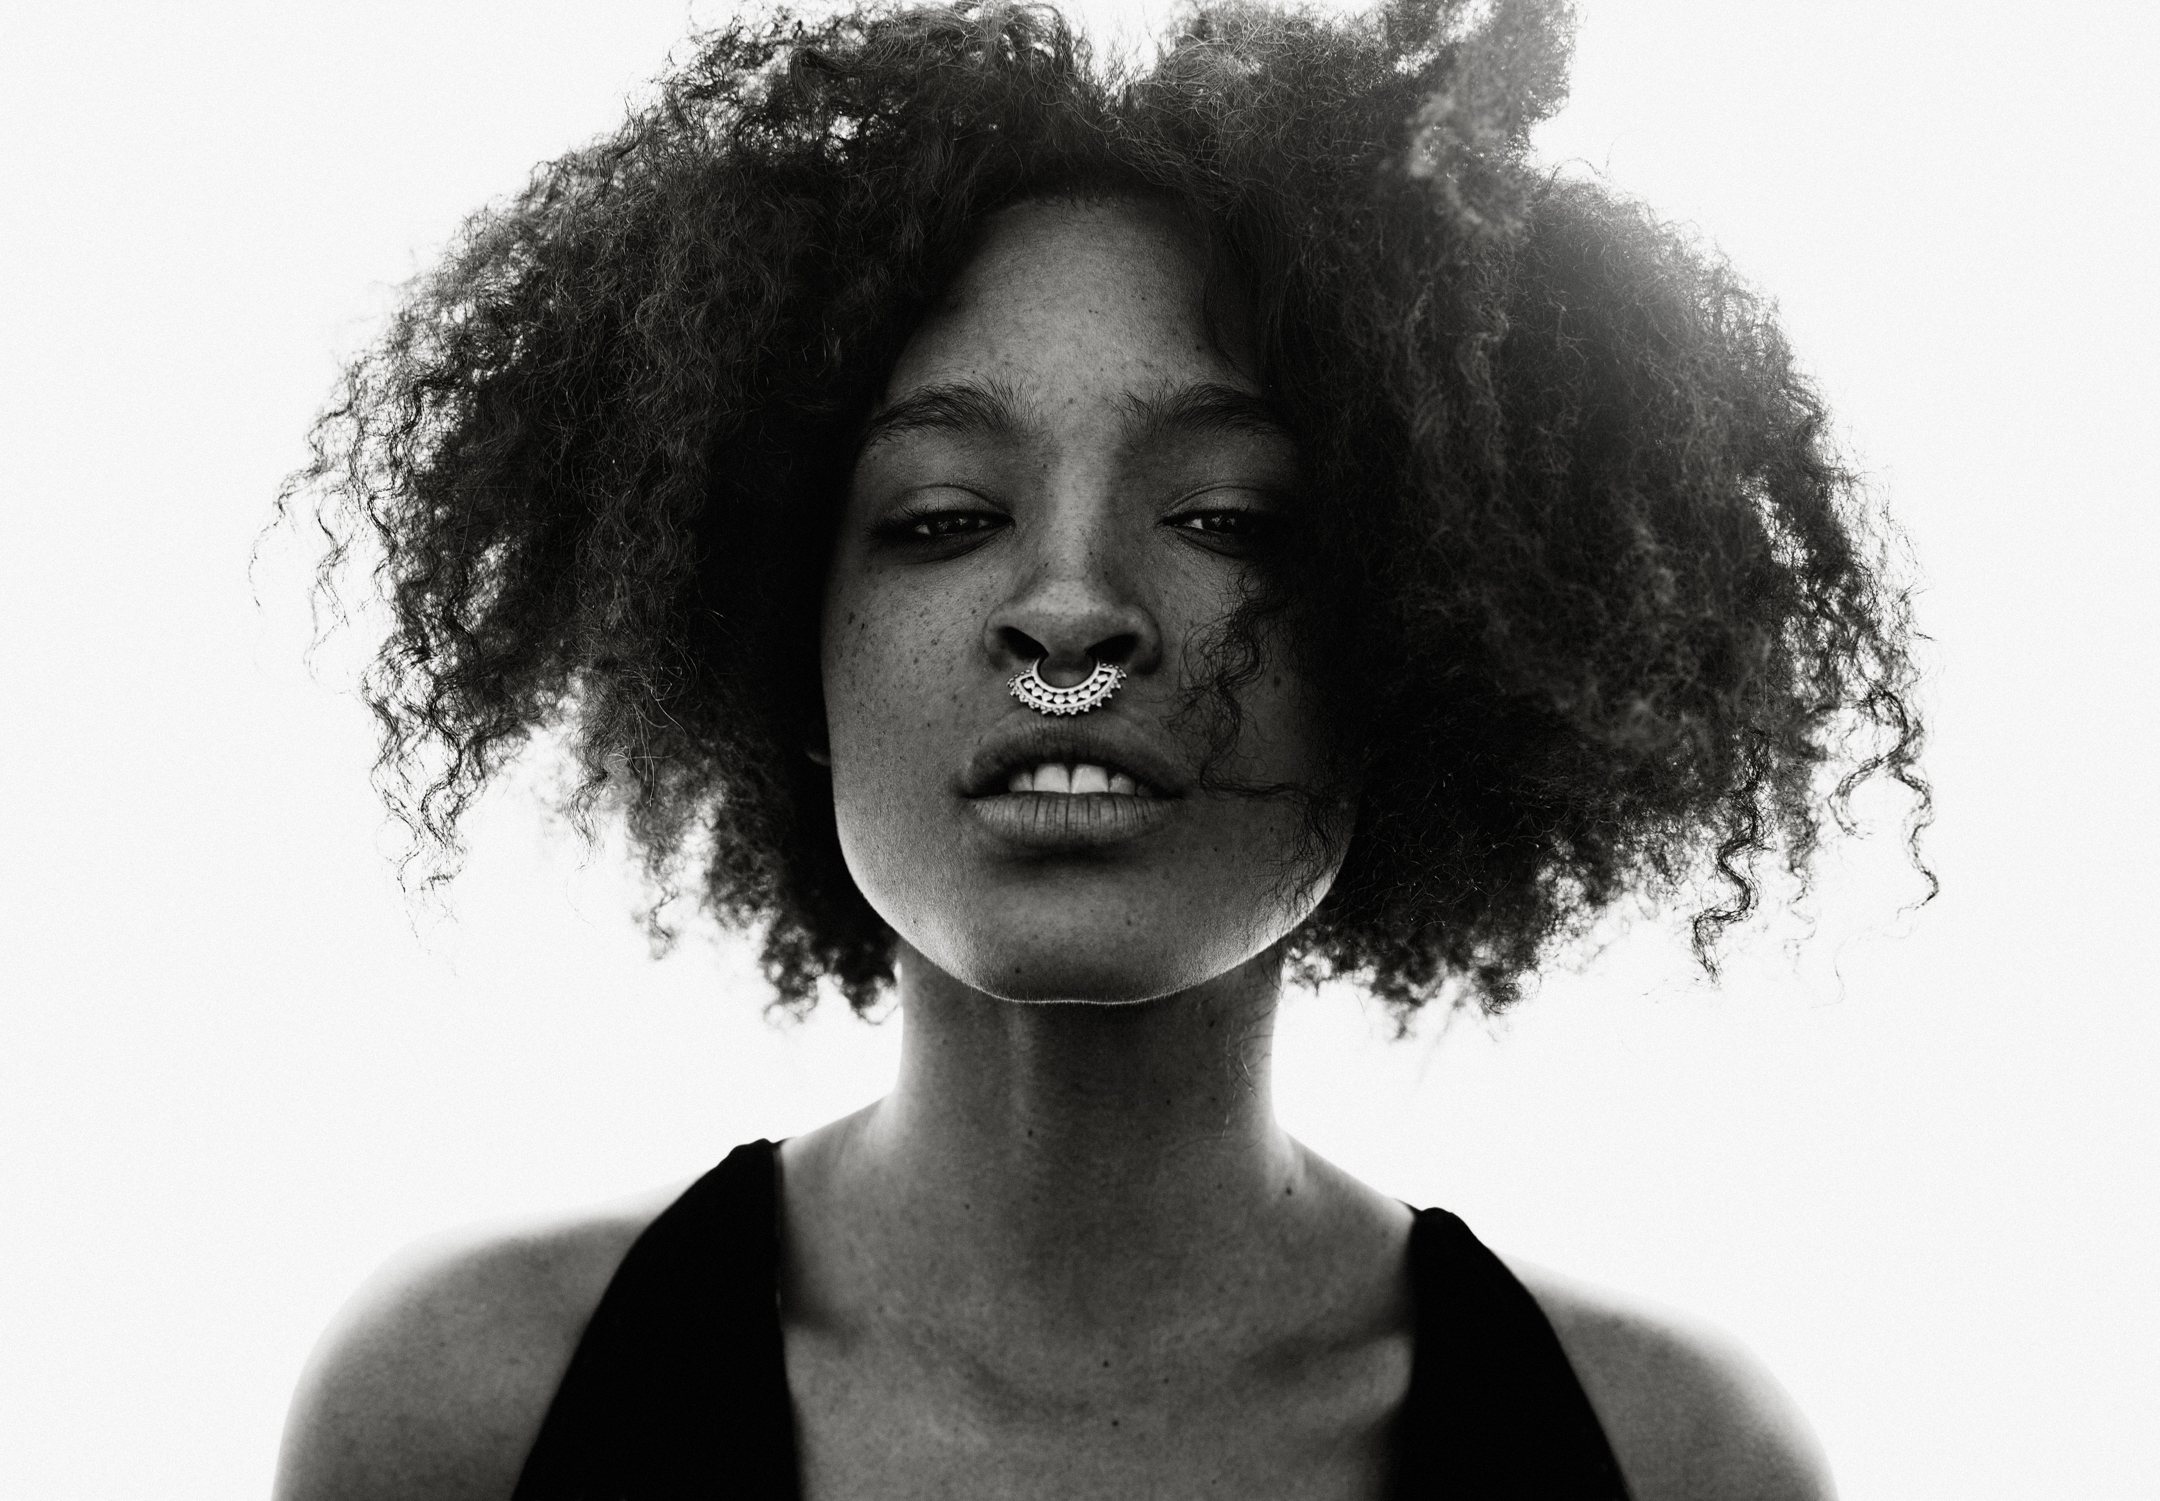
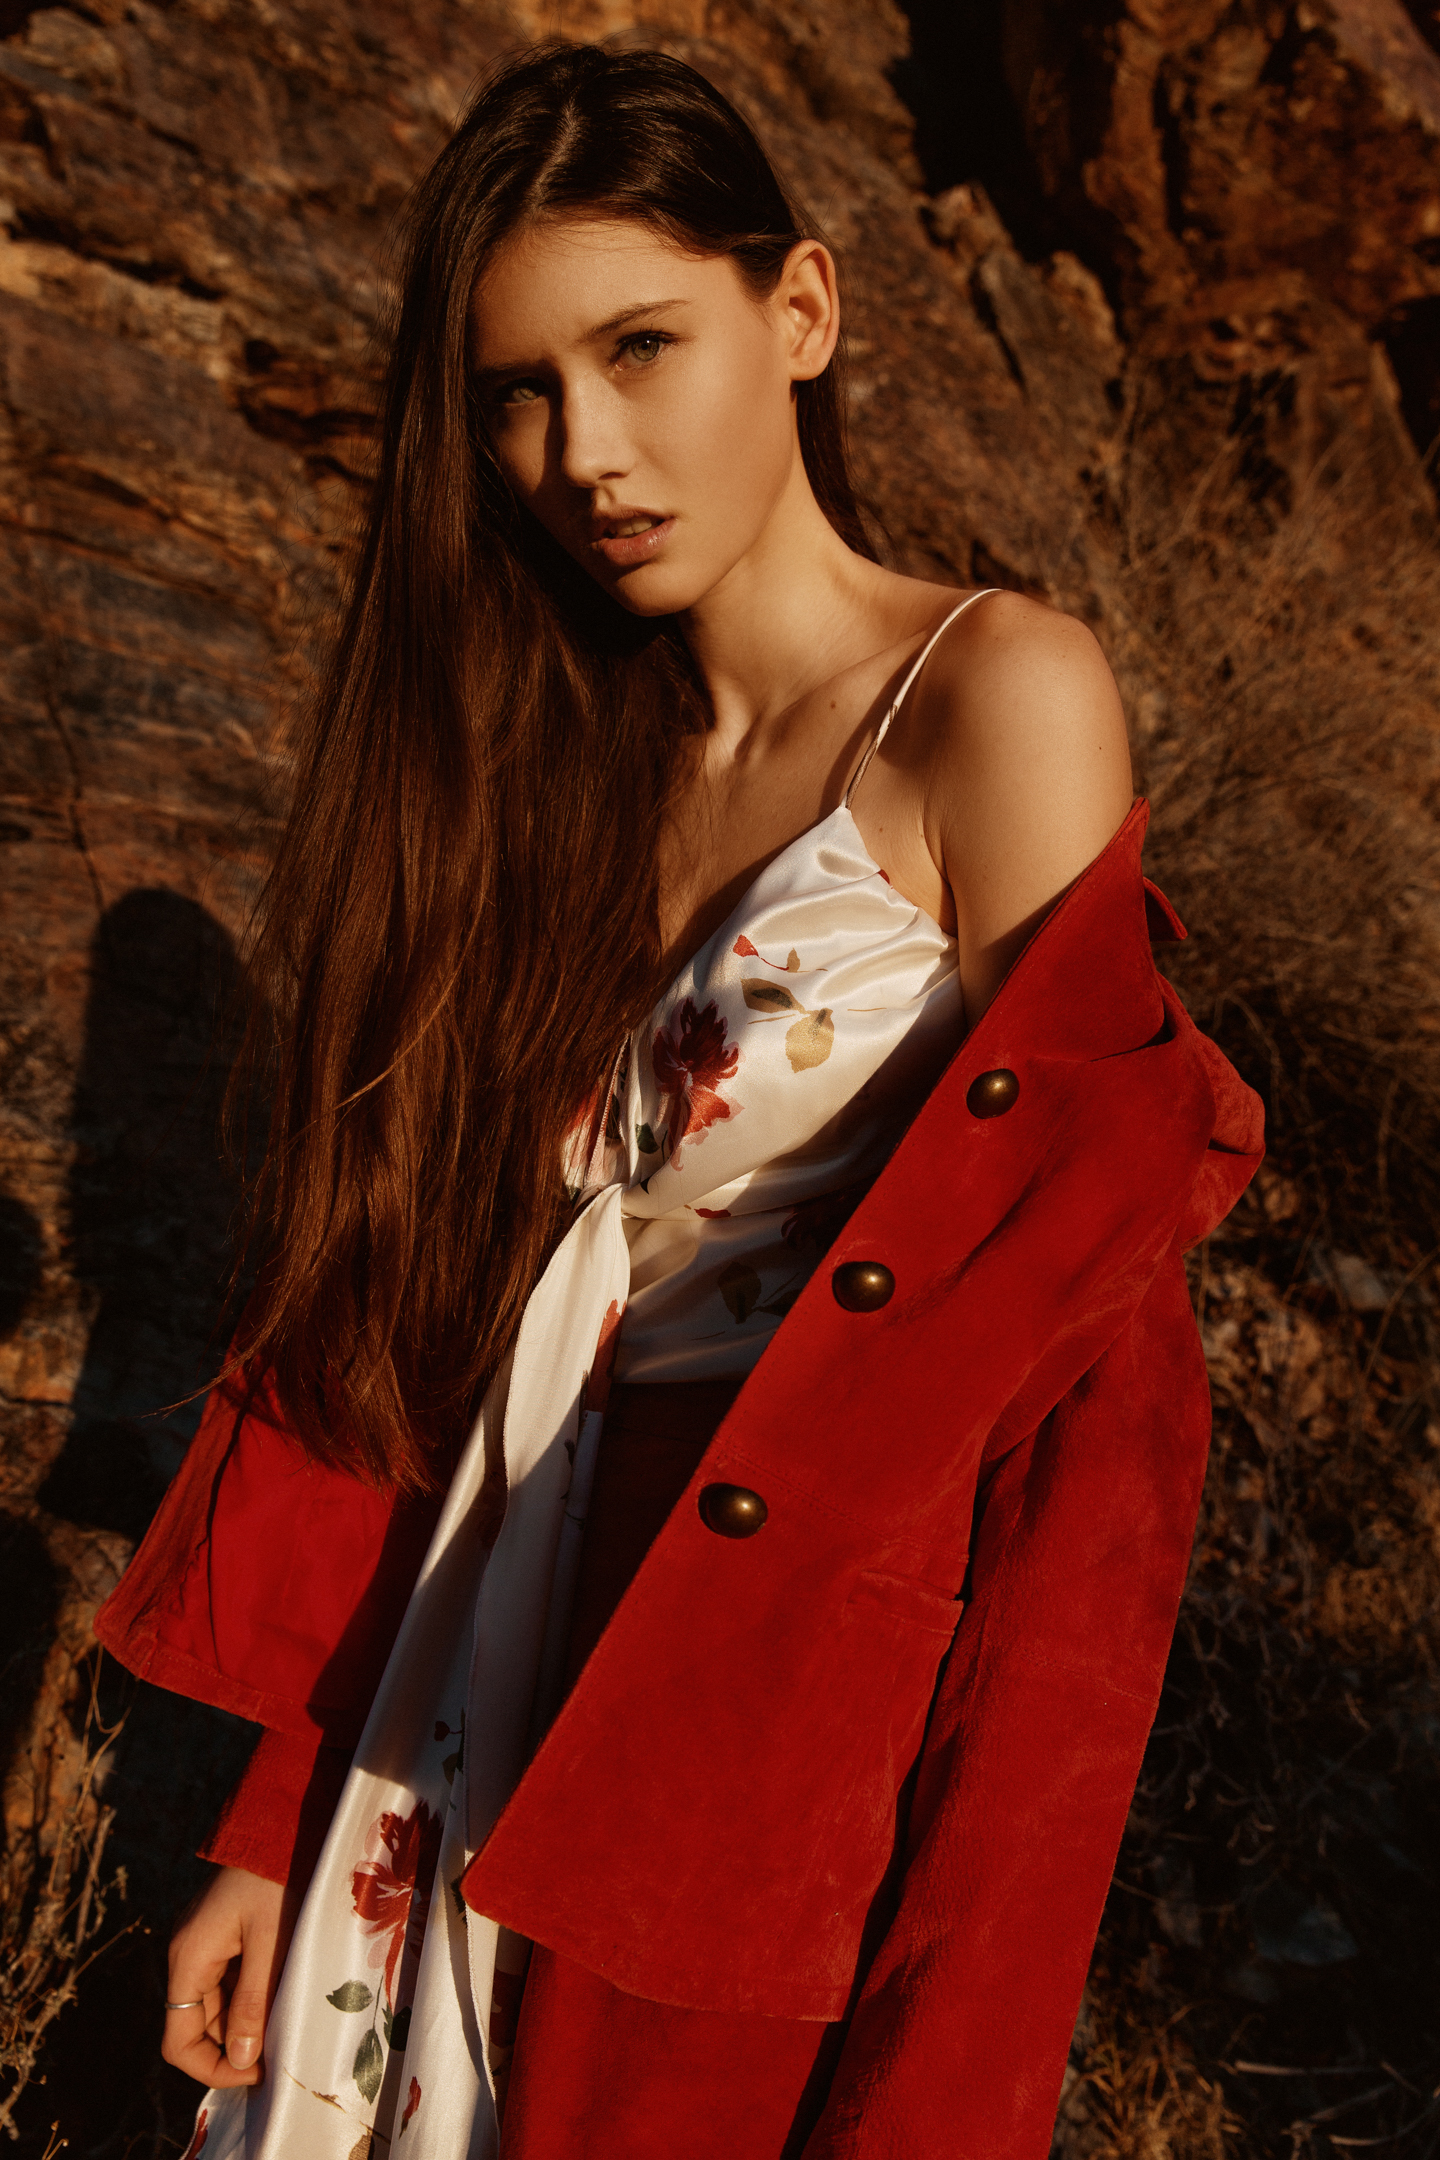
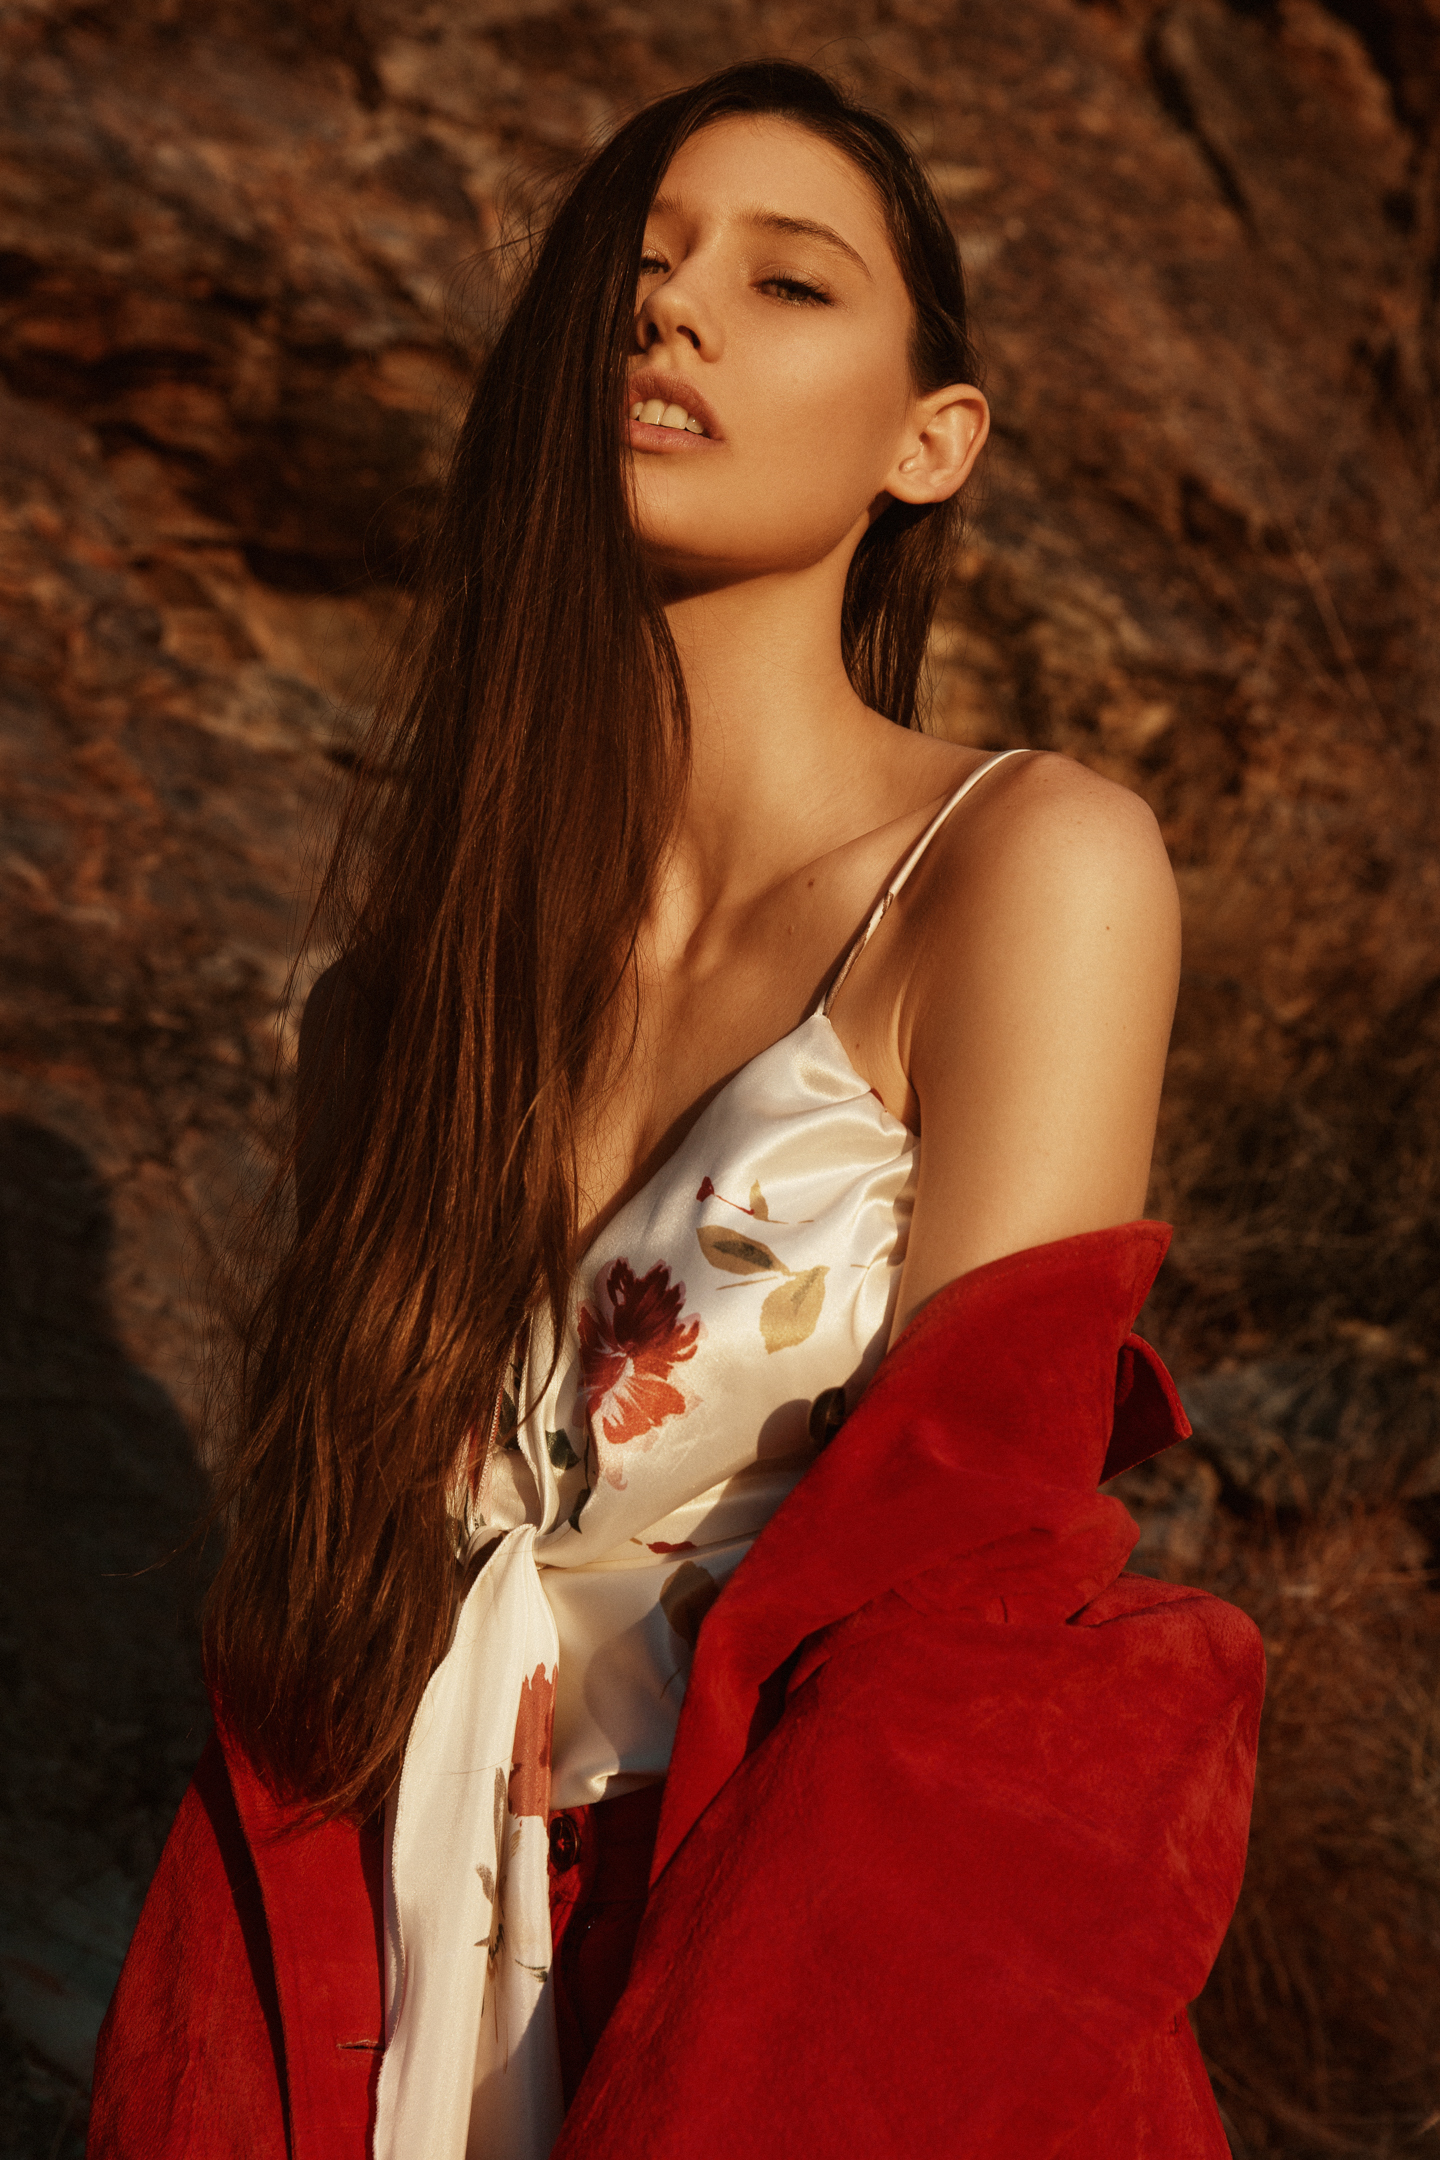
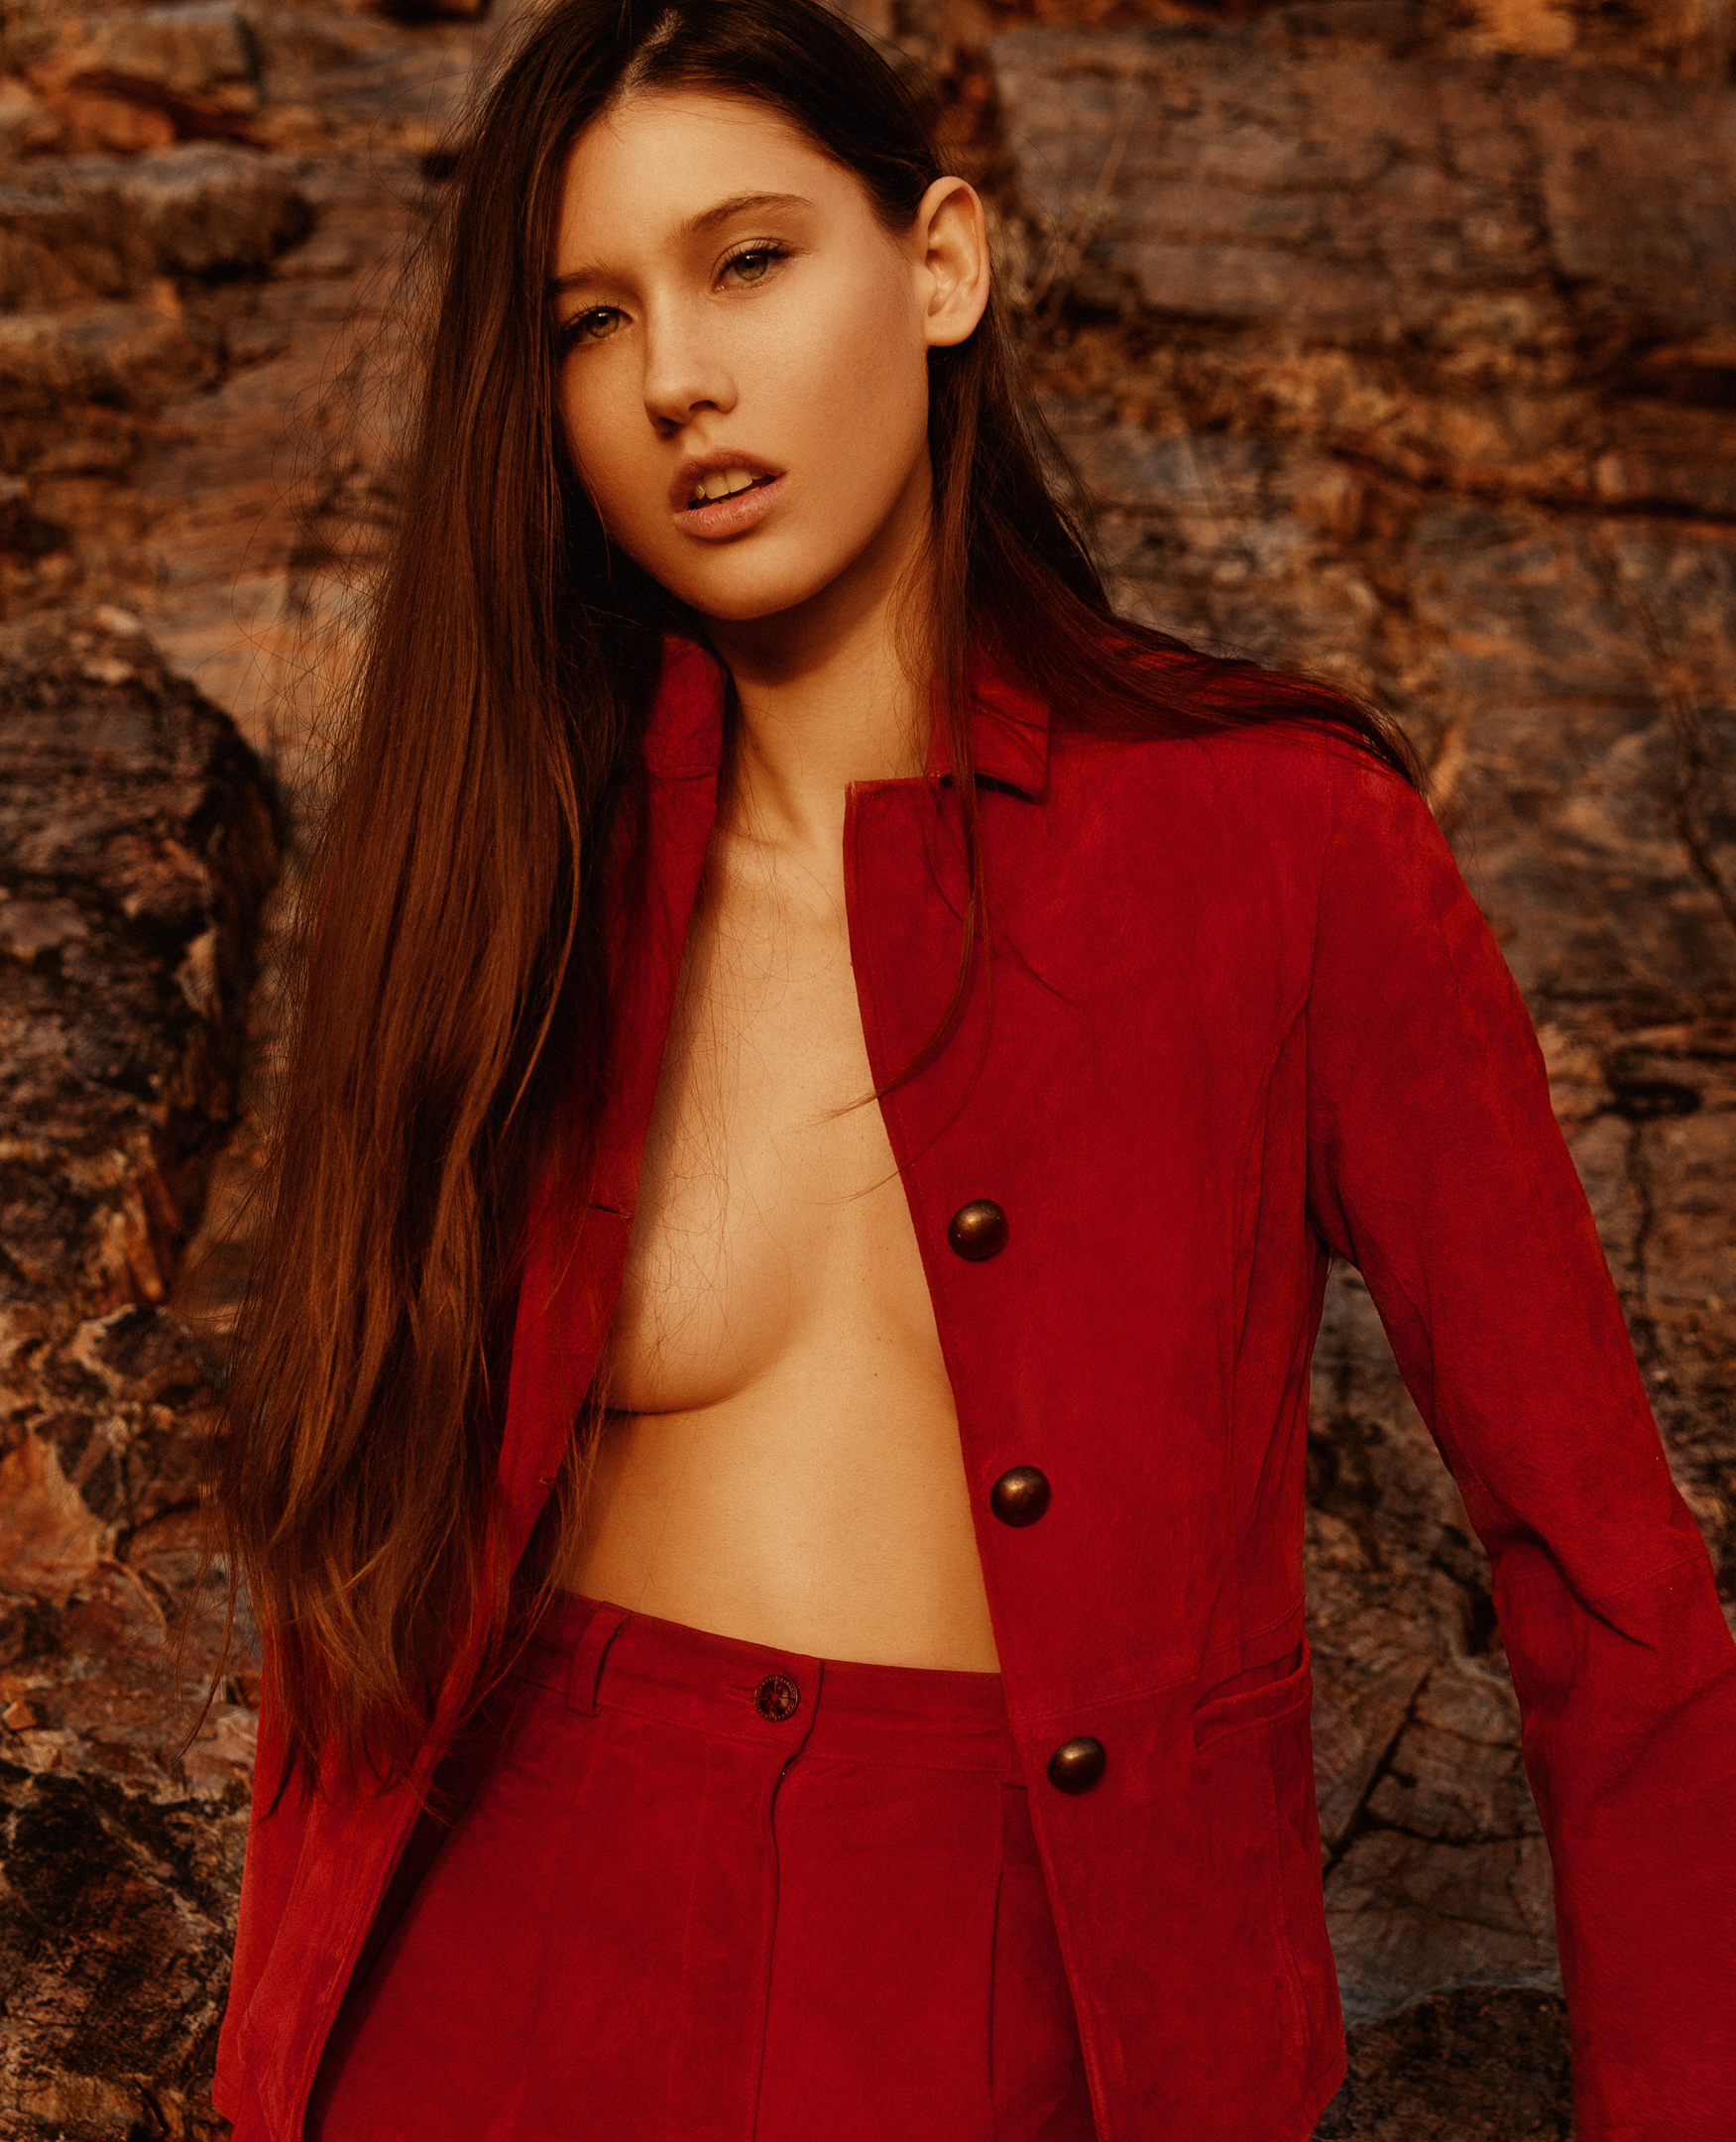
This was a test shoot with Agency Arizona model Paige. Our chosen location (at the Dreary Dam) was closed due to police activity, so we rushed over to Squaw Peak. This left us with about 30 mins of sunlight left, so I did not have time to break out any modifiers. I have been challenging myself more and more to shoot in all types of lighting situations. Over the last year or so I have really fallen in love with harsh sunlight, and it doesn't get any more harsh than a bright sunny Phoenix day.
- For my style I have found when shooting in harsh sunlight I like to broad light my subject. I like the sunlight to light them with either a butterfly or loop lighting pattern, occasionally a rembrandt light pattern, and very rarely a split lighting pattern. If I start to turn them away from the sun too much I will bring out a reflector or strobe for a fill light.
- I have fallen in love with direct sunlight because it shapes the face so beautifully. This being said you should use a model that has good features and skin for harsh light. Not all models will look great with harsh light.
- My background plays a large roll when using direct sunlight. Some things I look for are: clean and solid textures, have the background shape the subject, no busy or distracting colors or elements, and making sure the background compliments the model and allows the model to stand out.
- Underexposing by 1/2 -1 stop (sometimes more) is pretty important as well. This not only brings out rich colors, but leaves you with more room to edit when retouching later.
(Colors are more saturated when under exposed, and less saturated when over exposed).
Here are some of my favorites from the day.


Now here is a sooc and retouched image for comparison, (full size, and 100% crop).


As the sun was setting we did a quick outfit change and got about 10 more mins of shooting in.
For these the sun is setting, and is side lighting the model.
Here is another before and after retouched image.
I hope this first blog post was useful in someway. I will try to write a new blog post at least once a week. Please don't hesitate to contact me if you have any questions or have any suggestions about what you would like to see me write a blog post about.