This week I wanted to talk about a piece of gear that completely changed the way I shoot. This is by far one of the most versatile pieces of equipment I've ever owned. It has transformed the way I approach studio and location shooting, and the best part is that its under 400 dollars.
The Scrim.
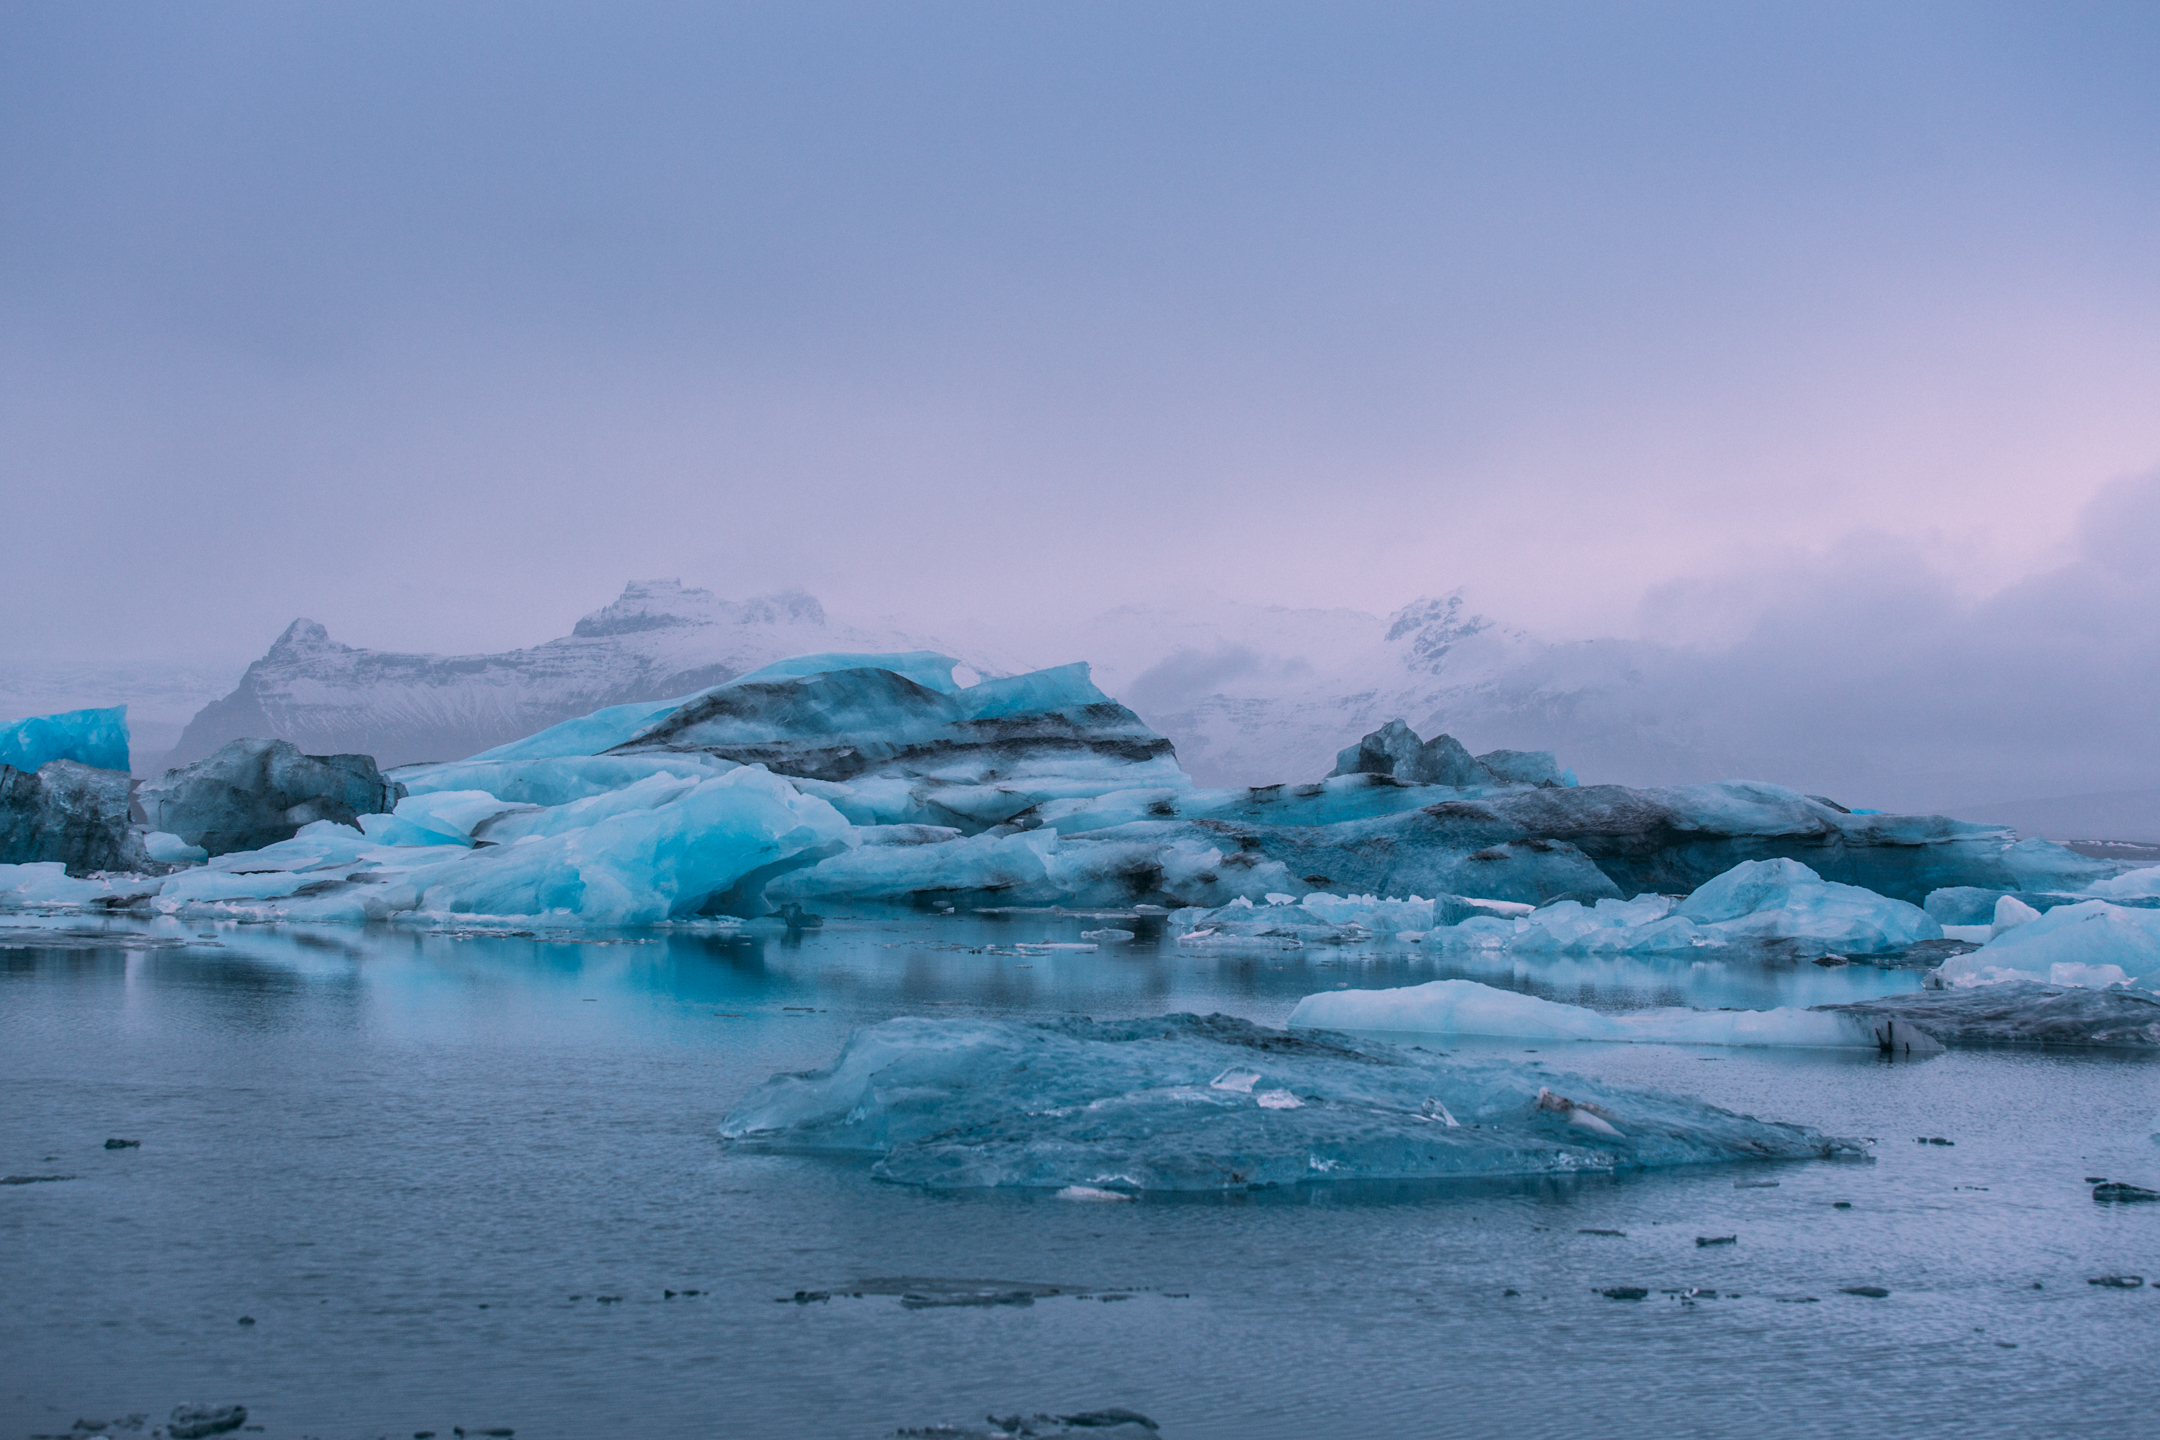
Living in Phoenix where clouds are rare, I needed a solution to the harsh sun, other than over powering it with strobes while shooting on location.So after hanging with Clay Cook and saw he was such an advocate of using a scrim I decided to give it a try. Last Year I purchased a Lastolite 6x6 foot scrim from B&H, mainly with the hopes of using it to diffuse the harsh Phoenix sunlight, but found myself using it on almost every shoot, whether it was studio or on location.
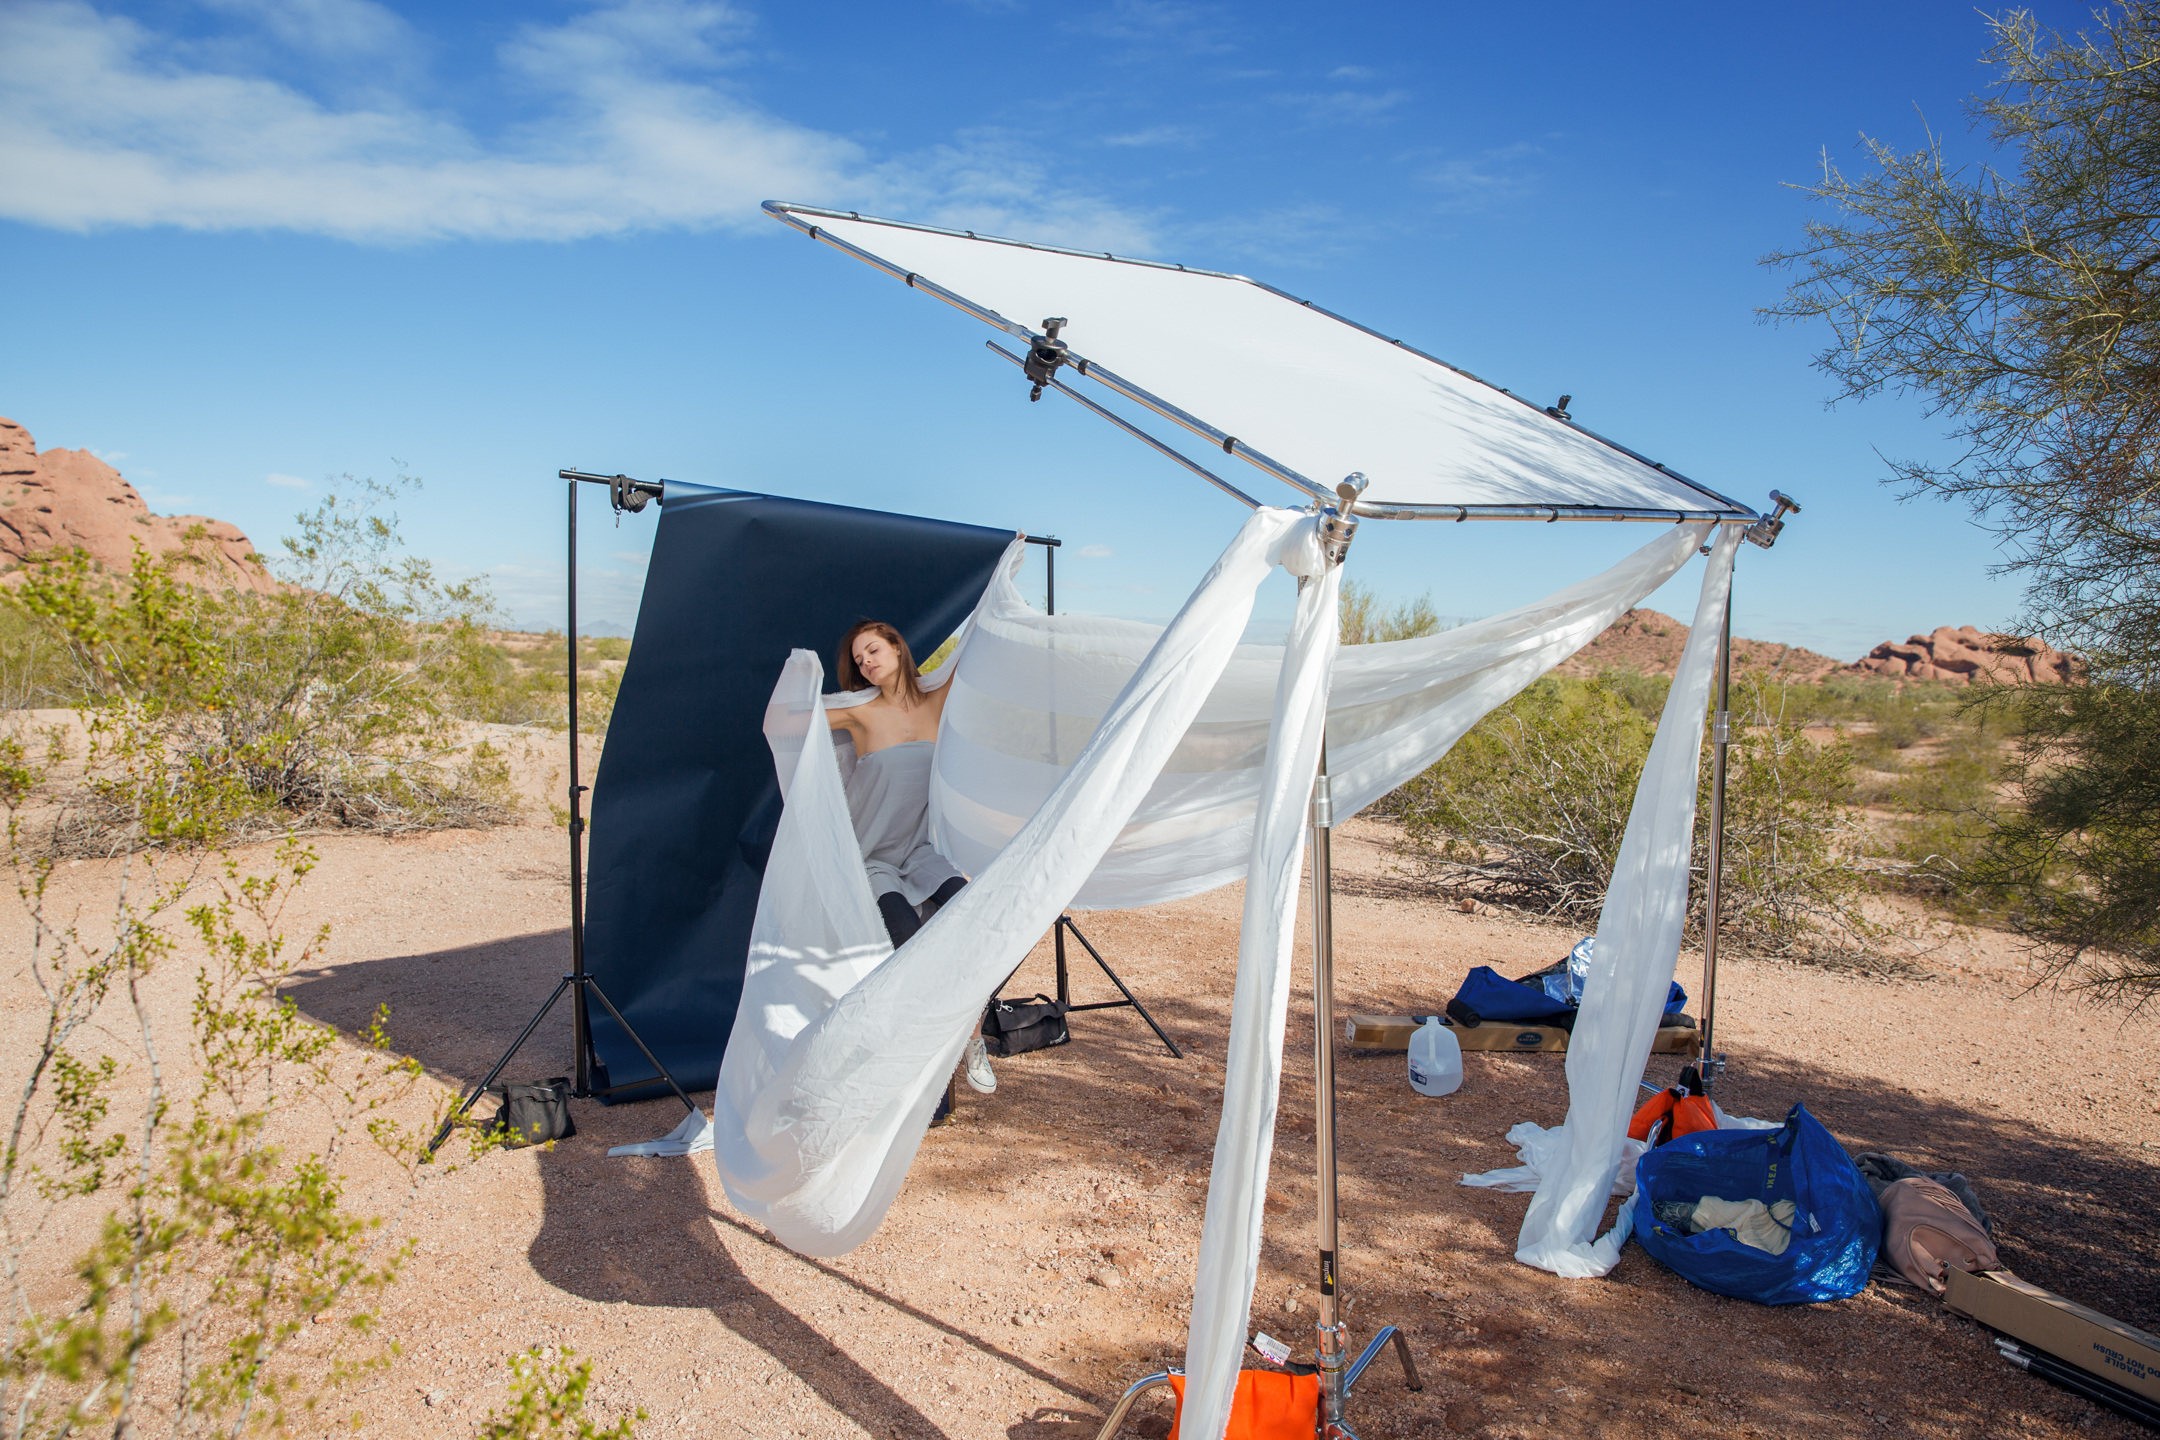
Here is a list of grip equipment that I used that is needed to hold the scrim. These are all necesscary to use the scrim. There is probably cheaper grip gear out there, but I found these to be great, sturdy, and reliable.
(2) Lastolite Grip heads
(2) Impact turtle based C-Stand Kit
(2) Impact 15lbs Sandbags
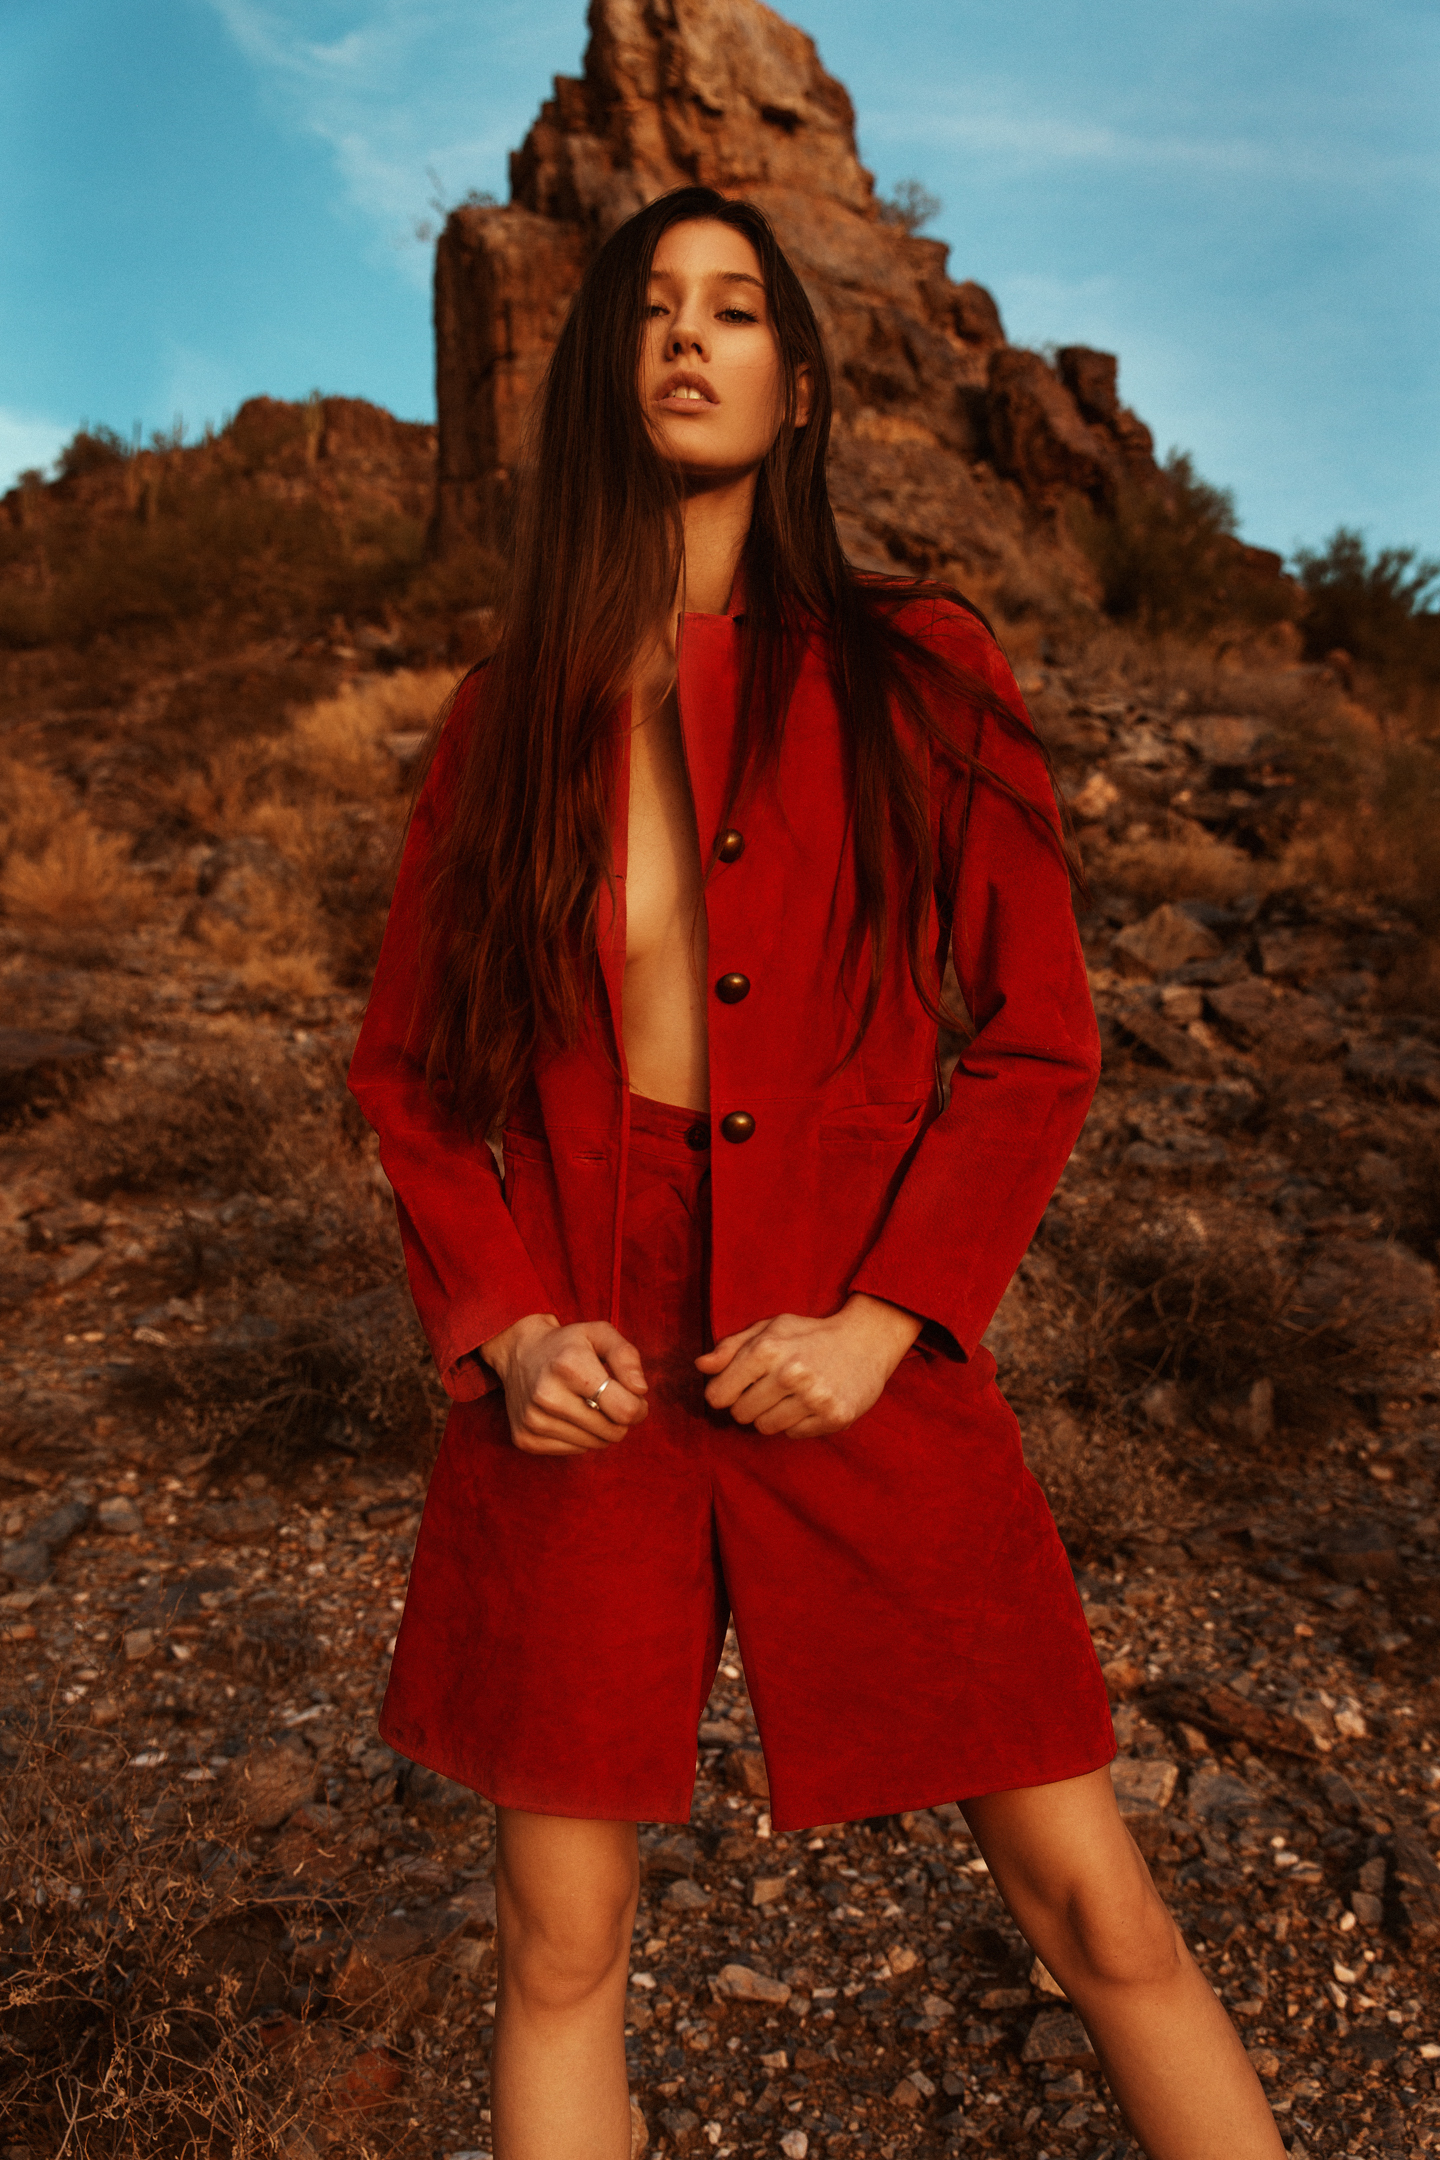
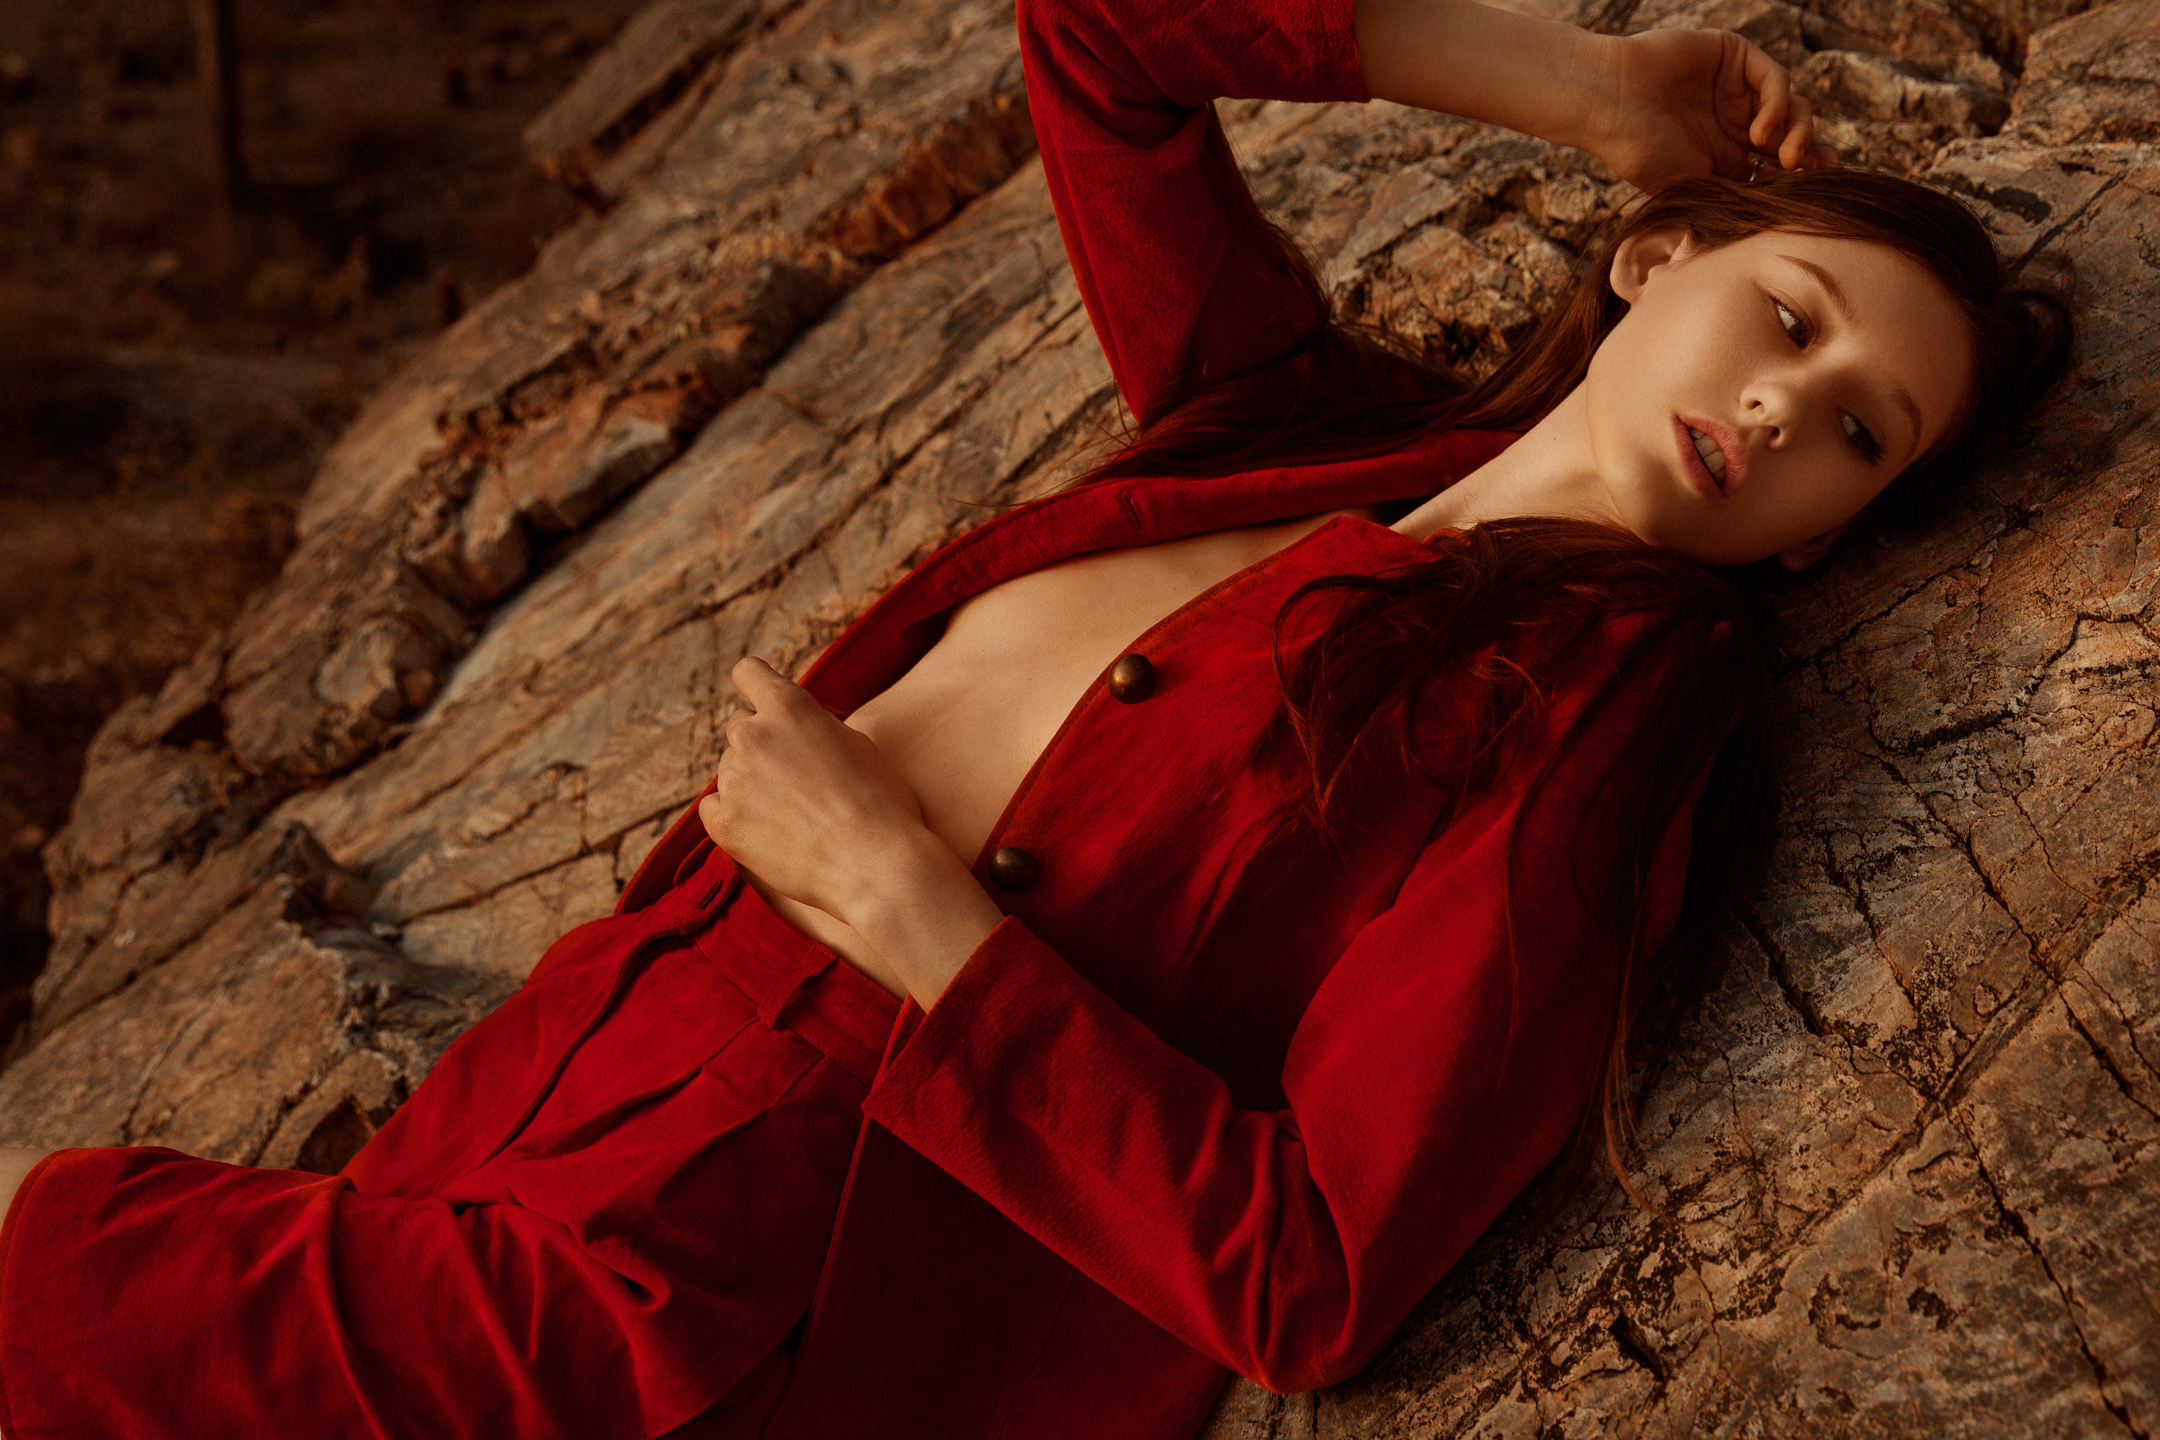
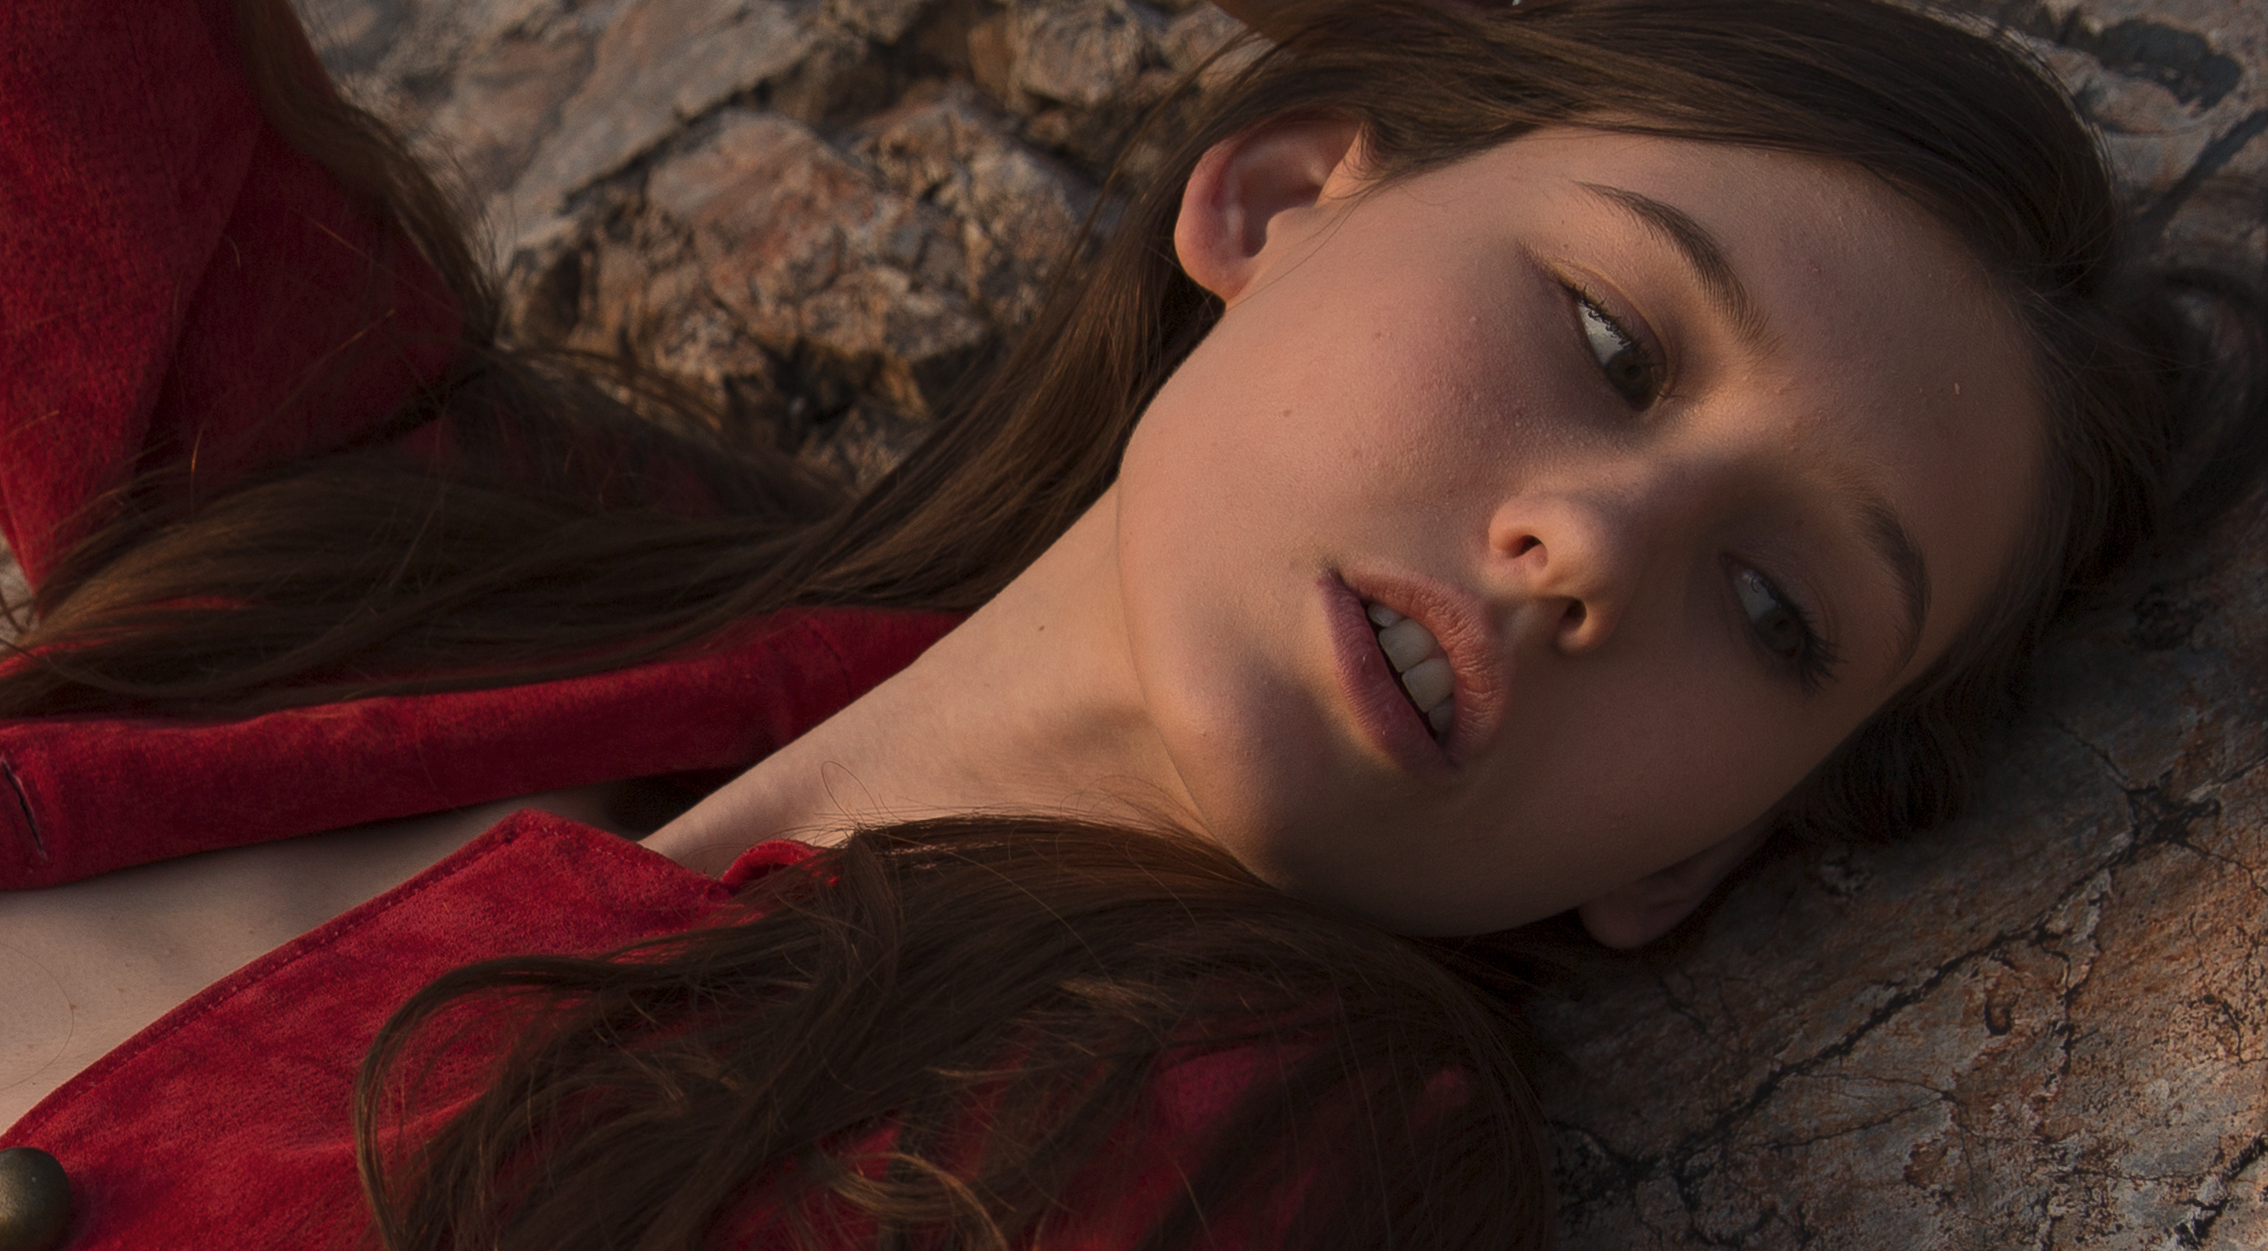
On location.
One thing I love about the Lastolite scrim is that it comes with a diffusion sheet and a silver reflector so you have a lot of options on how to control light while shooting outside. I found that I can use the scrim 3 different ways while shooting outside. Using it to back light the subject, using it to diffuse the subject, or using the reflector on the subject.
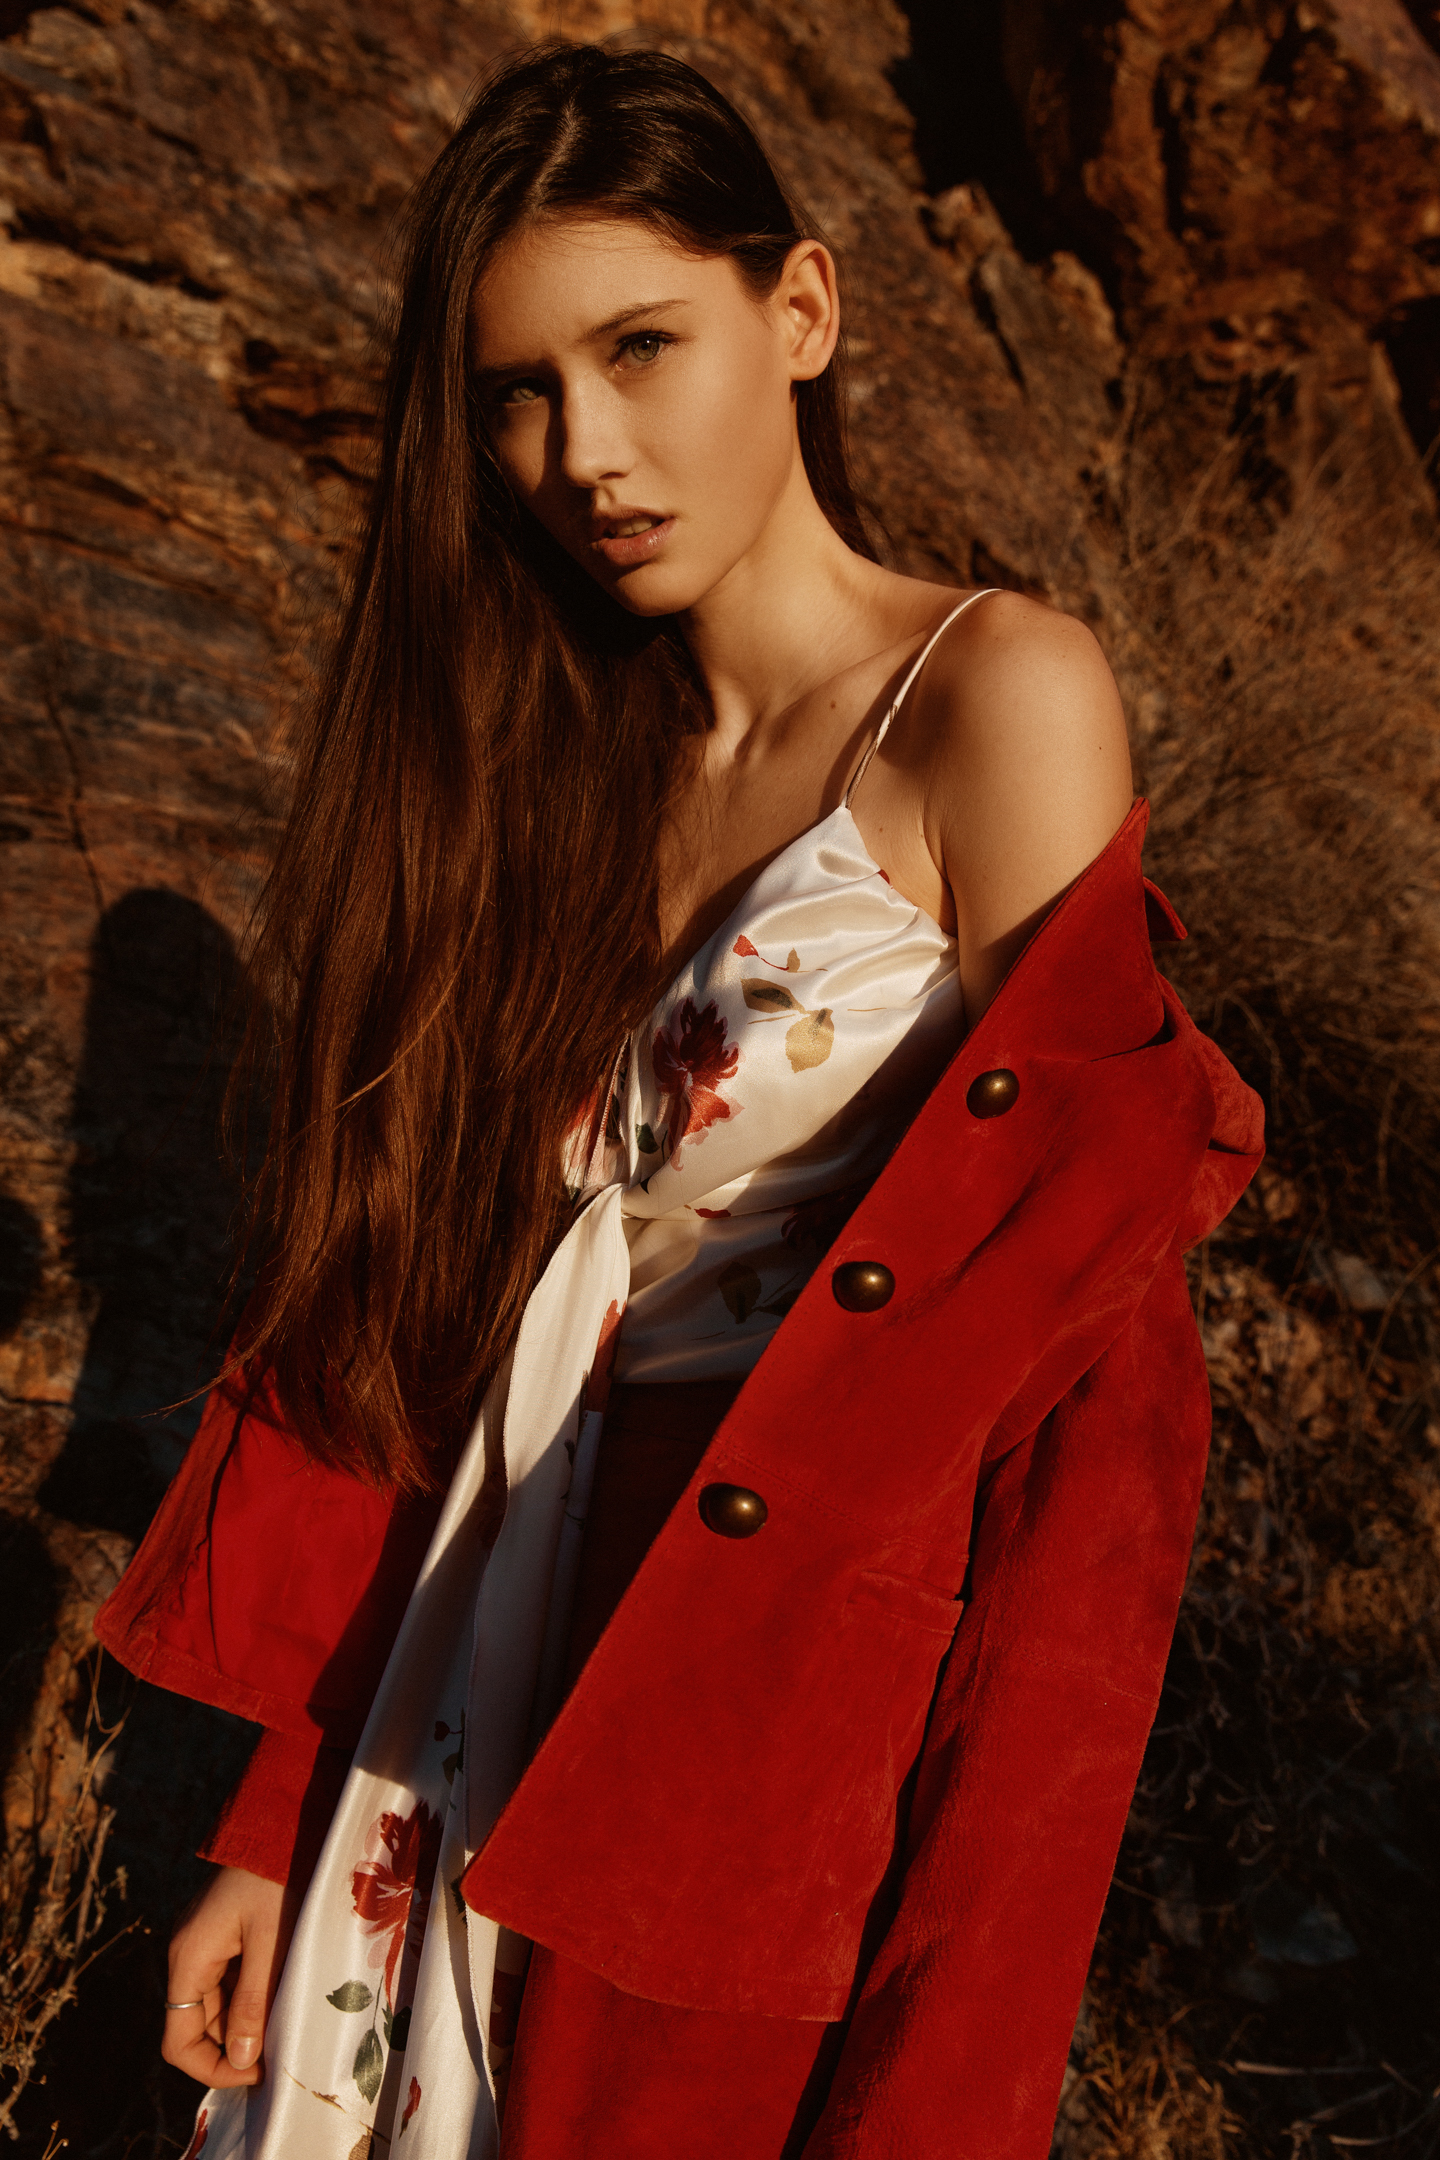
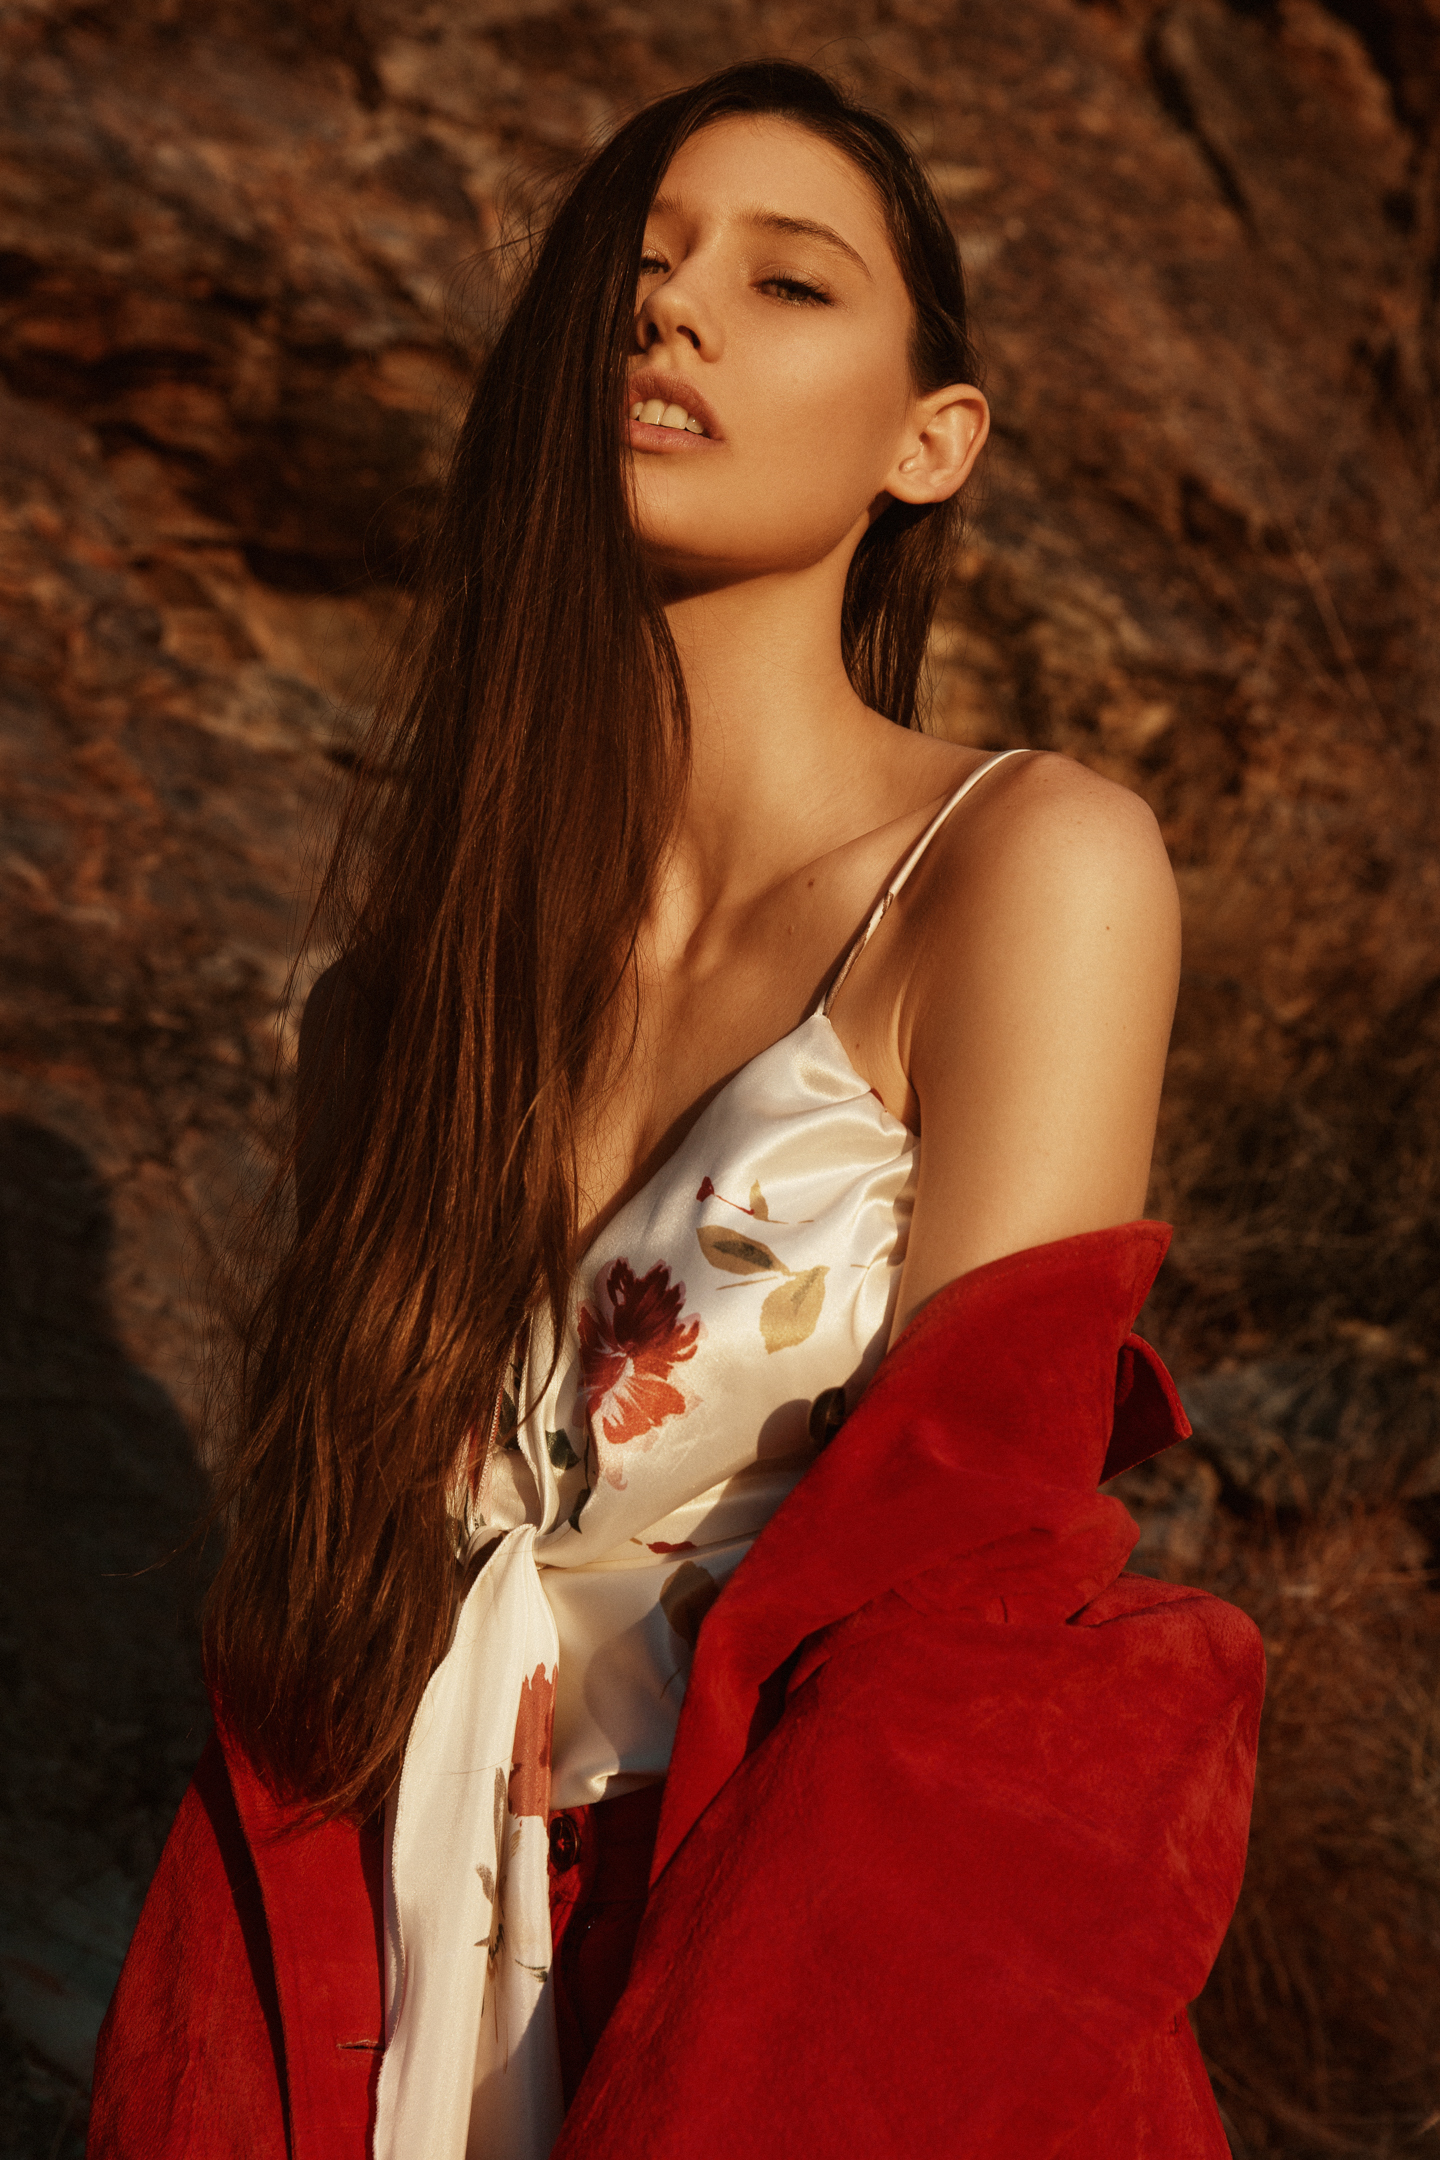
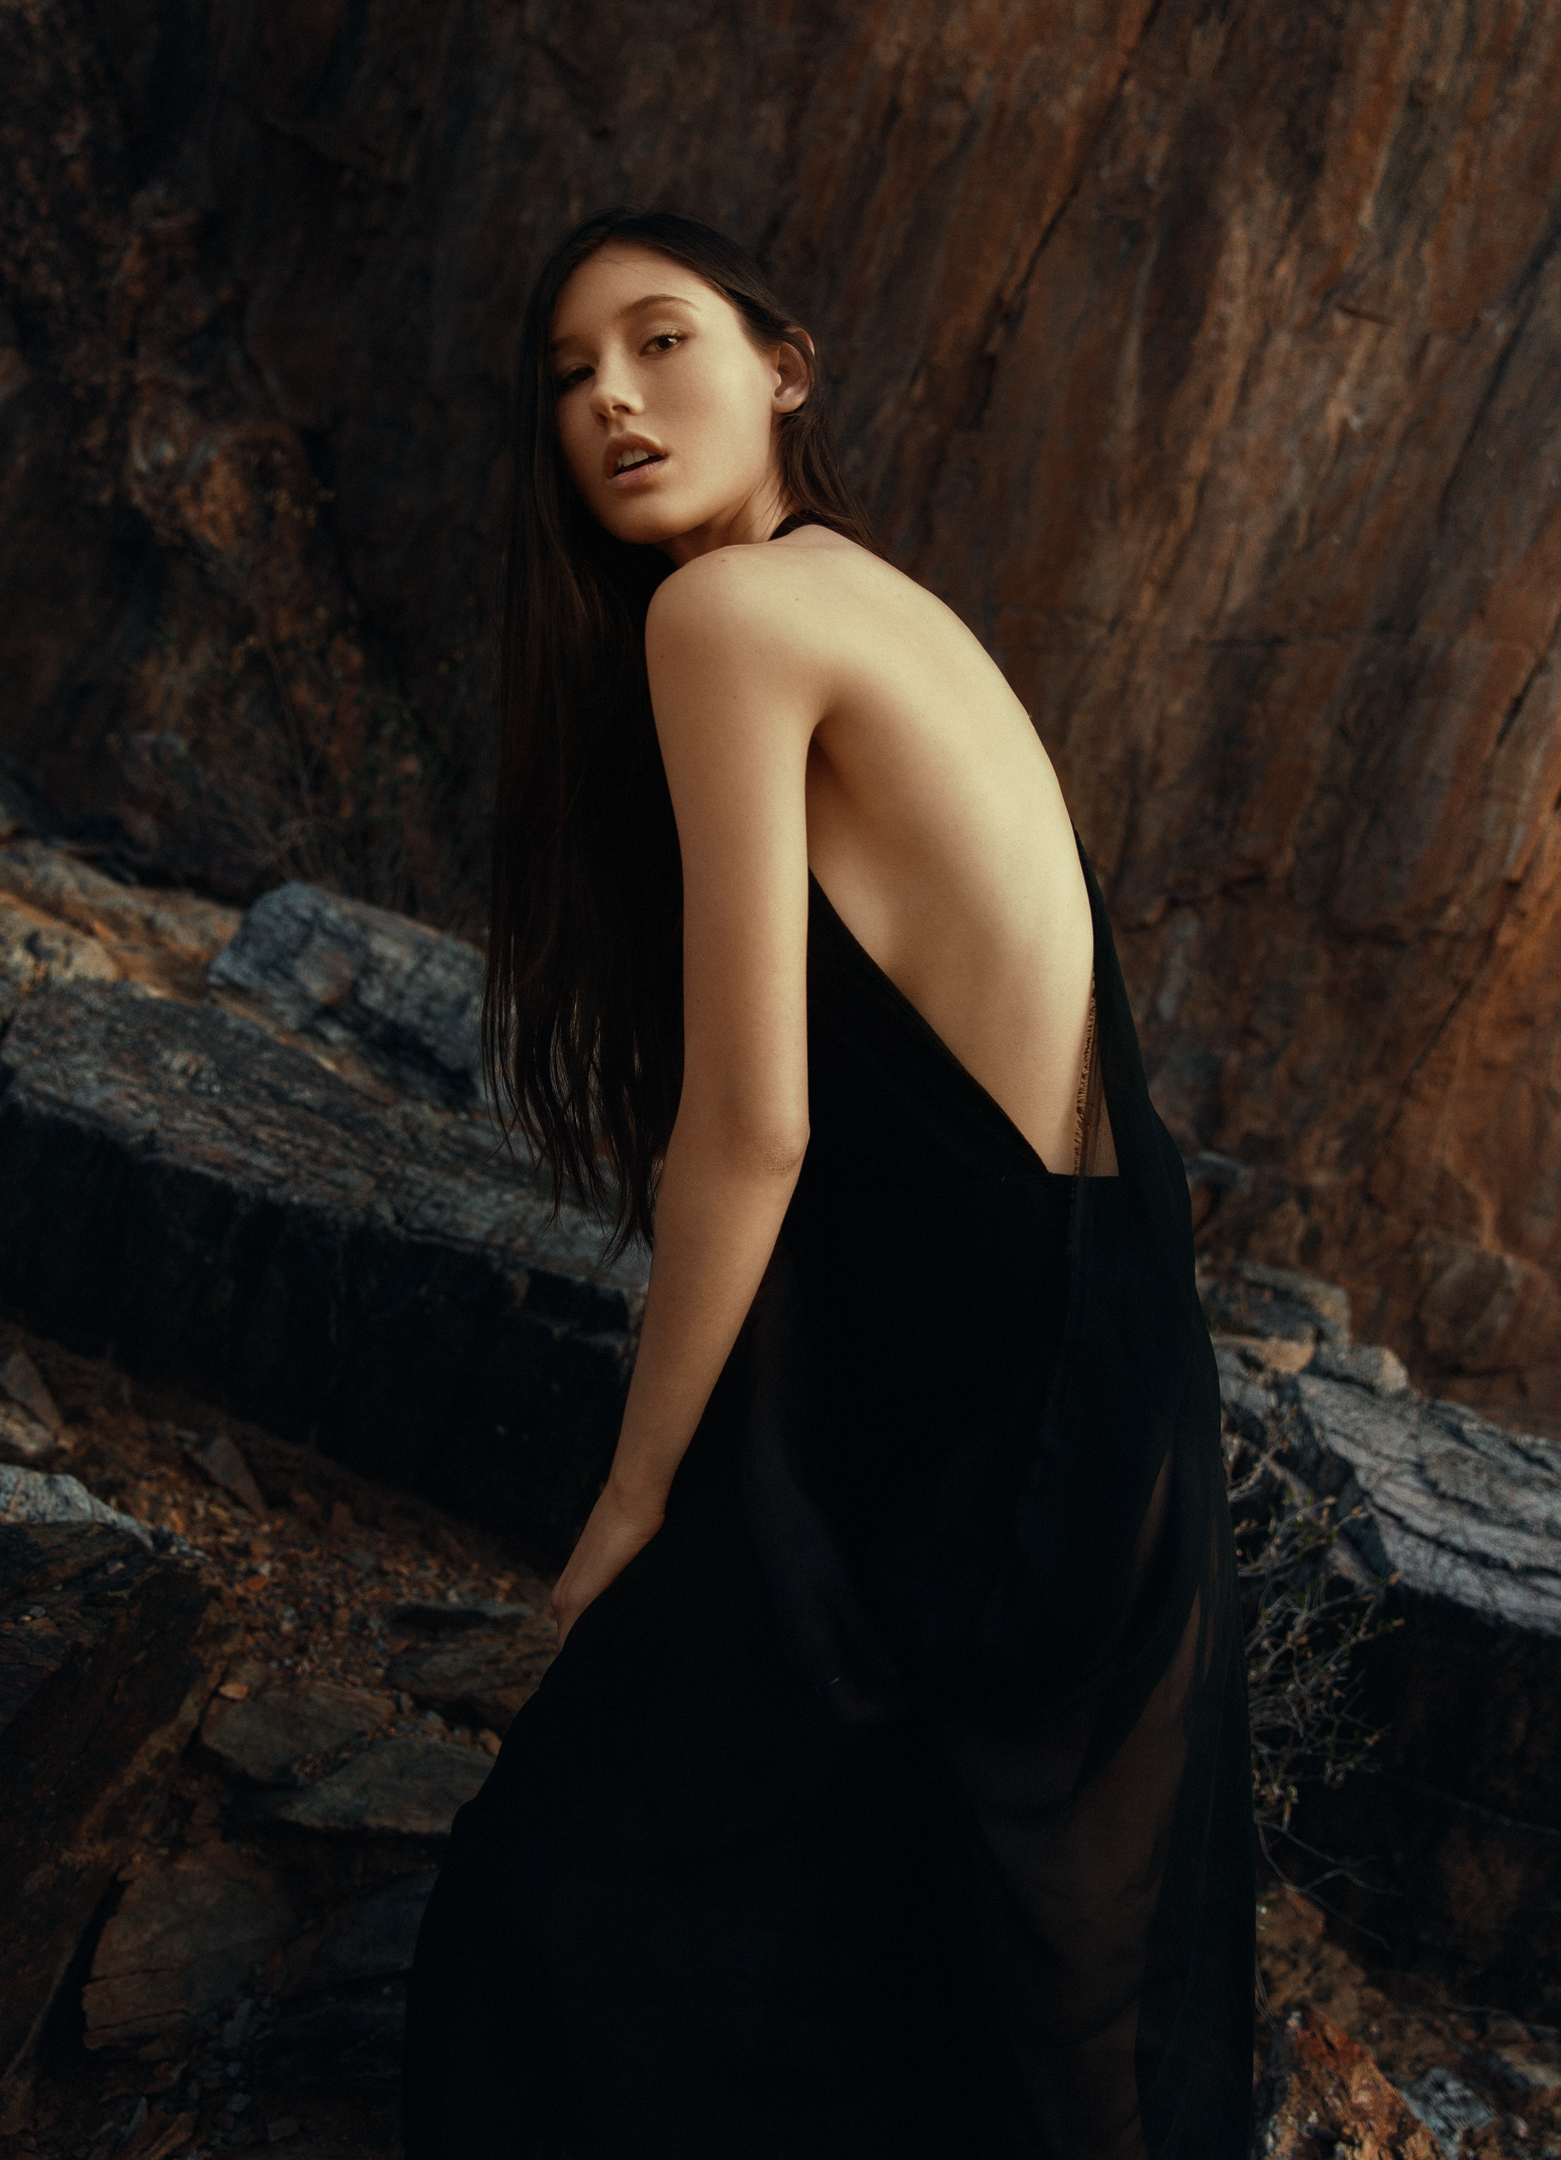
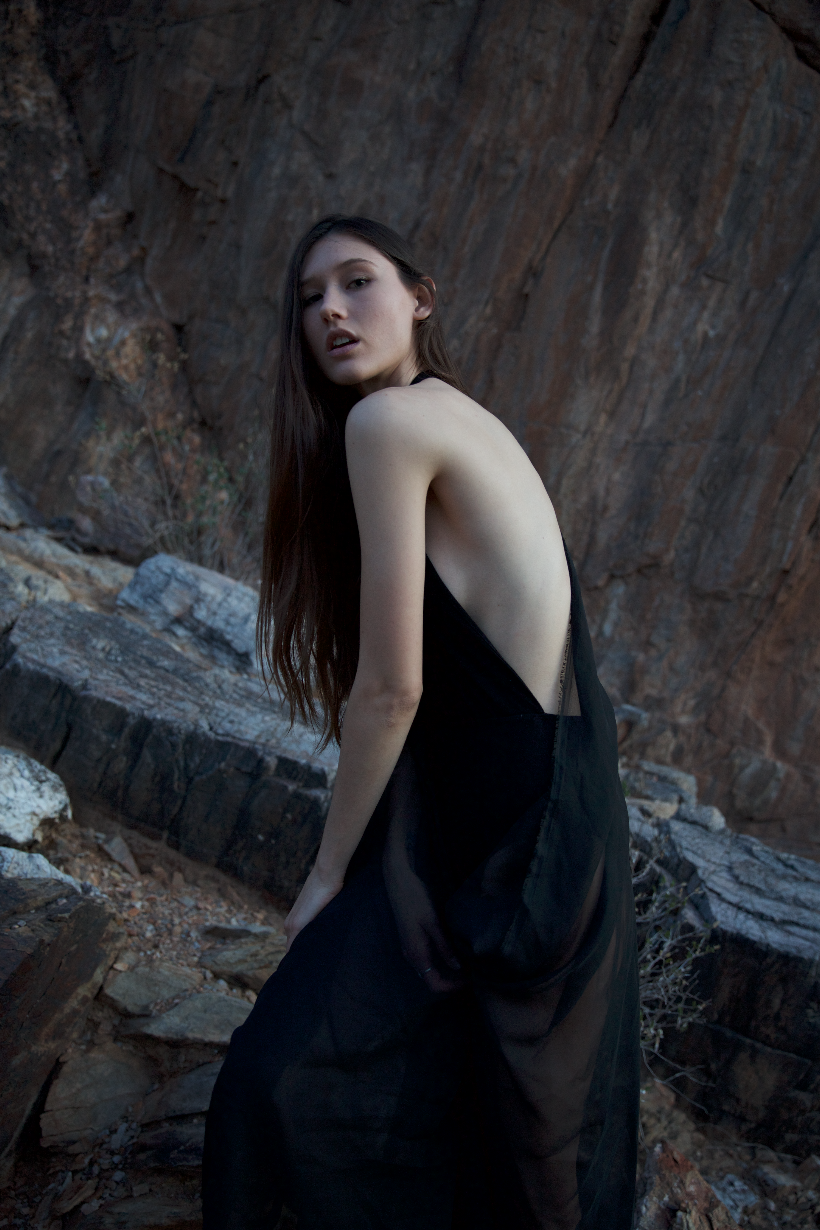
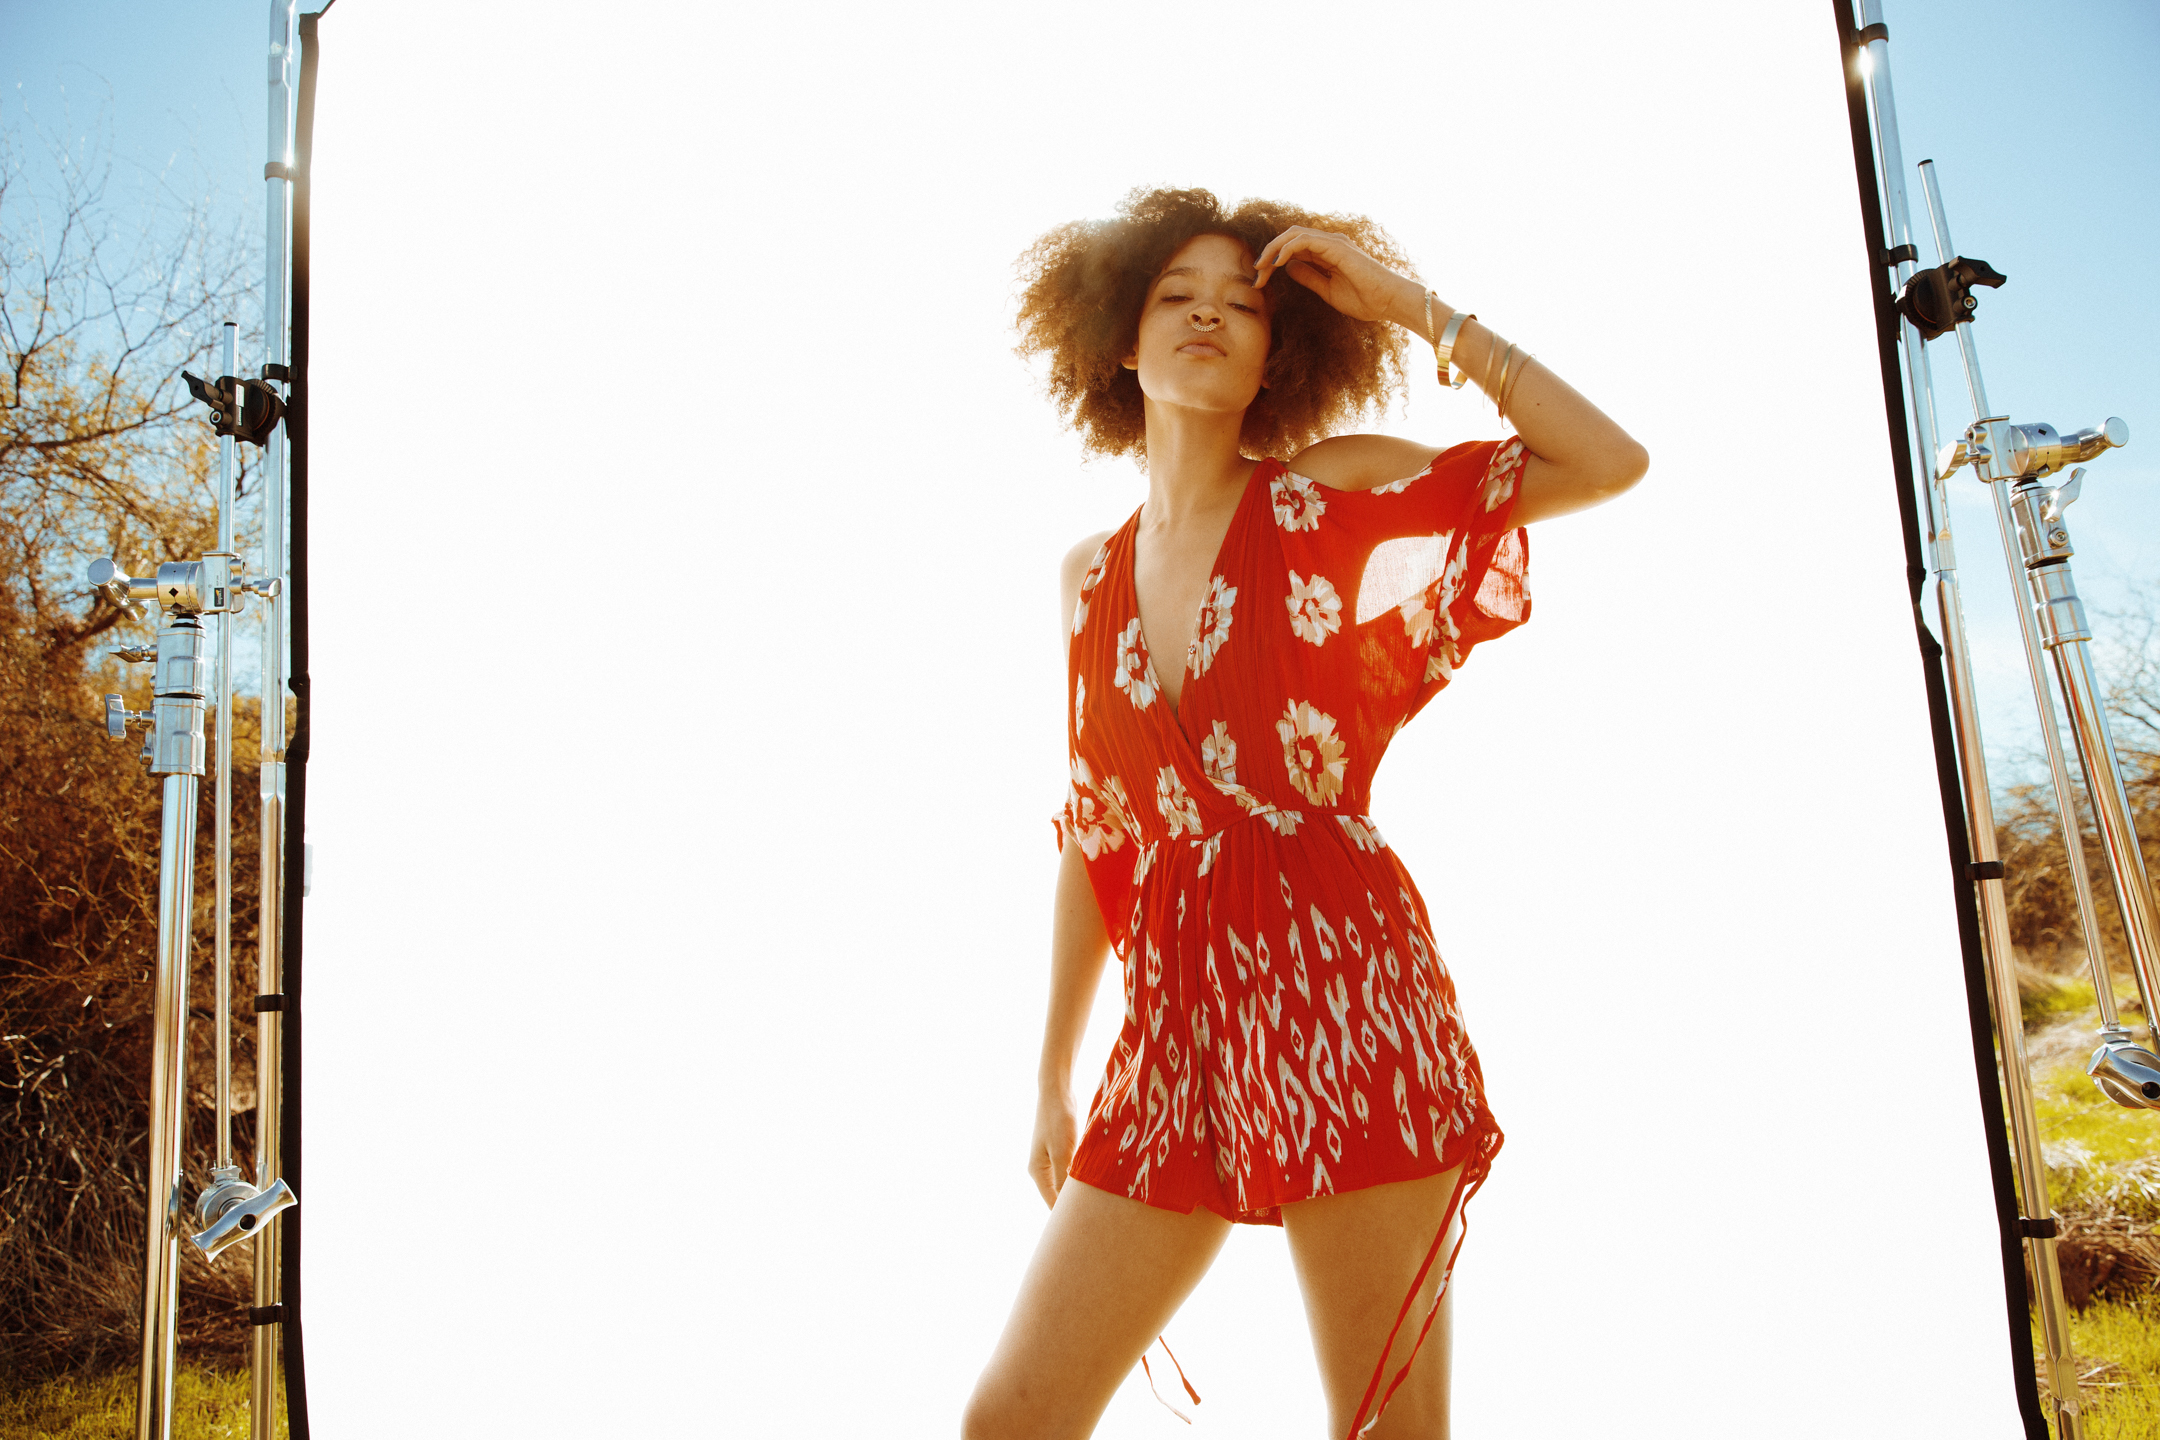
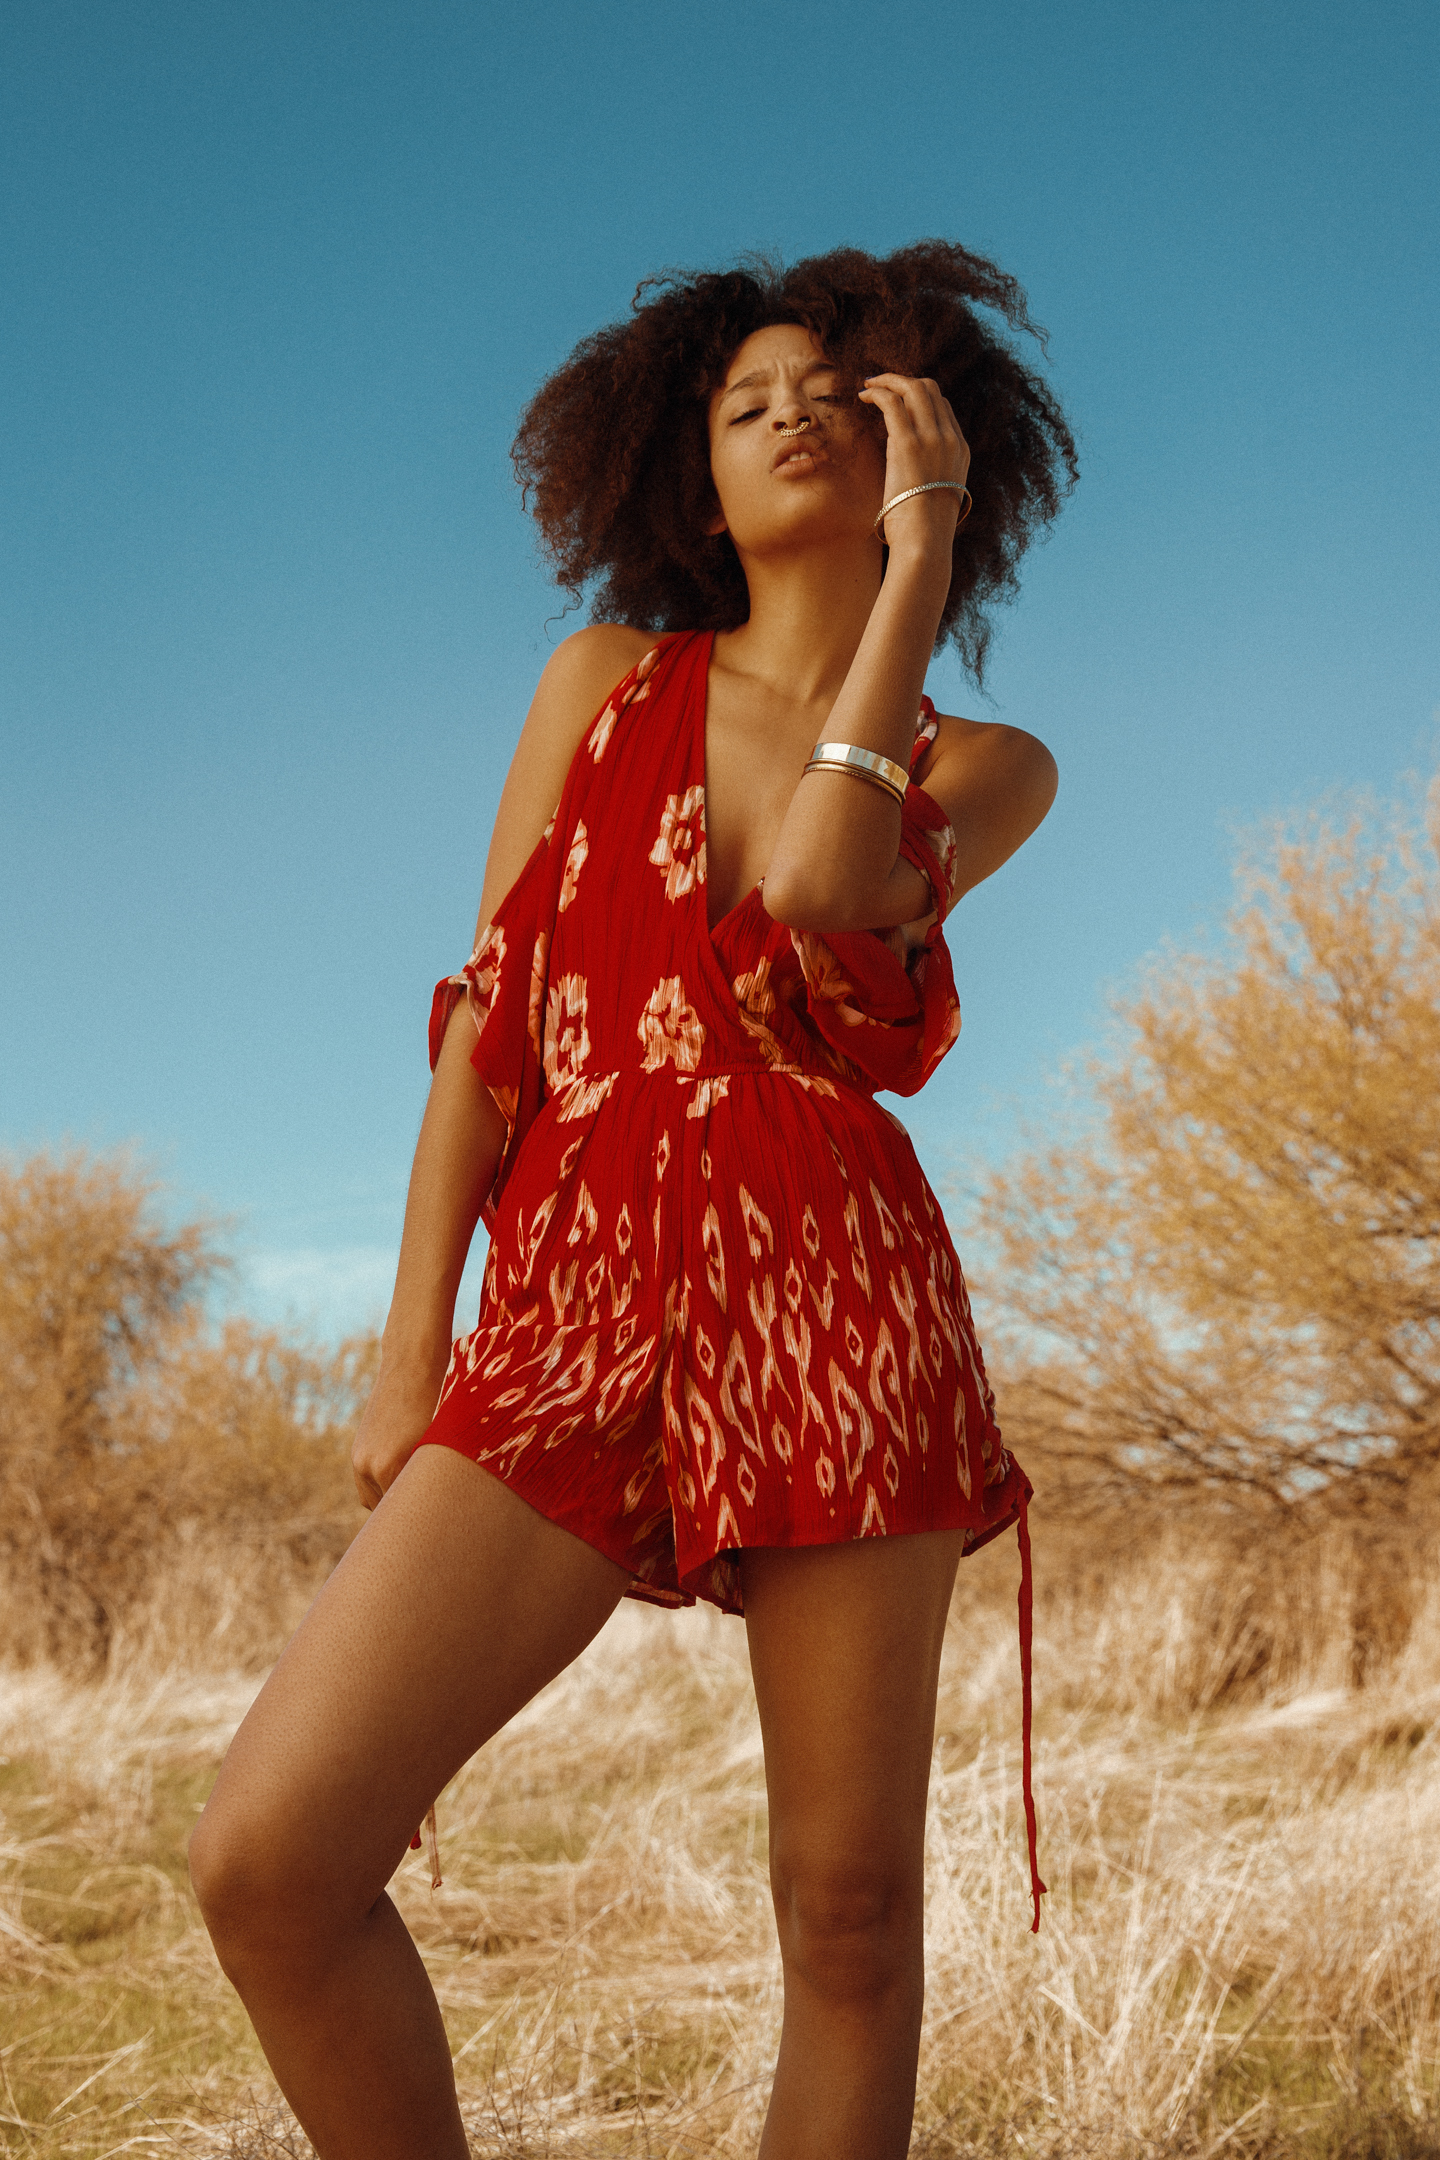
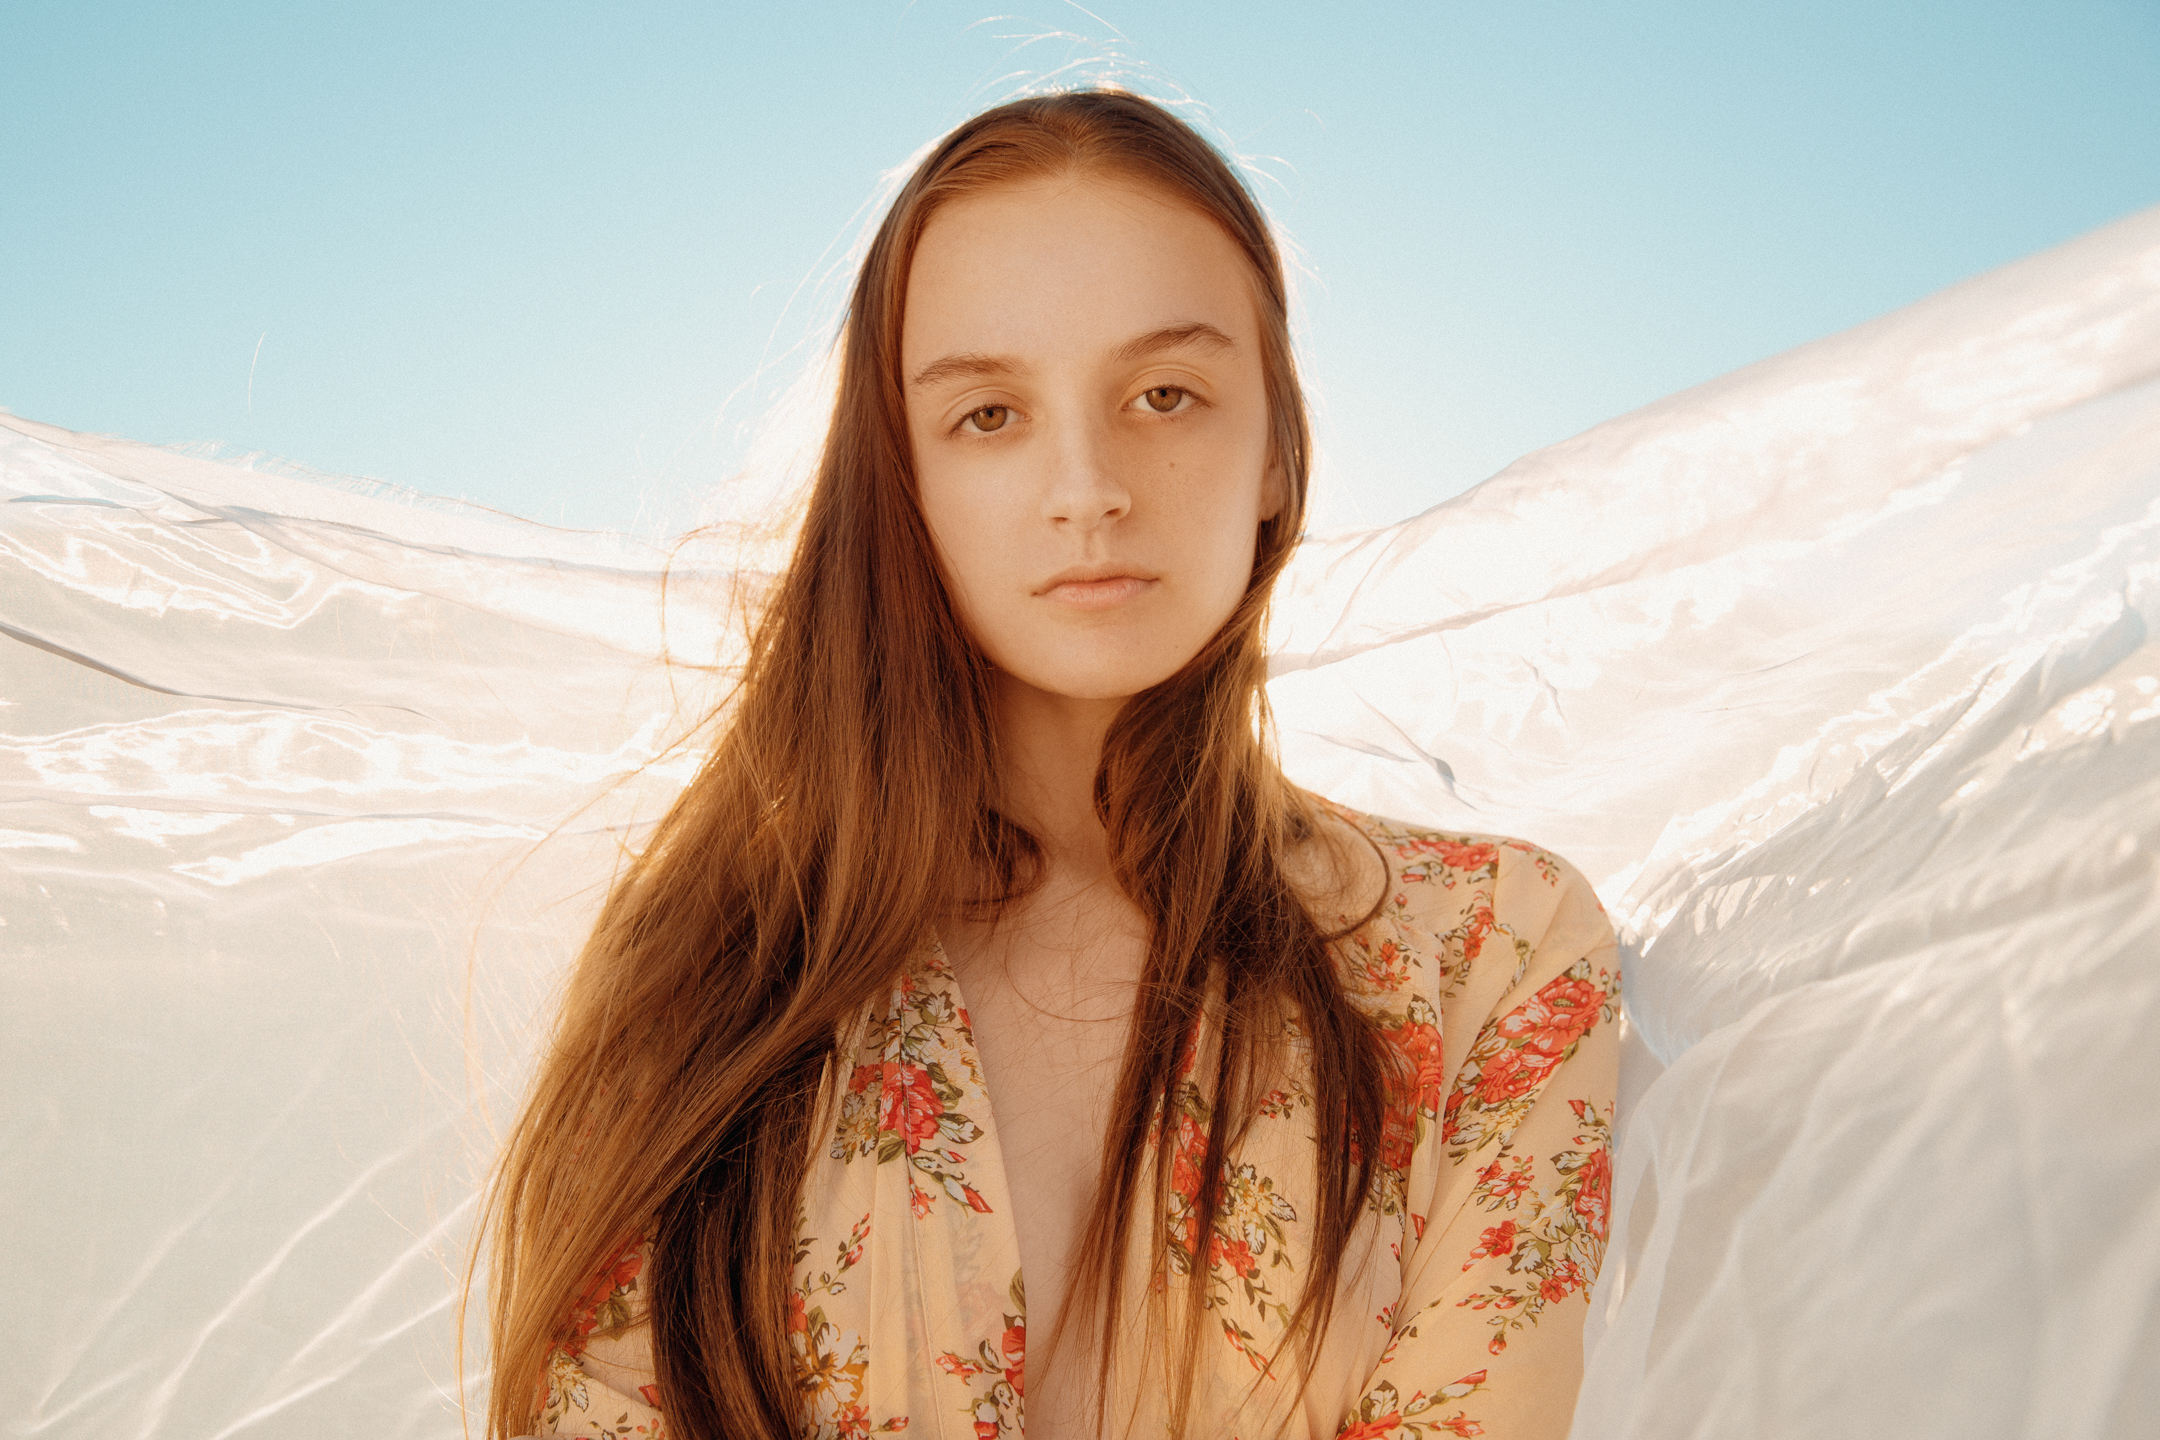
Backlit sunlight.
I always loved the really clean white background soft lit Calvin Klein ads, but it was a bitch to replicate in the studio without proper gear, and I never quite got the right look on location. After I got the scrim I decided to use it as the background. With the sun back lighting the subject, the light beautifully passes through the diffusion sheet and gives the subject nice even lighting.
All shots below were shot only using natural light and the scrim.

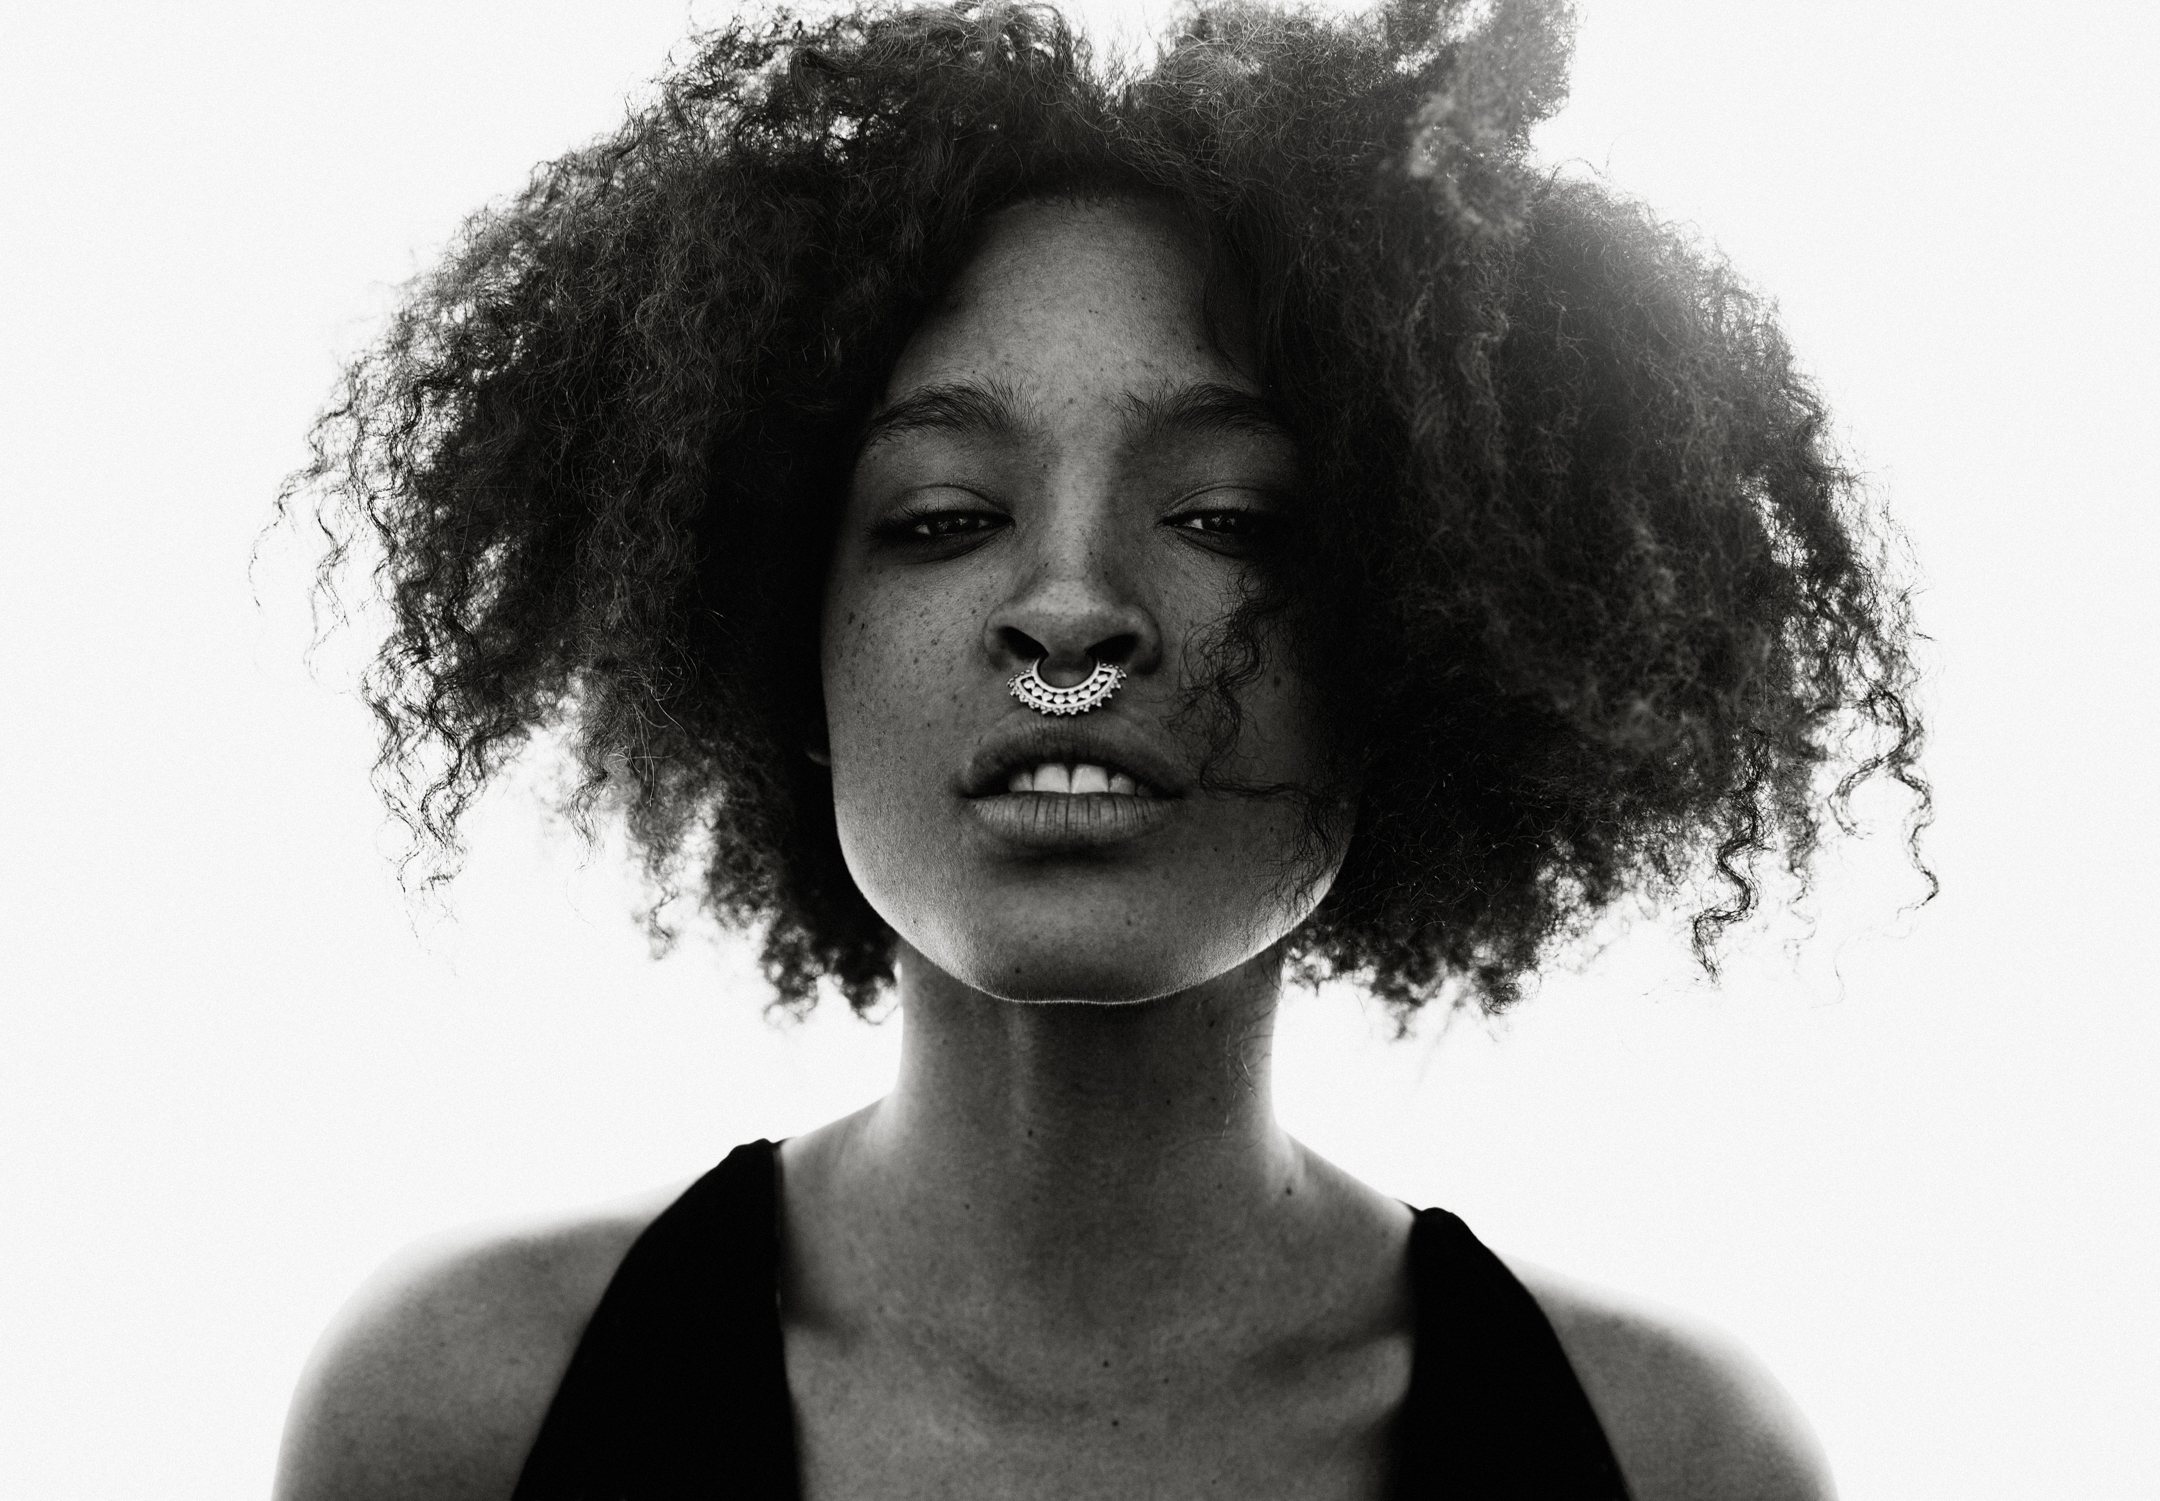
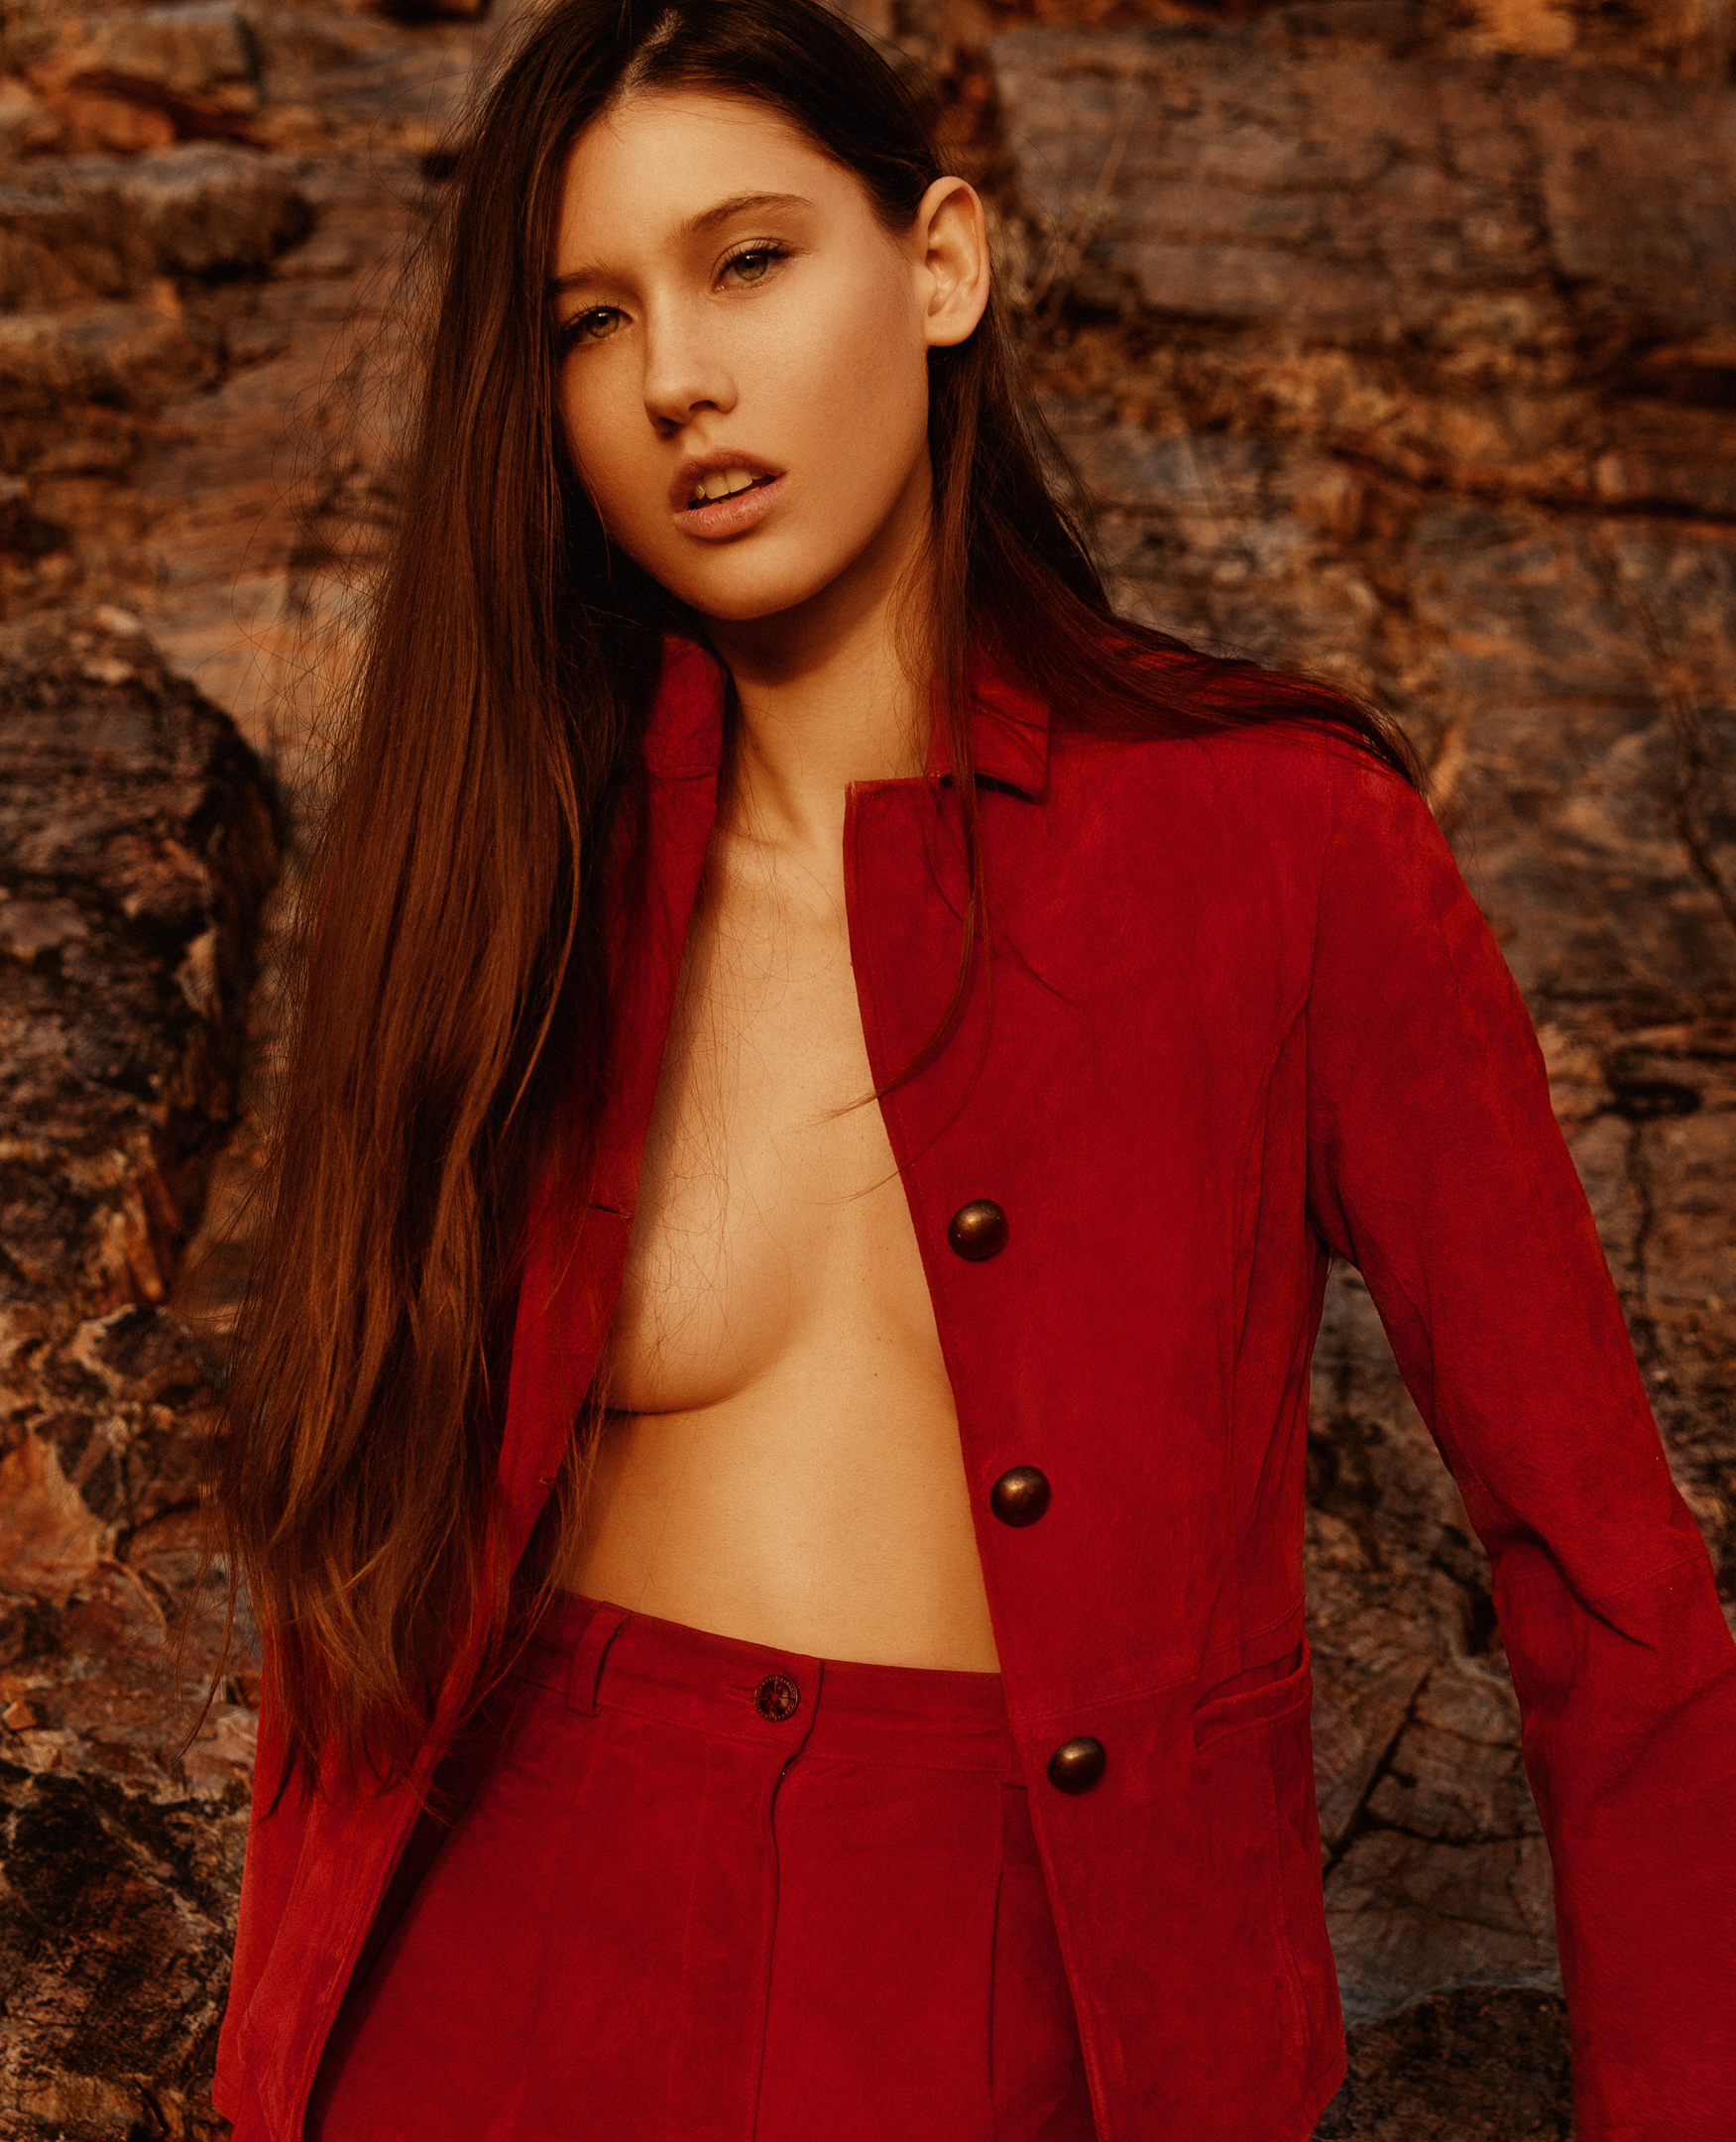
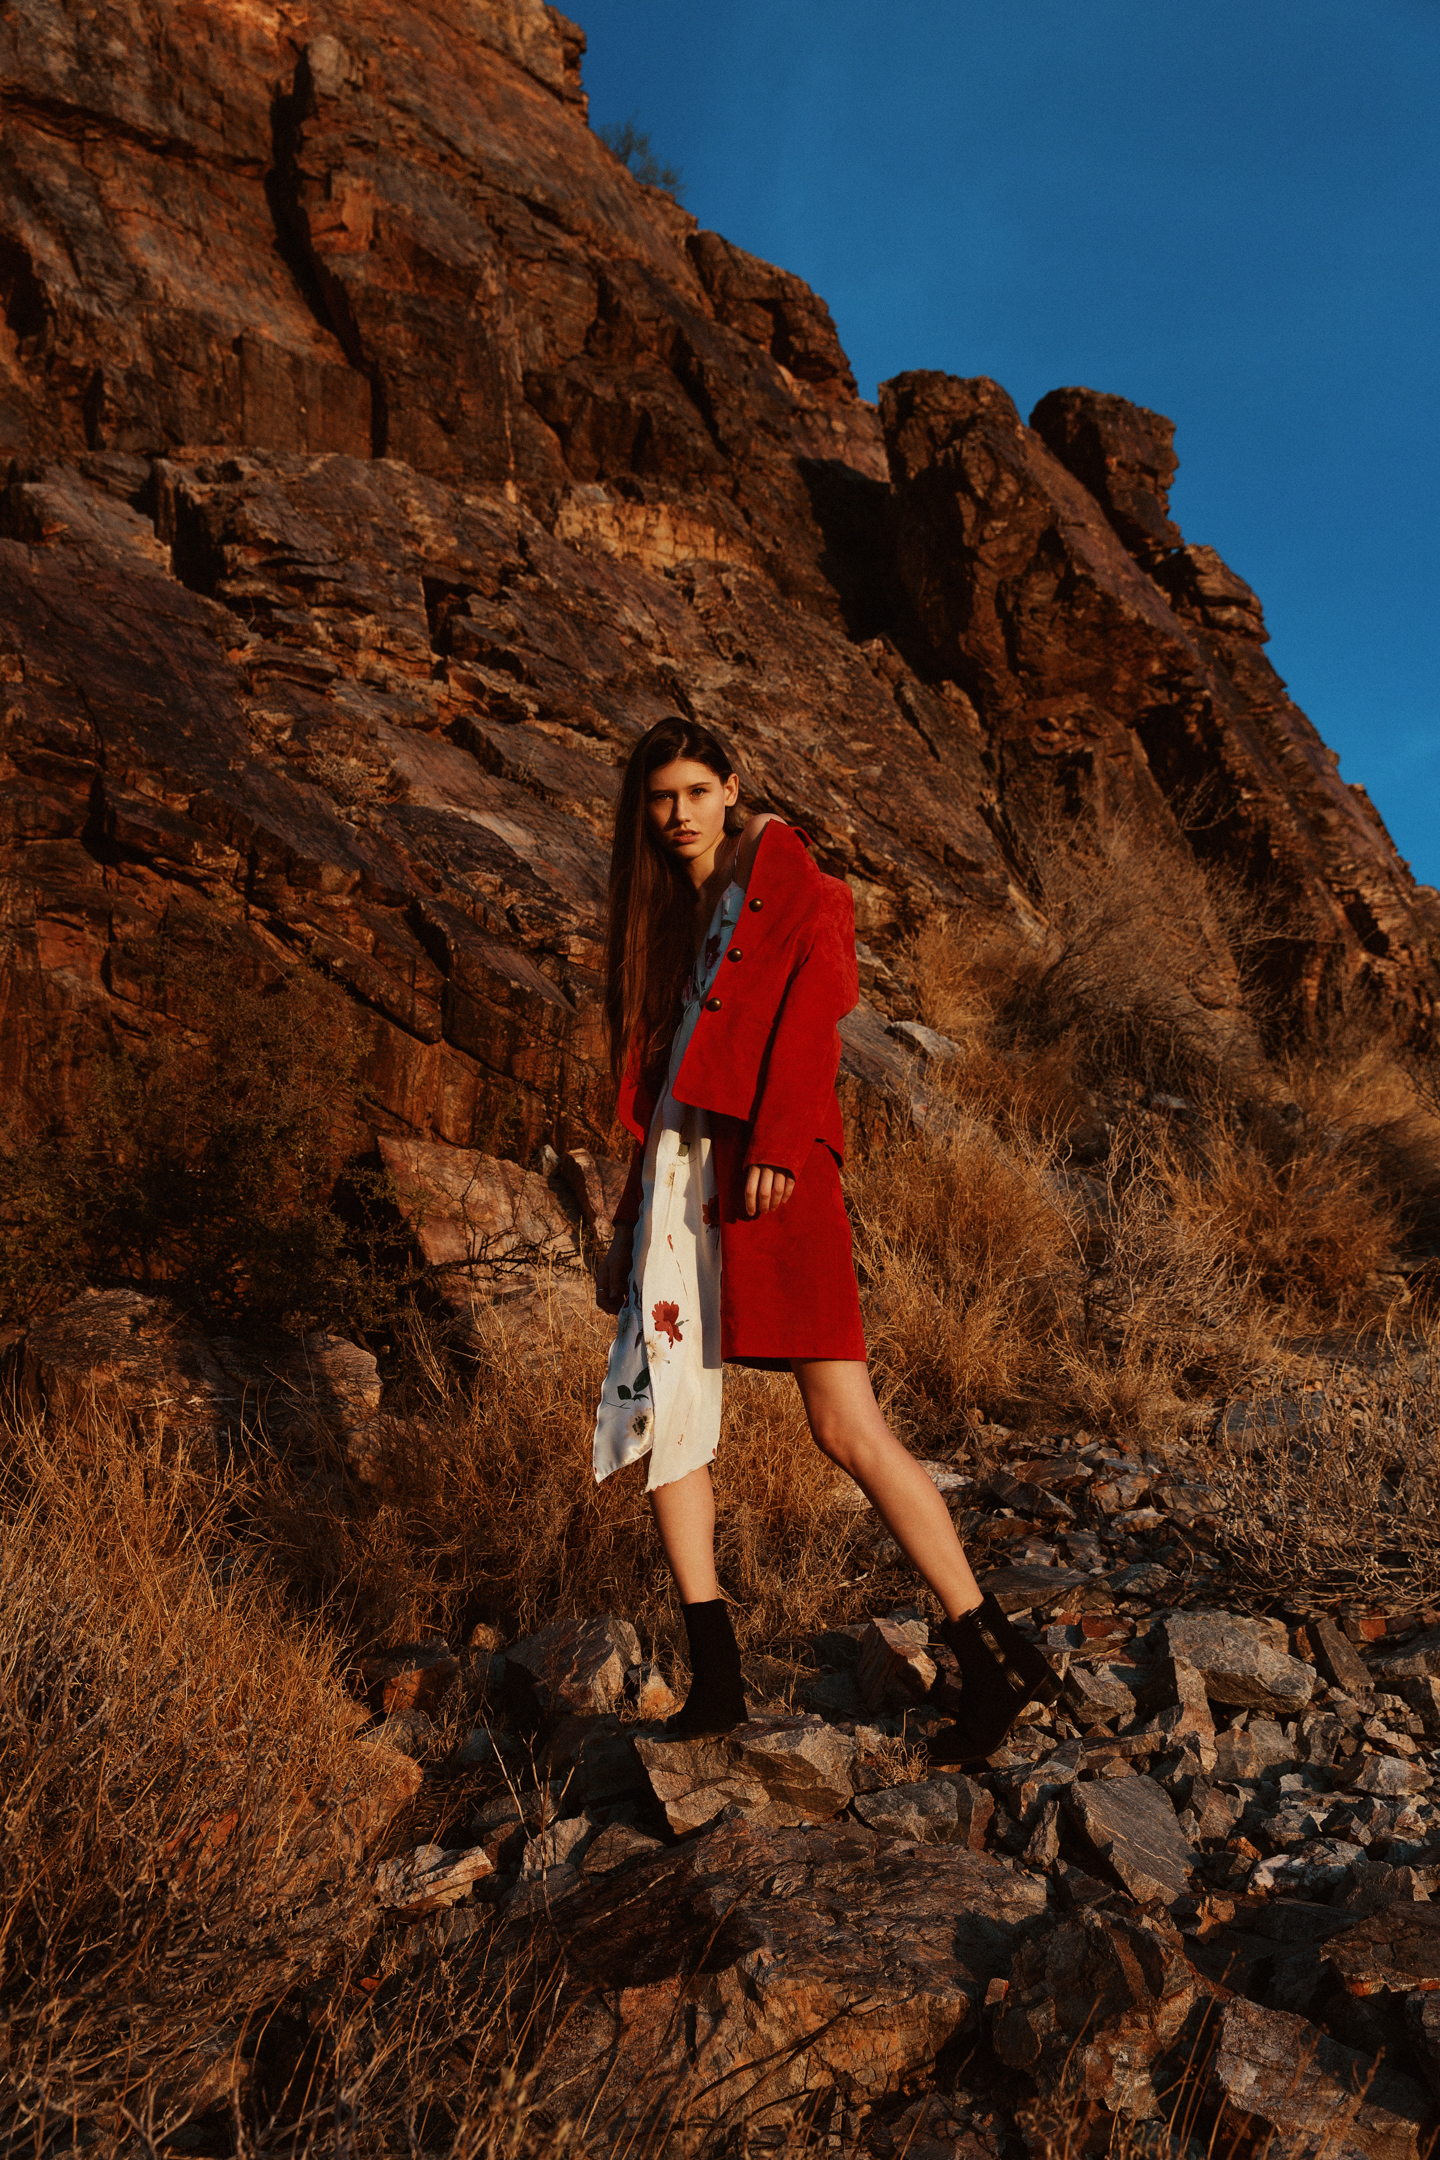
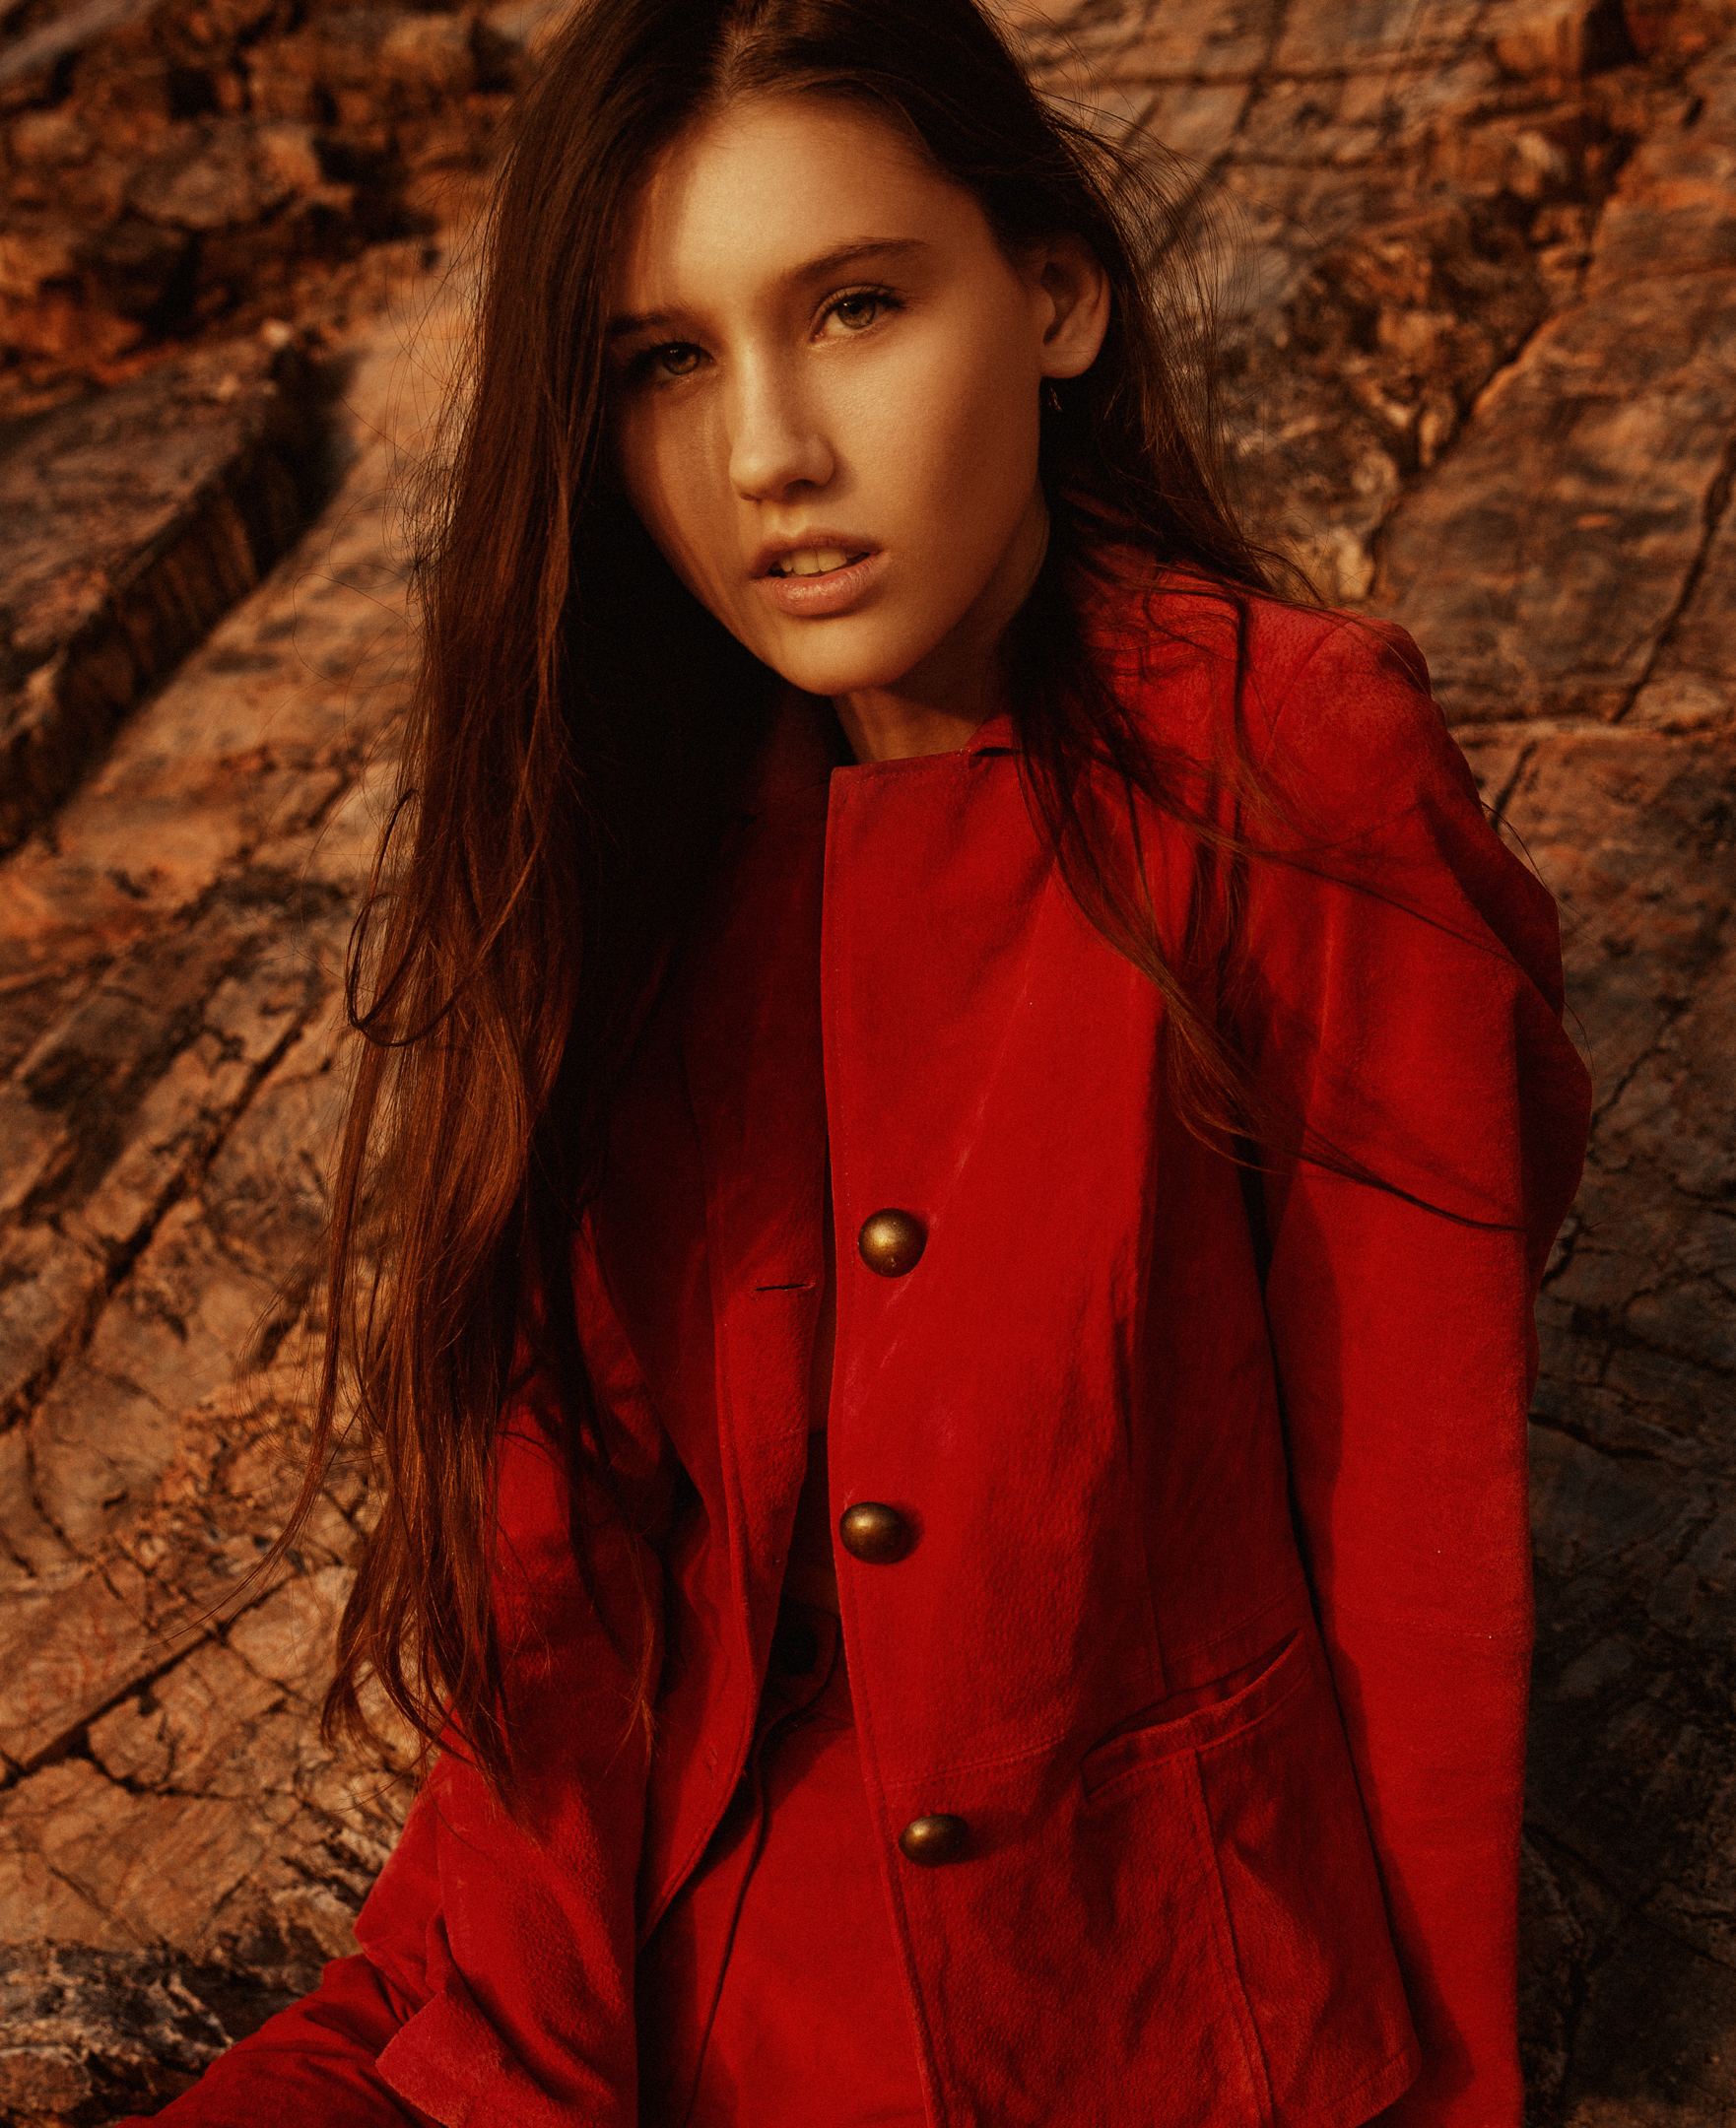
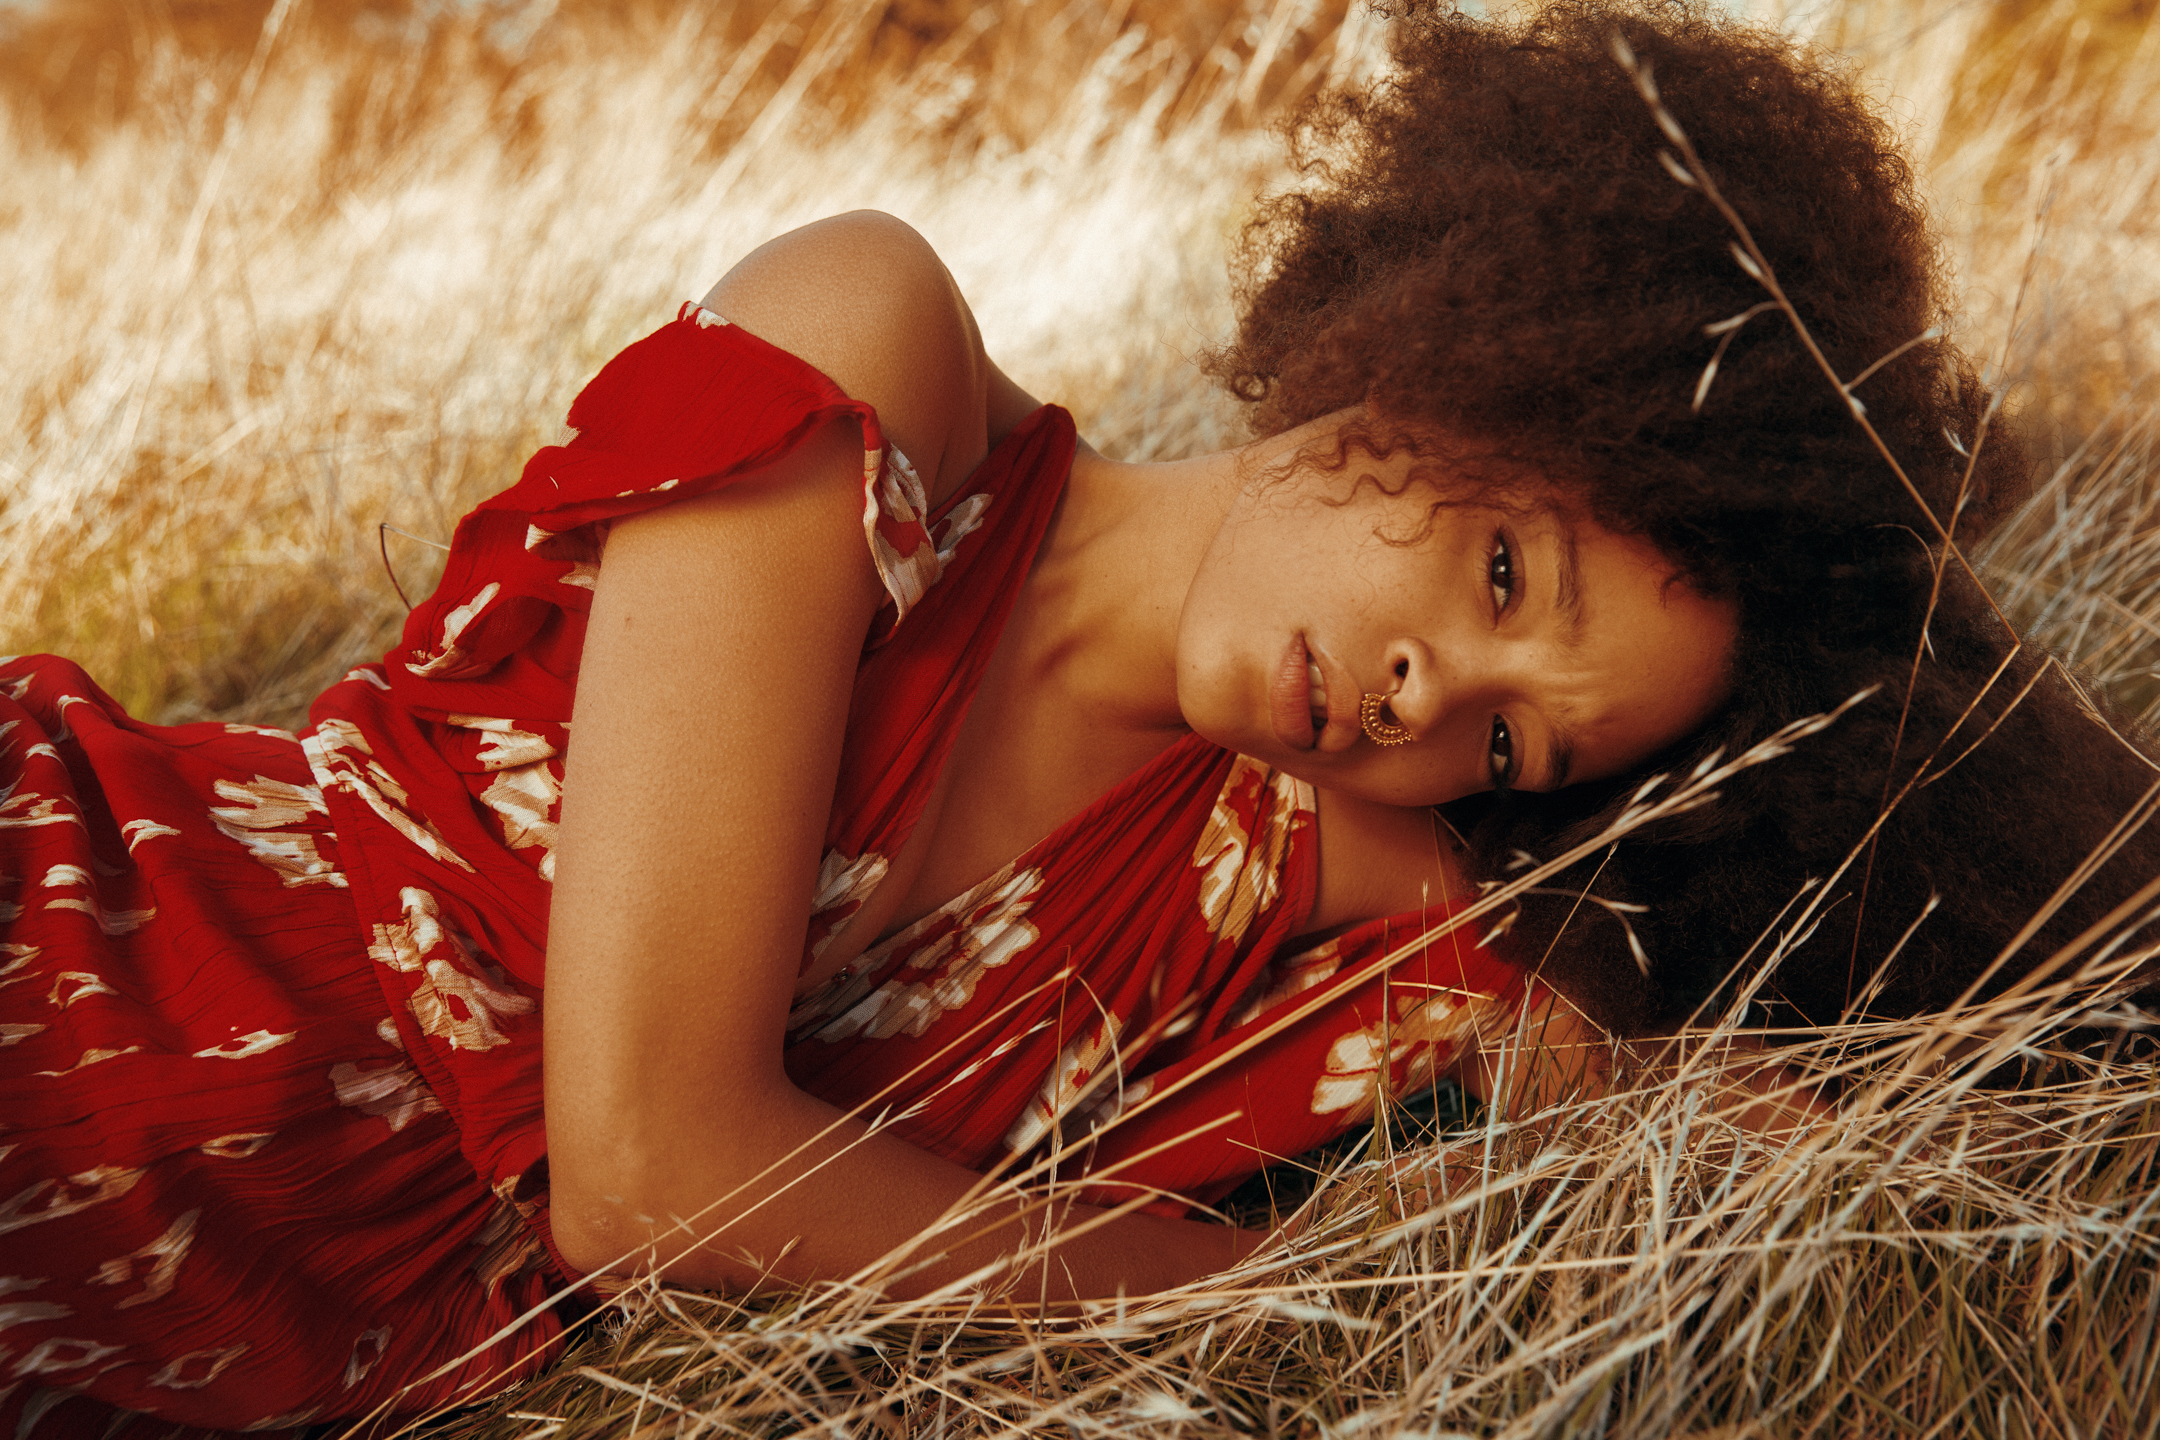
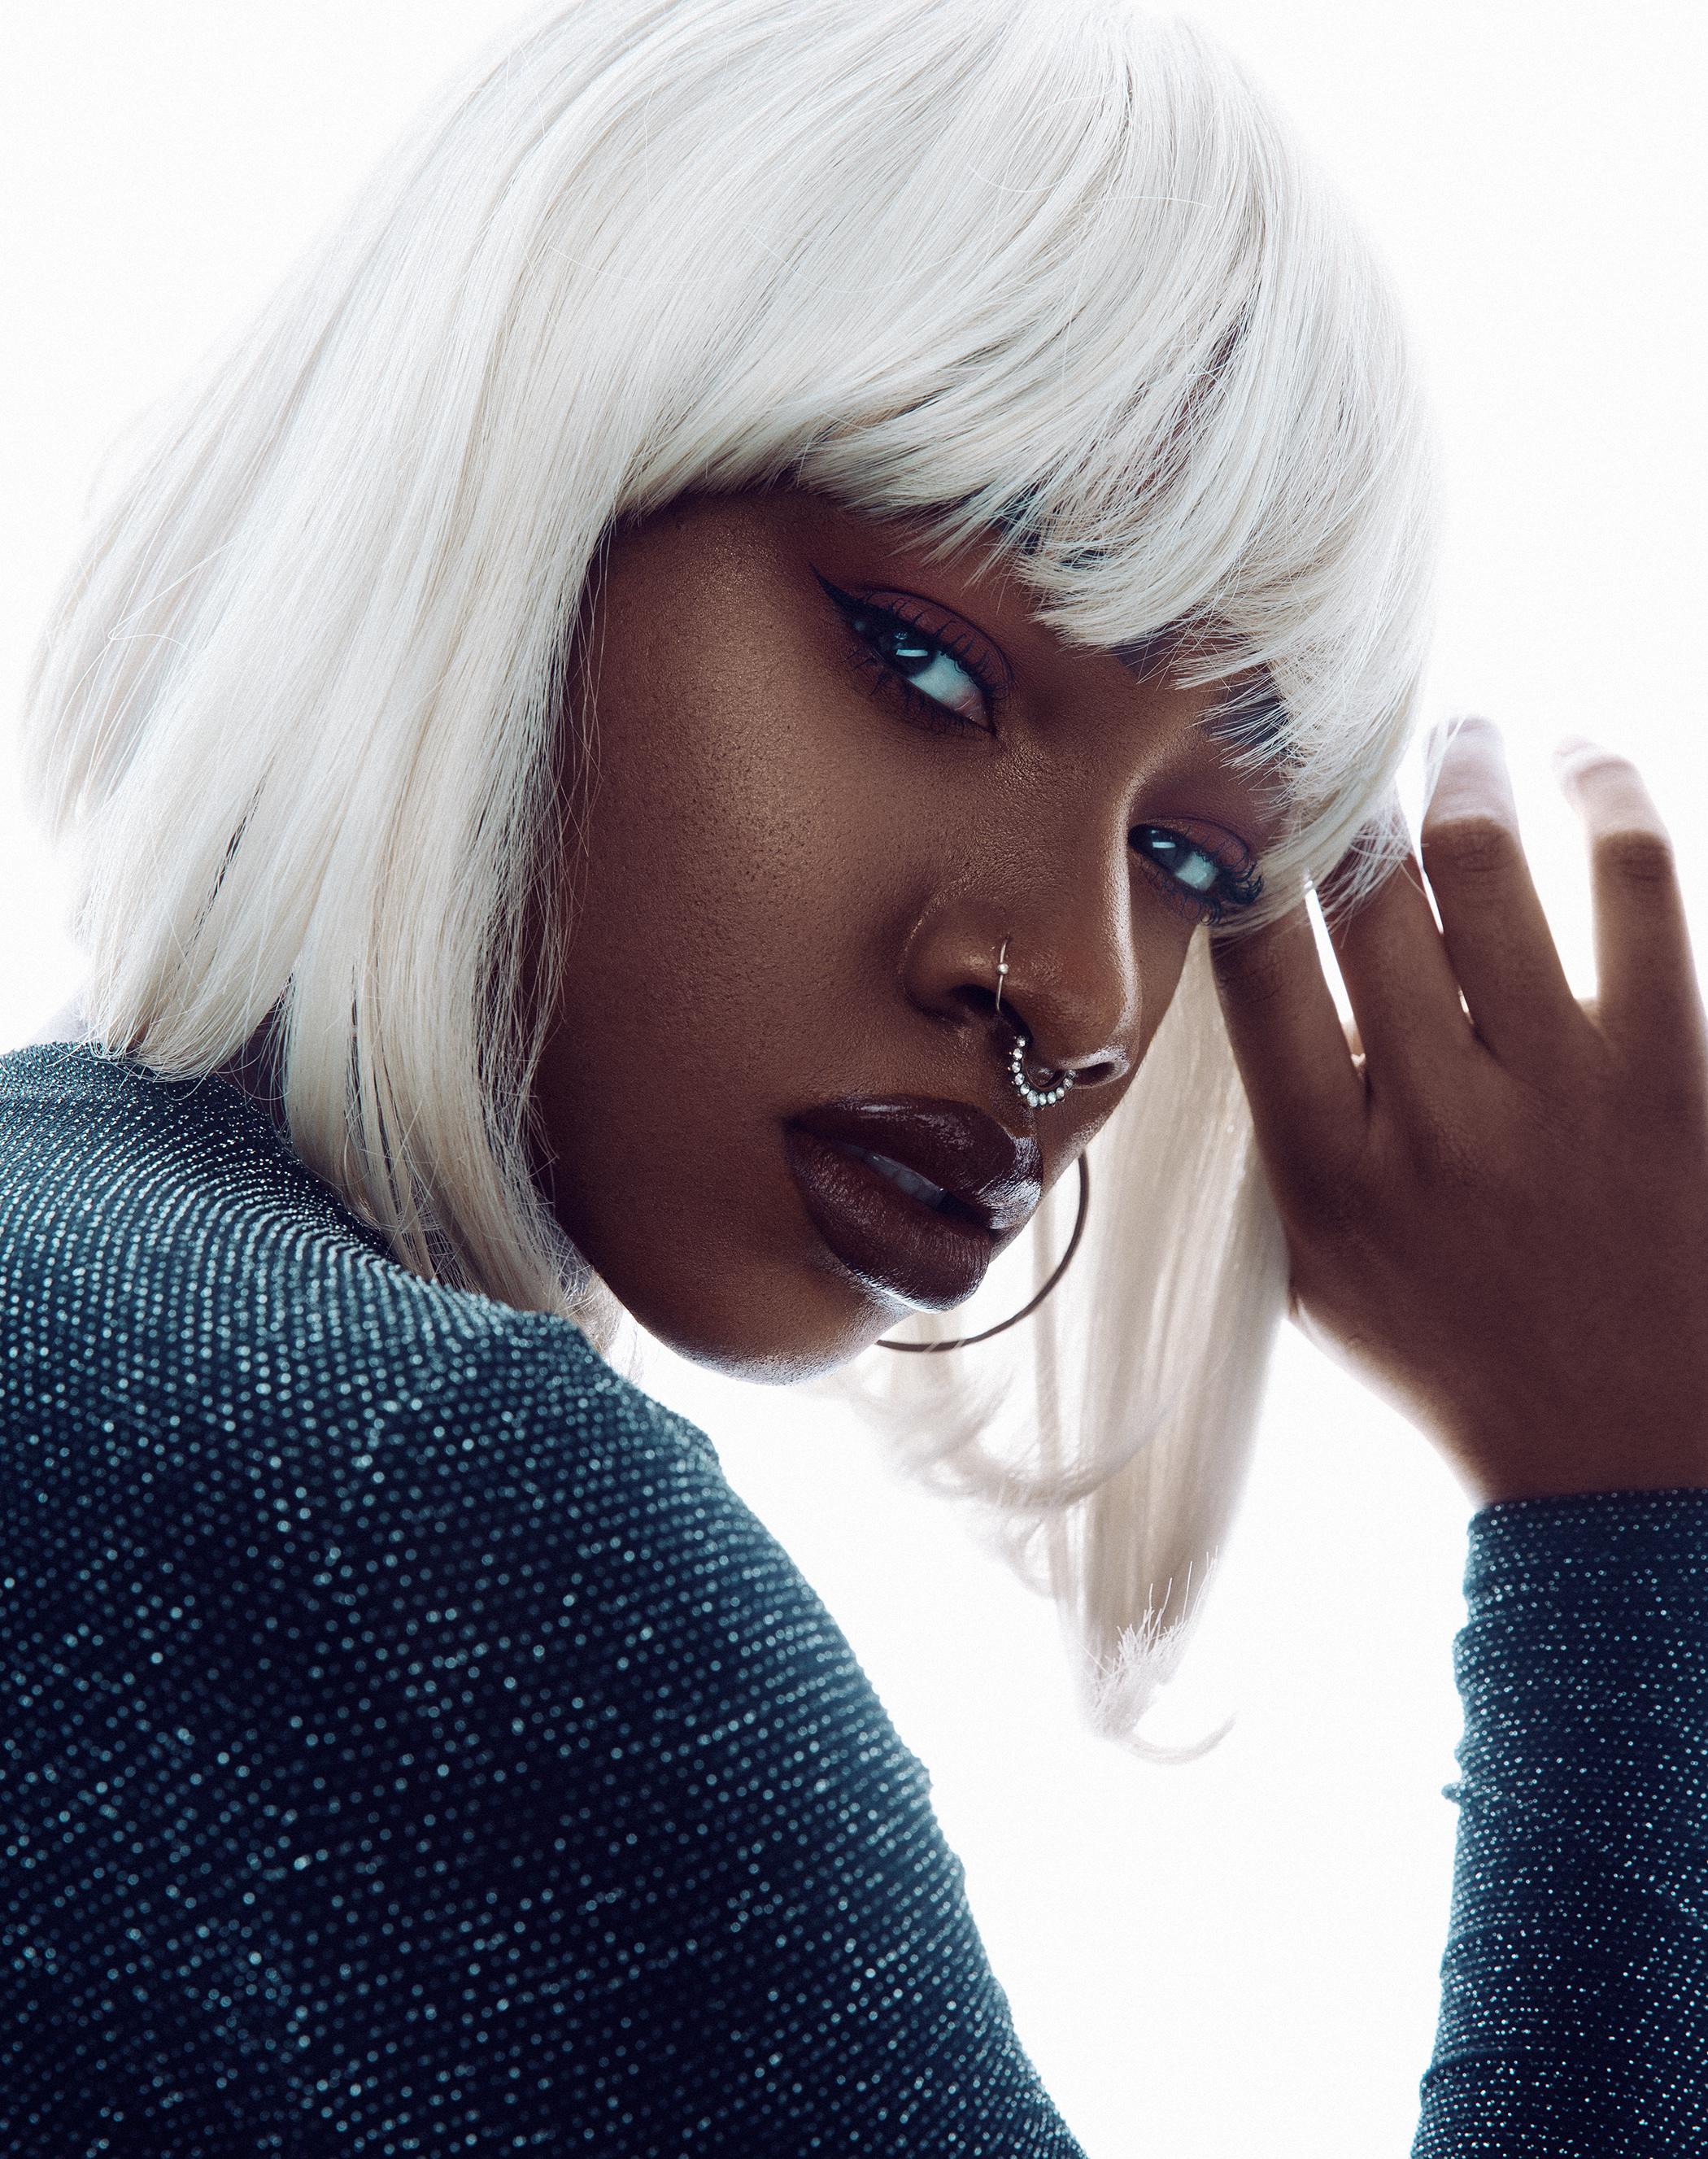
Diffussed sunlight.
This is the most common way to use the scrim on location. With the scrim between your subject and the sun you can place the scrim in a variety of ways to change how the light shapes your subject. You can have more flat beauty light by shooting straight on with the sun, or create more depth by shooting at a 45 or 90 degree angle away from the sun.
All shots below were shot only using natural light and the scrim.
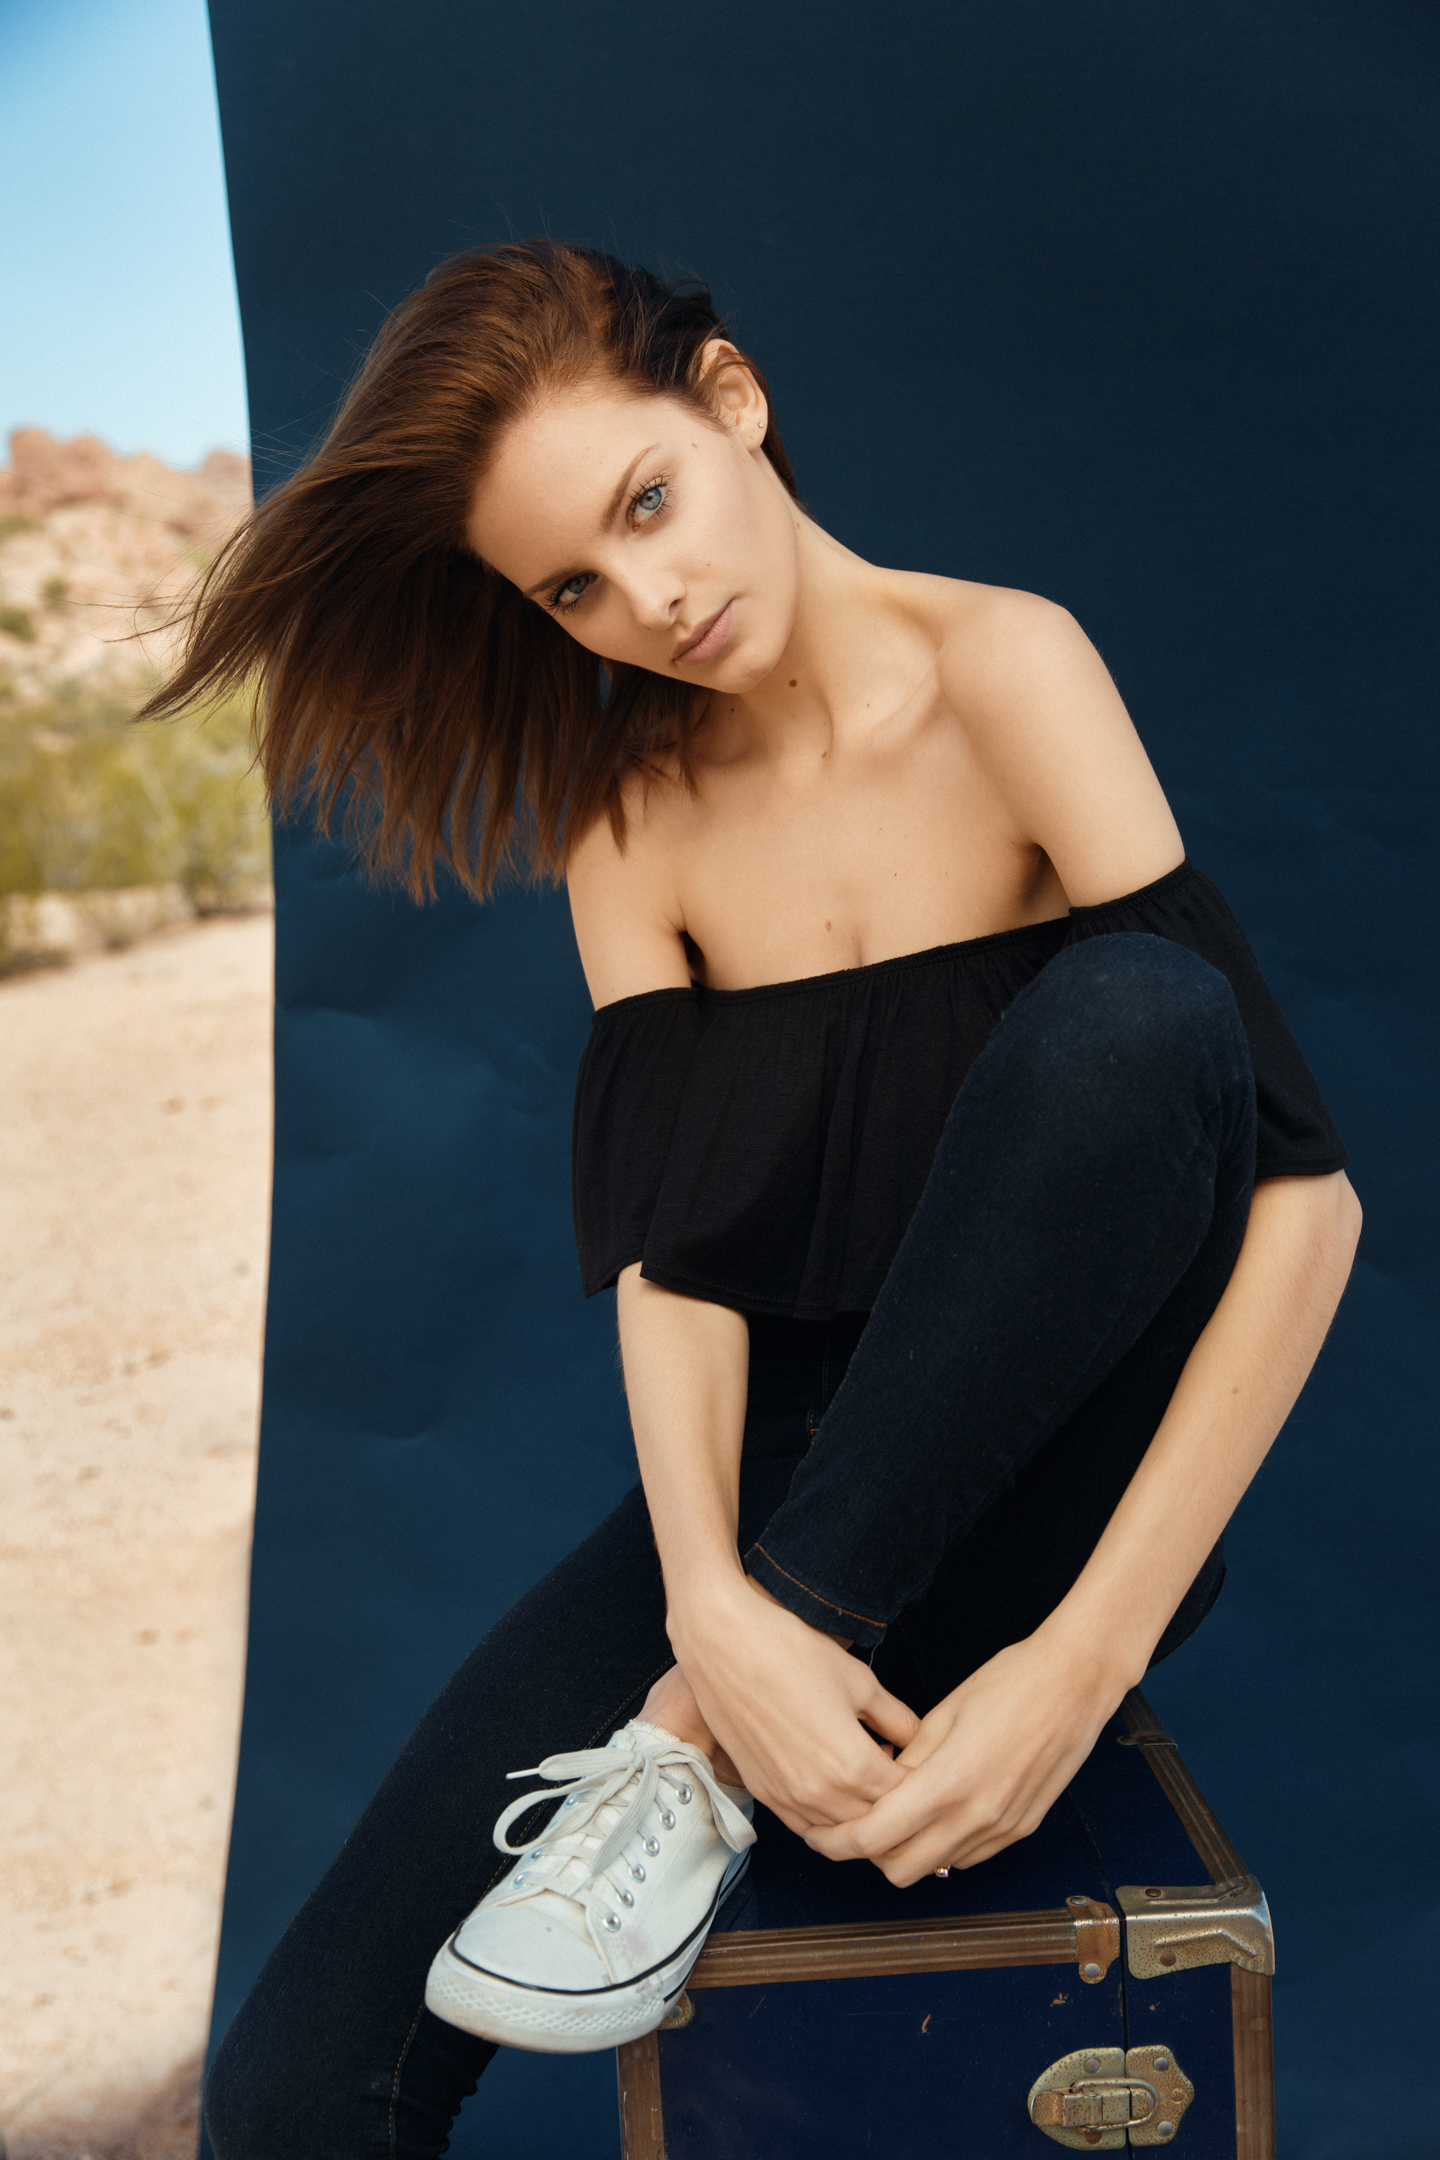


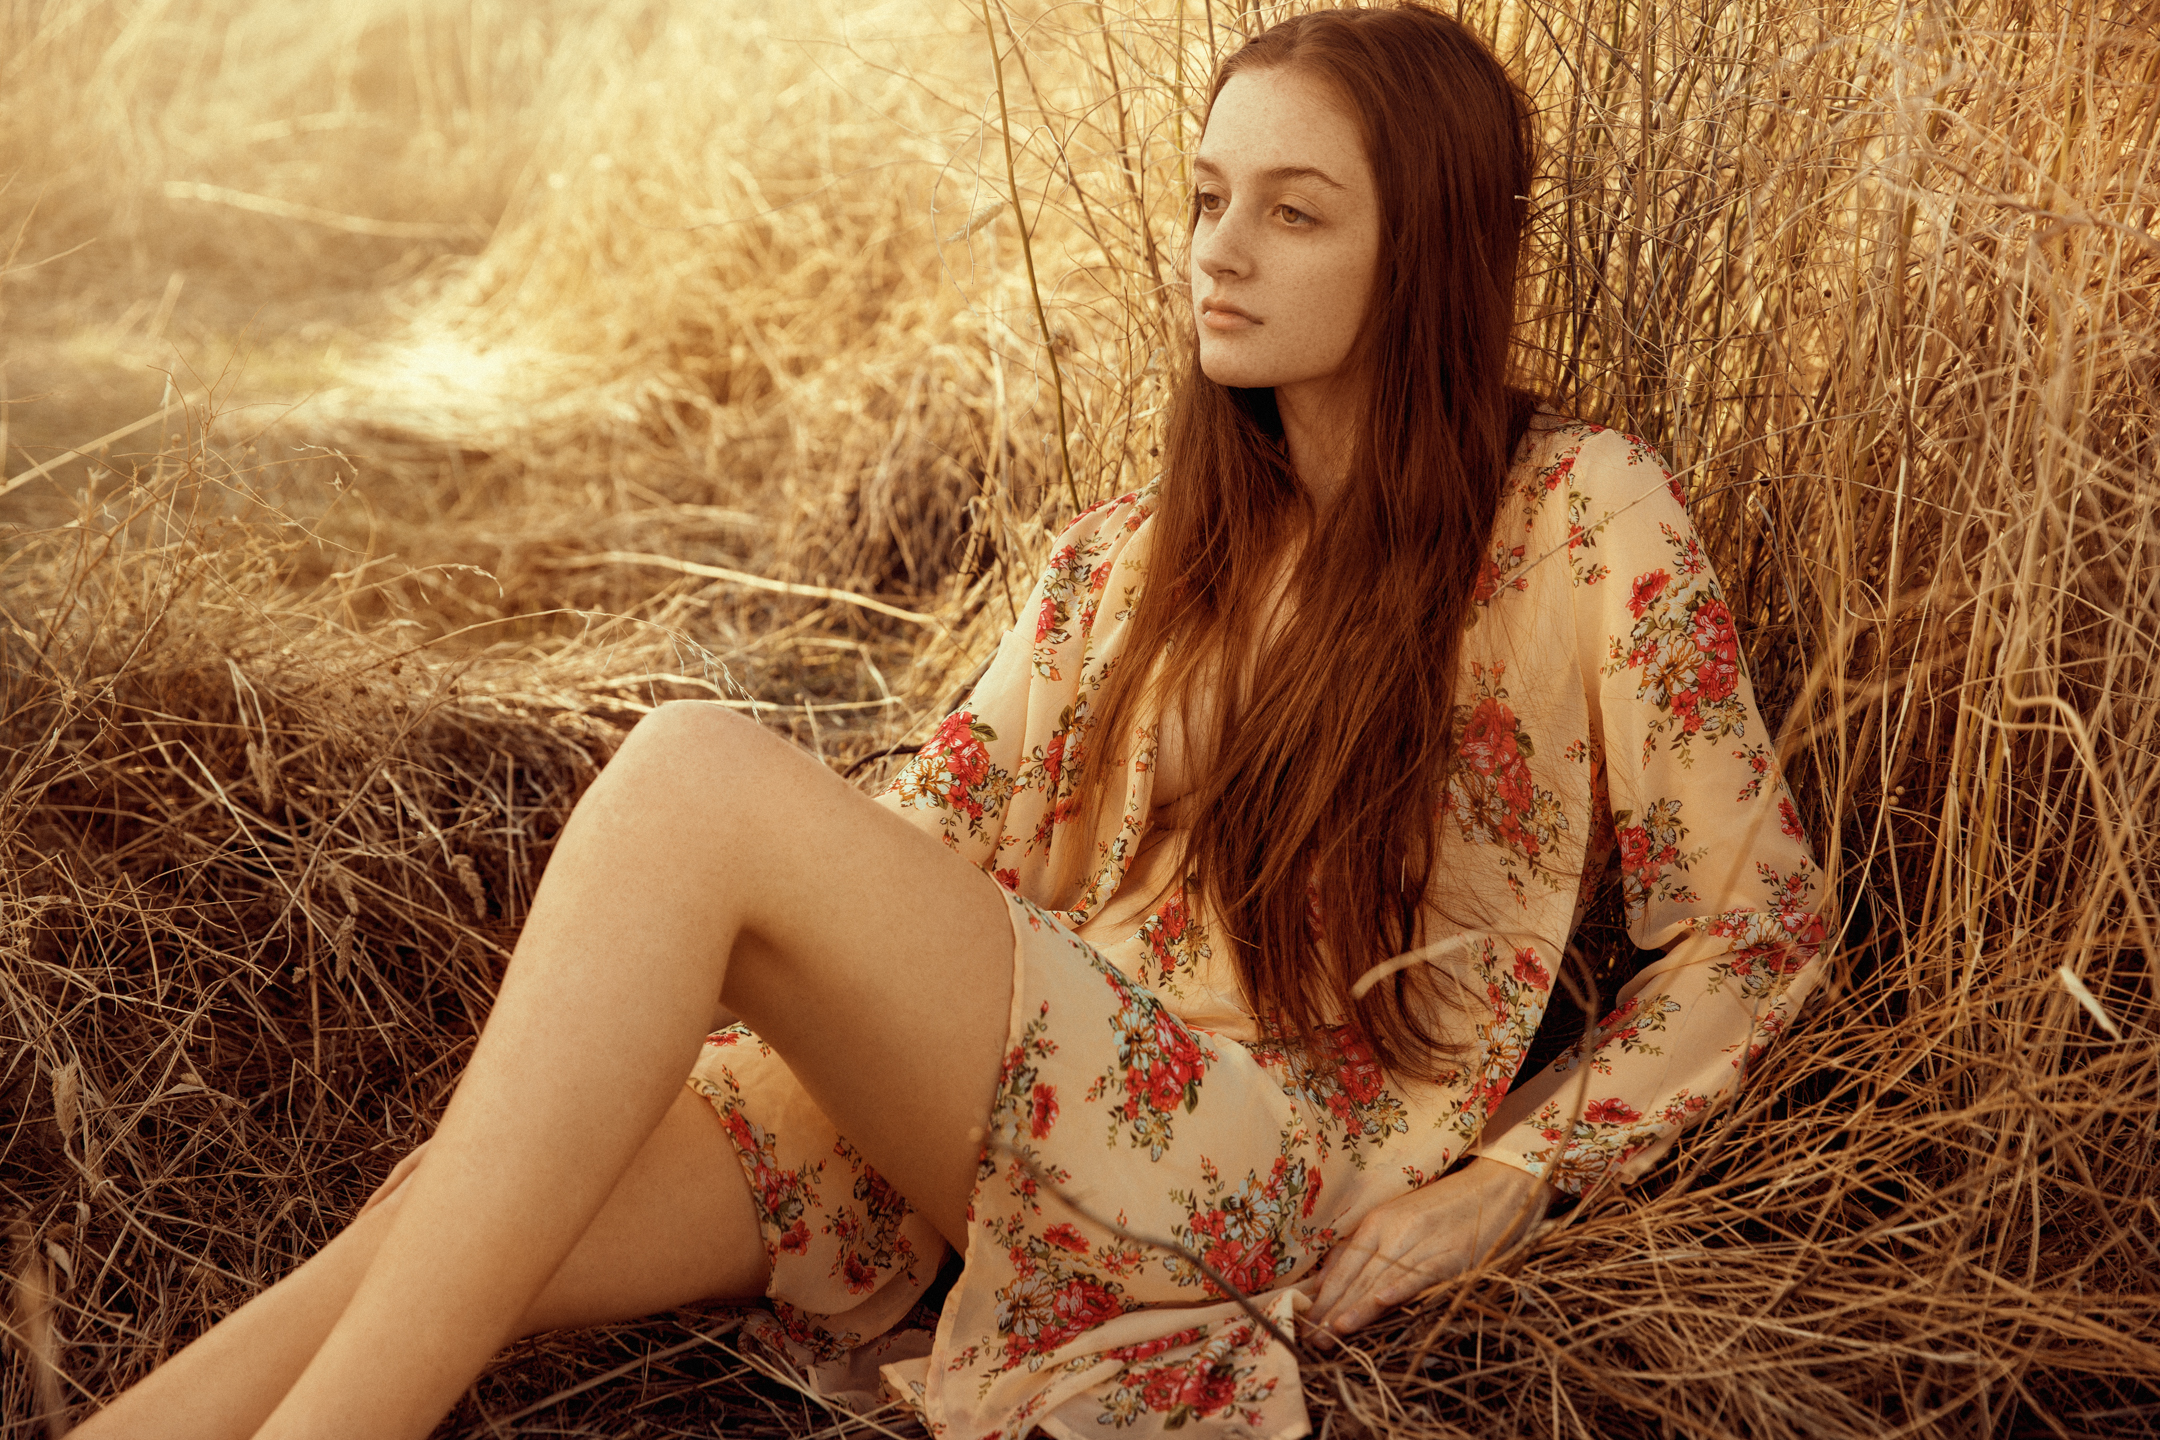
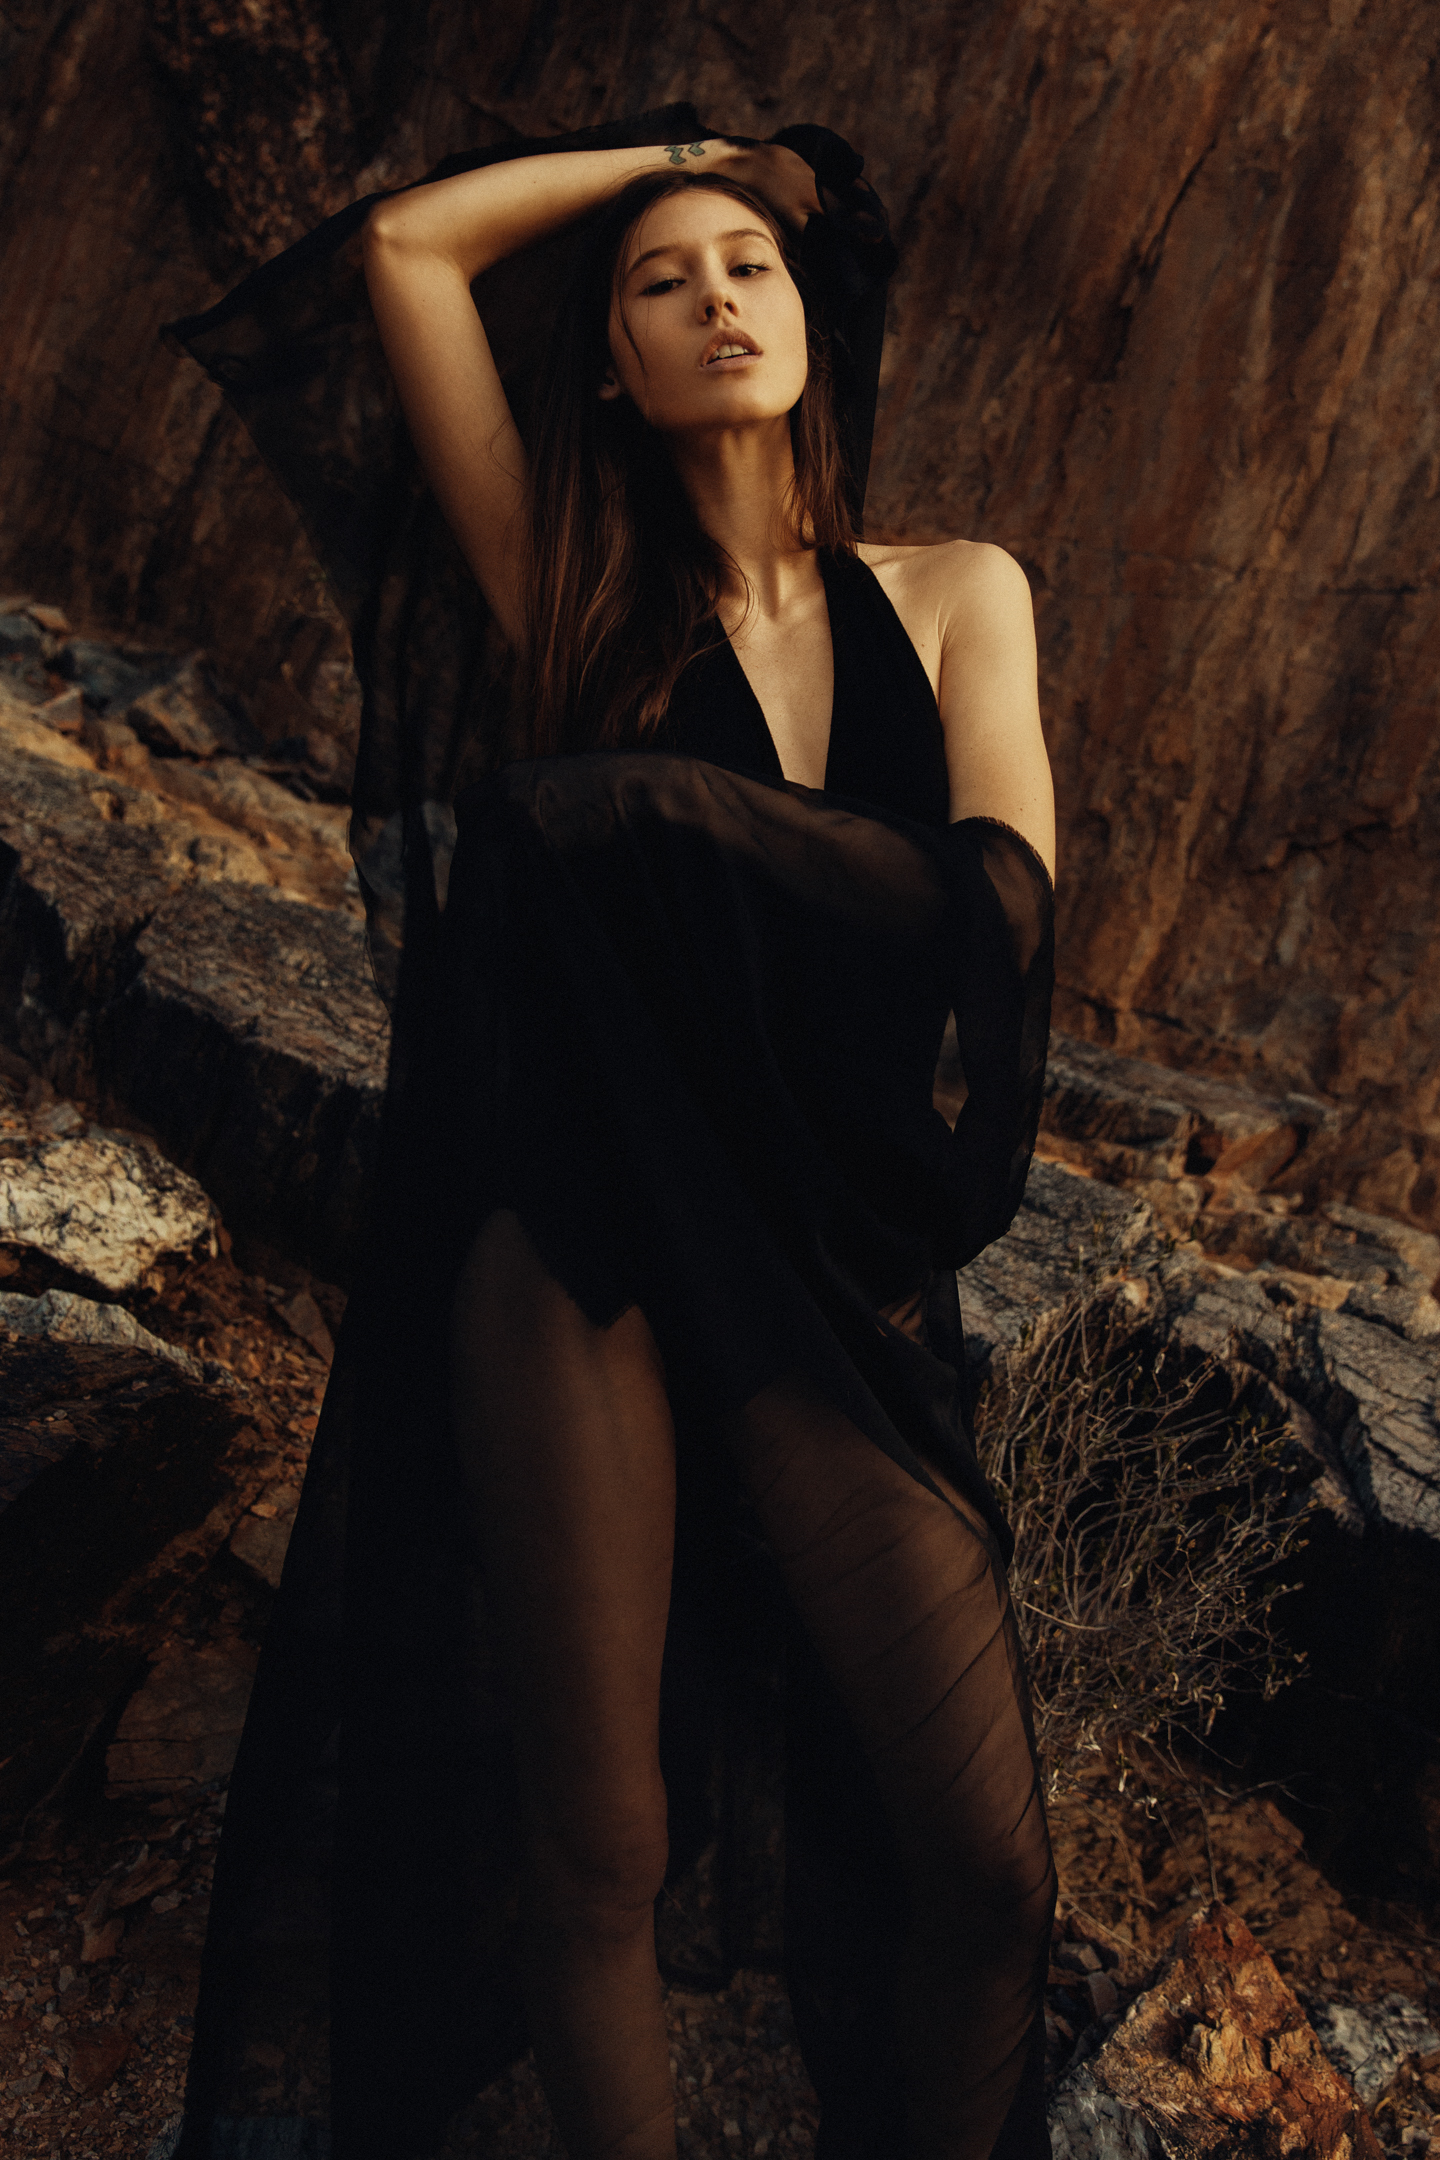
Reflector.
I love that the Lastolite come with a silver reflector. You can bounce some serious light with a 6x6 foot reflector. All shots below were shot only using natural light and the scrim.

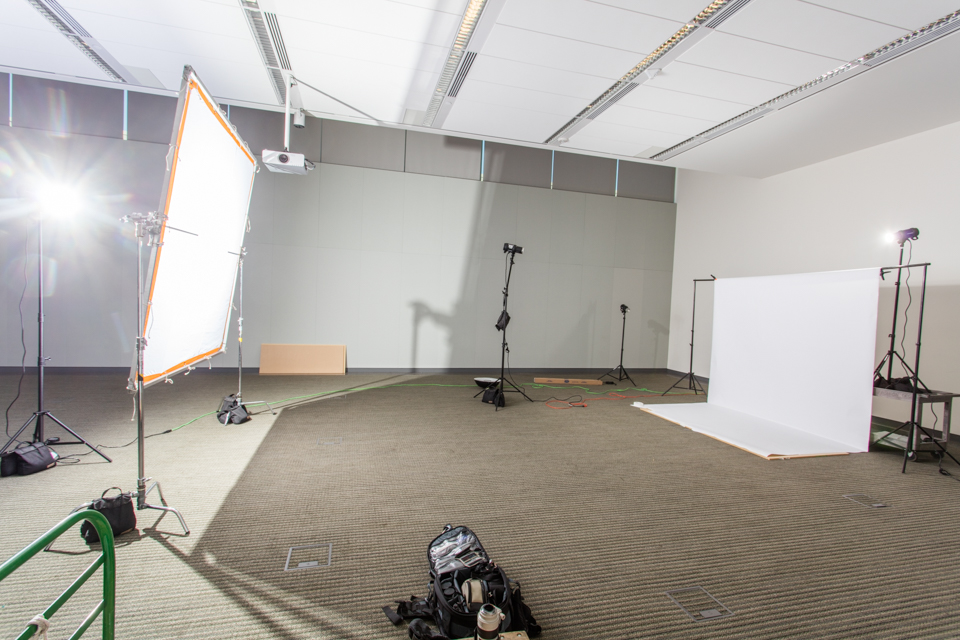
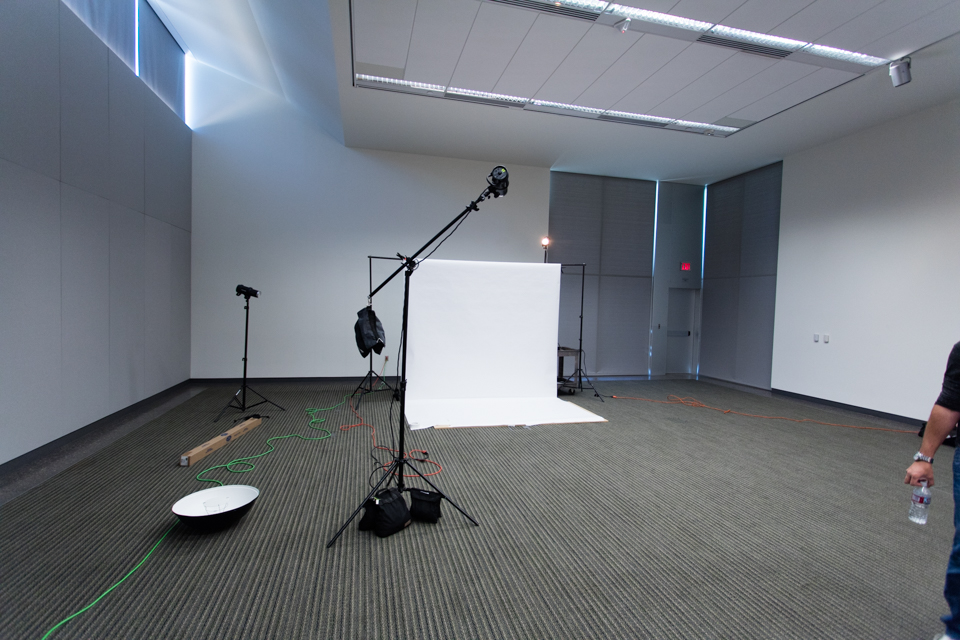
Using the scrim in the studio.
After watching Clay talk about how important fill light is the way I thought about lighting completely changed. The scrim is a great way to add or modify fill light for studio work.
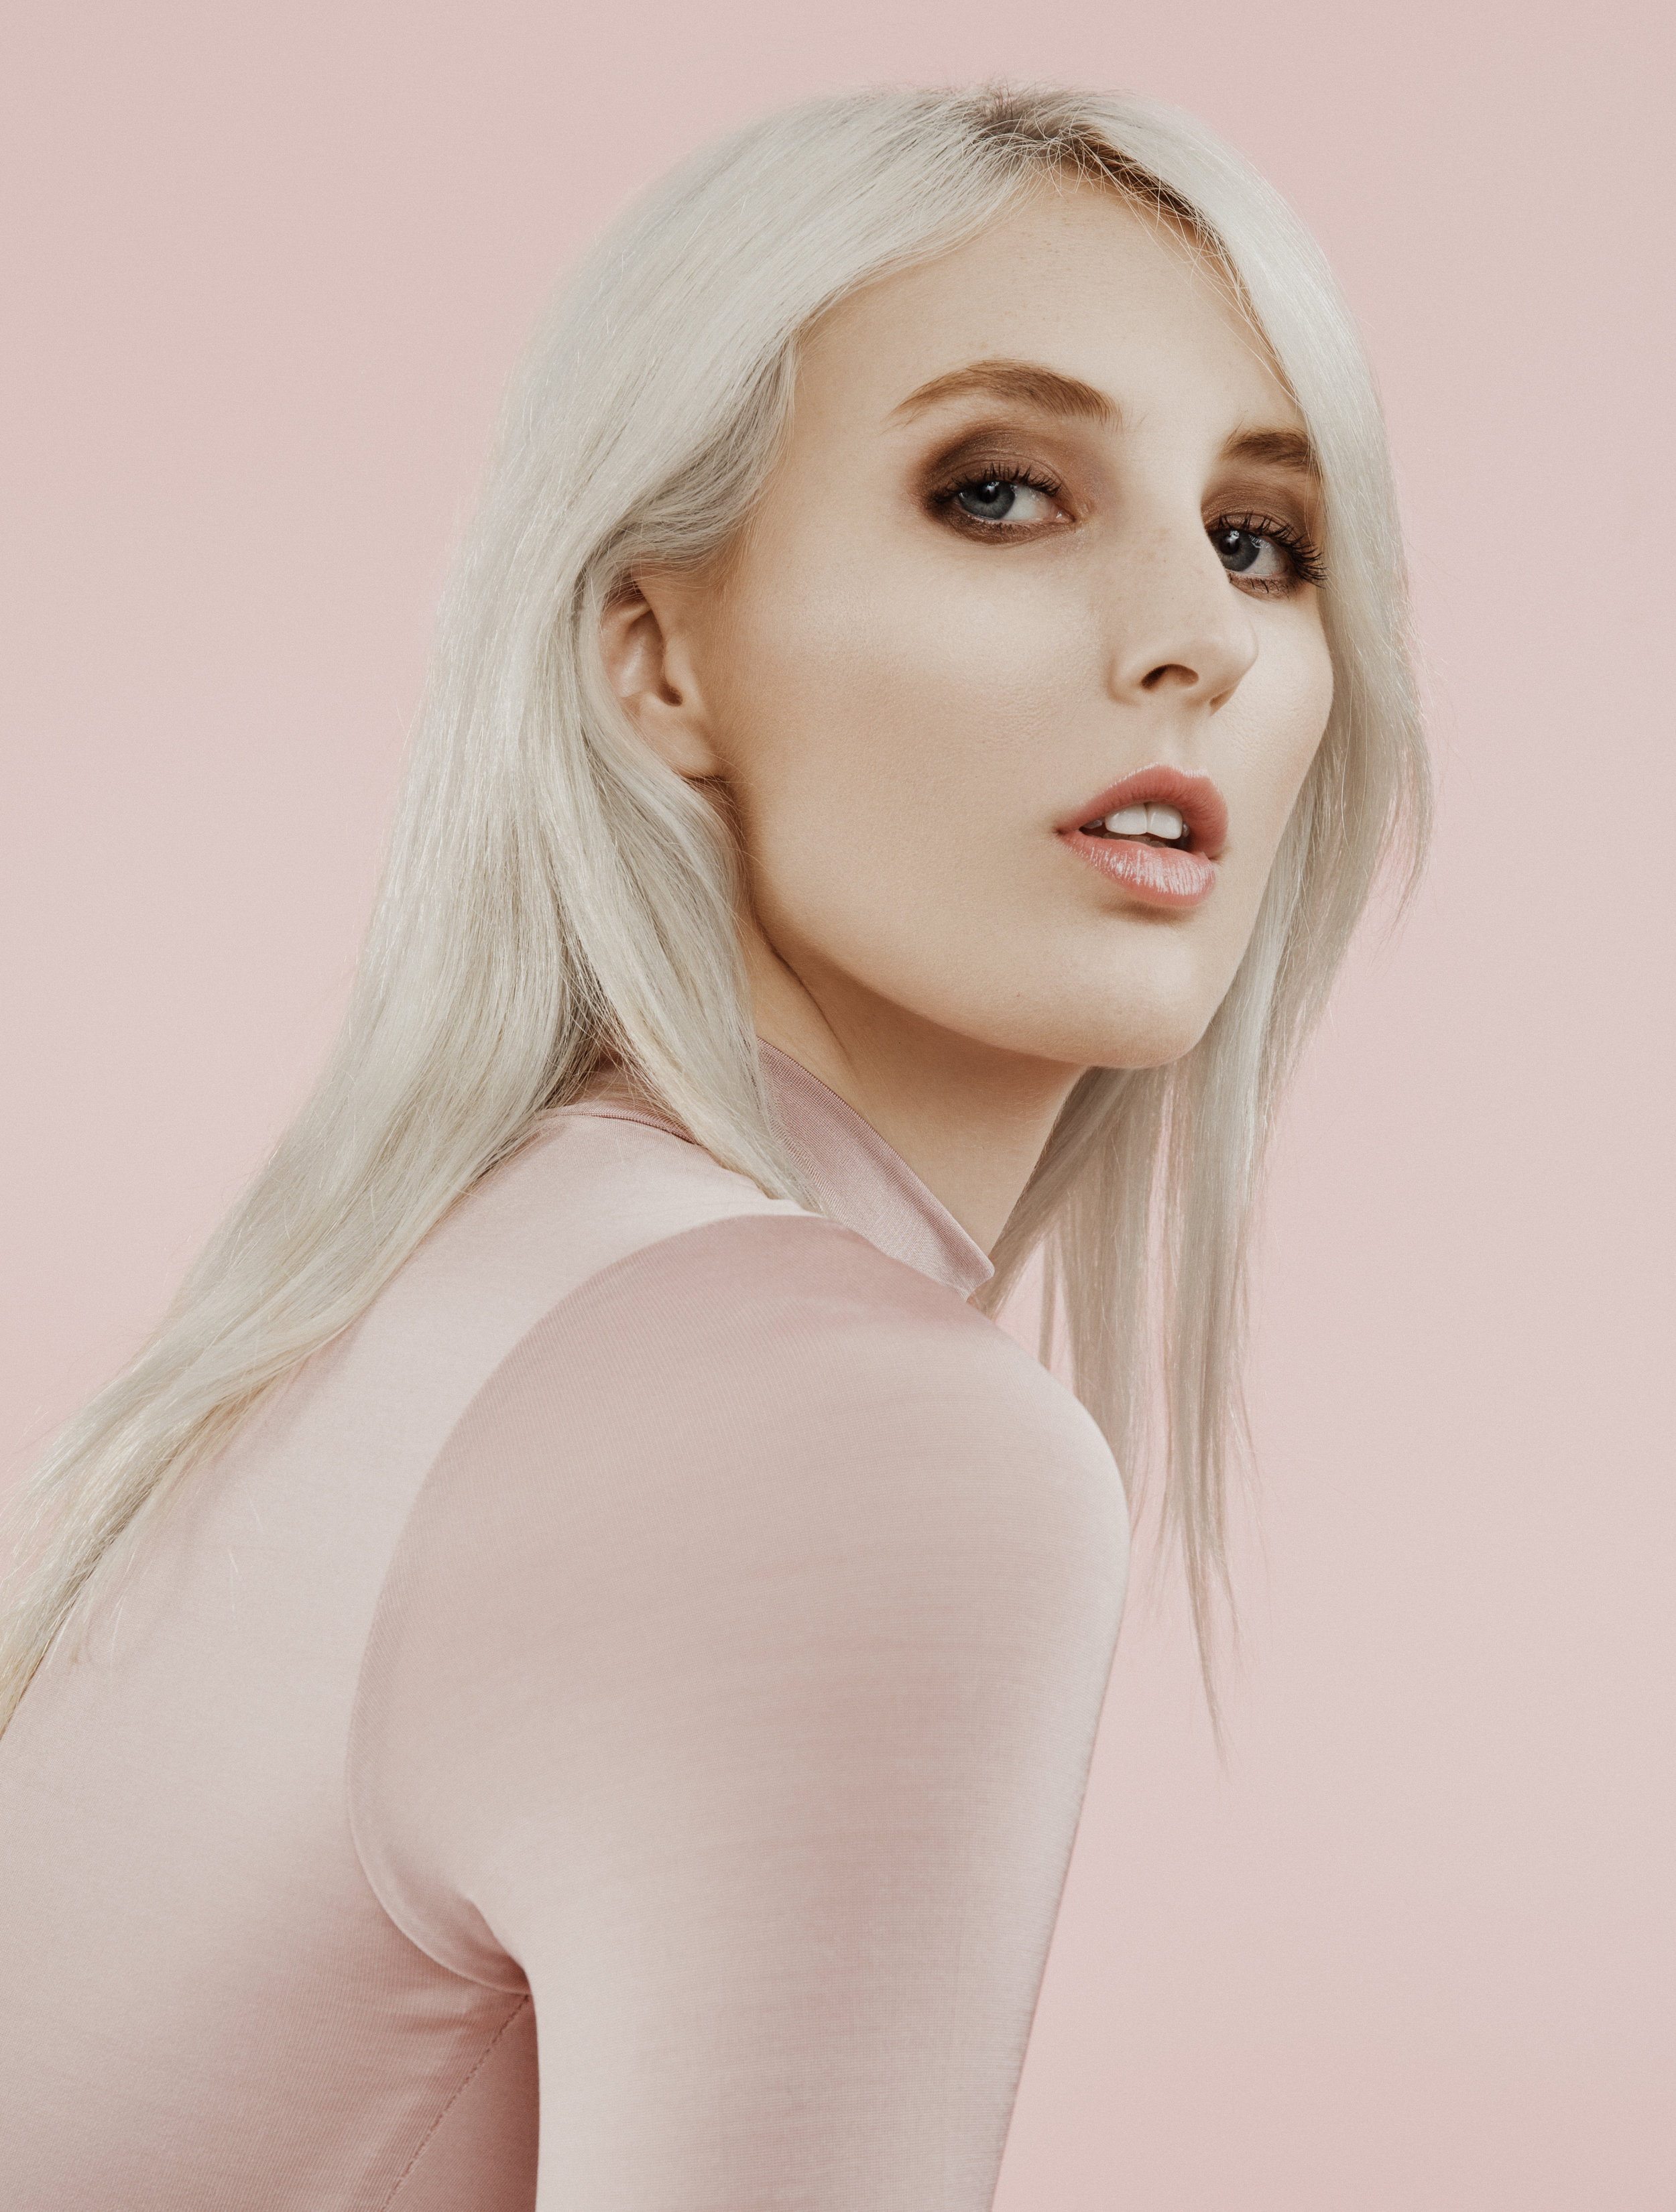
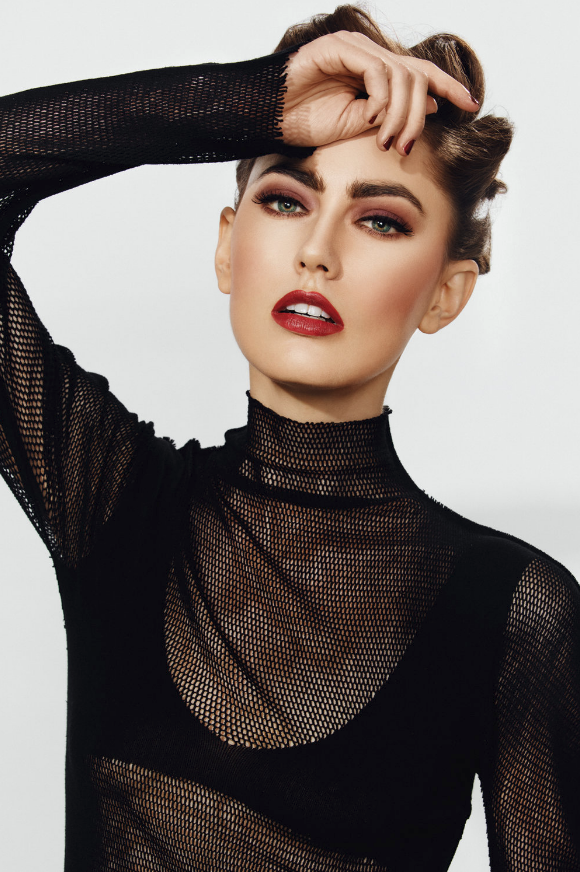
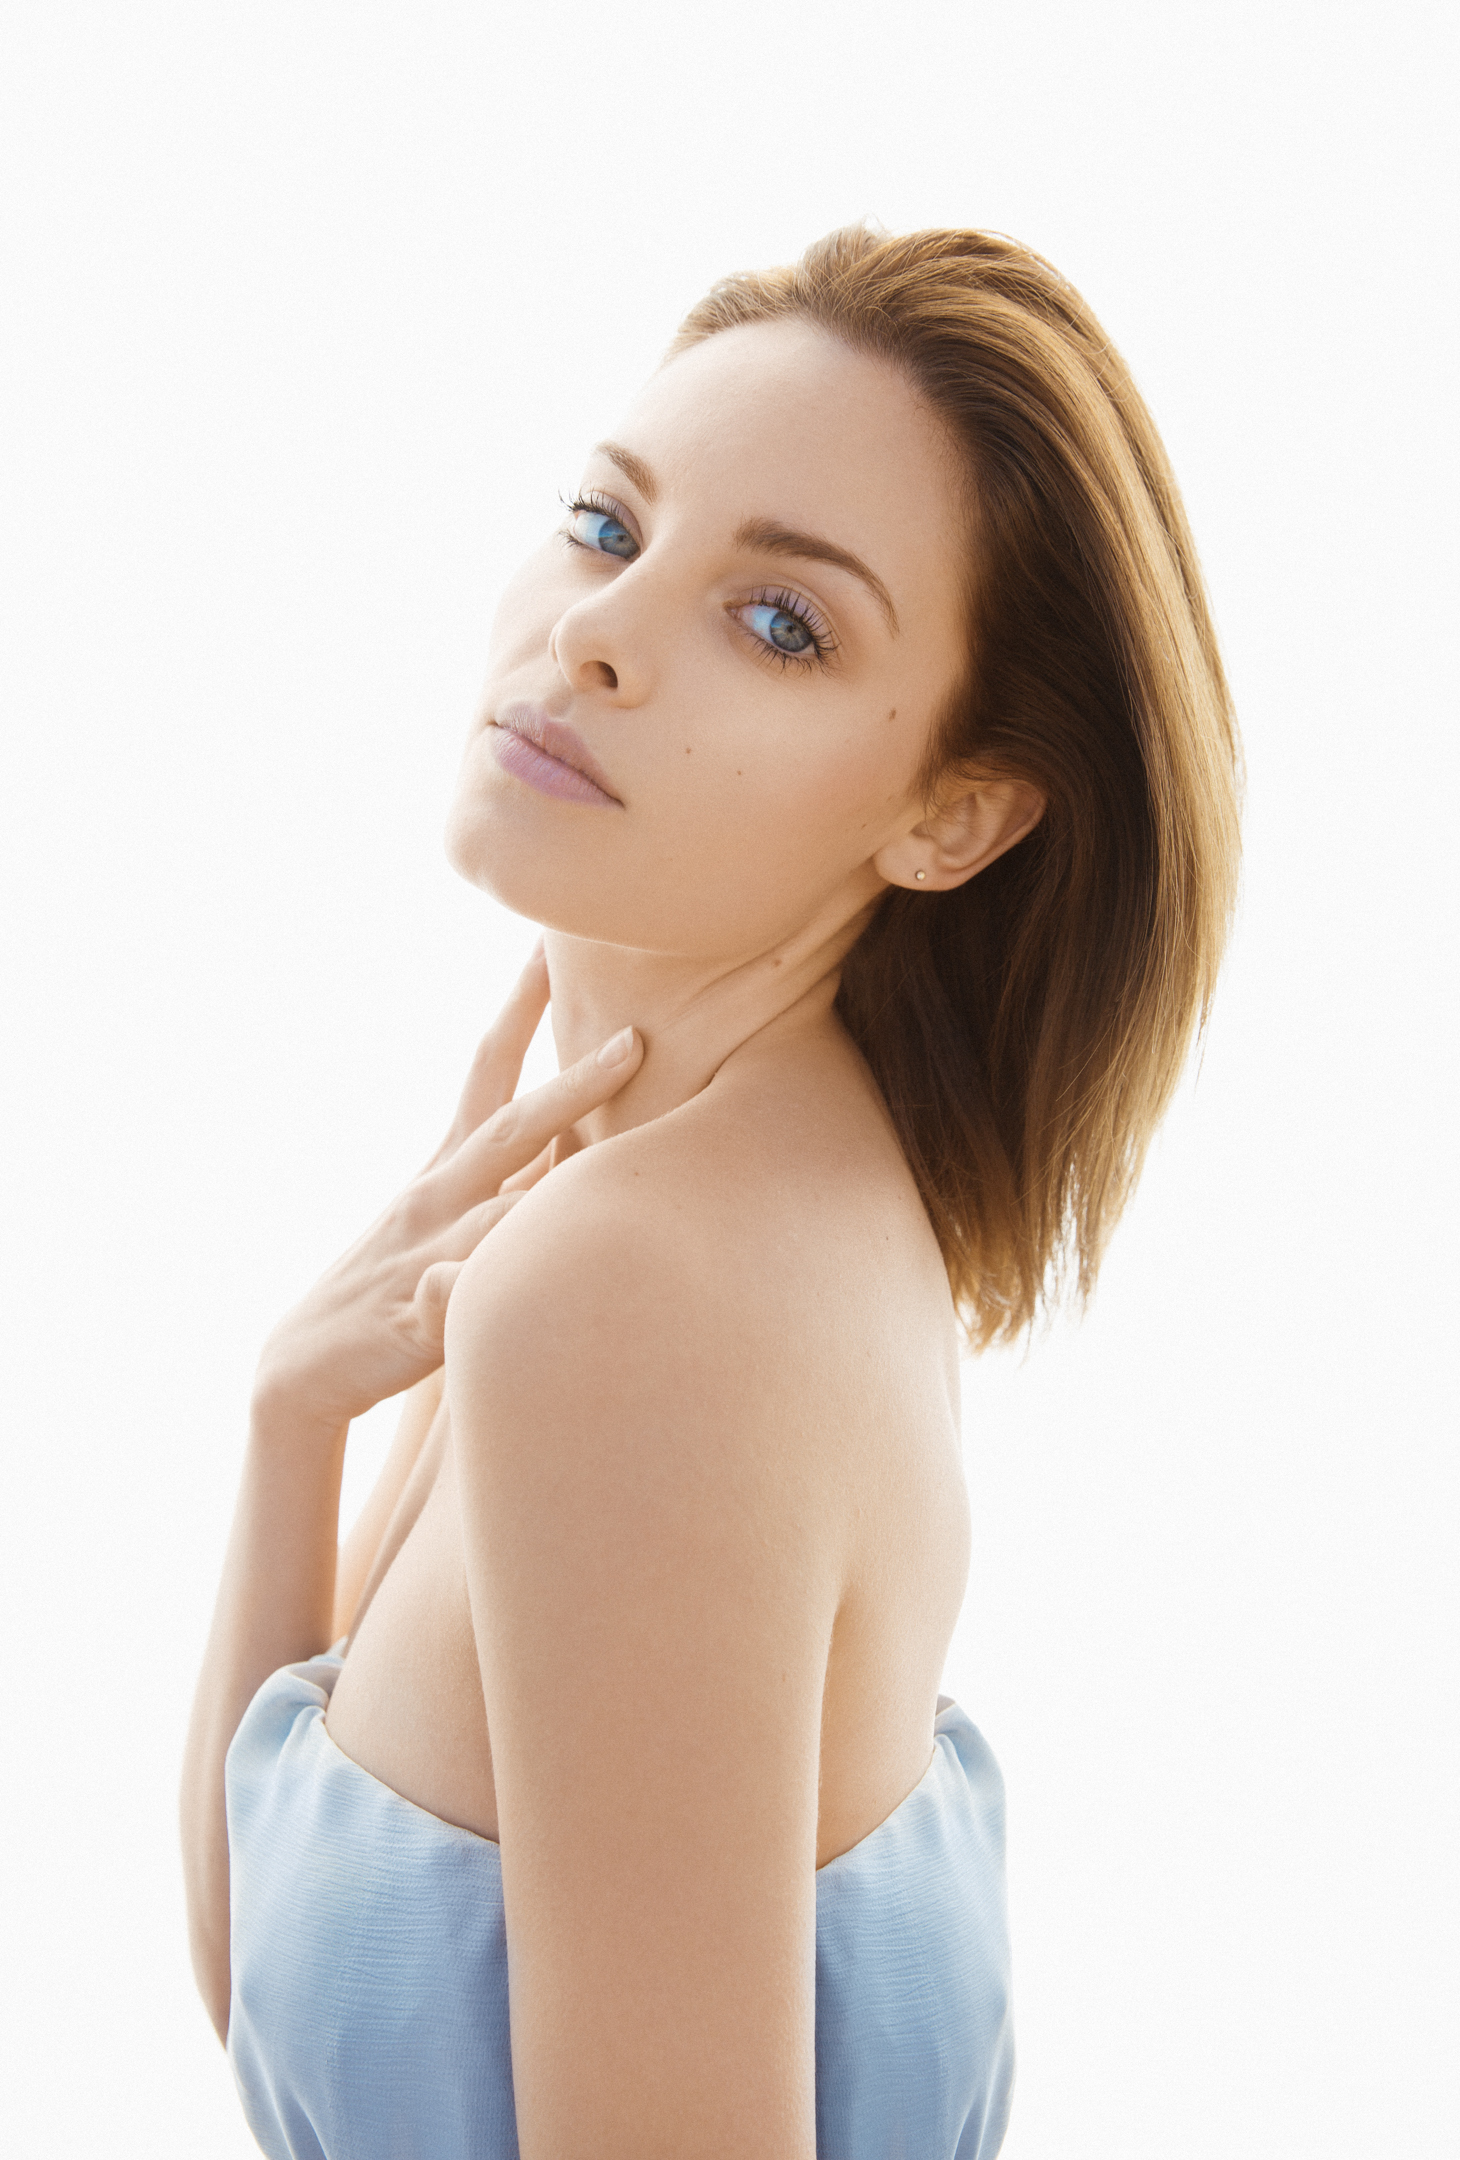
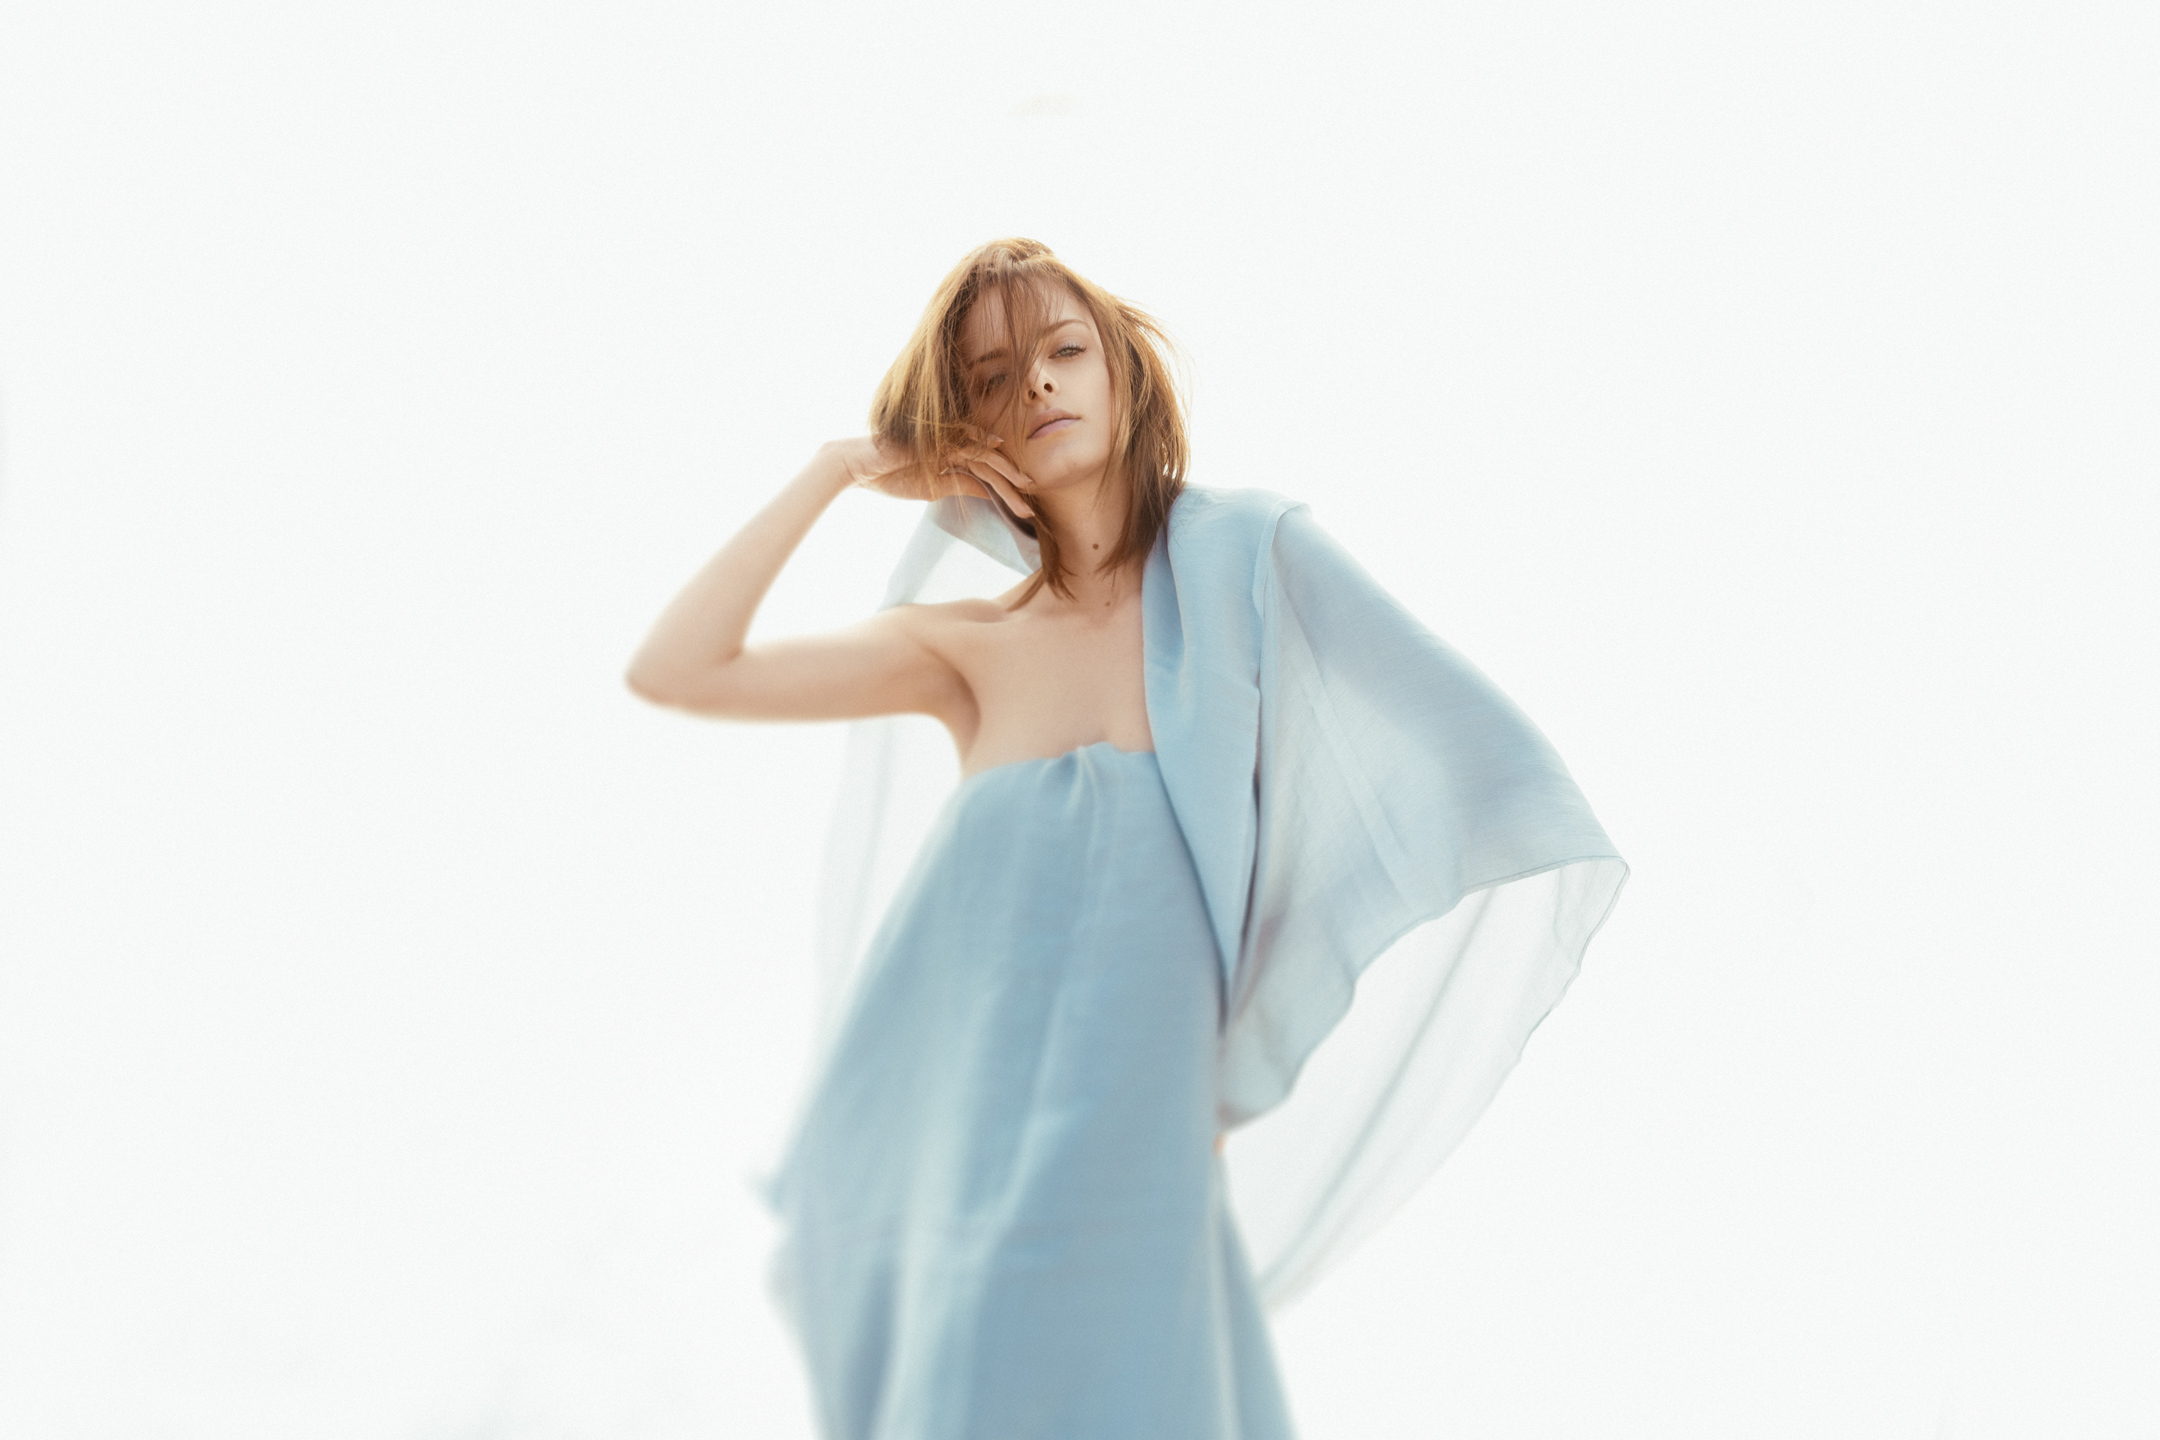
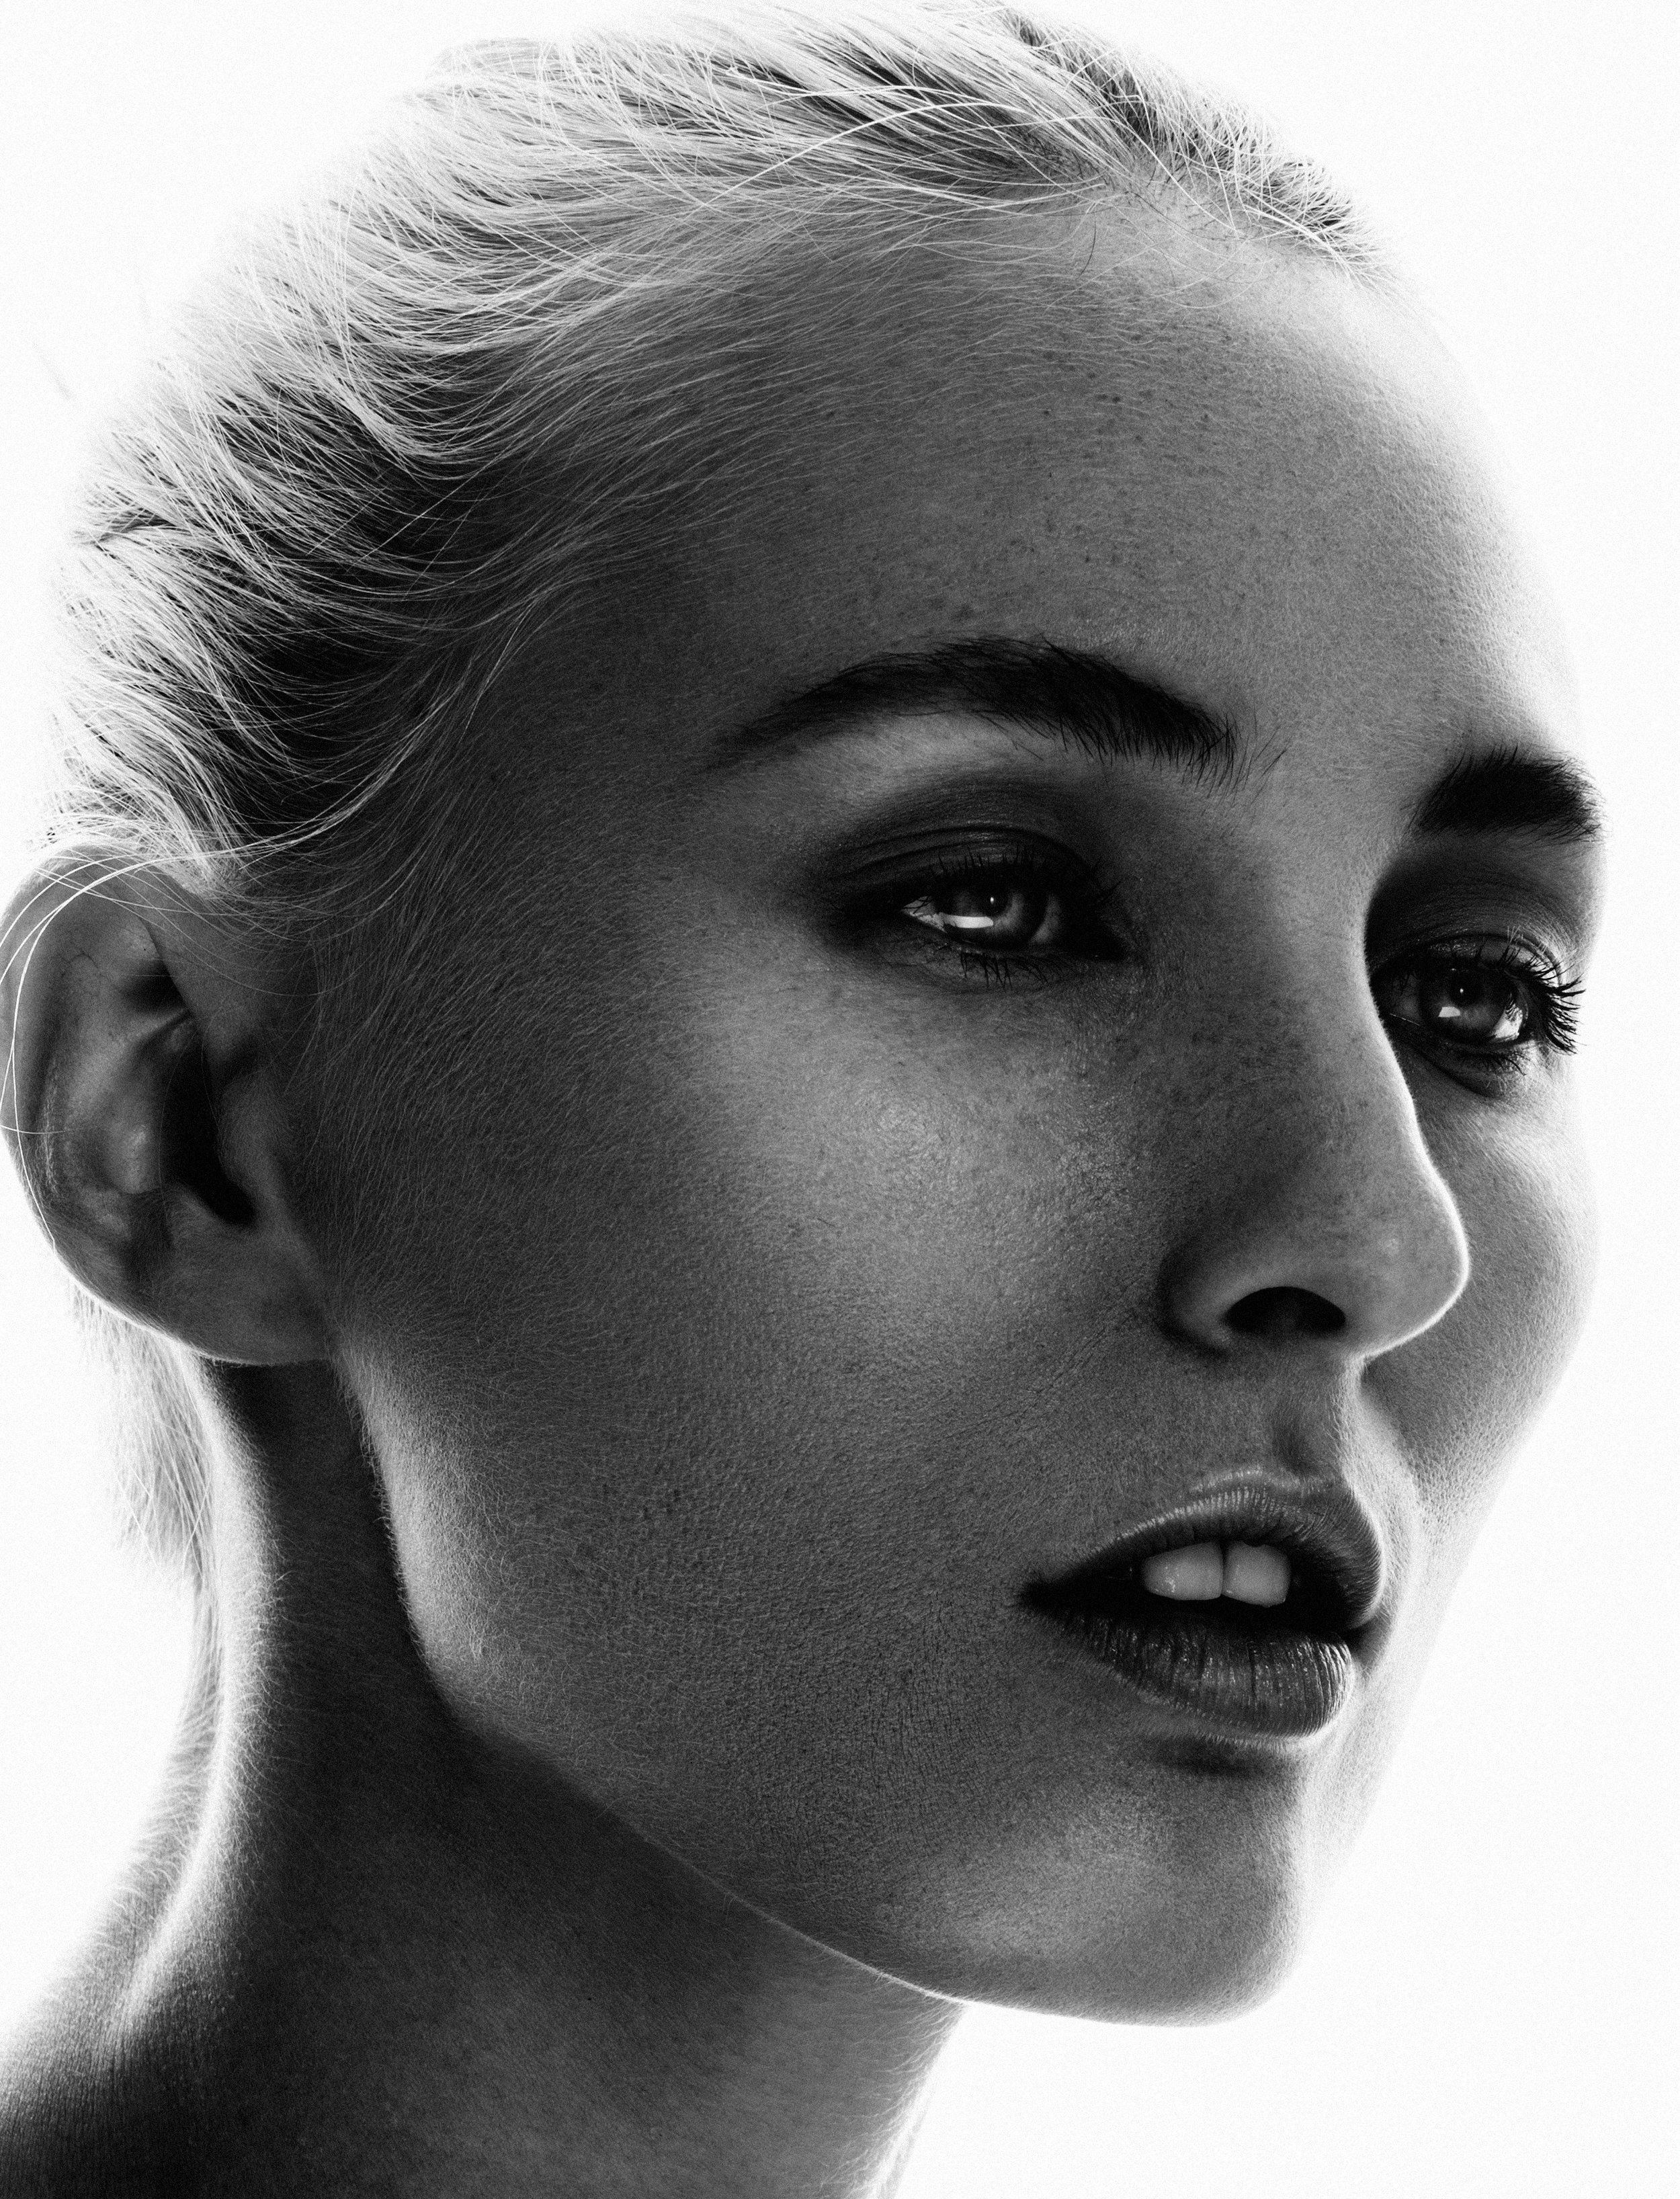
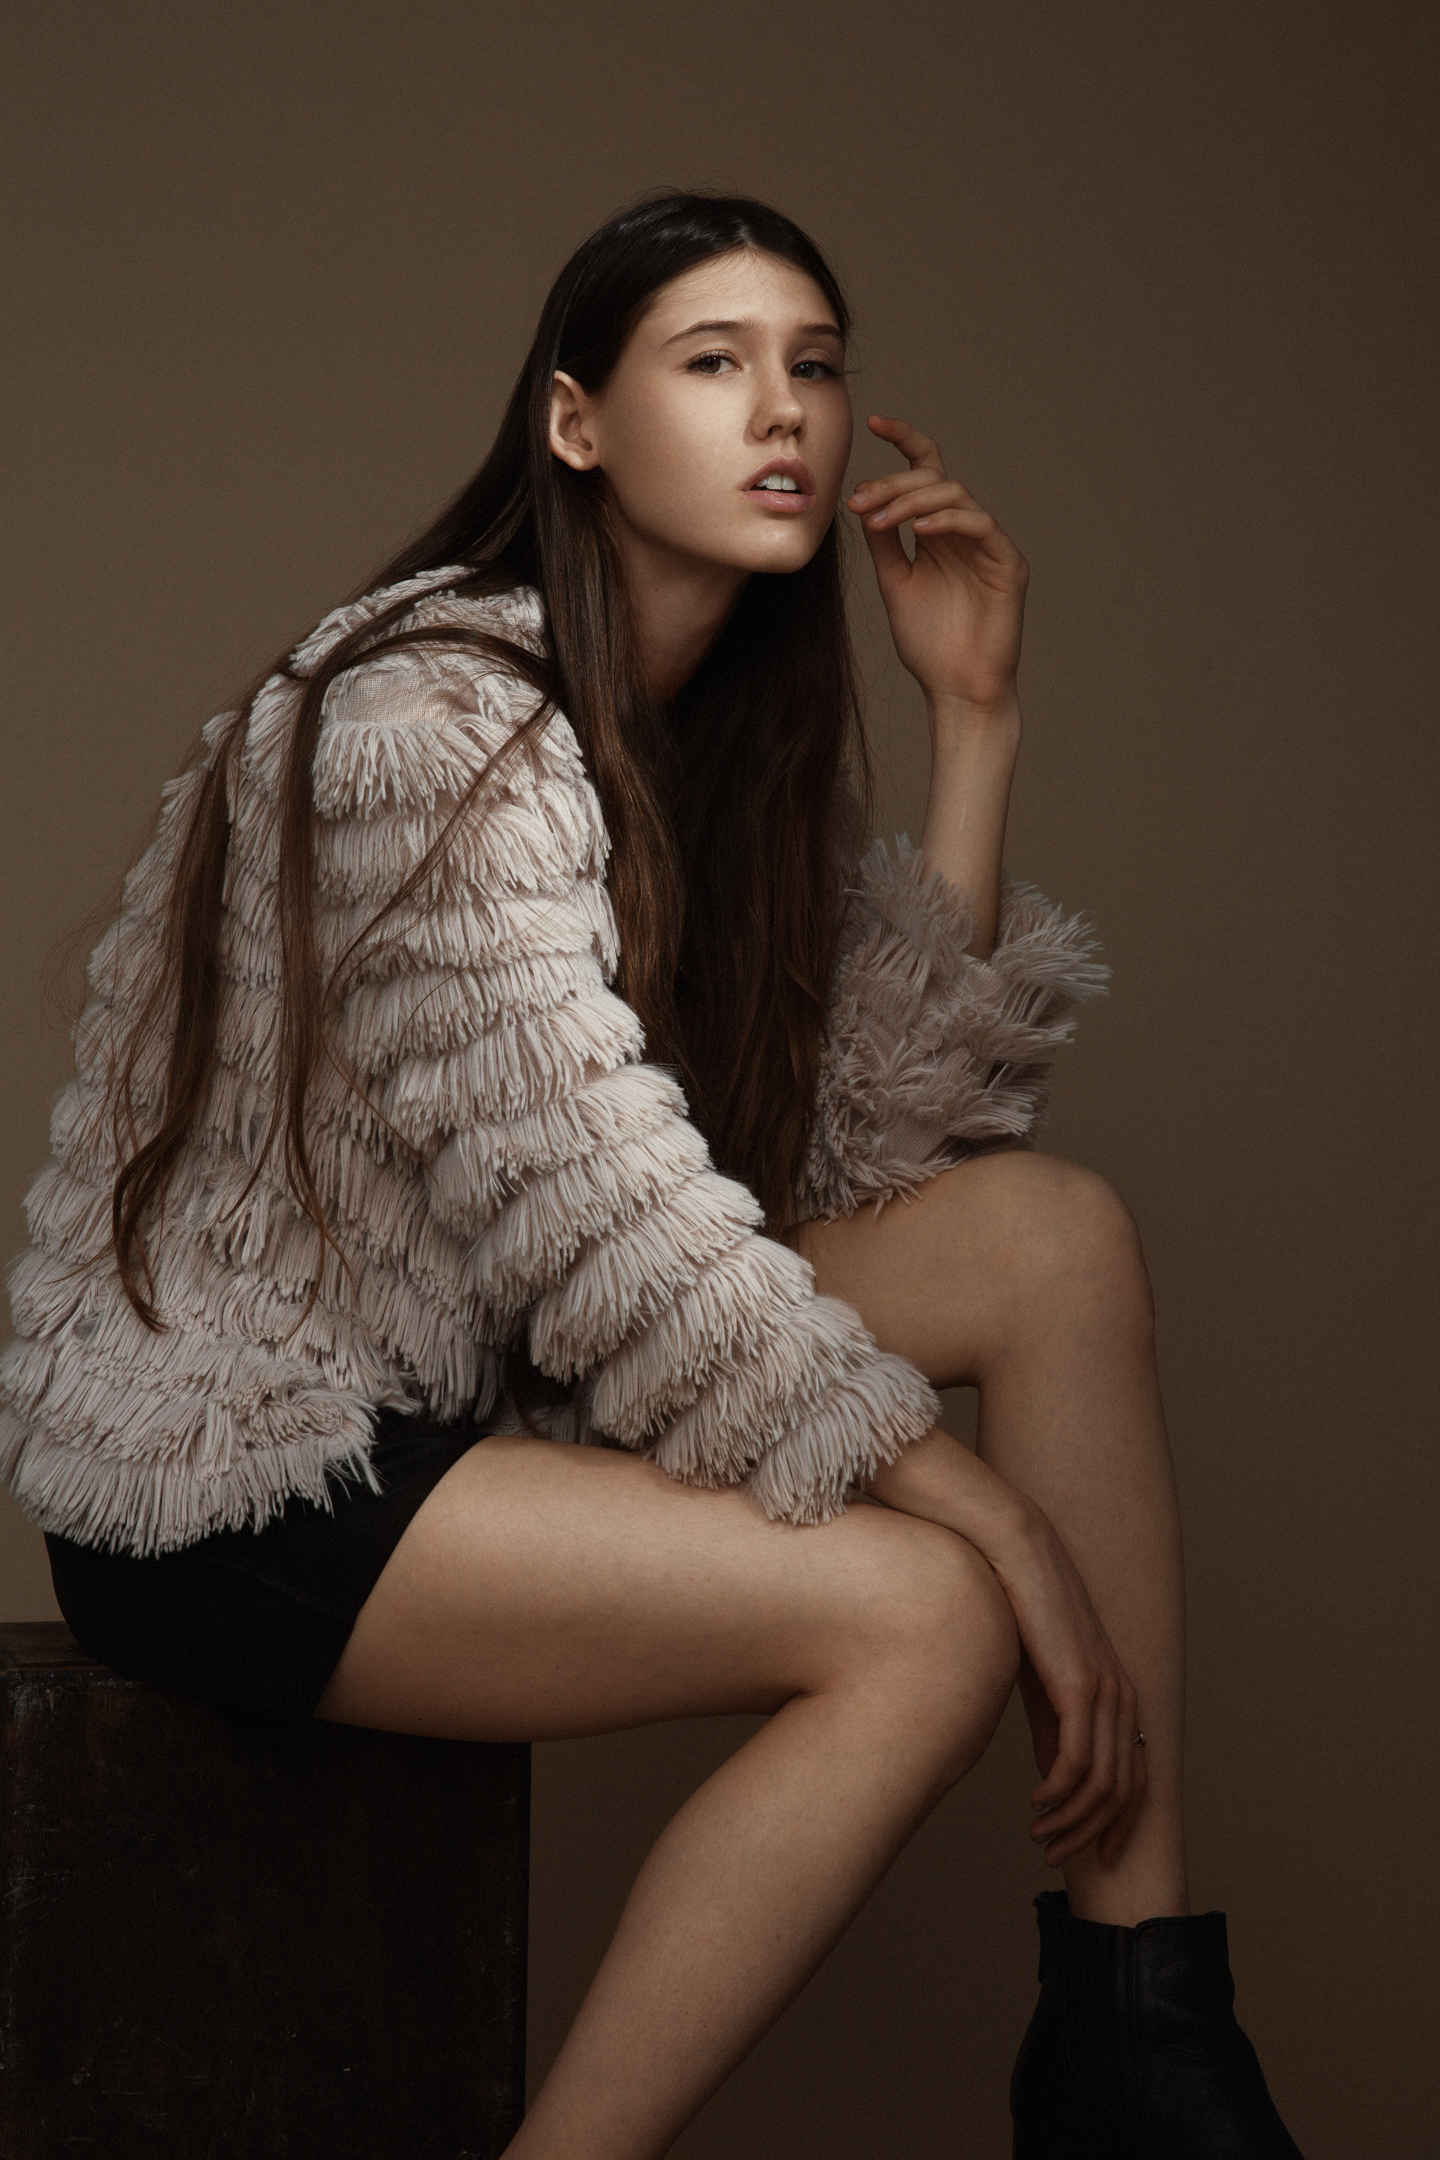
Studio Backlit.
For these I used the scrim directly behind the subjects as the background. I had a Paul C. Buff Einstein directly behind the scrim to illuminate the scrim and create the nice soft wrap around of light.
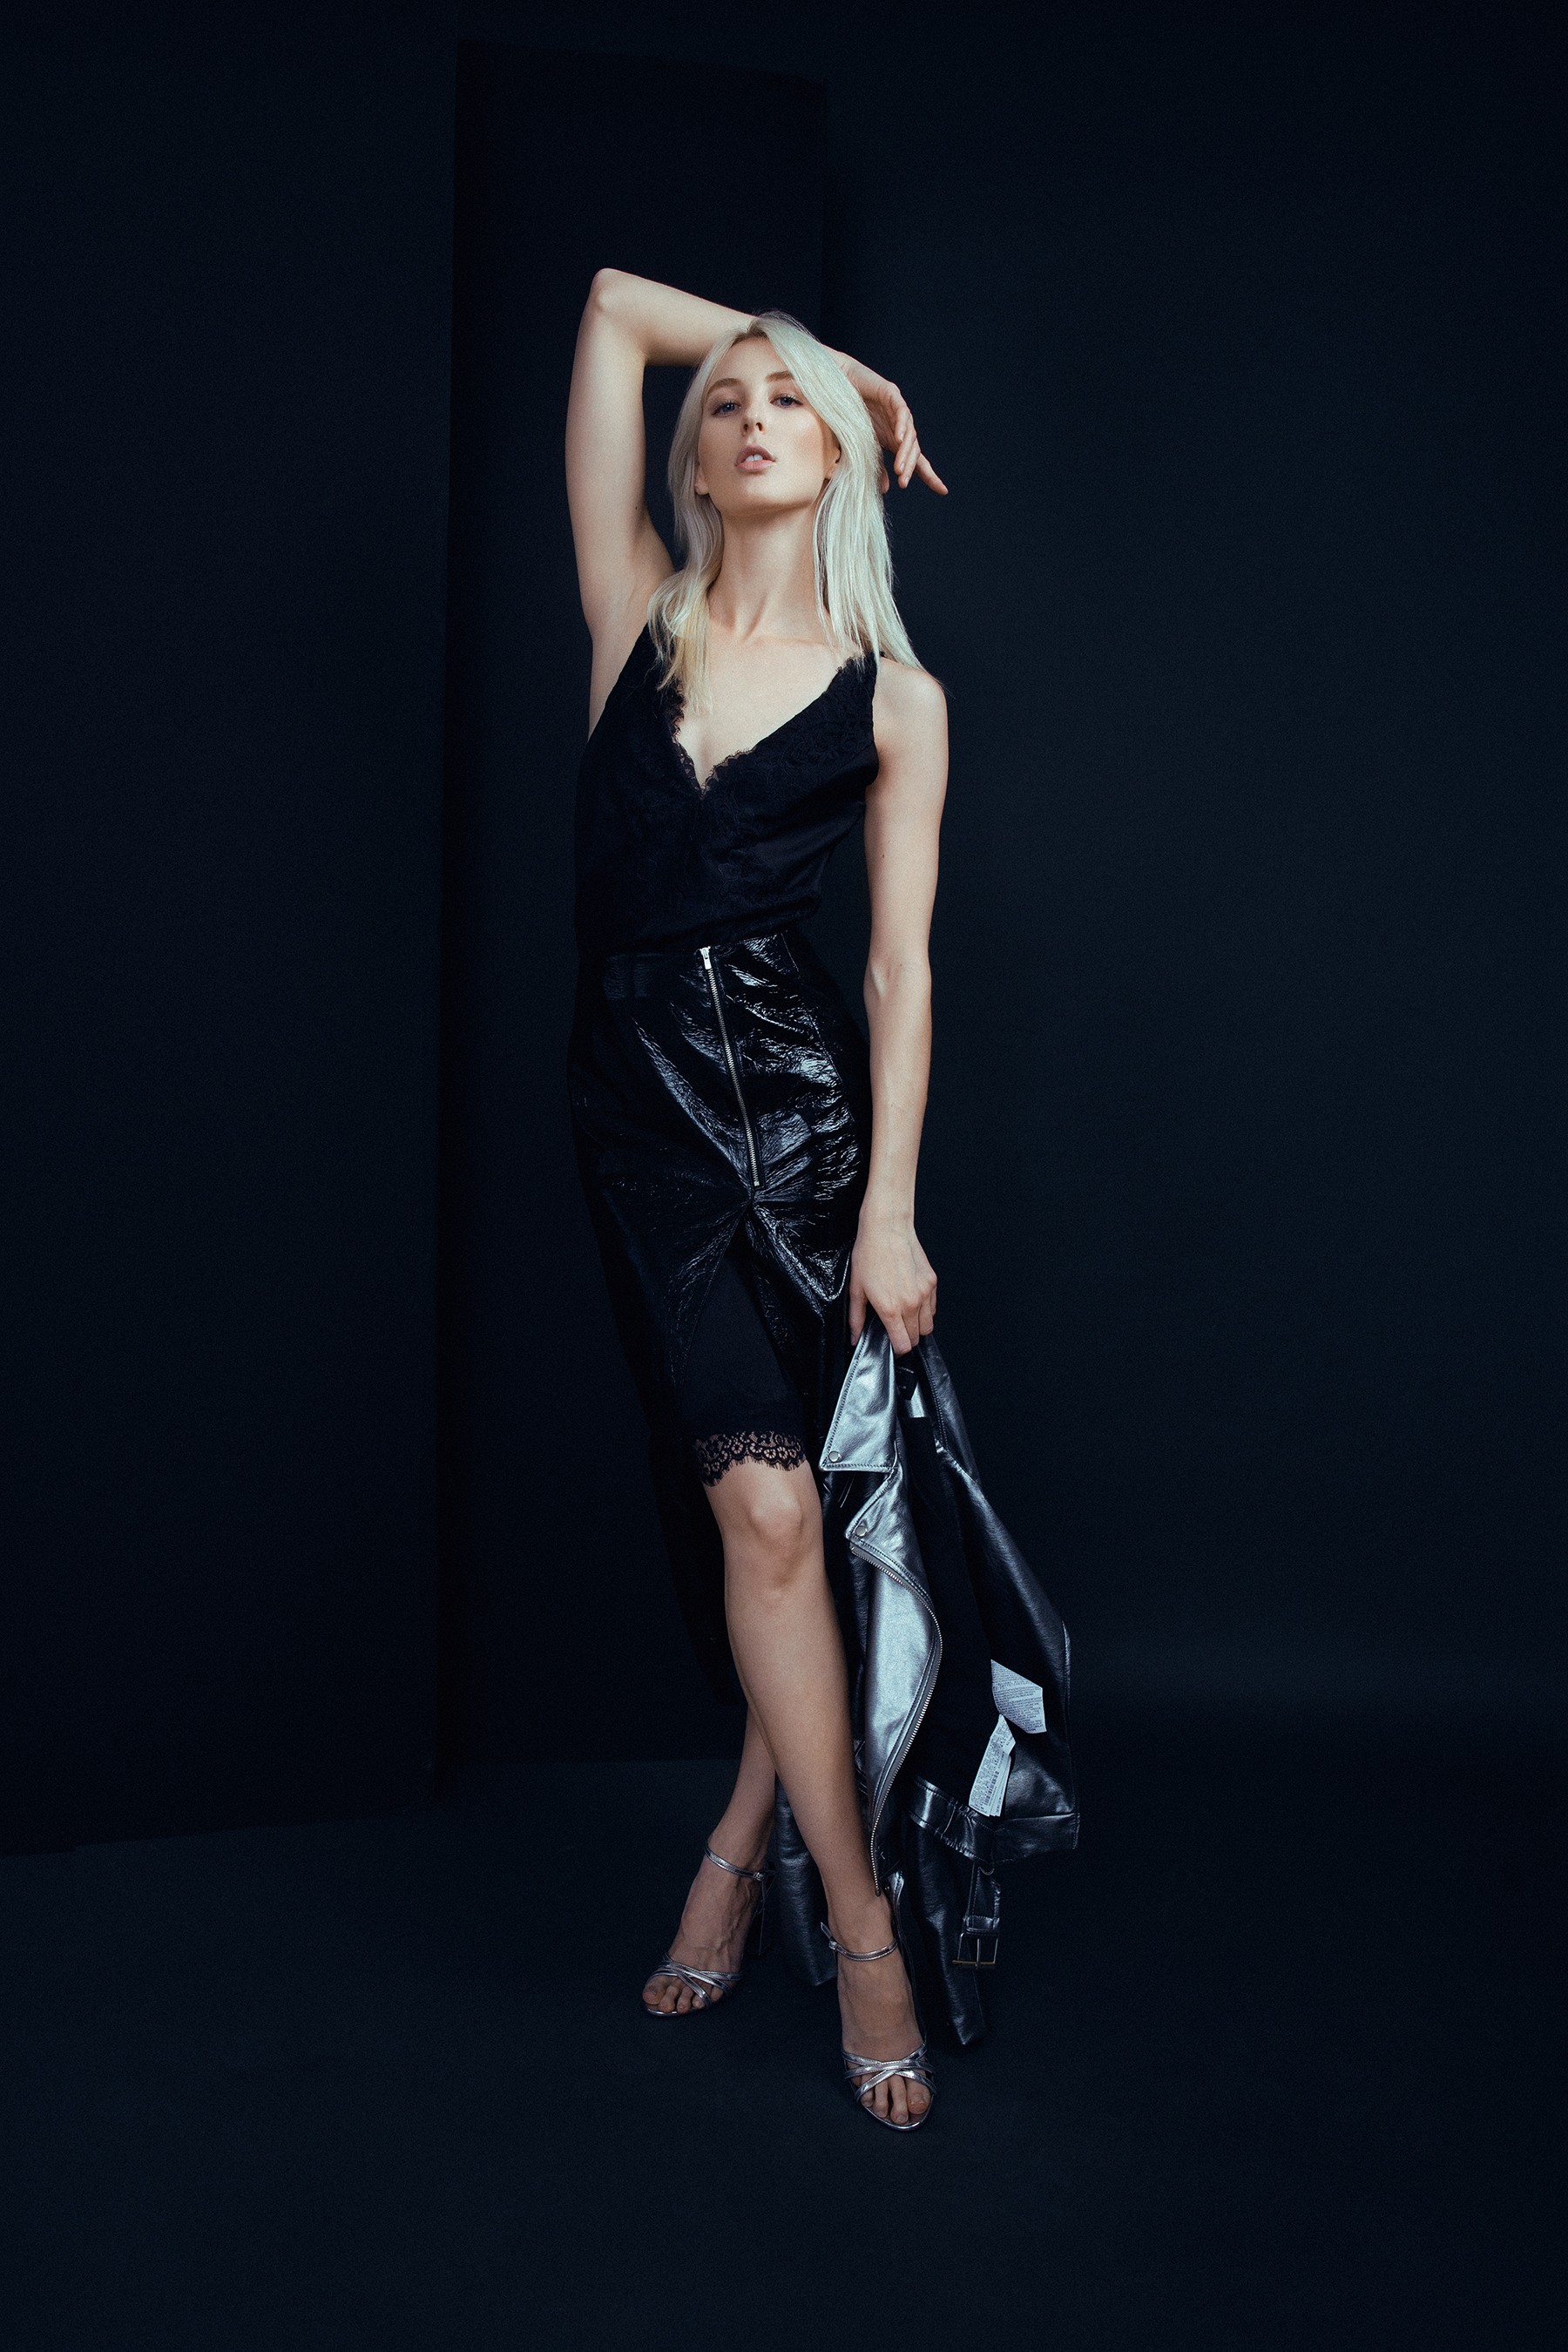
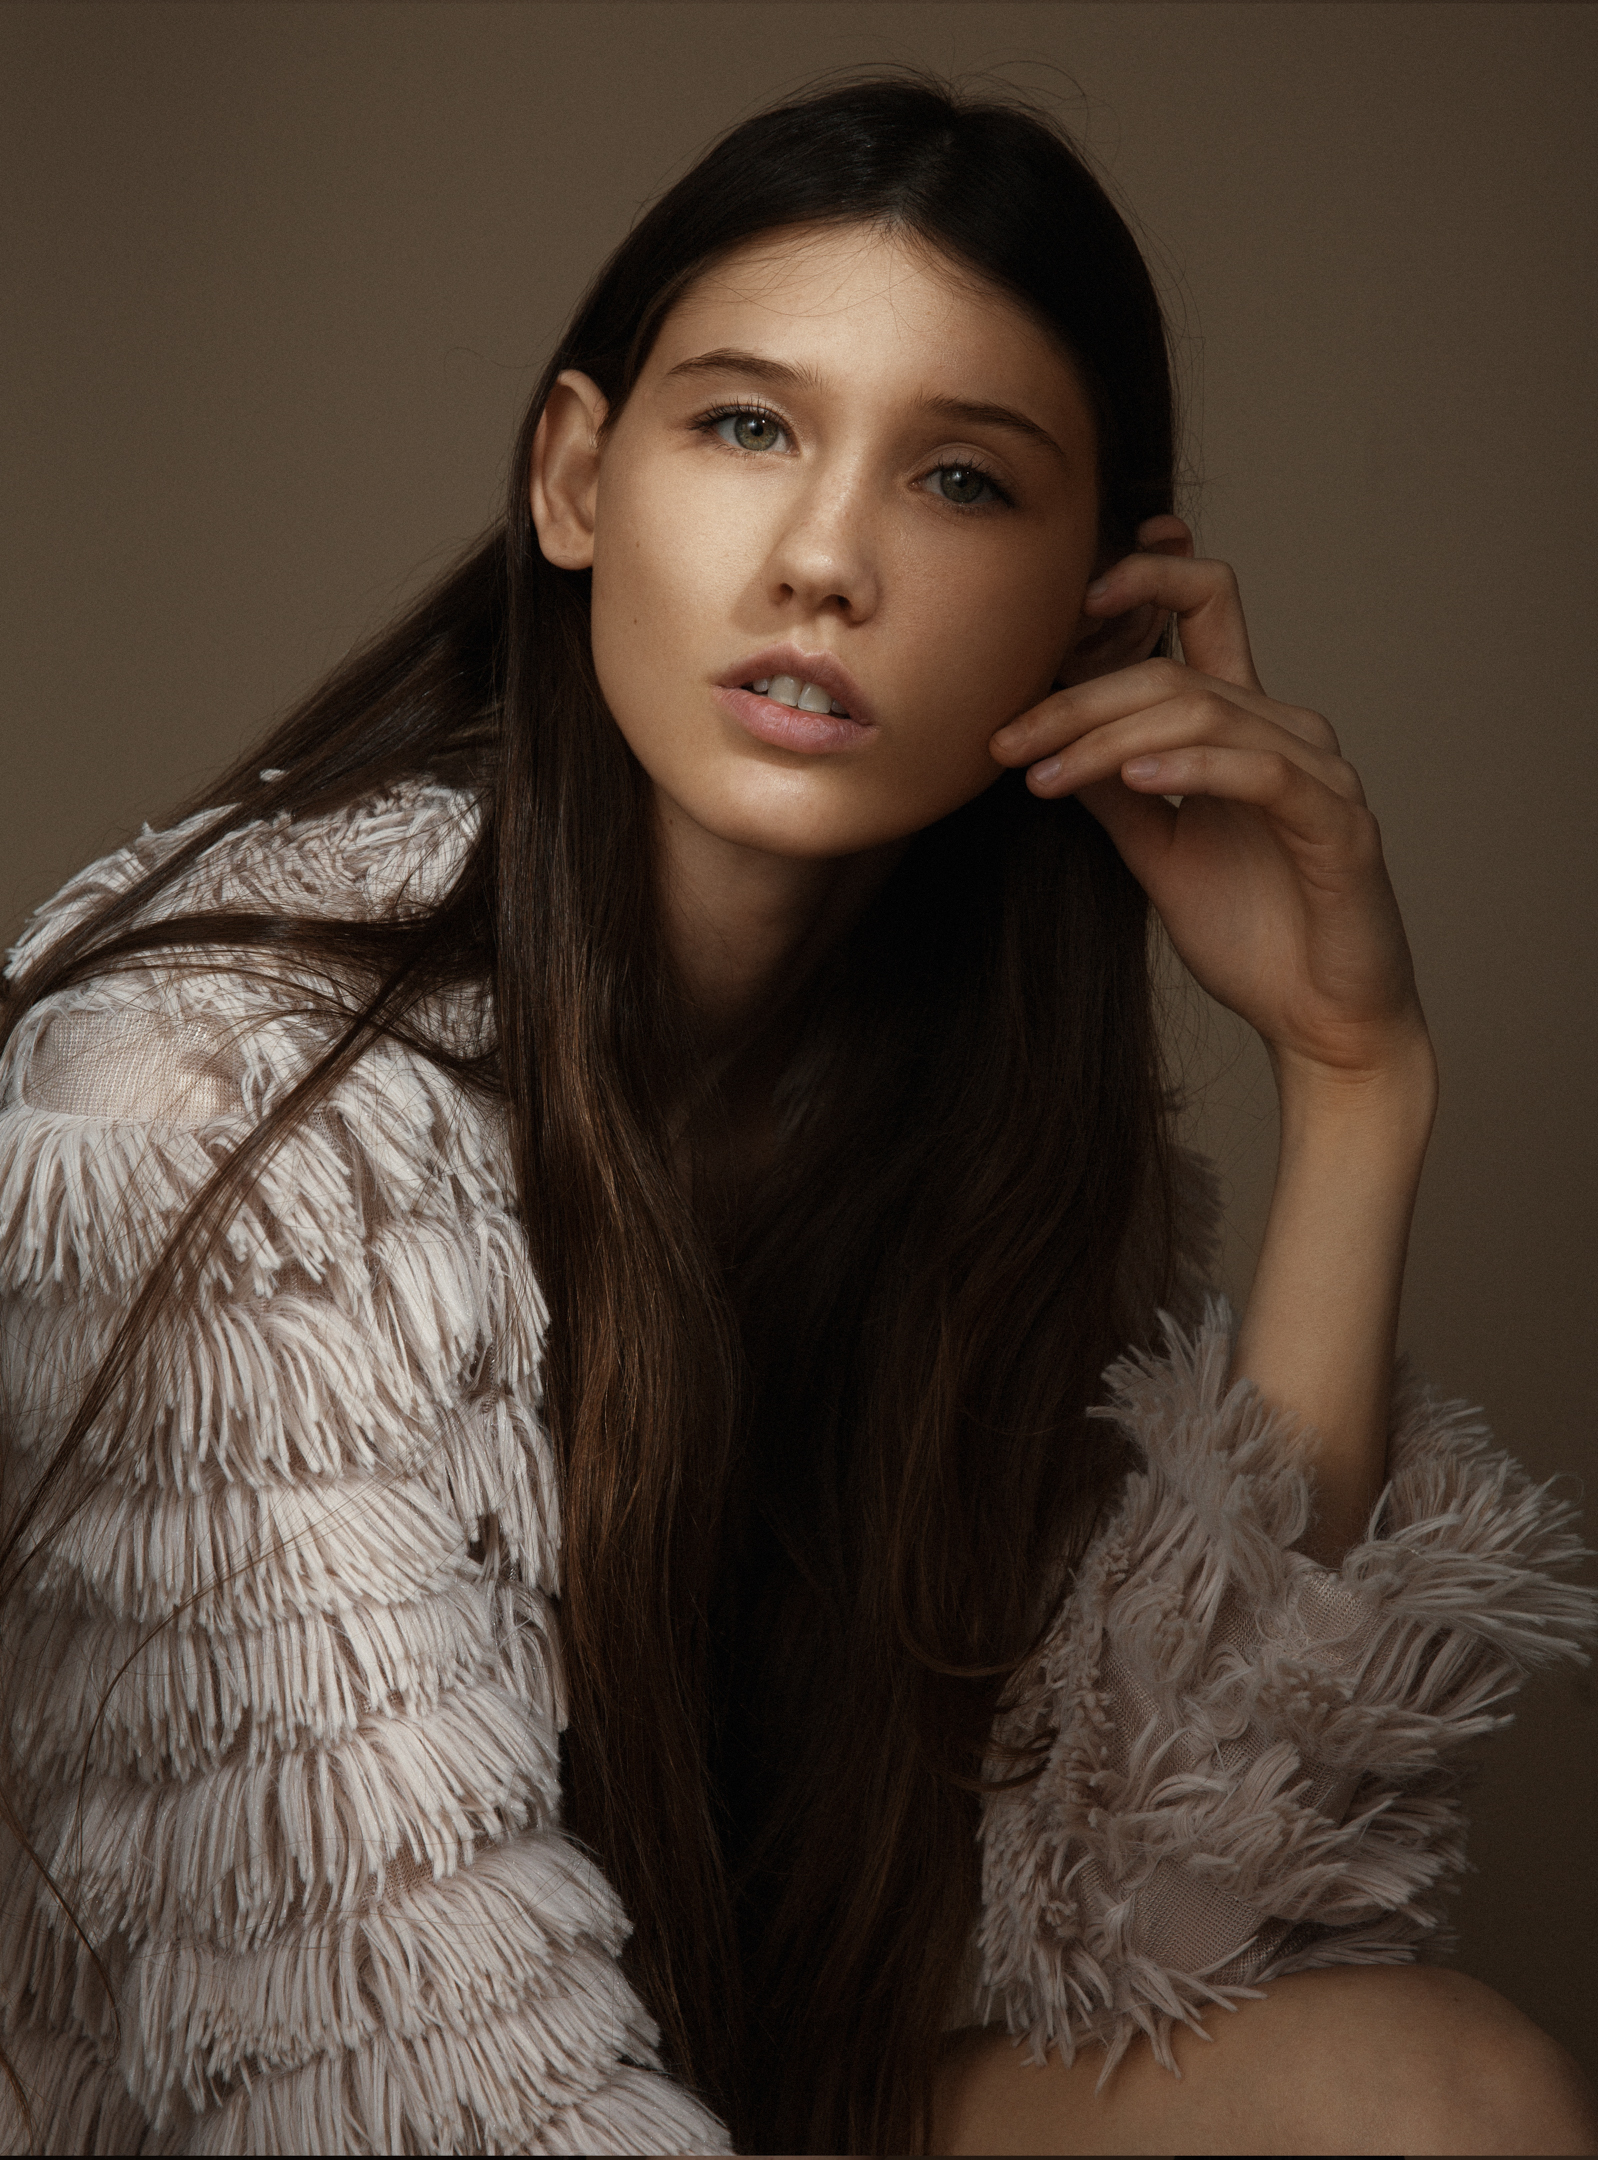
Studio mix harsh and soft.
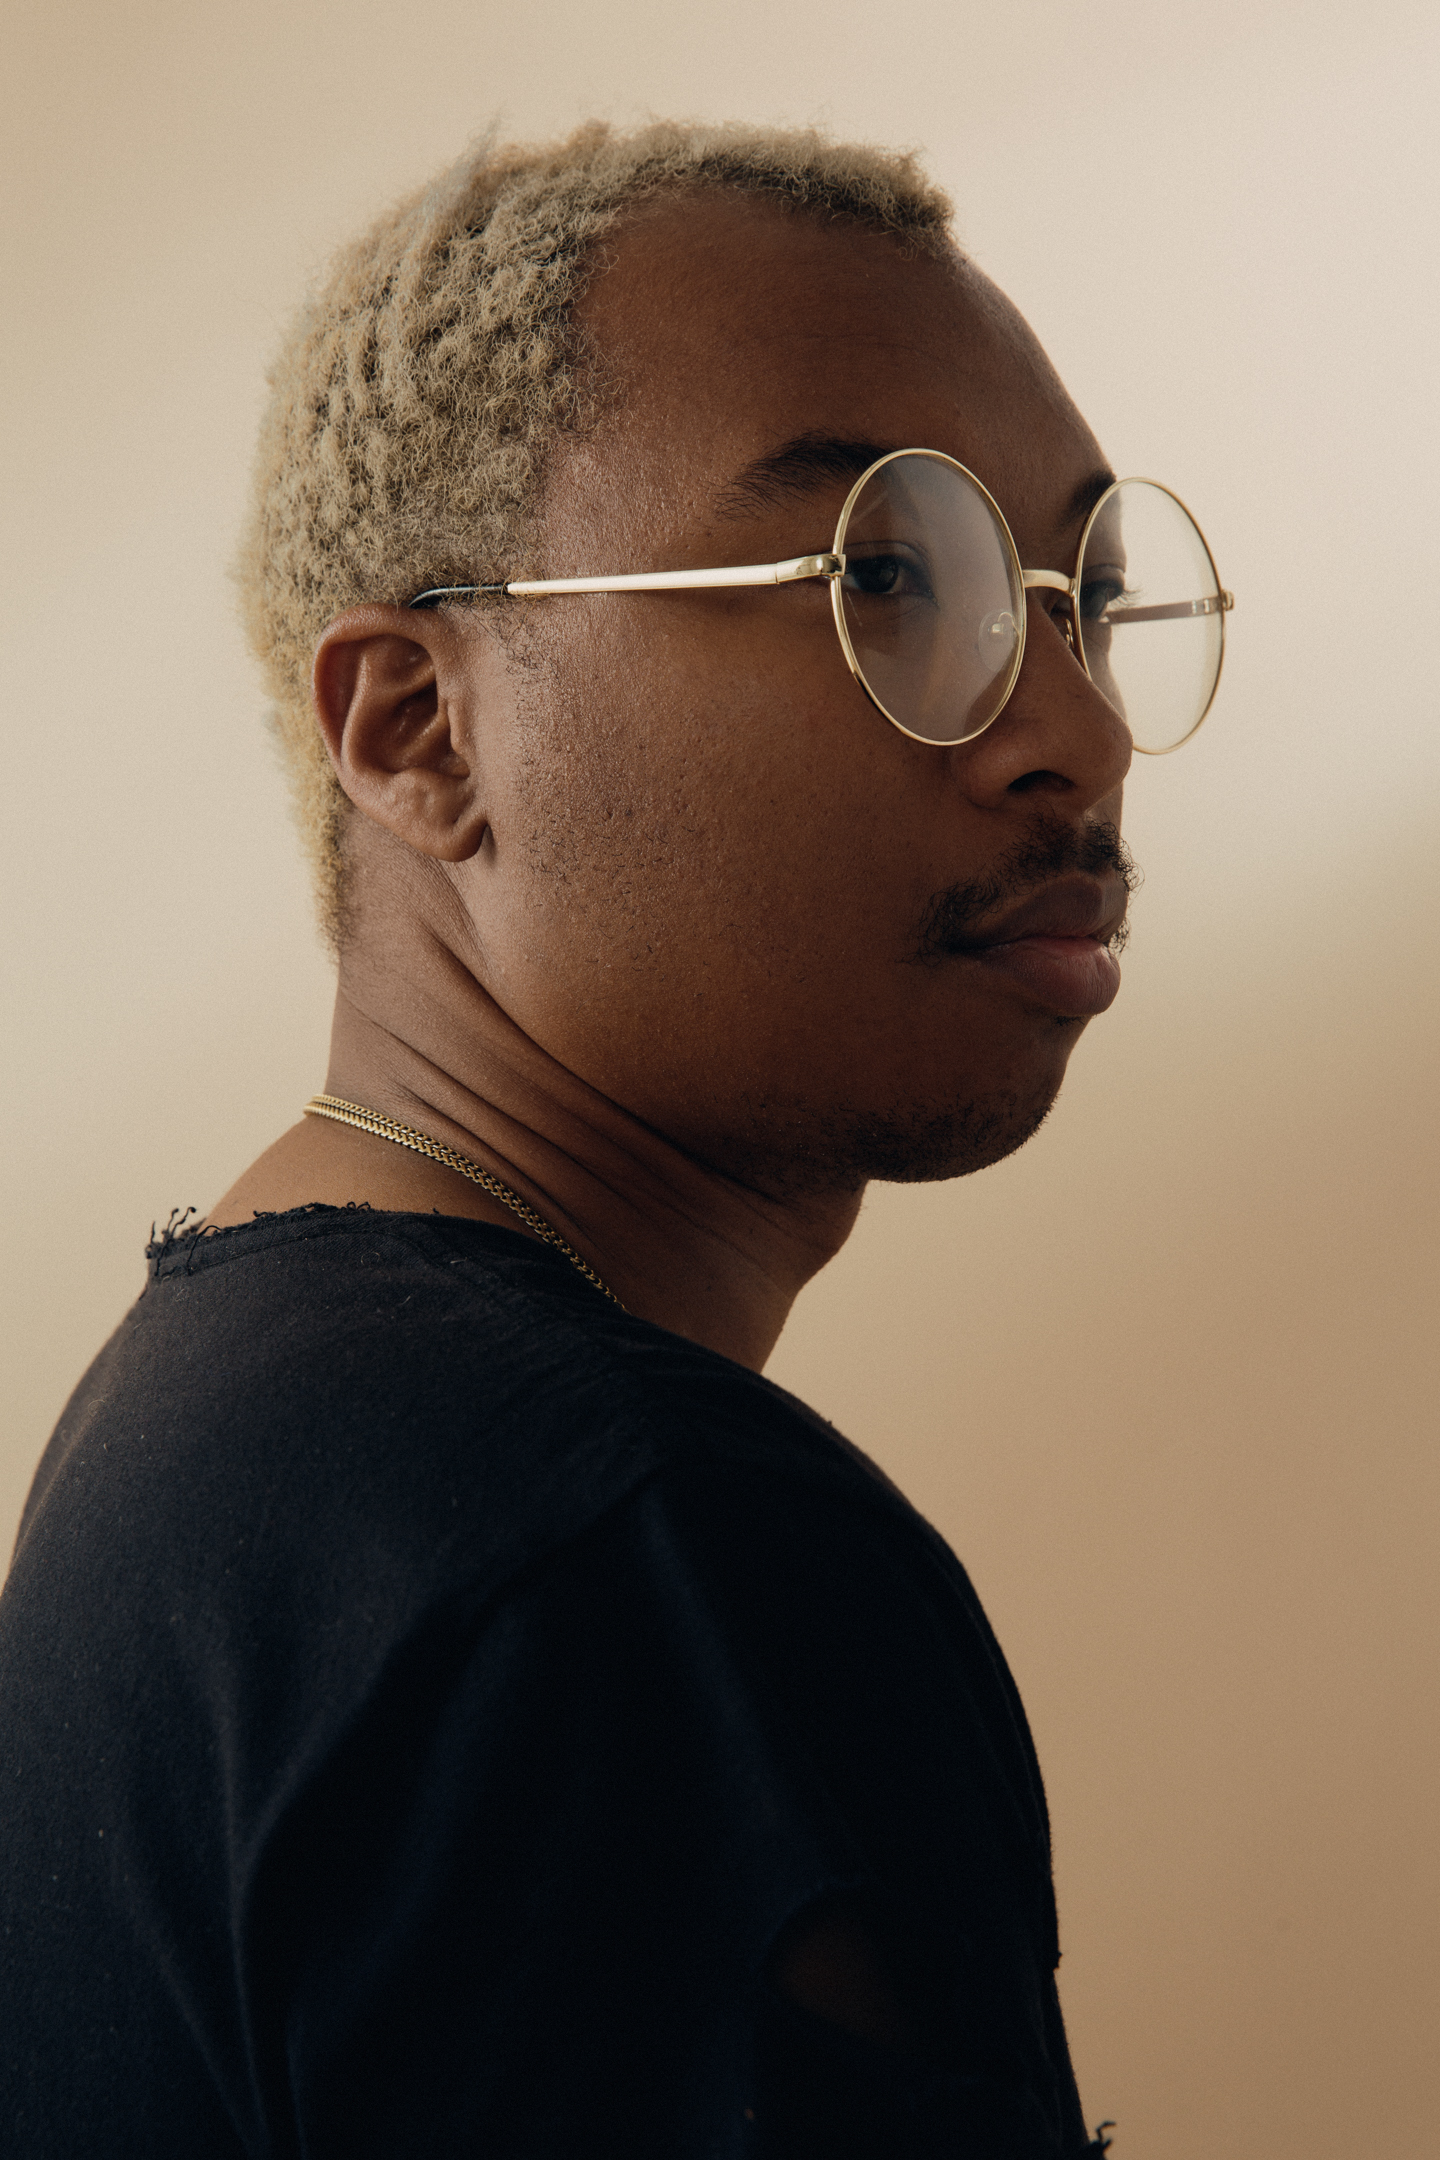
For most my studio work involving the fill I will use it one of two ways. I will have the scrim directly behind from where I am shooting or directly above where I am shooting. This will give the most even fill light. Generally you don't want the fill light to create shape, thats the key lights job. Because the scrim is so large my body standing in front of the light does not block much light from hitting the subject. I will use small 5 inch dish or medium sized softbox behind the scrim. This prevents light from spilling, and will help direct more light to the scrim. Because the lighting from the scrim provides such soft even light, you can mix in lights with harsh modifiers or no modifiers at all. The soft light from the scrim will blend the harsh and soft light together beautifully.
All Images below were lit with a Paul C. Buff Einstein with a 5 inch dish behind the 6x6' directly behind the camera for a fill. The key was a flagged Paul C. Buff Einstein with a 5 inch dish on camera right. And the background light was a flagged Paul C. Buff Einstein with a 5 inch dish on camera left.

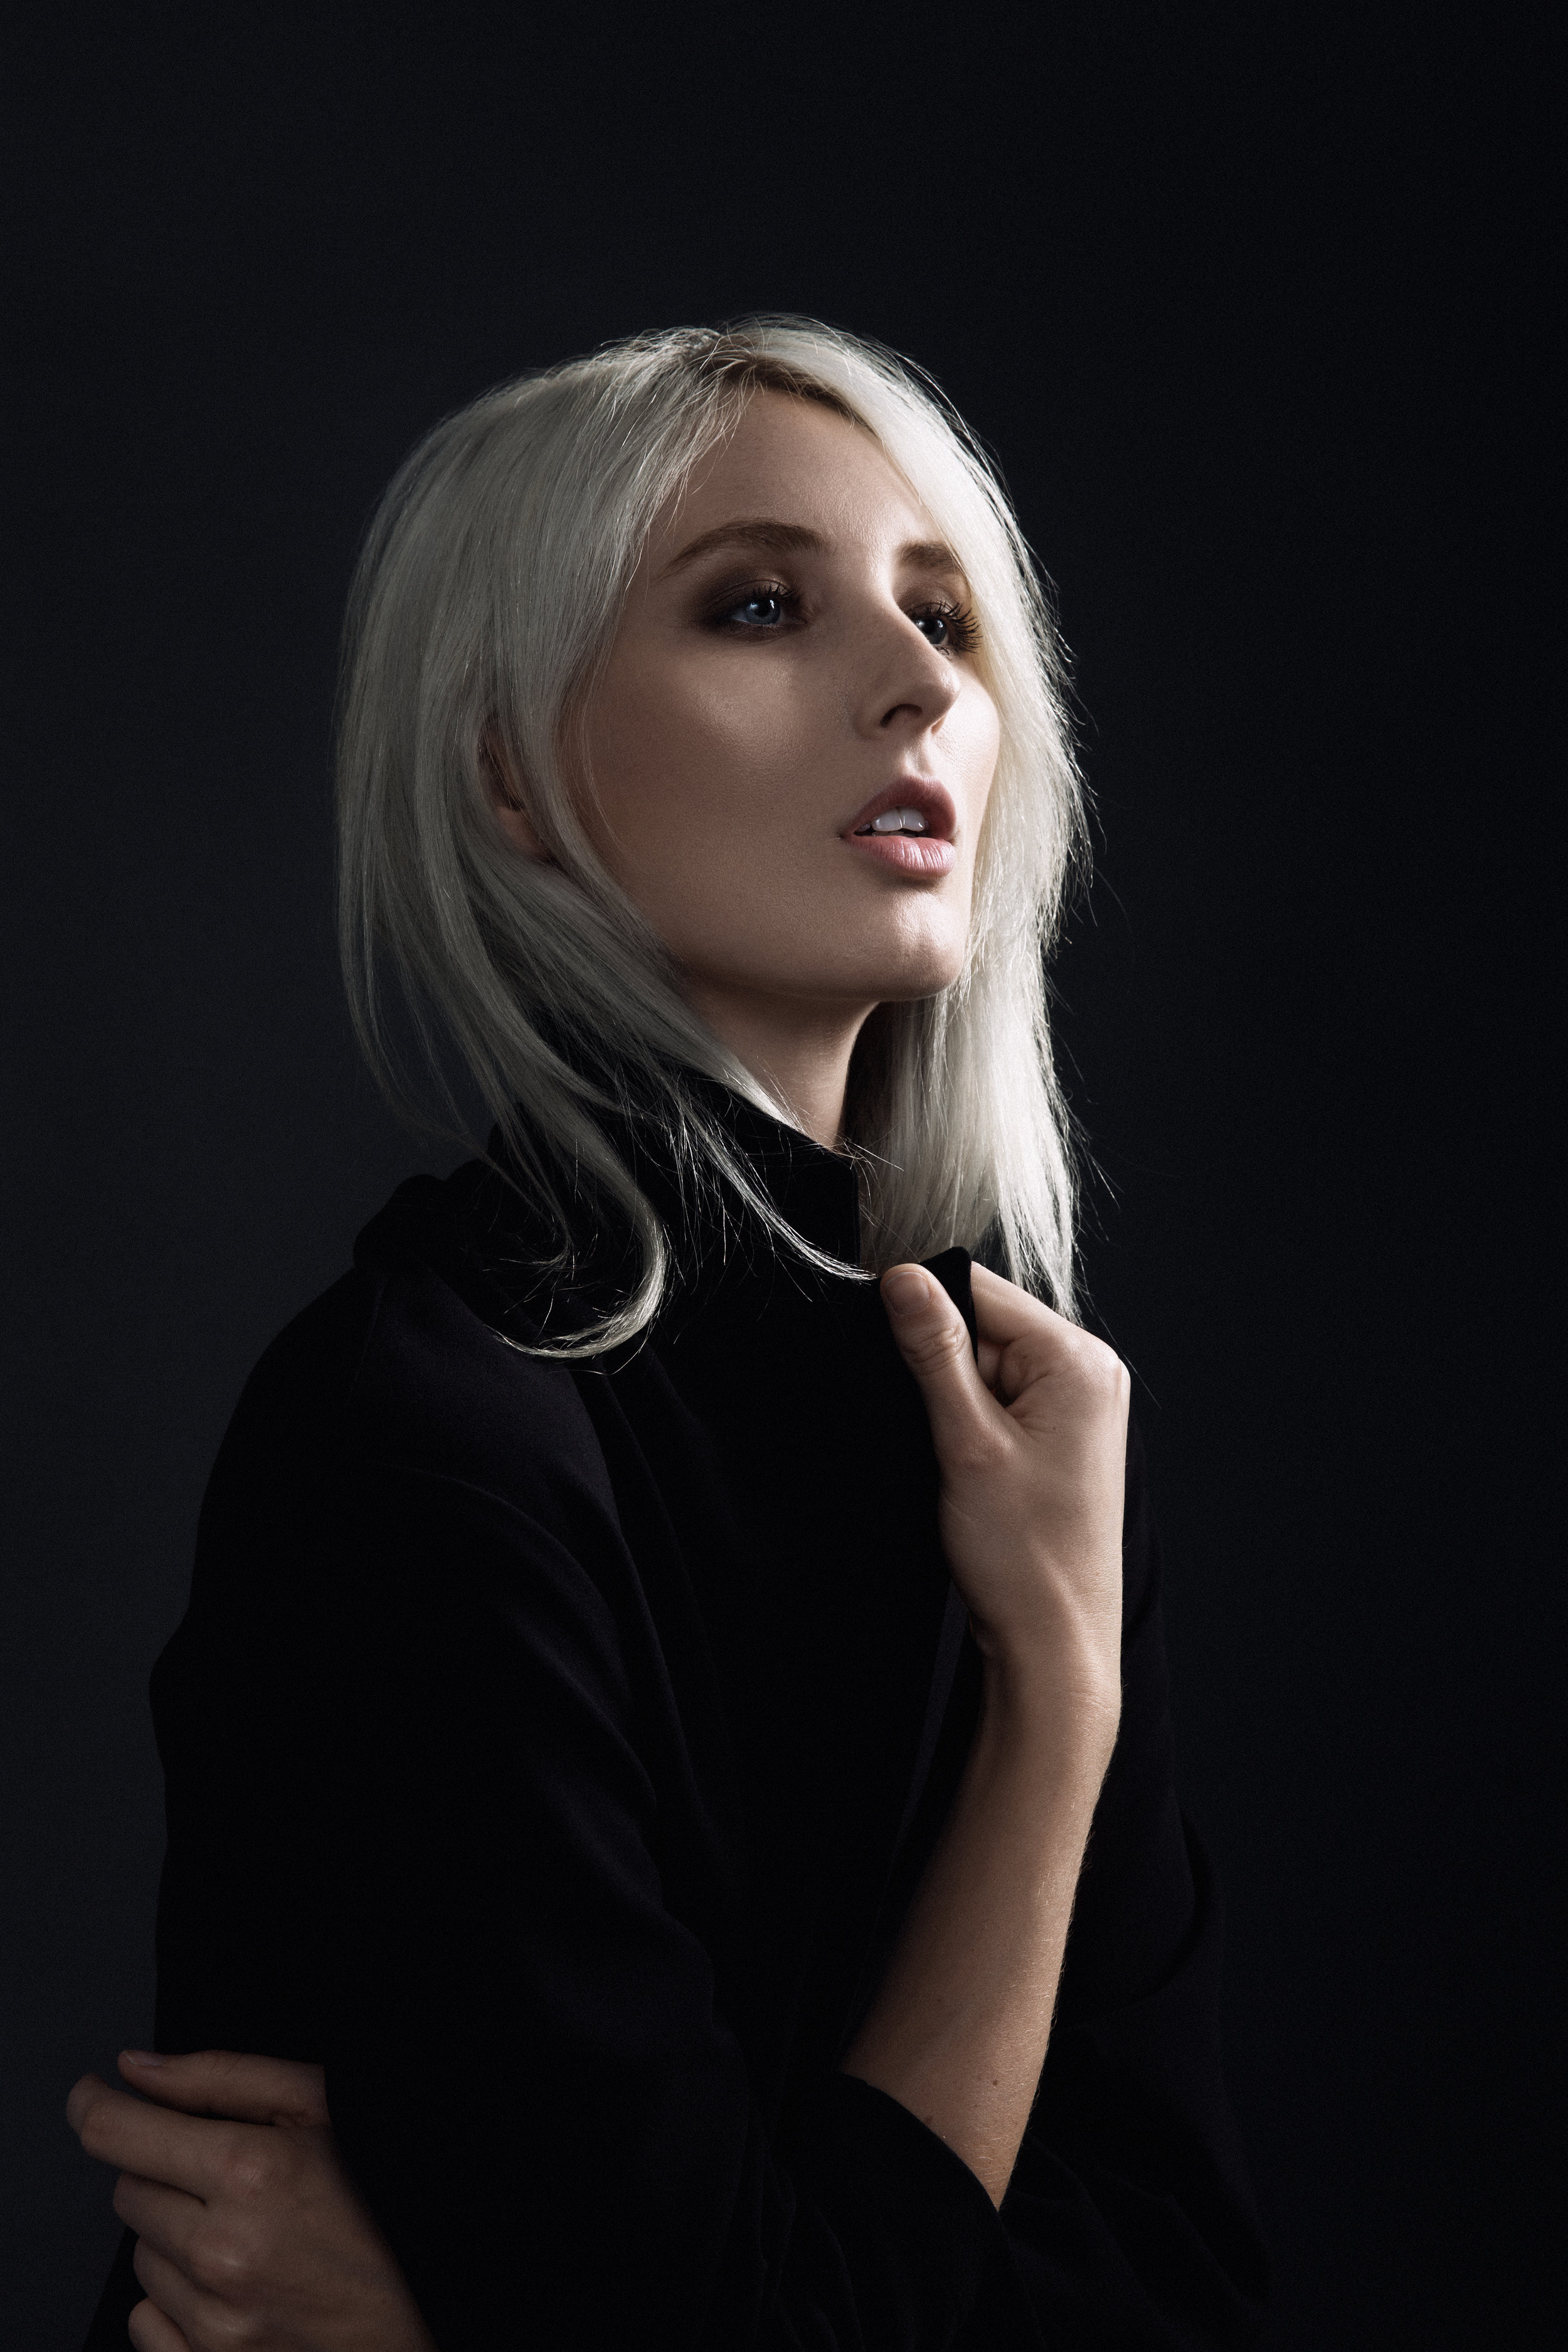
Studio 2 soft.
As I mentioned using the scrim as a light source creates super soft light. So I decided to use 2 of them to recreate natural light. Key light was a Paul C. Buff Einstein with a 5 inch dish shooting in a 6x6' scrim on camera left. Fill light was a Paul C. Buff Einstein with a 5 inch dish shooting in a 6x6' scrim directly behind me. There was also a white V-flat on camera right.
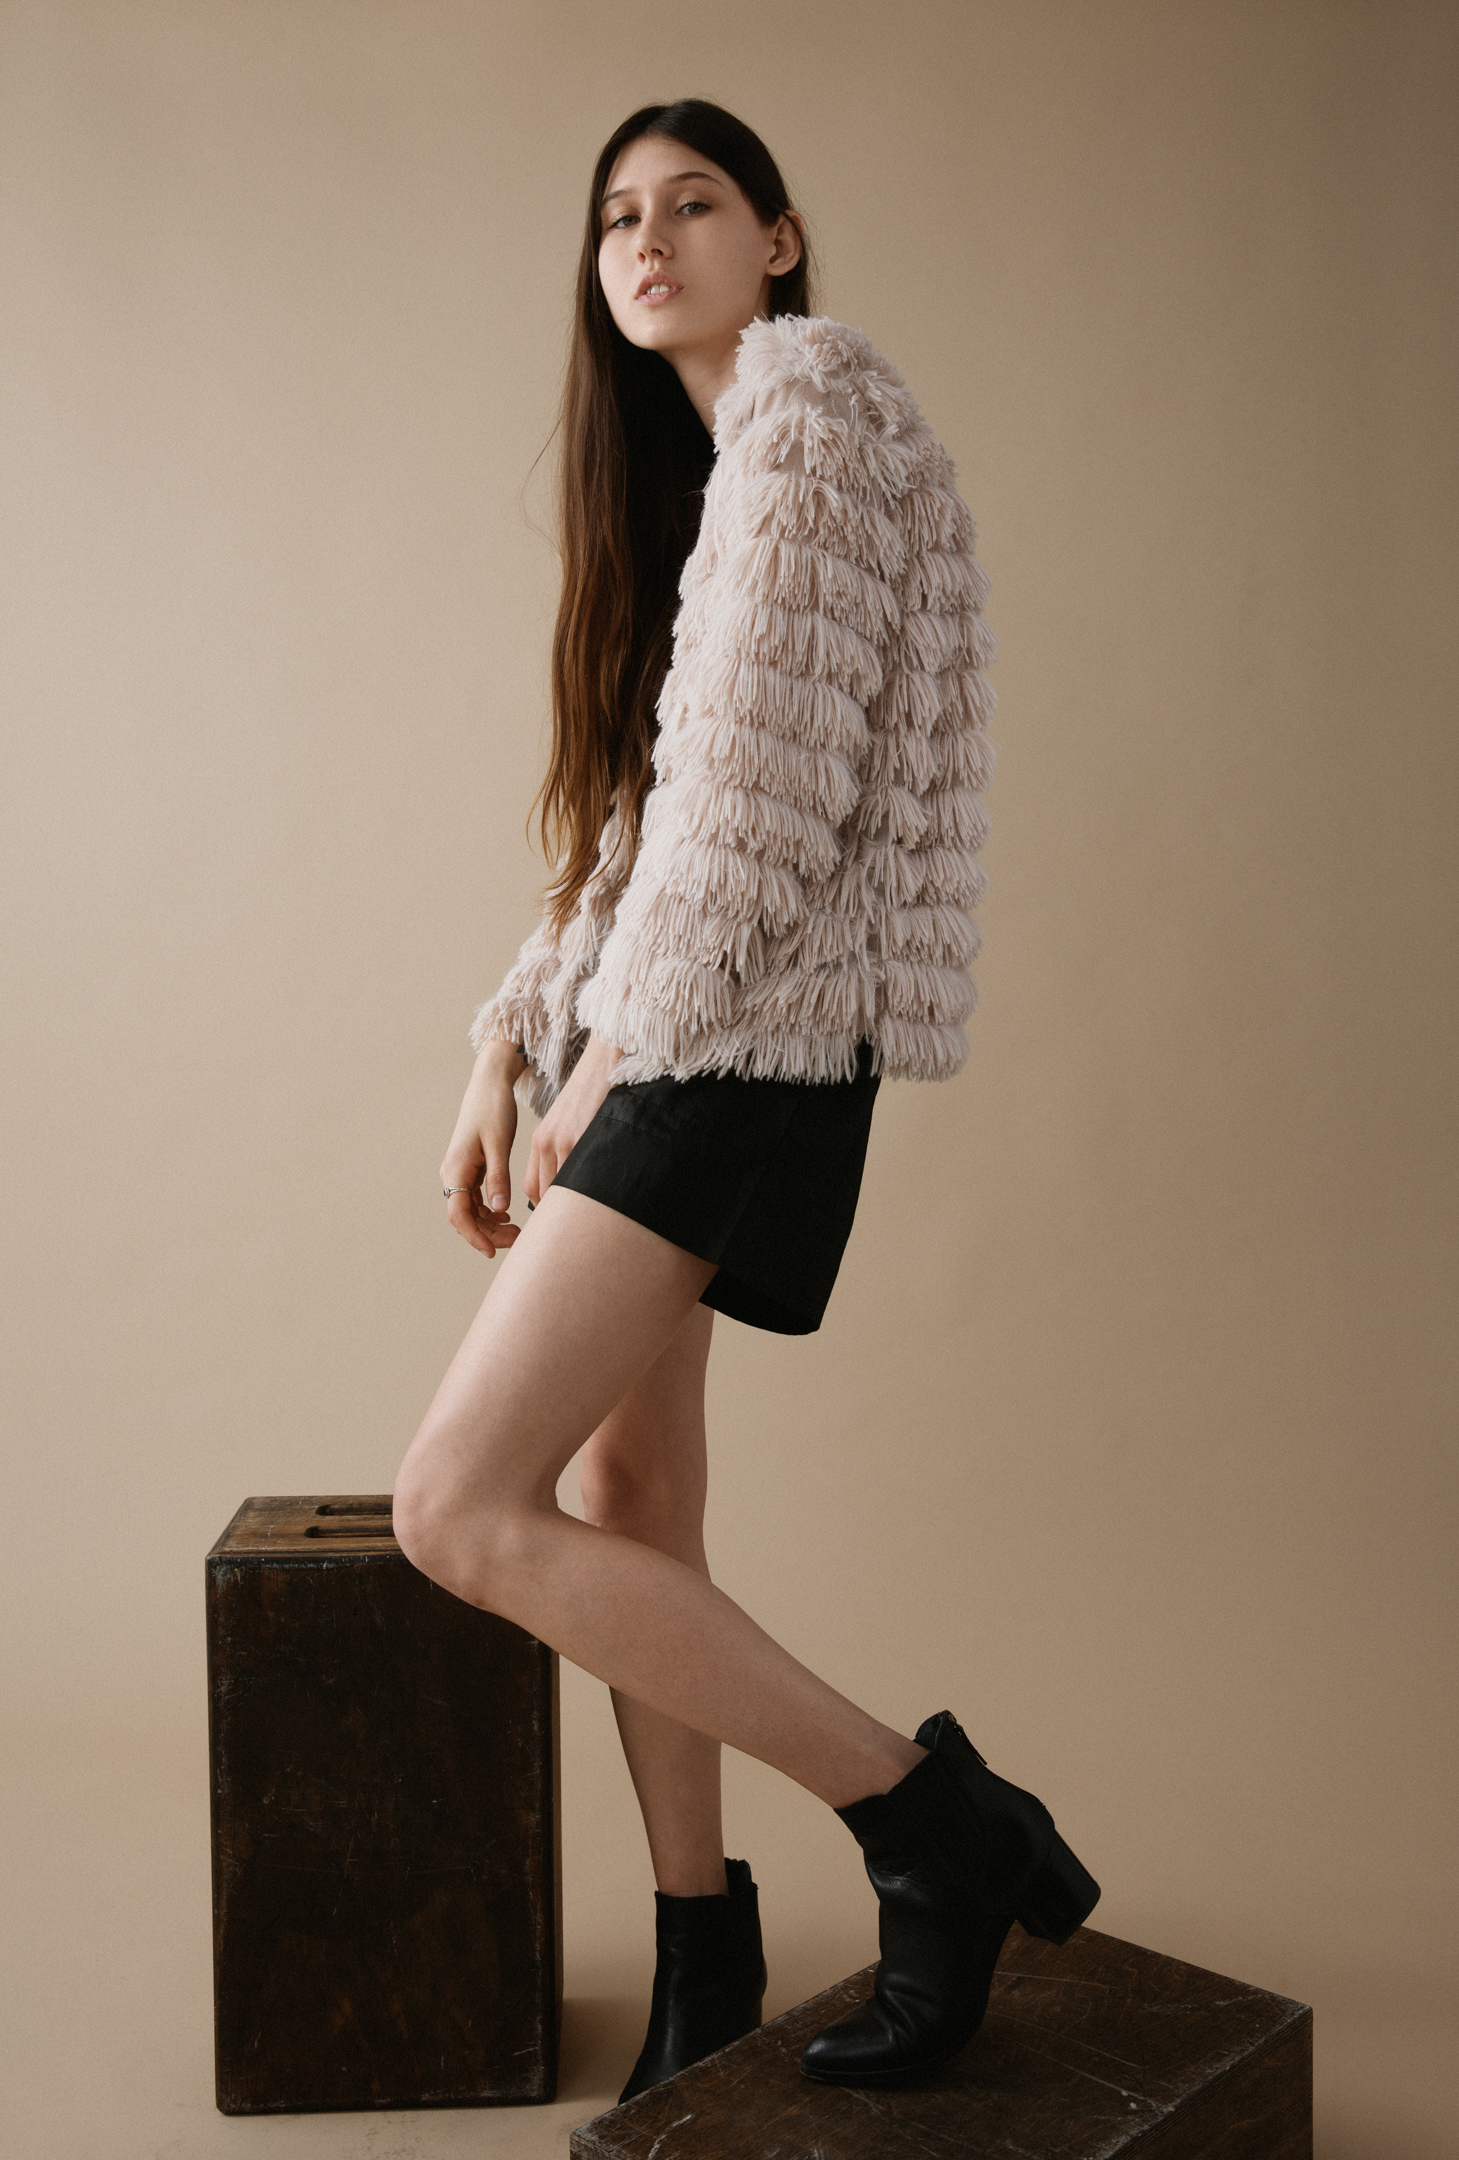
Using the Scrim as a fill.
Using such a large modifier means your light will be very flat. I love this since it then allows me to use my Key light in more effective ways. Using the scrim you can create beautiful high key images, or super dramatic short lit images with gradual transitions and detail everywhere.
All images below and different light set ups but the one common factor they have is that I used a Paul C. Buff Einstein with a 5 inch dish shooting in a 6x6' scrim directly behind me for fill light.