This is a small briefing on using strobes outside. If you have specific questions please email me.
Find your background.
Look where the sun is coming from and find a background that will help tell your story.
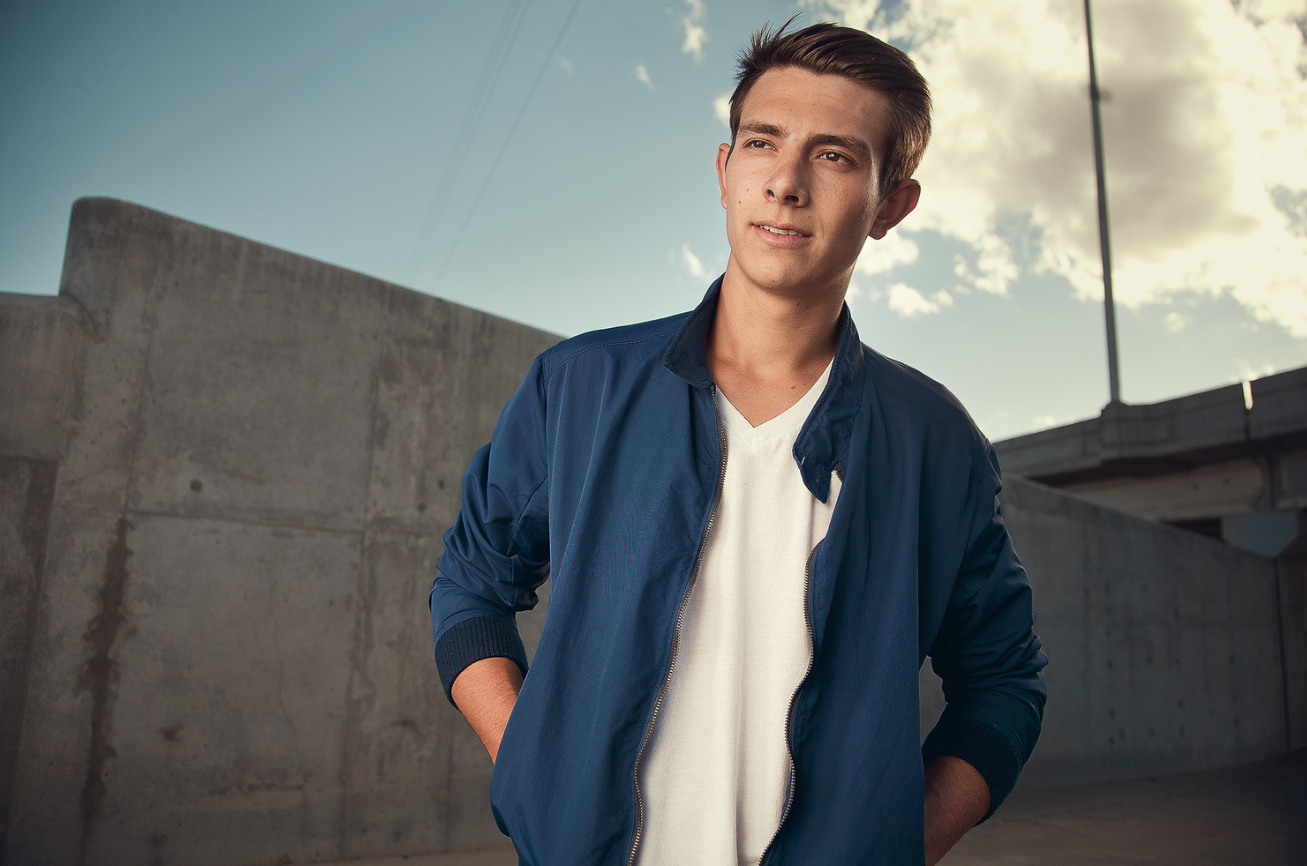
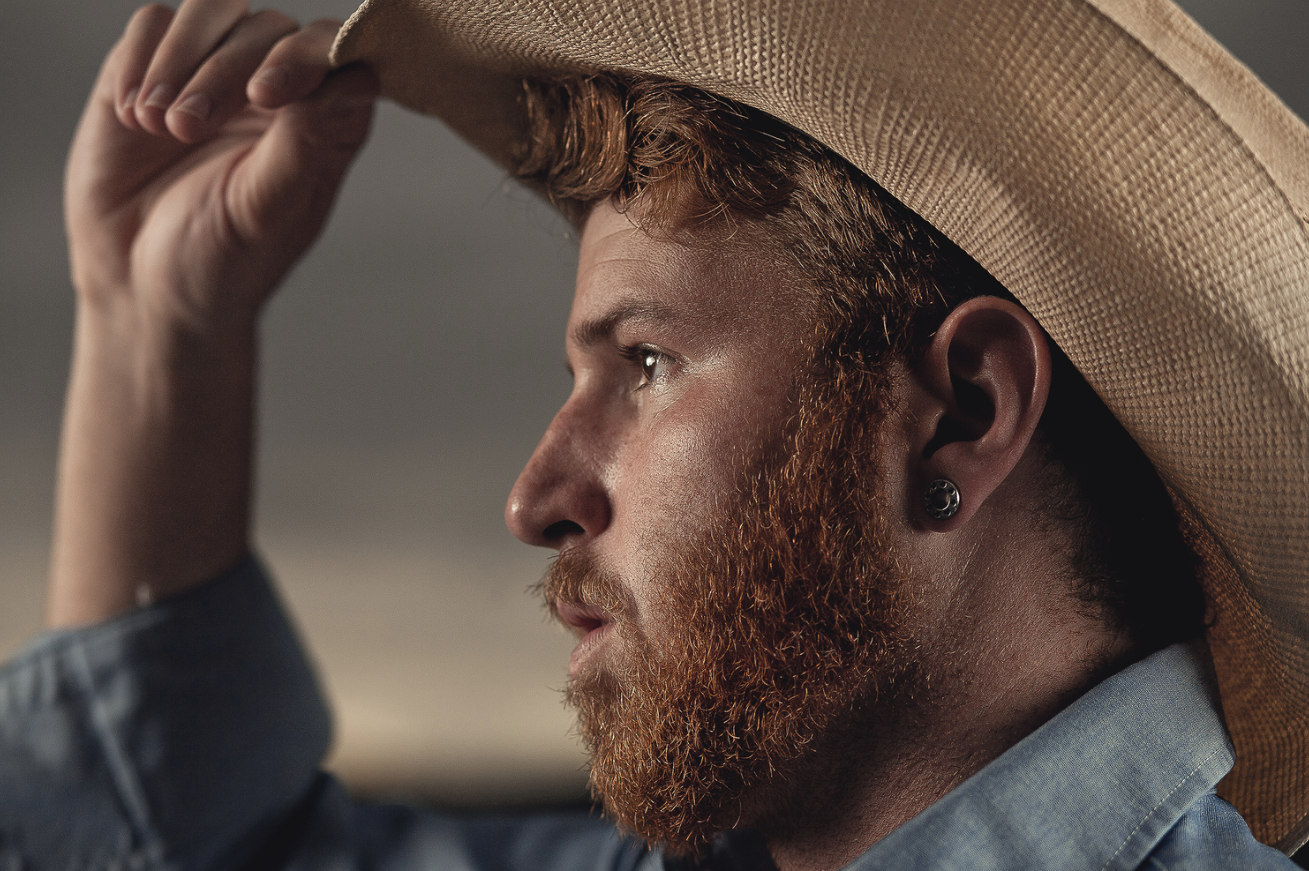
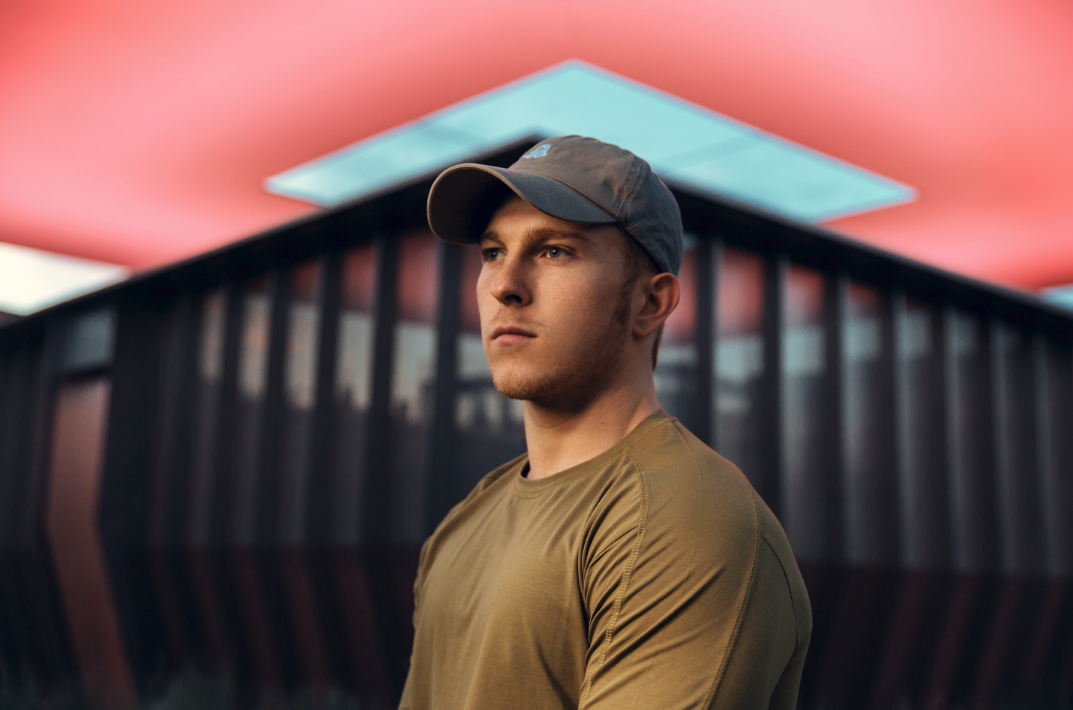
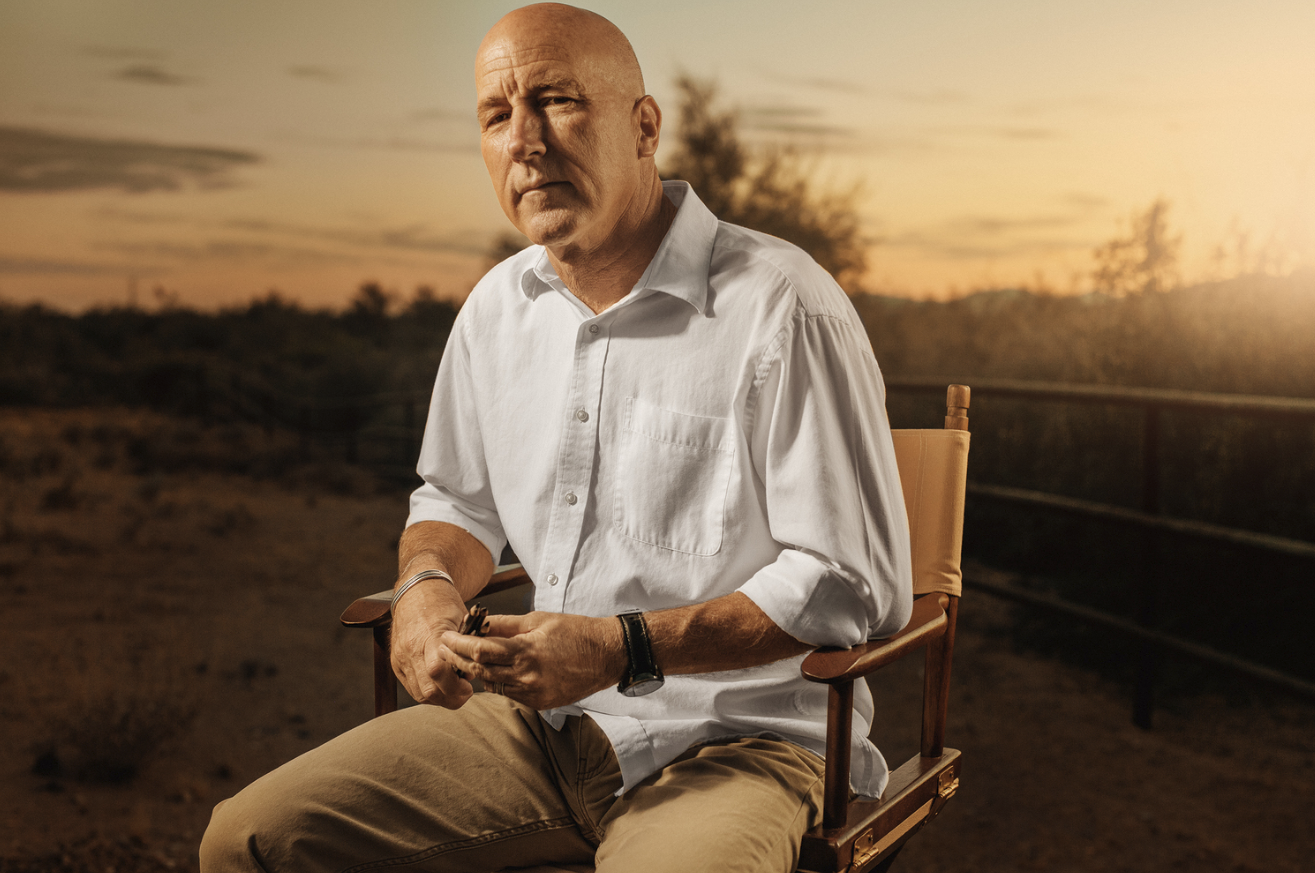
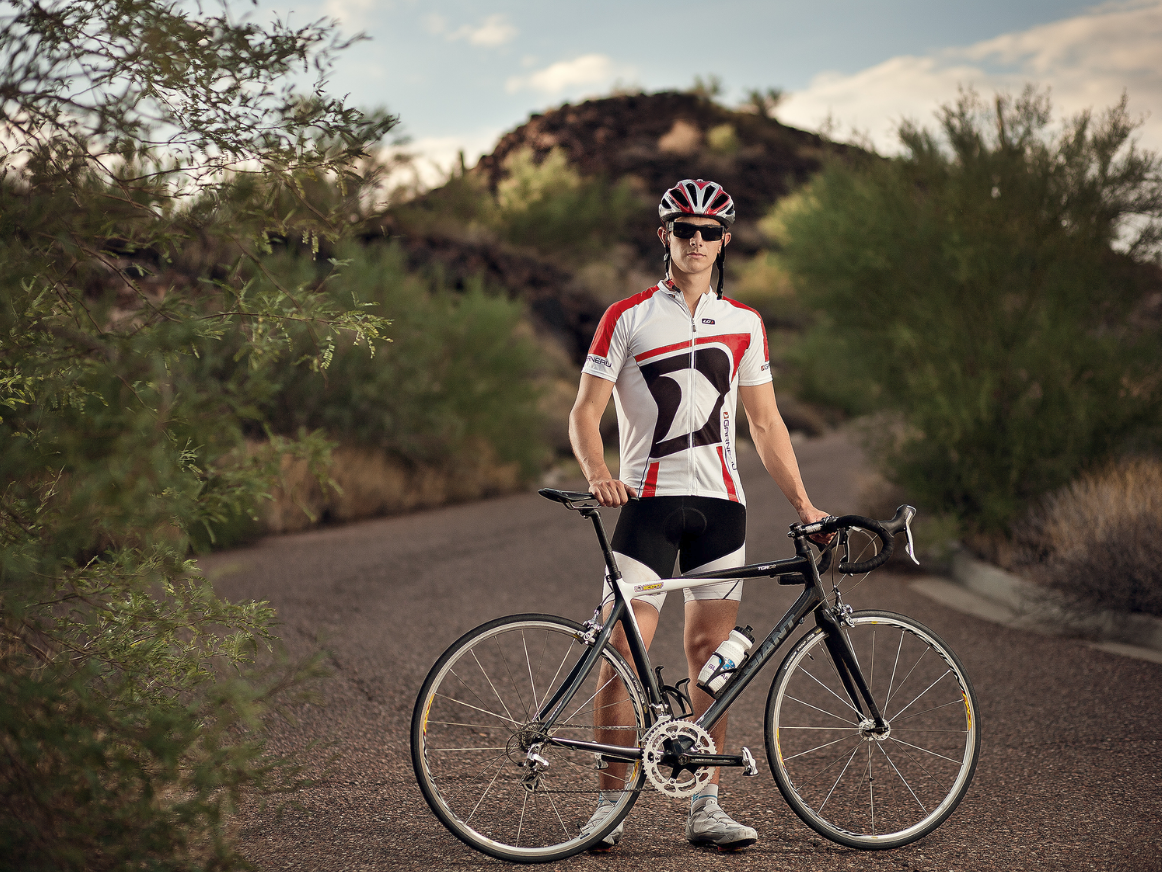
For me the background is most important, it's the reason we are outside. I generally try to find as much shade as I can. I don't like using the sun If I don’t have to, it usually does not match the look I am going for. But if you have to shoot in the sun try to have the side of your subject that you are shooting in complete shade. If there is no provided shade, have your subject in between you and the sun and shoot on the same side as their shadow. This puts you into the fully shaded side of the subject that you're shooting.
Tip- Watch for light that wraps around and hits things like the nose. It's ok for the sun to act as a rim light on your subjects face but you generally don’t want any little sun spots from being sloppy with light.
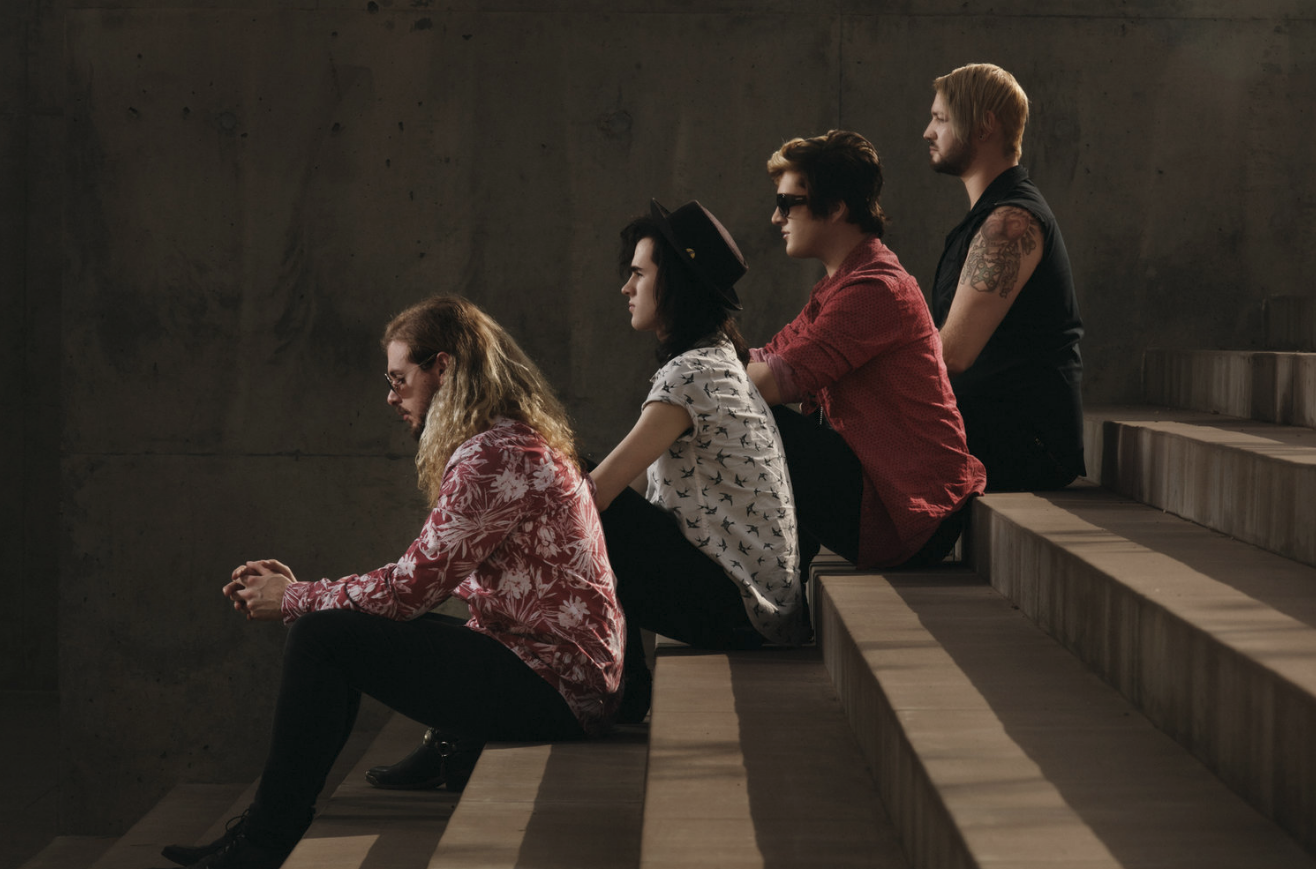
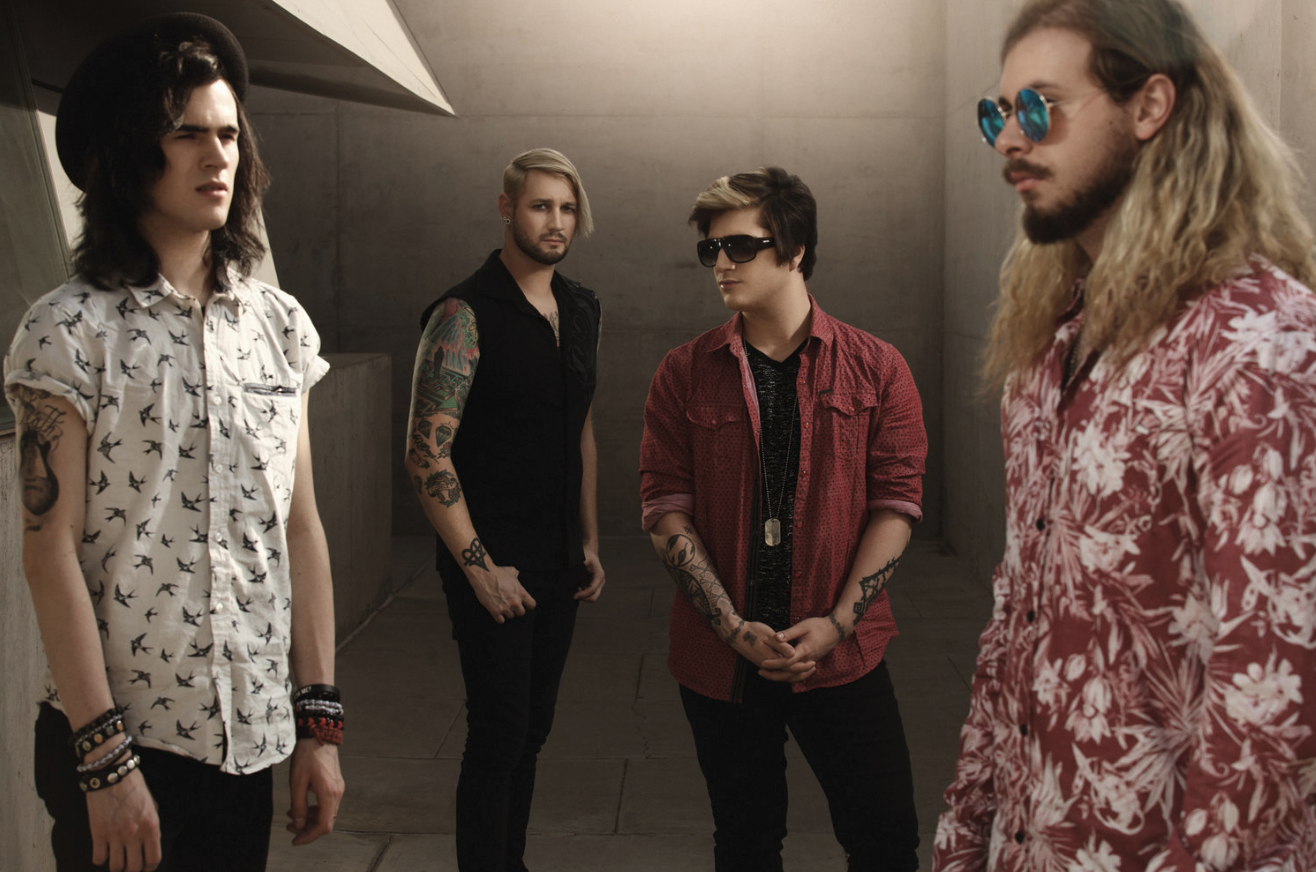
All images below a strobe was used to fill in the shadow side of the subject while the sun rim lighted them.

Ignore the strobe.
Remember to ignore the strobe at first. Focus on the ambient light. After you have your background picked out and you're shooting into the shaded side of your subject, you will want to expose for your background, not your subject. Unless you have a ND filter, or high speed sync your aperture will control your background exposure the most. Your ISO and shutter speed will play a bigger role in balancing out your exposure when you're shooting in the evening or in darker situations, but not on bright sunny days.
Exposure your subject.
After you have your camera settings set from exposing for the ambient light you can grab your strobe. Now use your strobe to properly expose your subject. You will have to adjust the power of your strobe, not your camera settings if you want to adjust the exposure on your subject and don’t want the exposure of the background to change.
Light placement is hugely related to the look and story I am going for, but for a lot of set ups I try to place my light 45 degrees away from where I am shooting to give the subject a little shape. Remember since you're shooting on the subjects shaded side, or are in shade your subject will be flat. The point of the strobe is to give them dimension. Create shape with the shadows. If your shadows are too dark then your strobe is probably too powerful. If the light is to straight on then the subject tends to look a little flat. I also try to place the strobe on the side the sun seems to be more prevalent on, this way it seems more natural to have the artificial light in your scene. Matching the sun's light direction can make a huge difference in the look of your image.
In all the images below a light was placed between 45 to 90 degrees away from the camera. All images a single strobe was used in complete shade.


Light Modifiers
A smaller harsher light modifier will allow for more light to travel to your subject. This can be helpful if you need the most amount of power you can get out of your strobe. The larger the light modifier the softer the light will be but the less power you will have reaching your subject.
The closer the modifier is to your subject the more power you will get as well, but if you are shooting full body the closer the modifier will result in a less even spread of light.
I try to match my modifiers with the type of ambient light. If it’s a cloudy day with soft light, I will be more likely to use a softer modifier. If it’s a harsh sunny day I will be more willing to use harder modifiers, although generally I am not a fan of using any small harsh modifiers.
A perk of smaller modifiers is they are much less likely to catch wind and hurl your light into the ground.
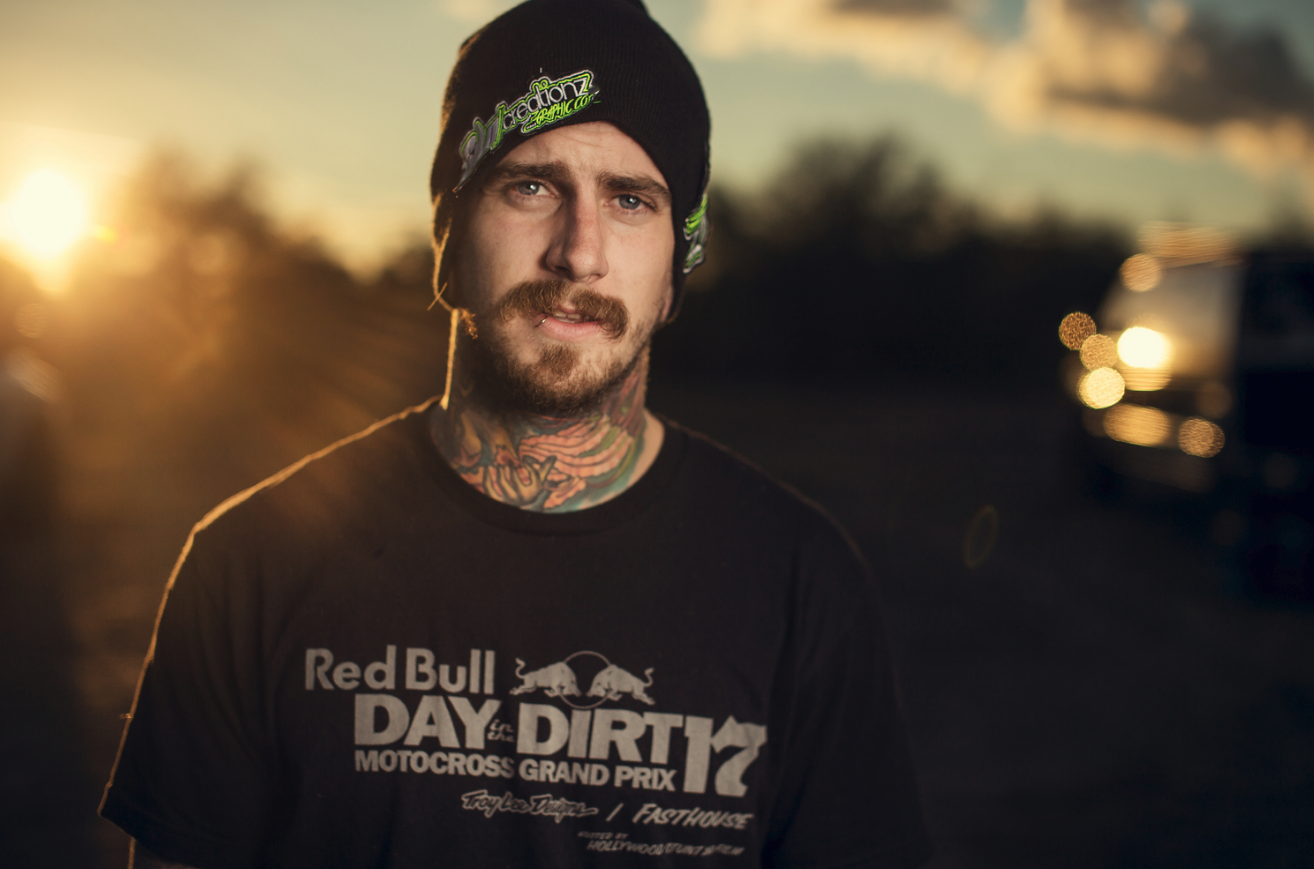
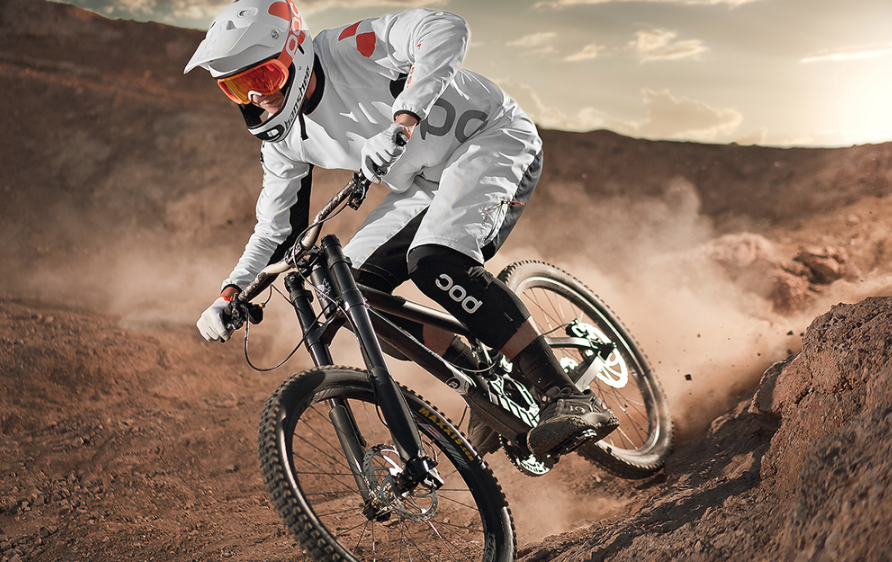
2 lights were used in all images below, 1 as a key, and the other as a rim to replicate the sun.

Tips
Aim the light to the subject's head or chest. This will give the most natural look and will give the right amount of light fall off around the subjects feet(if shooting full body). If the light is aimed too far down there will be a lot of light spill on the ground and will look like sloppy lighting. You can also shoot from a lower point of view so you don’t see the light spill on the ground as much.
Try to balance the artificial and ambient light. You want the strobe to look as natural as possible. A lot of people tend to use the strobe to prominently, it should be blend seamlessly into your scene.
When you backlight your subject, your background will usually be backlit too. Sometimes this is not a great look, the background becomes darker, less rich in color, and has no shape. There is a way to shoot where the background is in direct sunlight but your subject isn't. Create your own shade. You can use your light modifier to create shade for you subject. You will need a bigger modifier to do this, or multiple lights, or a scrim. This can create some great looks.
The only times I use 2 or more lights is if I need more power, need a 2nd light as a fill, or using a 2nd light to recreate the sun.
Lens choice is much more dramatic when shooting outdoors vs in the studio.
I tend shoot between 24-70mm. But the wider you shoot the more you have to be conscious of your background, light stand, and light fall off.
Buy sandbags, lots of them, heavy ones too! Spend the extra 50 dollars for several sandbags to save your strobe that costs thousands.
Heavy duty light stands are recommended as well.
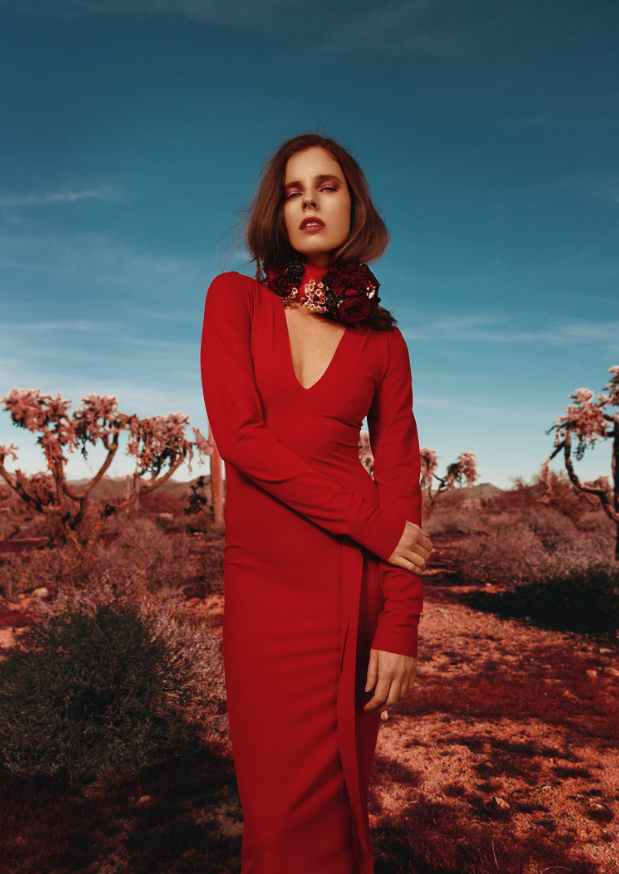
For this image I had the model directly facing the sun. I then used a 6x6' Lastolite scrim to diffuse the sunlight. The light on her was pretty flat then and she was much darker then the background so I used 2 Canon 600EX-RT speedlites in a 43 inch Westcott Apollo Orb to bring her to a proper exposure.
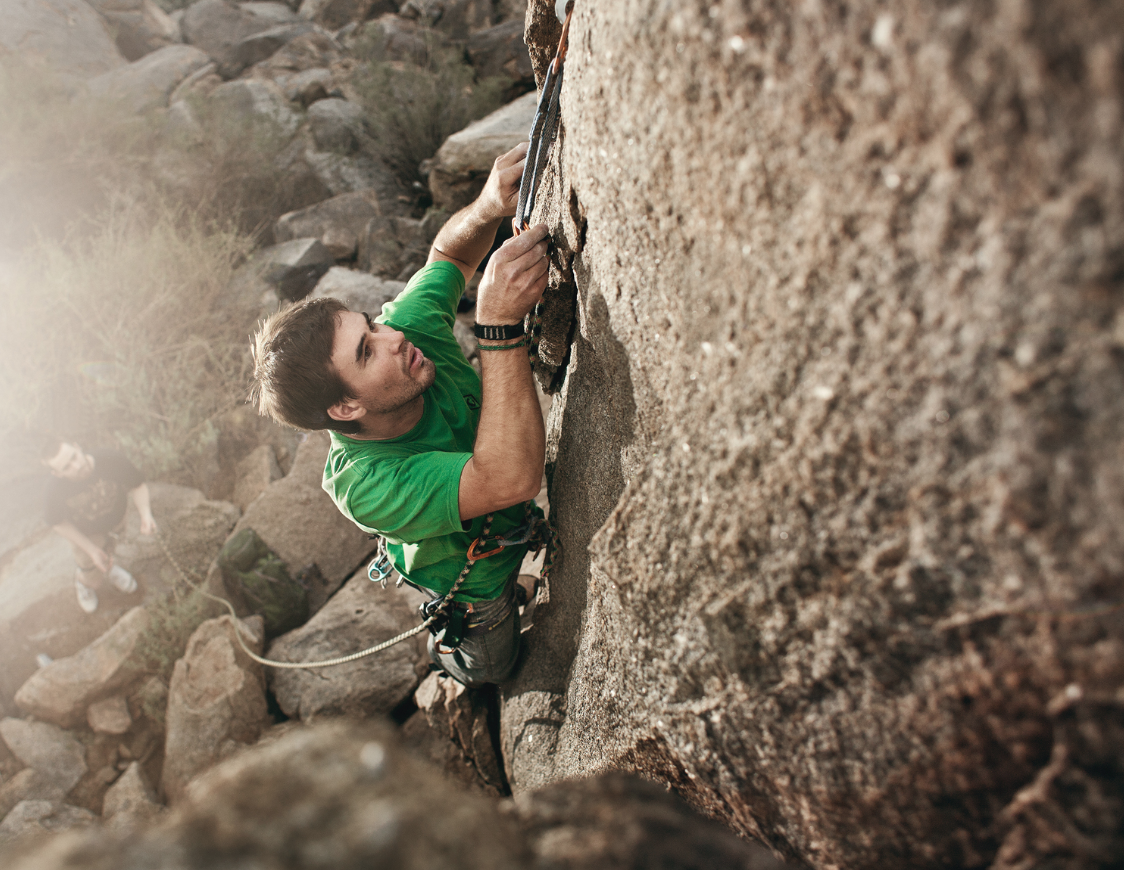
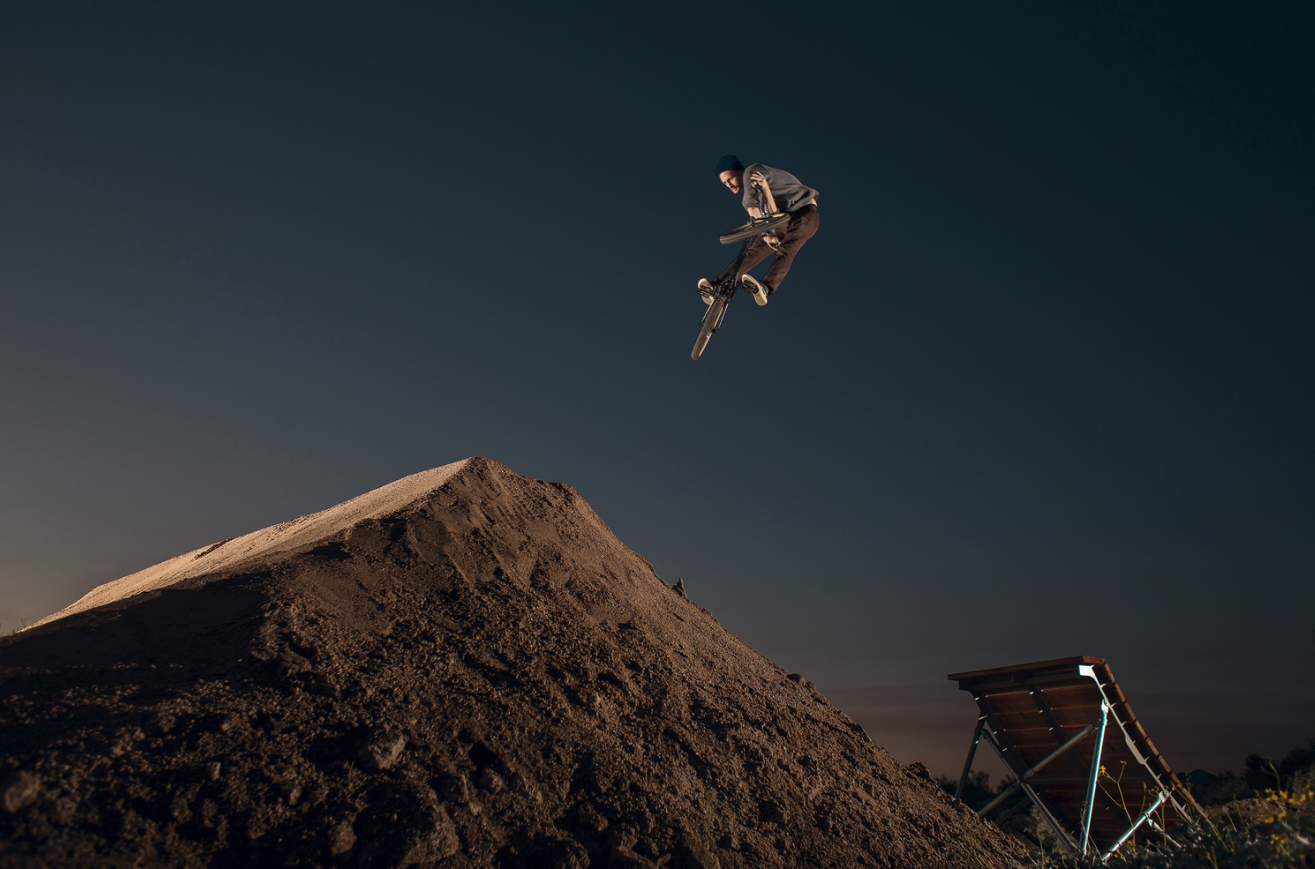
For this shot I wanted to recreate the sun. The climber was in complete shade and was a little flat for my taste. I used a Canon 600EX-RT speedlite with no modifier directky behind him as a rim light.
Gear Used in all photos.
- Canon 5D Mk iii
- Canon 5Ds
- Canon 5D
- Canon 6D
- Canon 580EX with Pocket wizards
- Canon 600EX-RT with St-E3-RT
- Westcott 43'' Apollo Orb octobox
- Canon 24-70mm f2.8 v ii
- Canon 70-200mm f2.8
- Canon 85mm f1.8
- Canon 35mm f1.4
- Sigma Art 50mm f1.4
- ND filter