retouching

Guide to Using Strobes Outside

This is a small briefing on using strobes outside. If you have specific questions please email me. 

Find your background.

Look where the sun is coming from and find a background that will help tell your story.
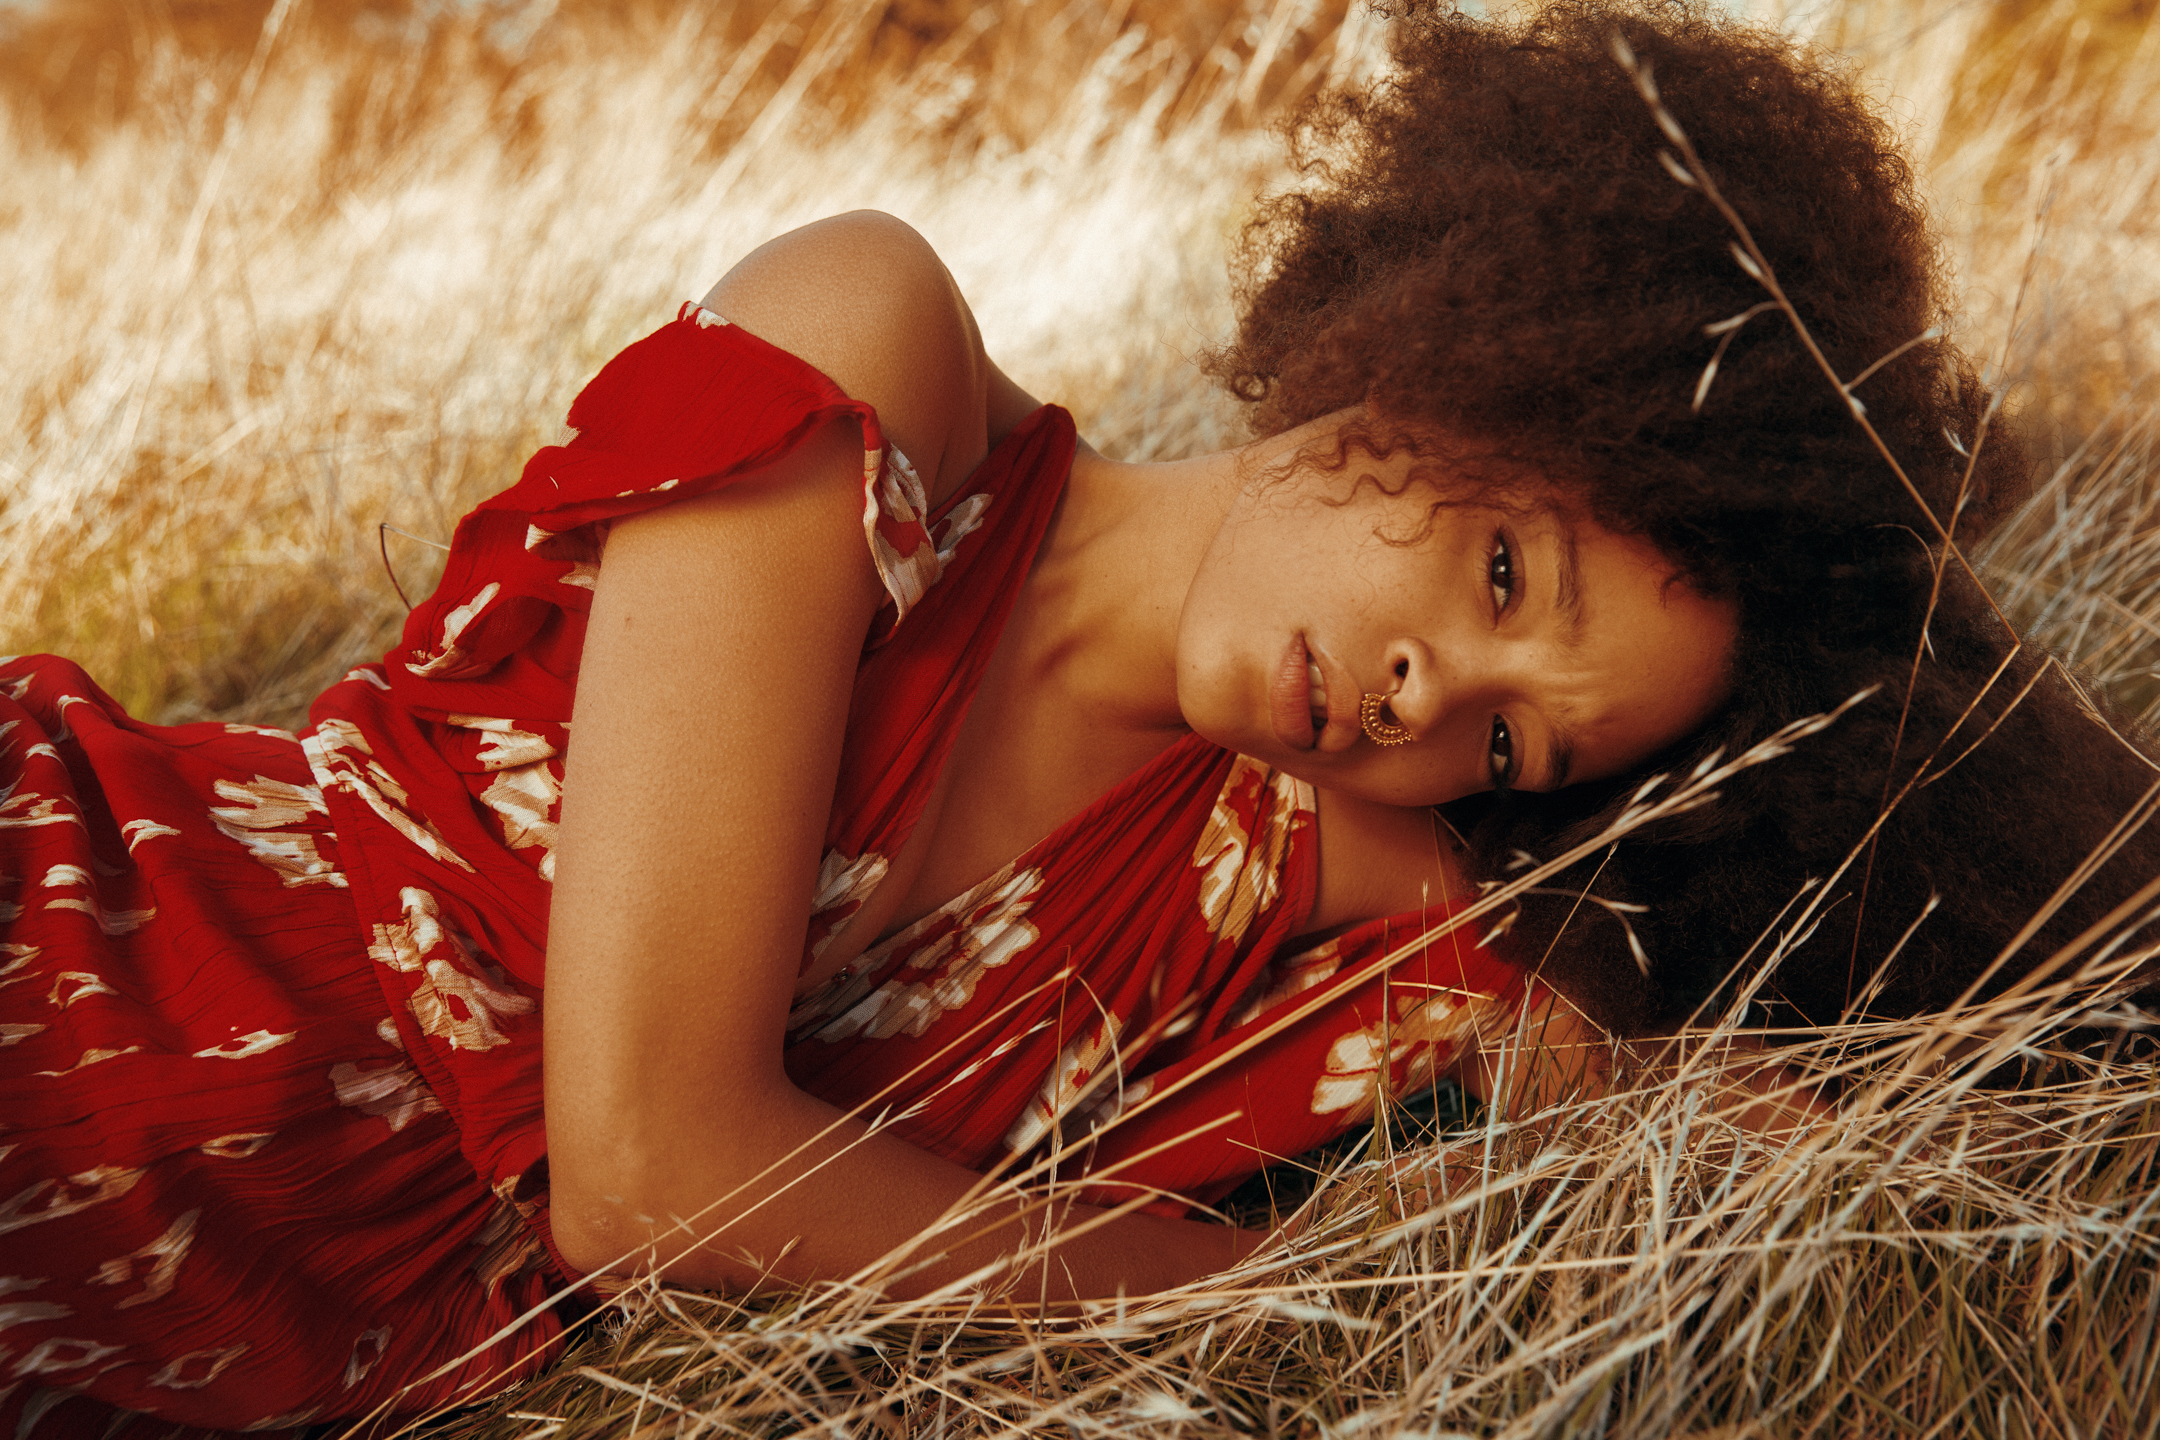
For me the background is most important, it's the reason we are outside. I generally try to find as much shade as I can. I don't like using the sun If I don’t have to, it usually does not match the look I am going for. But if you have to shoot in the sun try to have the side of your subject that you are shooting in complete shade.  If there is no provided shade, have your subject in between you and the sun and shoot on the same side as their shadow. This puts you into the fully shaded side of the subject that you're shooting.
Tip- Watch for light that wraps around and hits things like the nose.  It's ok for the sun to act as a rim light on your subjects face but you generally don’t want any little sun spots from  being sloppy with light.


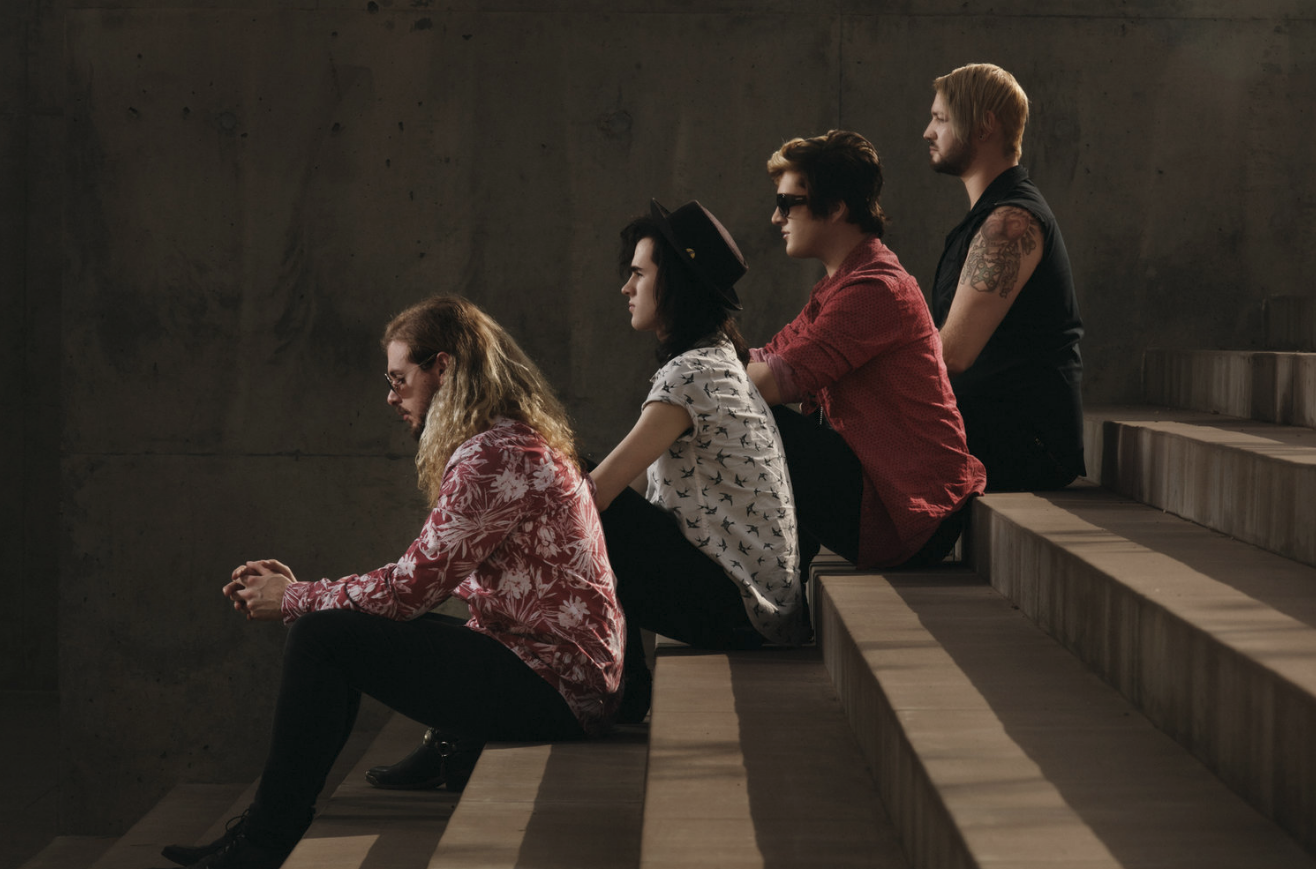
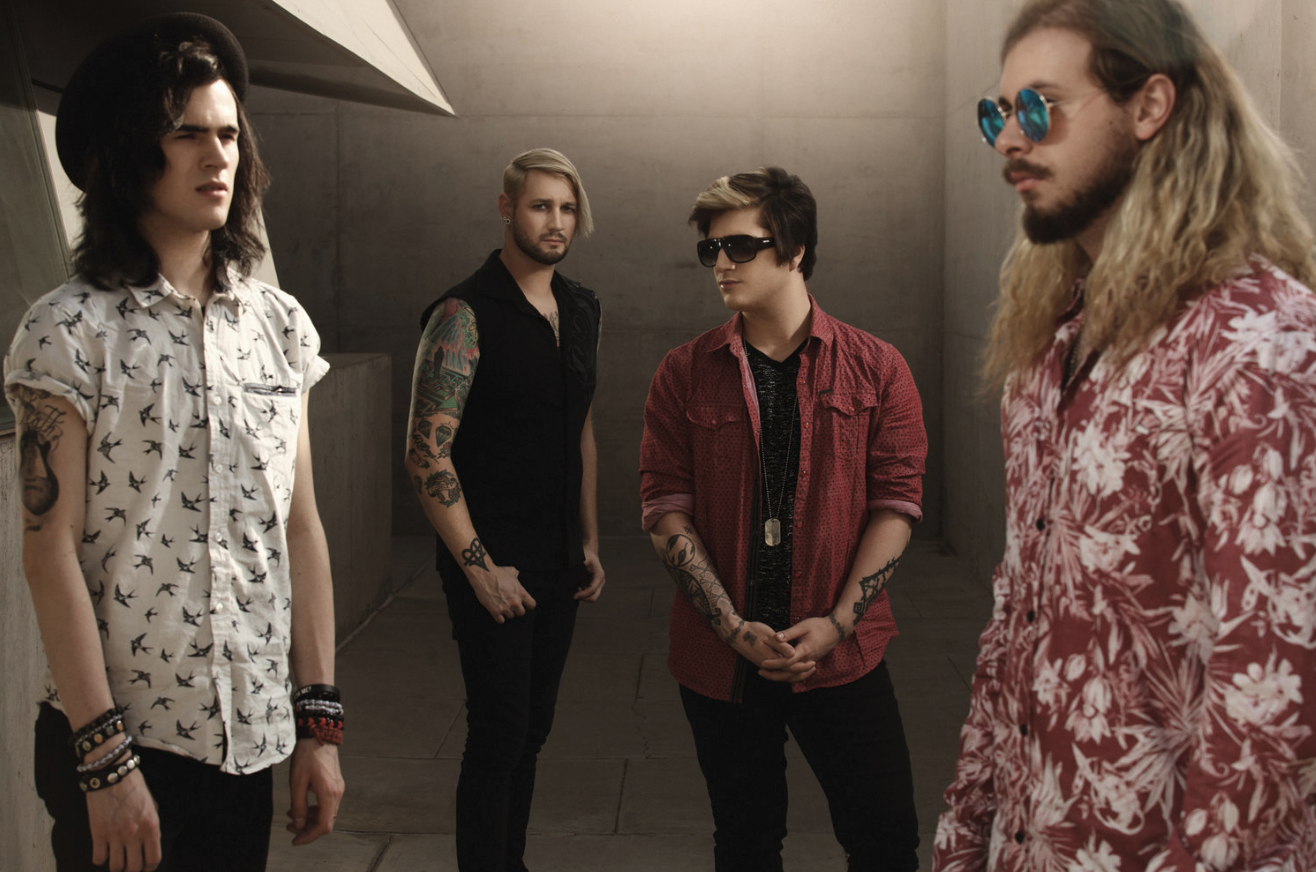
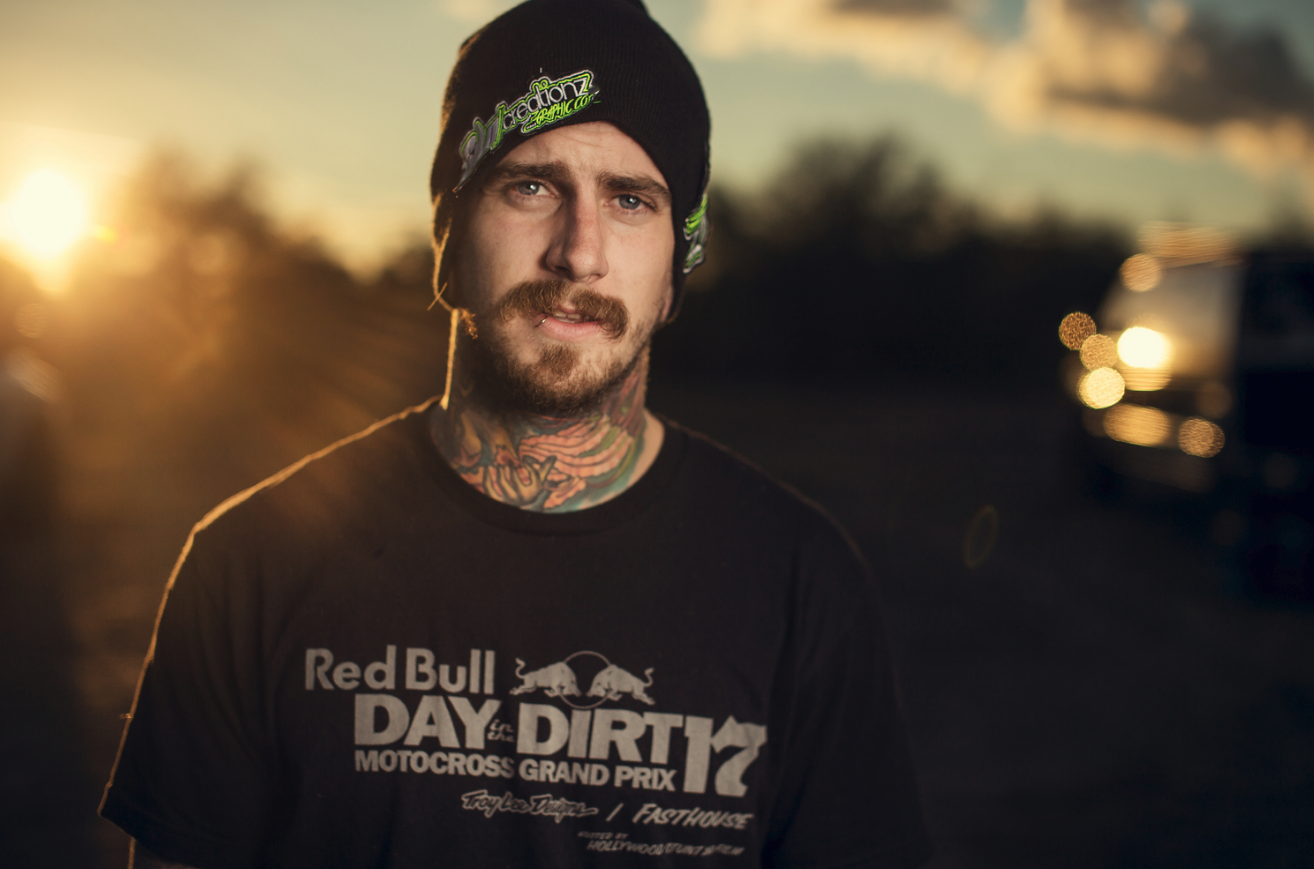
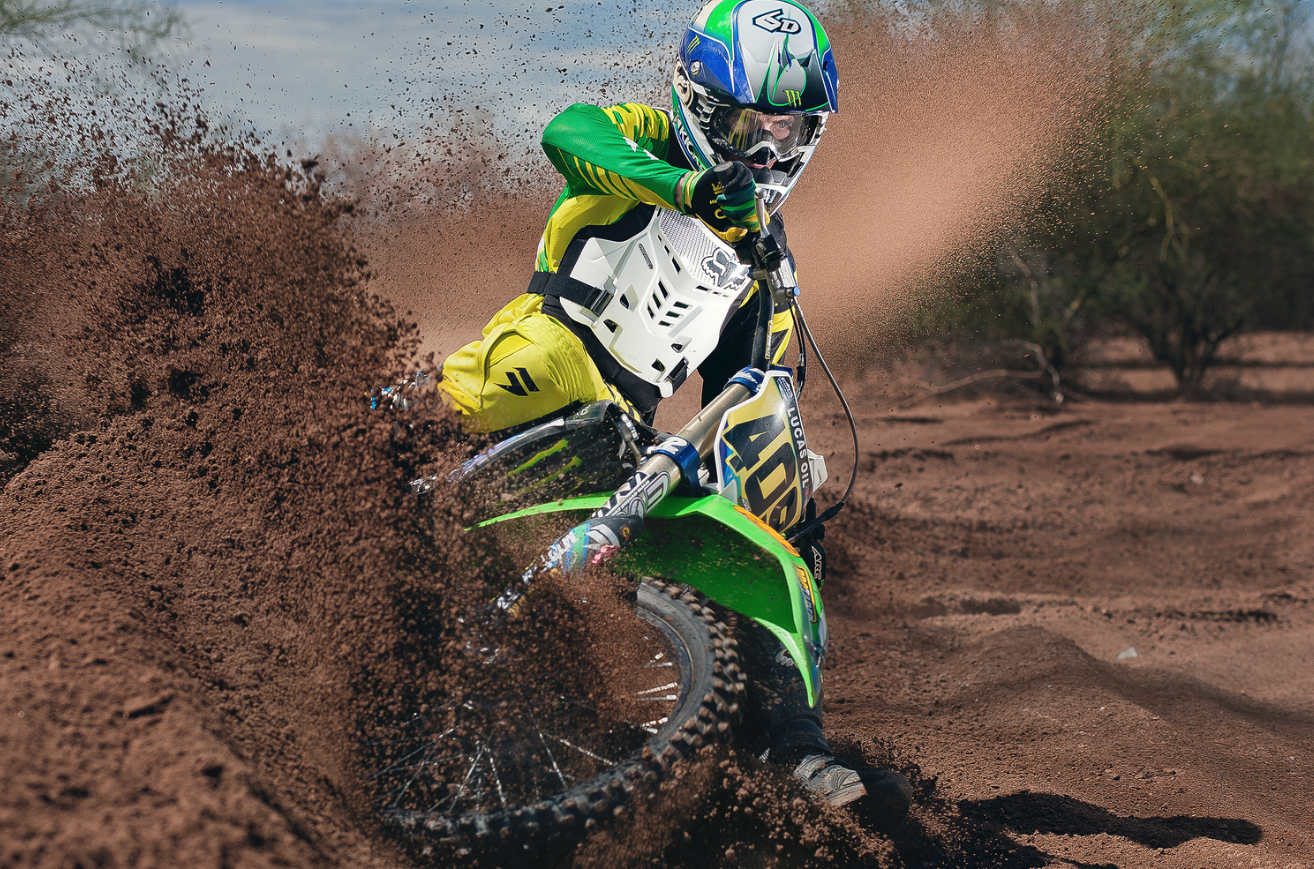
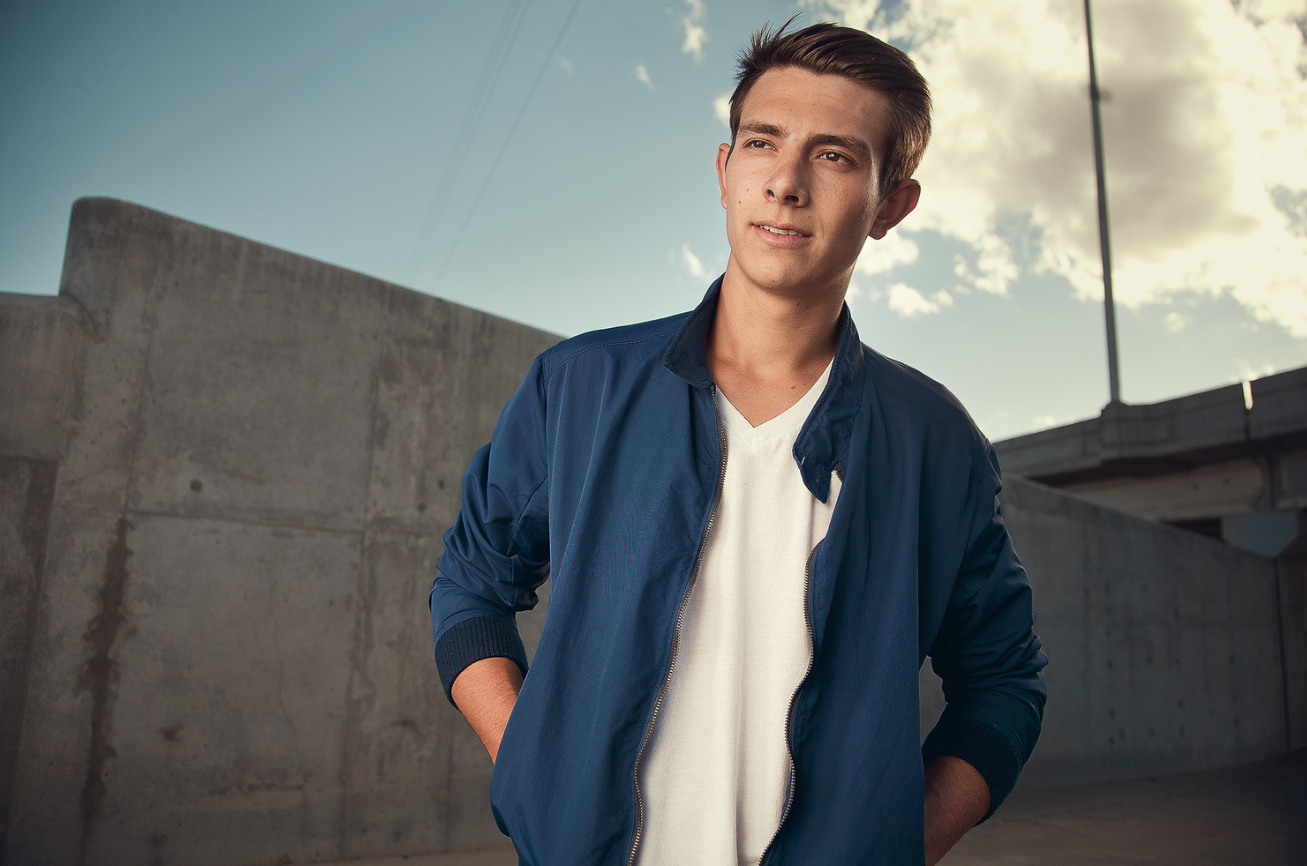
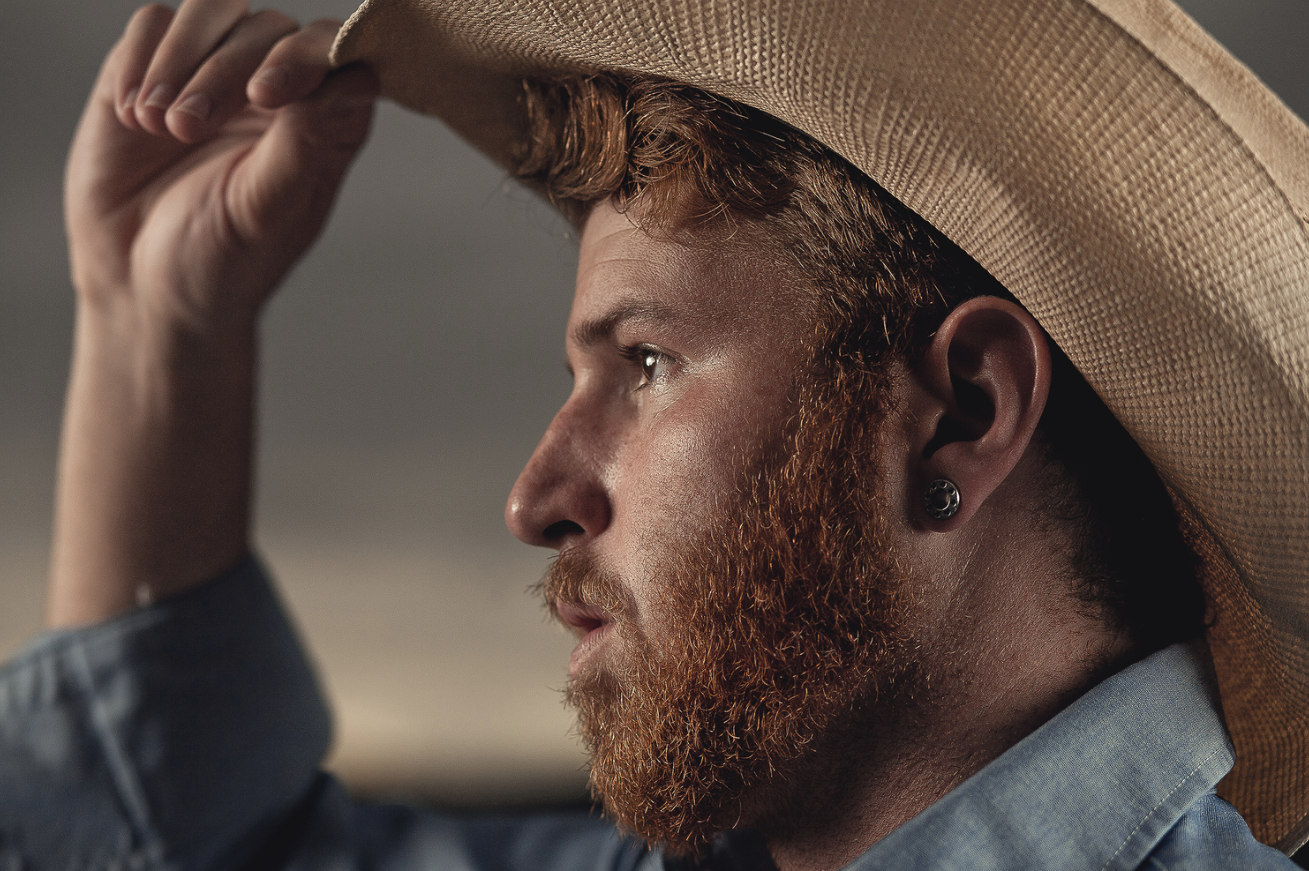
All images below a strobe was used to fill in the shadow side of the subject while the sun rim lighted them. 


Ignore the strobe.

Remember to ignore the strobe at first. Focus on the ambient light. After you have your background picked out and you're shooting into the shaded side of your subject, you will want to expose for your background, not your subject. Unless you have a ND filter, or high speed sync your aperture will control your background exposure the most. Your ISO and shutter speed will play a bigger role in balancing out your exposure when you're shooting in the evening or in darker situations, but not on bright sunny days.
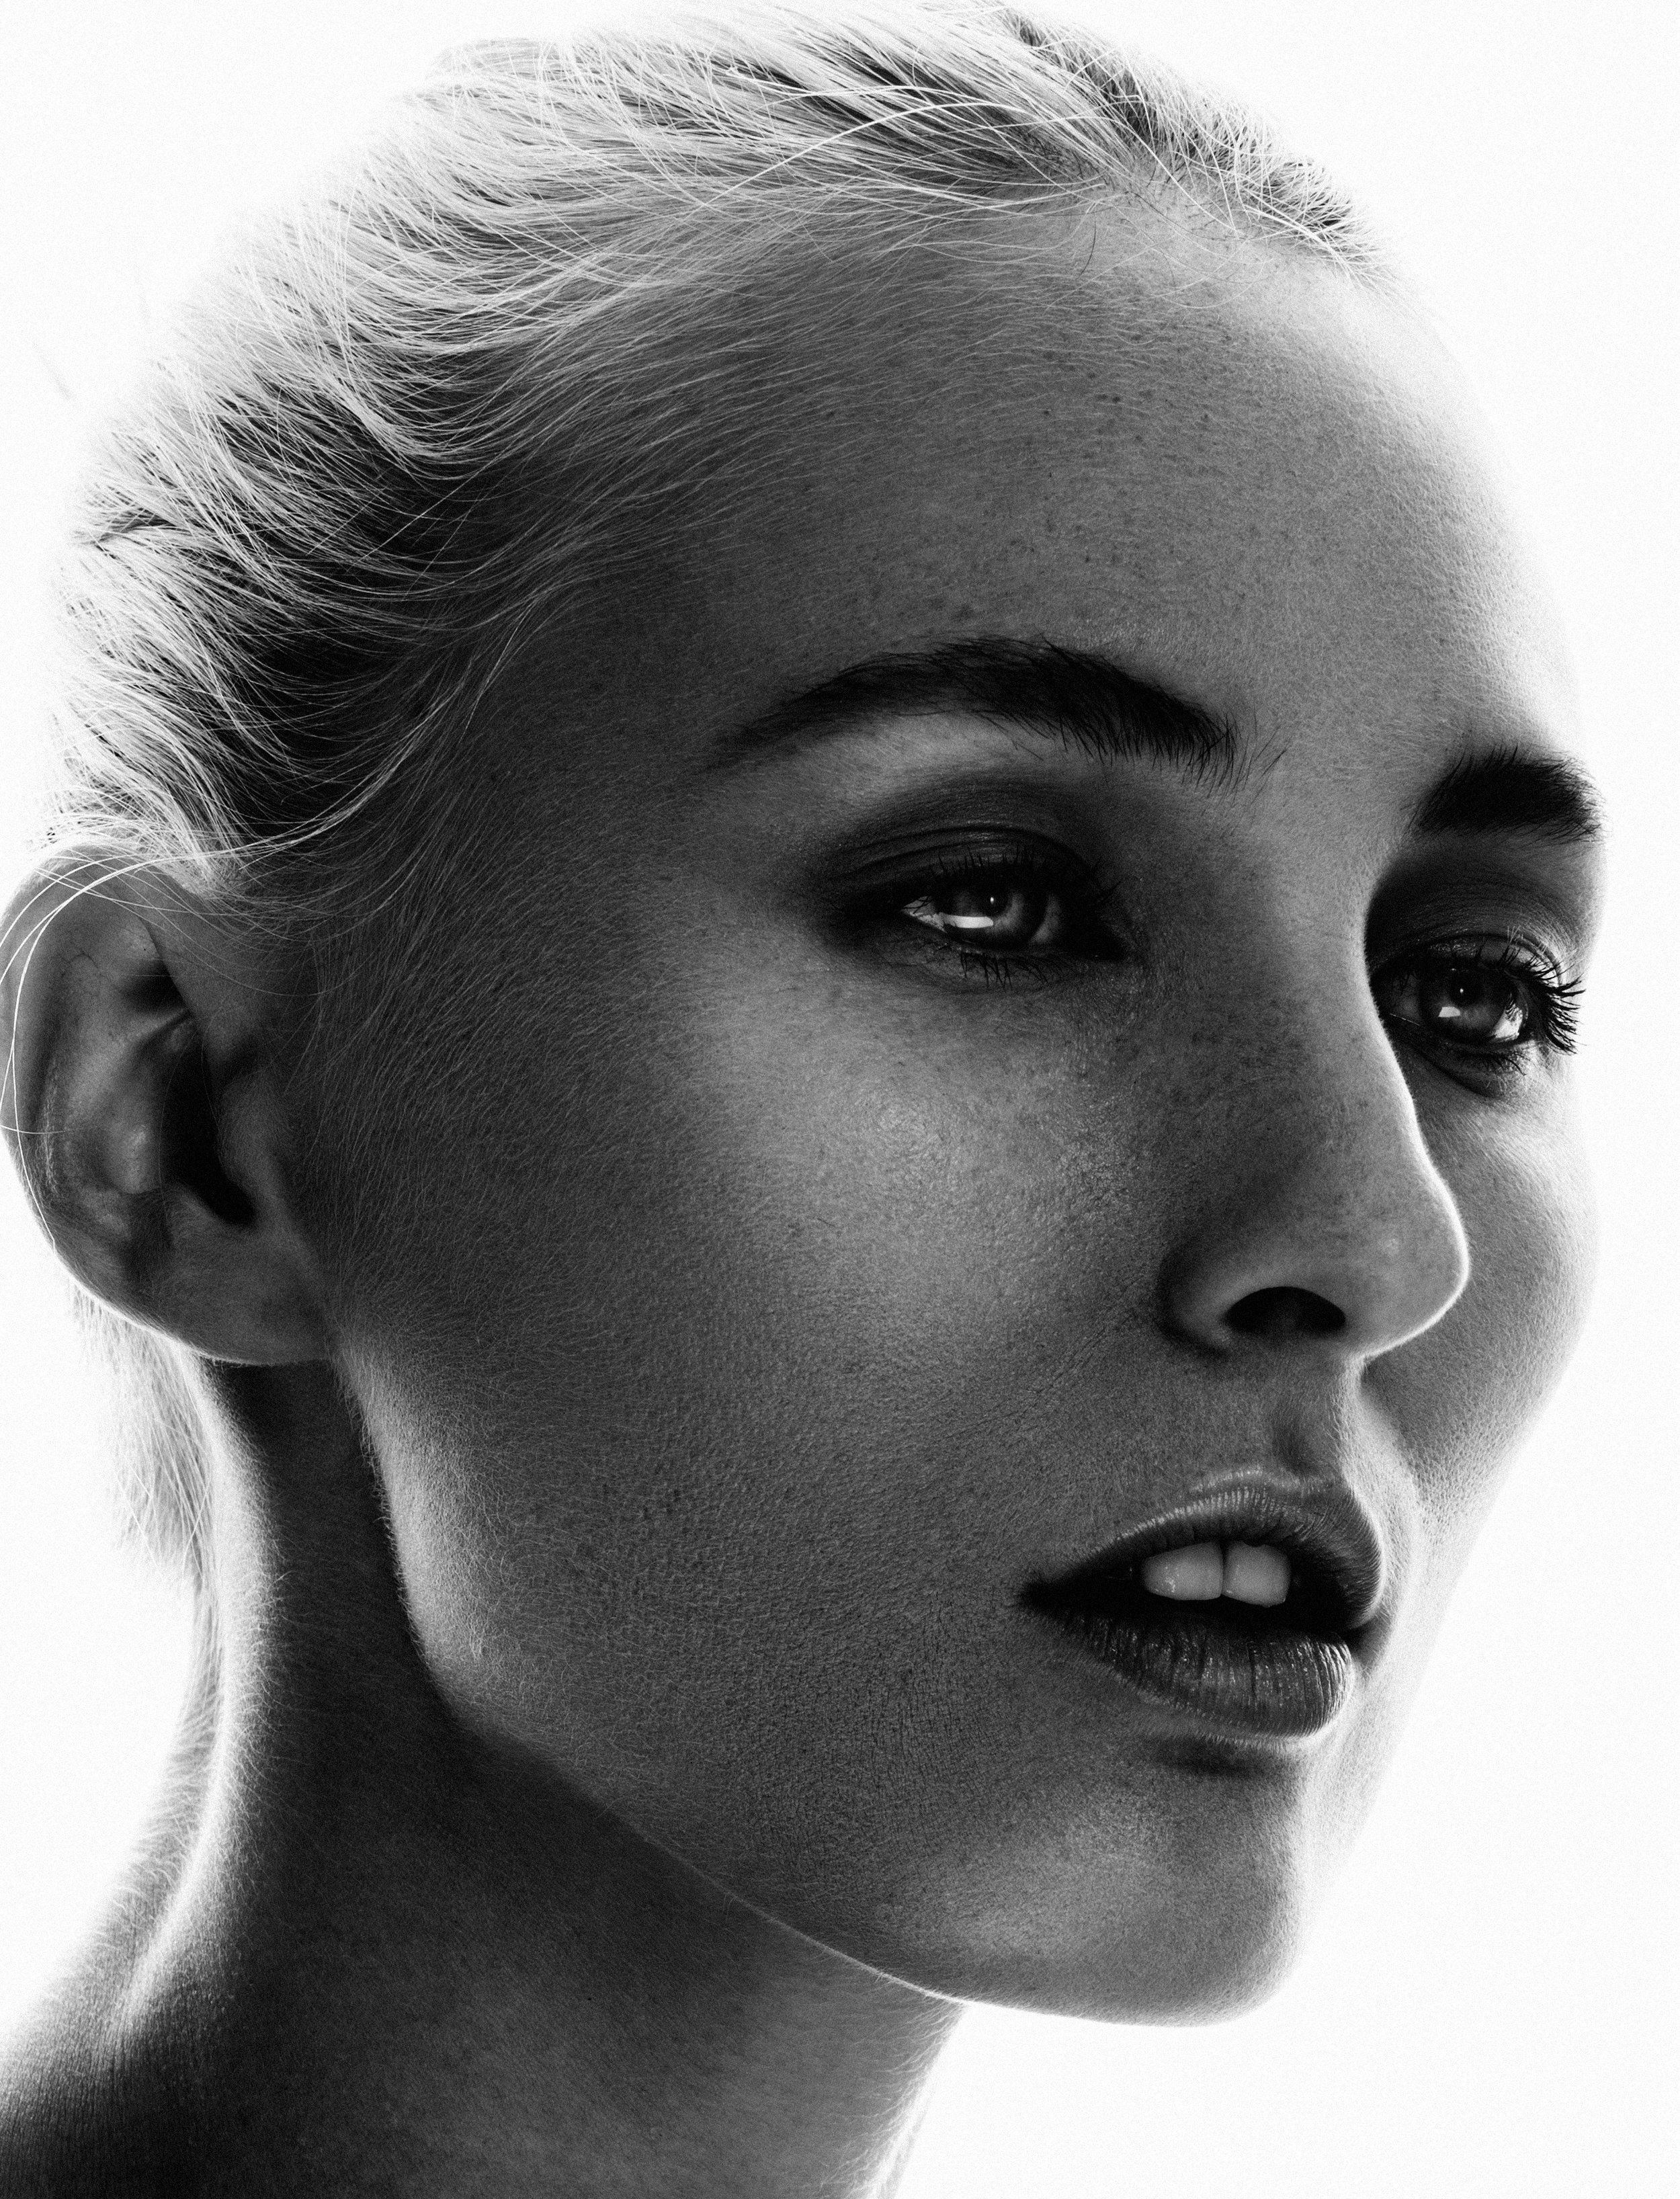
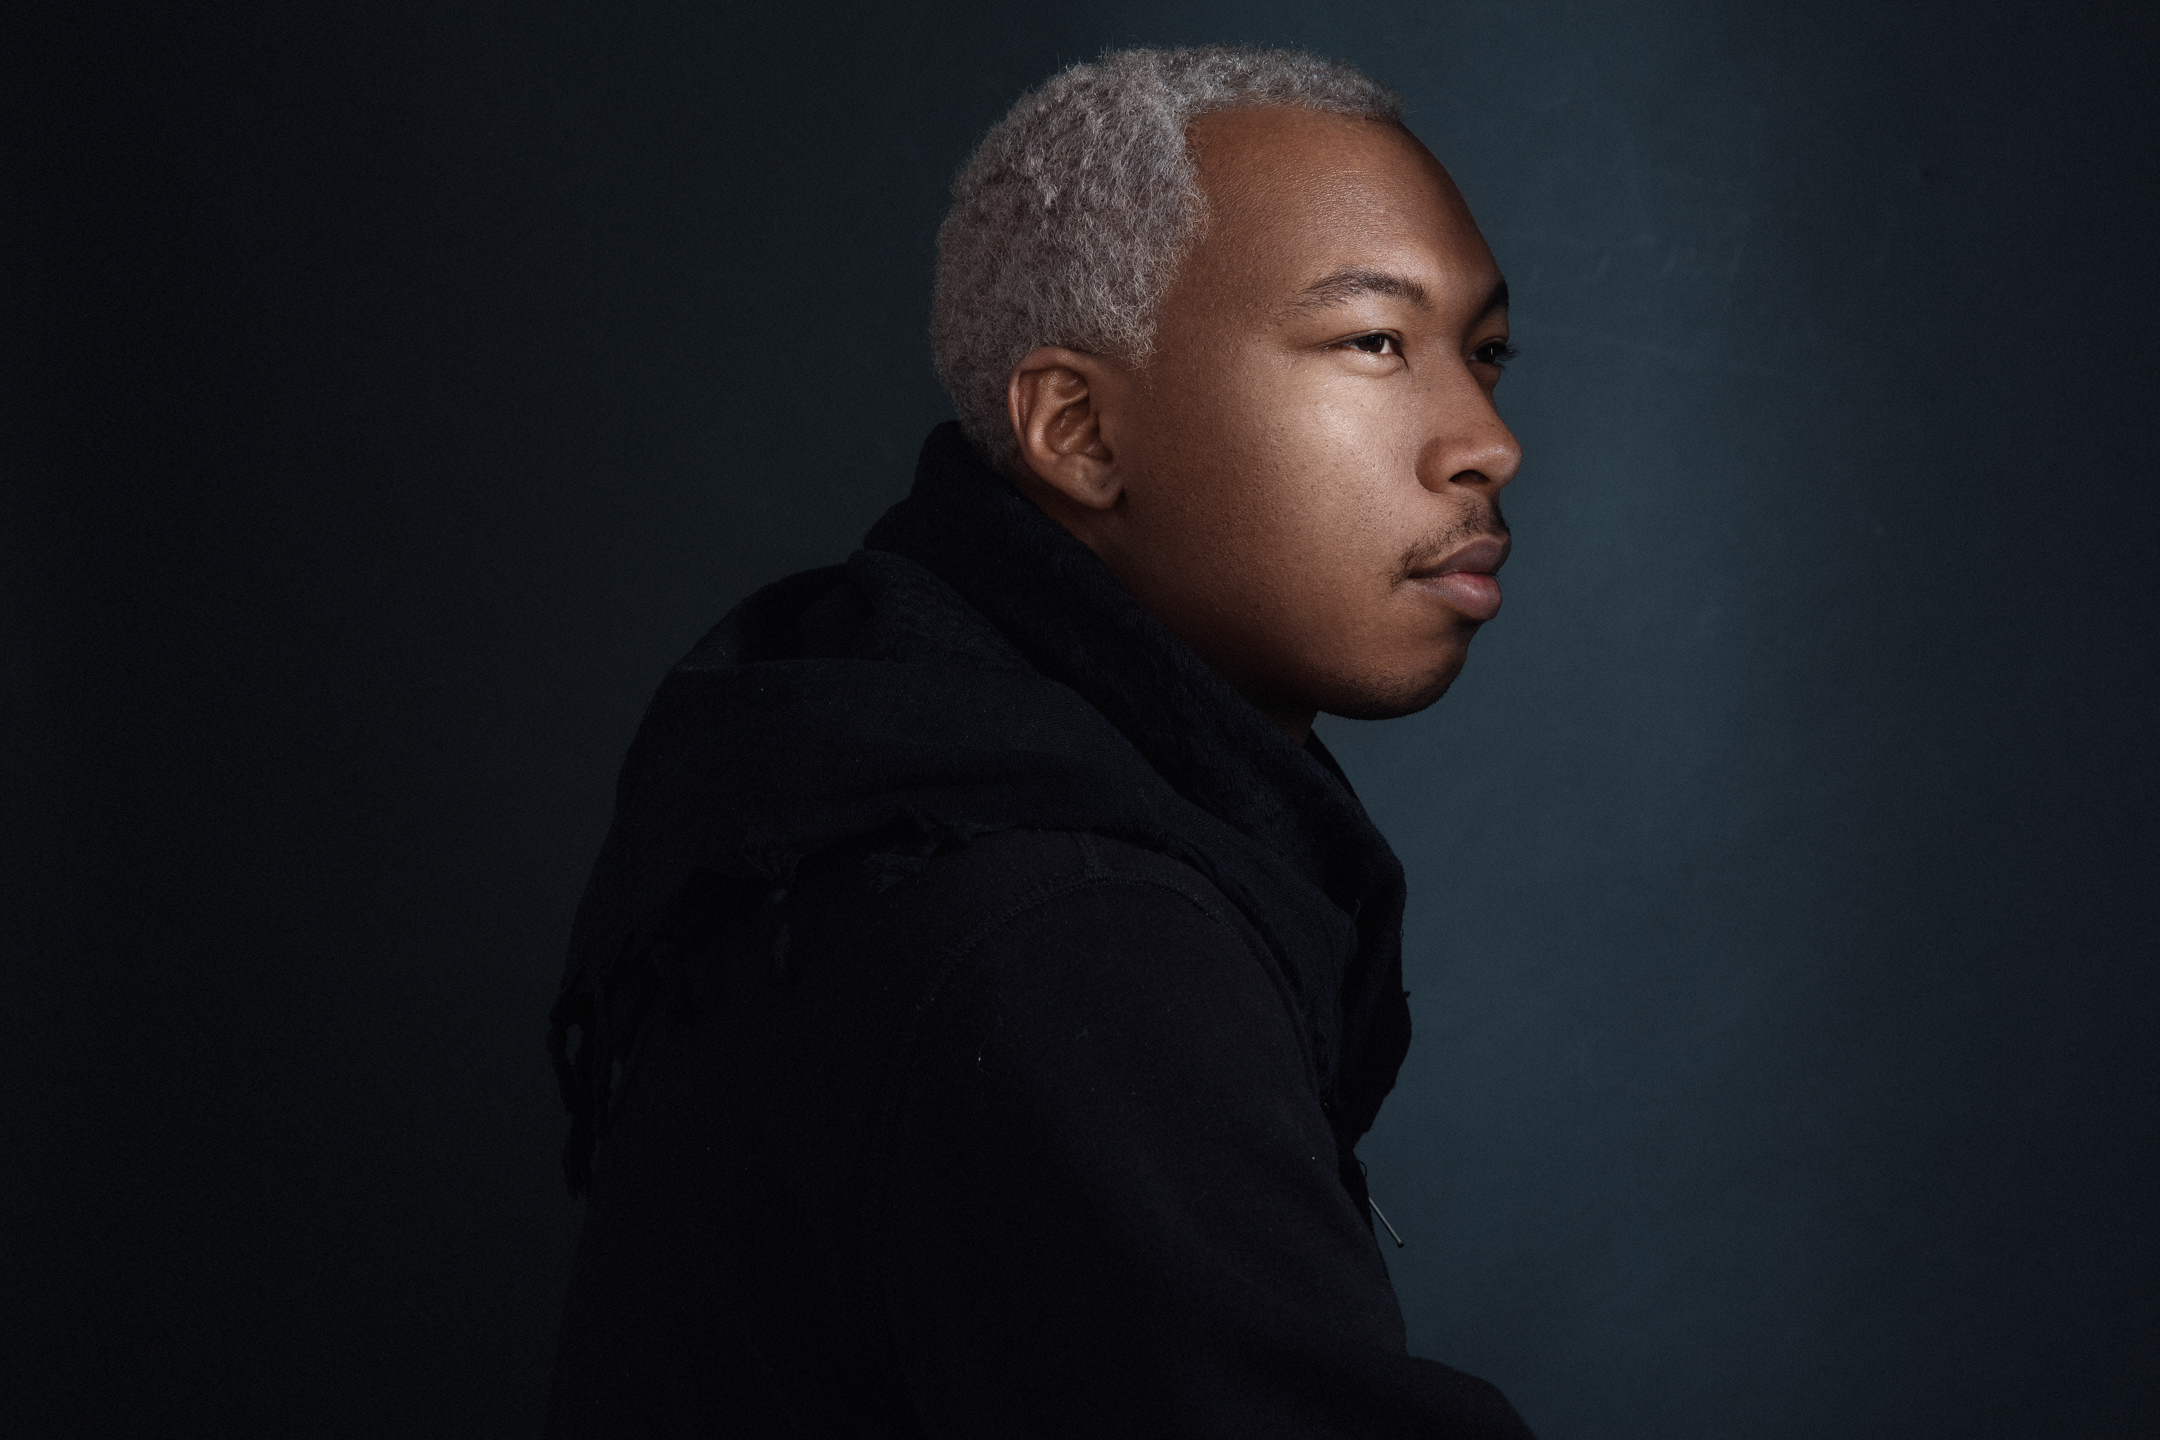
 

Exposure your subject.

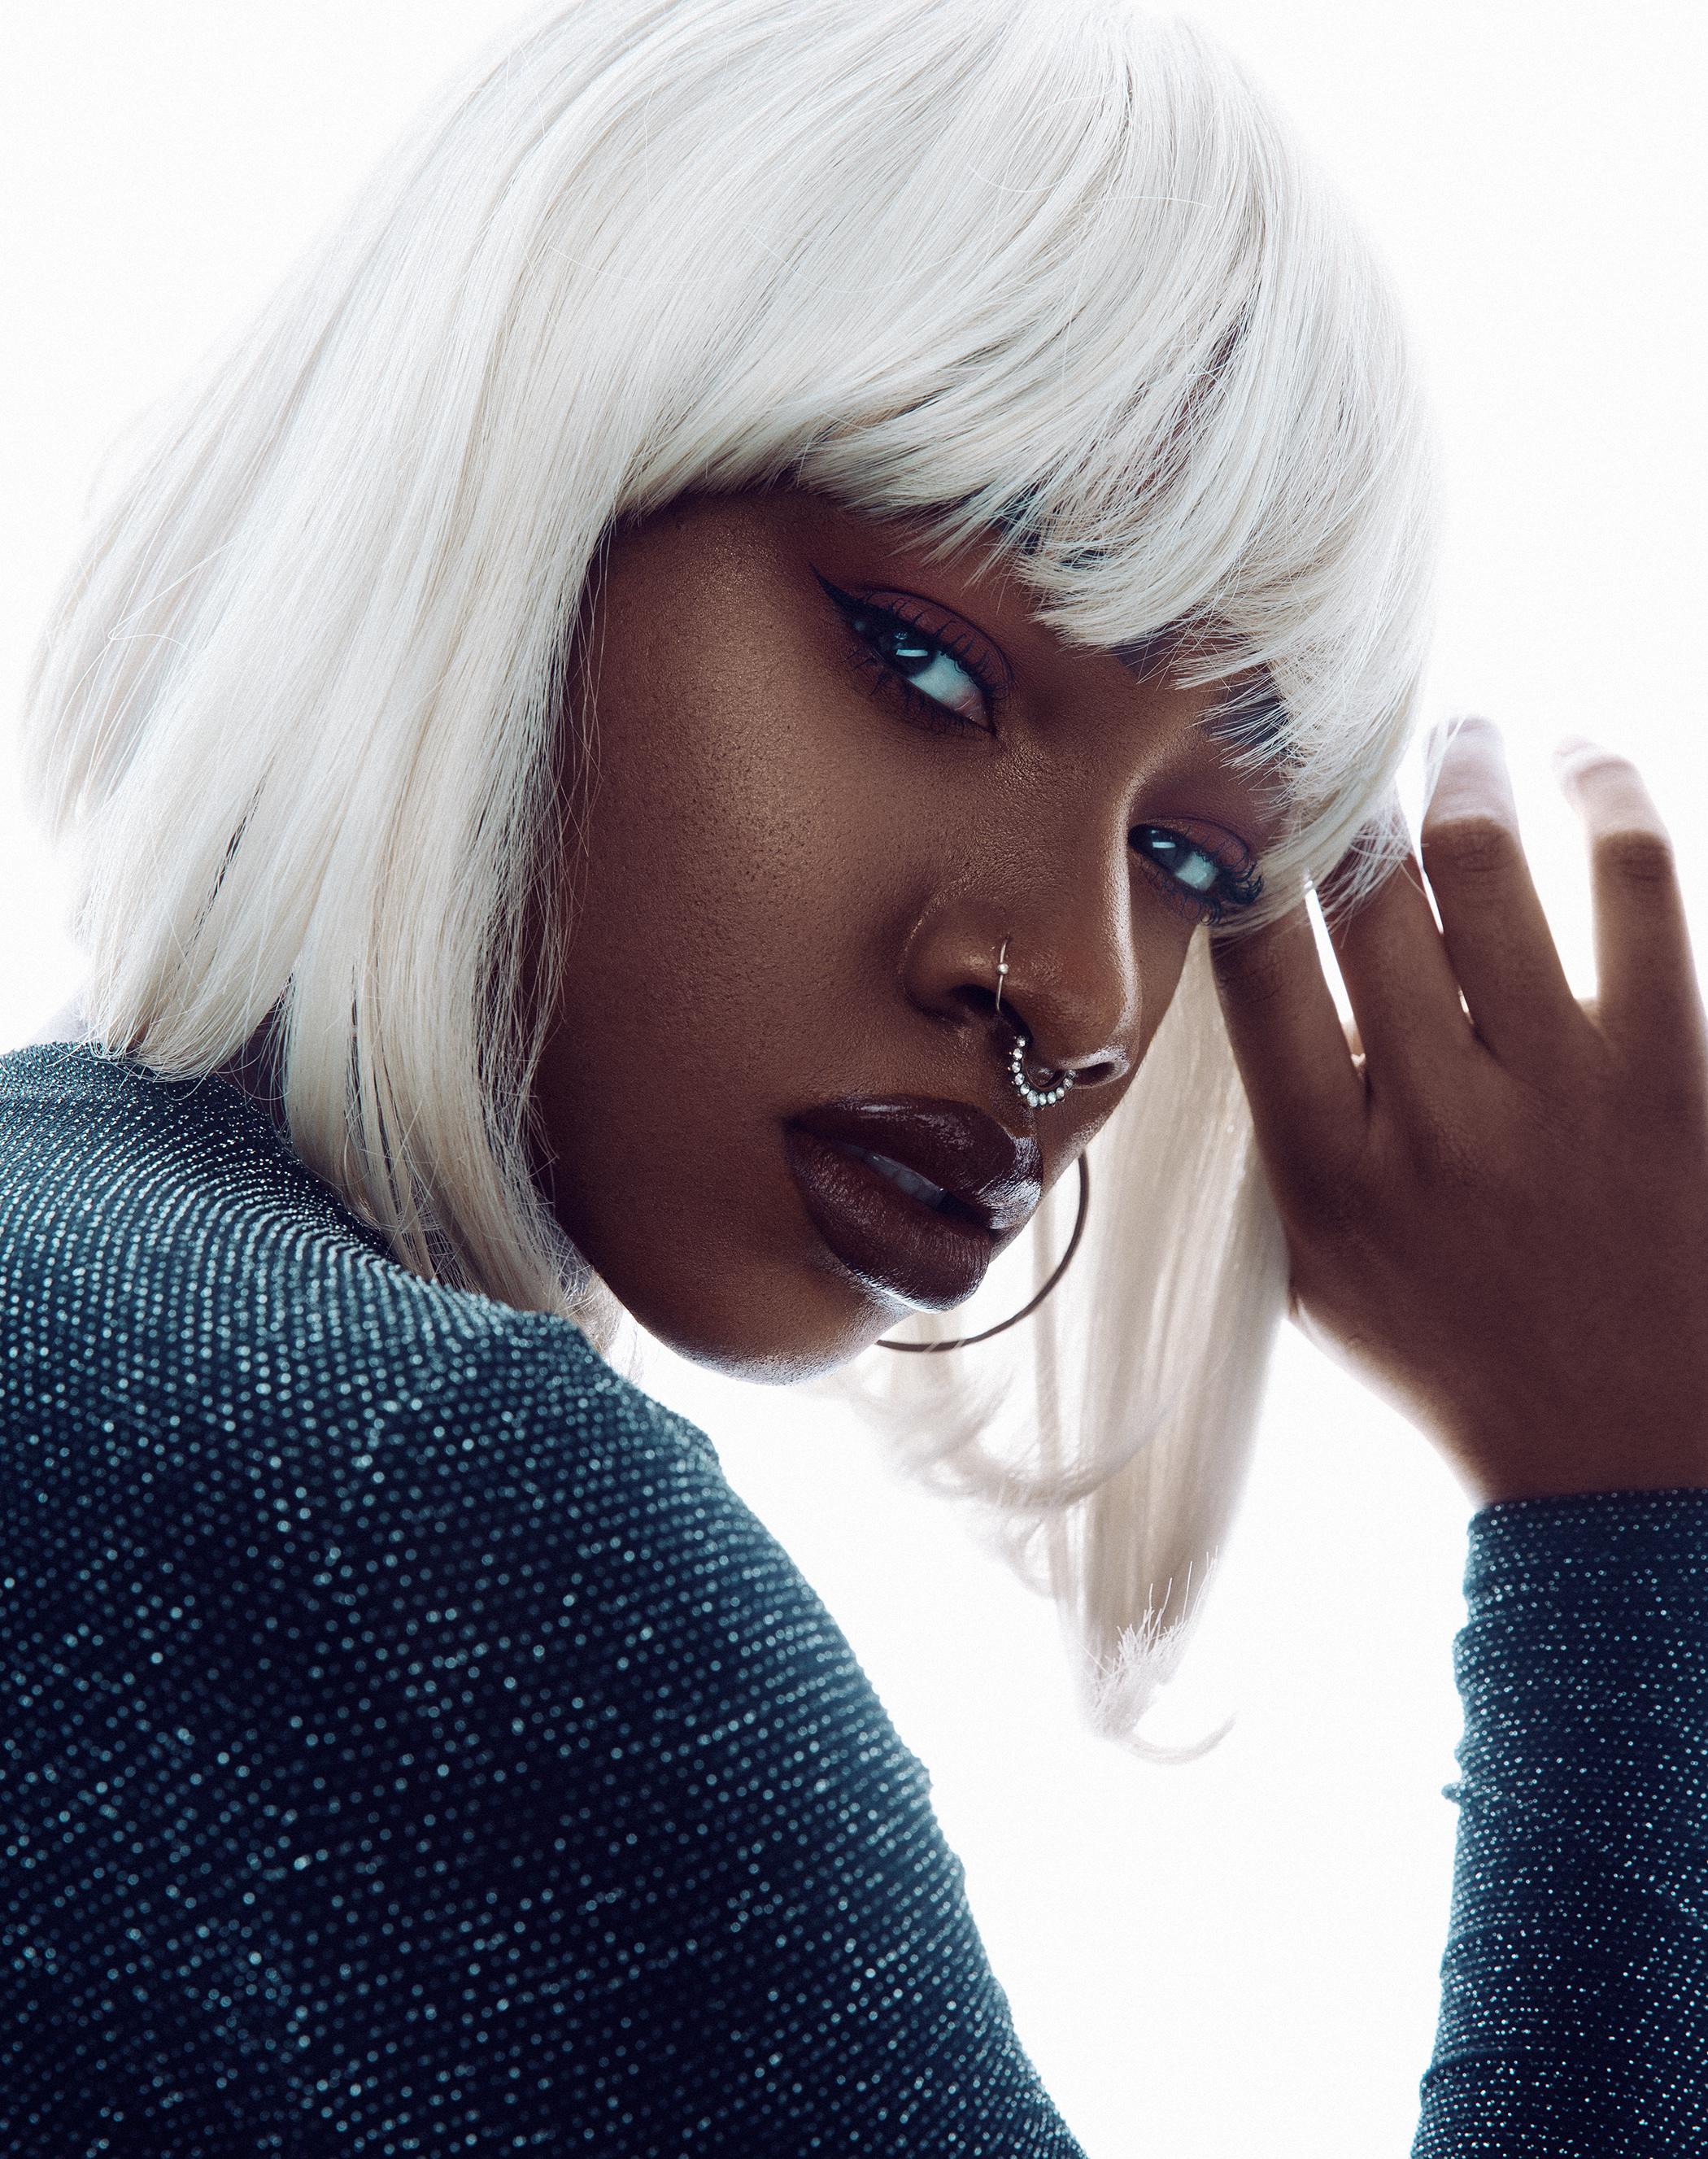
After you have your camera settings set from exposing for the ambient light you can grab your strobe. Now use your strobe to properly expose your subject. You will have to adjust the power of your strobe, not your camera settings if you want to adjust the exposure on your subject and don’t want the exposure of the background to change.

Light placement is hugely related to the look and story I am going for, but for a lot of set ups I try to place my light 45 degrees away from where I am shooting to give the subject a little shape. Remember since you're shooting on the subjects shaded side, or are in shade your subject will be flat. The point of the strobe is to give them dimension. Create shape with the shadows. If your shadows are too dark then your strobe is probably too powerful.  If the light is to straight on then the subject tends to look a little flat. I also try to place the strobe on the side the sun seems to be more prevalent on, this way it seems more natural to have the artificial light in your scene.  Matching the sun's light direction can make a huge difference in the look of your image.


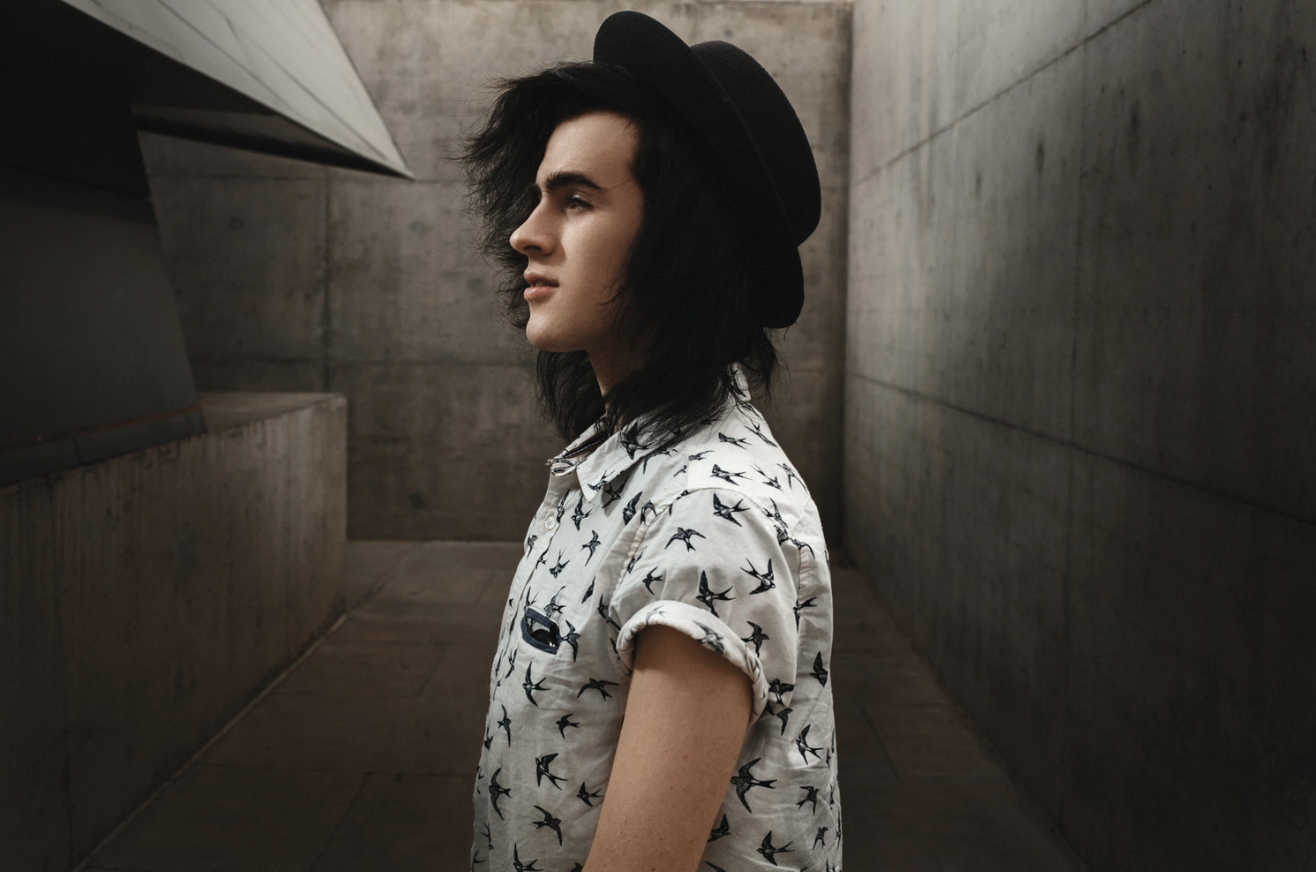
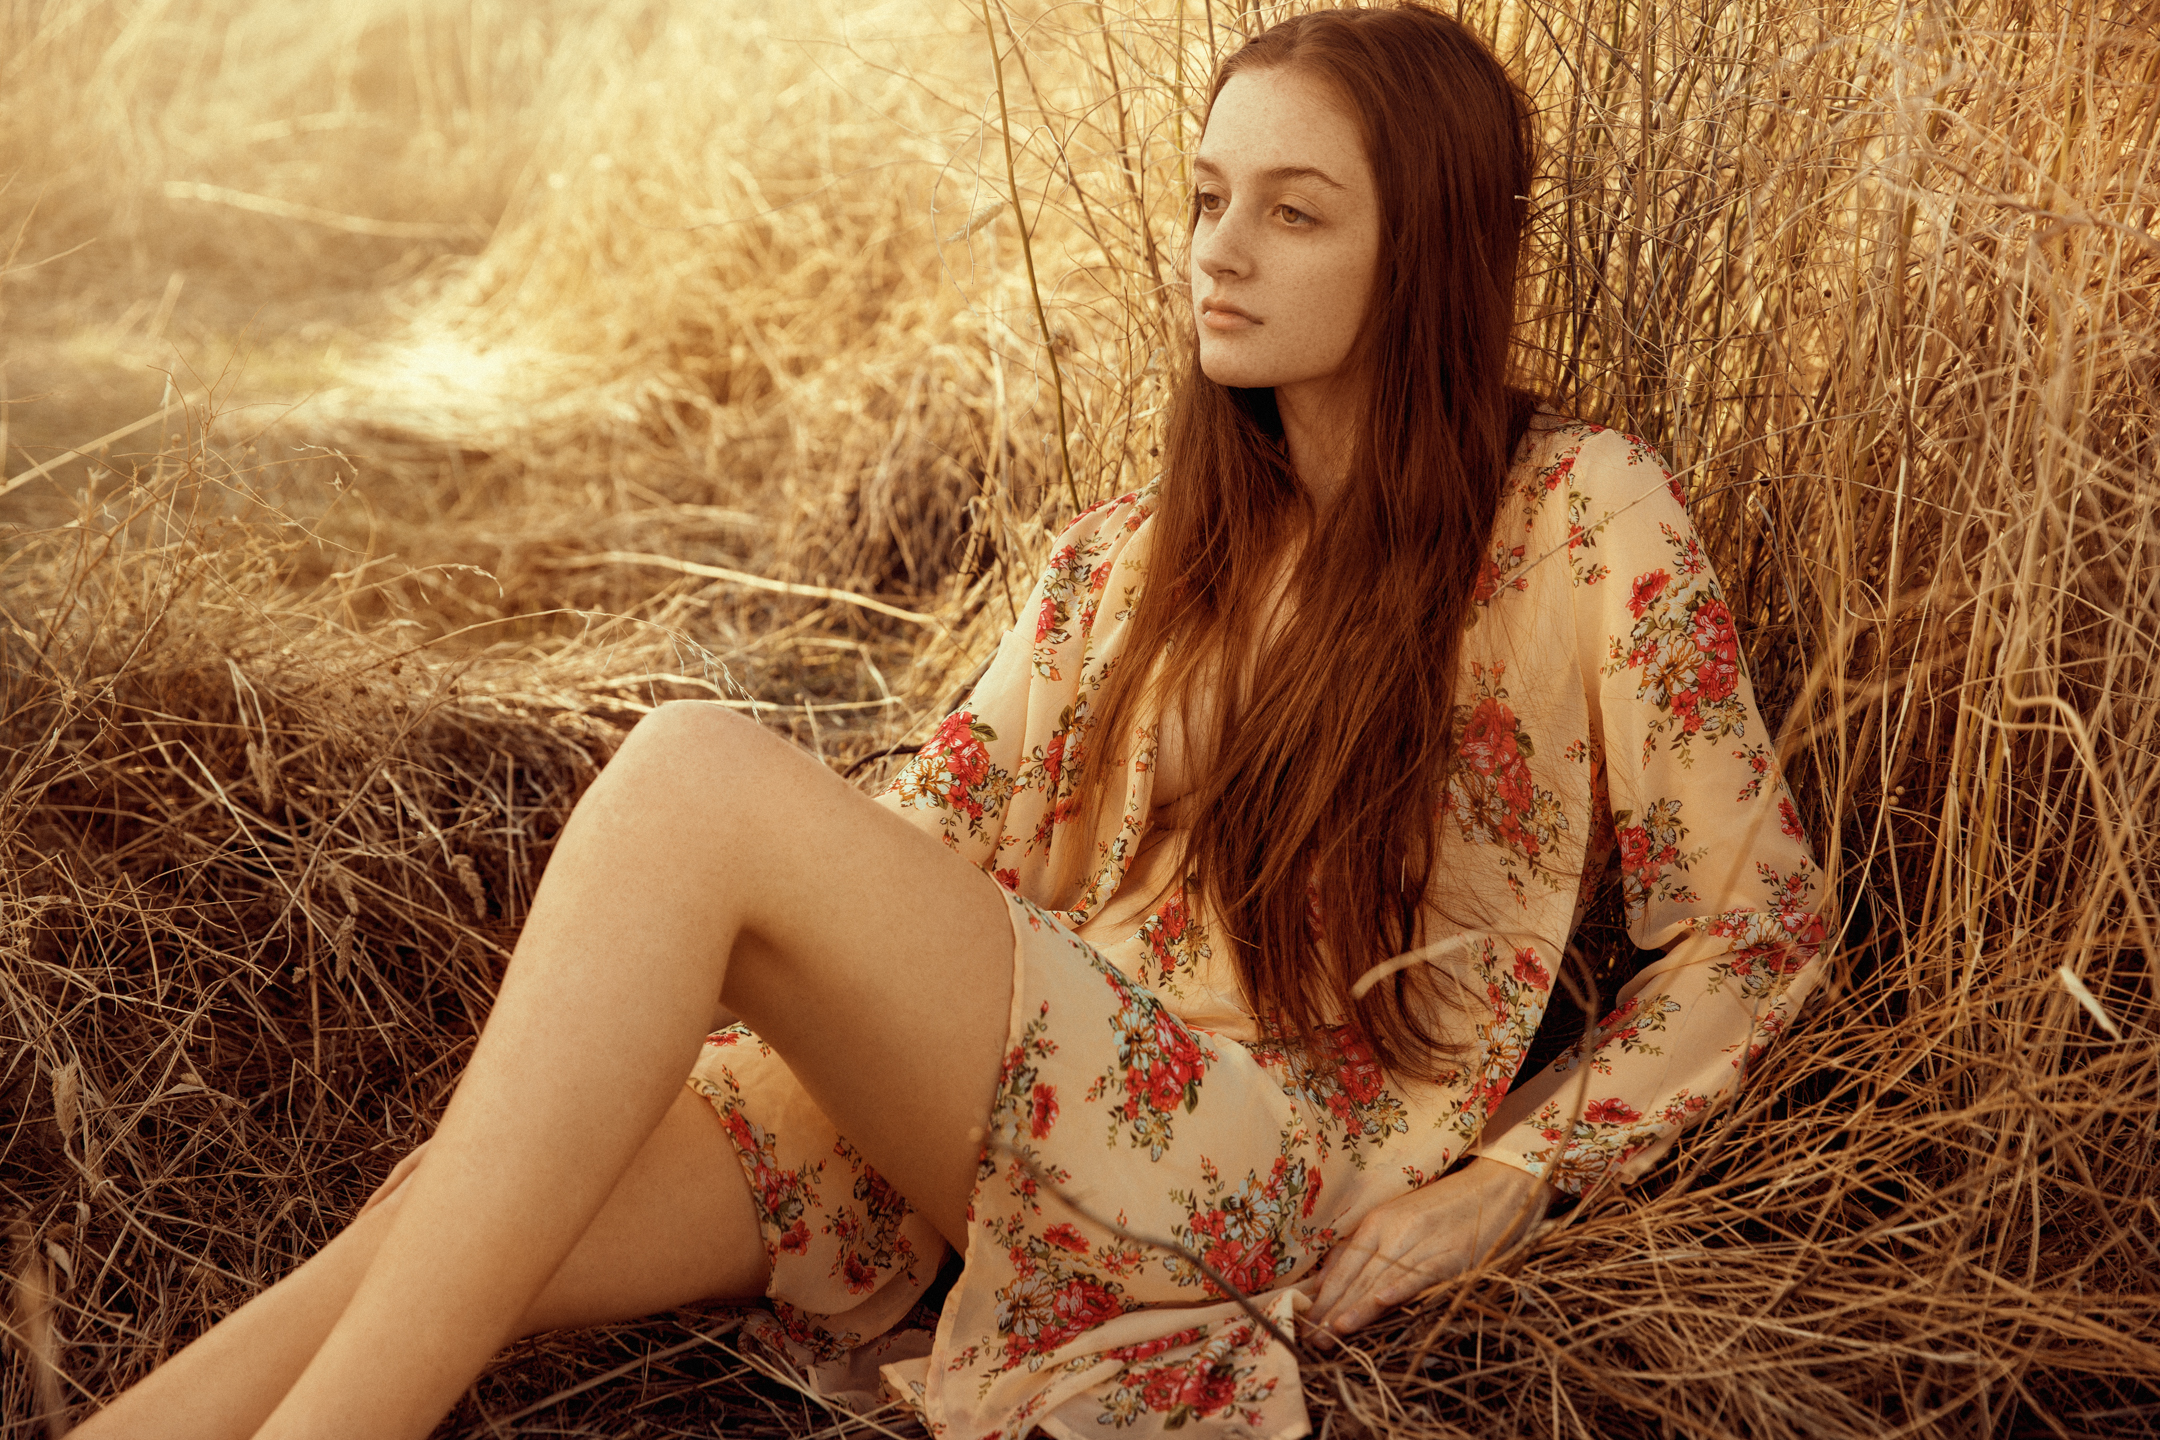
In all the images below a light was placed between 45 to 90 degrees away from the camera. All images a single strobe was used in complete shade.


Light Modifiers

A smaller harsher light modifier will allow for more light to travel to your subject. This can be helpful if you need the most amount of power you can get out of your strobe.  The larger the light modifier the softer the light will be but the less power you will have reaching your subject.

The closer the modifier is to your subject the more power you will get as well, but if you are shooting full body the closer the modifier will result in a less even spread of light.
I  try to match my modifiers with the type of ambient light. If it’s a cloudy day with soft light, I will be more likely to use a softer modifier. If it’s a harsh sunny day I will be more willing to use harder modifiers, although generally  I am not a fan of using any small harsh modifiers.
A perk of smaller modifiers is they are much less likely to catch wind and hurl your light into the ground.


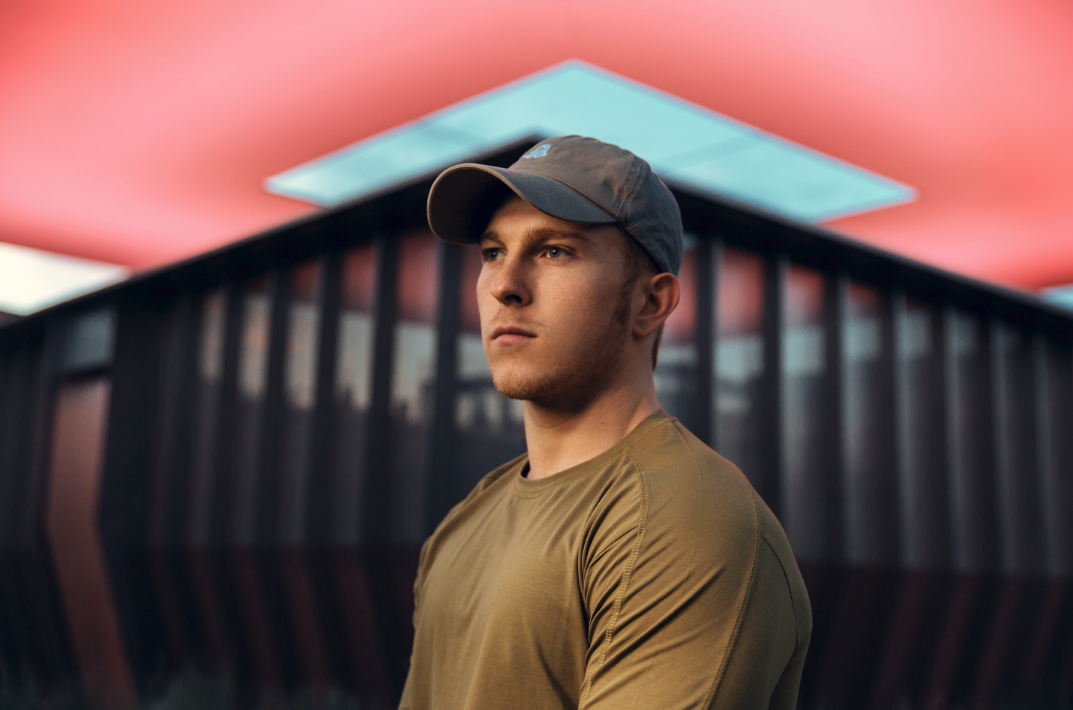
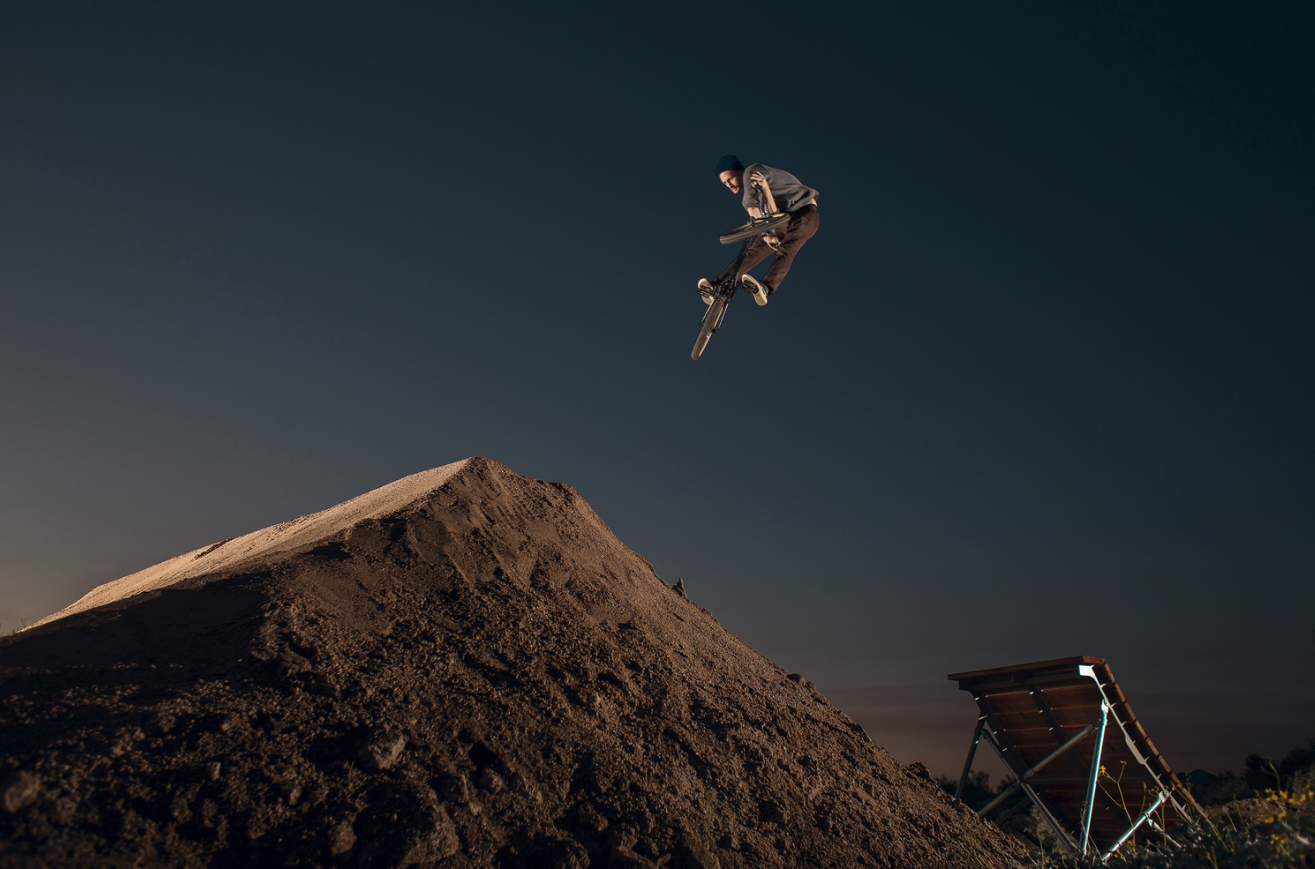
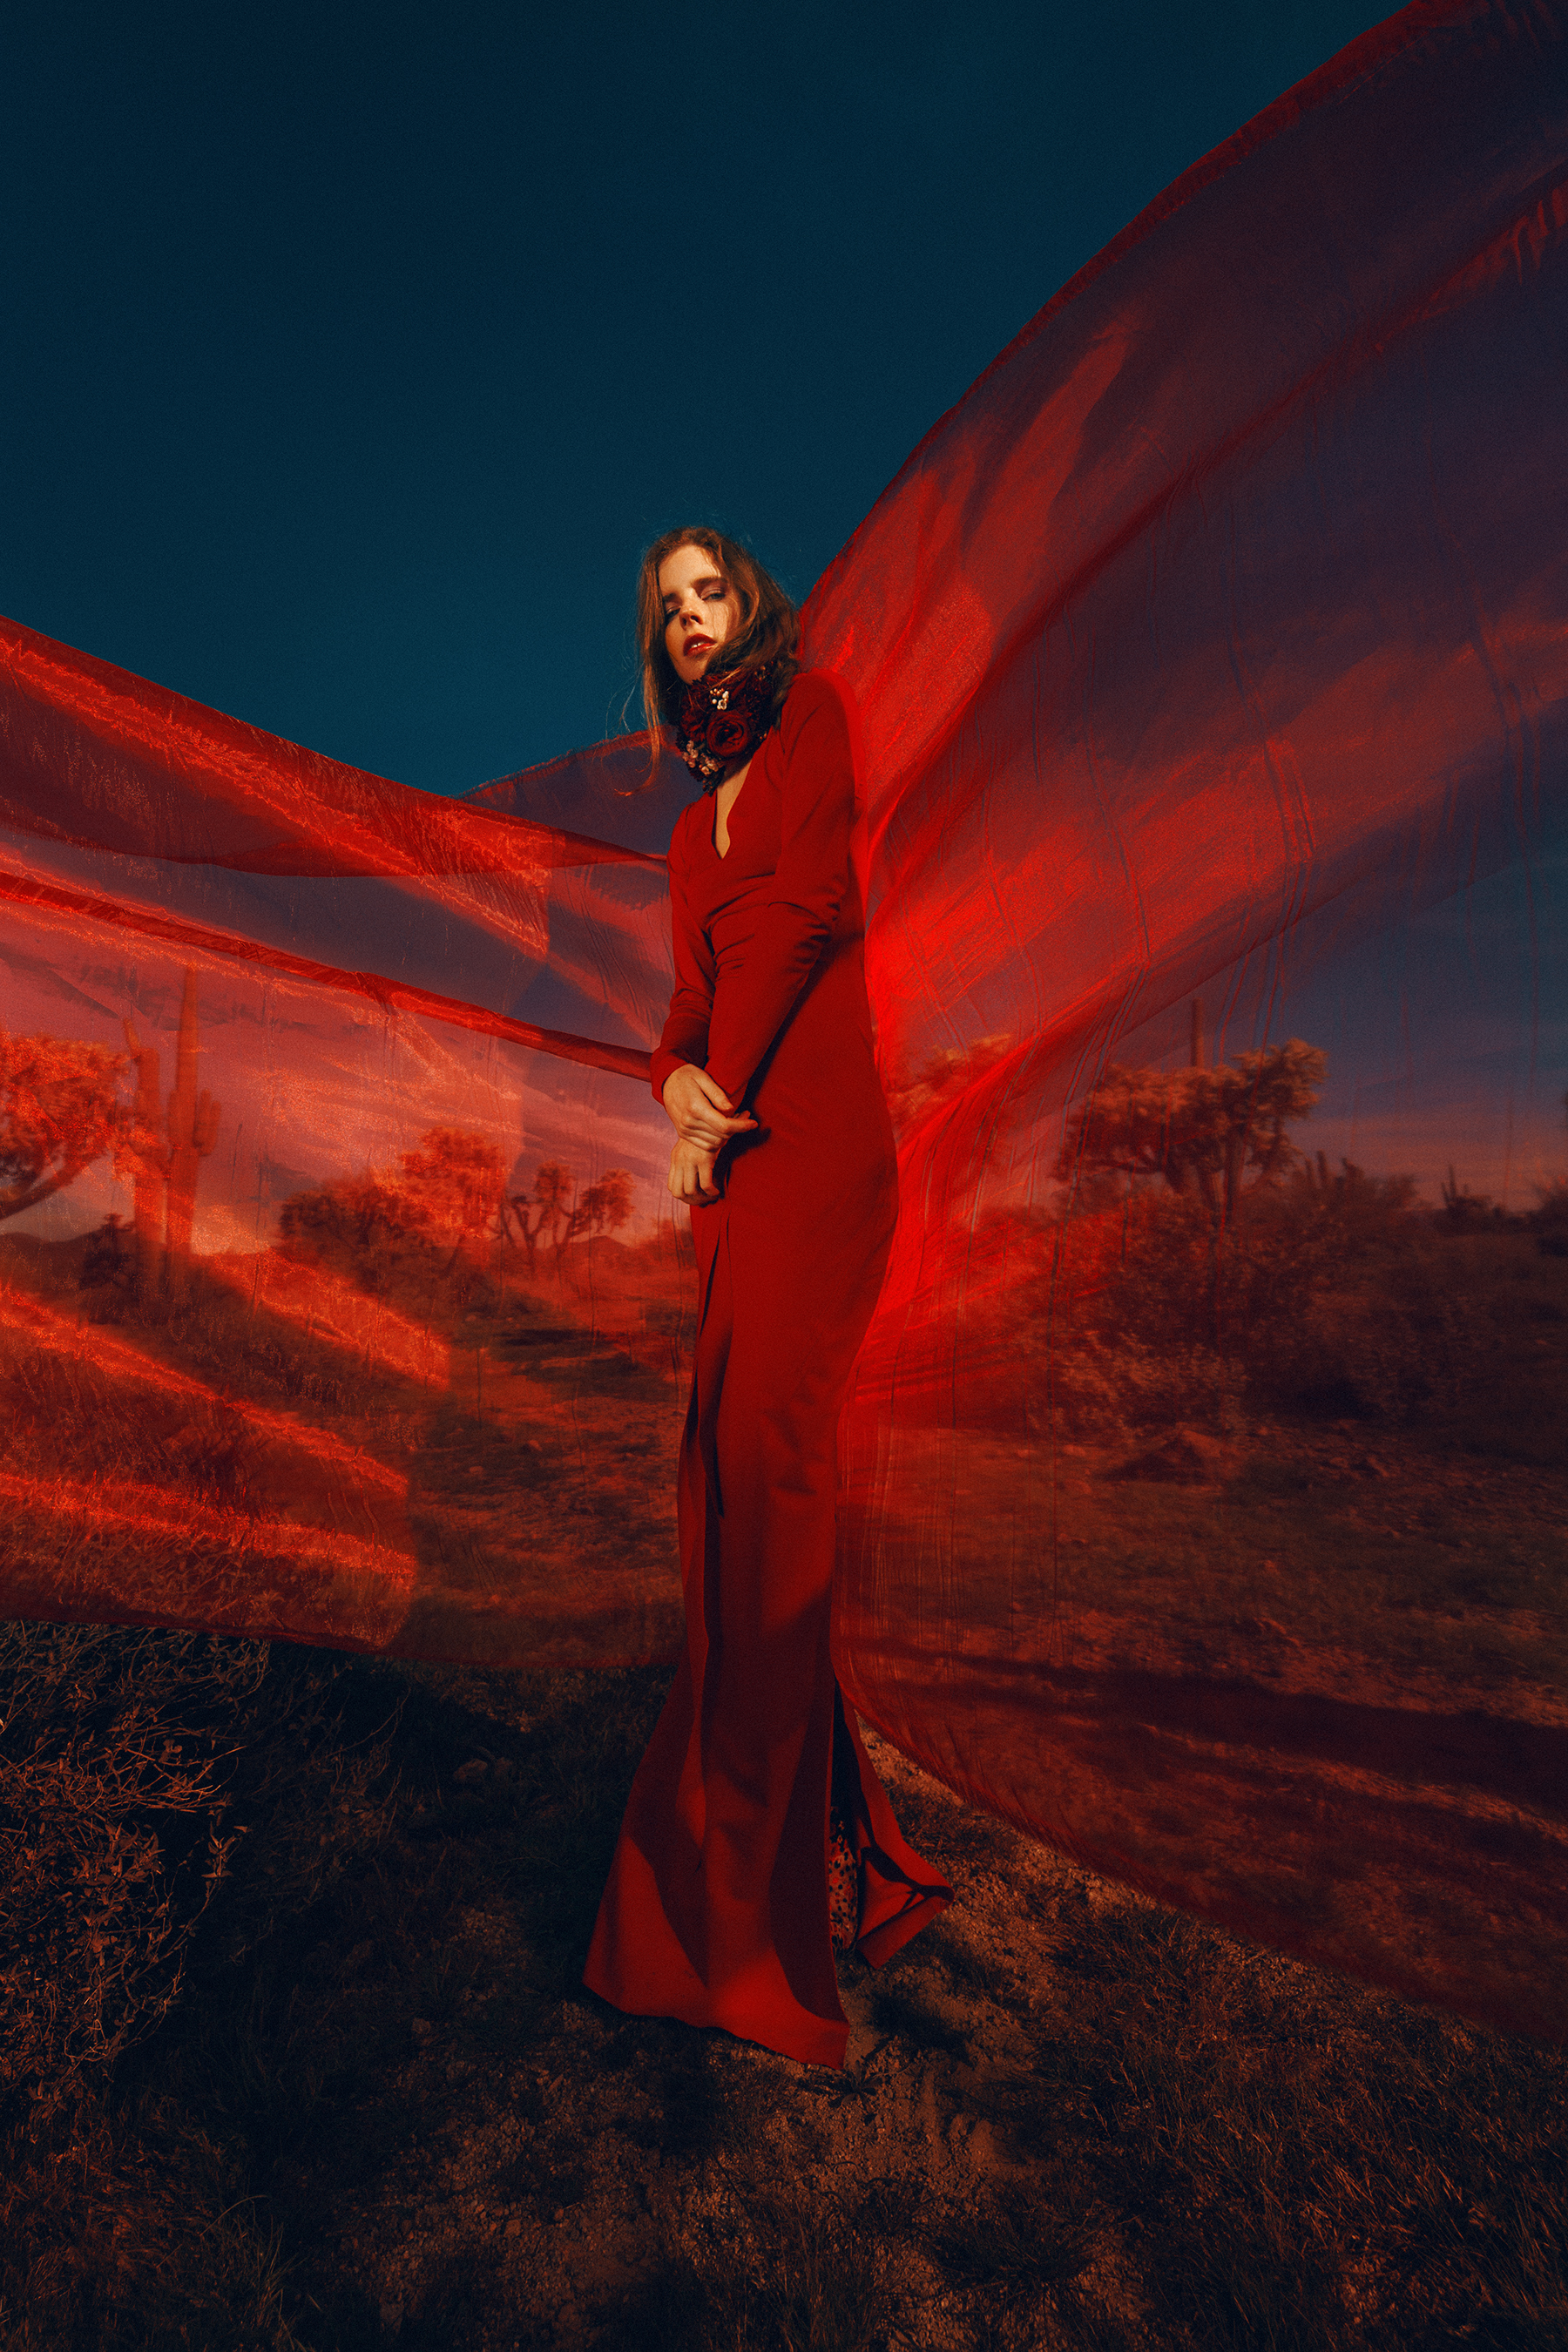
2 lights were used in all images below, 1 as a key, and the other as a rim to replicate the sun. 


Tips

Aim the light to the subject's head or chest. This will give the most natural look and will give the right amount of light fall off around the subjects feet(if shooting full body). If the light is aimed too far down there will be a lot of light spill on the ground and will look like sloppy lighting.  You can also shoot from a lower point of view so you don’t see the light spill on the ground as much.

Try to balance the artificial and ambient light. You want the strobe to look as natural as possible. A lot of people tend to use the strobe to prominently, it should be blend seamlessly into your scene.

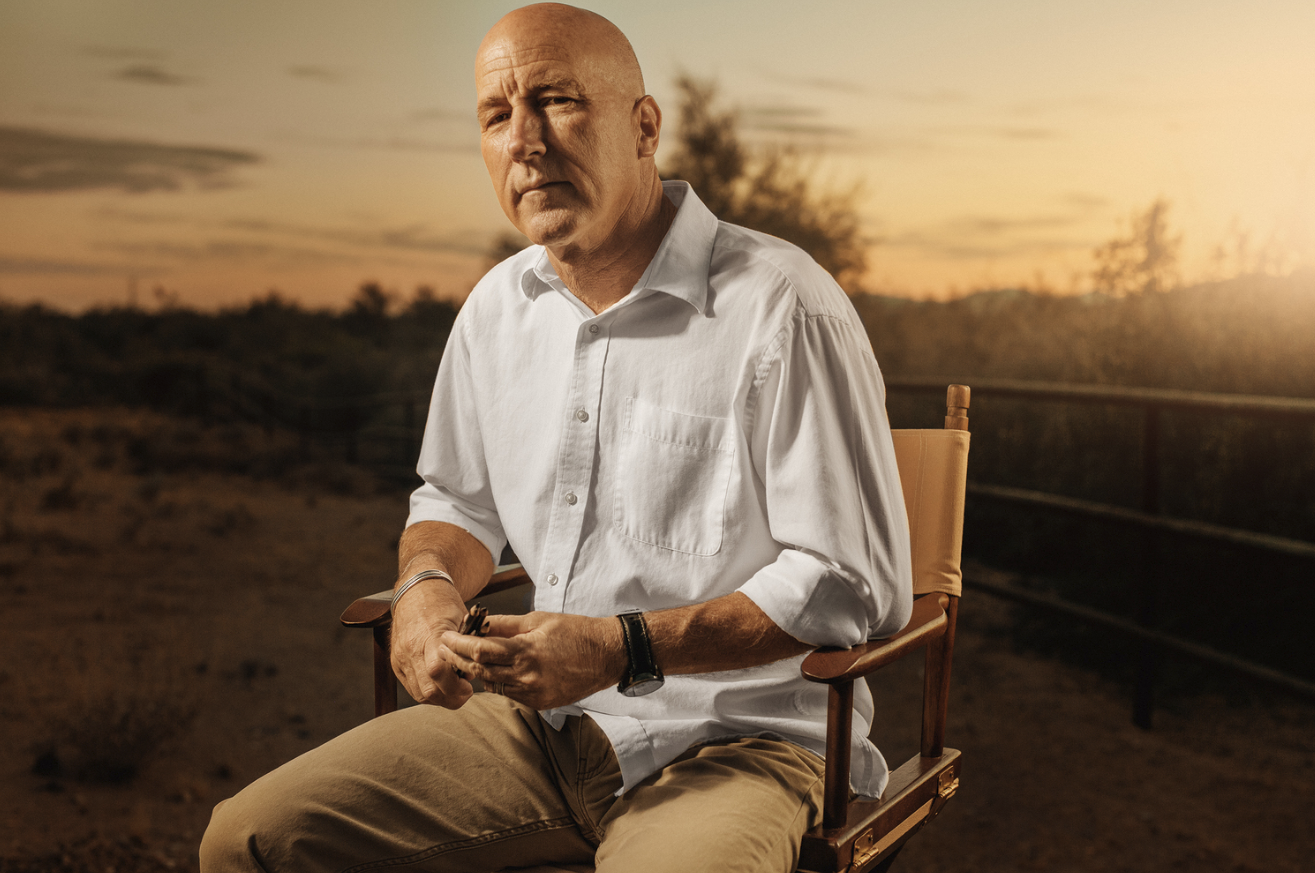
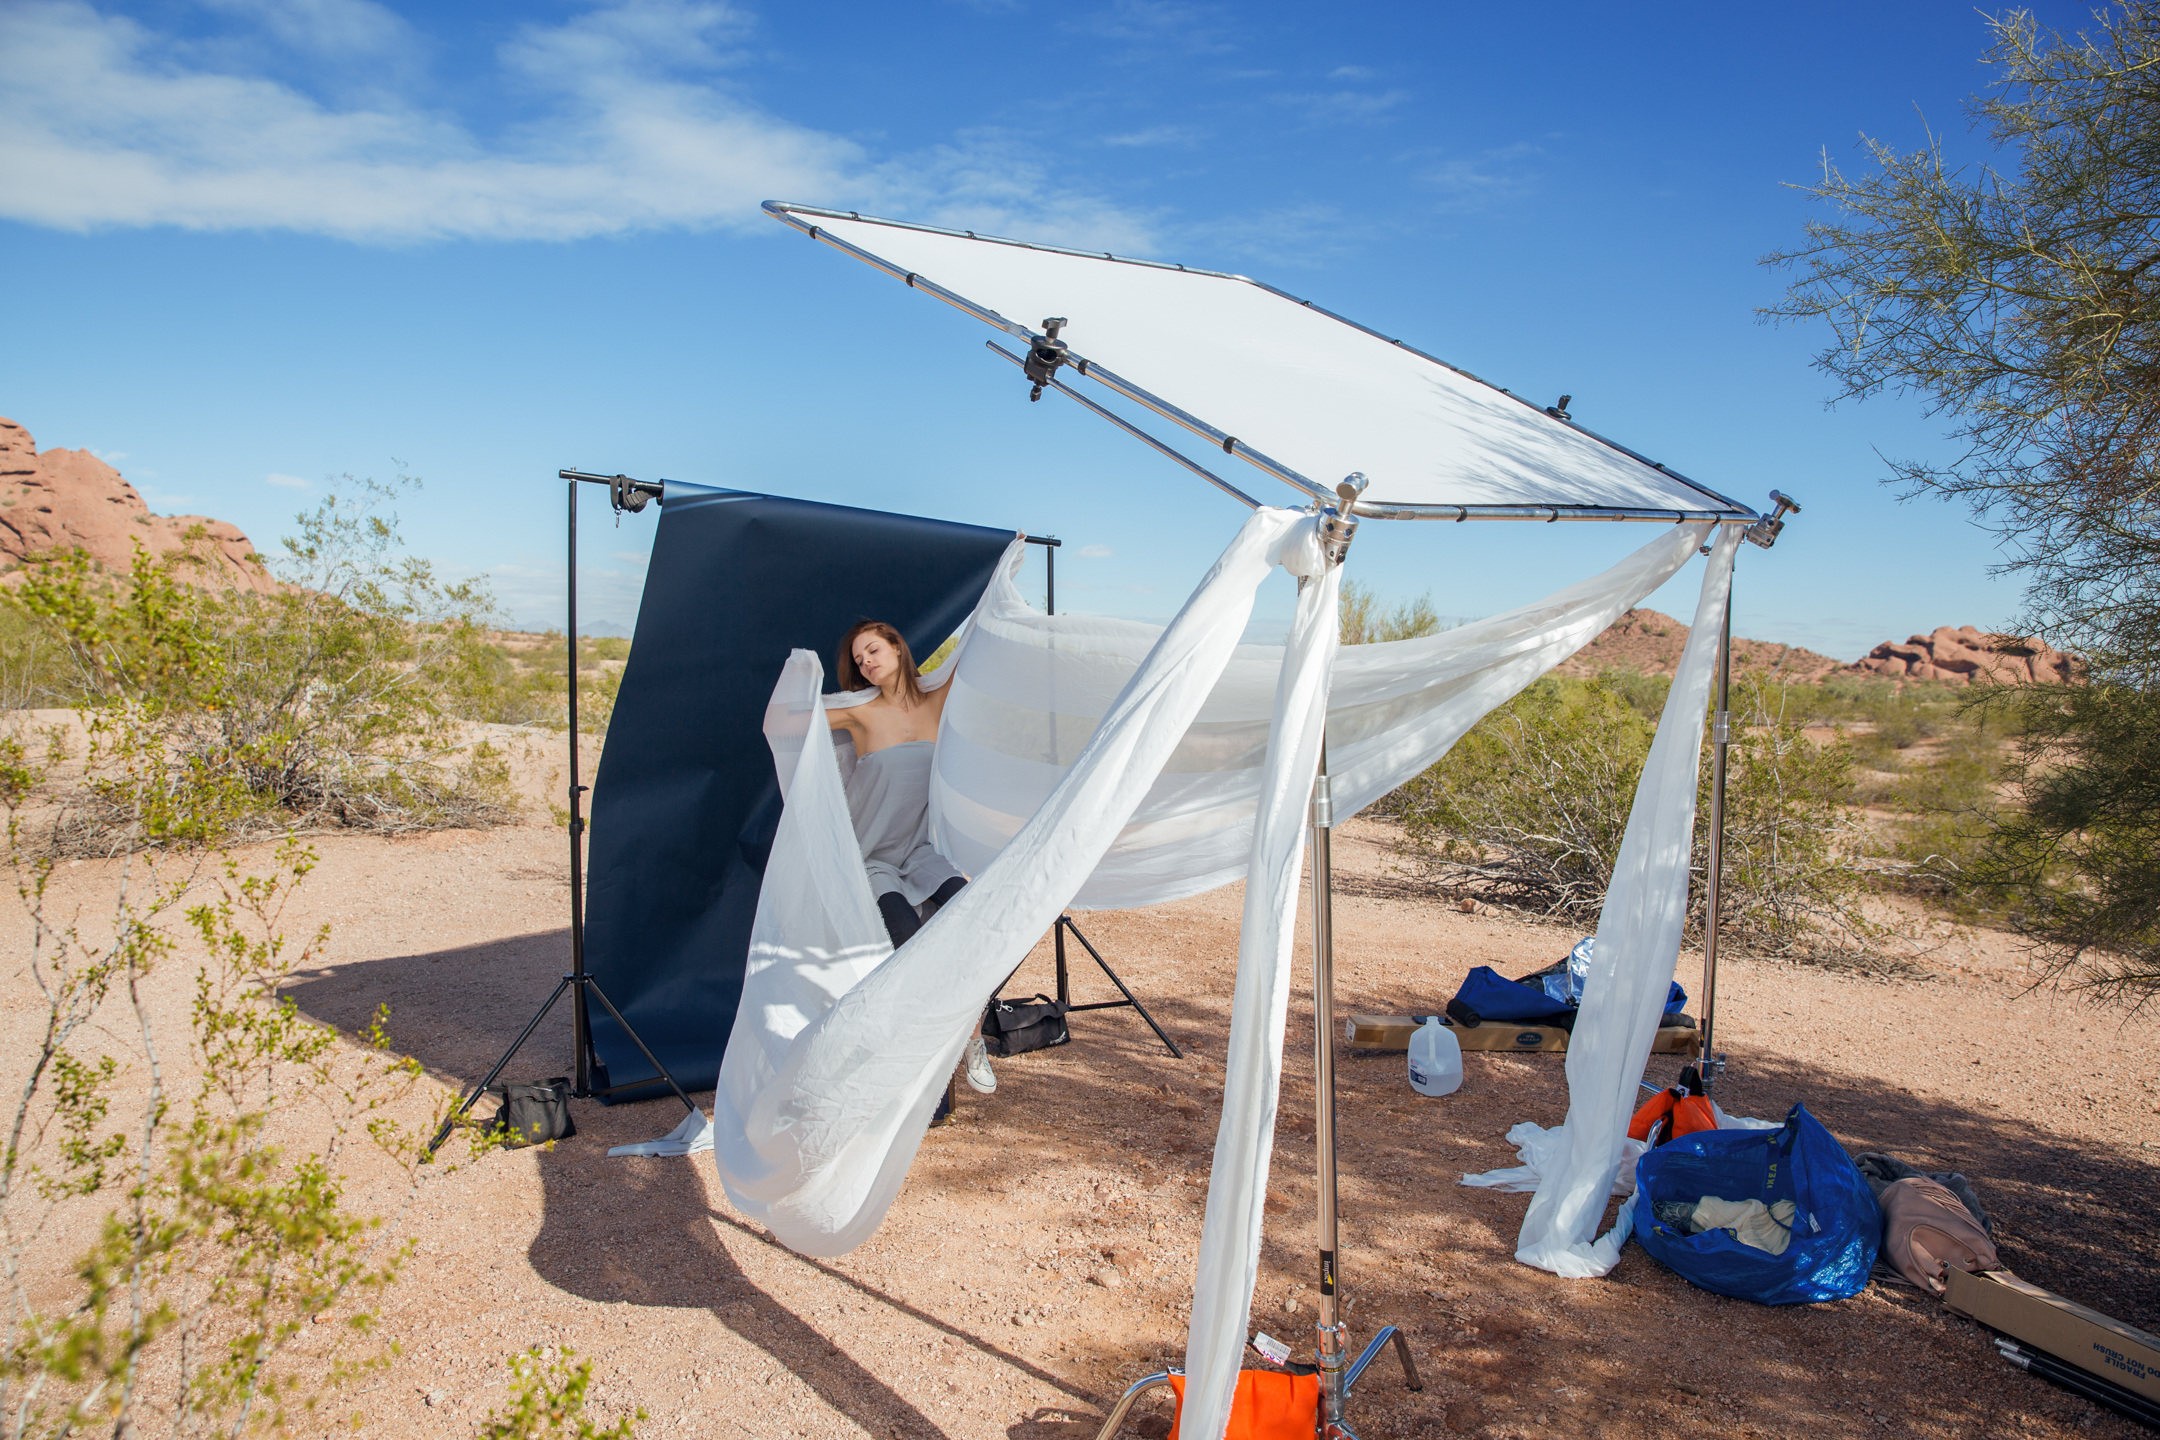
When you backlight your subject, your background will usually be backlit too. Sometimes this is not a great look, the background becomes darker, less rich in color, and has no shape. There is a way to shoot where the background is in direct sunlight but your subject isn't. Create your own shade. You can use your light modifier to create shade for you subject. You will need a bigger modifier to do this, or multiple lights, or a scrim. This can create some great looks.

The only times I use 2  or more lights is if I need more power, need a 2nd light as a fill, or using a 2nd light to recreate the sun.


Lens choice is much more dramatic when shooting outdoors vs in the studio.
I tend shoot between 24-70mm. But the wider you shoot the more you have to be conscious of your background, light stand, and light fall off.


Buy sandbags, lots of them,  heavy ones too! Spend the extra 50 dollars for several sandbags to save your strobe that costs thousands.
Heavy duty light stands are recommended as well.

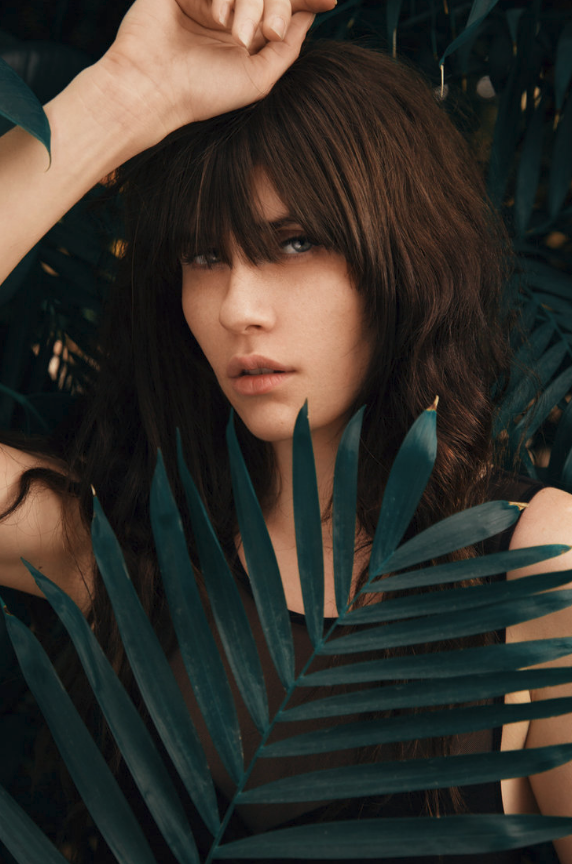
For this image I had the model directly facing the sun. I then used a 6x6' Lastolite scrim to diffuse the sunlight. The light on her was pretty flat then and she was much darker then the background so I used 2 Canon 600EX-RT speedlites in a 43 inch …

For this image I had the model directly facing the sun. I then used a 6x6' Lastolite scrim to diffuse the sunlight. The light on her was pretty flat then and she was much darker then the background so I used 2 Canon 600EX-RT speedlites in a 43 inch Westcott Apollo Orb to bring her to a proper exposure. 

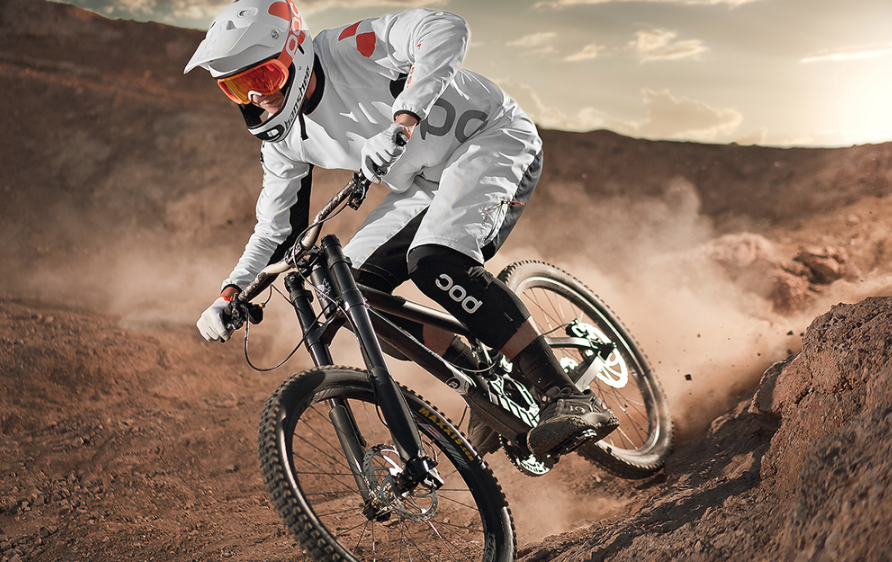
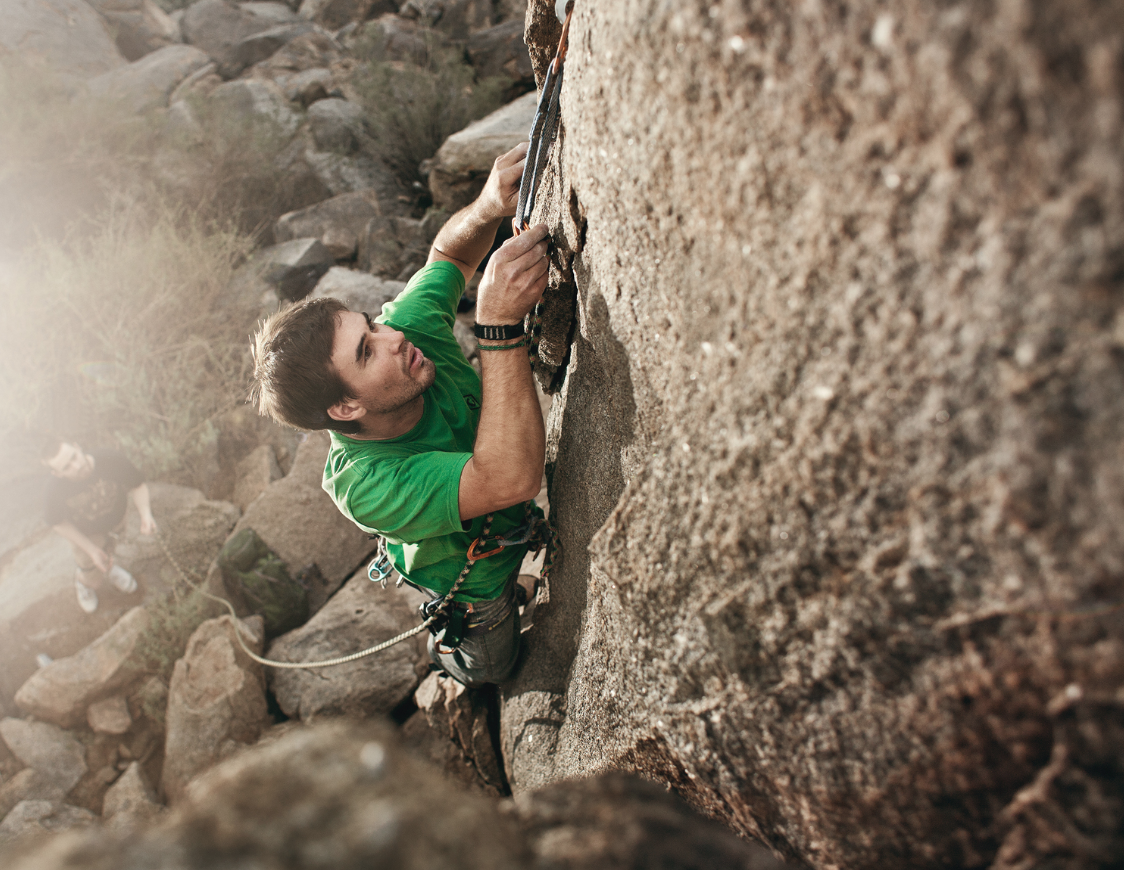
For this shot I wanted to recreate the sun. The climber was in complete shade and was a little flat for my taste. I used a Canon 600EX-RT speedlite with no modifier directky behind him as a rim light. 

For this shot I wanted to recreate the sun. The climber was in complete shade and was a little flat for my taste. I used a Canon 600EX-RT speedlite with no modifier directky behind him as a rim light. 

The Most Under Rated Light Modifier

This week I wanted to talk about a piece of gear that completely changed the way I shoot. This is by far one of the most versatile pieces of equipment I've ever owned. It has transformed the way I approach studio and location shooting, and the best part is that its under 400 dollars. 
 

The Scrim. 

Living in Phoenix where clouds are rare, I needed a solution to the harsh sun, other than over powering it with strobes while shooting on location.So after hanging with Clay Cook and saw he was such an advocate of using a scrim I decided to give it a try. Last Year I purchased a Lastolite 6x6 foot scrim from B&H, mainly with the hopes of using it to diffuse the harsh Phoenix sunlight, but found myself using it on almost every shoot, whether it was studio or on location.

Here is a list of grip equipment that I used that is needed to hold the scrim.  These are all necesscary to use the scrim. There is probably cheaper grip gear out there, but I found these to be great, sturdy, and reliable. 

(2) Lastolite Grip heads
(2) Impact turtle based C-Stand Kit
(2) Impact 15lbs Sandbags

On location. 

One thing I love about the Lastolite scrim is that it comes with a diffusion sheet and a silver reflector so you have a lot of options  on how to control light while shooting outside. I found that I can use the scrim 3 different ways while shooting outside. Using it to back light the subject, using it to diffuse the subject, or using the reflector on the subject. 

Backlit sunlight.

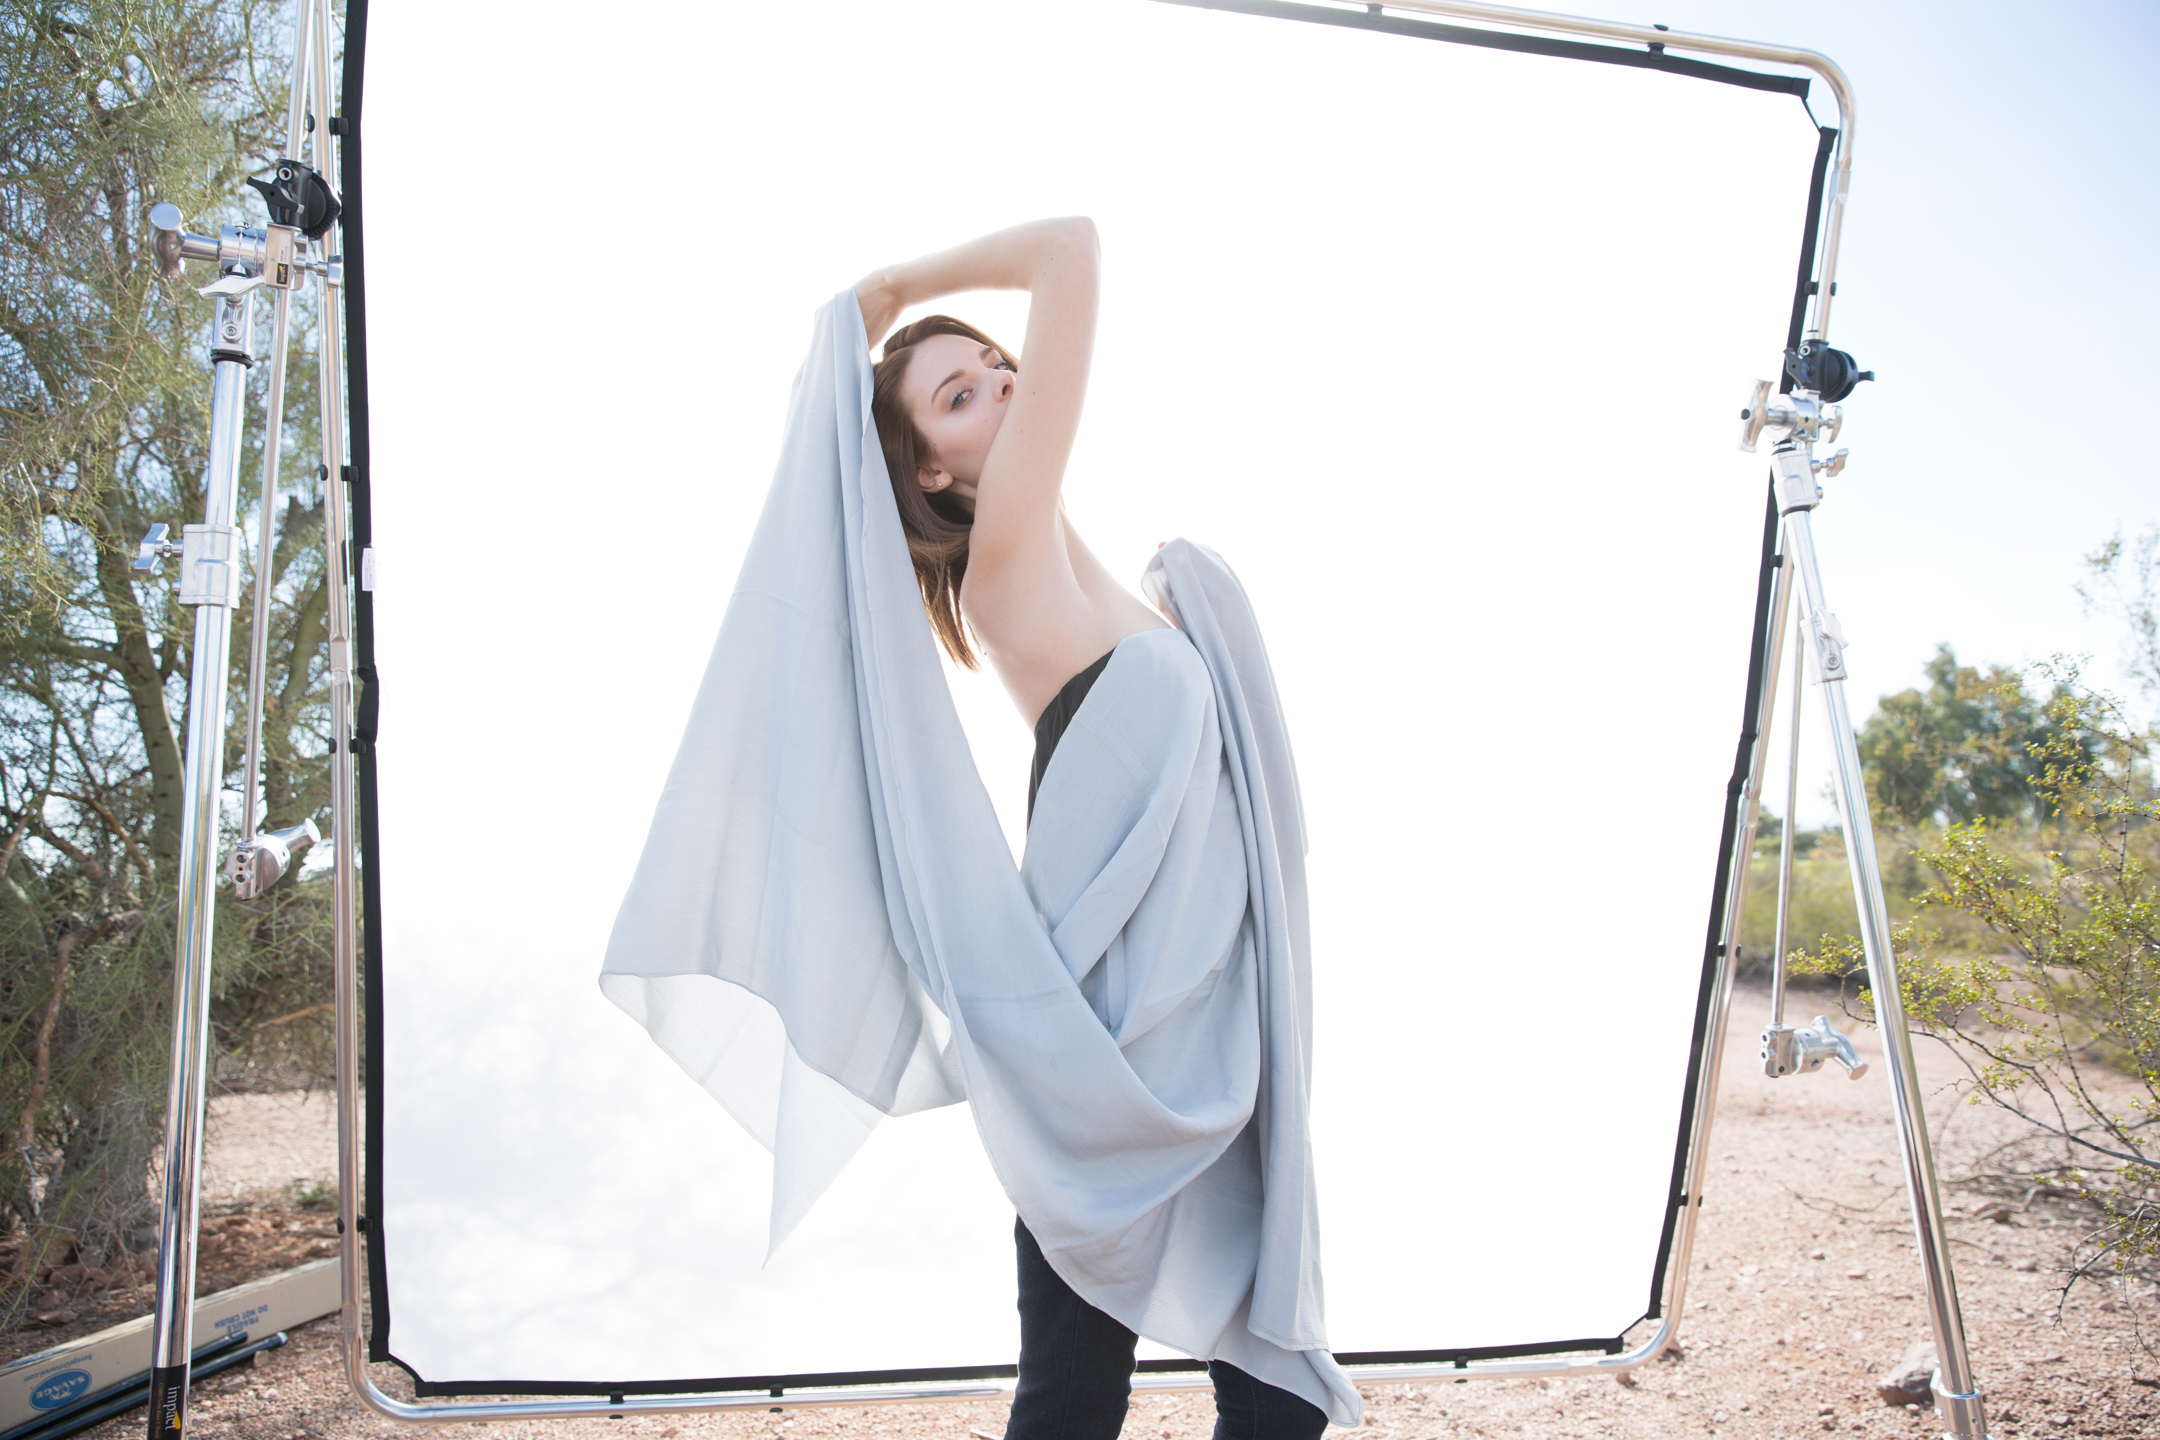
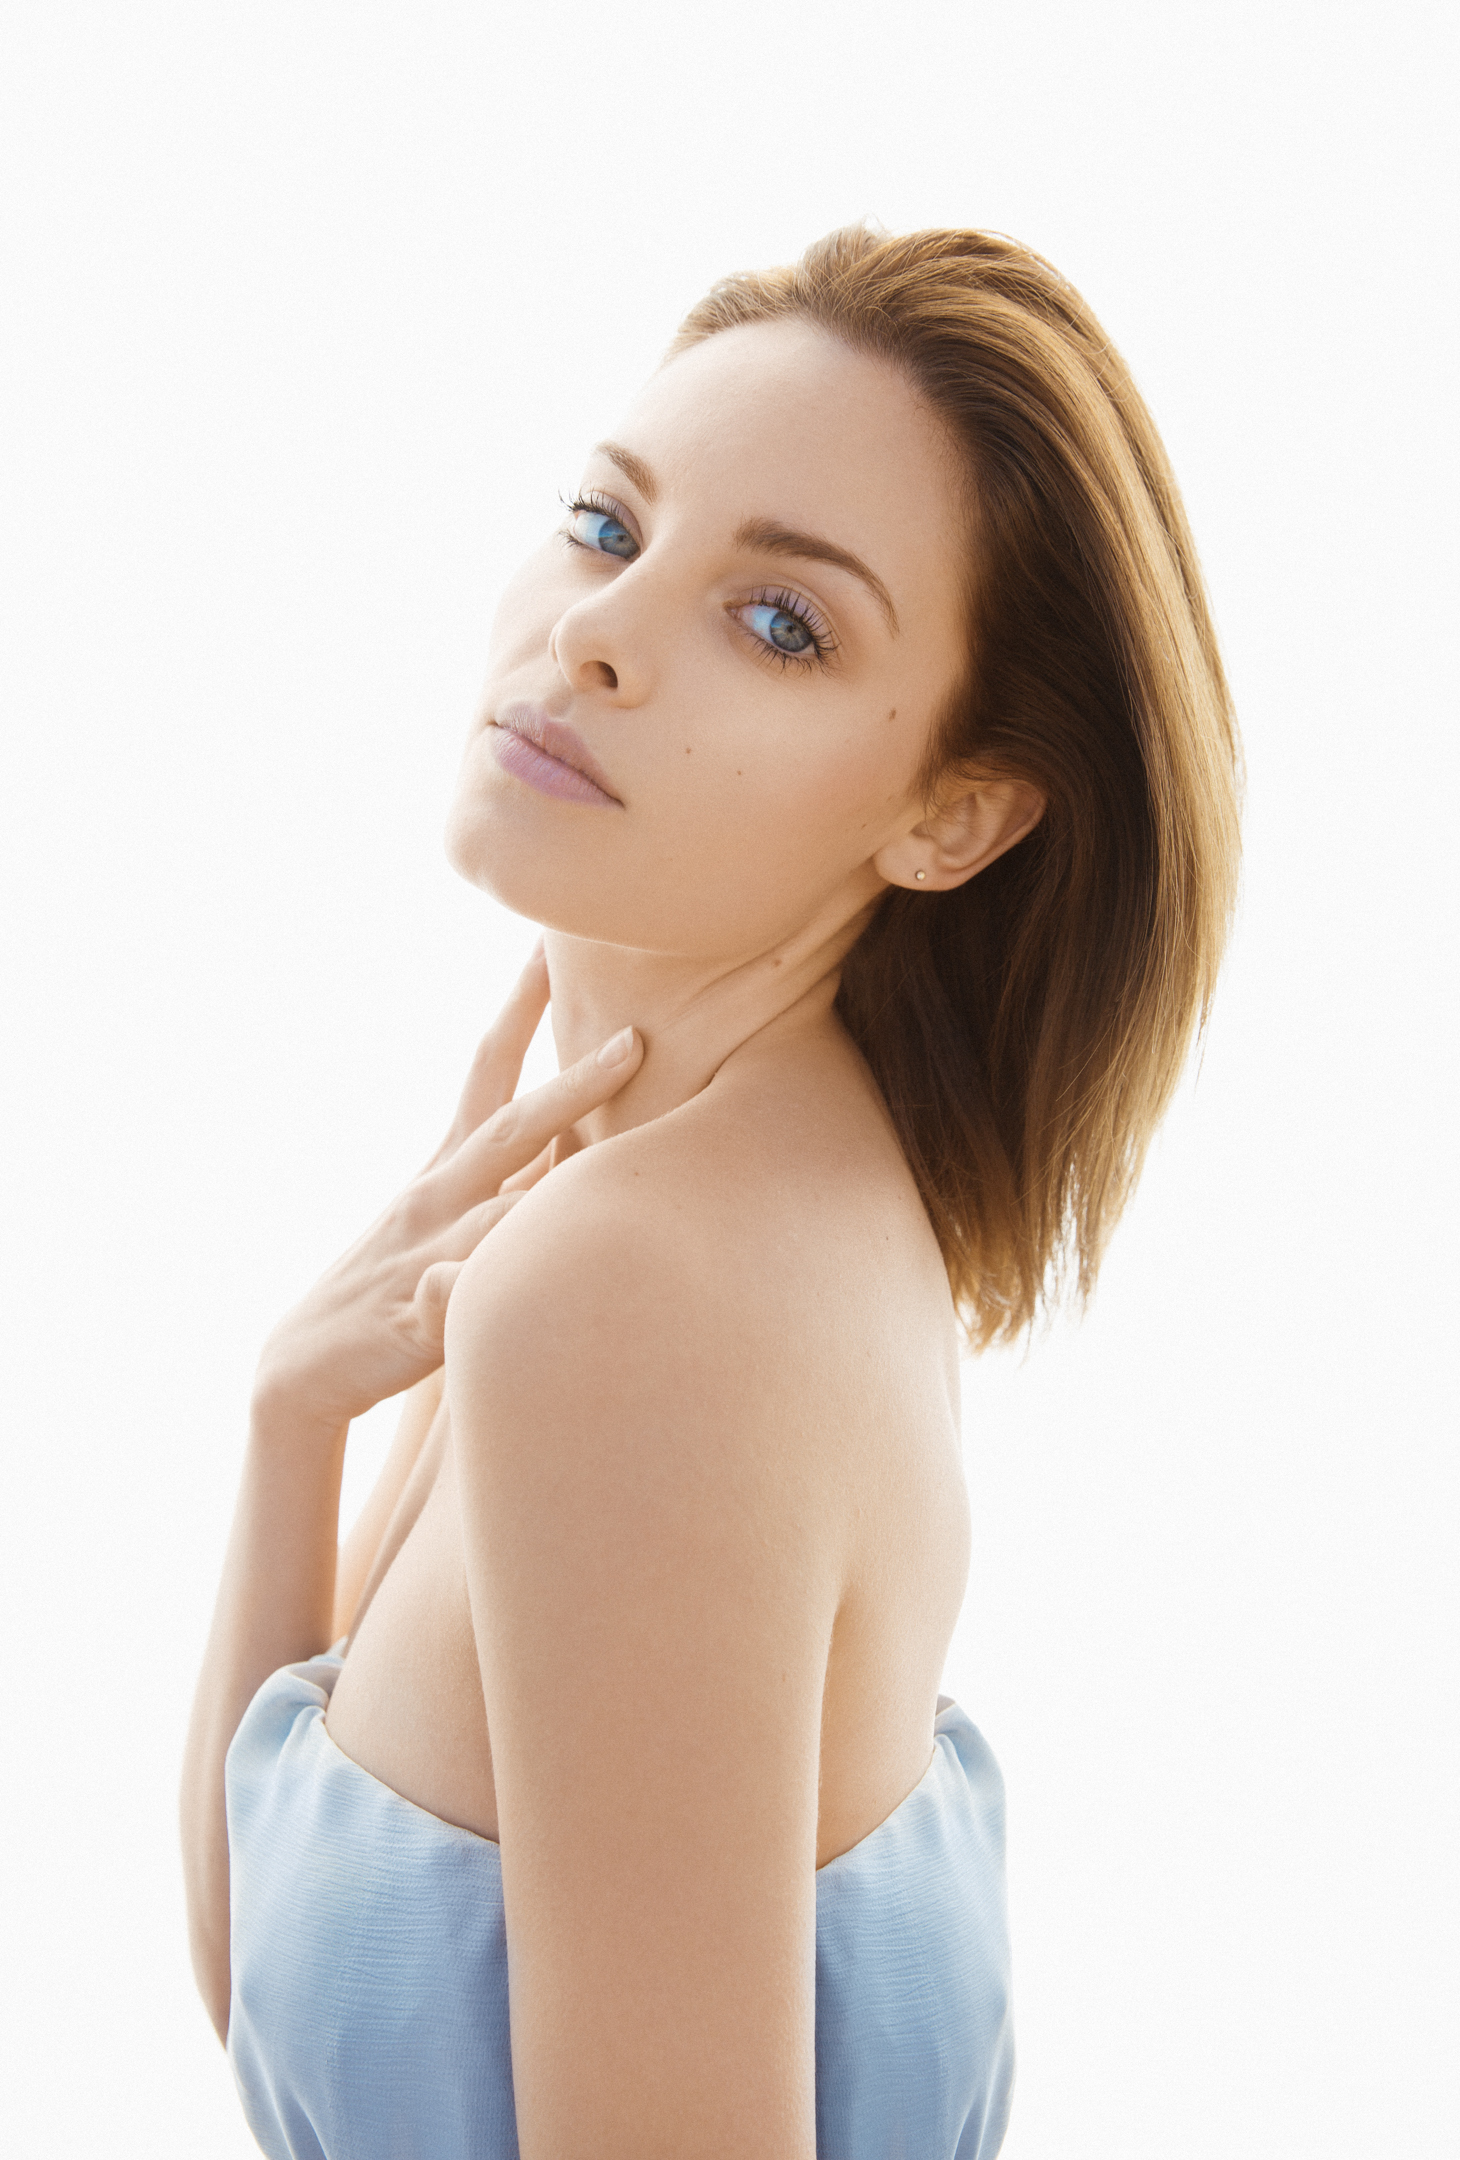
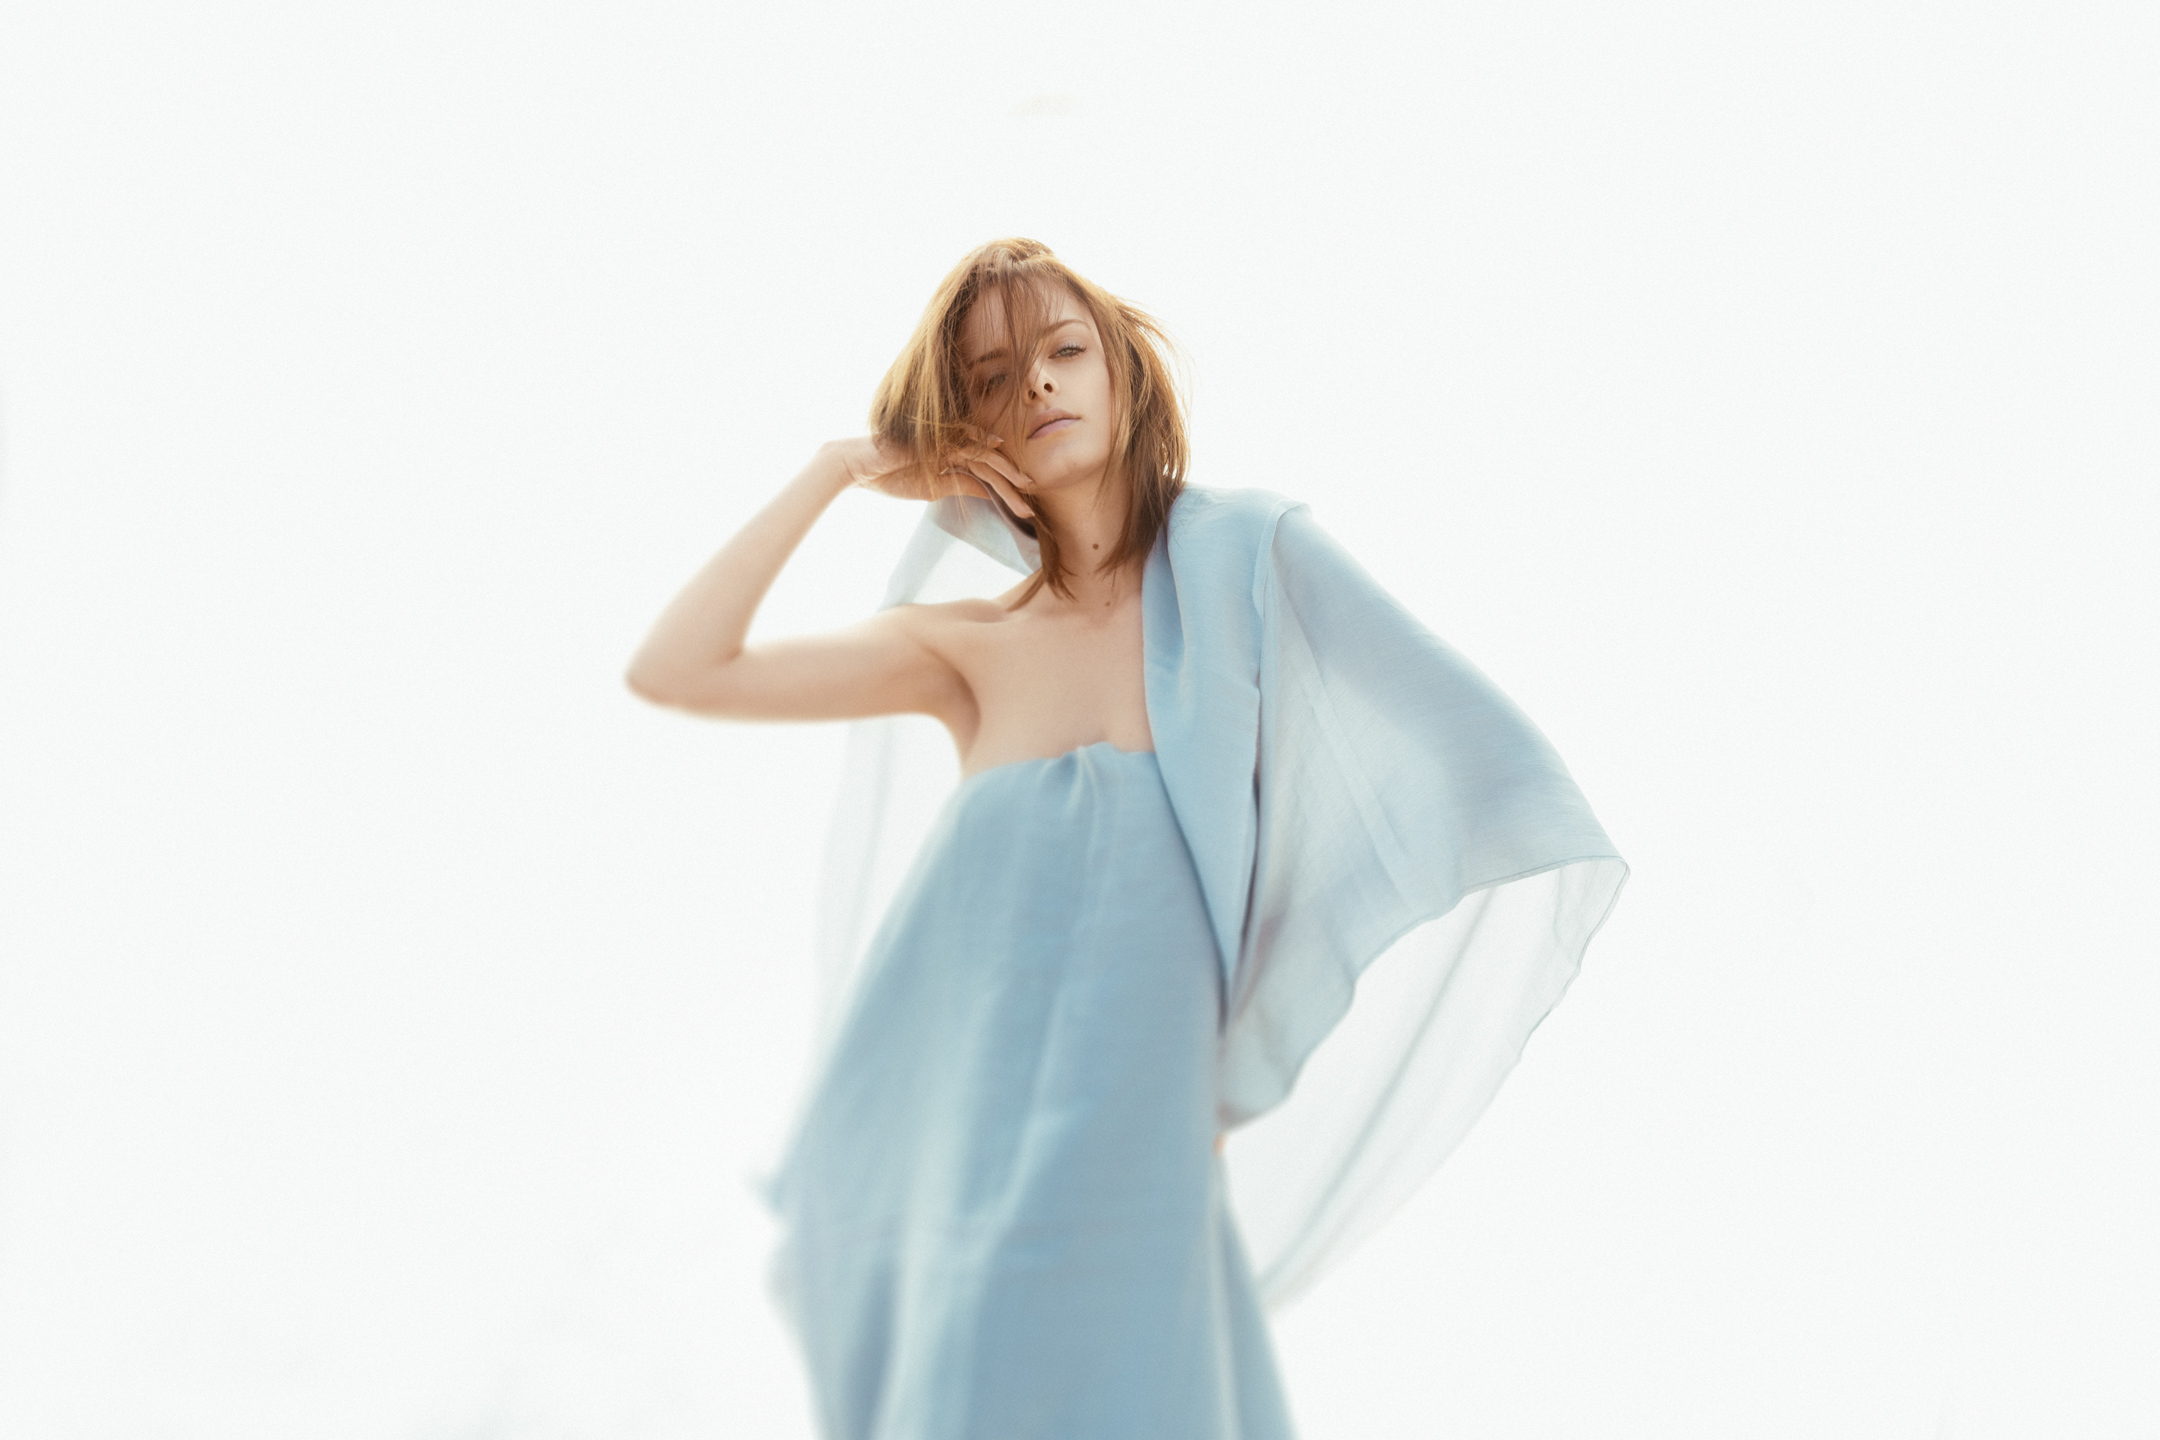
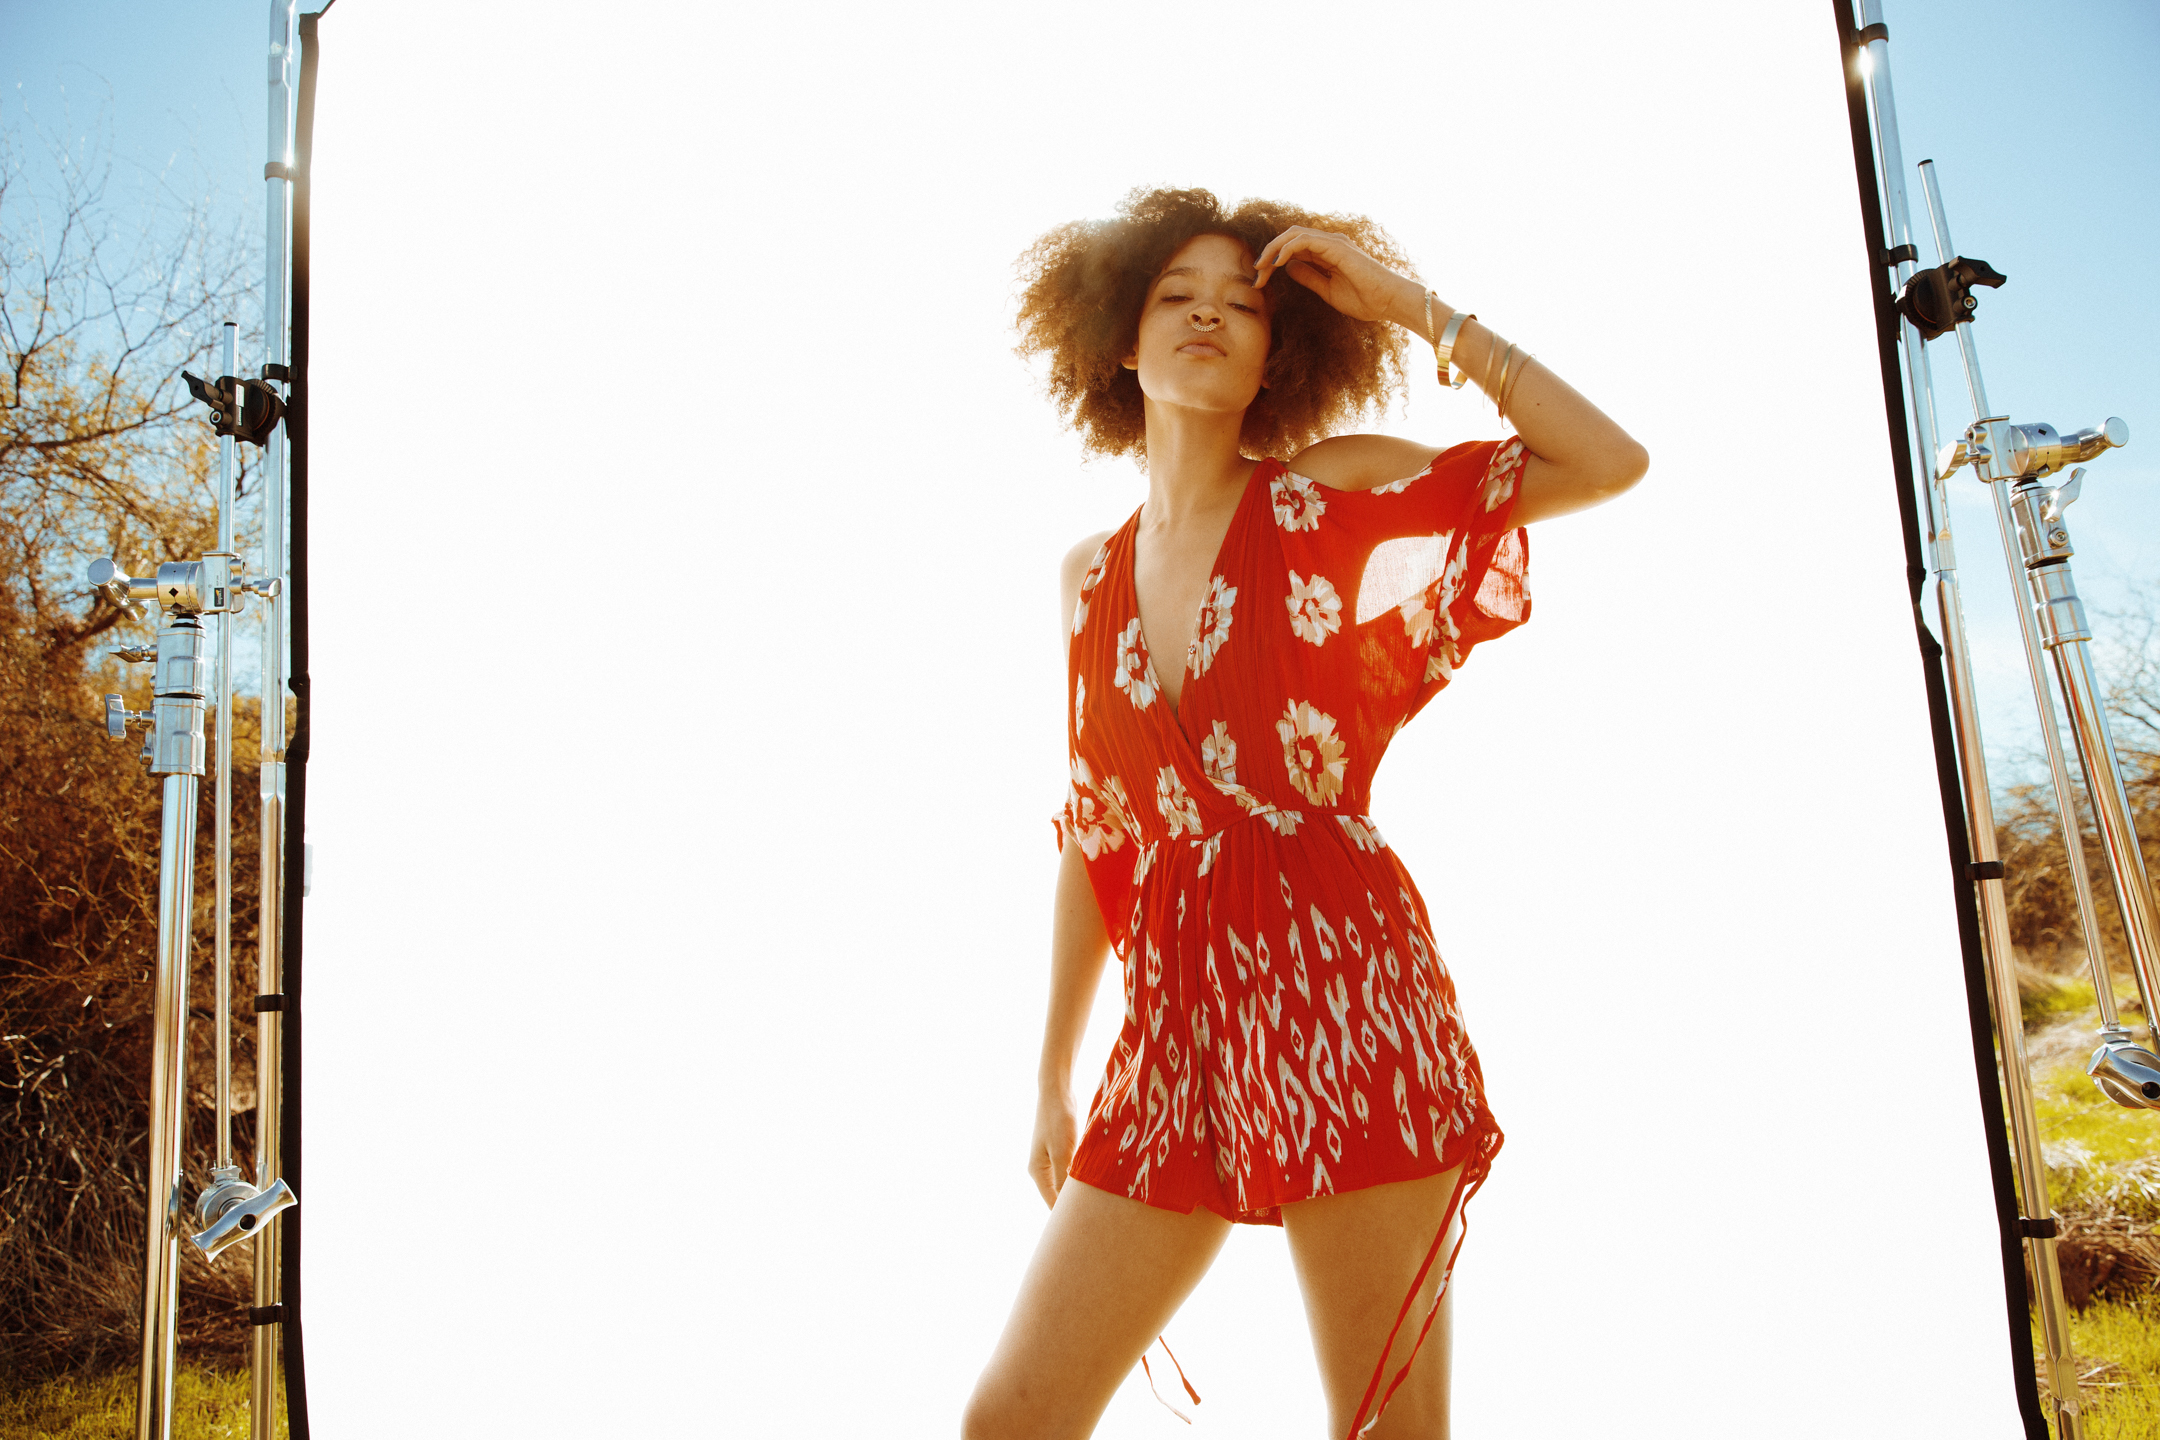
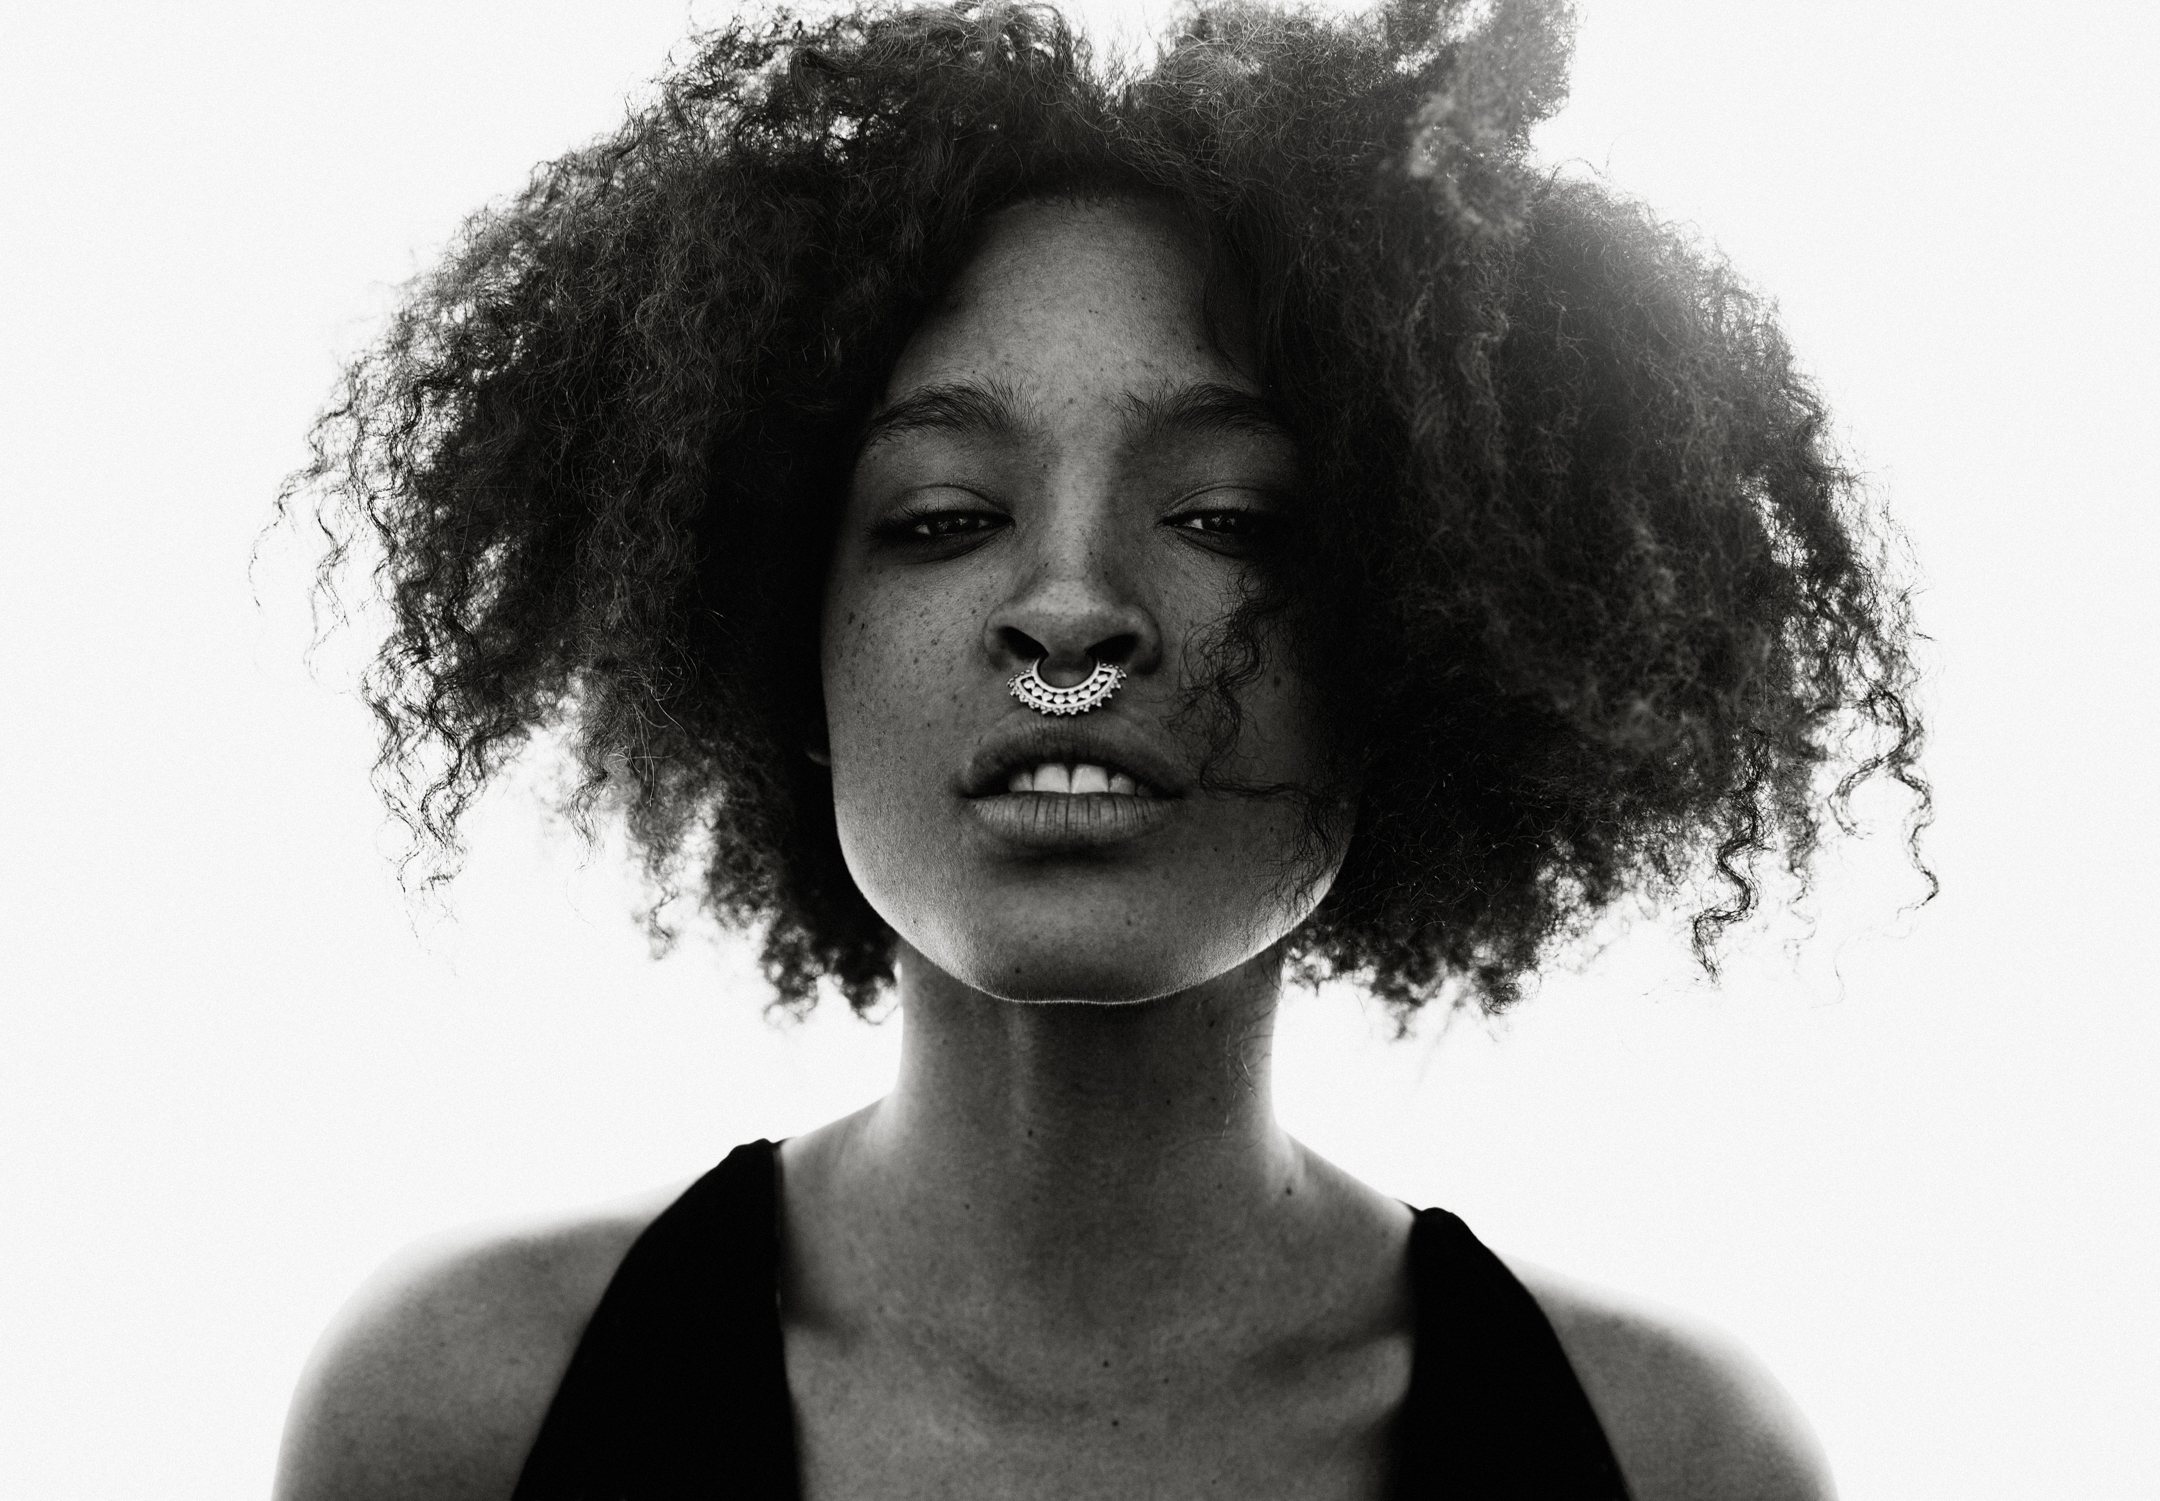
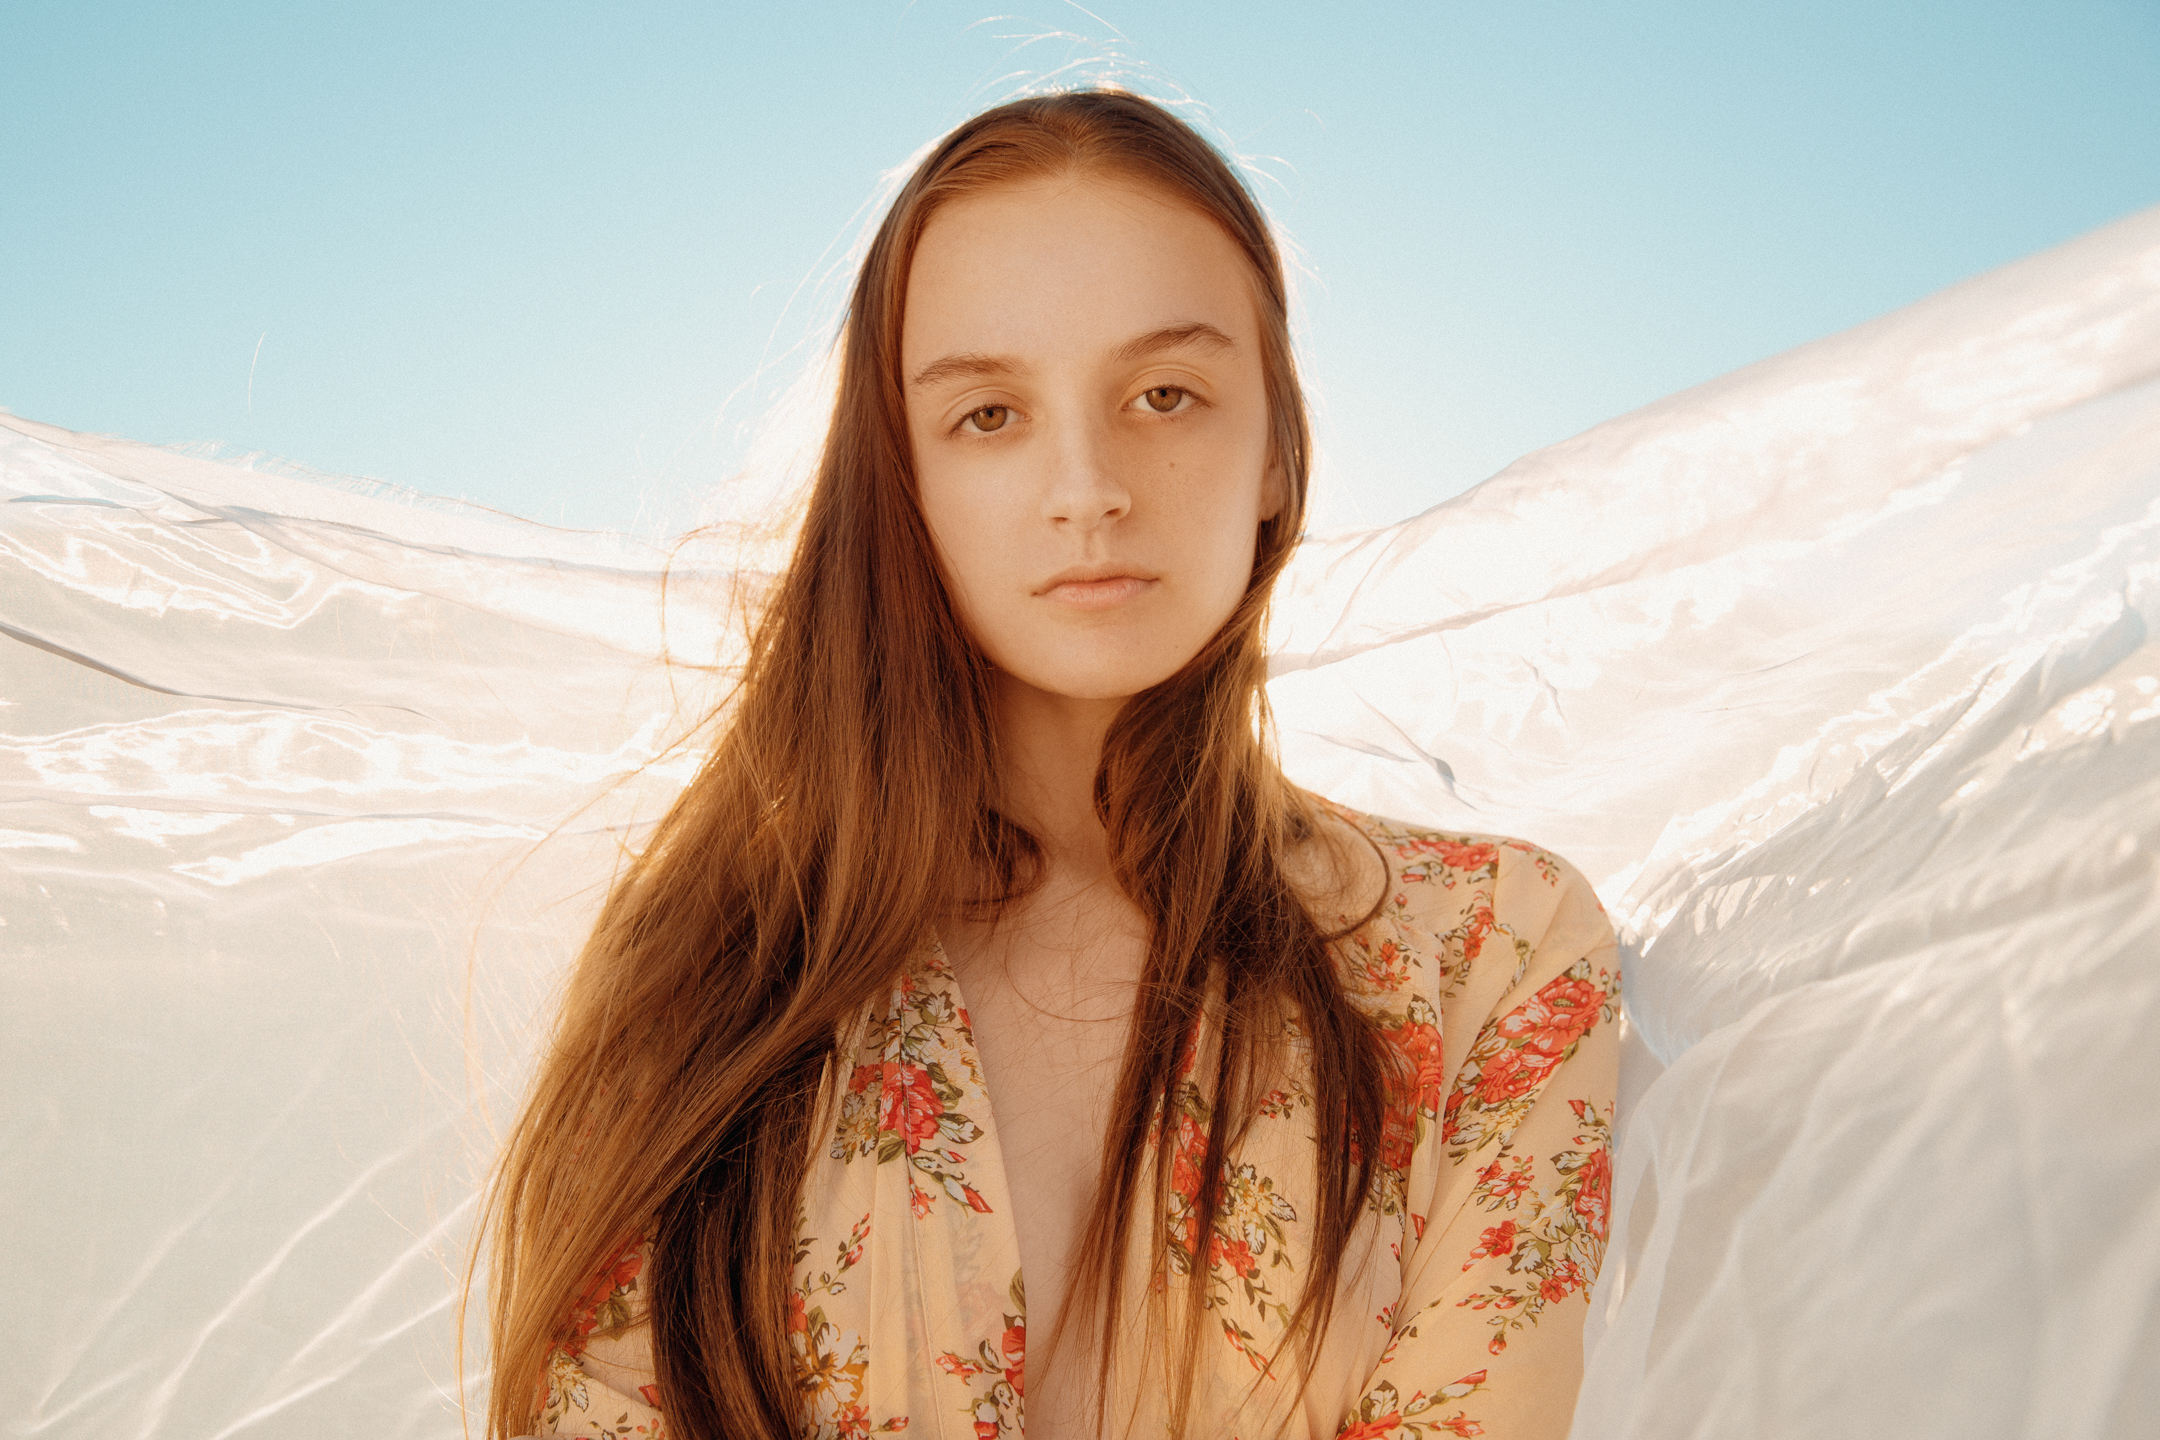
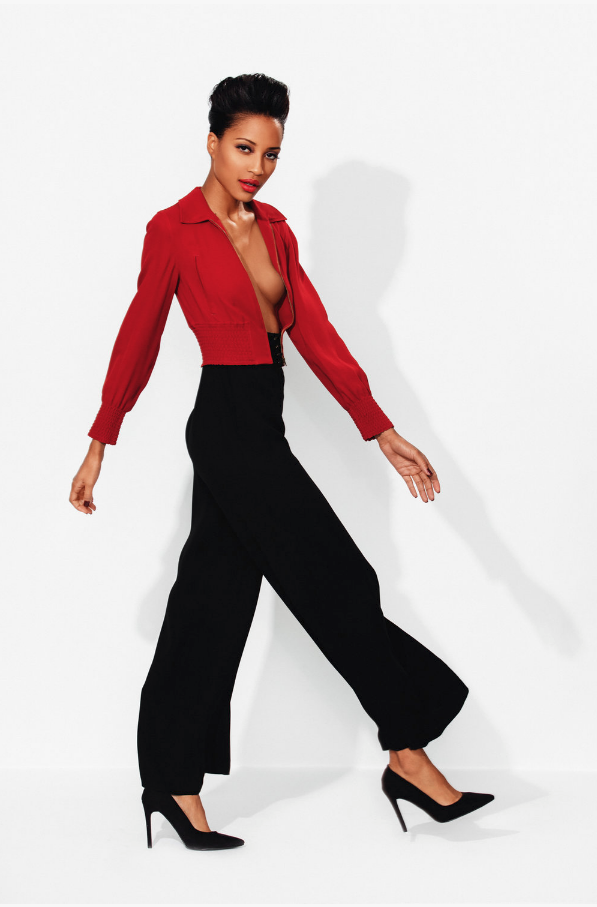
I always loved the really clean white background soft lit Calvin Klein ads, but it was a bitch to replicate in the studio without proper gear, and I never quite got the right look on location. After I got the scrim I decided to use it as the background. With the sun back lighting the subject, the light beautifully passes through the diffusion sheet and gives the subject nice even lighting. 
All shots below were shot only using natural light and the scrim. 


Diffussed sunlight.

This is the most common way to use the scrim on location. With the scrim between your subject and the sun you can place the scrim in a variety of ways to change how the light shapes your subject. You can have more flat beauty light by shooting straight on with the sun, or create more depth by shooting at a 45 or 90 degree angle away from the sun. 
All shots below were shot only using natural light and the scrim. 


Reflector.

I love that the Lastolite come with a silver reflector. You can bounce some serious light with a 6x6 foot reflector. All shots below were shot only using natural light and the scrim.  

Using the scrim in the studio. 

After watching Clay talk about how important fill light is the way I thought about lighting completely changed. The scrim is a great way to add or modify fill light for studio work. 


Studio Backlit.

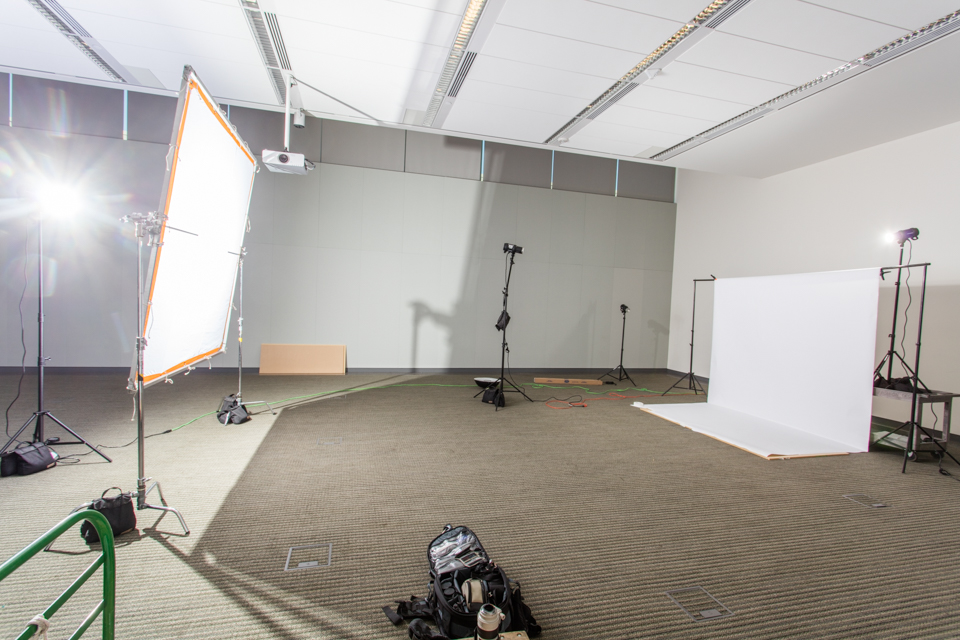
For these I used the scrim directly behind the subjects as the background. I had a Paul C. Buff Einstein directly behind the scrim to illuminate the scrim and create the nice soft wrap around of light. 


Studio mix harsh and soft.

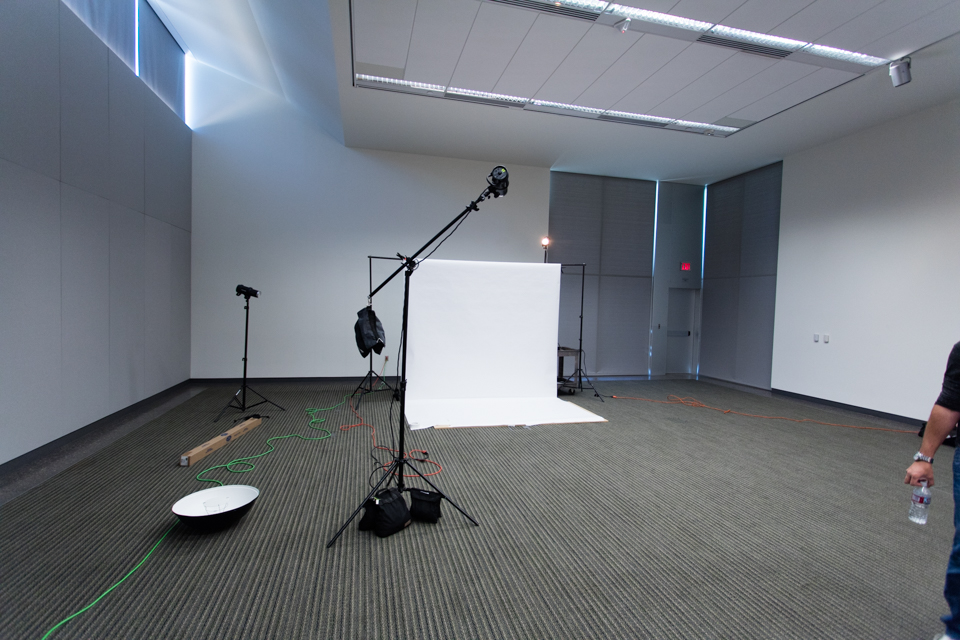
For most my studio work involving the fill I will use it one of two ways. I will have the scrim directly behind from where I am shooting or directly above where I am shooting. This will give the most even fill light. Generally you don't want the fill light to create shape, thats the key lights job. Because the scrim is so large my body standing in front of the light does not block much light from hitting the subject. I will use small 5 inch dish or medium sized softbox behind the scrim. This prevents light from spilling, and will help direct more light to the scrim. Because the lighting from the scrim provides such soft even light, you can mix in lights with harsh modifiers or no modifiers at all. The soft light from the scrim will blend the harsh and soft light together beautifully. 
All Images below were lit with a Paul C. Buff Einstein with a 5 inch dish behind the 6x6' directly behind the camera for a fill. The key was a flagged Paul C. Buff Einstein with a 5 inch dish on camera right. And the background light was a flagged Paul C. Buff Einstein with a 5 inch dish on camera left. 


Studio 2 soft.

As I mentioned using the scrim as a light source creates super soft light. So I decided to use 2 of them to recreate natural light. Key light was a Paul C. Buff Einstein with a 5 inch dish shooting in a 6x6' scrim on camera left. Fill light was a Paul C. Buff Einstein with a 5 inch dish shooting in a 6x6' scrim directly behind me. There was also a white V-flat on camera right. 


Using the Scrim as a fill. 

Using such a large modifier means your light will be very flat. I love this since it then allows me to use my Key light in more effective ways. Using the scrim you can create beautiful high key images, or super dramatic short lit images with gradual transitions and detail everywhere. 
All images below and different light set ups but the one common factor they have is that I used a Paul C. Buff Einstein with a 5 inch dish shooting in a 6x6' scrim directly behind me for fill light. 


Mixing harsh and soft.

This light setup was pretty simple, key light was a bare Profoto D1 and fill was a Profoto D1 shooting into a 8x8' scrim directly behind me.


Shooting in direct sun with no modifiers.

I've decided to start a blog. This will mostly be an amalgam of information about techniques, behind the scenes, retouching, and personal work. 


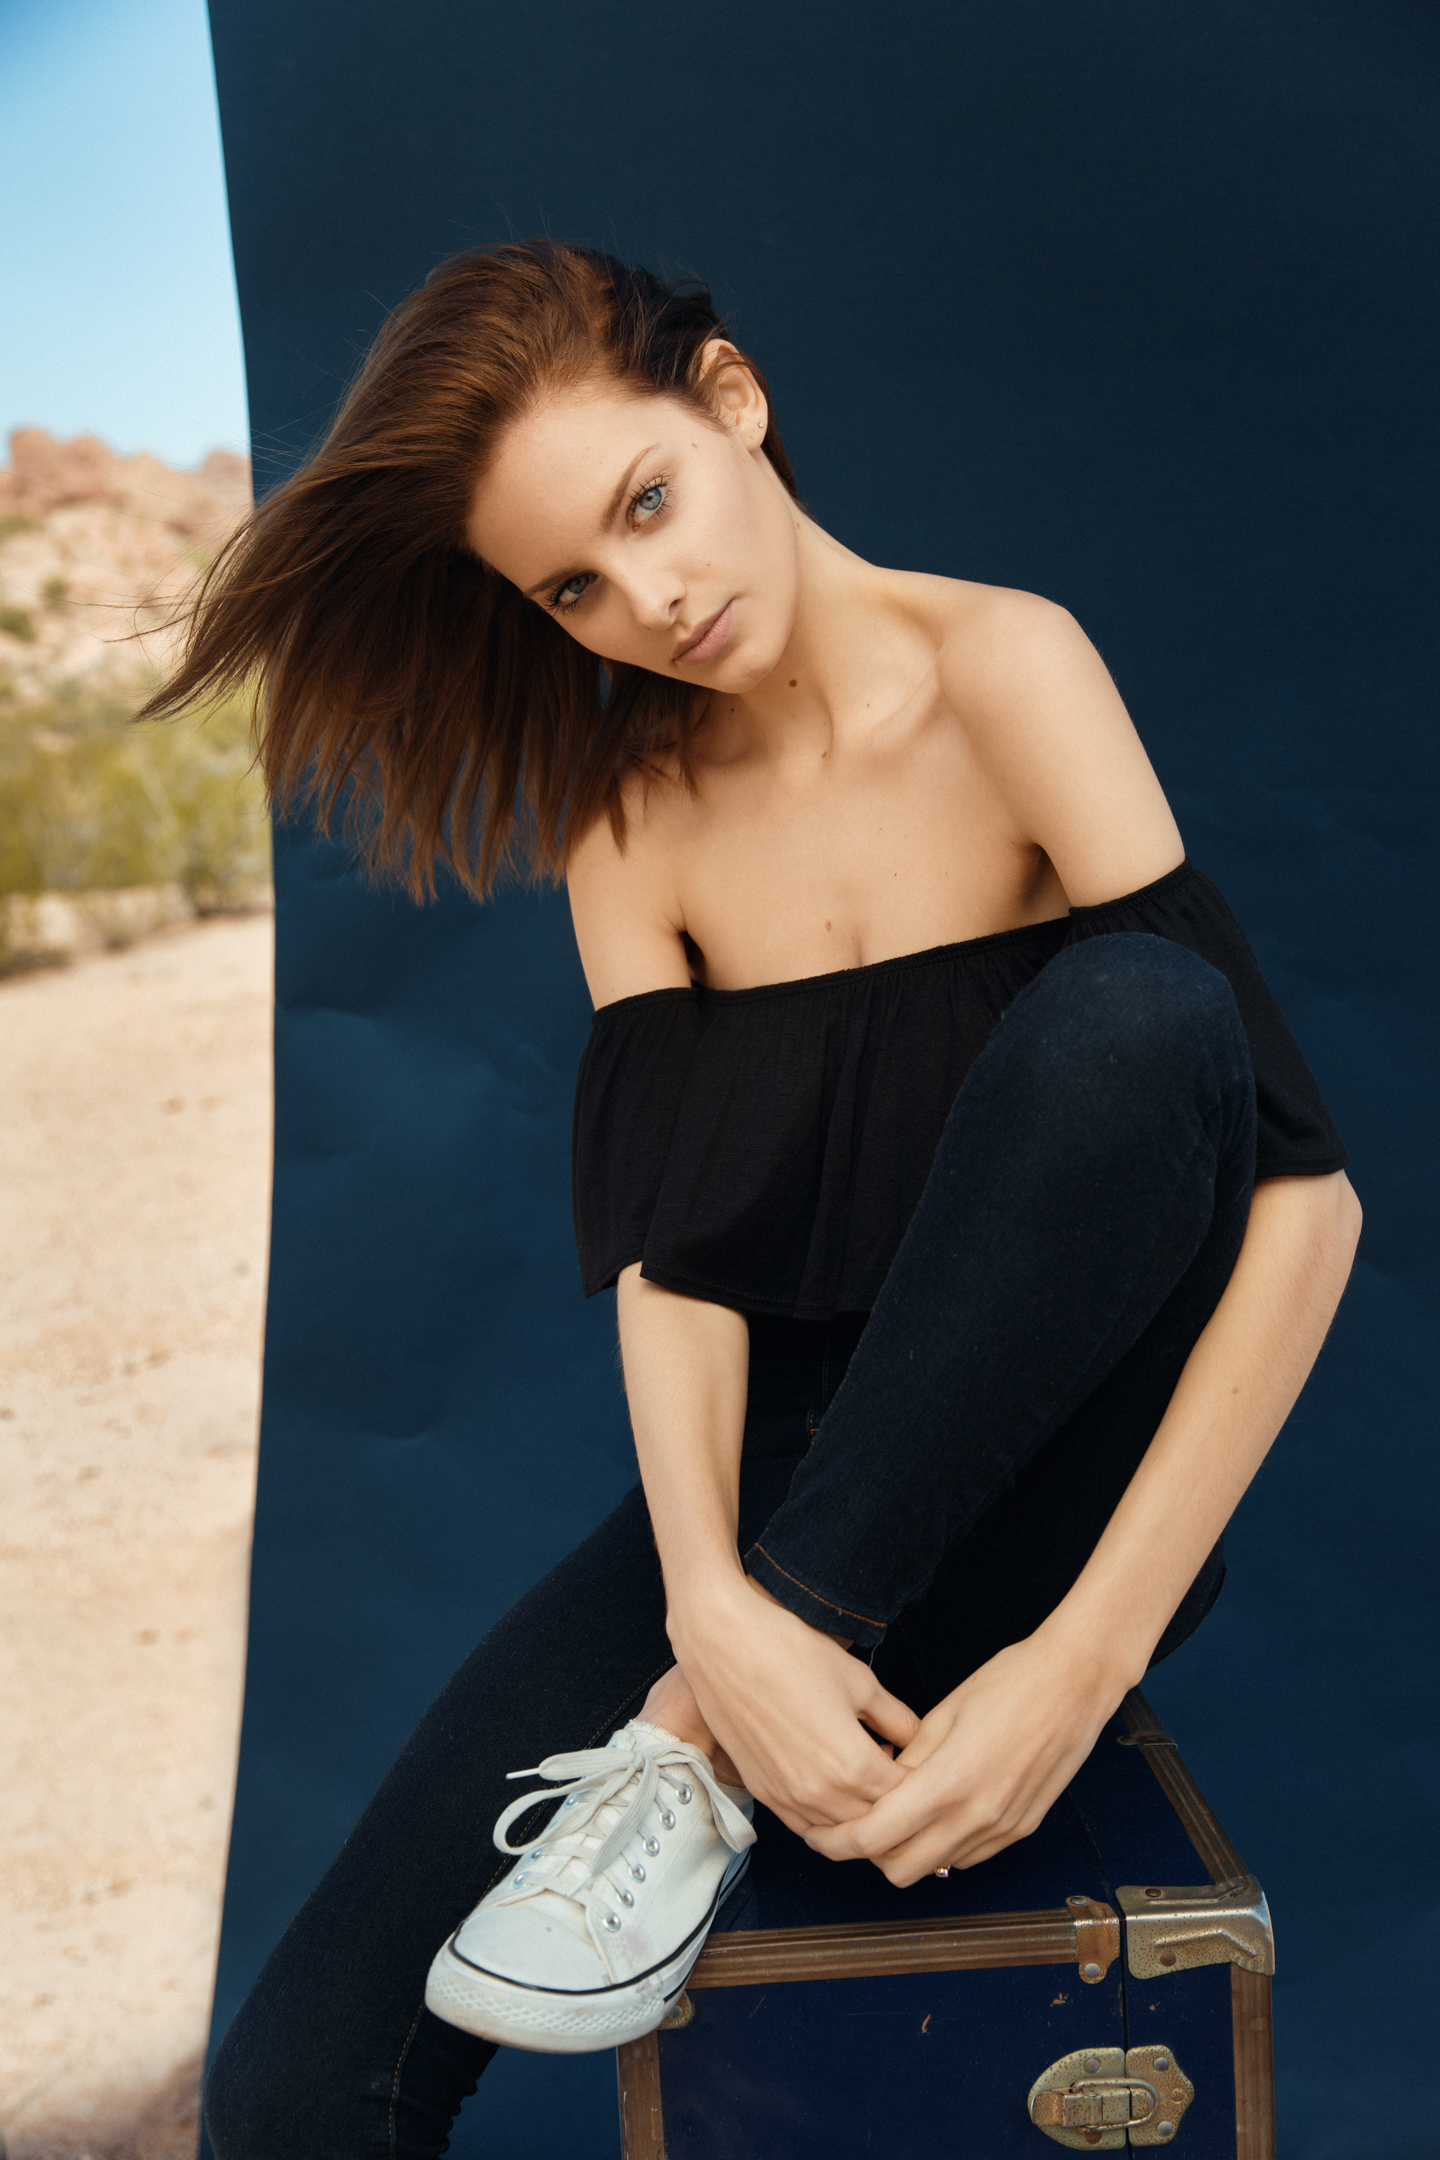
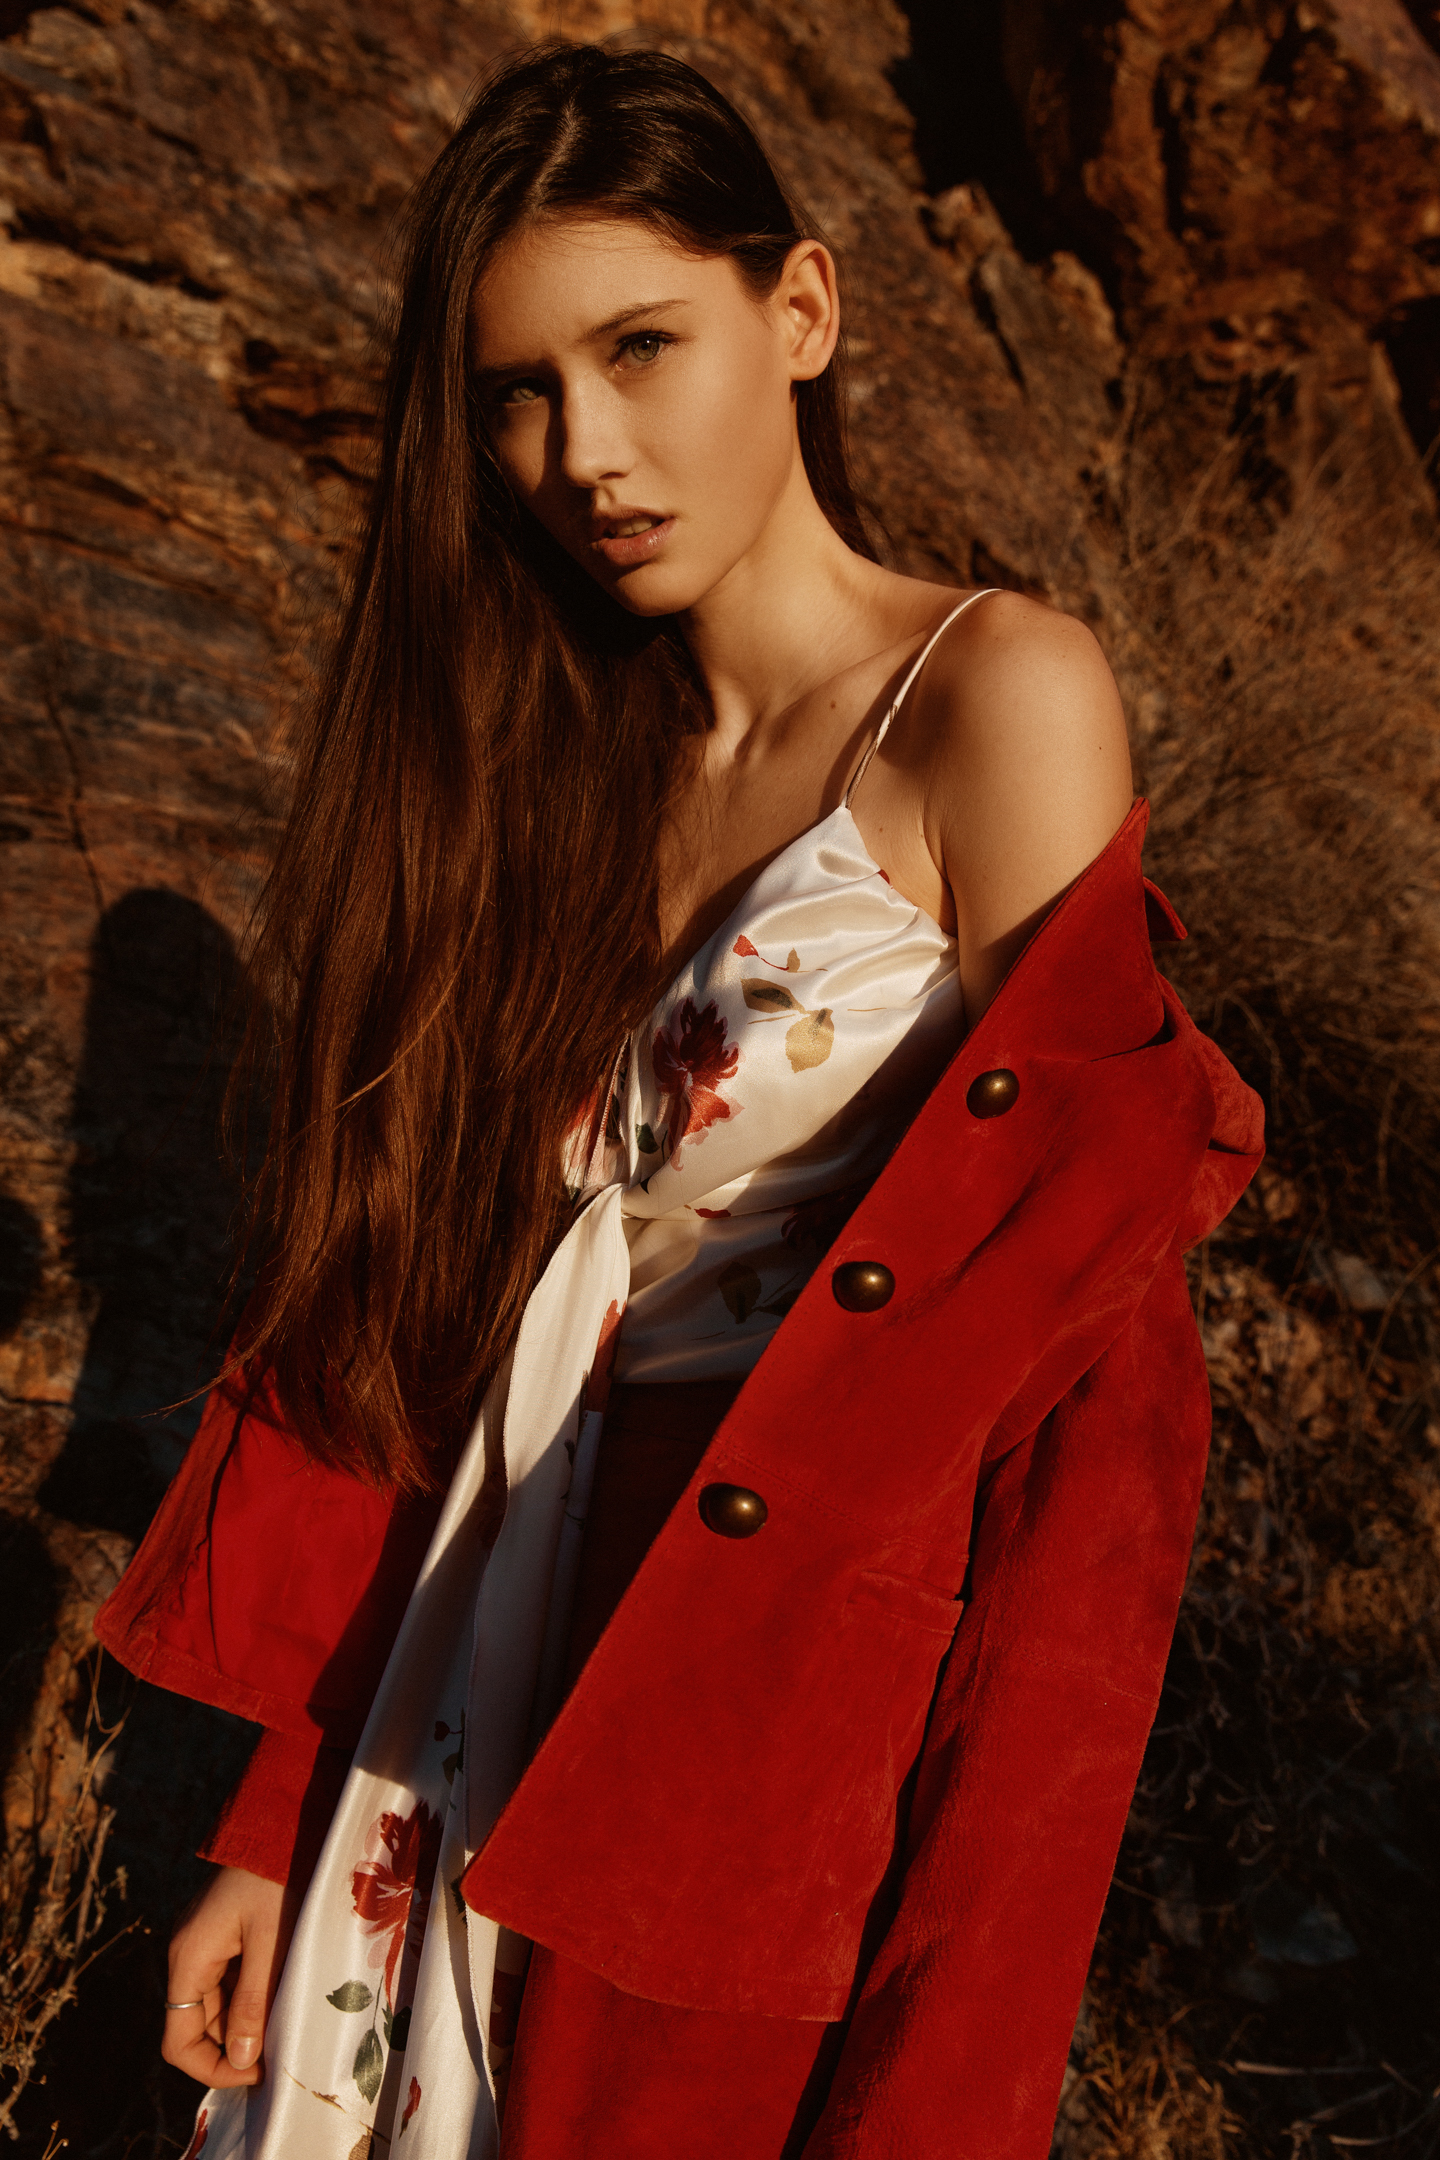
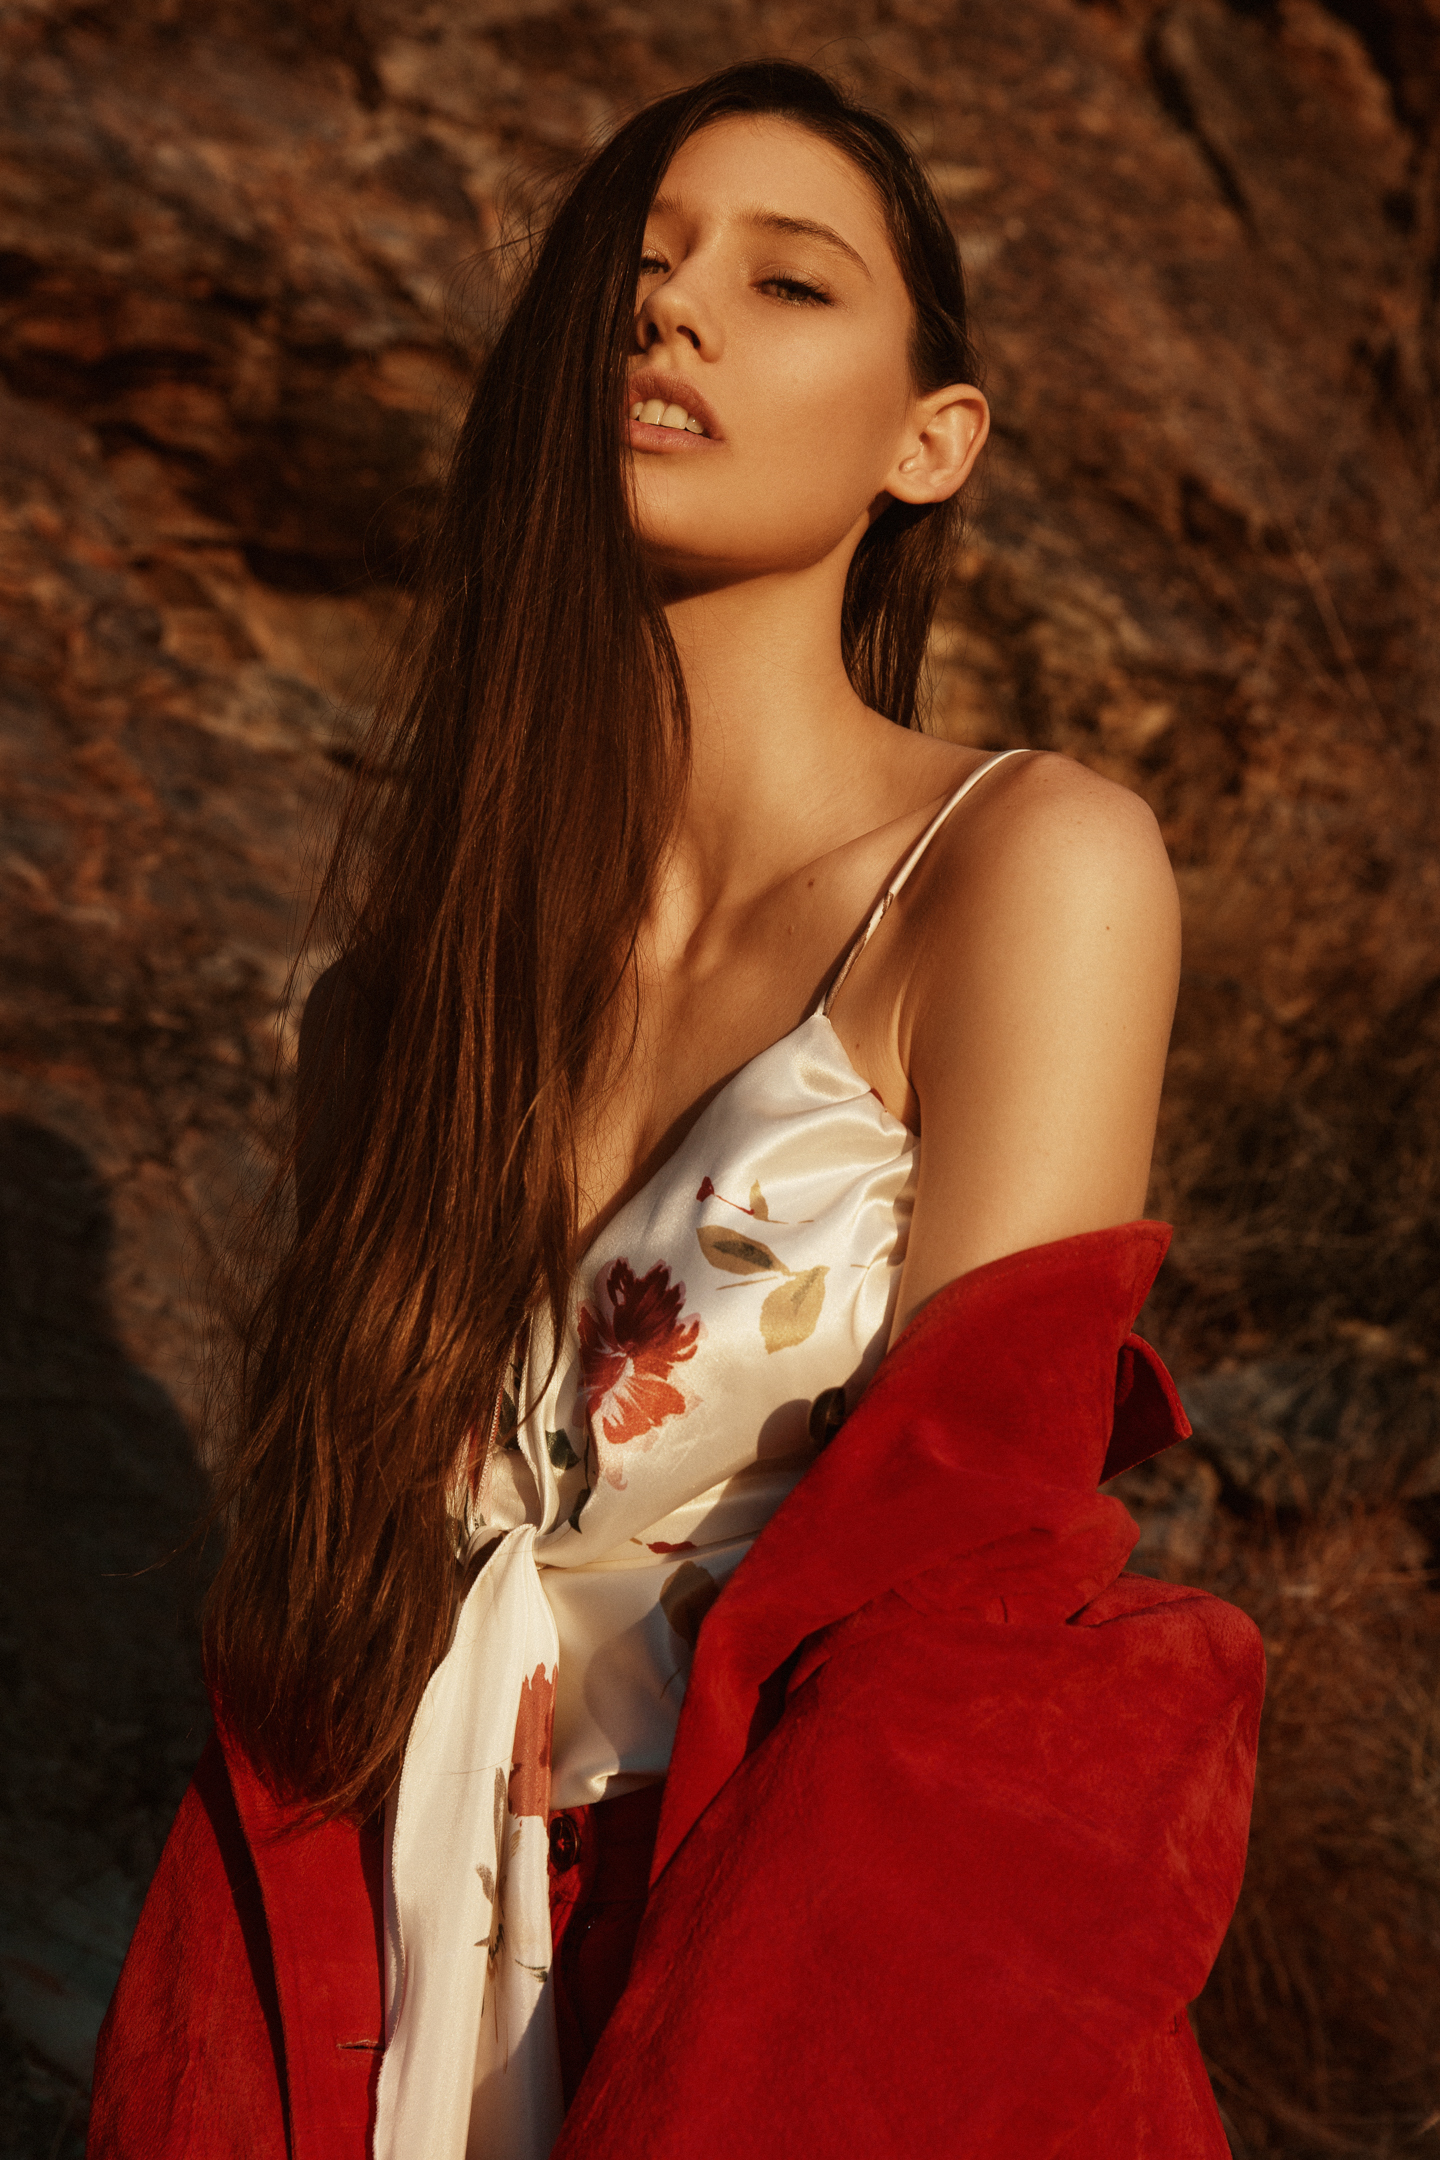
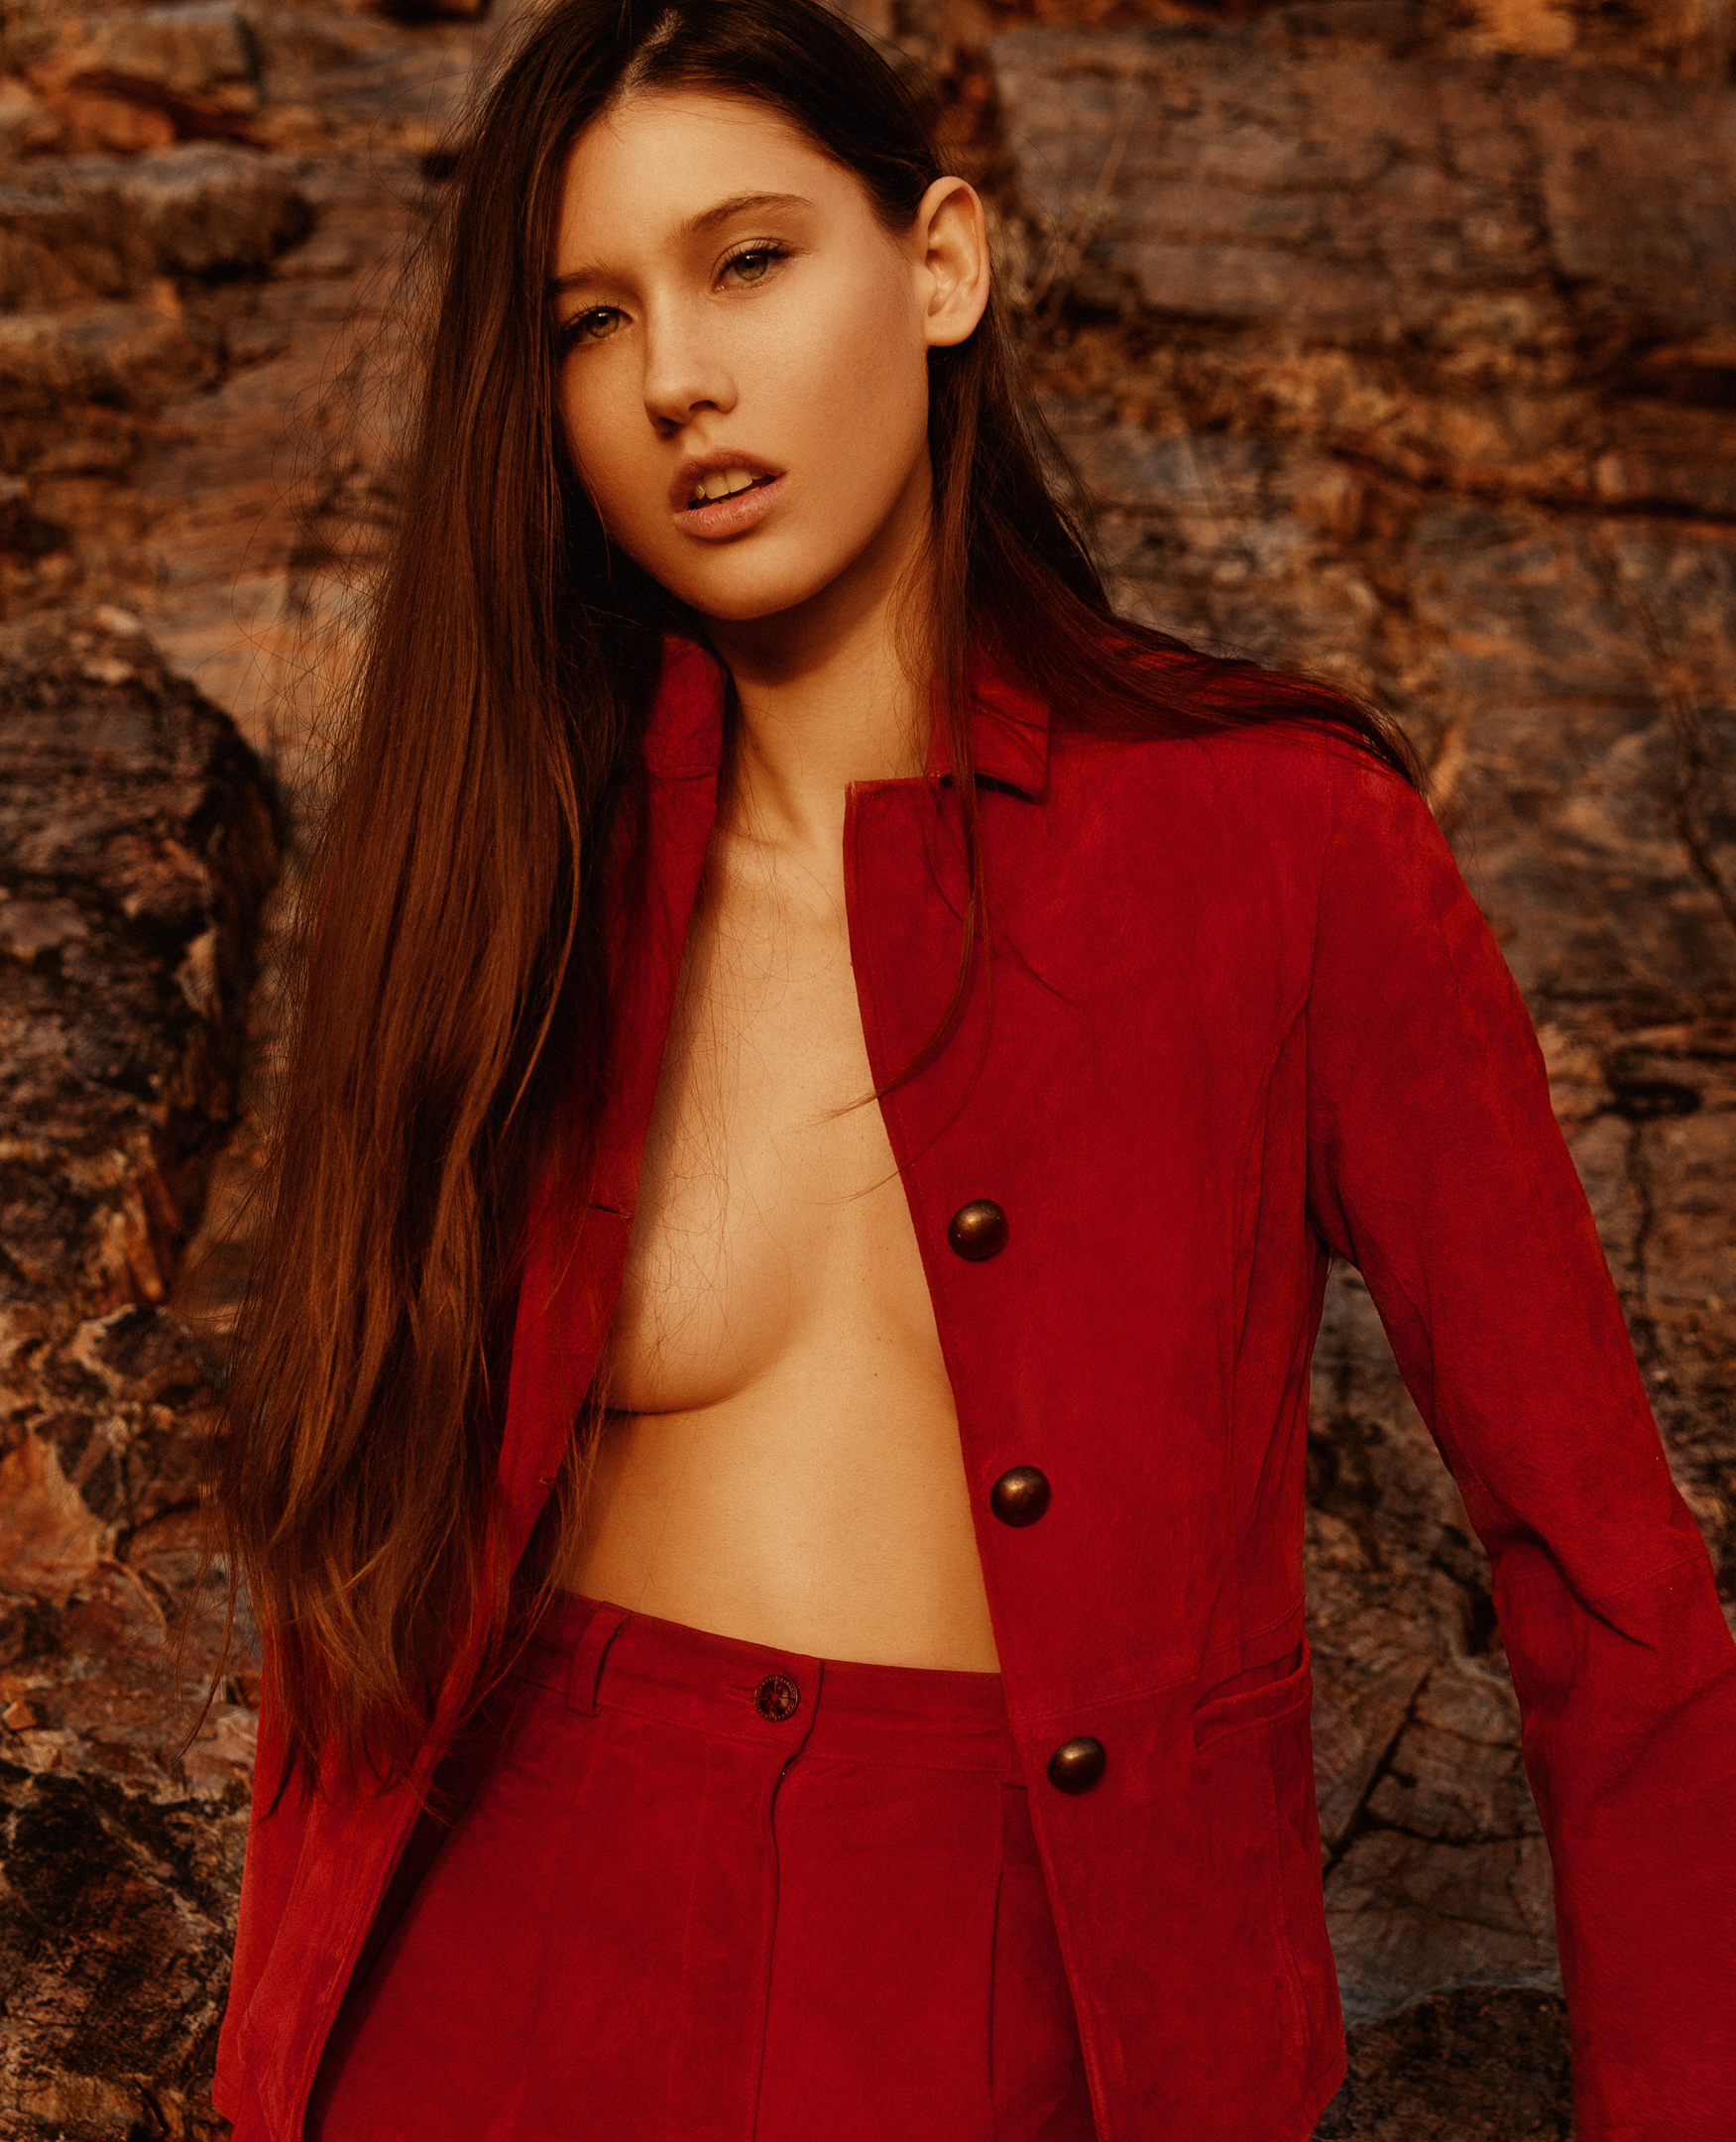
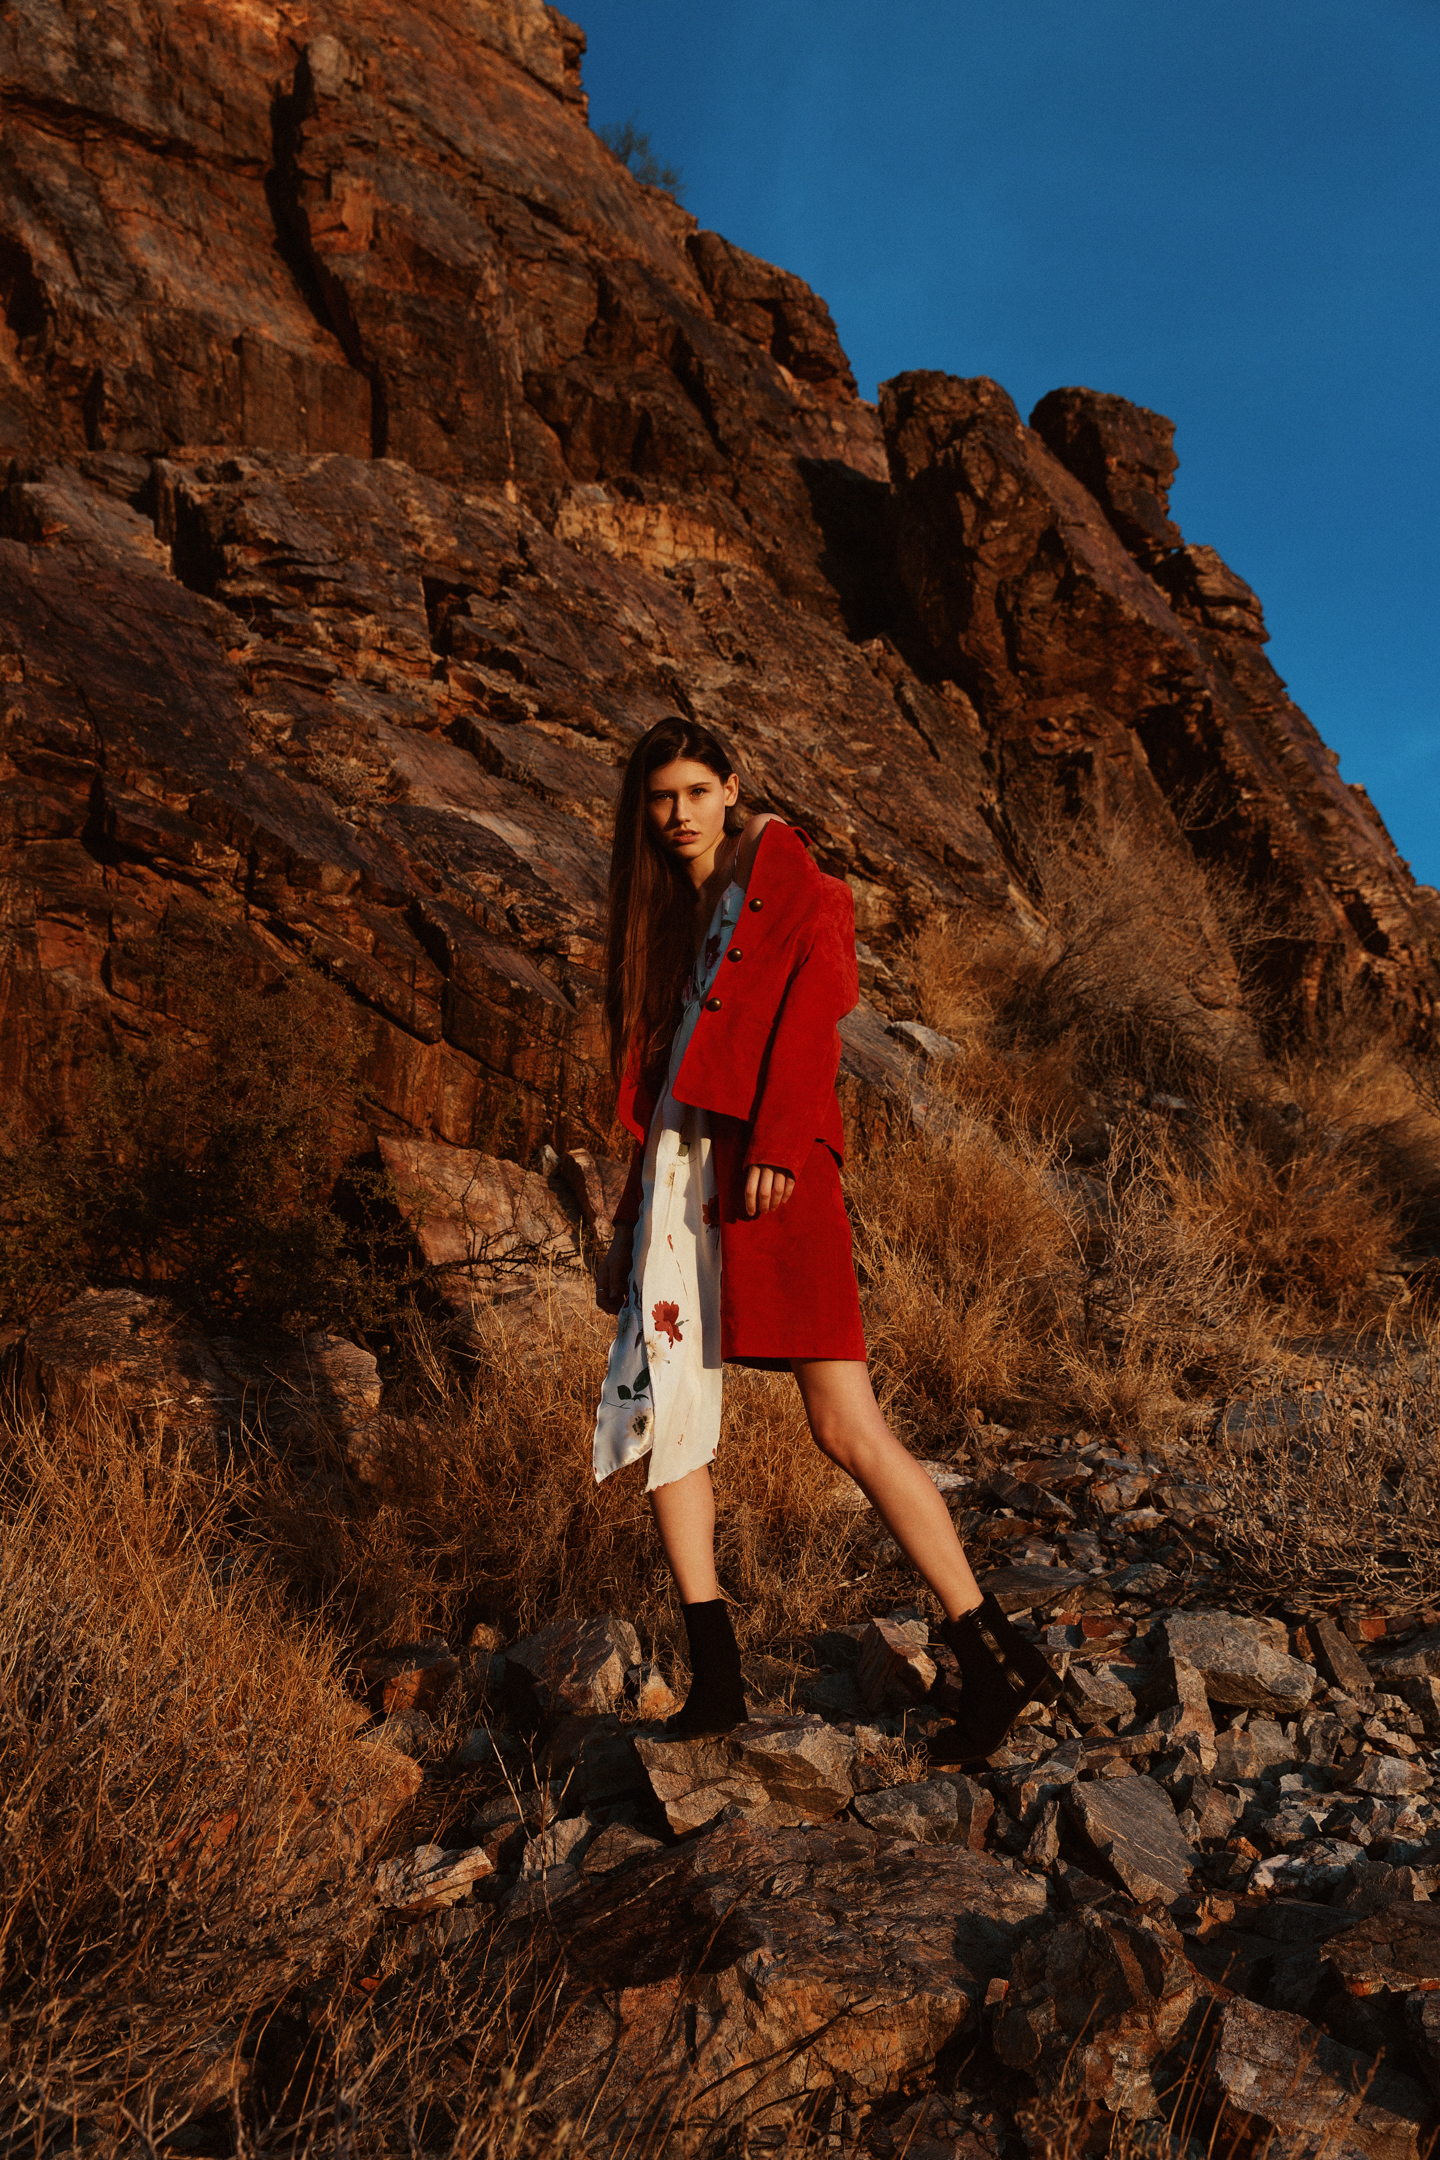
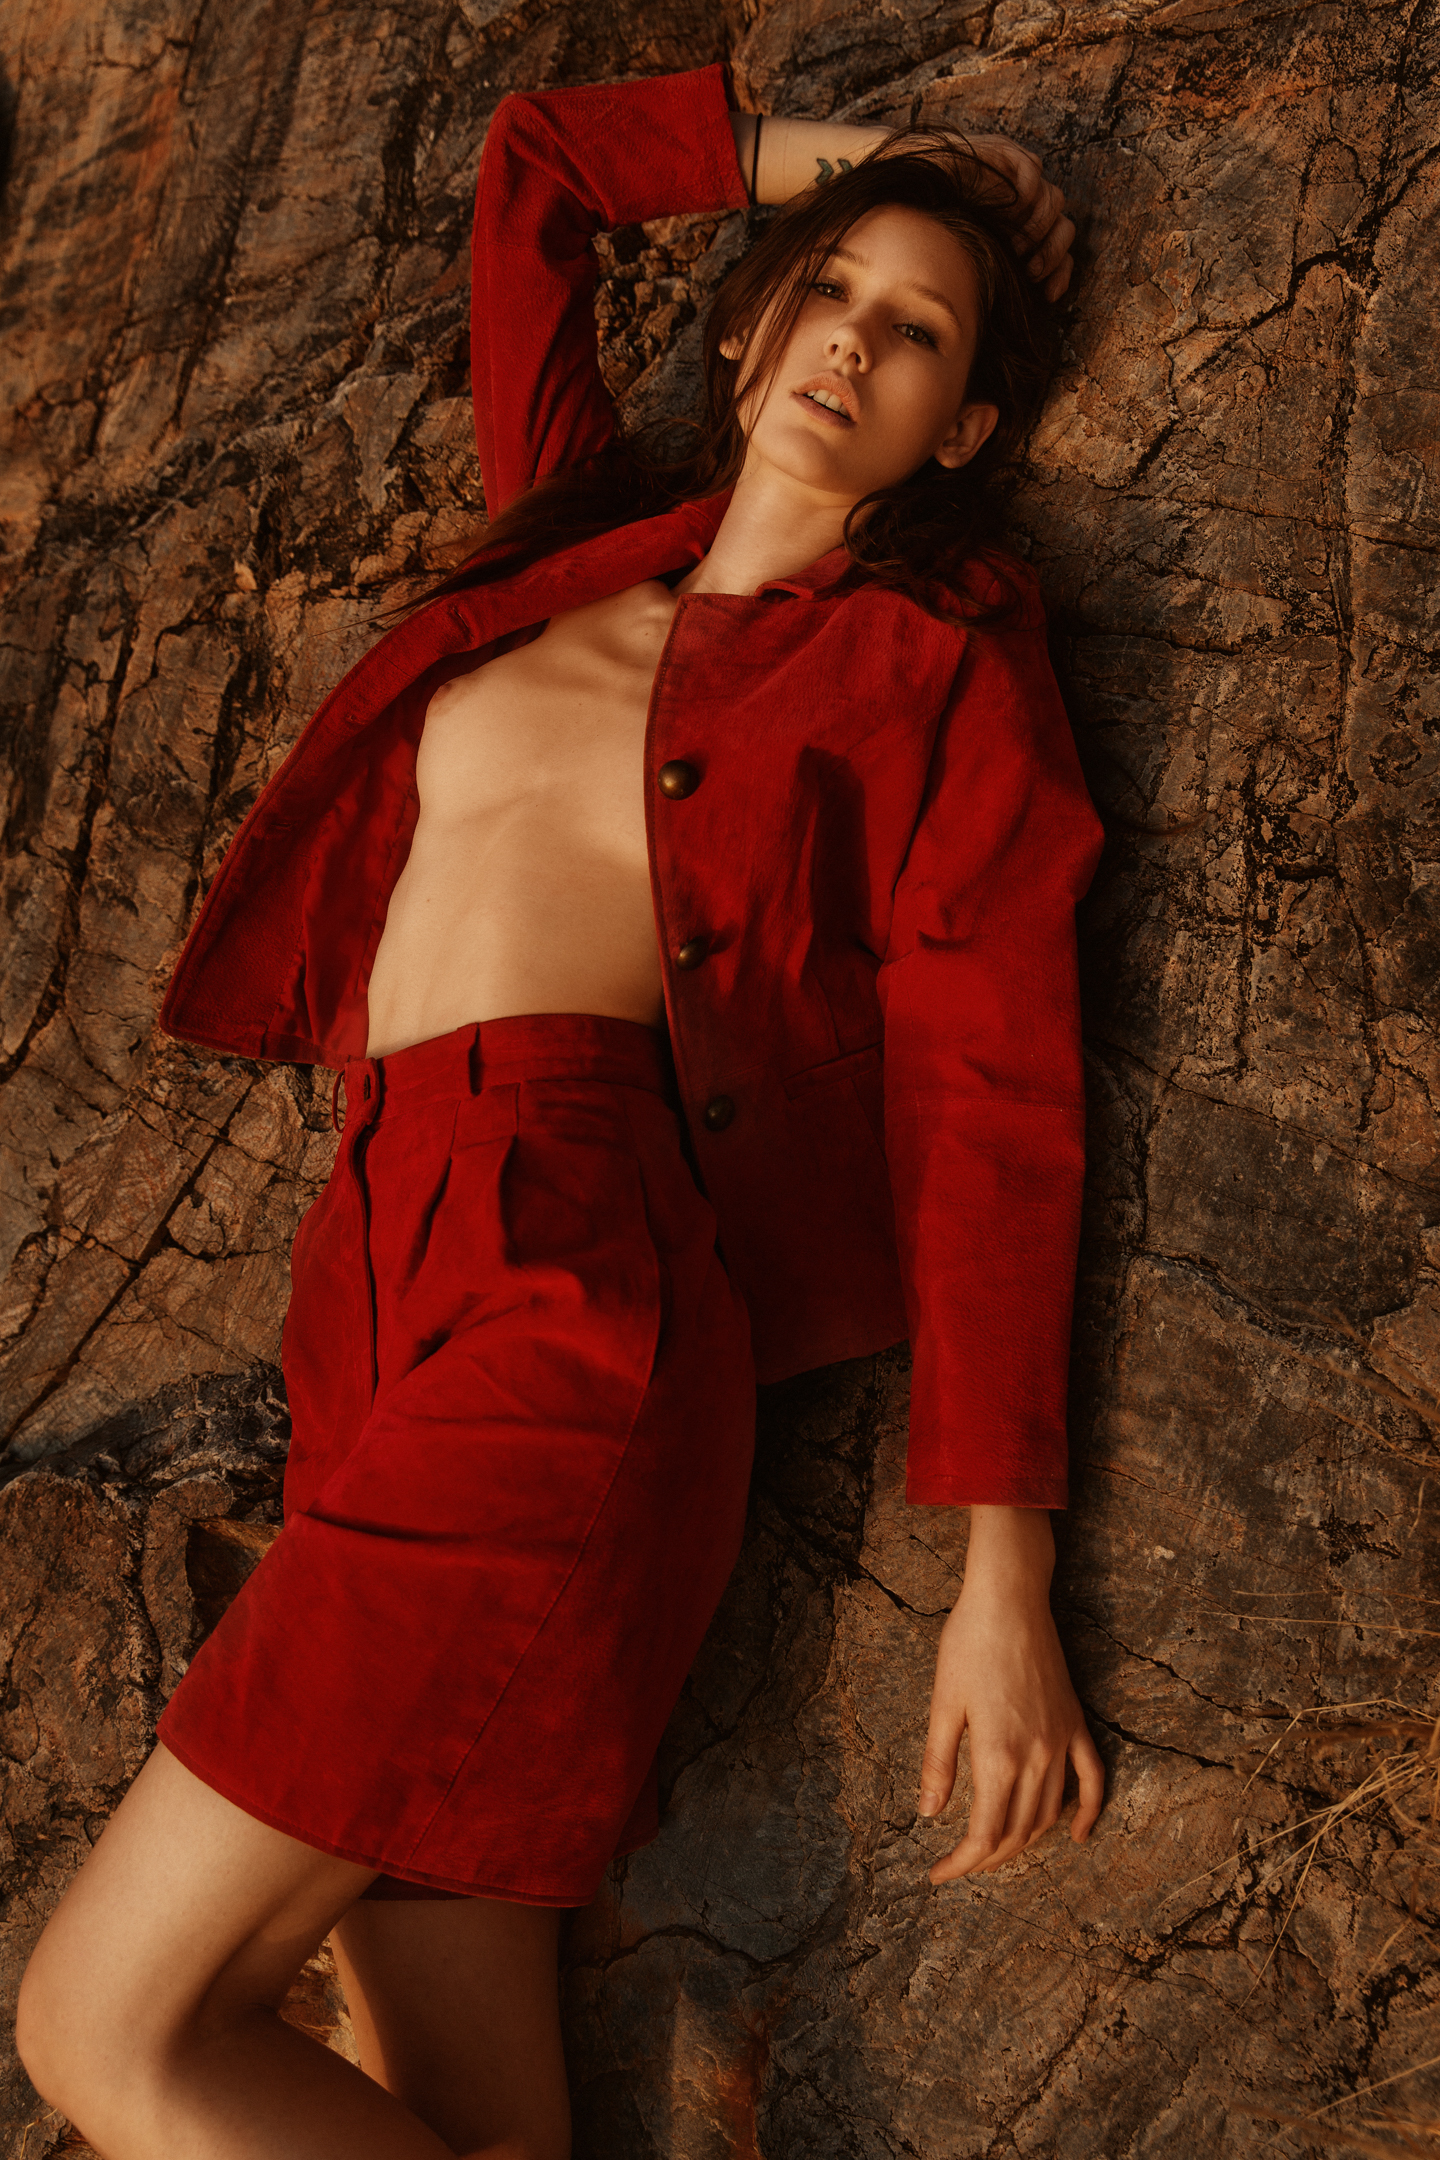
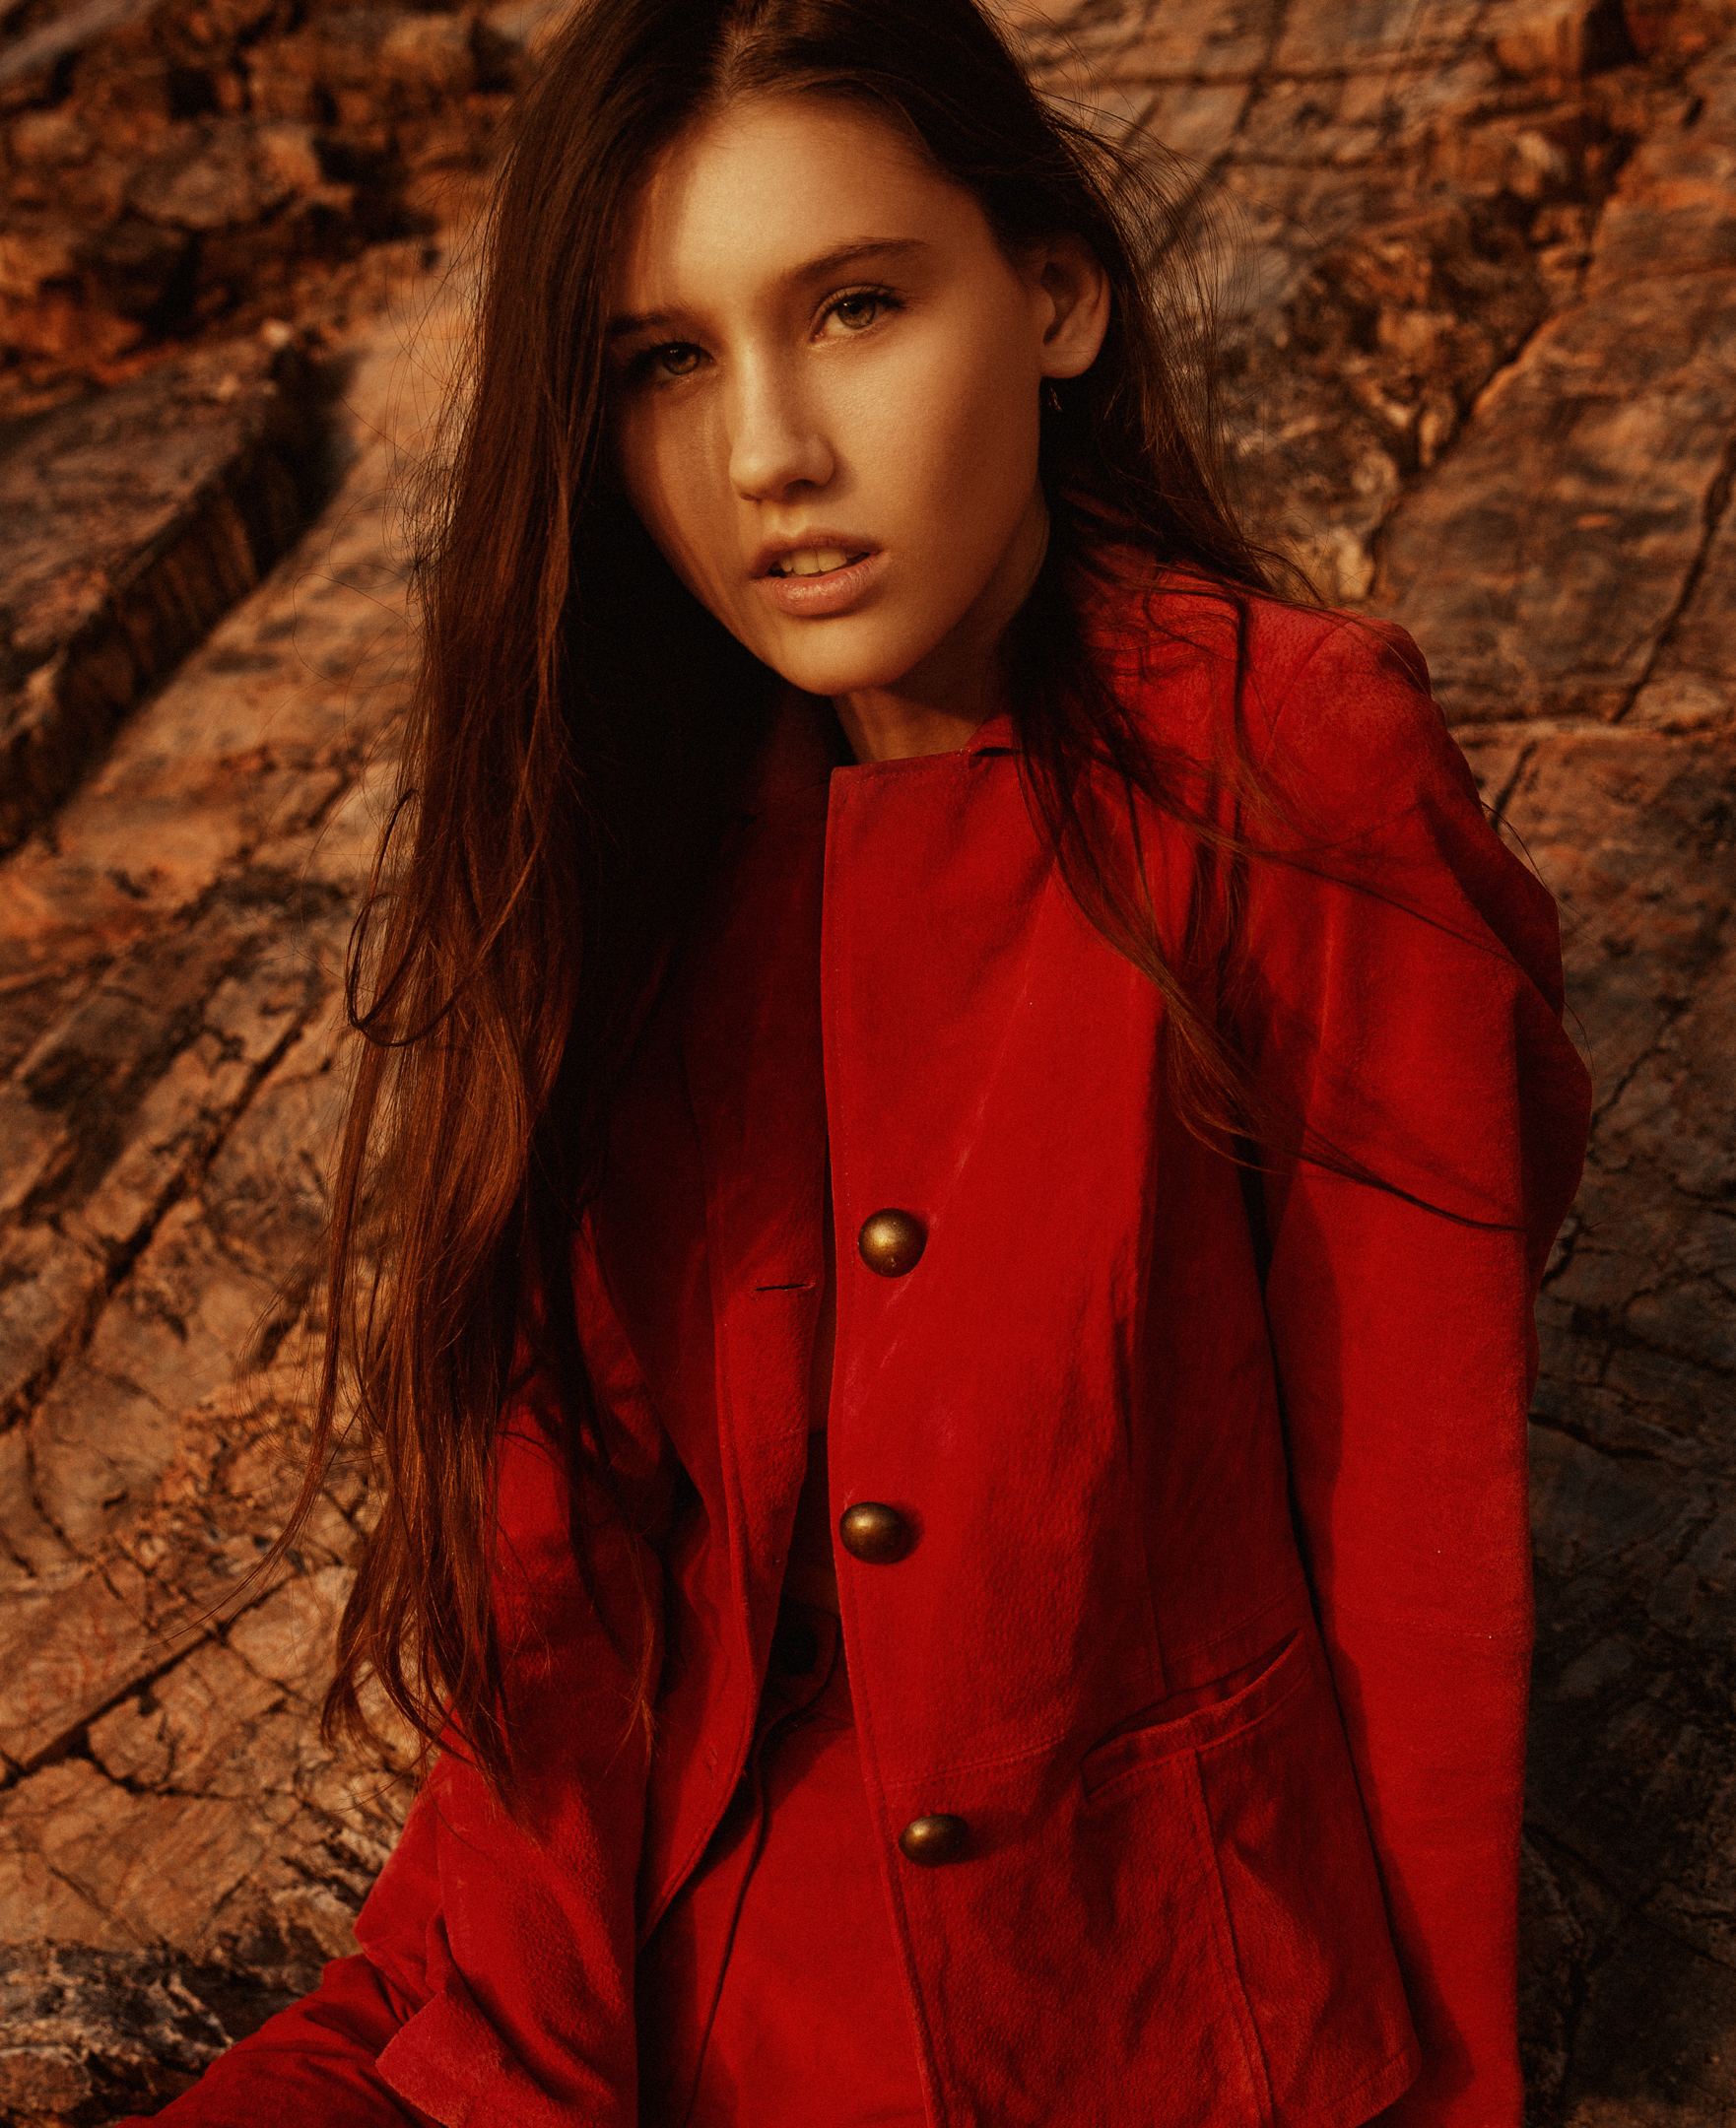
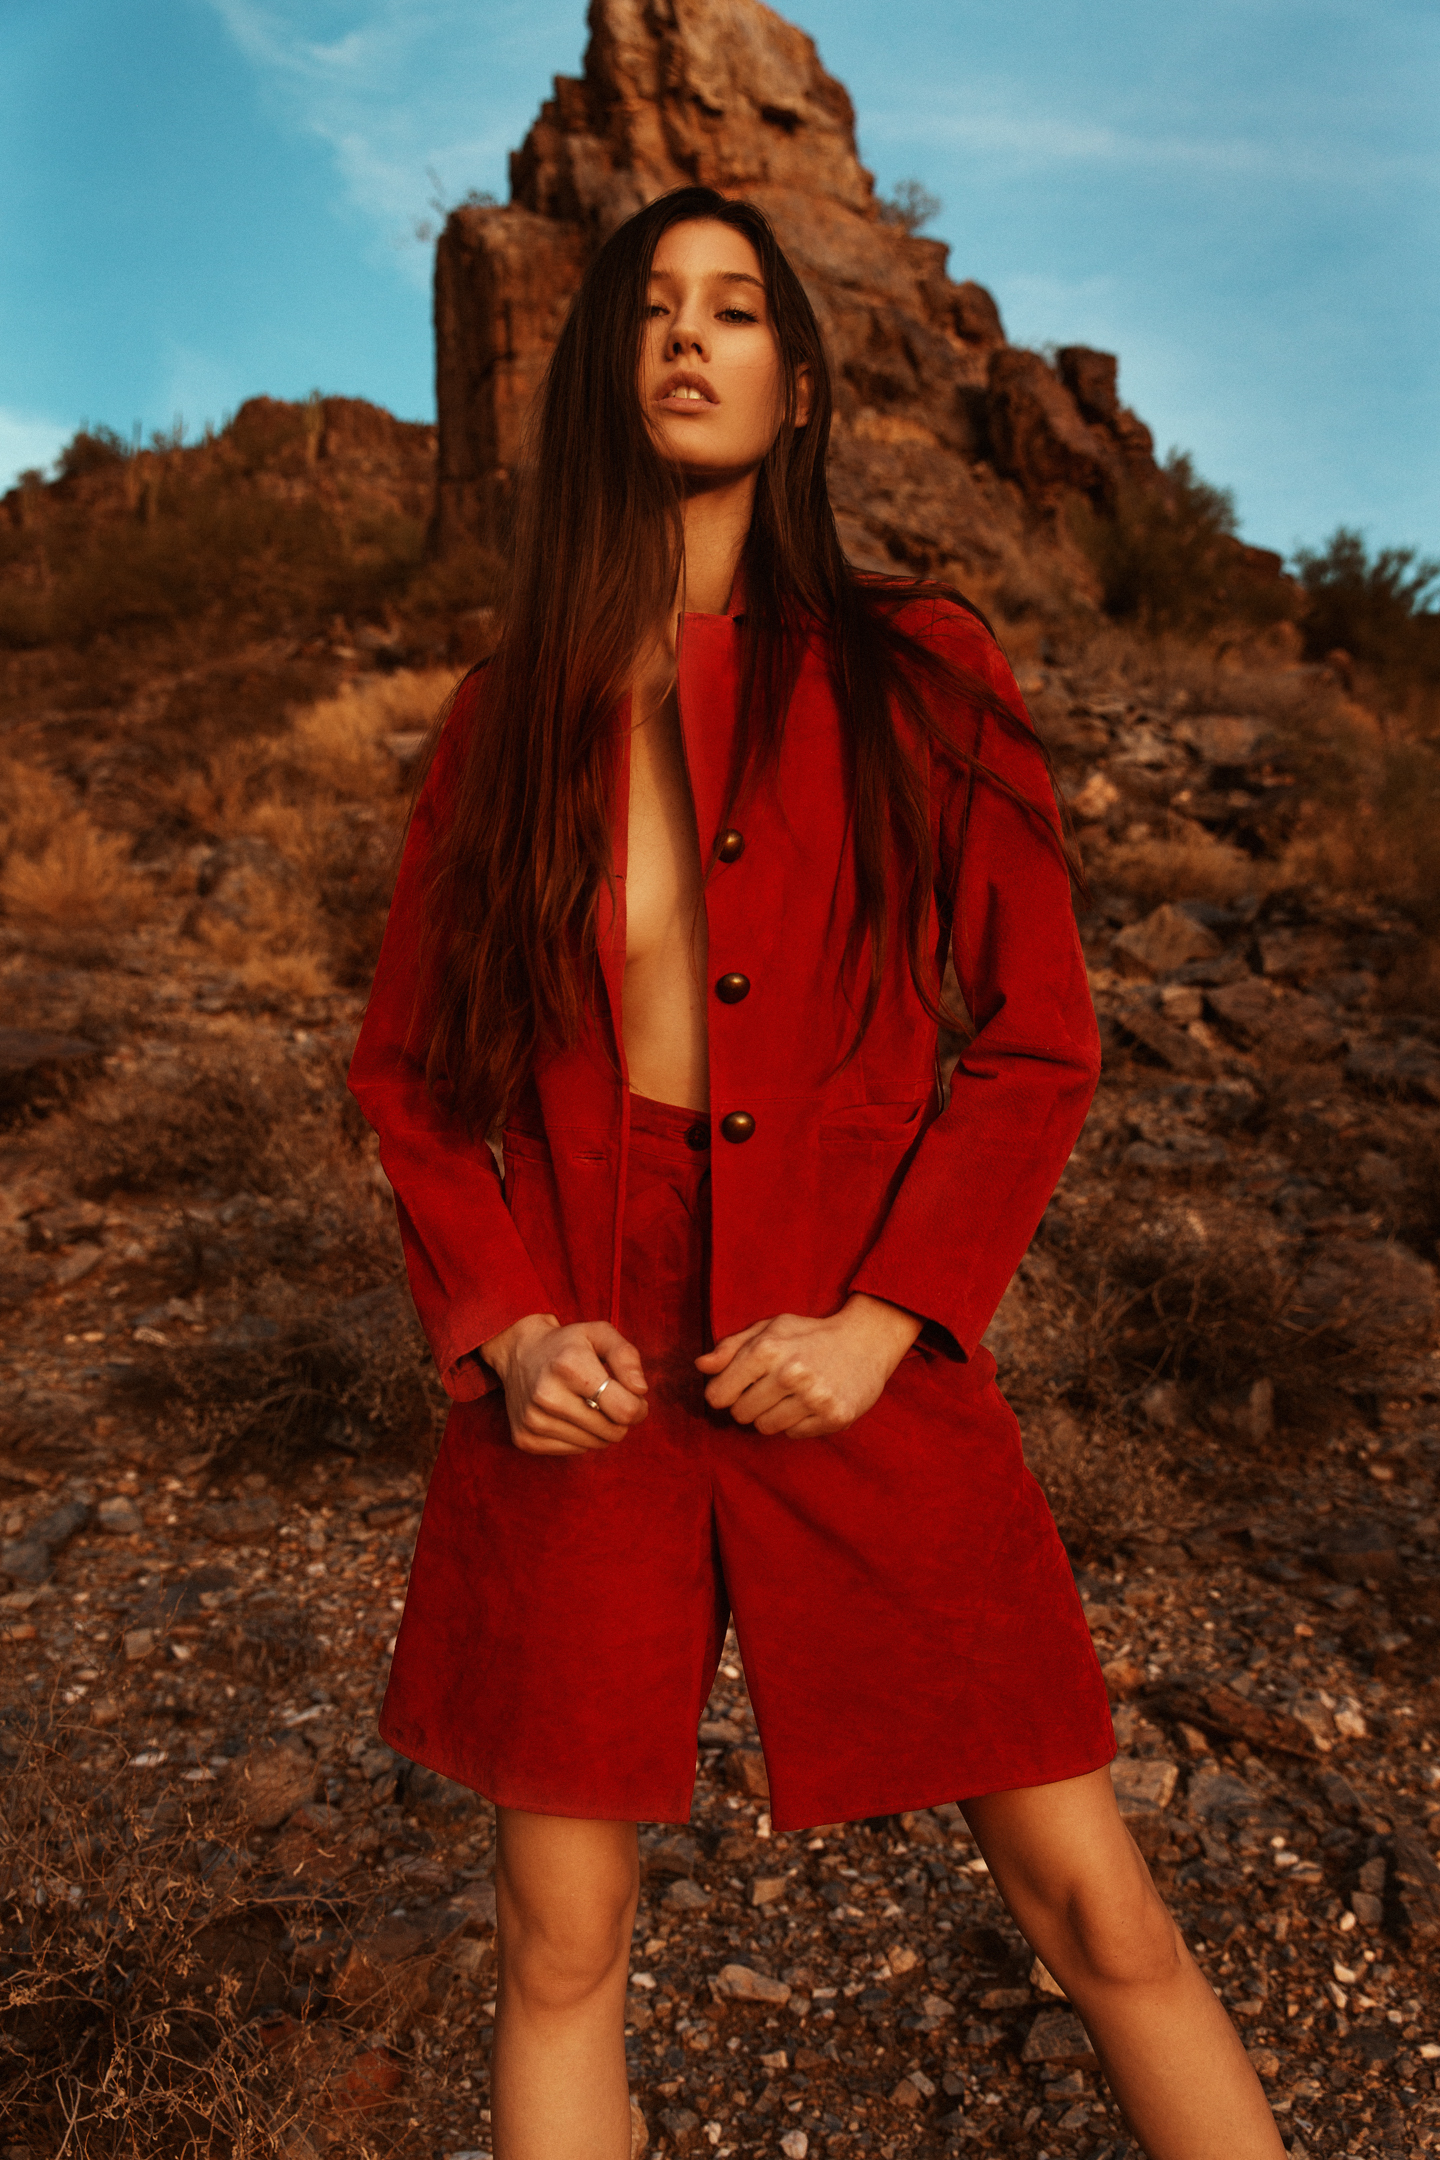
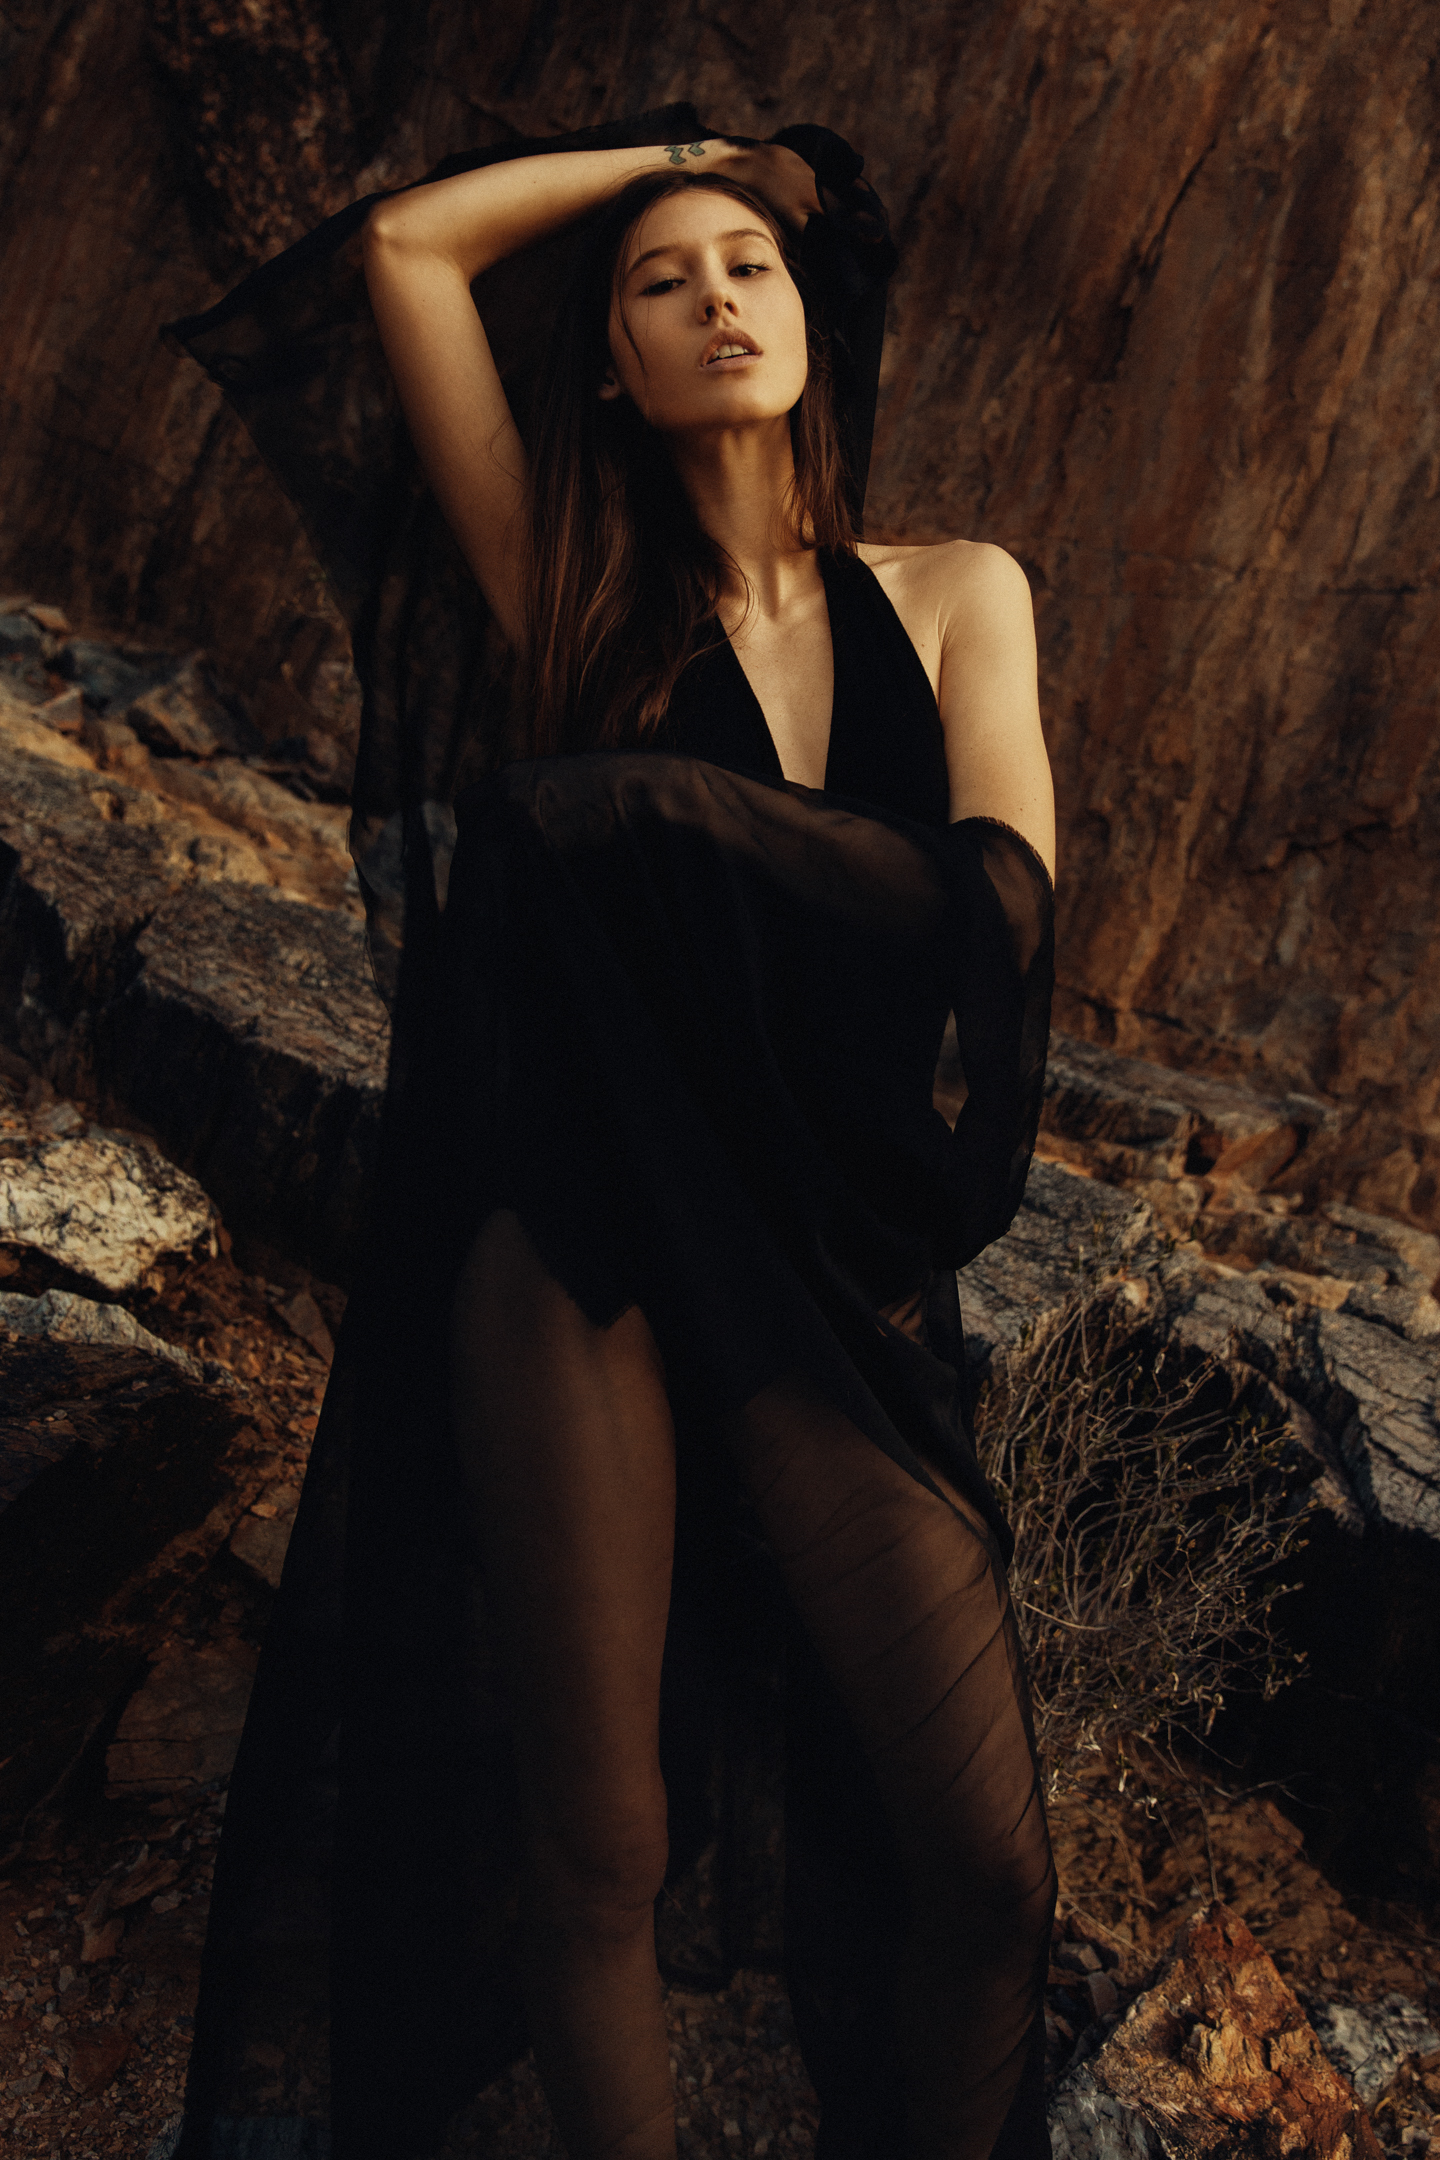
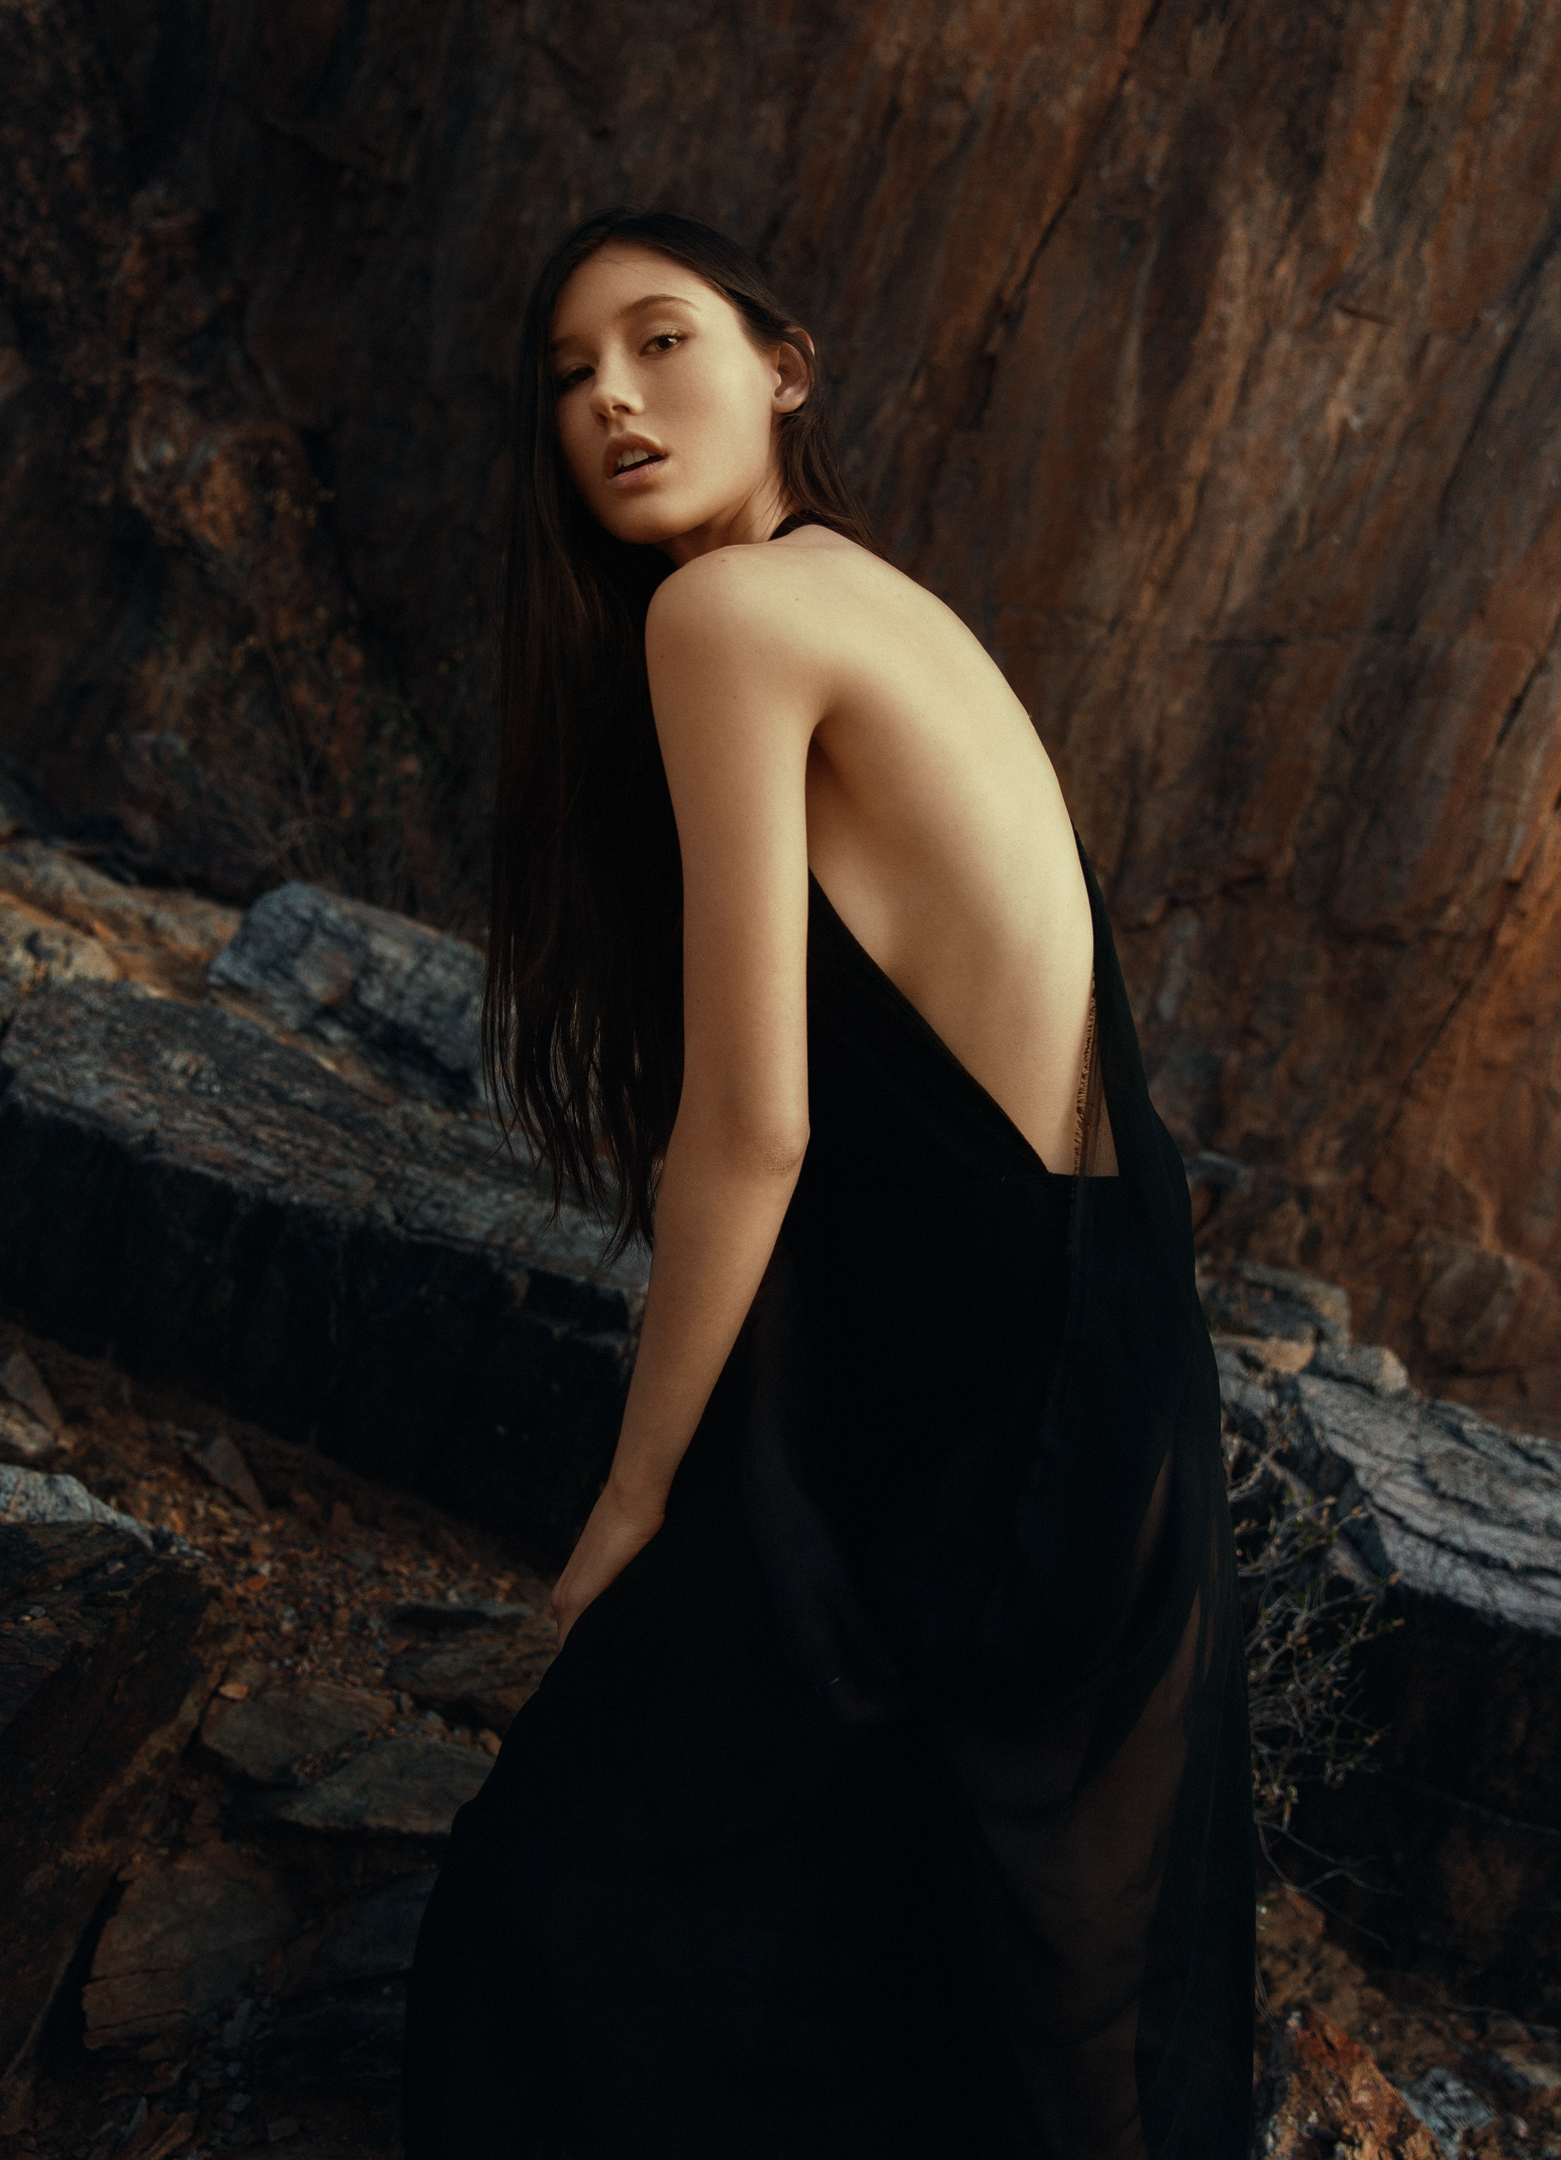
This was a test shoot with Agency Arizona model Paige. Our chosen location (at the Dreary Dam) was closed due to police activity, so we rushed over to Squaw Peak. This left us with about 30 mins of sunlight left, so I did not have time to break out any modifiers. I have been challenging myself more and more to shoot in all types of lighting situations. Over the last year or so I have really fallen in love with harsh sunlight, and it doesn't get any more harsh than a bright sunny Phoenix day.

  • For my style I have found when shooting in harsh sunlight I like to broad light my subject. I like the sunlight to light them with either a butterfly or loop lighting pattern, occasionally a rembrandt light pattern, and very rarely a split lighting pattern. If I start to turn them away from the sun too much I will bring out a reflector or strobe for a fill light.
  • I have fallen in love with direct sunlight because it shapes the face so beautifully. This being said you should use a model that has good features and skin for harsh light. Not all models will look great with harsh light.
  • My background plays a large roll when using direct sunlight. Some things I look for are: clean and solid textures, have the background shape the subject, no busy or distracting colors or elements, and making sure the background compliments the model and allows the model to stand out. 
  • Underexposing by 1/2 -1 stop (sometimes more) is pretty important as well. This not only brings out rich colors, but leaves you with more room to edit when retouching later. 
    (Colors are more saturated when under exposed, and less saturated when over exposed).

Here are some of my favorites from the day. 

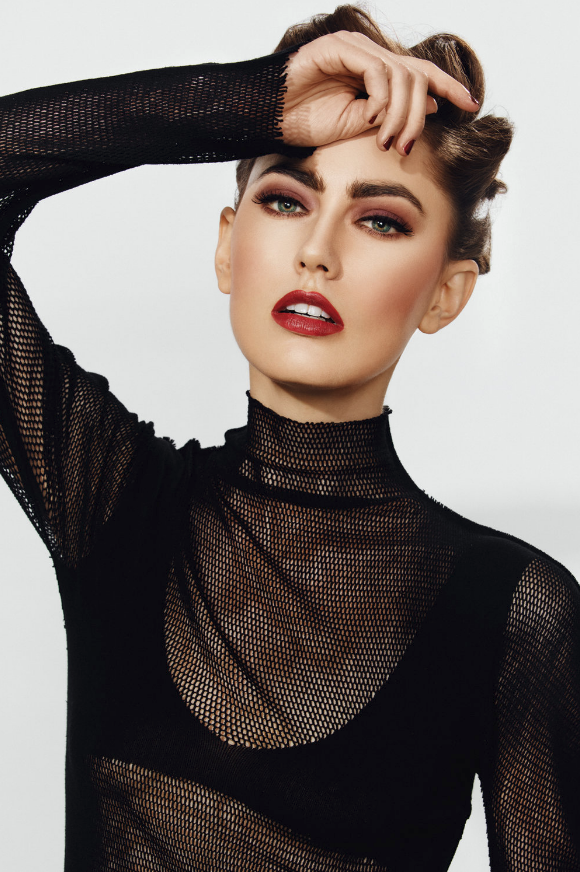
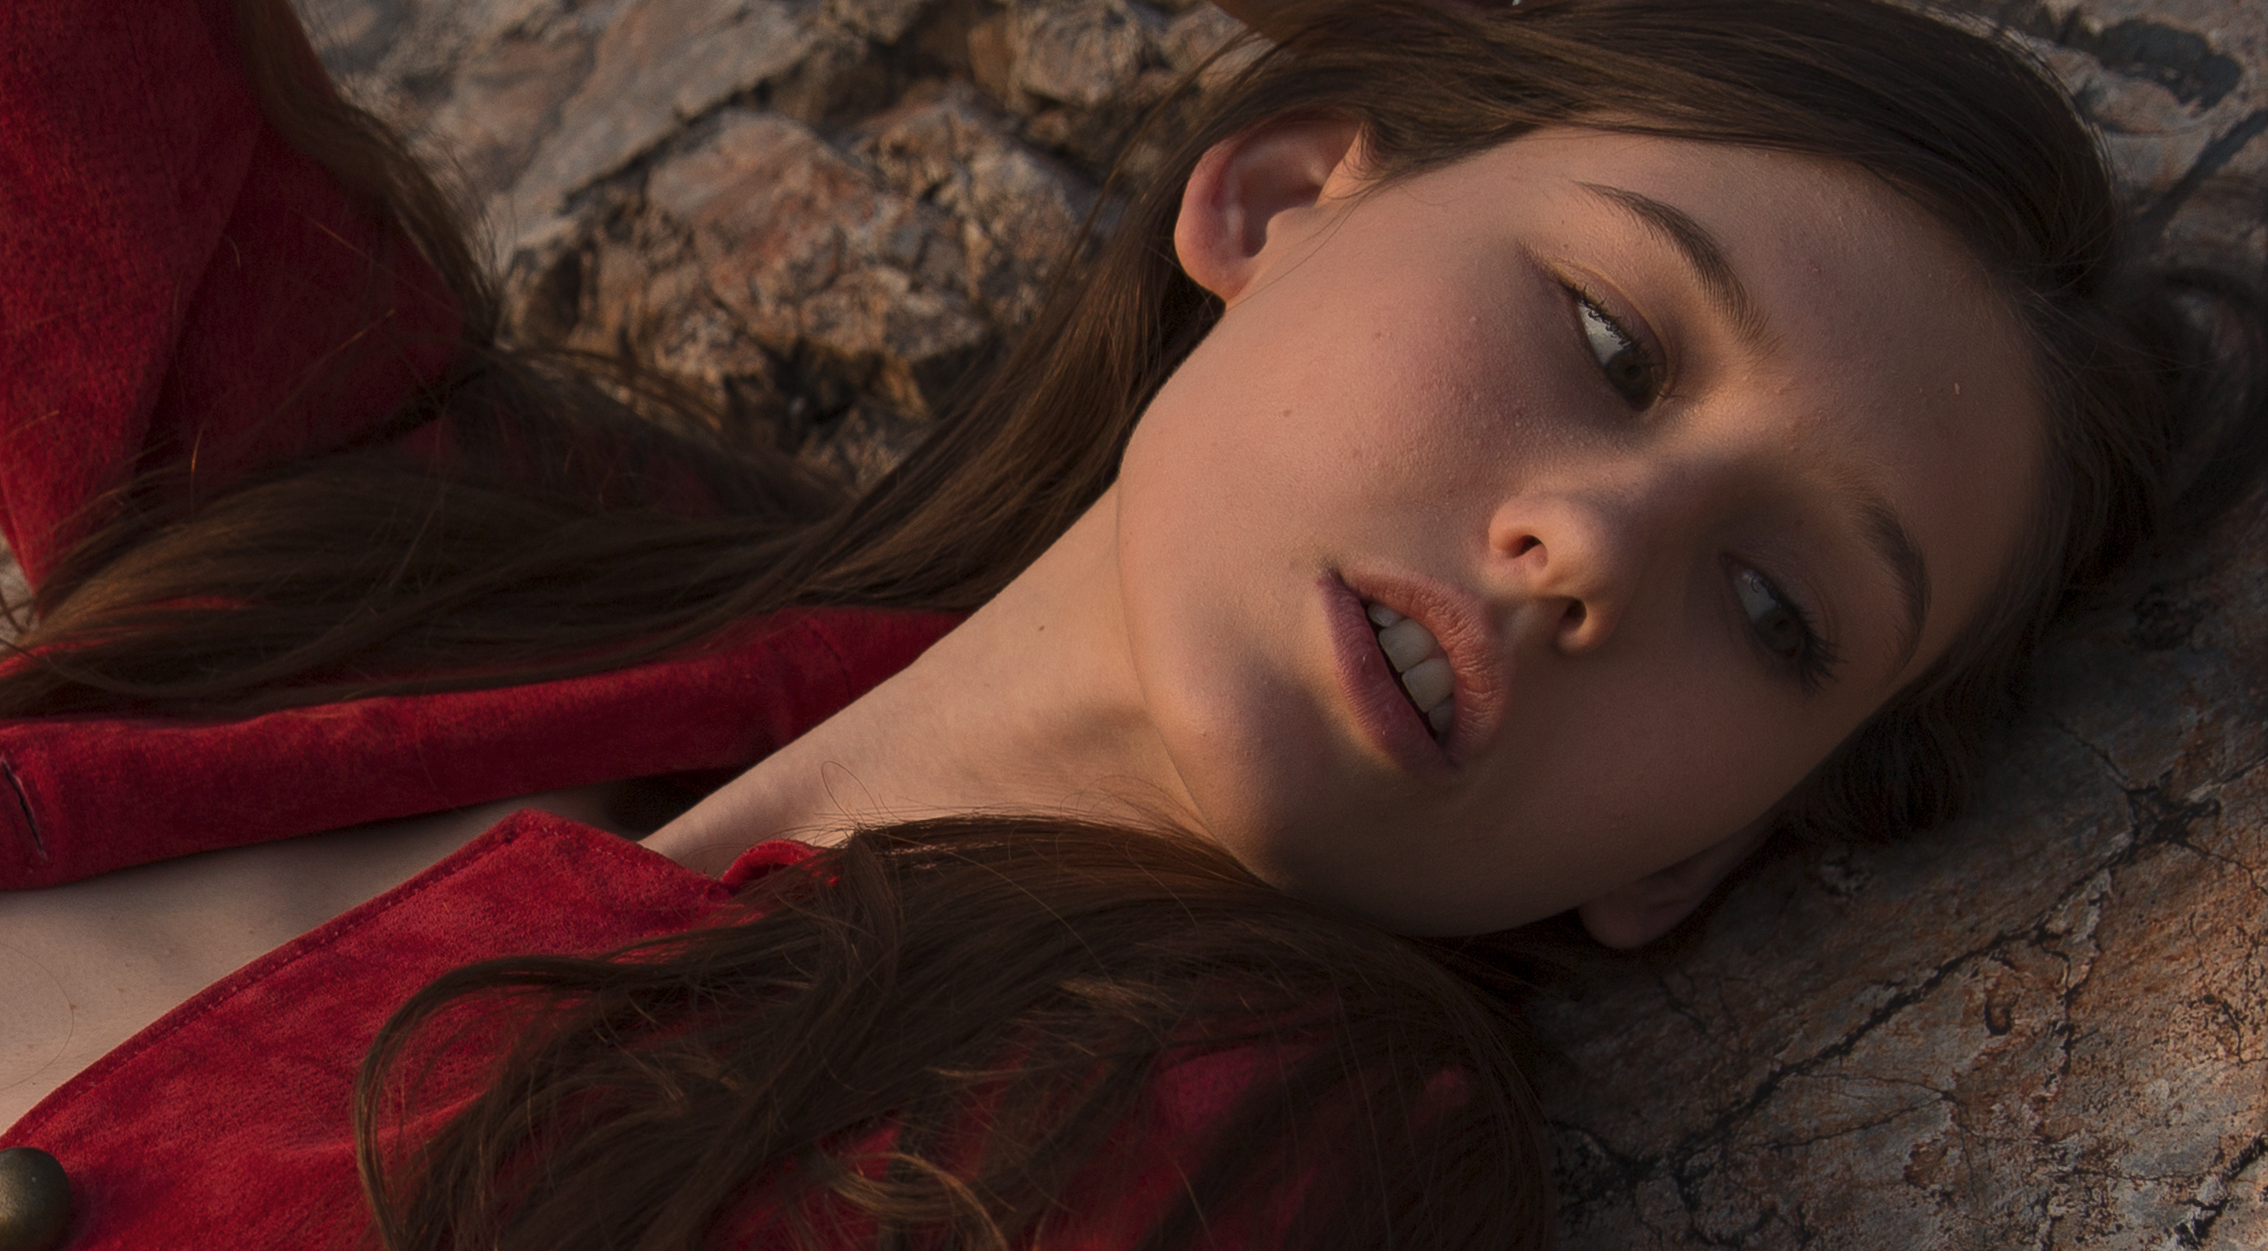
Now here is a sooc and retouched image for comparison, (full size, and 100% crop).

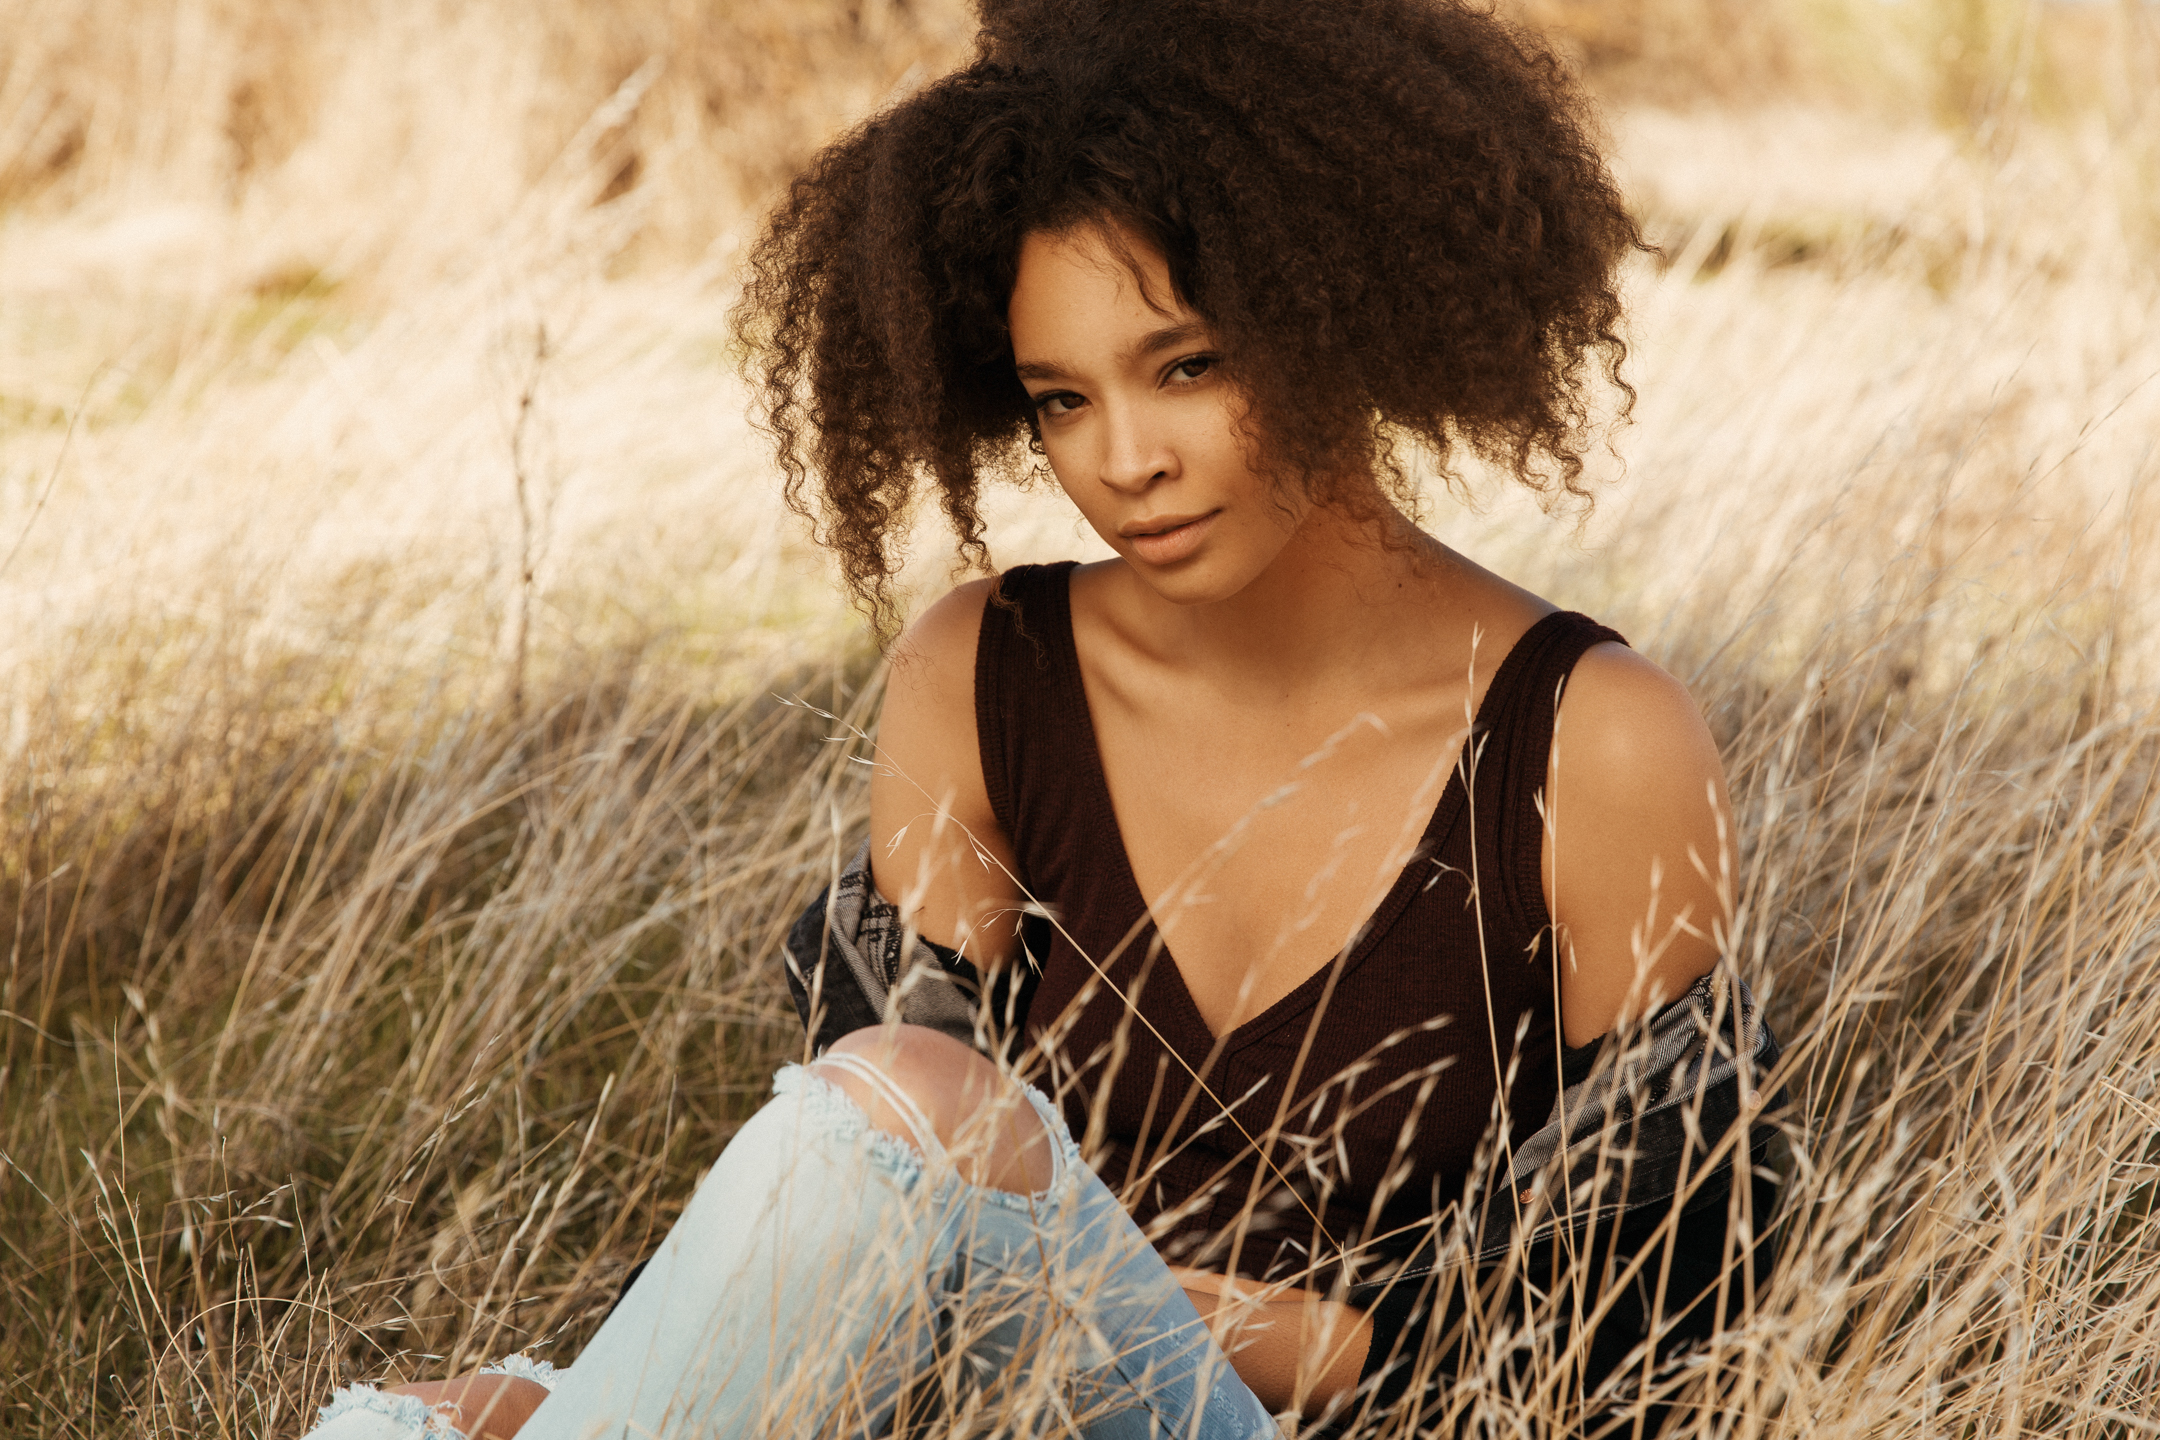
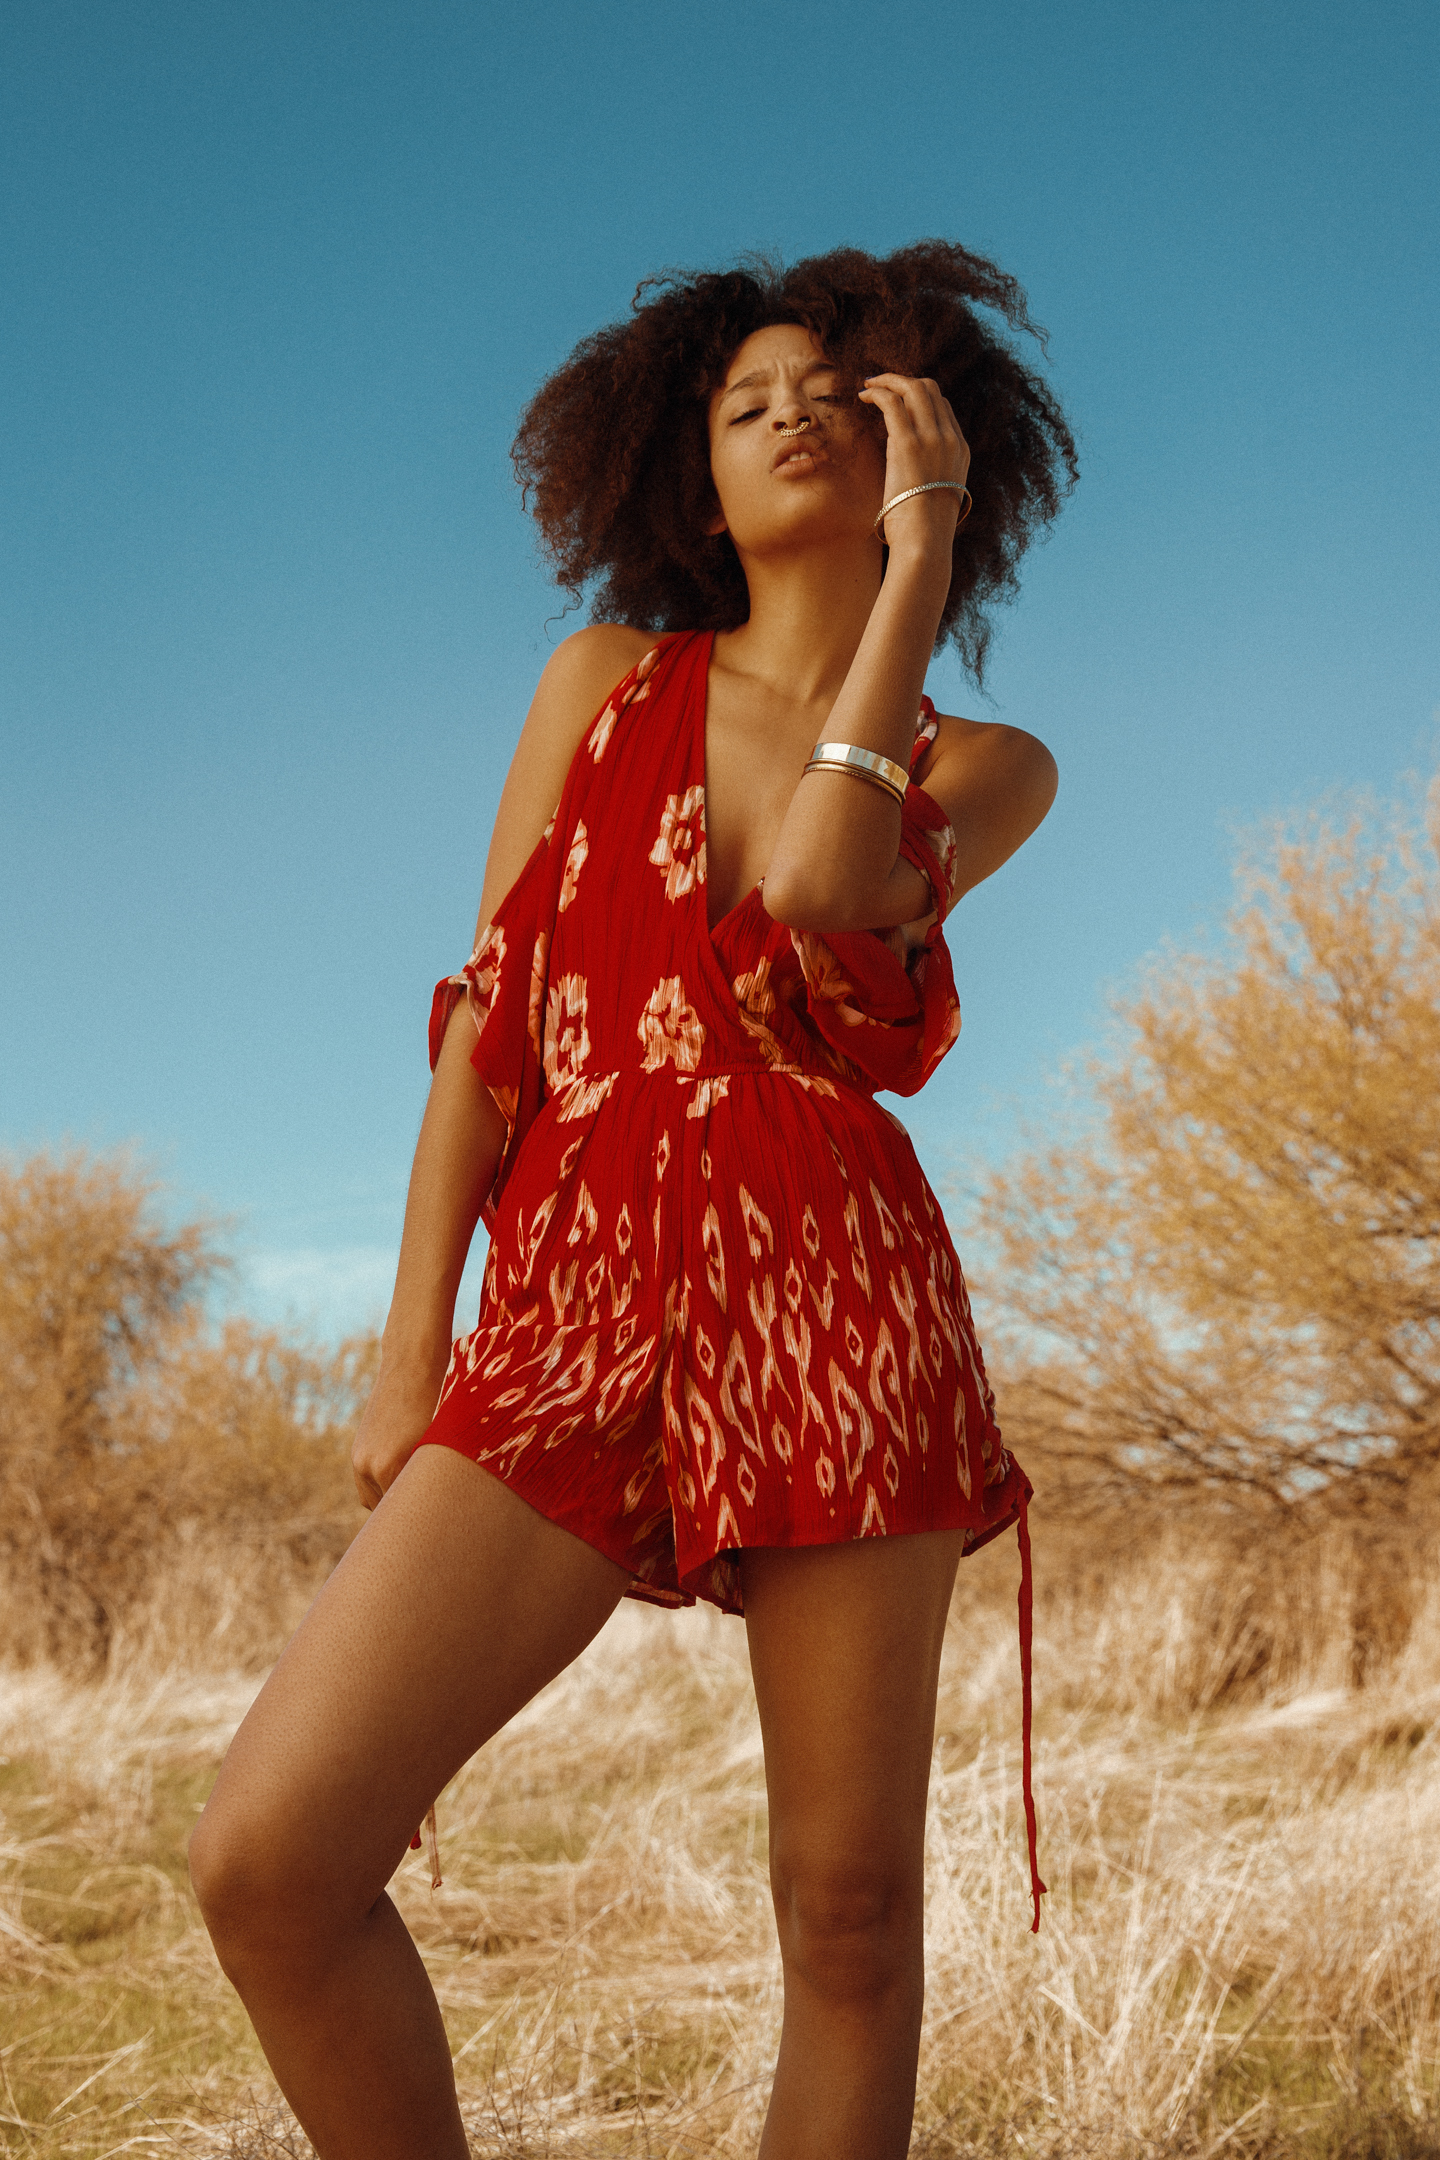
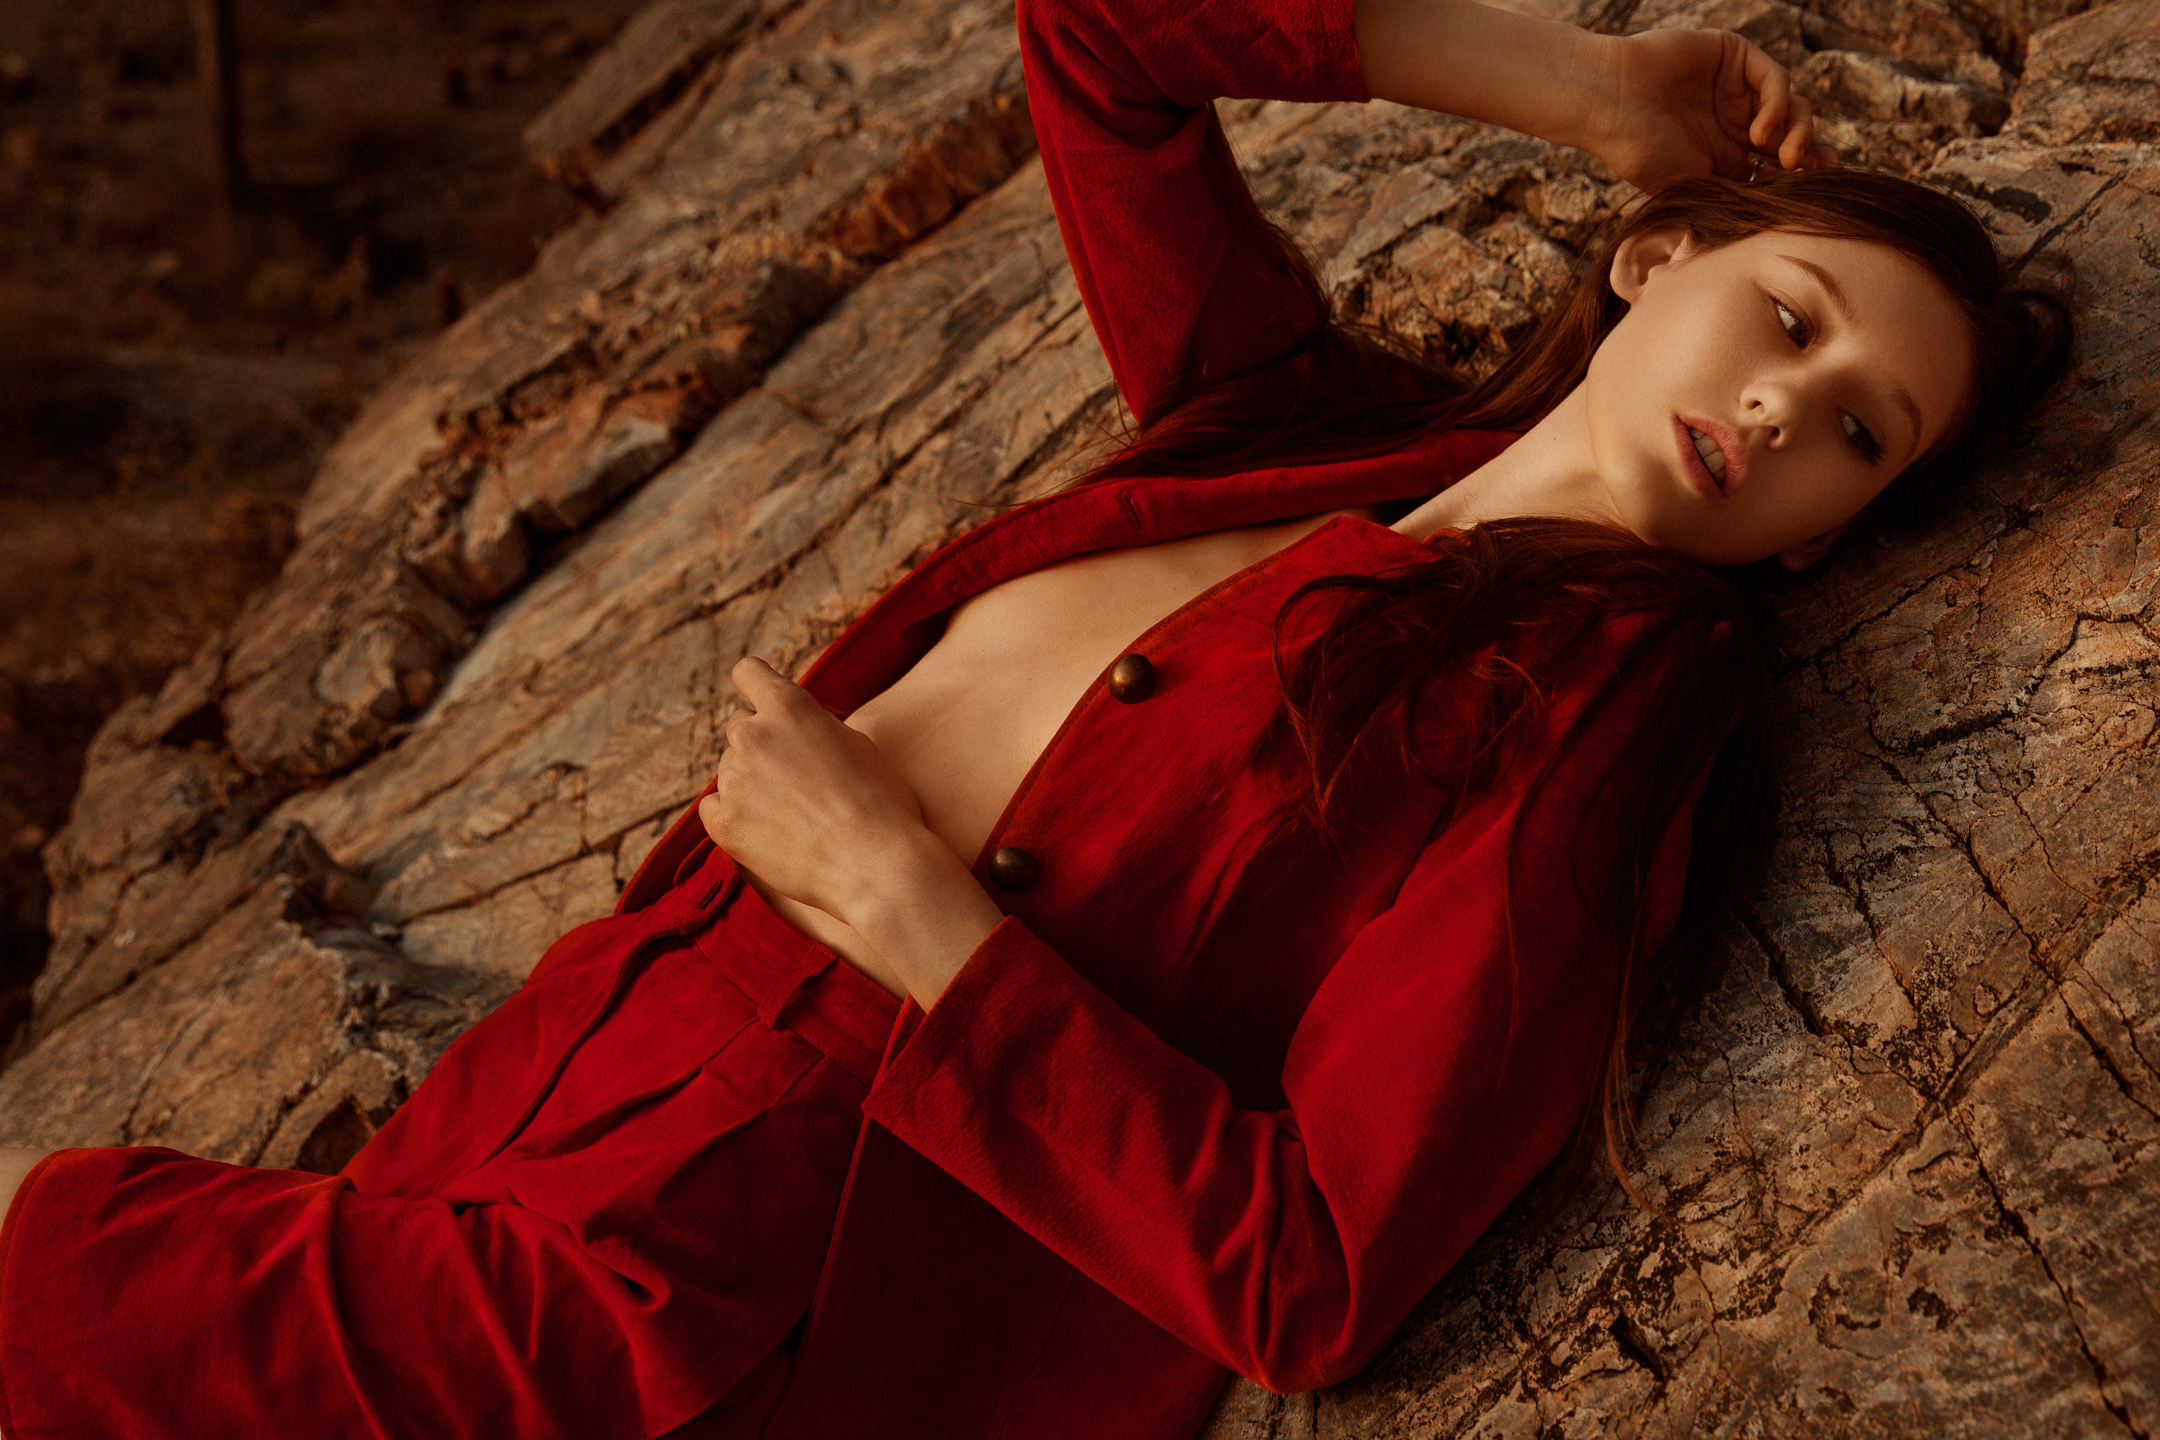
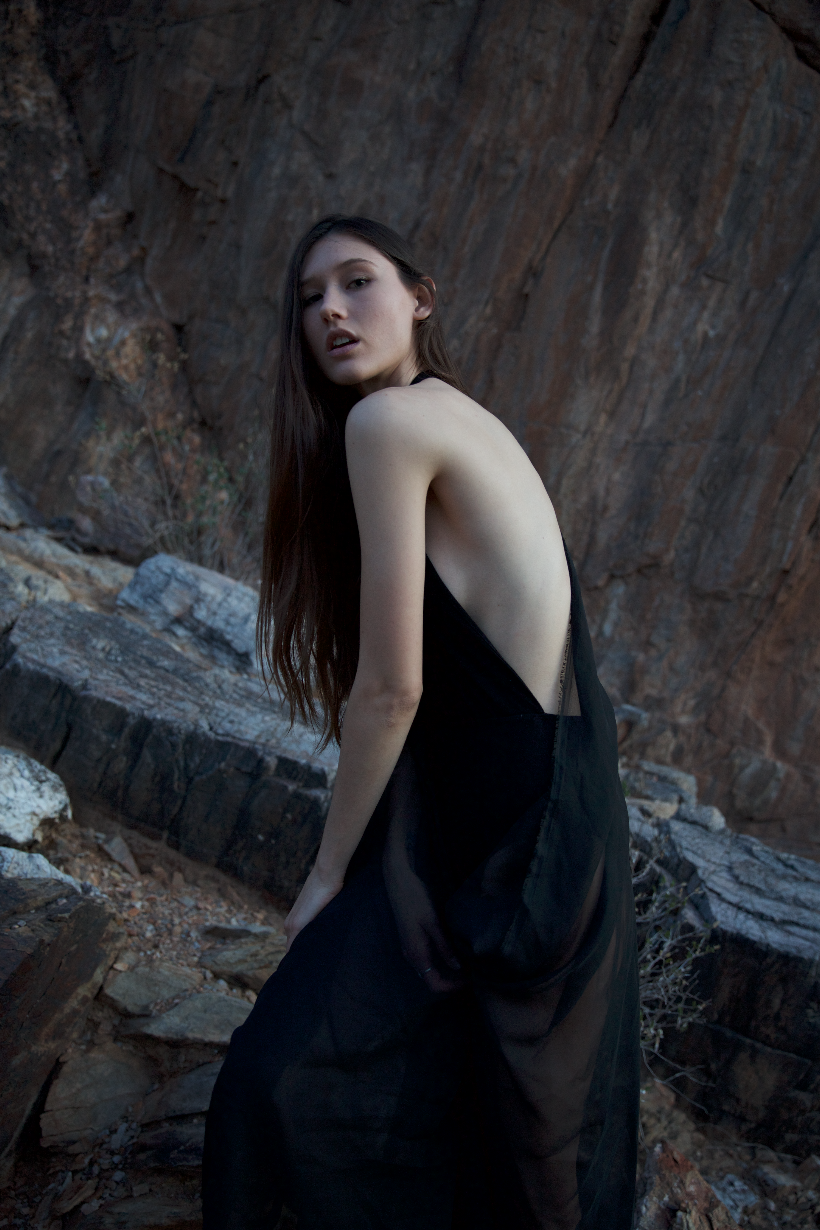
As the sun was setting we did a quick outfit change and got about 10 more mins of shooting in. 
For these the sun is setting, and is side lighting the model. 

Here is another before and after retouched image. 

I hope this first blog post was useful in someway. I will try to write a new blog post at least once a week. Please don't hesitate to contact me if you have any questions or have any suggestions about what you would like to see me write a blog post about.